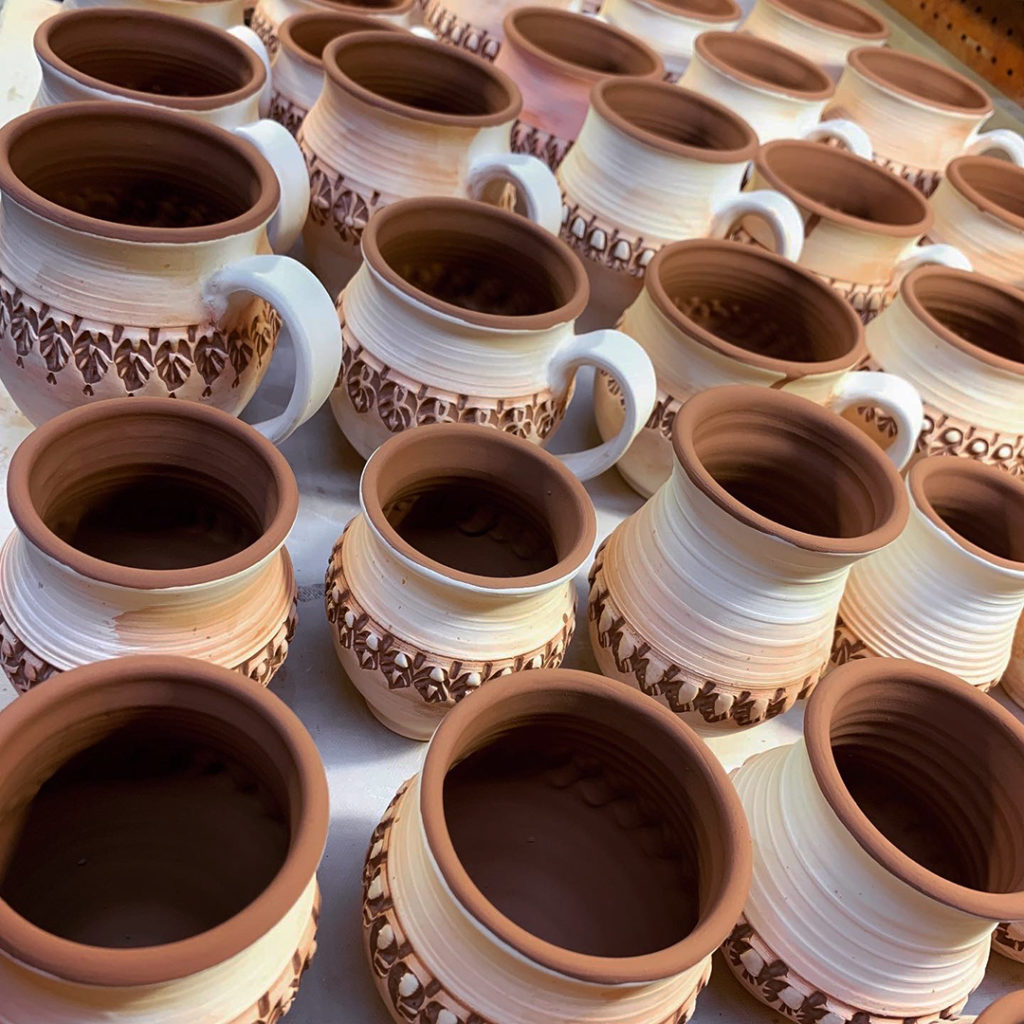
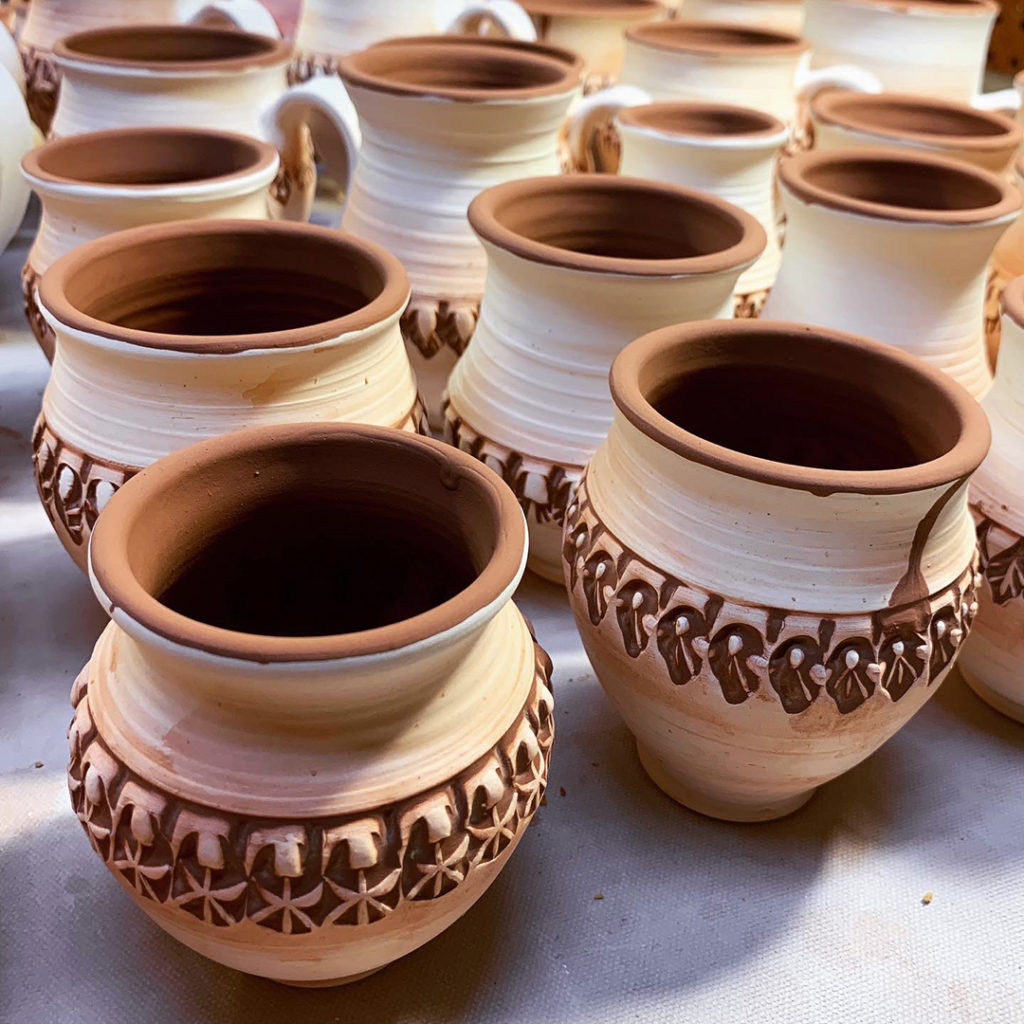
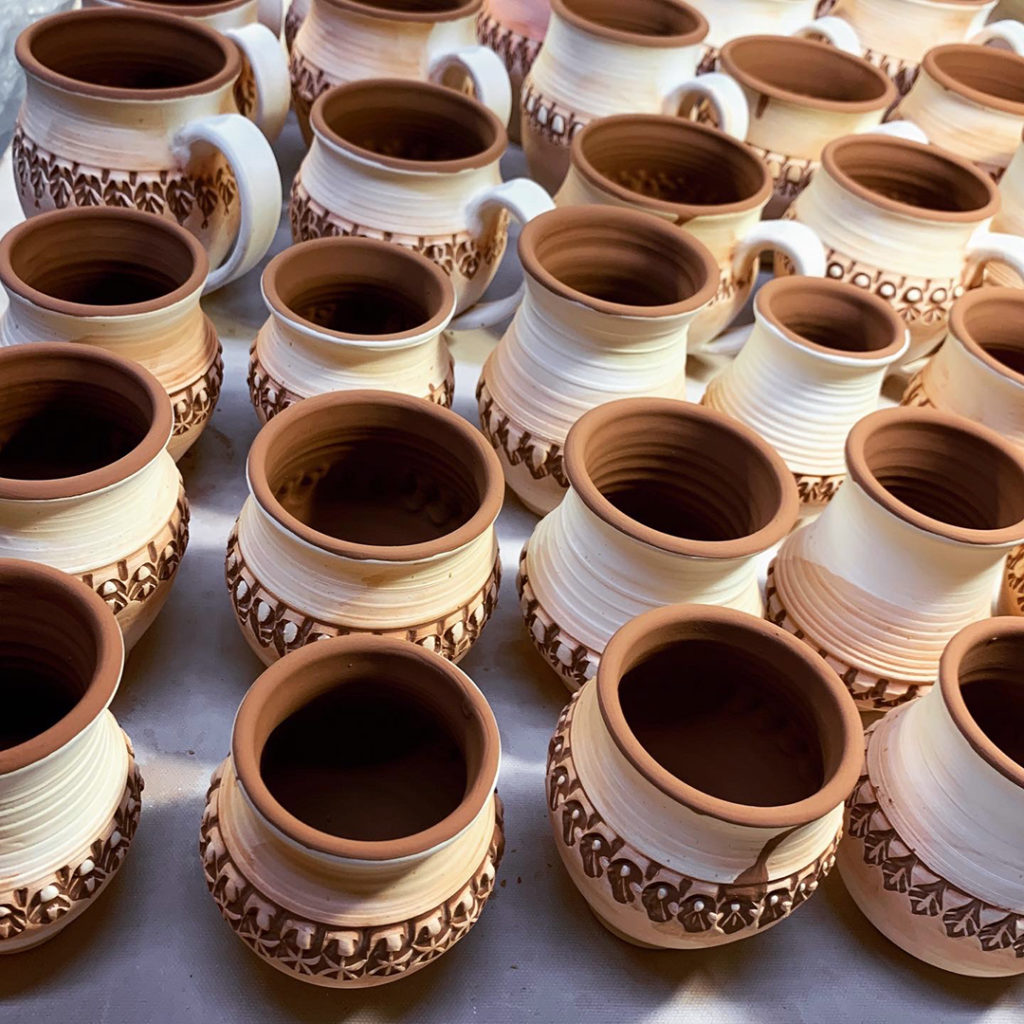
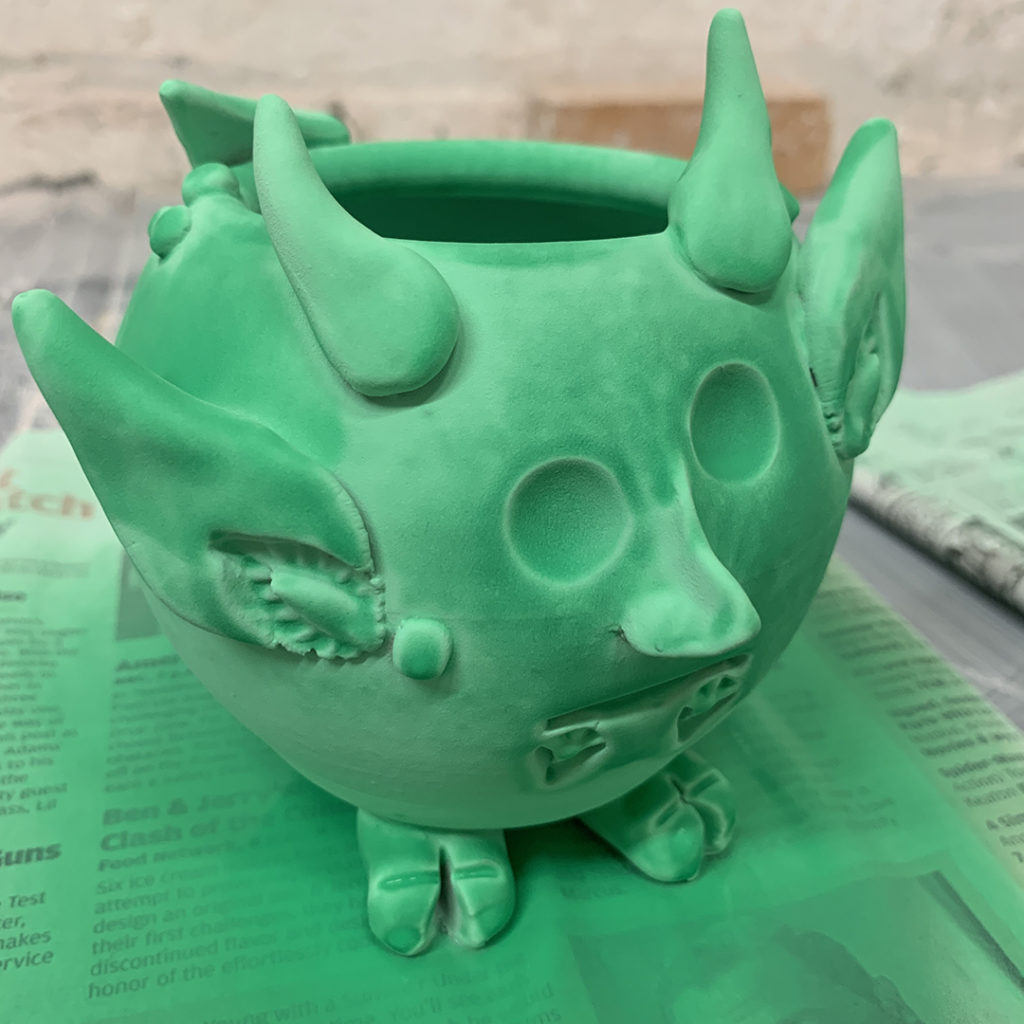
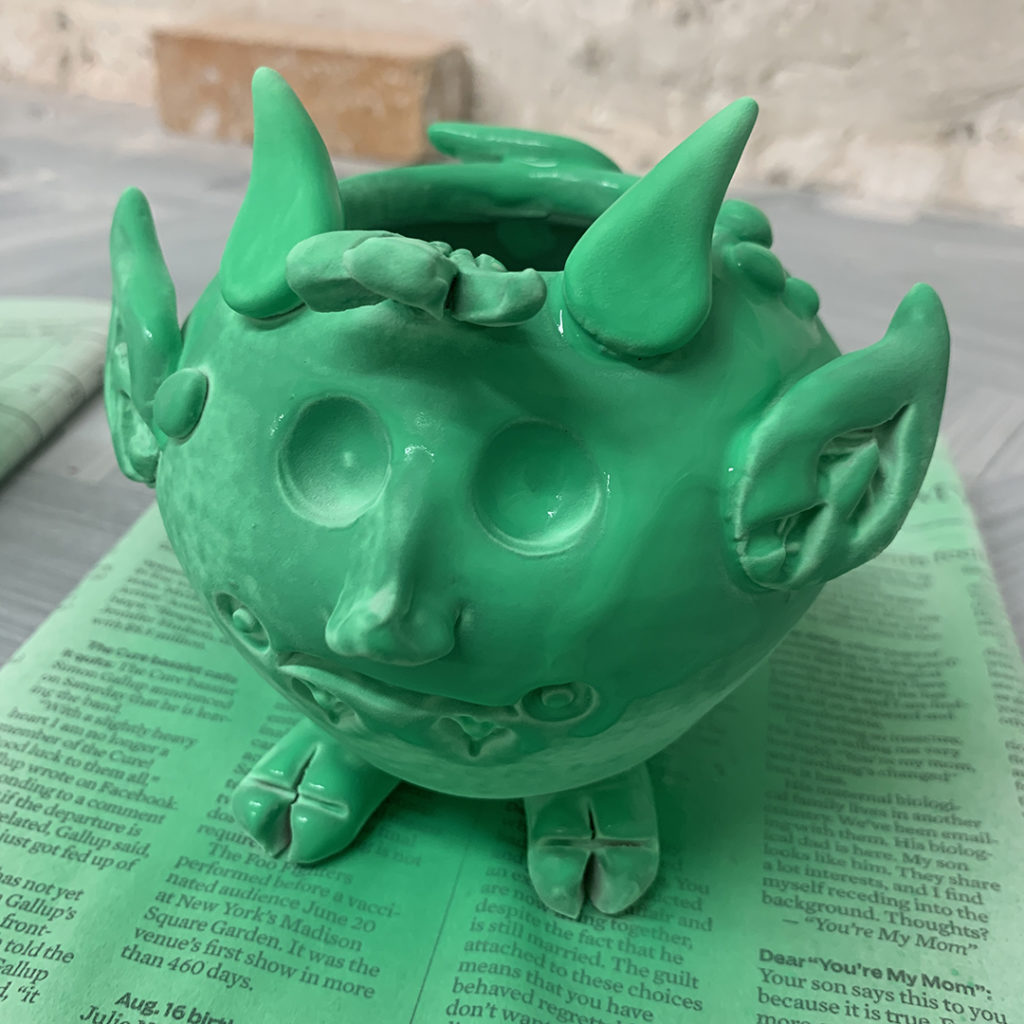
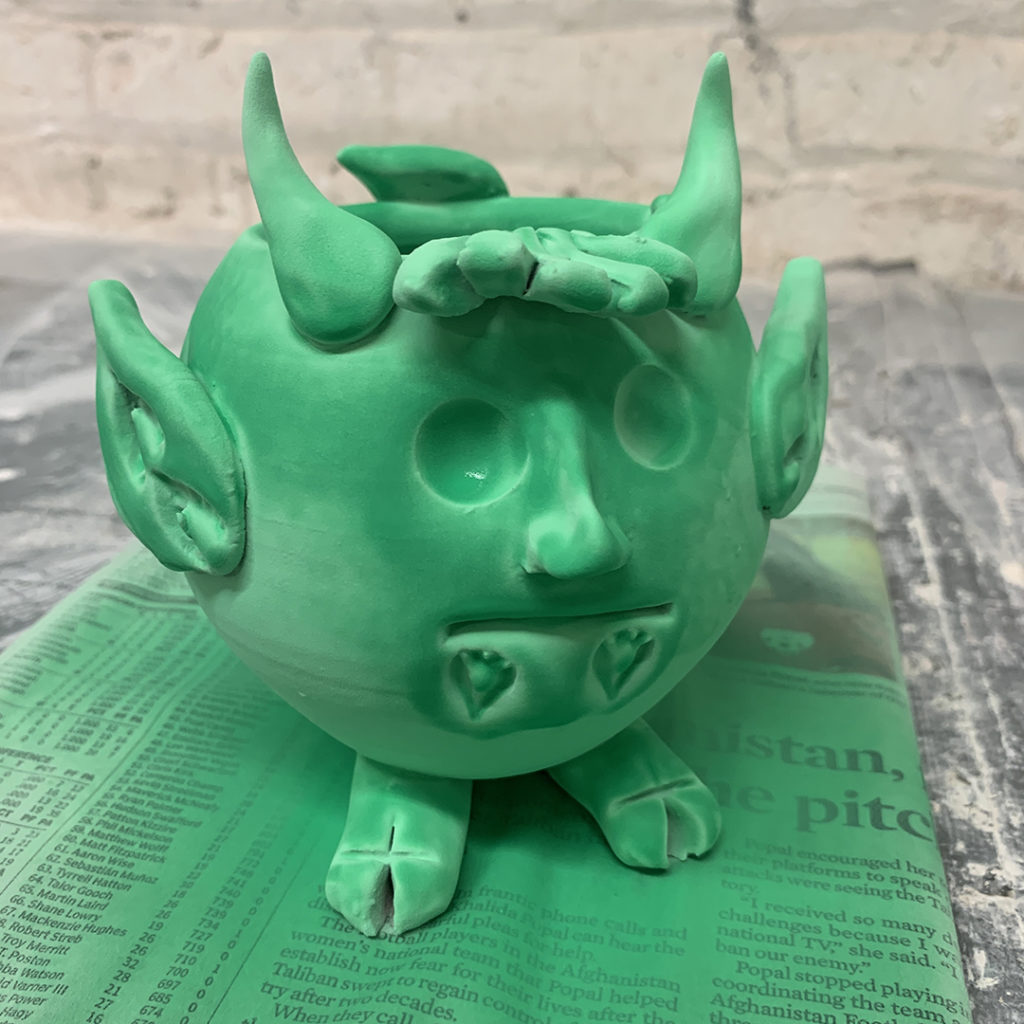
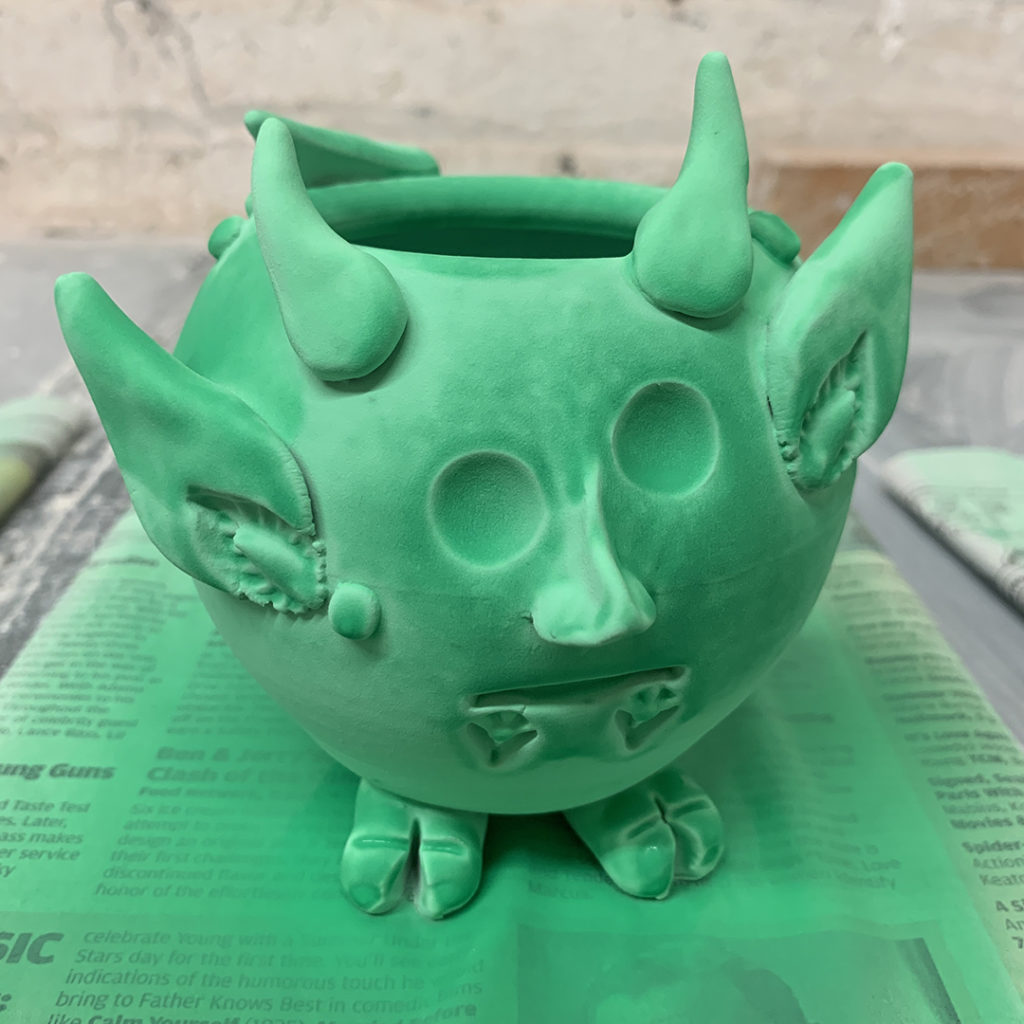
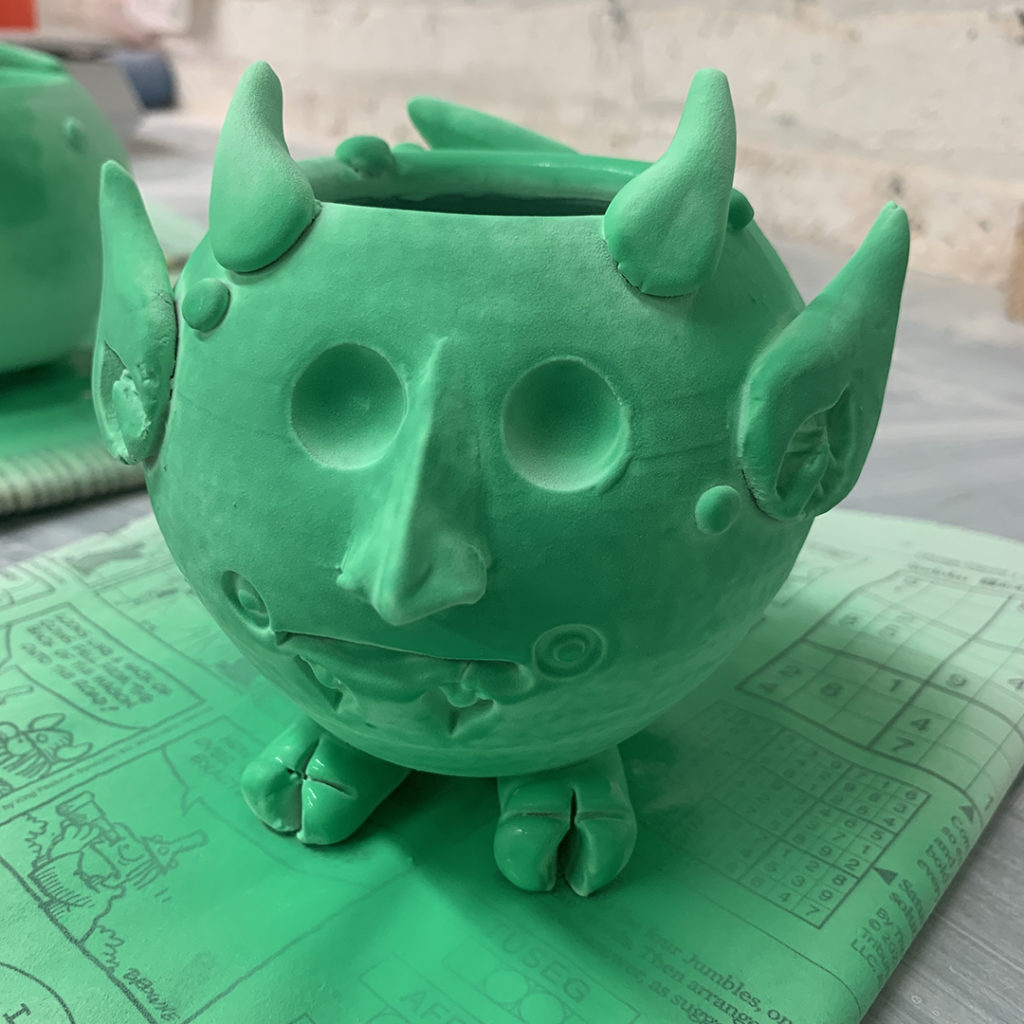
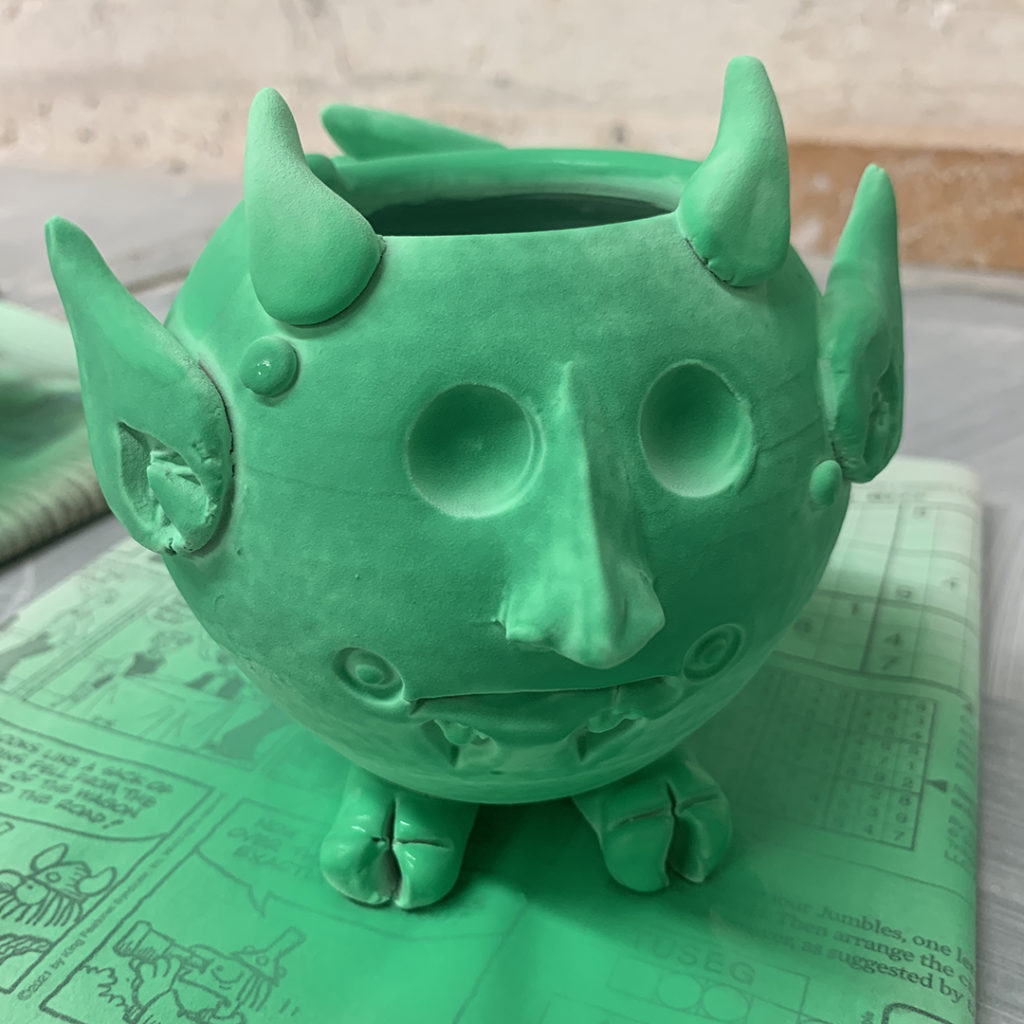
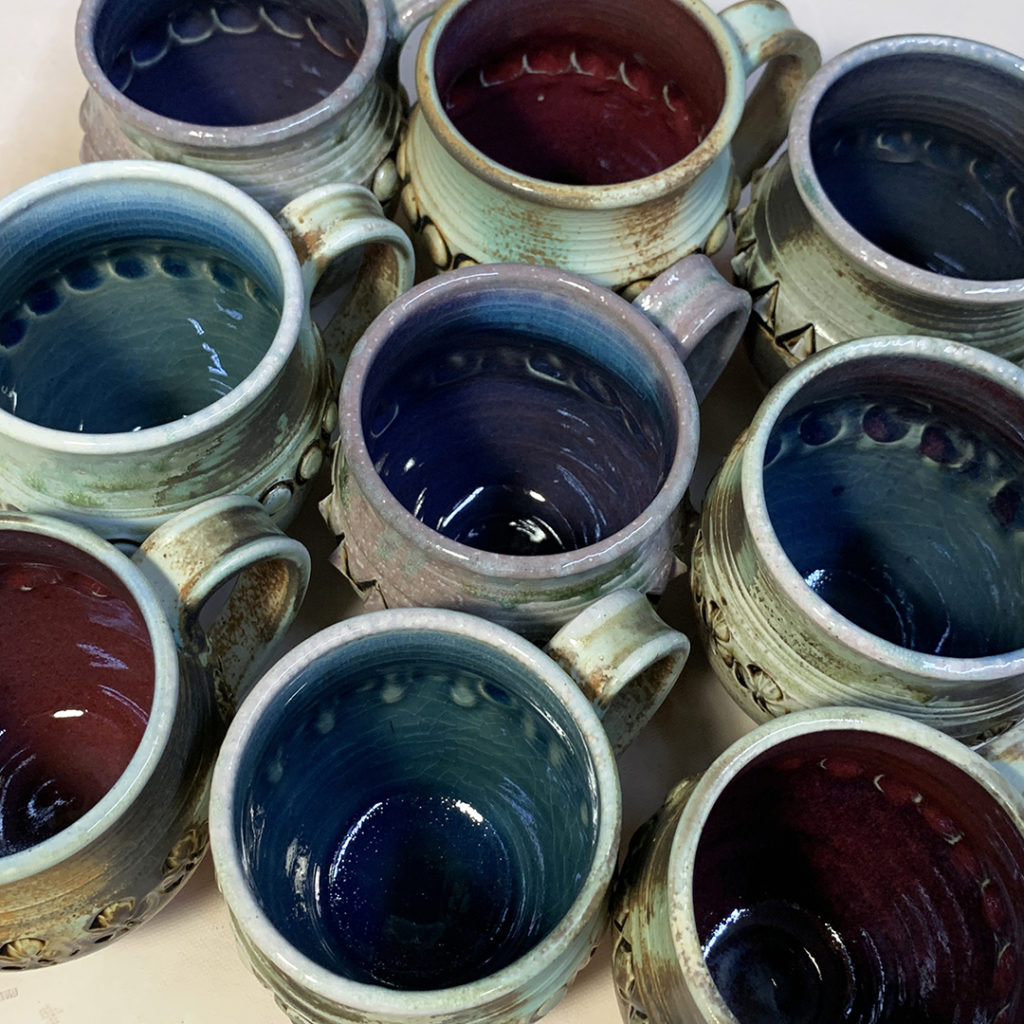
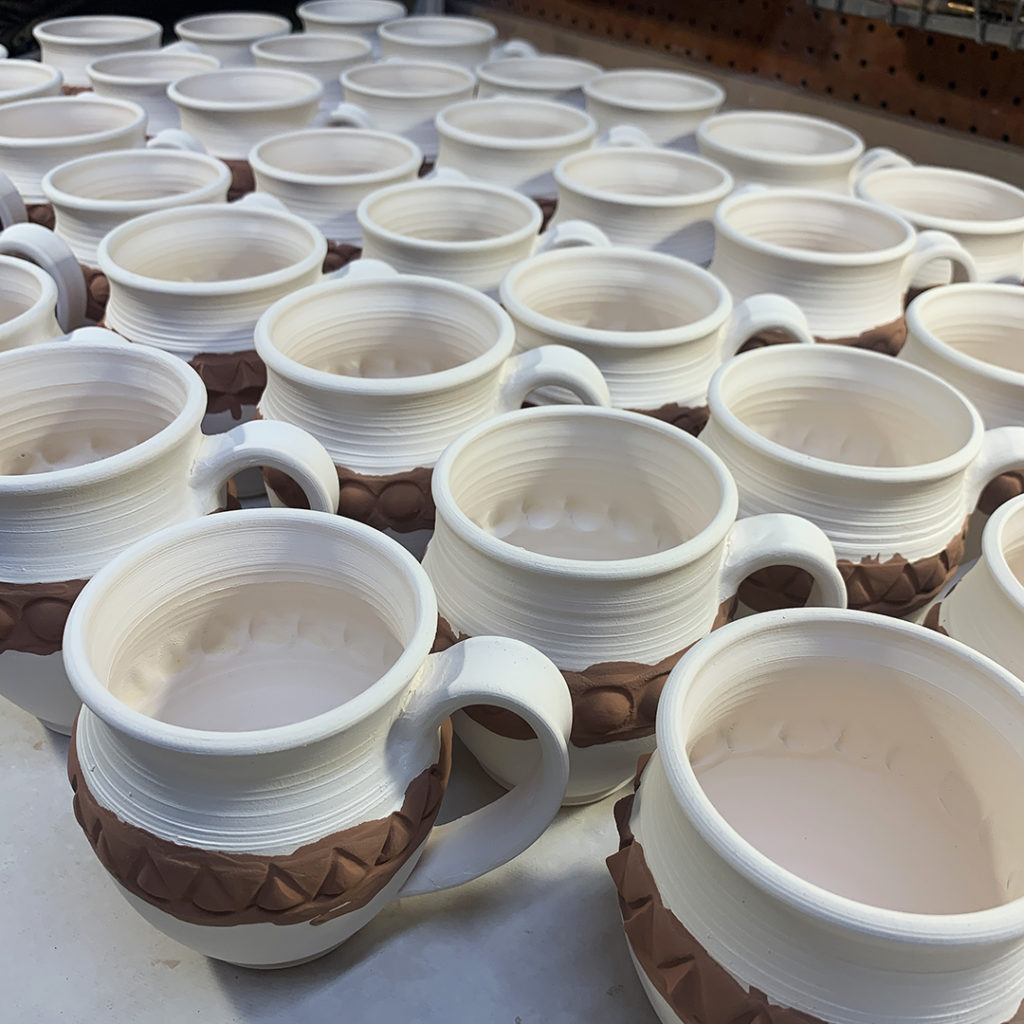
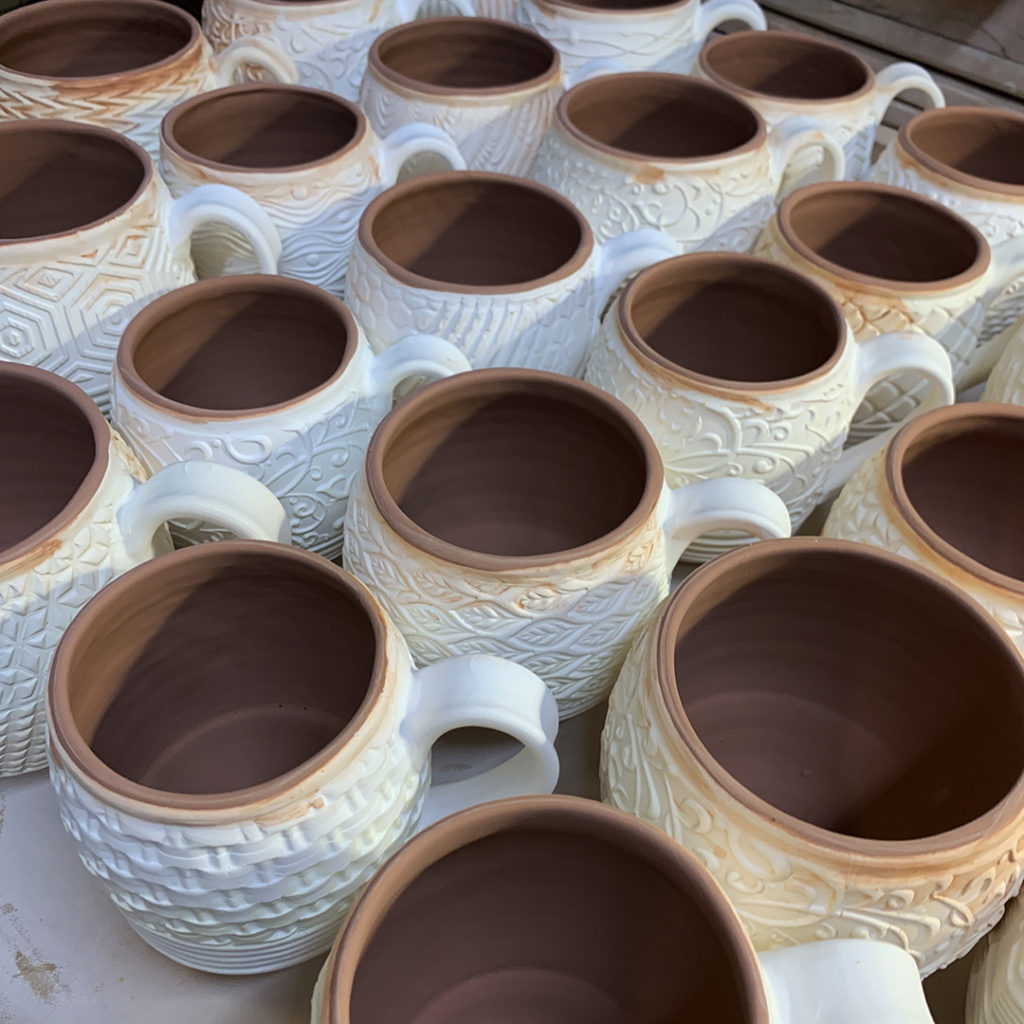
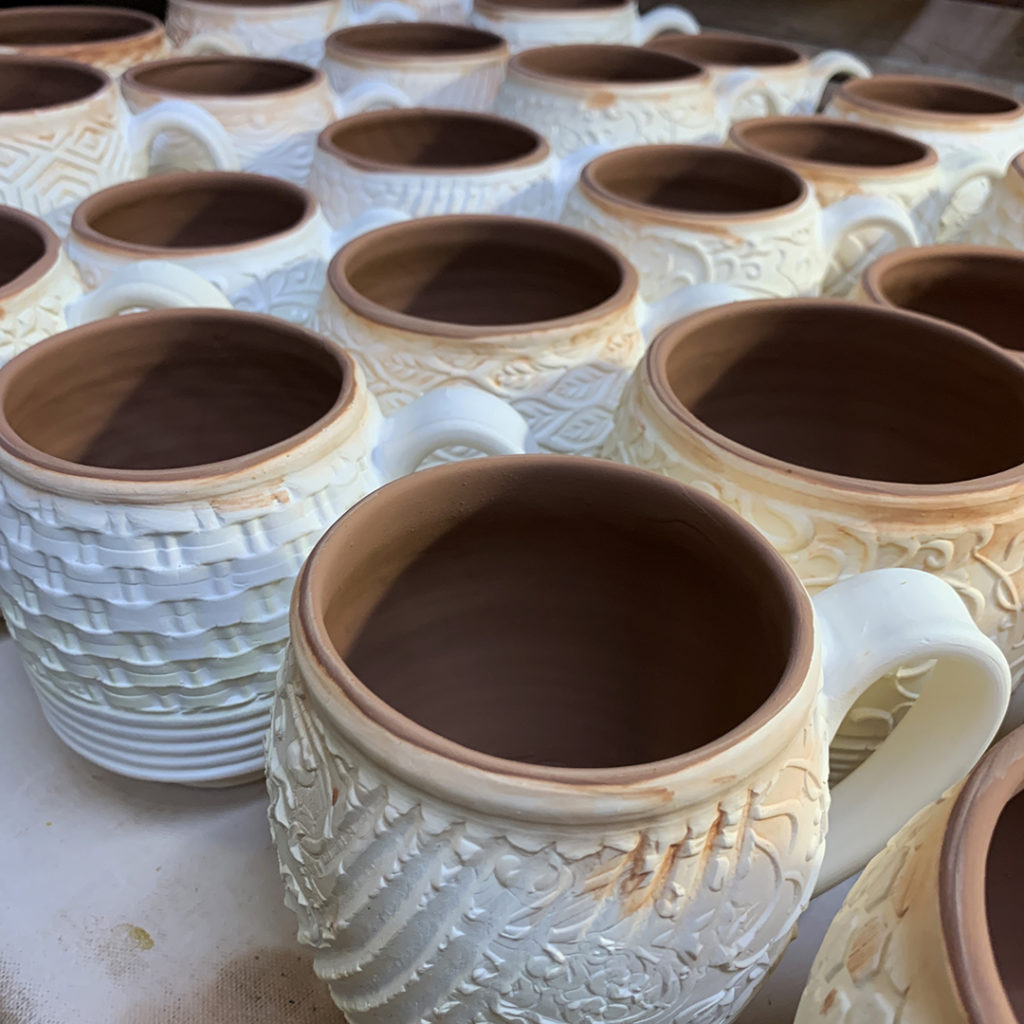
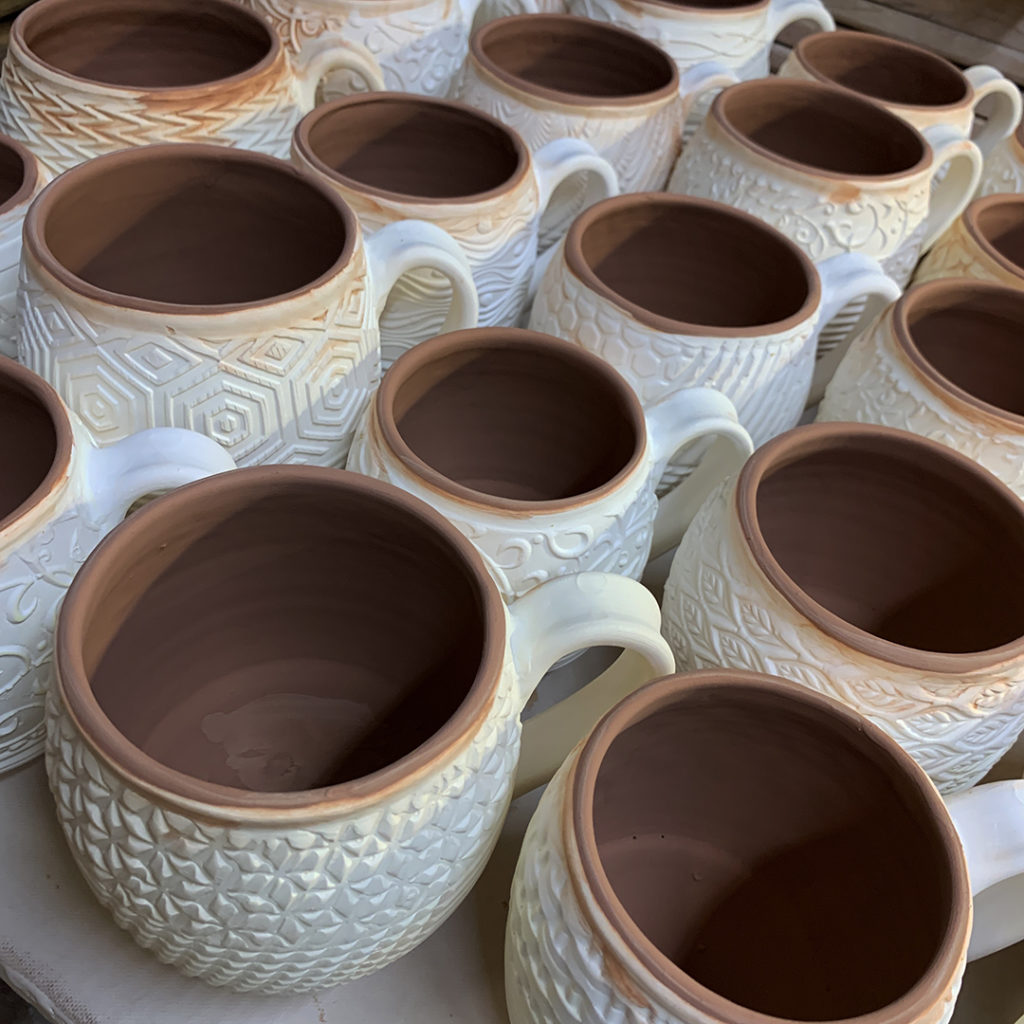
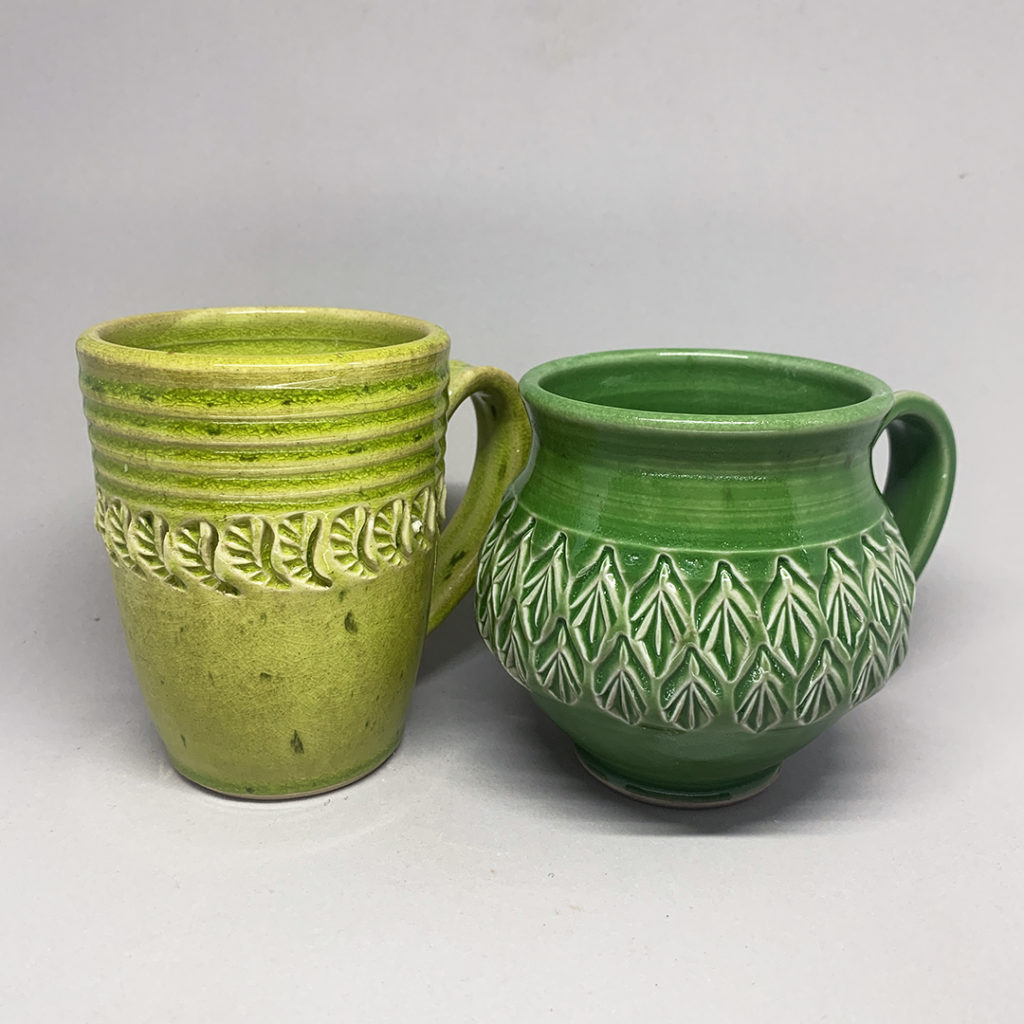
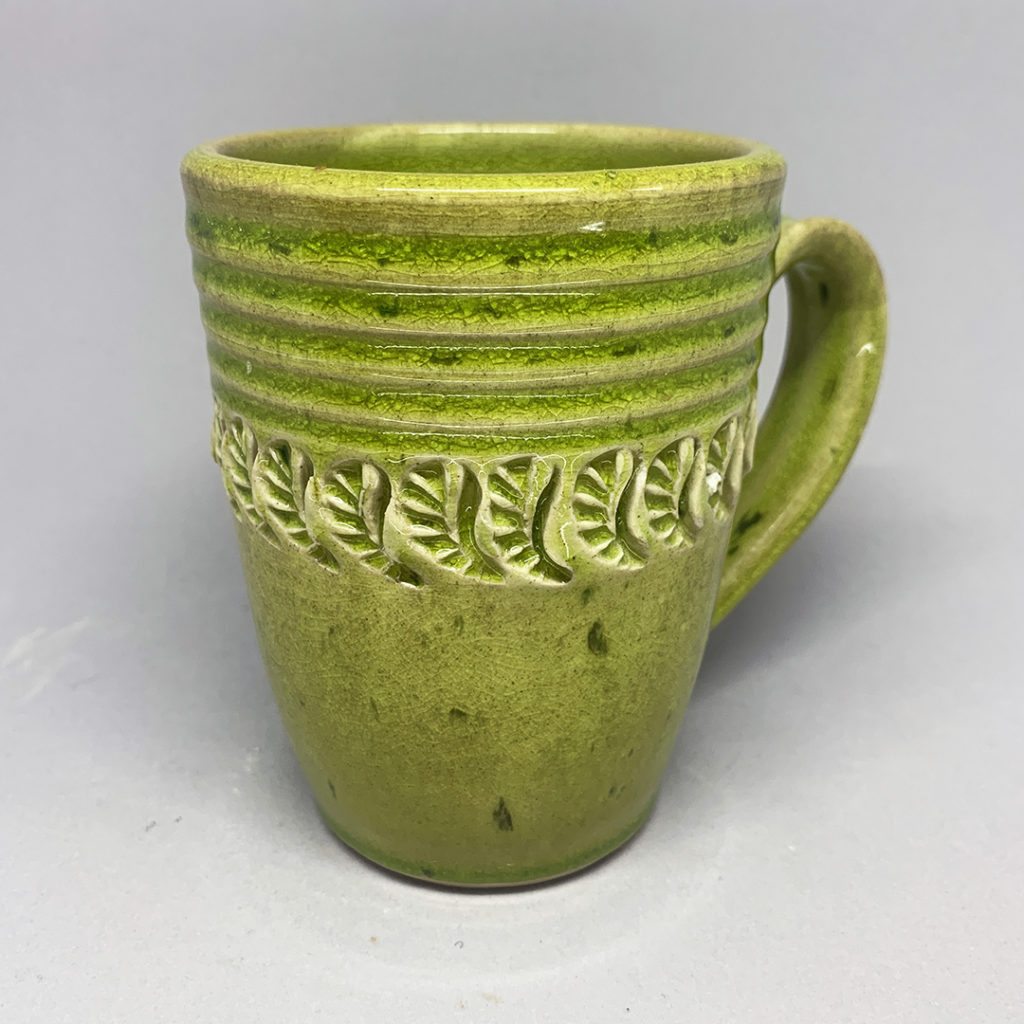
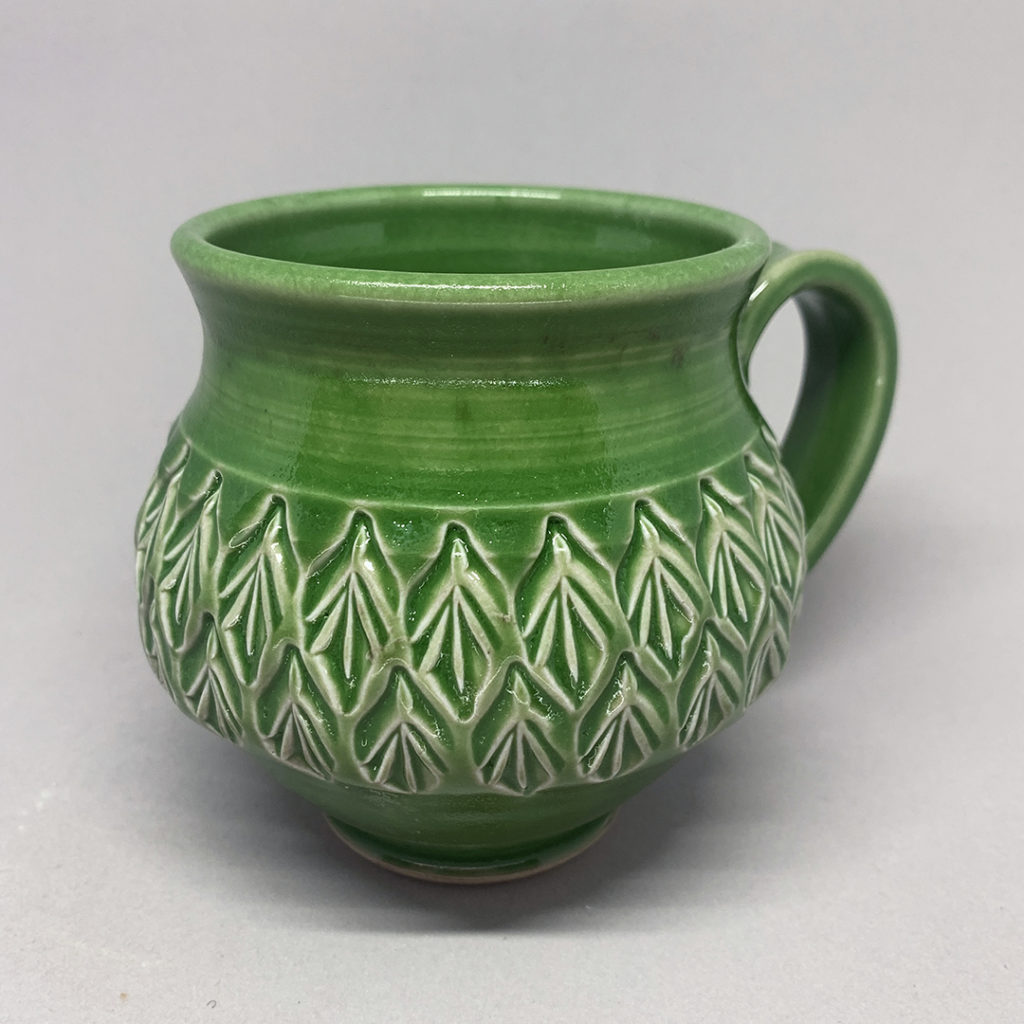
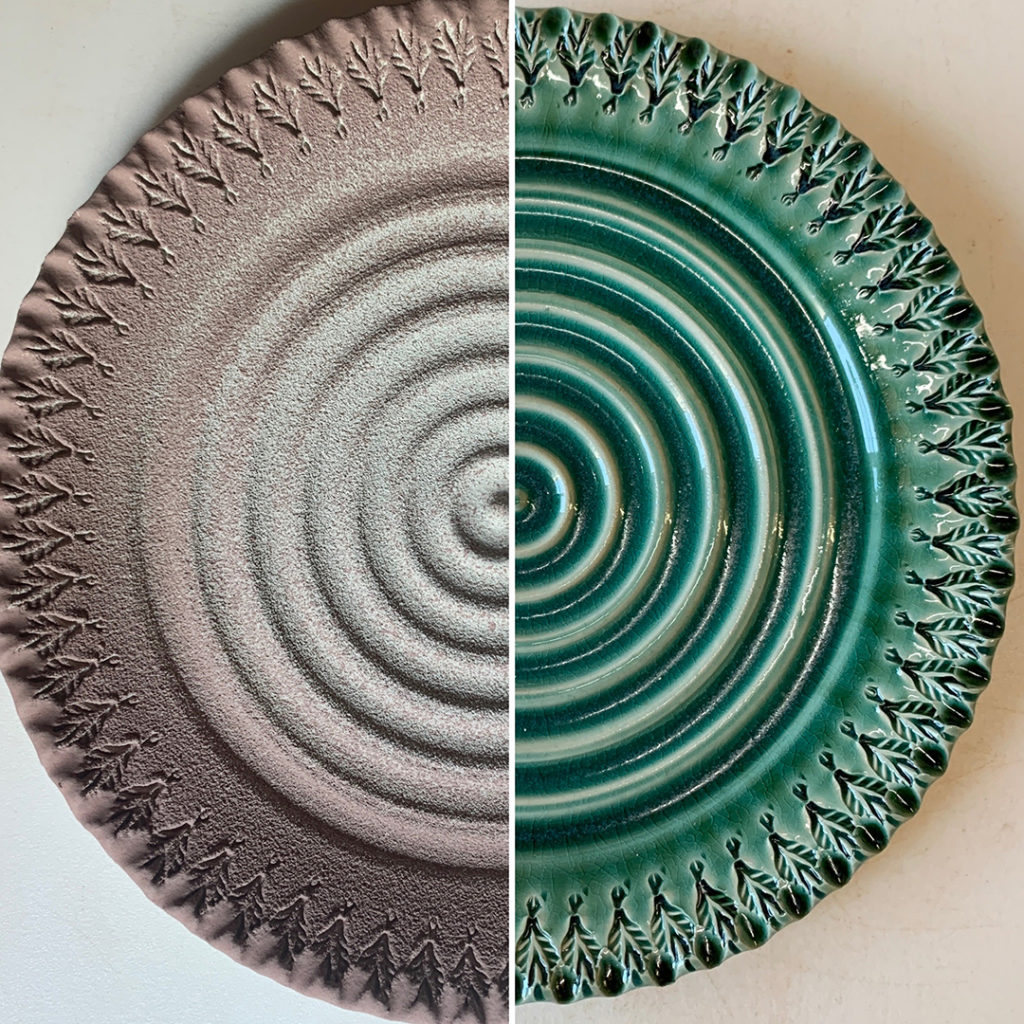
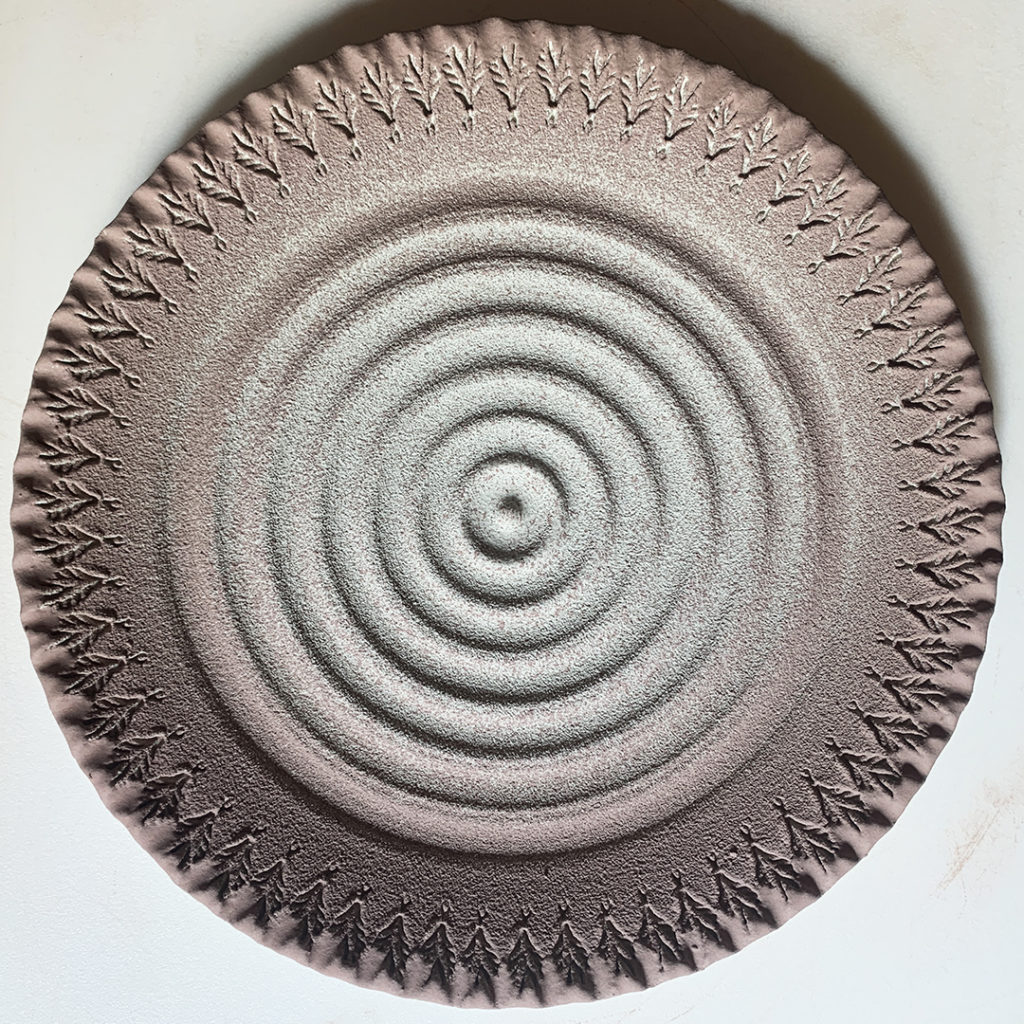
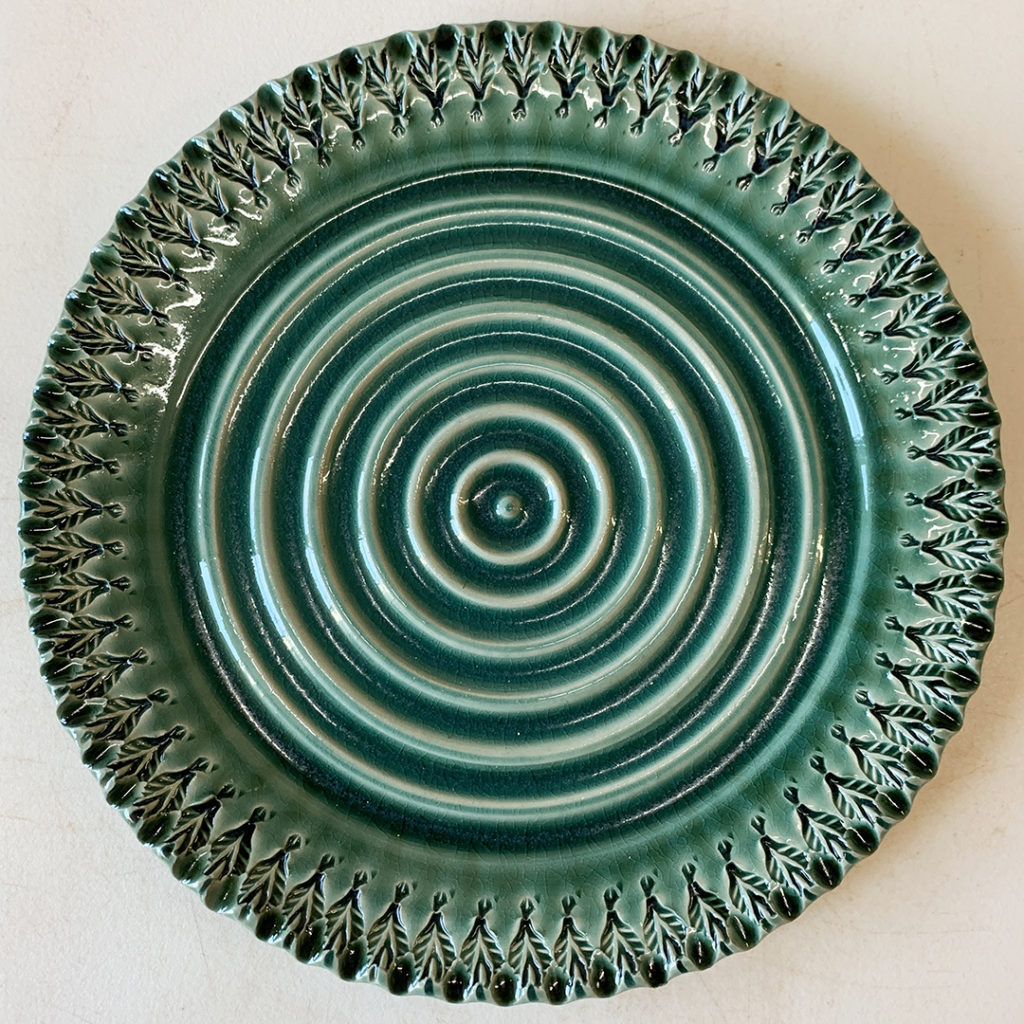
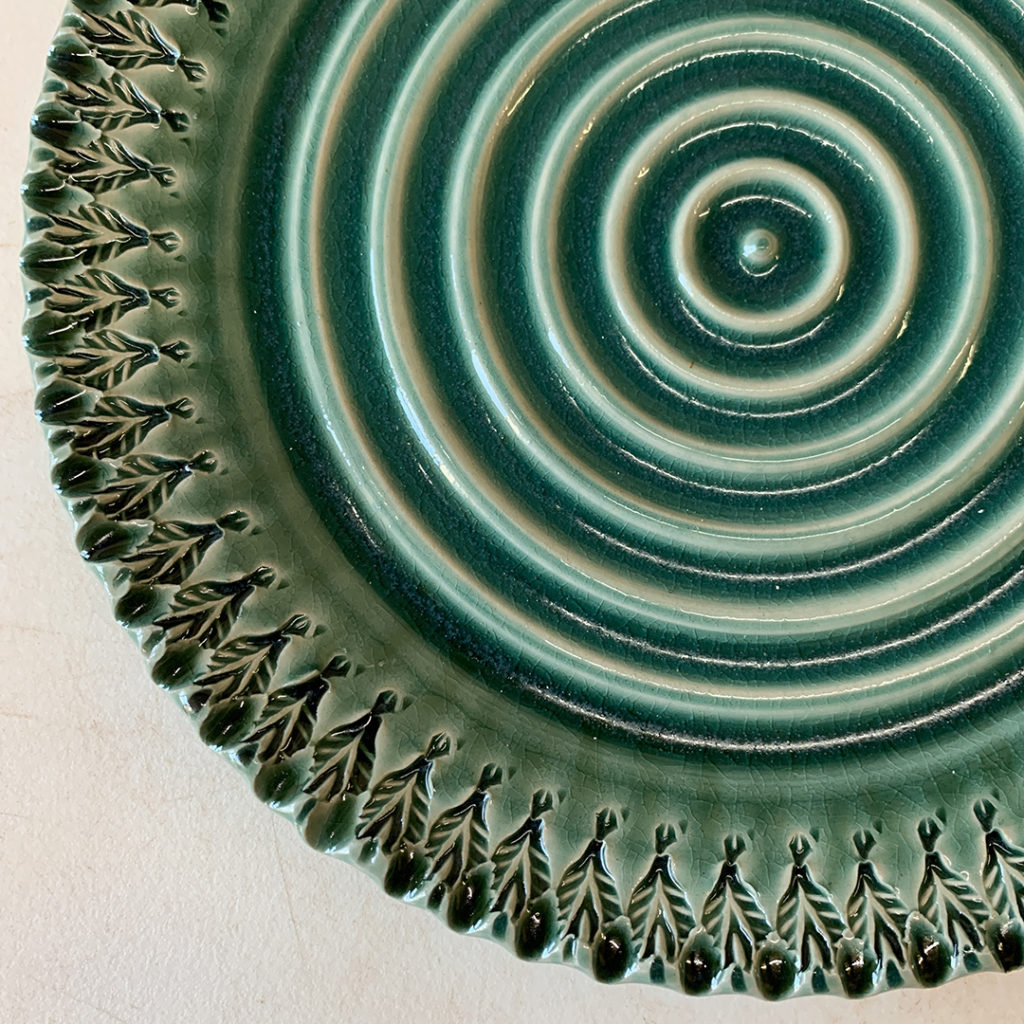
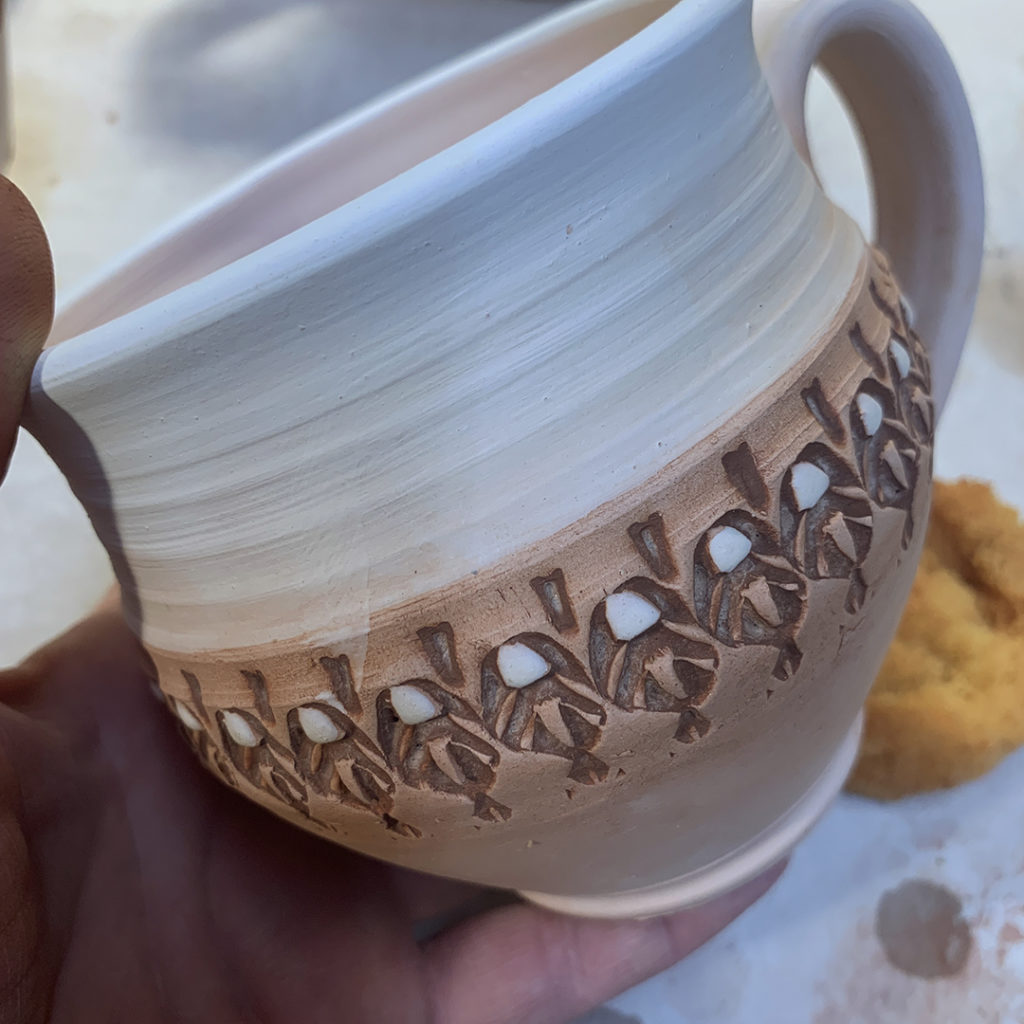
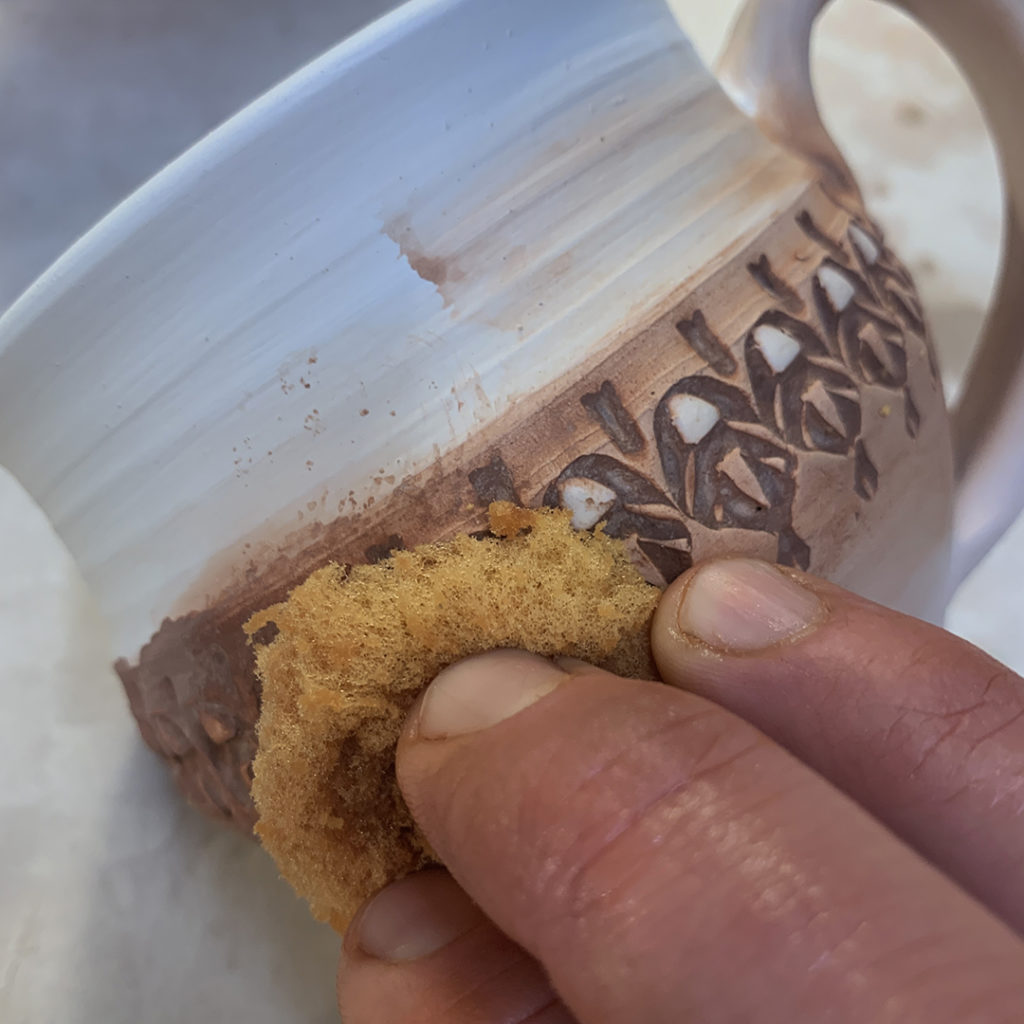
Starting the mug glazing process… putting some tenmoku glaze into the stamped details. When they dry, I’m going to wipe the high surfaces so that the glaze stays inlaid in the indentations.

Gary Jackson: Fire When Ready Pottery
A Chicago potter’s somewhat slanted view of clay & play |
Starting the mug glazing process… putting some tenmoku glaze into the stamped details. When they dry, I’m going to wipe the high surfaces so that the glaze stays inlaid in the indentations.
A splash of color. A smudge of fun.
zColorful glazes on terra cotta… all part of SUMMER CAMP FUN!!!
Okay, so I’ve done a little touching-up… no more drips running over the edge, and a clean-wiped line around the rims. Next up… wadding and perhaps a touch of colored glazes here & there for a fun pop of color?!!! Who knows? … so many mugs, so many options!
HAPPY MUGSHOT MONDAY! And I’m pretty excited this Monday to share these two mugs. Part of my never-ending quest to find a few good glaze recipes that work well at both cone six oxidation & cone ten reduction. Looks like this one works… a bright lime green at cone 6, and a pretty grass green at cone 10. I would have a lot fewer buckets in my studio if I could get them all to do double-duty like this!!!
Any glaze recipe recommendations?
A little fun with glaze… before & after! Loving how the green glaze pools & breaks really well on the hand-stamped texture & concentric circles!
Wiped clean with the tenmoku glaze staying inside the stamped impressions. Next up… liner glazing…
After adding a layer of tenmoku glaze over & into the stamped textures, I gently wipe away the “top layer” to reveal the glaze inlaid in the impressions. It also really helps “pop” the dab of colored flashing slip in the middle of each stamp… details matter!
Getting ready for tonight’s SODA-FIRING WORKSHOP at Lillstreet. My students will be bringing their own bisque to glaze, wad & load tonight. I am glazing up some of my own work as “kiln filler” in case they don’t have enough work to fill the kiln. It’s always tough to estimate the amount of work going into the kiln load. Some of my workshop students have never soda-fired or even been to Lillstreet before… so it will be an interesting mix tonight, and I just want to have a back-up plan ready in case they don’t bring enough work!!!
And the quest continues… my friend & master tile-maker Mike Skiersch fired some more cone six test tiles in his kiln for me. There were a few “duds”… but for the most part VERY encouraged by some of these new colors & combinations. I’m always looking for good glazes that pool & break in all the right places to accentuate the stamped patterns… and not cover them up!!! I think we’re onto something here…
So excited to get some good glaze results back! I’ve been working on making a few more Cone 6 glazes for my studio. I’m still working on “refining” the recipes a bit… but I wanted to see what they might do when fired to a higher temperature. I’ve always thought it would be great to have a collection of glazes hat work well in Cone 6 oxidation, but ALSO work equally well at the higher Cone 10 reduction temperature!
I’m pretty excited by the look of these… most of them are showing some definite promise.
On each of the test tiles, they have a single dip of glaze over all… followed by a second dip of glaze only in the upper right corner on an angle. Thus the drippy run on the right side on some of them.
Here’s what my new LIME glaze looks like in Cone 6 oxidation firing… followed by the same glaze in a Cone 10 reduction firing on different clay bodies.
Here’s what my MALACHITE GREEN glaze looks like in Cone 6 oxidation firing… followed by the same glaze in a Cone 10 reduction firing on different clay bodies.
Here’s what my CELADON GREEN glaze looks like in Cone 6 oxidation firing… followed by the same glaze in a Cone 10 reduction firing on different clay bodies.
Gary Jackson: Fire When Ready Pottery
Lillstreet Studios ∙ 4401 North Ravenswood, Chicago, Illinois 60640 ∙ 773-307-8664 gary@firewhenreadypottery.com |