So you know when you have a partial bag of “this” clay, and a partial bag of “that” clay. Some of it is a bit too dry. Some of it is a bit too wet. None of it is ready to go. Not quite enough of any one of them to make much of anything. So why not combine them???
As long as they all have the same firing temperature, it’s pretty easy. You might think it takes a lot of wedging. But not really… it’s easier to let gravity do the work for you! It’s a great little trick I learned from Emily Murphy, a former studio neighbor. And I’m going to share it with you!
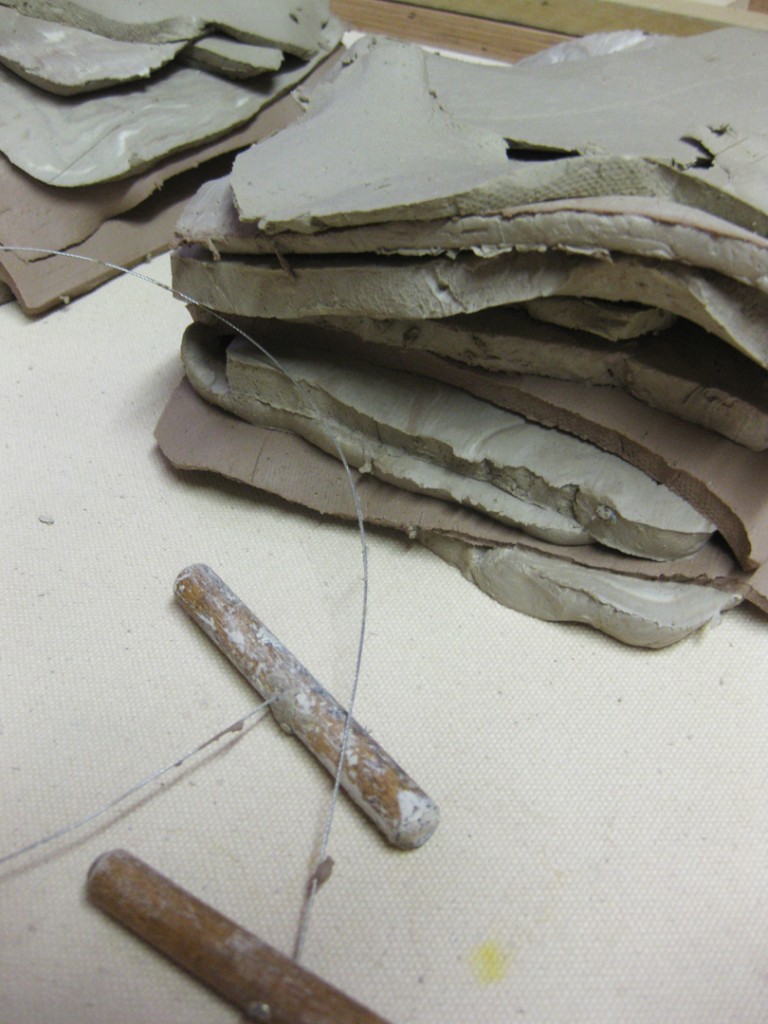
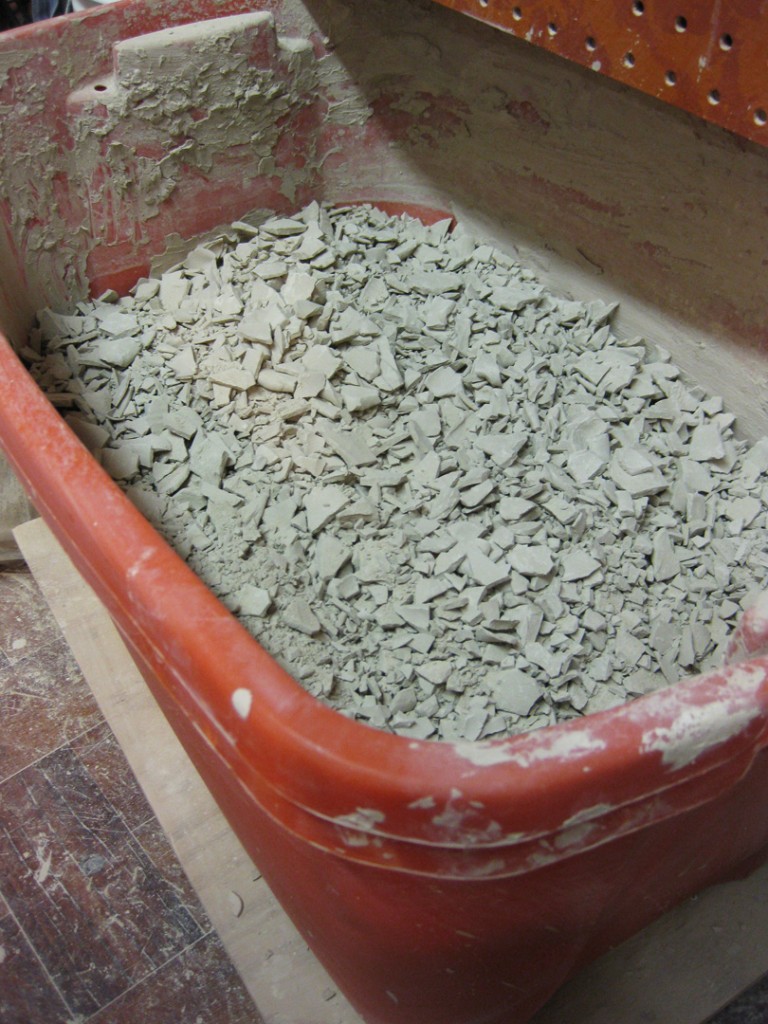
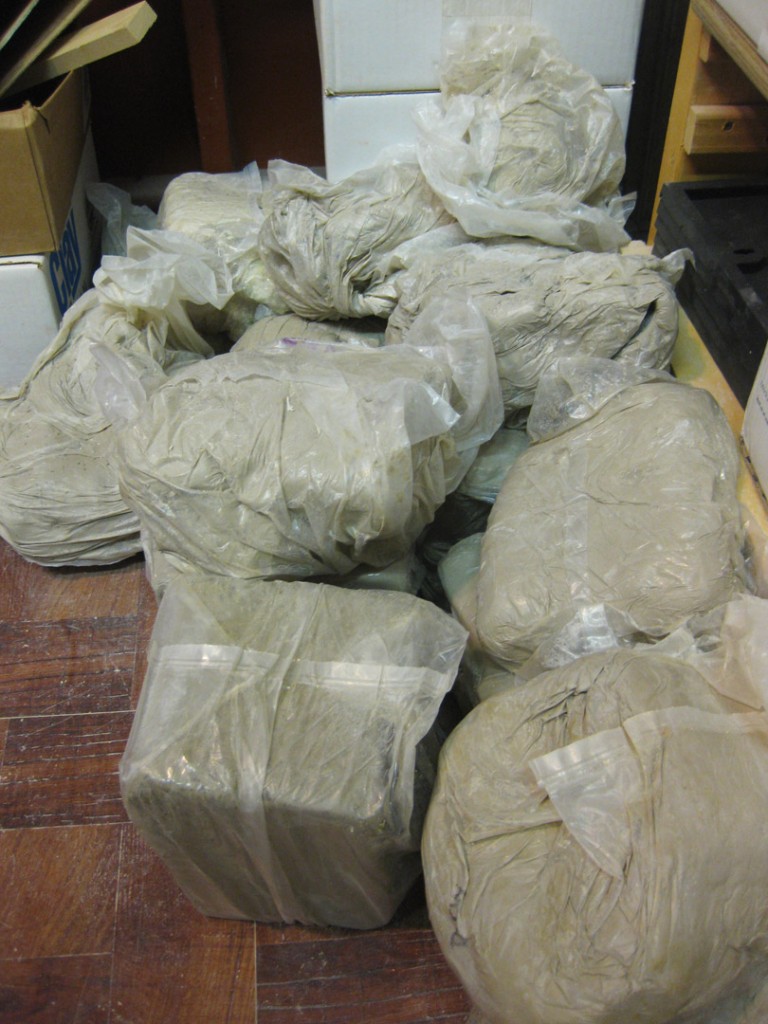
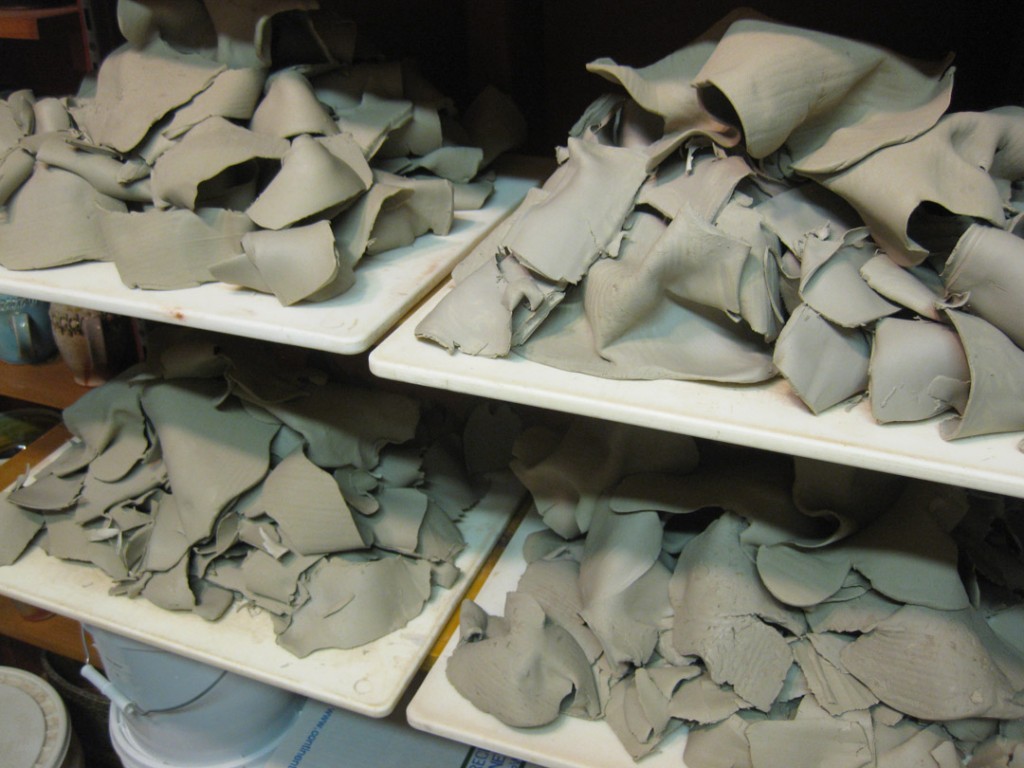
So I started with three different kinds of clay. Some fairly dry soda clay (top), some squishy, unwedged reclaim mix (middle) and some stiff stoneware with iron (bottom). I start by cutting thin slices of each clay and making new stacks. I try my best to keep the layers even, and restack them by alternating the clay bodies within each stack.
As you can see, each pile is several layers of each different kind of clay.
Some soda. Some reclaim. Some stoneware with iron. Sliced. Layered. Stacked.
So here’s the stack of clay before I start combining the layers… nothing fancy.
Start by picking up the pile and slamming it down on the wedging table. Let gravity do most of the work. And I find it best to slam it down on the corner of my wedging table directly over the corner leg. Seems sturdier… and doesn’t make nearly as much noise!!!
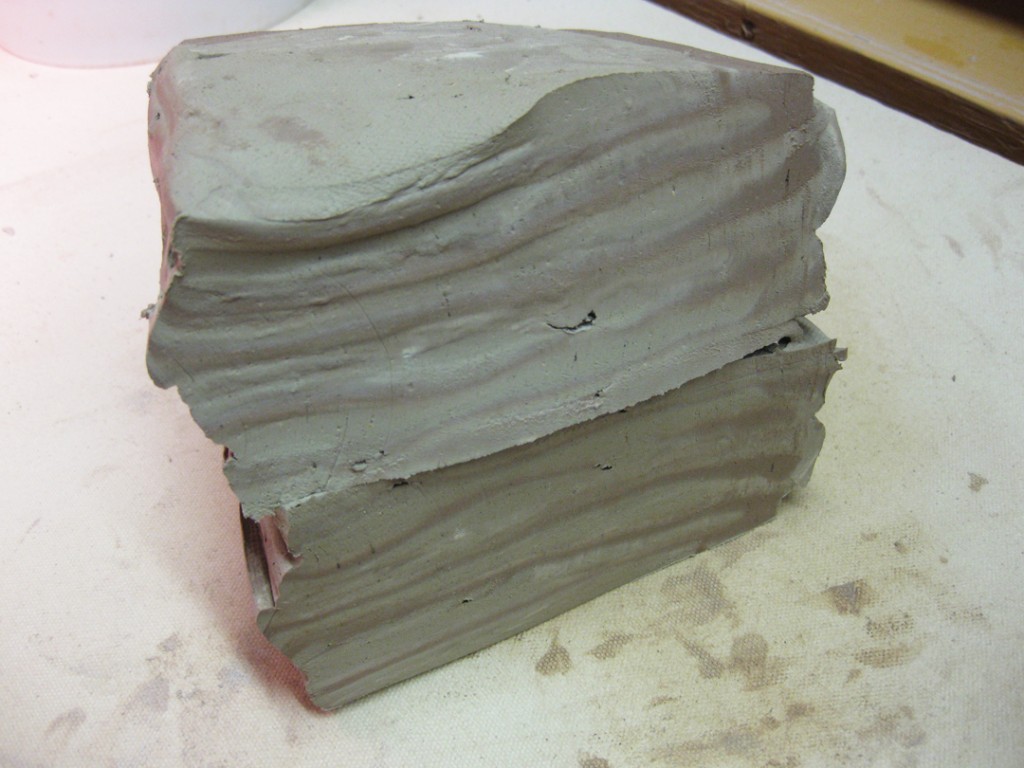
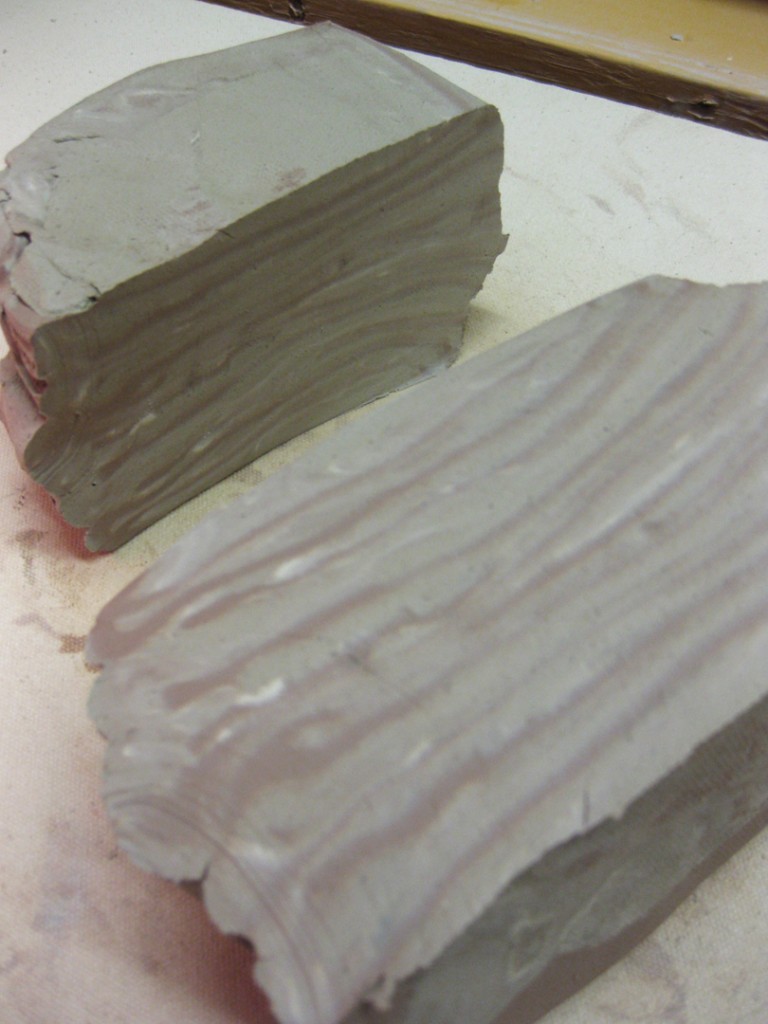
After a quick slam, cut the clay in half. When you look at it, you can see all of the layers of different clays. I don’t know for sure how many there were… so let’s just say 12 layers for demonstration purposes!
So, after slicing the stack in half, put one piece on top of the other…
and now you’ll have 24 layers in your stack.
Another quick pounding on the table and it squishes together and flattens out a bit.
Cut it in half again, and you can see how your layers have doubled and squished thinner.
Stack one half on top of the other, and suddenly you have 48 layers!
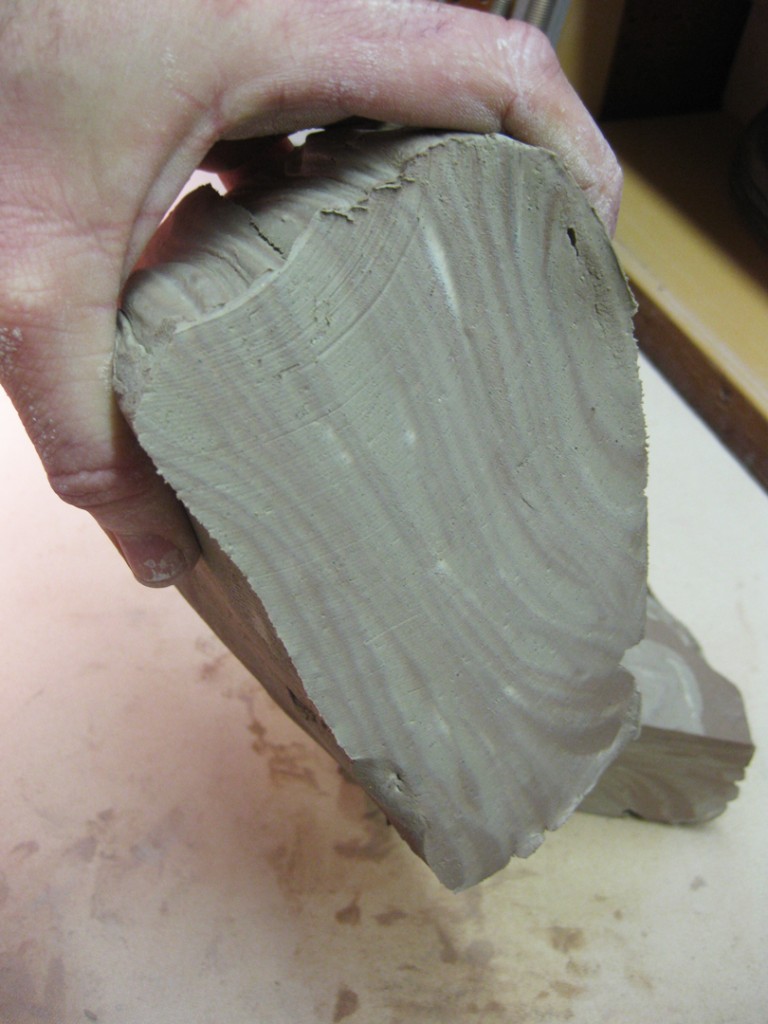
Pound it again, cut in half again… and you’ll see how the layers are getting thinner & thinner.
Just from slicing and dropping it on the table! No power wedging. Very little physical labor.
Stack it back up… slam it down and now you’re up to 96 layers!
Pretty amazing how the number of layers multiplies so quickly… more & more, thinner & thinner!
Slice again. Stack again. Slam again. 192 layers!
Slice again. Stack again. Slam again. 384 layers!
Slice again. Stack again. Slam again. 768 layers!
Slice again. Stack again. Slam again. 1,536 layers!… and almost blended.
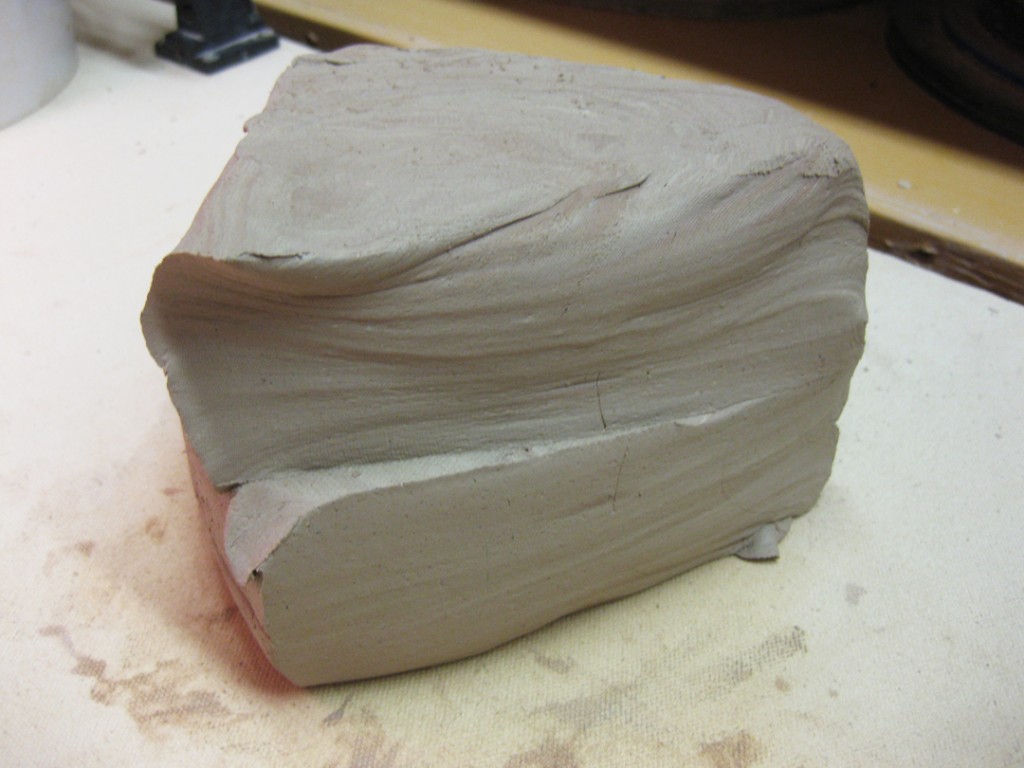
One last time… Slice again. Stack again. Slam again. 3,072 layers!
And it’s looking pretty well homogenized after some simple slicing & slamming.
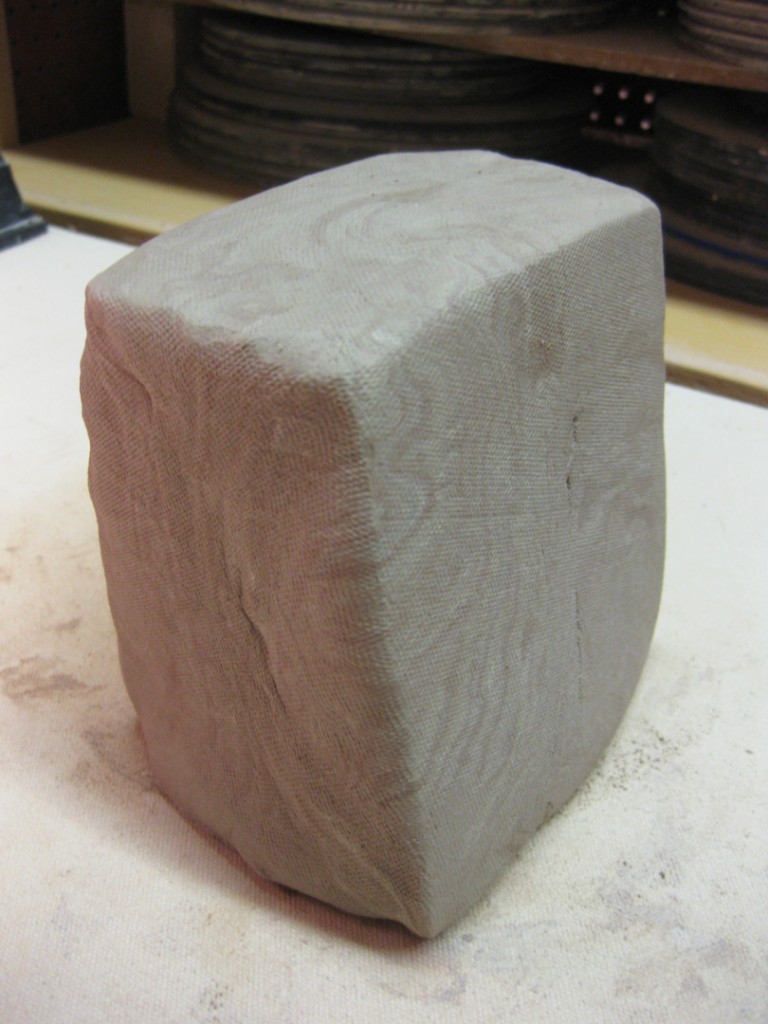
So then I just pounded up the pile a bit and I now have a solid block of clay. The three different clay bodies are well integrated. And the difference in moisture levels has been taken care of. Ready to go. Much better to use.
I tackled all seven of the layered stacks I made from the three different clay bags.
Slice. Stack. Slam. Repeat… Slice. Stack. Slam. Repeat… Slice. Stack. Slam. Repeat…
And now I’ve got a tower of clay ready to go. Sure, the clay still needs some final wedging just before throwing. And now I’ve got to make something with this tower of fun!
So I was right… and my reclaim clay was already dry enough to be “processed” back into clay. So after a lot of slicing, layering, pounding, wedging, layering, slicing, pounding, squishing, layering, etc.it felt more like clay… and more homogenized than it was before. My freshly turned-out clay has a lot of different “pockets” of different clay bodies. And I would rather have it all the same. So it takes some work to blend it all back together! Some extra “workout” to slam it all back together. All in the name of 207 pounds of FREE CLAY!!!
So now it’s all bagged up and resting. In a couple more days, I might find the energy to finish wedging all of it. Typically I take my reclaim clay and layer it together with some new clay. So that the clay I actually use is about half reclaim & half new. So now I can’t wait to get started digging into my FREE CLAY to make some new work!!!
Happy New Year… Happy New Clay!!!
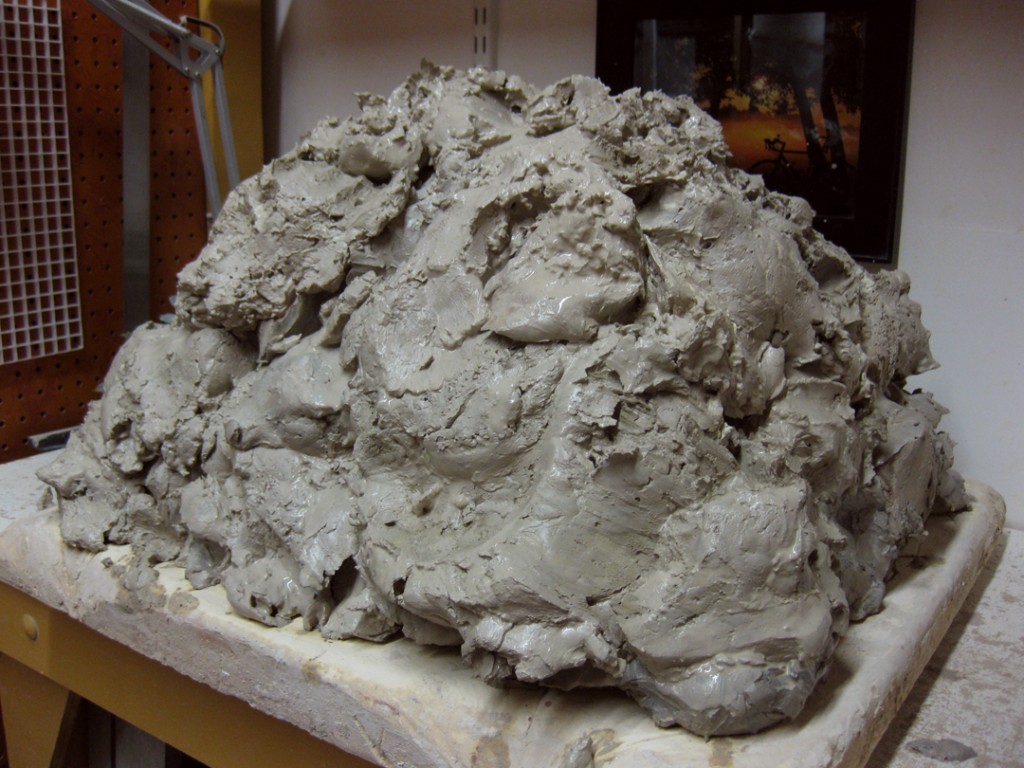
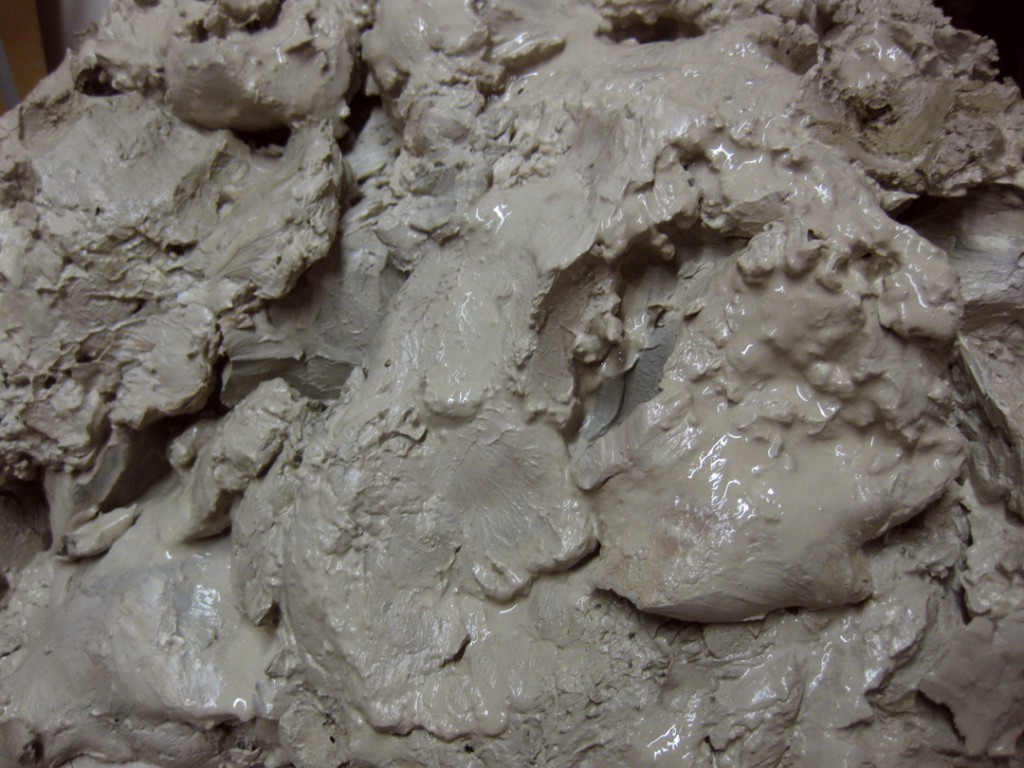
Once again, I’m kicking off the New Year by turning out a new batch of reclaim clay in my studio. It’s a pretty big pile this time. Lots of trimmings & scraps all re-hydrated and ready to go. Unfortunately, I think I may have let it go a bit too long over the holiday break… and the pile is bit drier “stiffer” than I’m accustomed to. I actually added some more water to it and stirred it up BEFORE I turned it out onto my plaster bat to get it to dry again. Kind of counter-intuitive. And I’m a bit concerned that the “wedging it back into clay” process may be a bit tougher than usual. I usually need to let it sit for a couple days to stiffen up… but this time I might be wedging tomorrow!!!
And every time I do this, it reminds me of “The Blob” from my childhood. Very few people seem to remember this, but it was really cool. “The Blob” was basically a pile of clay on a pedestal that “came to life” as an artist did some quick cutting & sculpting to give it a personality. To the best of my recollection, it was from the kid’s show “BJ and Dirty Dragon.”
This afternoon I made a quick trip to Chicago Ceramic Supply.
So I now have enough terra cotta & clear glaze to start some Halloween production!
Tis’ the season to start carving Jack-O-Lanterns, right?!
Especially if I hope to have some ready for “Art In The Barn.”
“Art In The Barn” – Saturday, September 28th & Sunday, September 29th, 2013.
On the grounds and in the barns surrounding Advocate Good Shepherd Hospital
in Barrington, Illinois. I will once again be in my double booth in the Lower Barn.
More details to come when it gets a bit closer.
Click here for more information about Chicago Ceramic Supply.
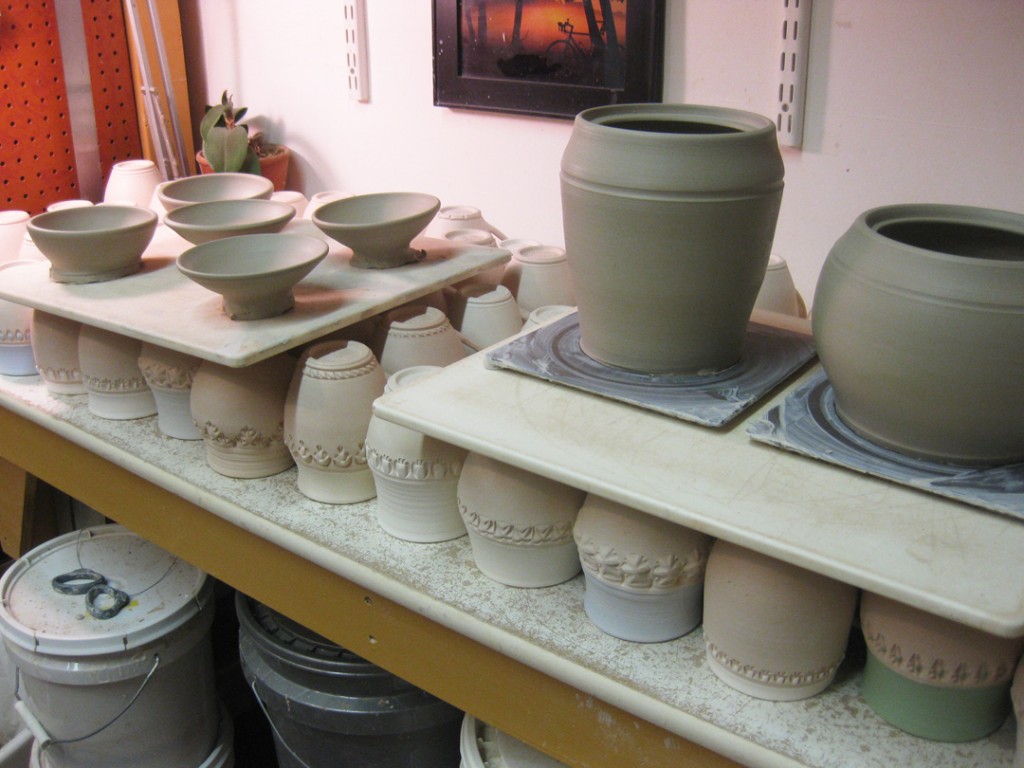
So I unloaded my bisque kiln… and it covered most of my studio work surfaces.
Problem being that I’m still trying to finish some more pieces for another bisque kiln tomorrow. And I am quickly running out of room to work. So… necessity was the mother of invention… and now I’m stacking my work in progress! Yes, it’s come to this. Yikes!
Last night I continued my reclaiming of the “free” clay I got from Katie B.
The clay I had sliced thin was all dry, so I broke it up into small pieces and added it to my reclaim bucket. I then added enough water to cover the dried clay. Bubbles. Gurgling. And a slight hissing sound as the water seeped into the dry clay.
So now it sits… submerged & slaking. I’ll give it a few weeks, stir it up once & awhile, and when it’s ready… turn it back into “real” clay!!!
After camp, I went up to my studio to find a “surprise” pile of old clay to be reclaimed.
Katie Biderbost, one of my longtime pottery friends, gave me all of her “dead” bags of clay. She knows how much I love reclaiming to get free clay. So I sliced up several of the bags to help them dry out completely.
Tomorrow when they’re dry, I’ll crumble them up to add them into my reclaim bucket to begin the slaking process. Thank you Katie B. for the free clay!!!


