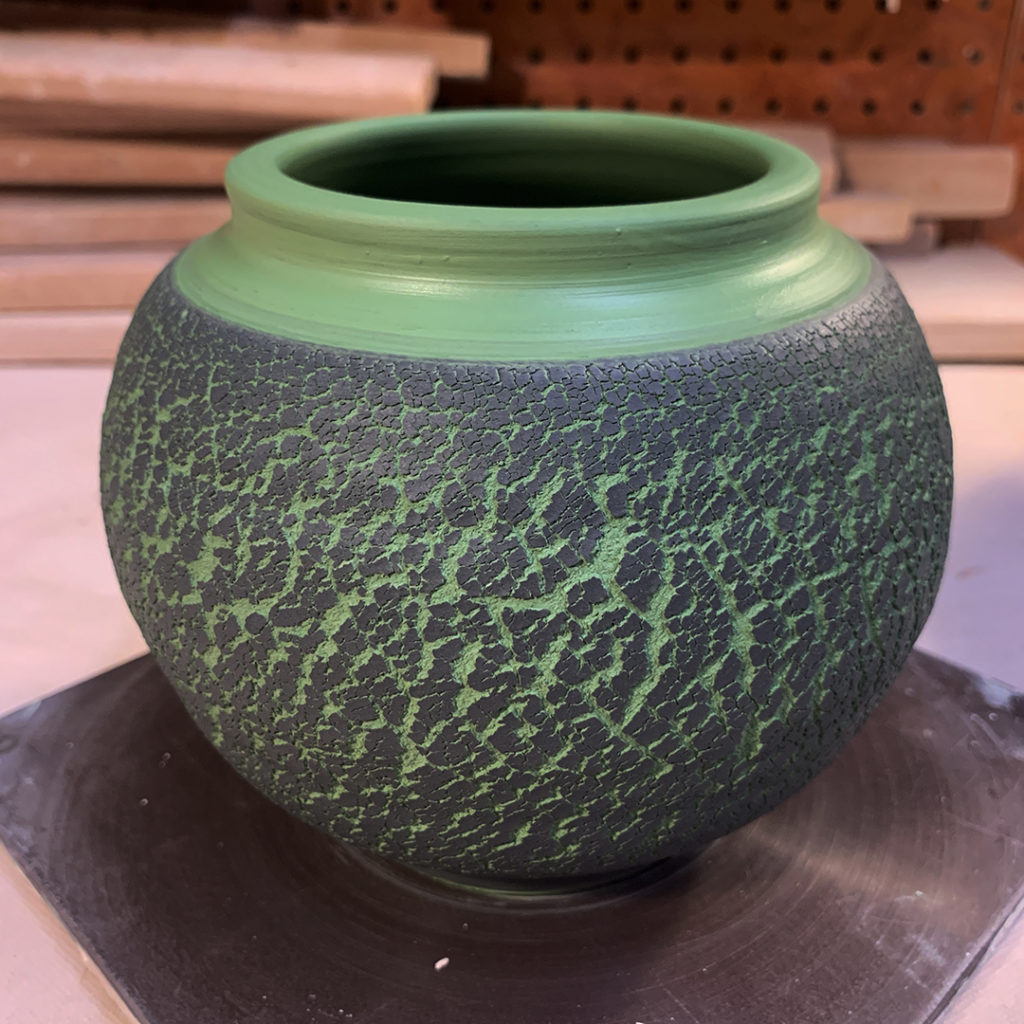
So we did the same crackled slip demo in class… this time using the same black slip with sodium silicate over my newly green-colored porcelain. Not quite sure how I feel about this one. Kinda channeling Elphaba or some swamp creature… but who knows… we might still learn to love this, right?!
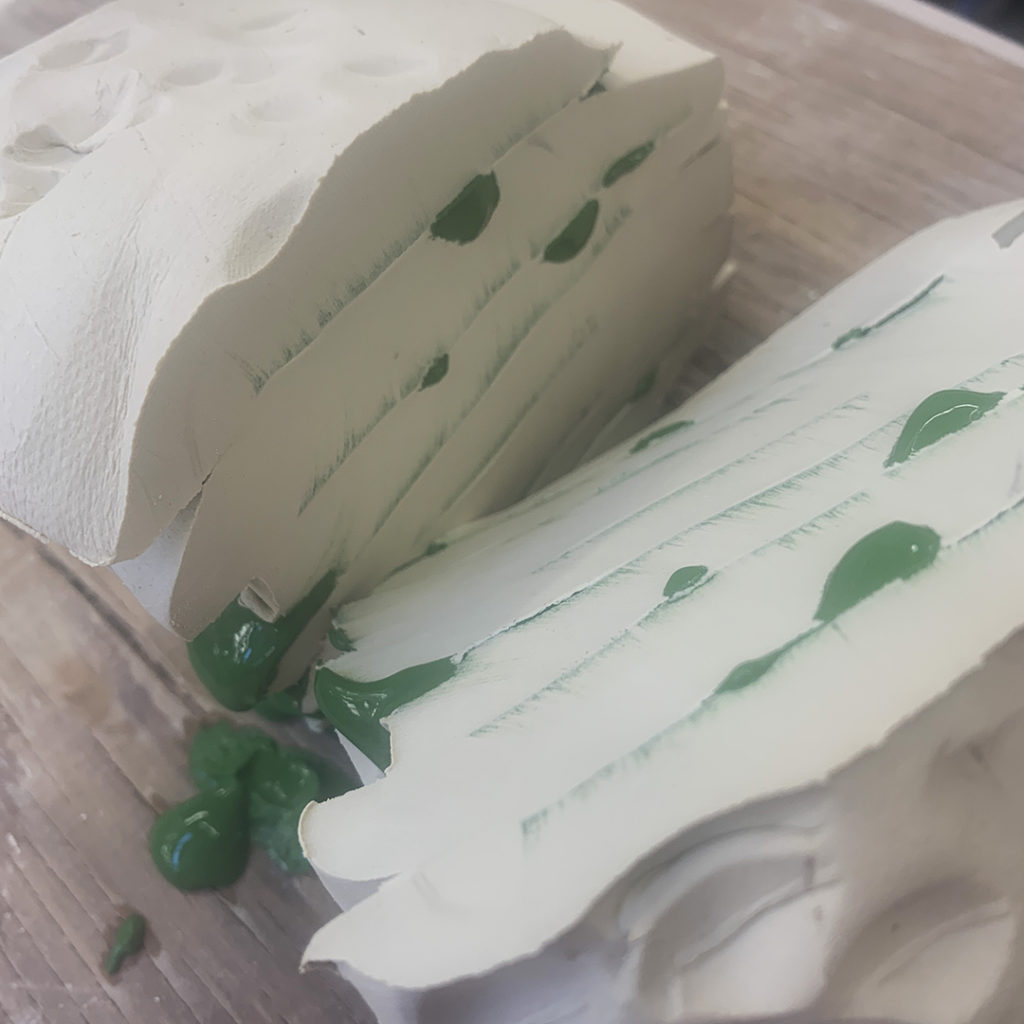
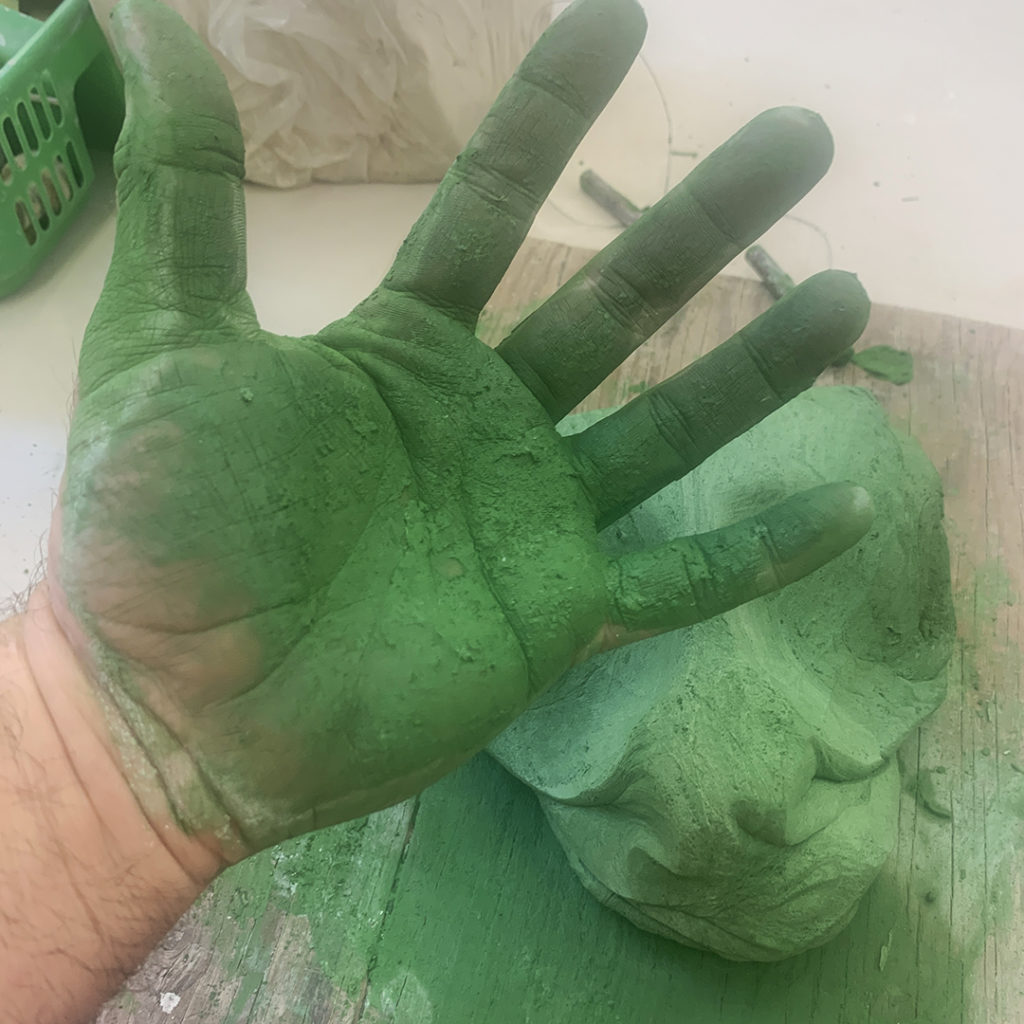
After playing with black slip on white porcelain, we started wondering how we could add more color to it. So we decided to try using some colored clay under the crackled black slip!!! And I started making a batch of GREEN PORCELAIN!!! Not really sure if the green mason stain would stain my hands or not… but I was willing to take one for the team!!!
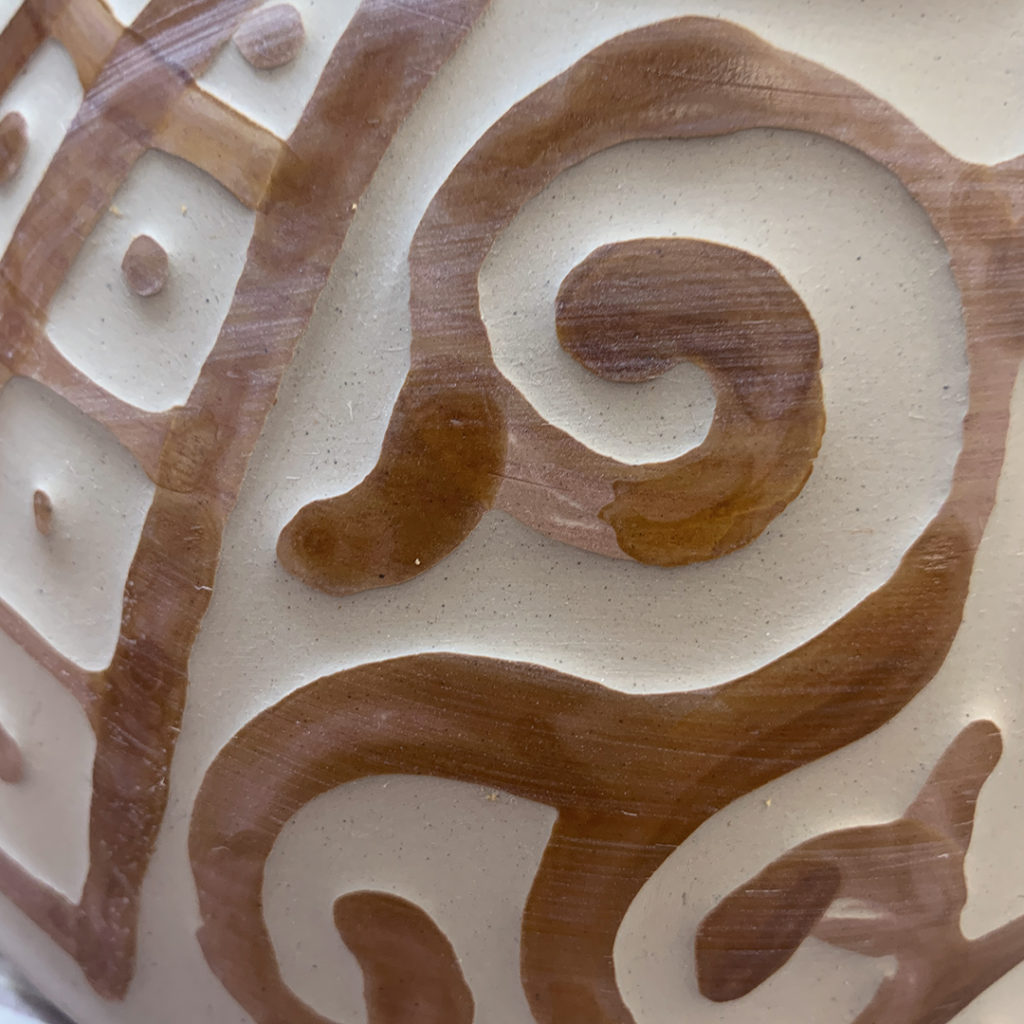
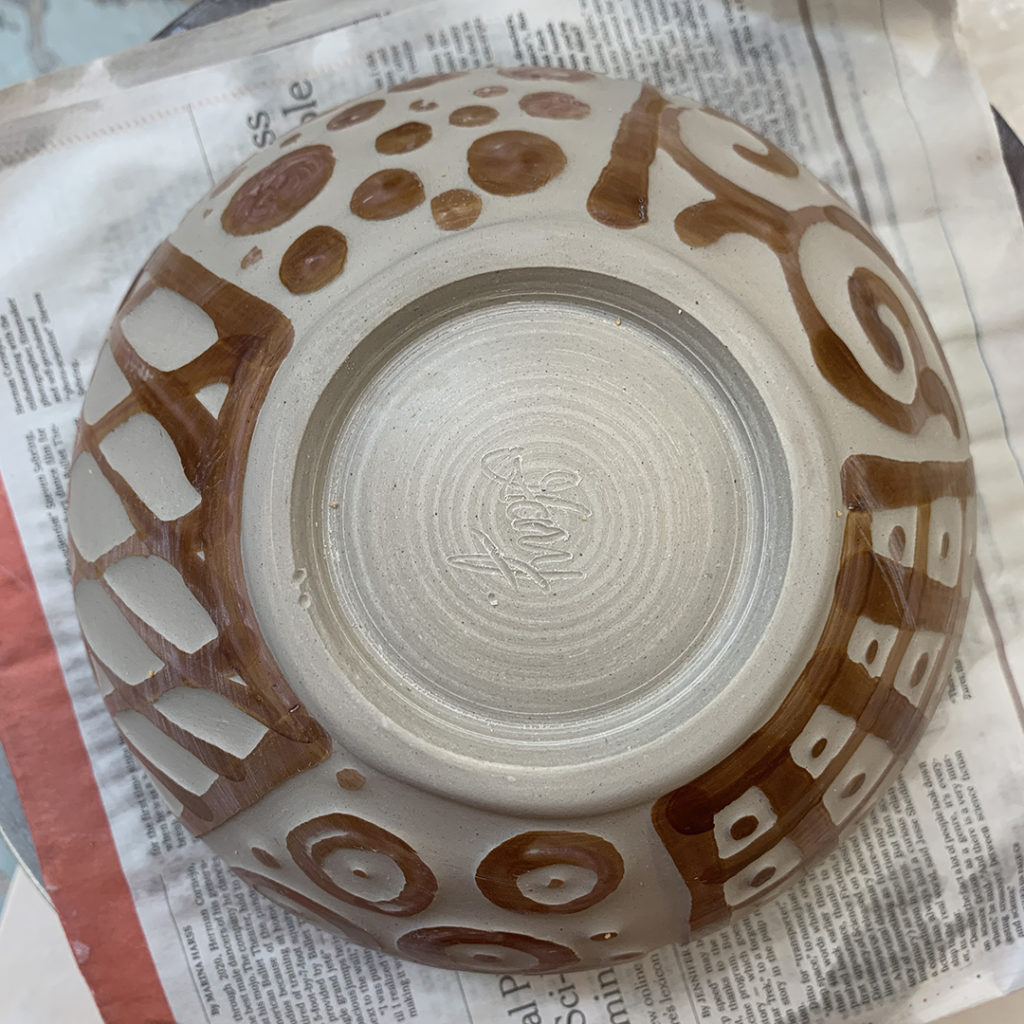
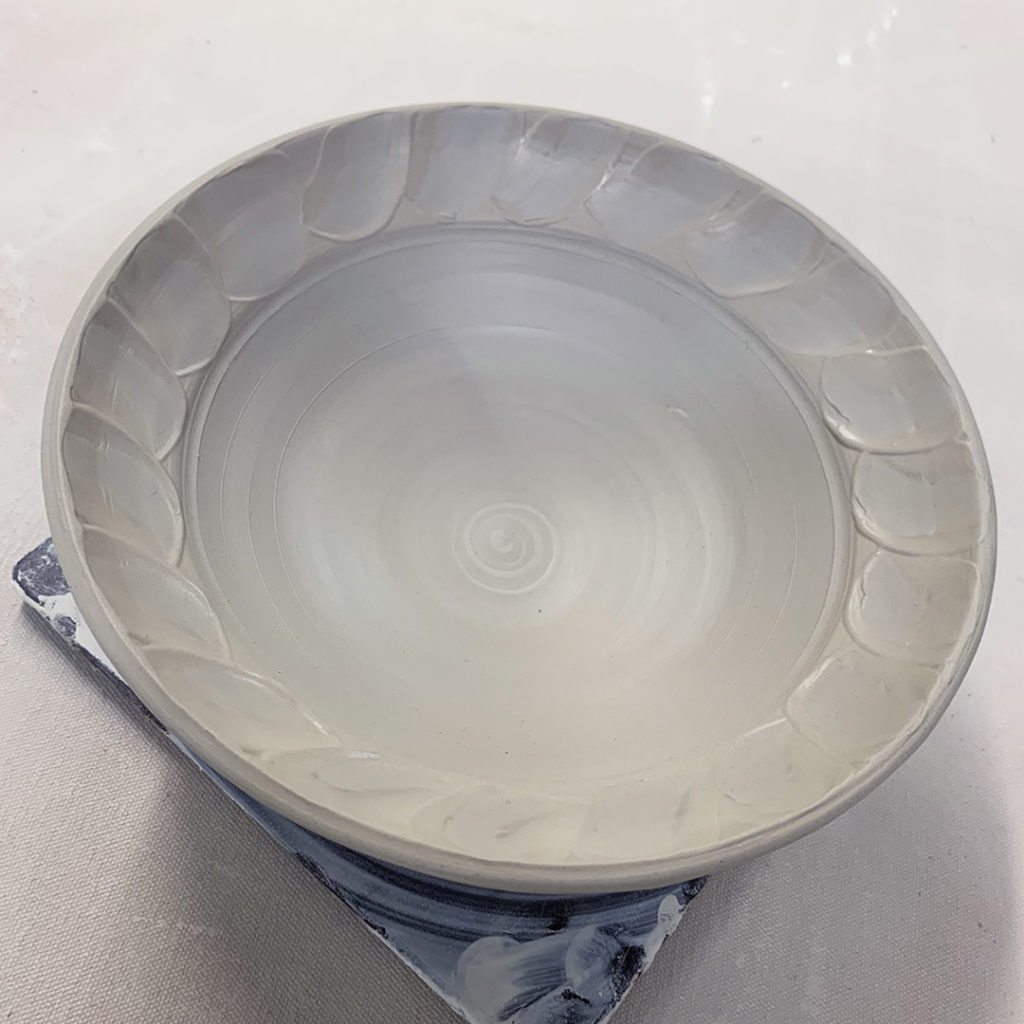
Here’s my class demo bowl after wiping away the background from the shellac pattern. If you look close, you can see the raised edges along the sides of the pattern. When the piece gets bisque fired, the shellac will burn away and “reveal” the raised pattern that has a orange flashing slip top surface. My plan is to do a tenmoku liner glaze on the inside of the bowl and then soda-fire it “raw” on the outside to see what happens. I’m kinda excited… you know I love a good challenge… and it’s always fun to see where it takes us!
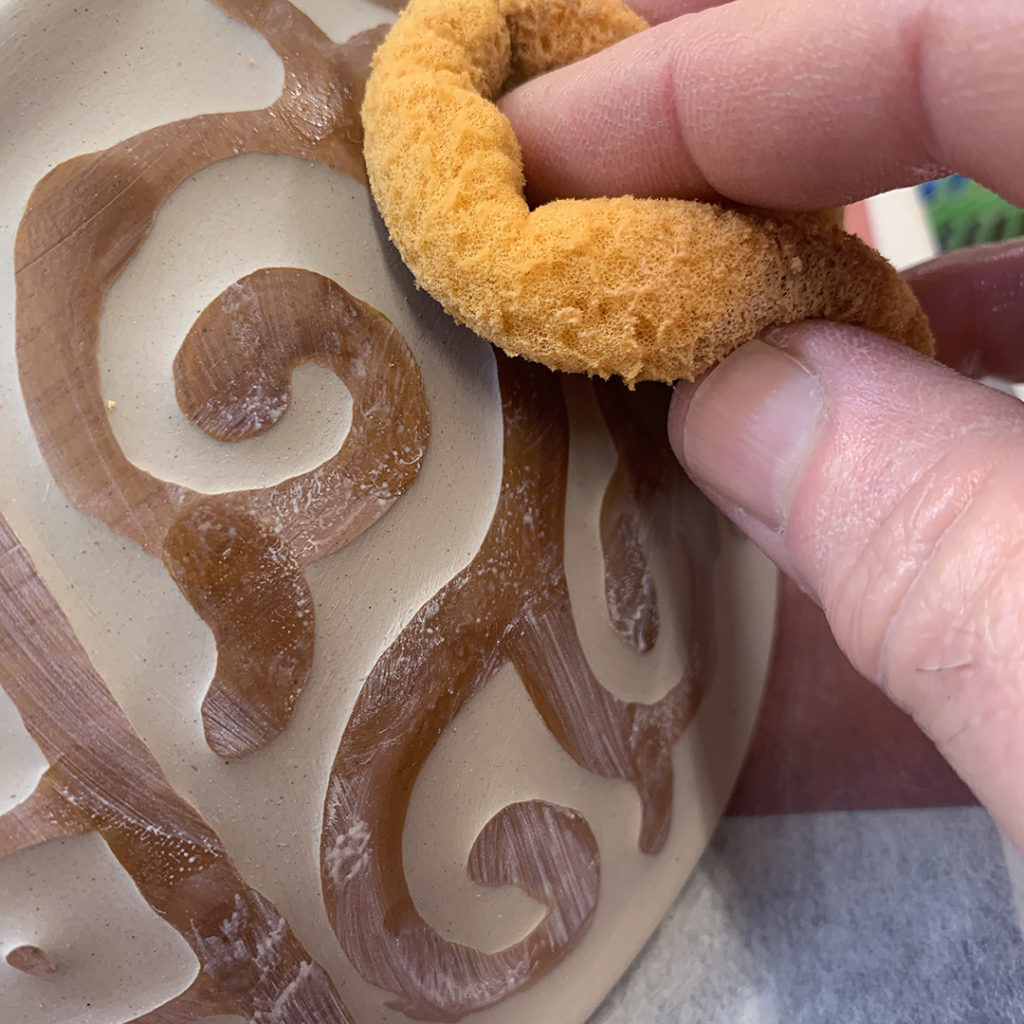
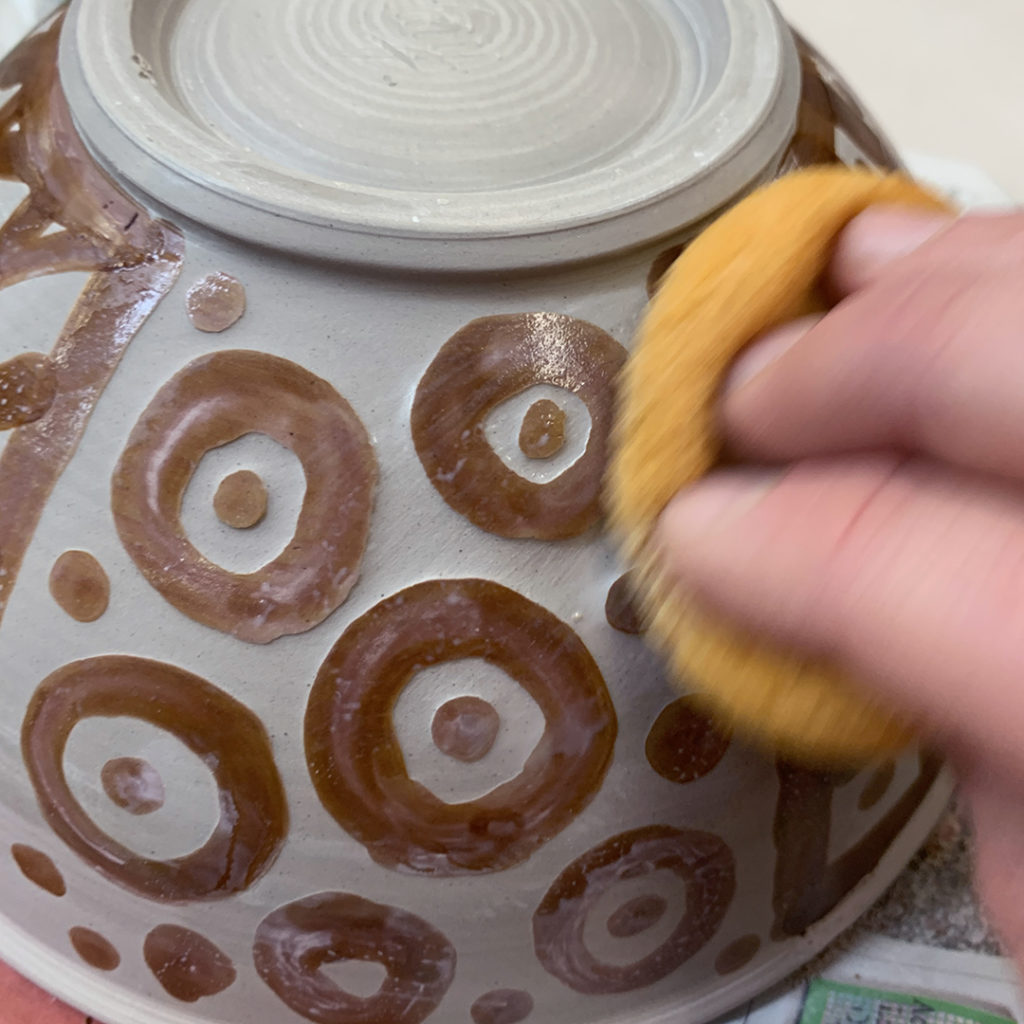
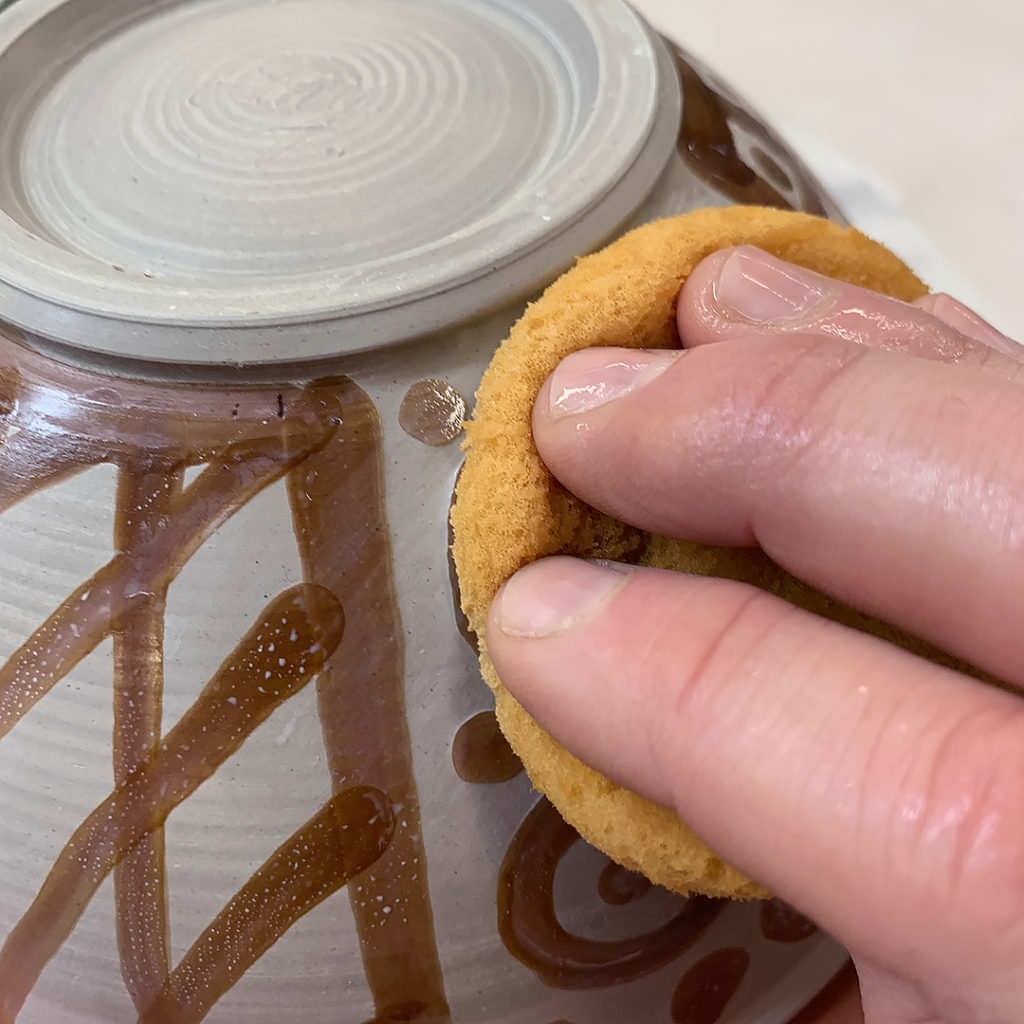
After the shellac pattern had dried, I started wiping away the background during my Monday night class with water and a sponge. The basic idea is that you wipe away the exterior surface of all the areas that are not protected by the shellac. As you wipe away, the unprotected surface goes down leaving raised surfaces under the shellac. You can wipe as much away as you want… but be careful as the shellac will start to wipe away eventually too!
And mental note to self… if you’re going to do a colored slip under the shellac like I did, it would be a lot easier to see what’s happening if the slip was a better color contrast to the clay body. The orange flashing slip I used is very similar to the B-clay color… so it was tough to see sometimes if I had wiped it all away. The color you see here is amber shellac. My fear is that there might be areas where the background wasn’t wiped away enough?! We’ll find out after bisque firing… but by then it’s too late to fix. Fingers crossed.
When the shellac patterns were dry, I started to wipe away the “background” clay with a damp sponge. The idea is to remove layers of the background so that the shellac patterns remain intact and “higher” than the rest of the bowl. Luckily I used B-Clay, as wiping away stoneware would reveal a rough & groggy surface.
So I wiped… and wiped… and learned a few things. One, it’s hard to know when to stop. Two, if you wipe too hard or too long, some of the shellac wipes away too… so my thick shellac lines started to get thinner in some sections. Of course, I struggled with that for awhile… but I think I’m okay with it now.
When this bowl gets bisque fired, the shellac will burn away and then I’ll finish it with a nice glaze to help accentuate the edges & difference in surface heights. Already planning the next water etching project… let the class demo “challenge” continue!!!
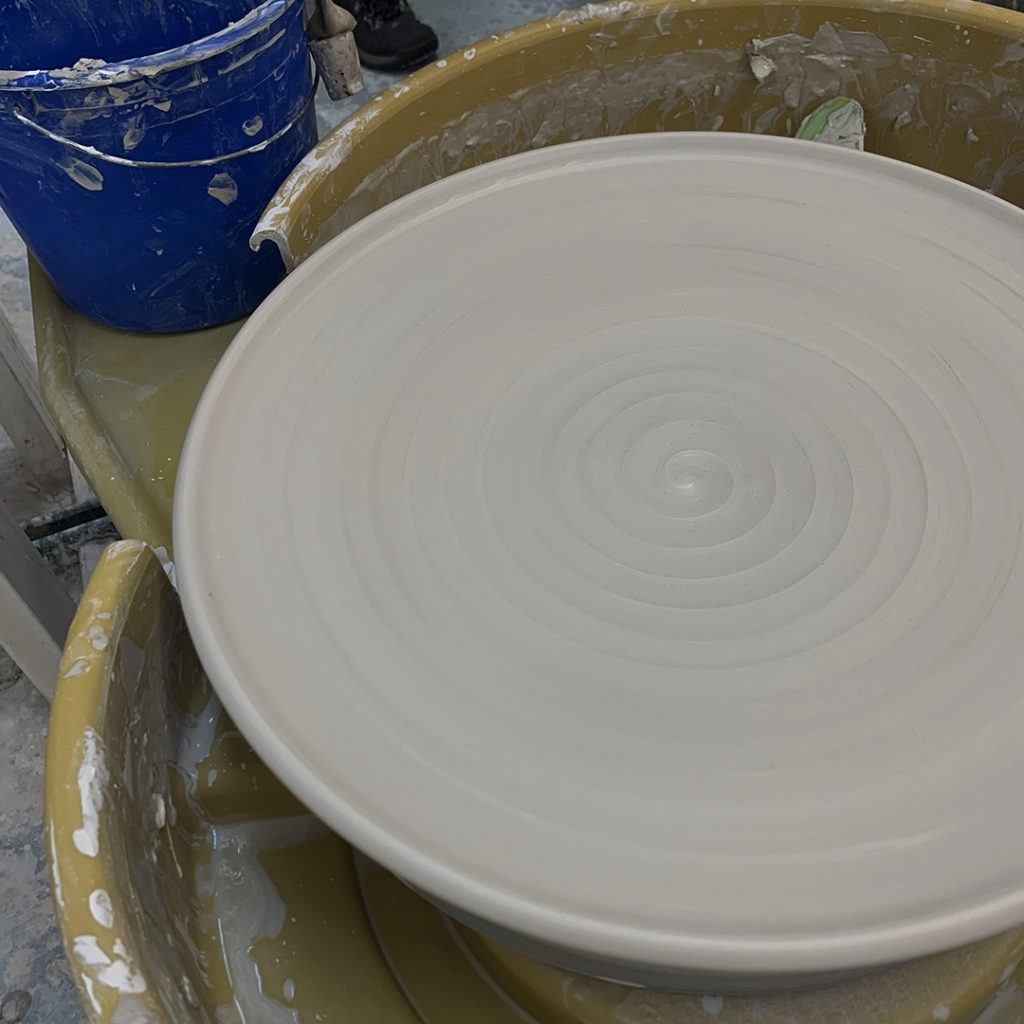
For today’s class demo, we tackled throwing larger platters! Of course I showed my students my “typical” platter with a flat flared-out flange area which ideal for stamping!!!
But then I was “challenged” to do another one with a smoother curve and no delineation between food surface and… I don’t know… the curved “rim” area? The second big challenge might be “where & how” do I stamp this new shape??? Can’t wait to find out…
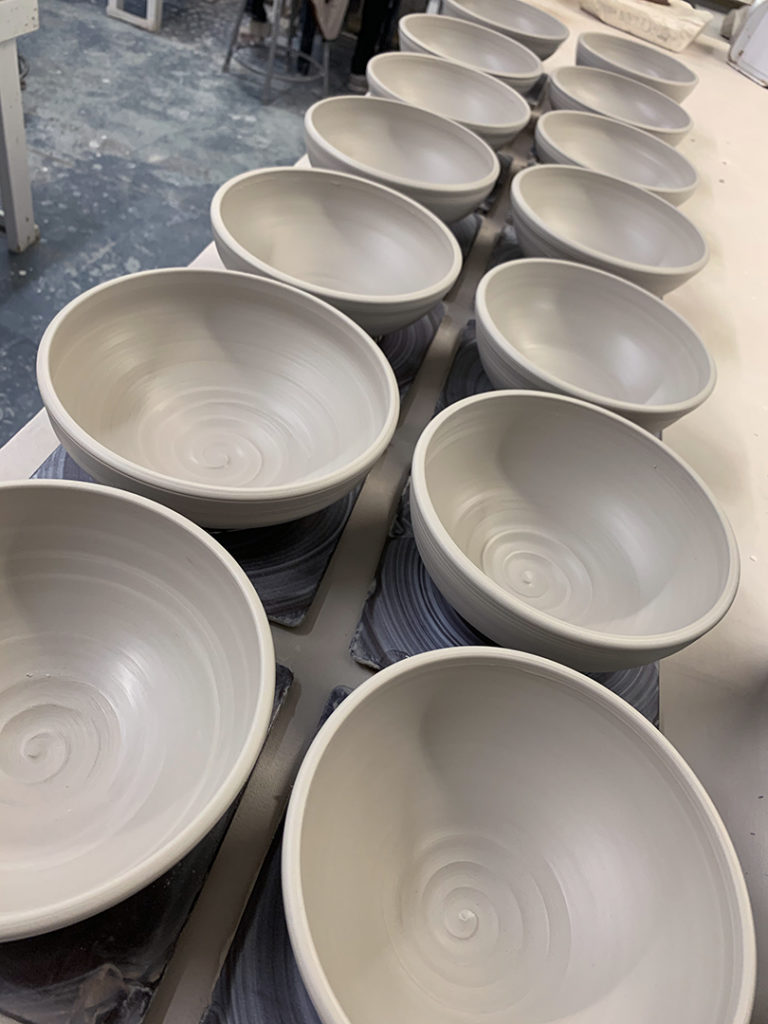
Last night’s class demo how to throw basic bowls. And that’s basic bowls on purpose… and NOT cylinders gone bad. I like to teach my Beginner’s how to throw a bowl from the start with a nice smooth & even curve inside. No flat bottoms. No beginner’s ledge. No divots. So I do a demo for the with one bowl – and then set them off to work on their own bowls!
While they’re throwing their bowls, I continue throwing more basic bowls. After I finish making them all, we re-group for Part Two of the class demo. For this part I like to show them some quick & easy ways to alter & decorate their bowls. I tell them that “The Wheel” pretty much did all of the work making a round bowl. Now it’s up to THEM to do something to it to make it their own! And encourage playing with their clay. To try something new. And if it doesn’t work… no biggie. Just squish it up, wedge it and throw it again!
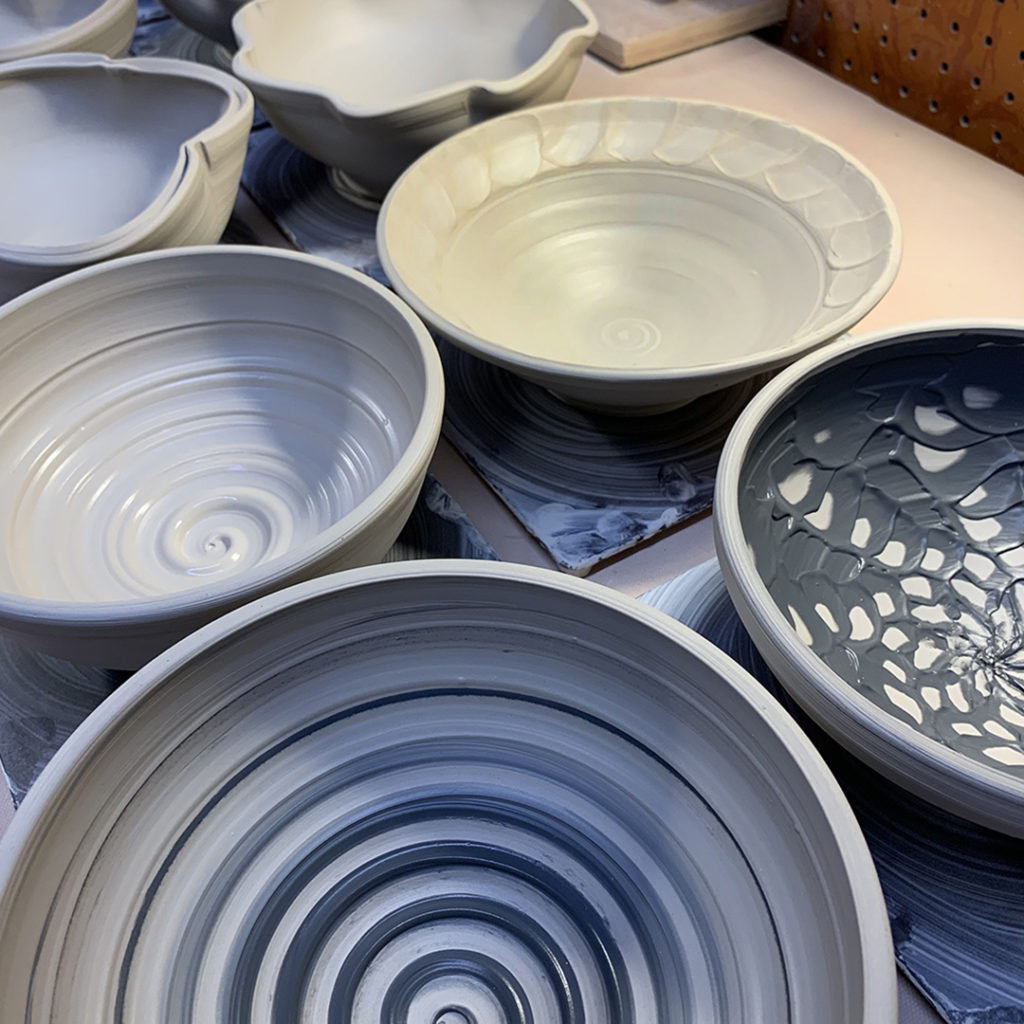
So here are my bowl demos from last night… each with some simple decorative alterations!
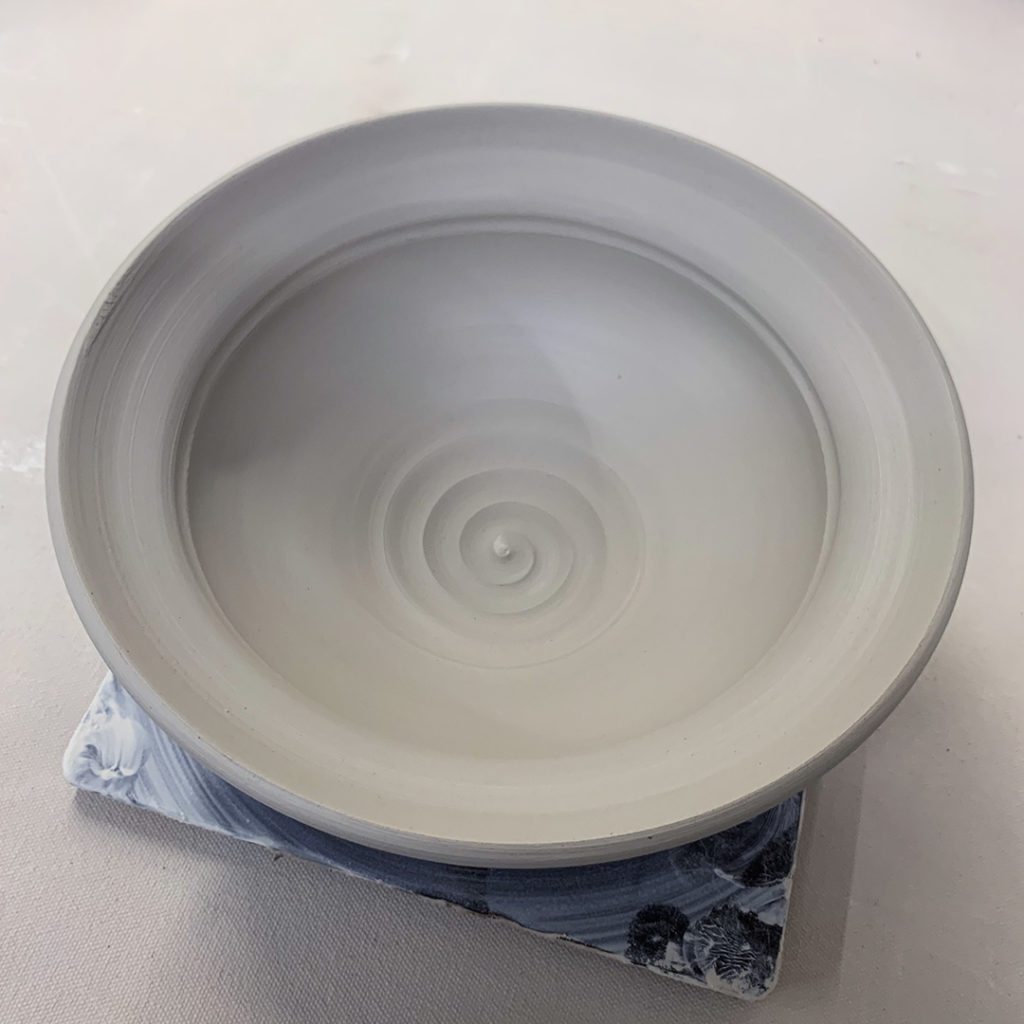
Bowl #1 – Two simple fluted edges
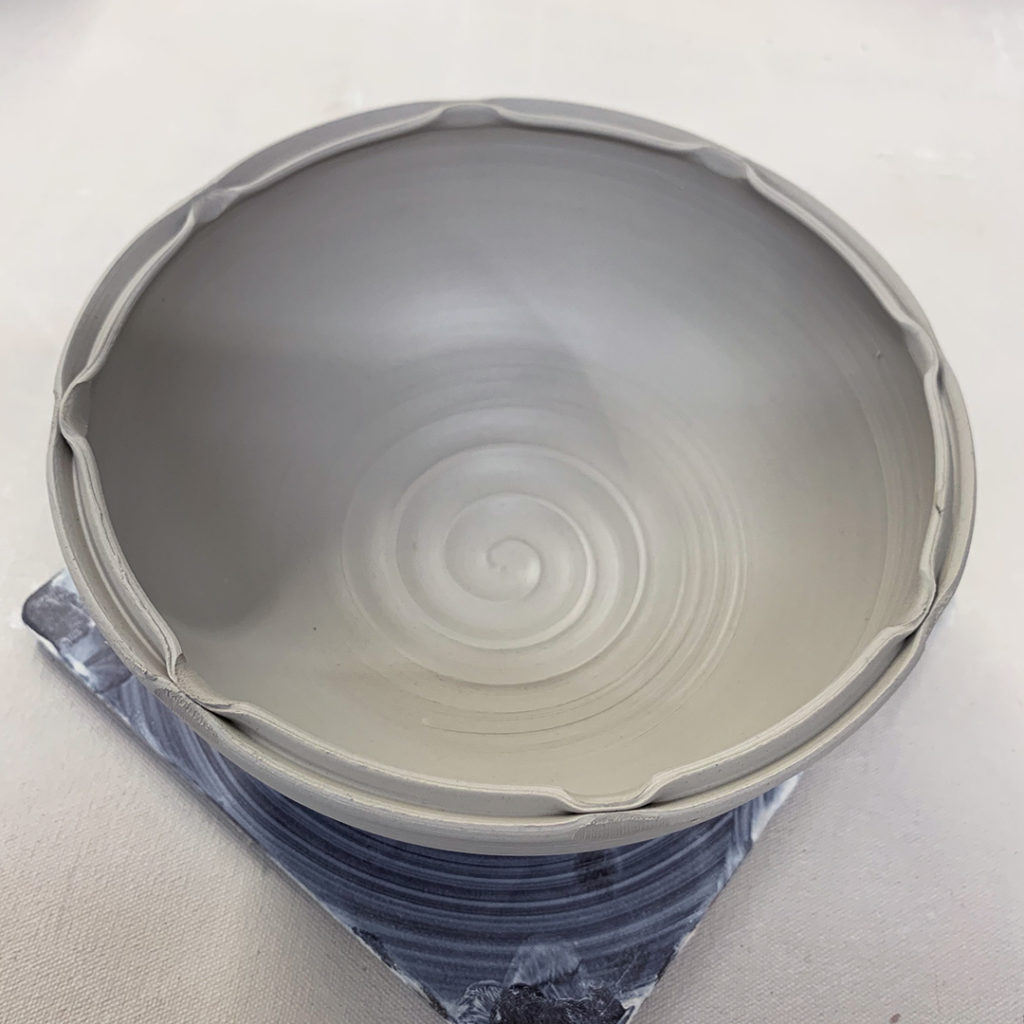
Bowl #2 – Eight fluted edges
Bowl #3 – Flared-out flange
Bowl #4 – Flared flange & four fluted edges
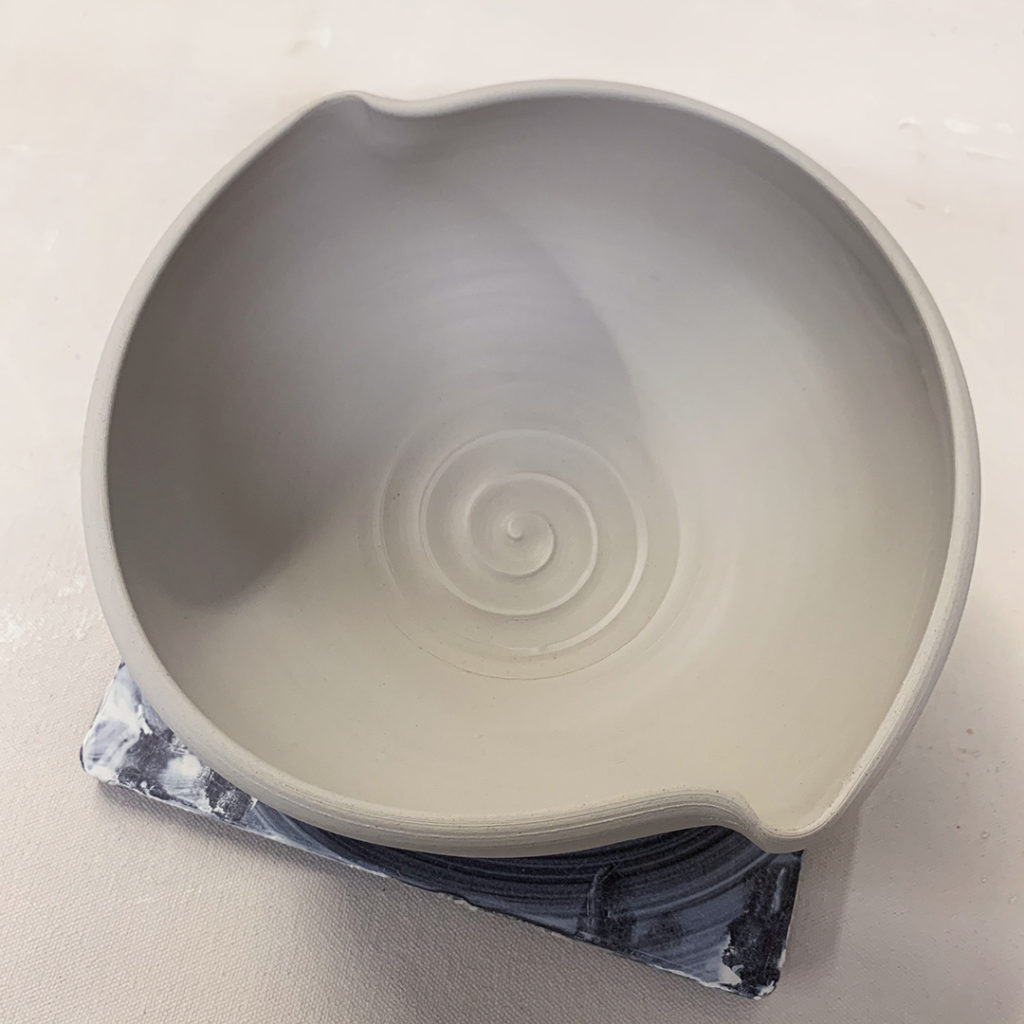
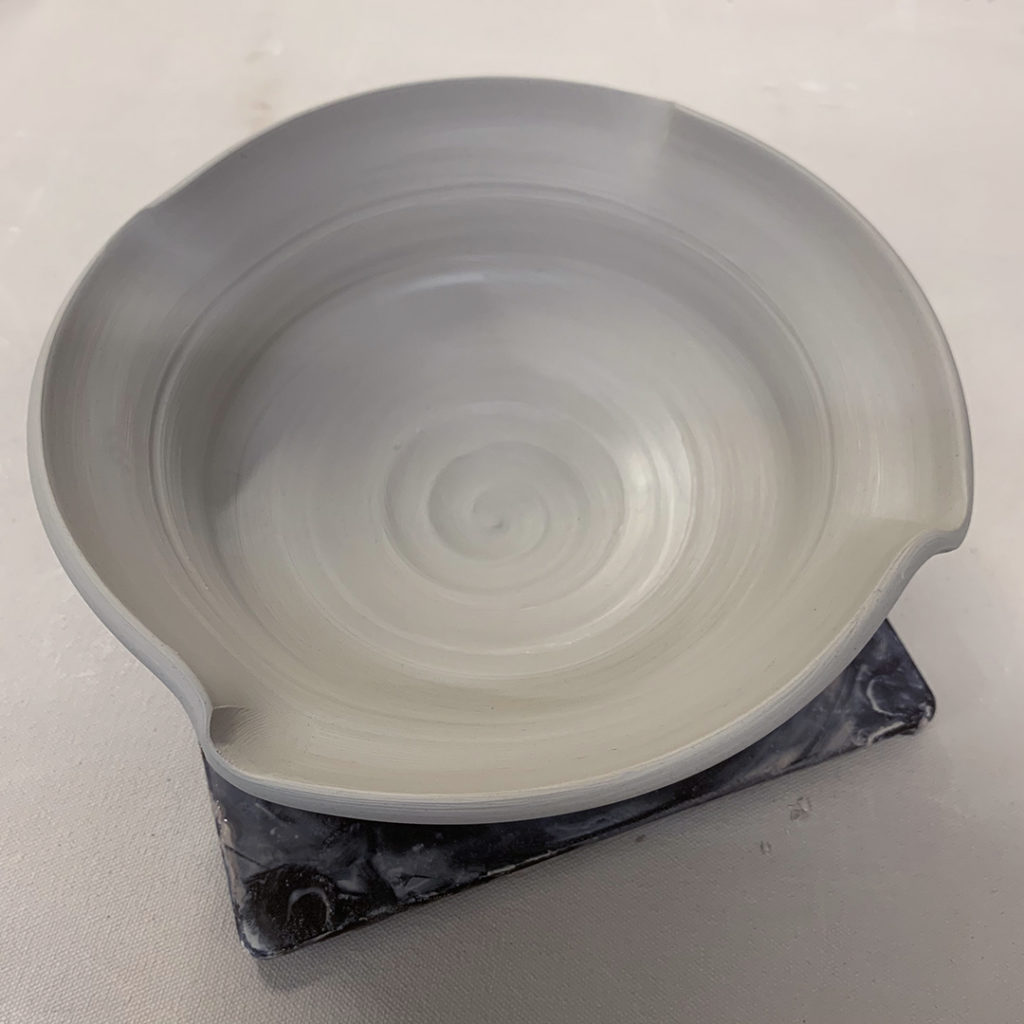
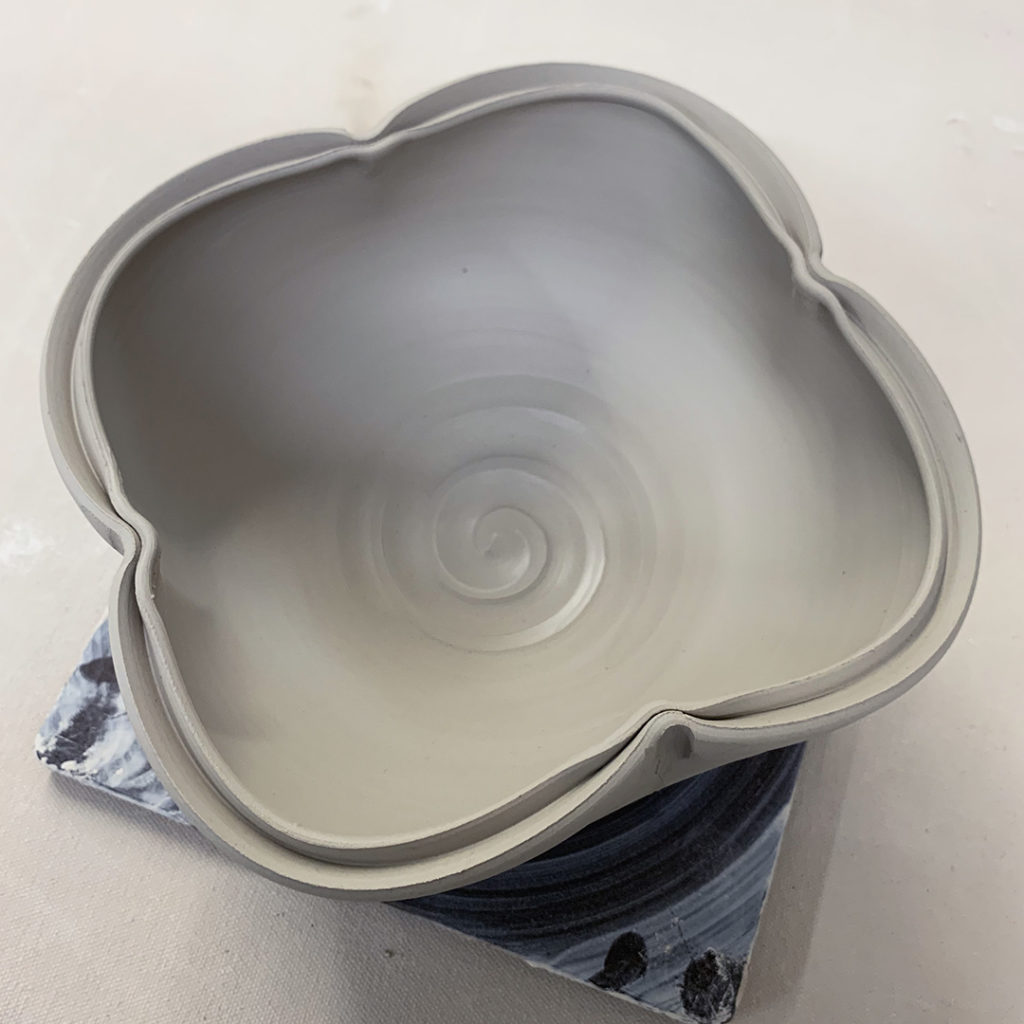
Bowl #5 – Split rim with eight pinches
Bowl #6 – Split rim with two indentations… waiting for an “over the top” handle to make it like a basket.
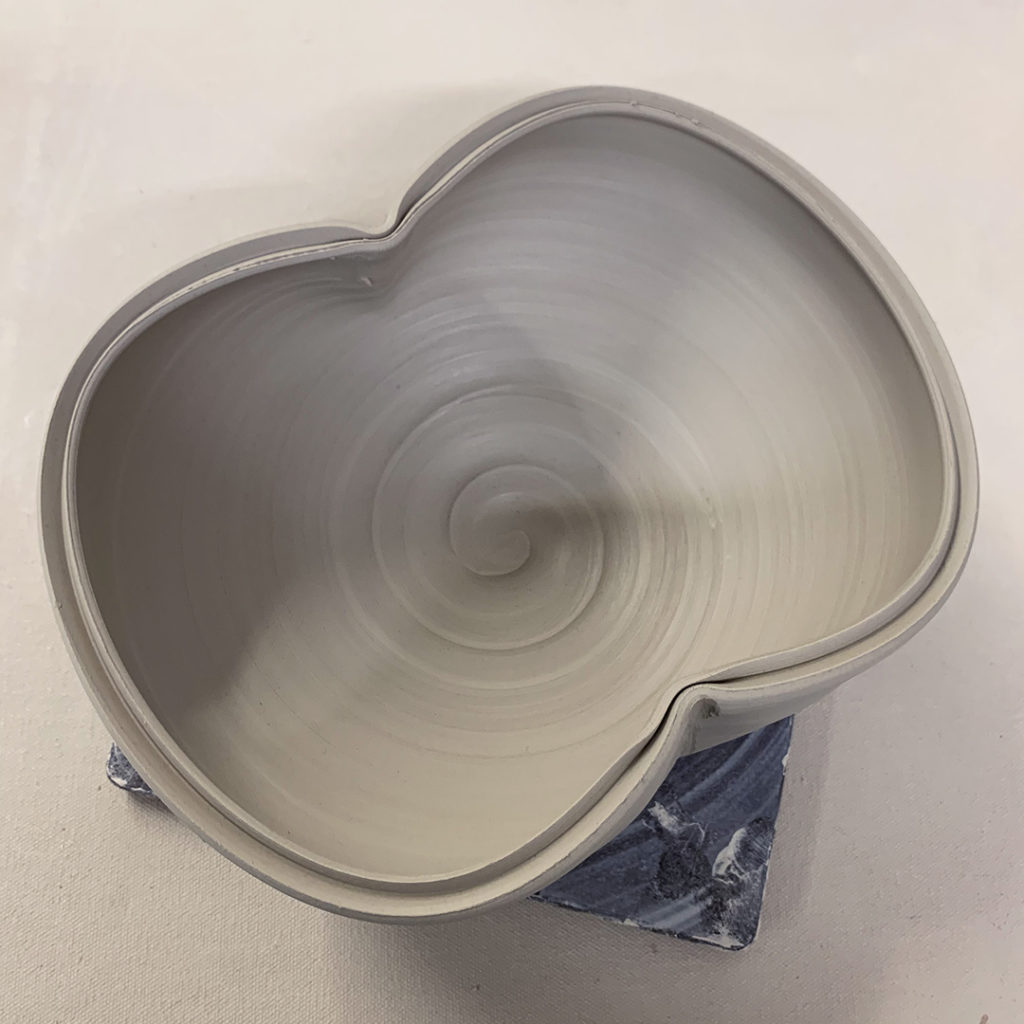
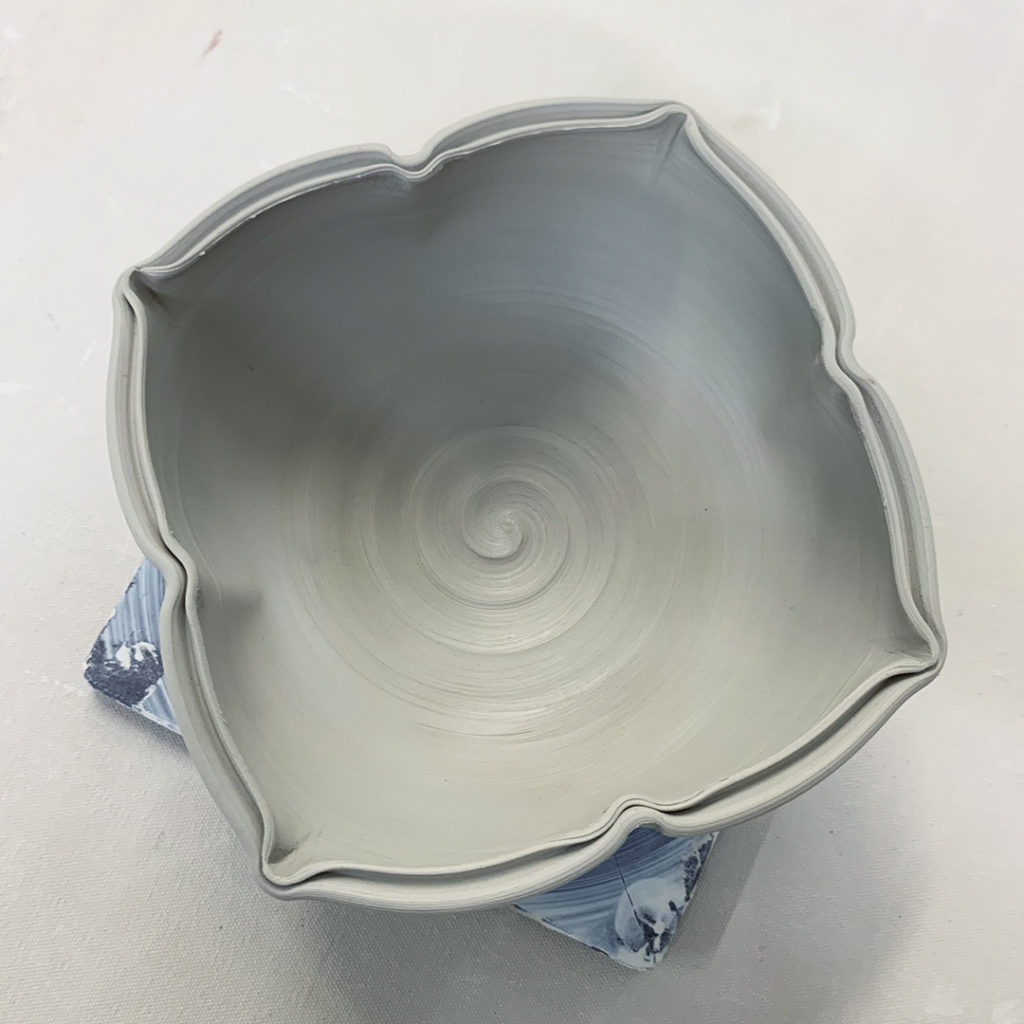
Bowl #7 – Split rim with four side indentations
Bowl #8 – Split rim with four indentations IN, and four indentations OUT.
Bowl #9 – A thick white slip spiral.
Bowl #10 – Thick white slip finger squiggles.
Bowl #11 – Thick black slip chattering with a rubber rib.
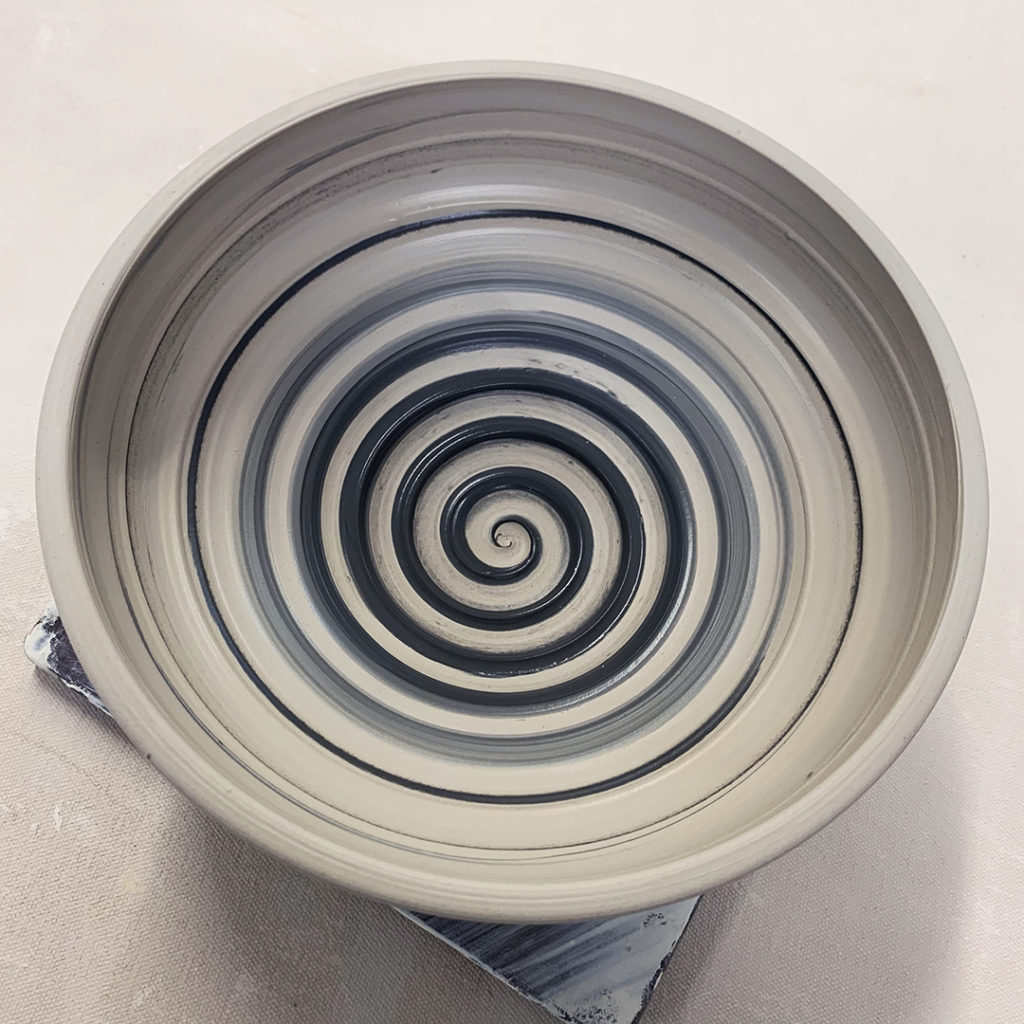
Bowl #12 – Ombre’ black -to-white slip with a spiral dragged through.
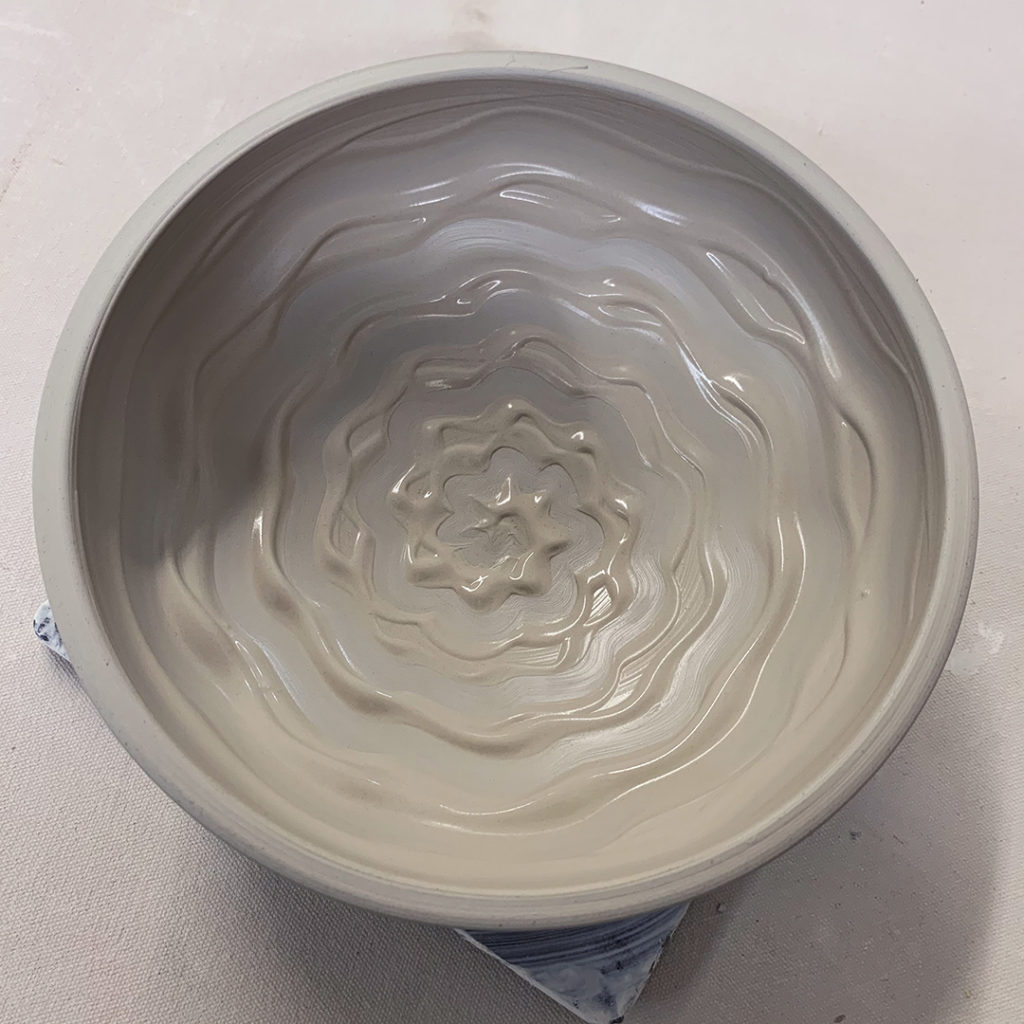
Bowl #13 – Thick white slip on a flared flange then wiped through with a rubber rib.
And for now they’re all under plastic… as there’s a “pretty good chance” that there might just be some stamping & detailing of these bowls before I need to start trimming the bottoms.
This morning’s class demo was throwing larger bowls. I showed them how to make two different styles. They’re now up in my studio… maybe… hypothetically… “allegedly” waiting for a little stamped detail fun!
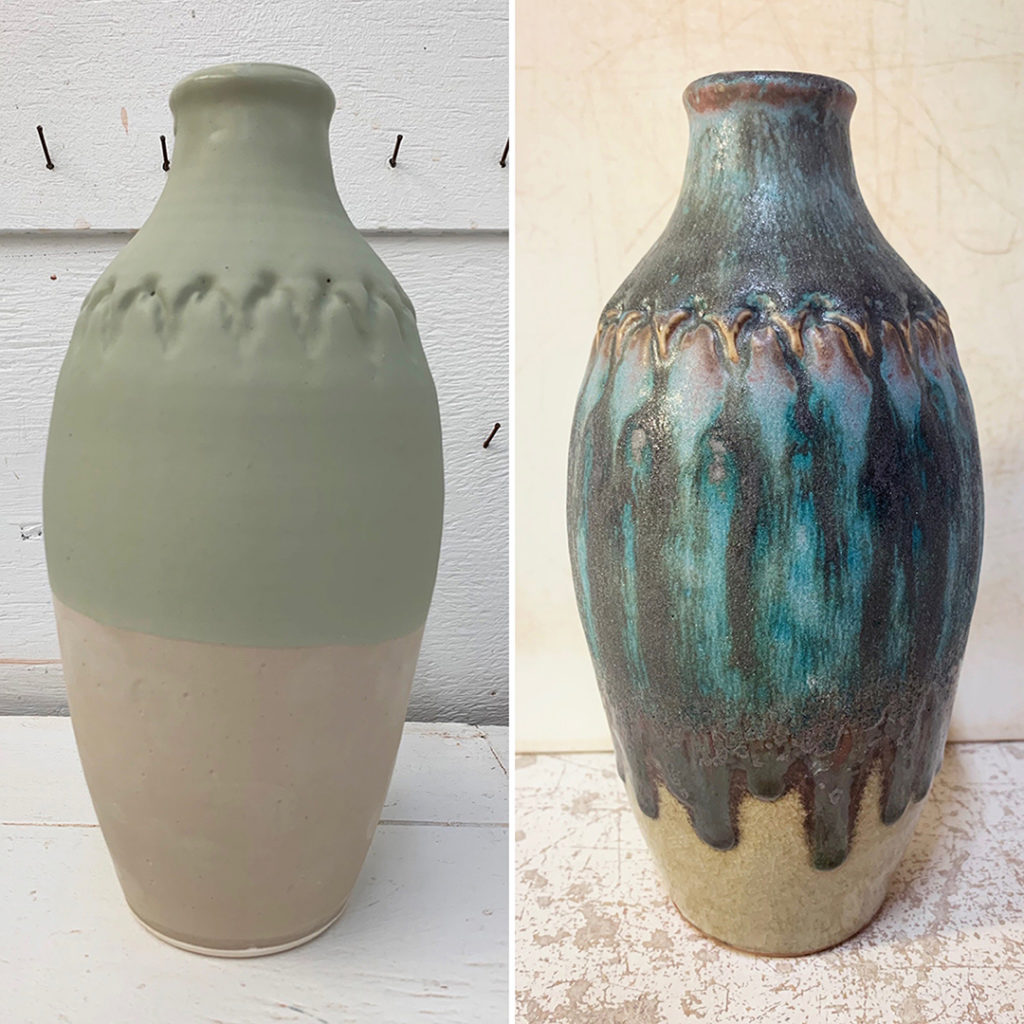
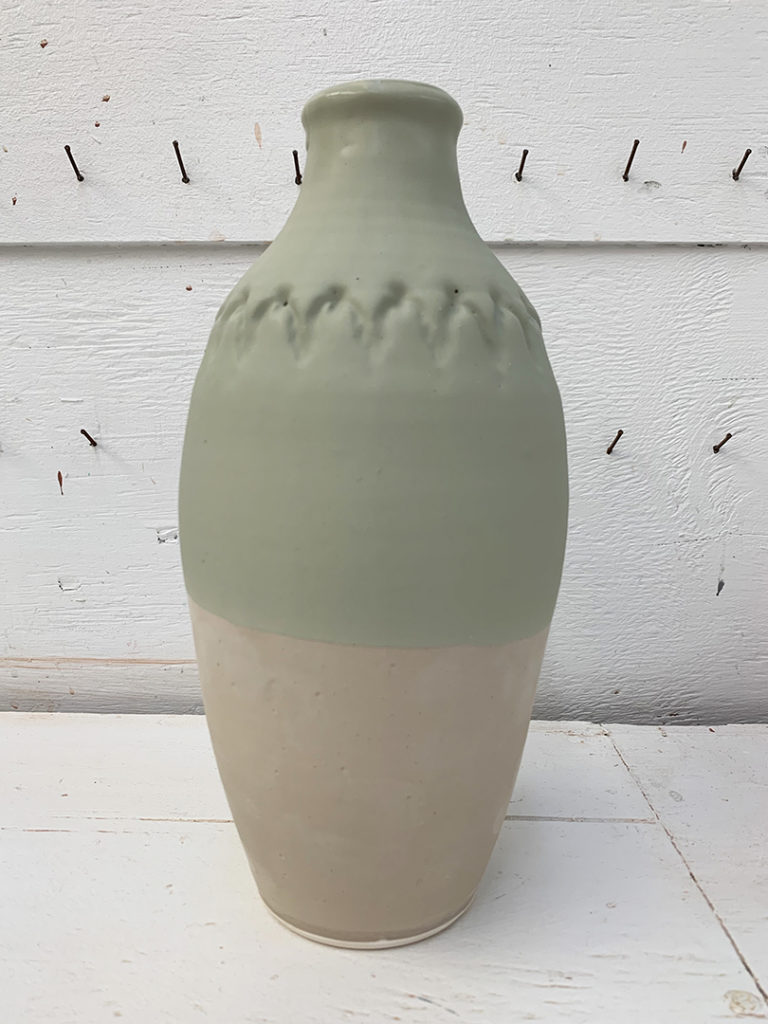
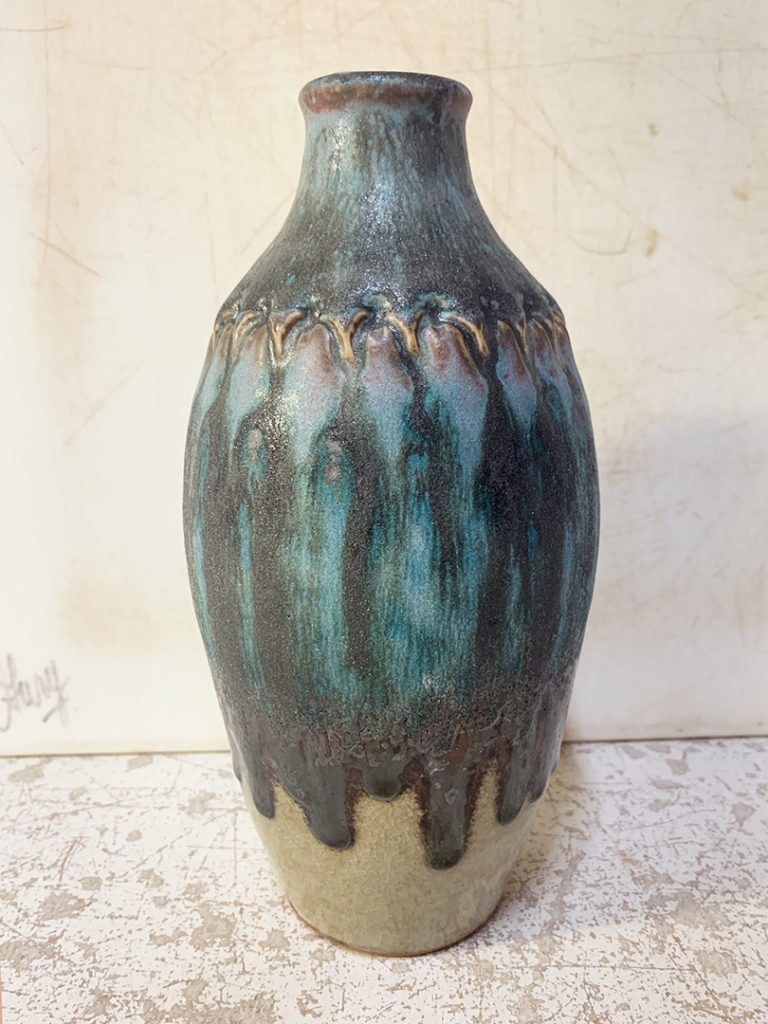
Fresh from the kiln. A class demo bottle with a class demo glaze! One of my students had used this glaze combo on a few of his pieces, and Ted was more than willing to share the info. So I figured I would give it a try too!!!
The look is pretty sweet, but if I must say, the “texture” of the blended top section is a little “rougher & scratchier” than I would normally like.
Hey Lillstreeters (besides Ted)… Any guesses what this combo is?!
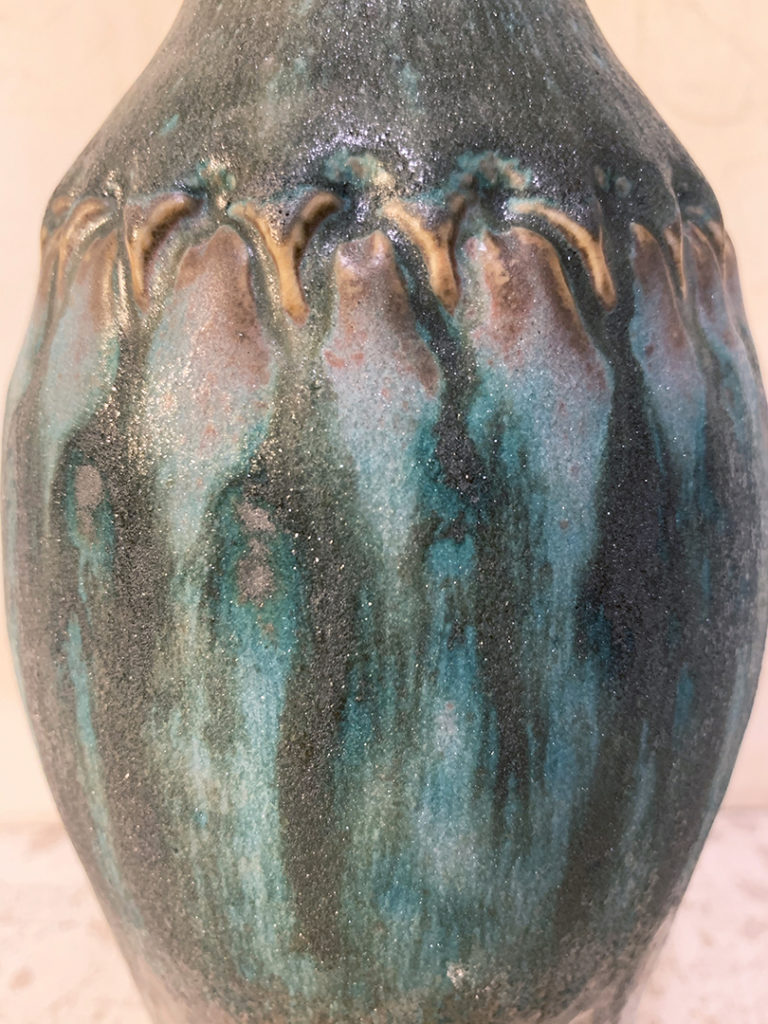
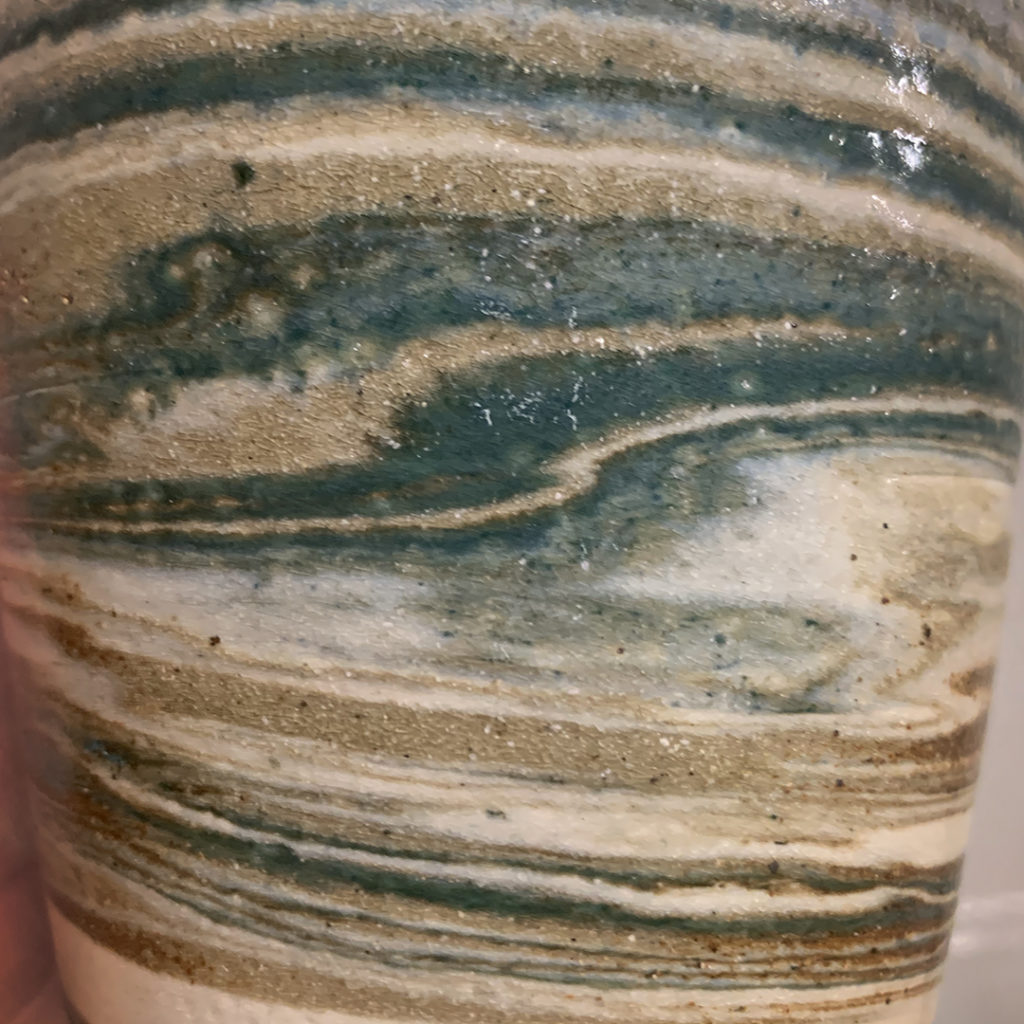
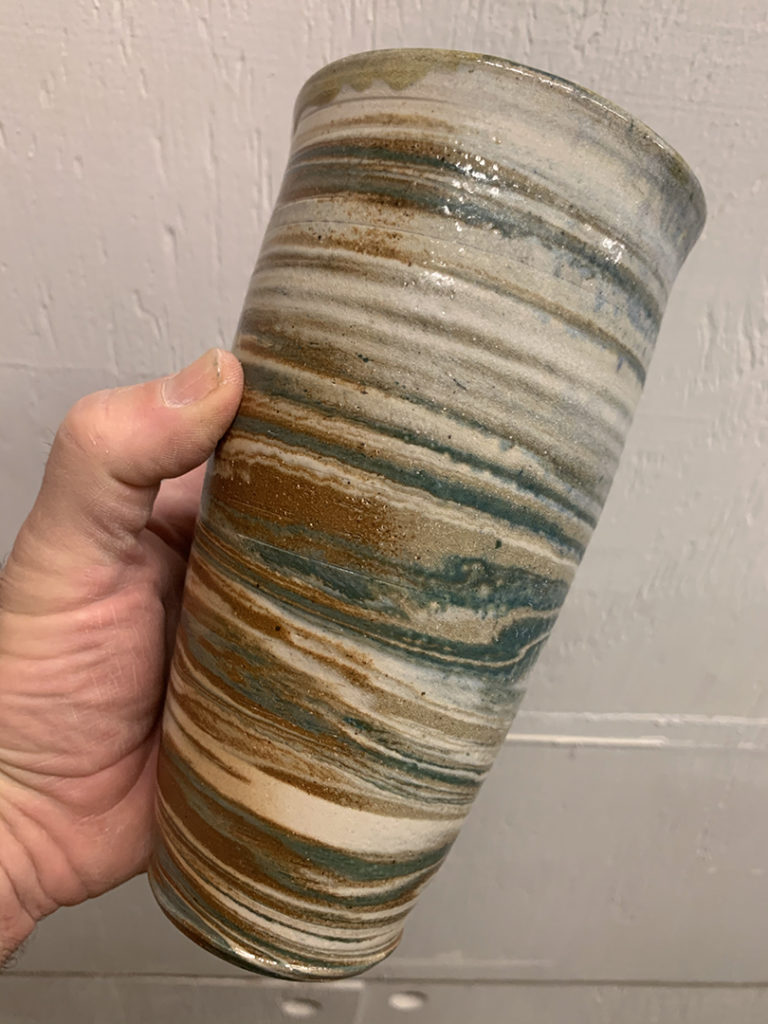
One special piece that came out of my soda kiln firing, was this vase that was a class demo from a couple weeks back. We’ve been playing with some colored clays & marbled wheelthrowing. This piece started with “white” B-clay, brown clay, and a “green” B-clay we made with mason stains. It was an experiment to see how it would turn out in the soda kiln with nothing but the soda atmosphere to “glaze” the exterior. Looks like a great success to me!!! I think we’re onto something…