Gary Jackson: Fire When Ready Pottery
A Chicago potter’s somewhat slanted view of clay & play
Categories: bowls, classes, color, patterns, process, textures

This week in my SURFACE DECORATIONS class, we tackled a couple different techniques for a fun tie-dyed effect… you all know I’m a kinda big fan of tie-dye!!!

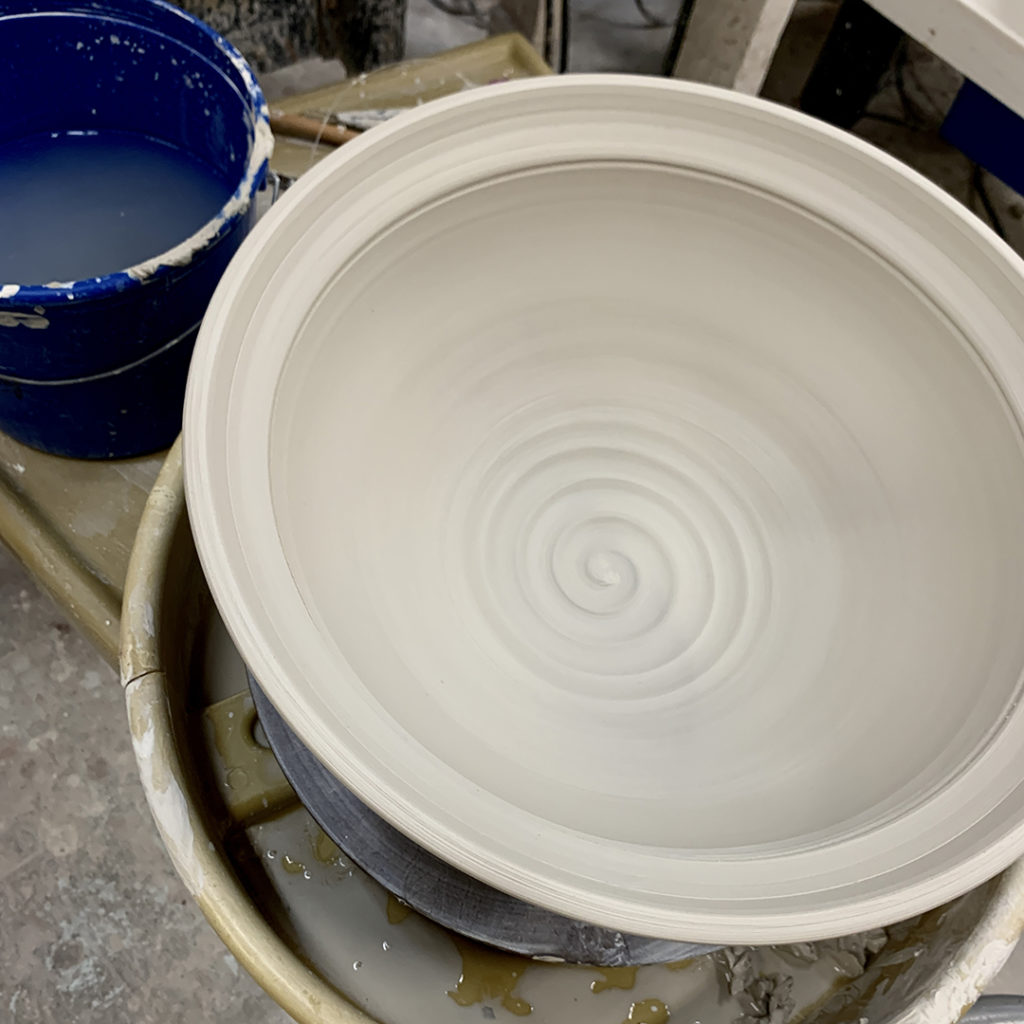
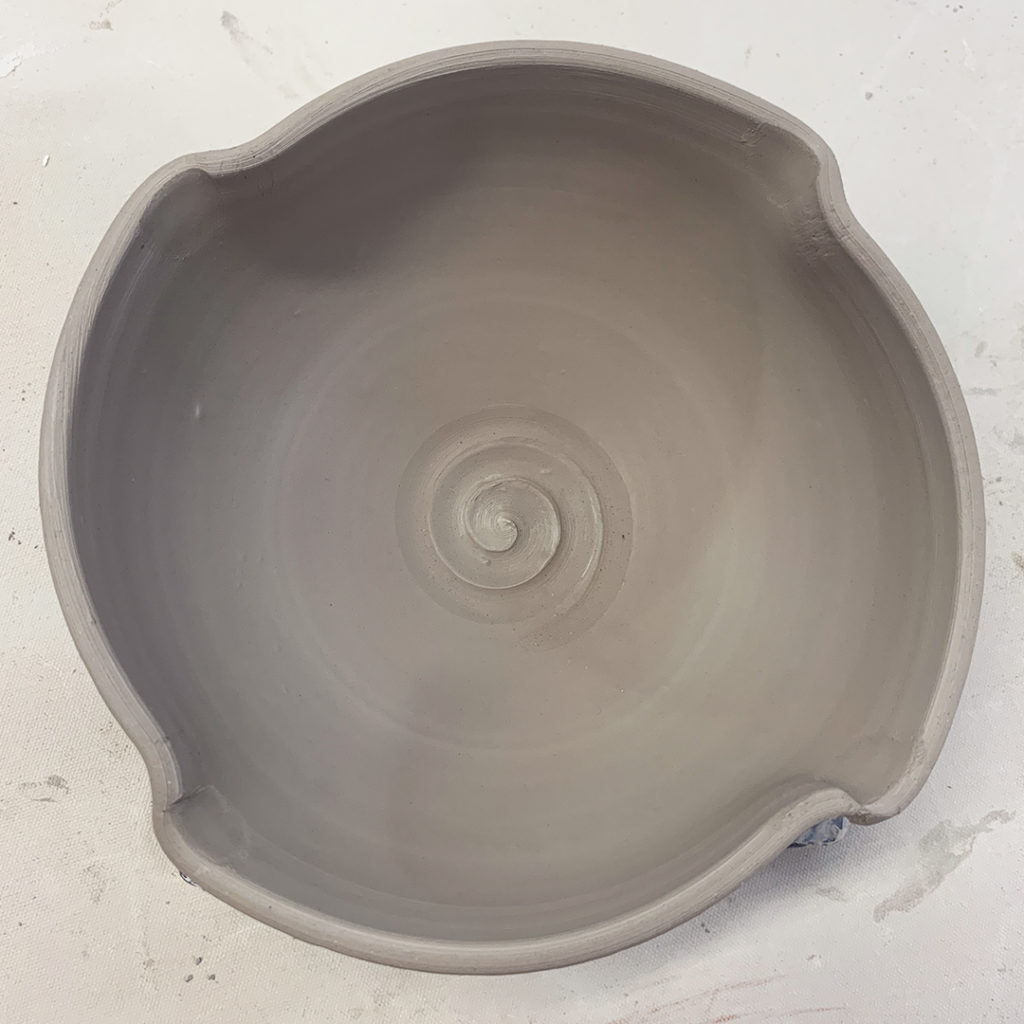
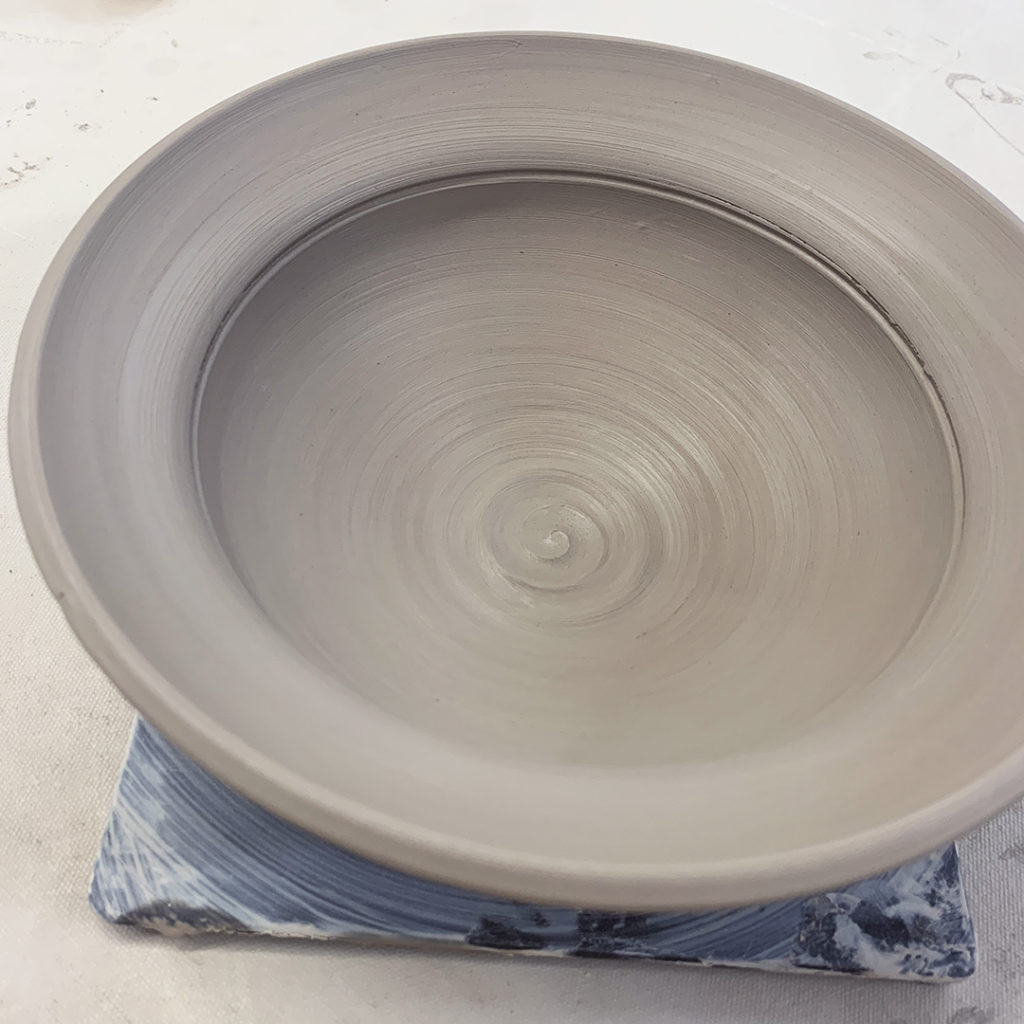
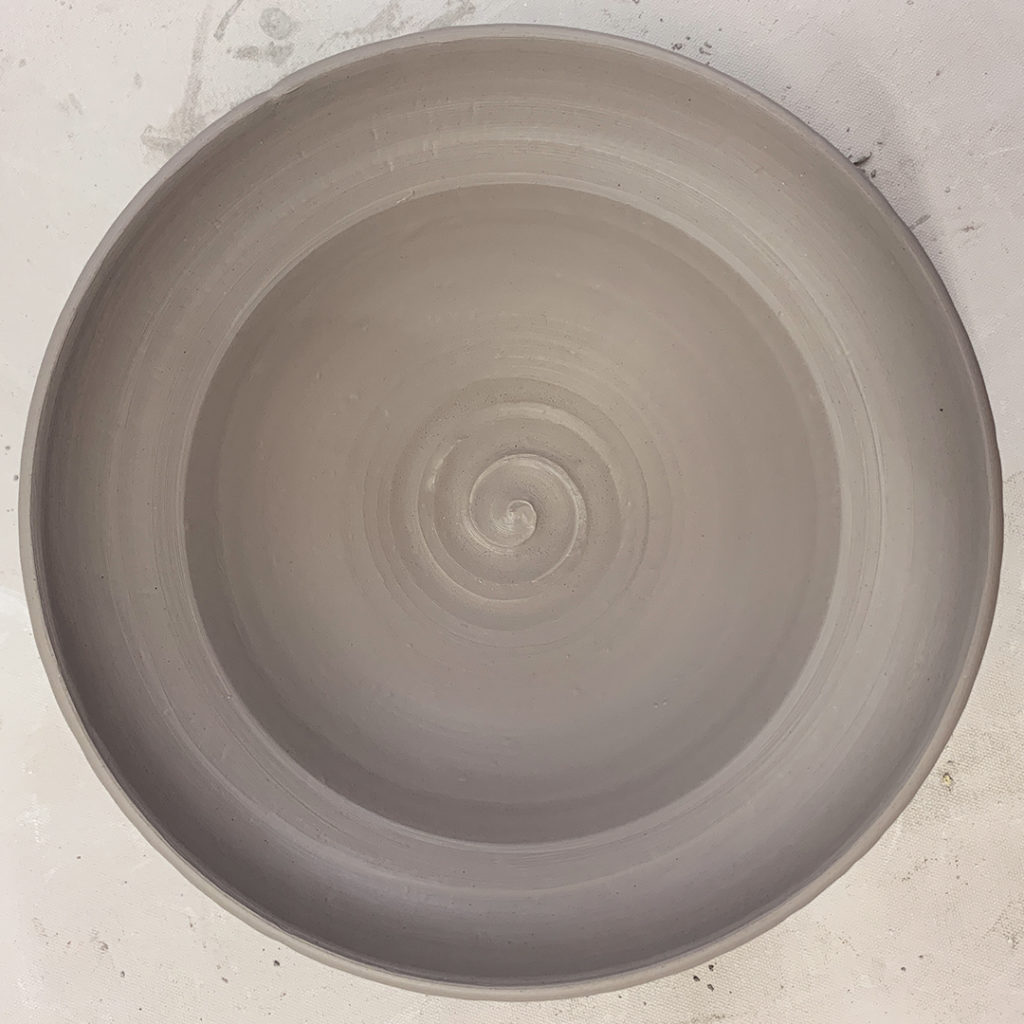
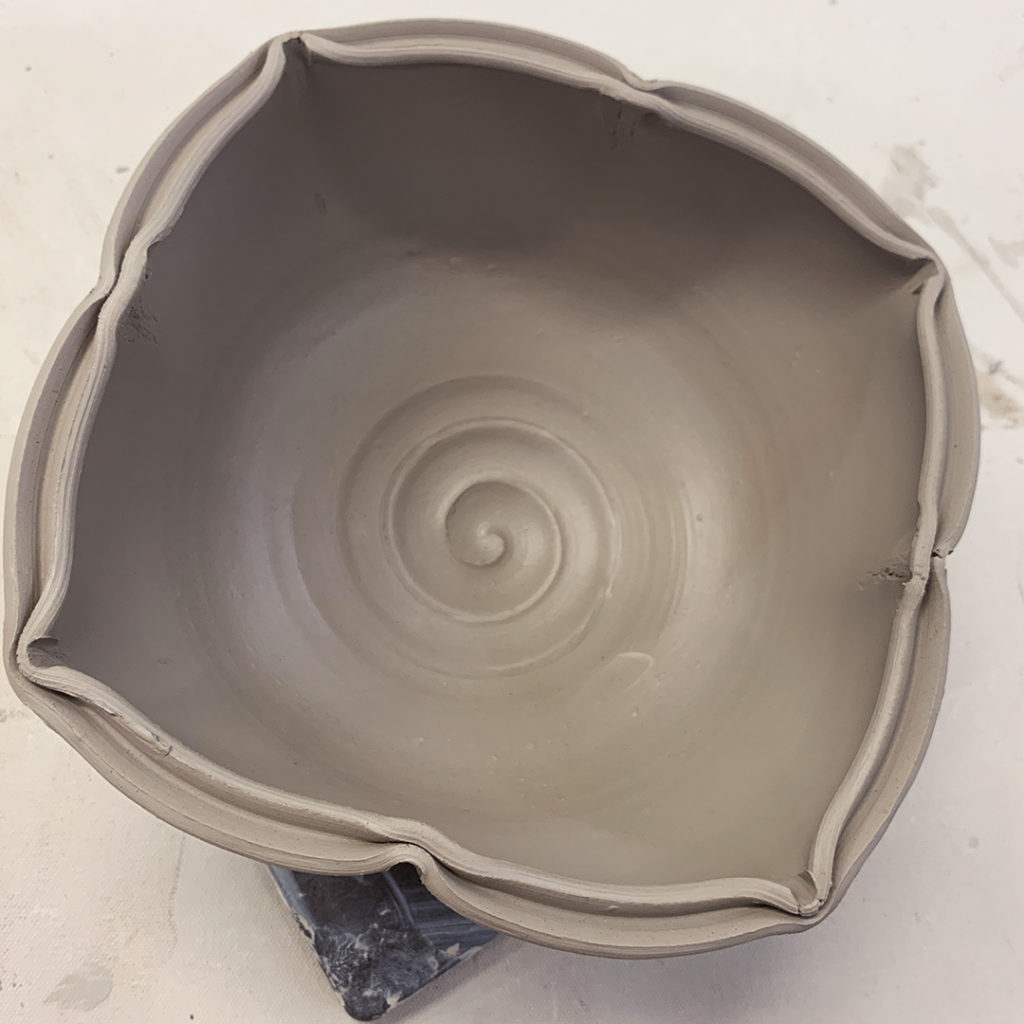
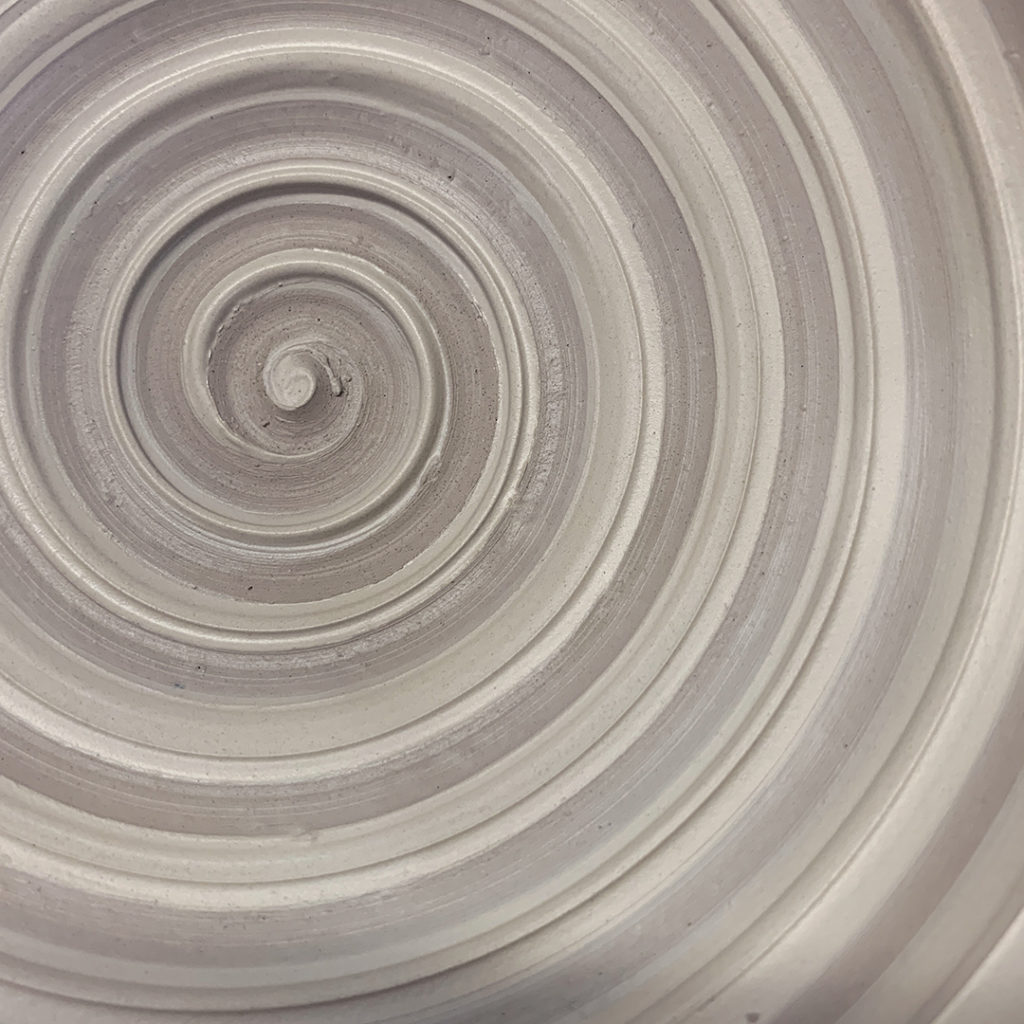
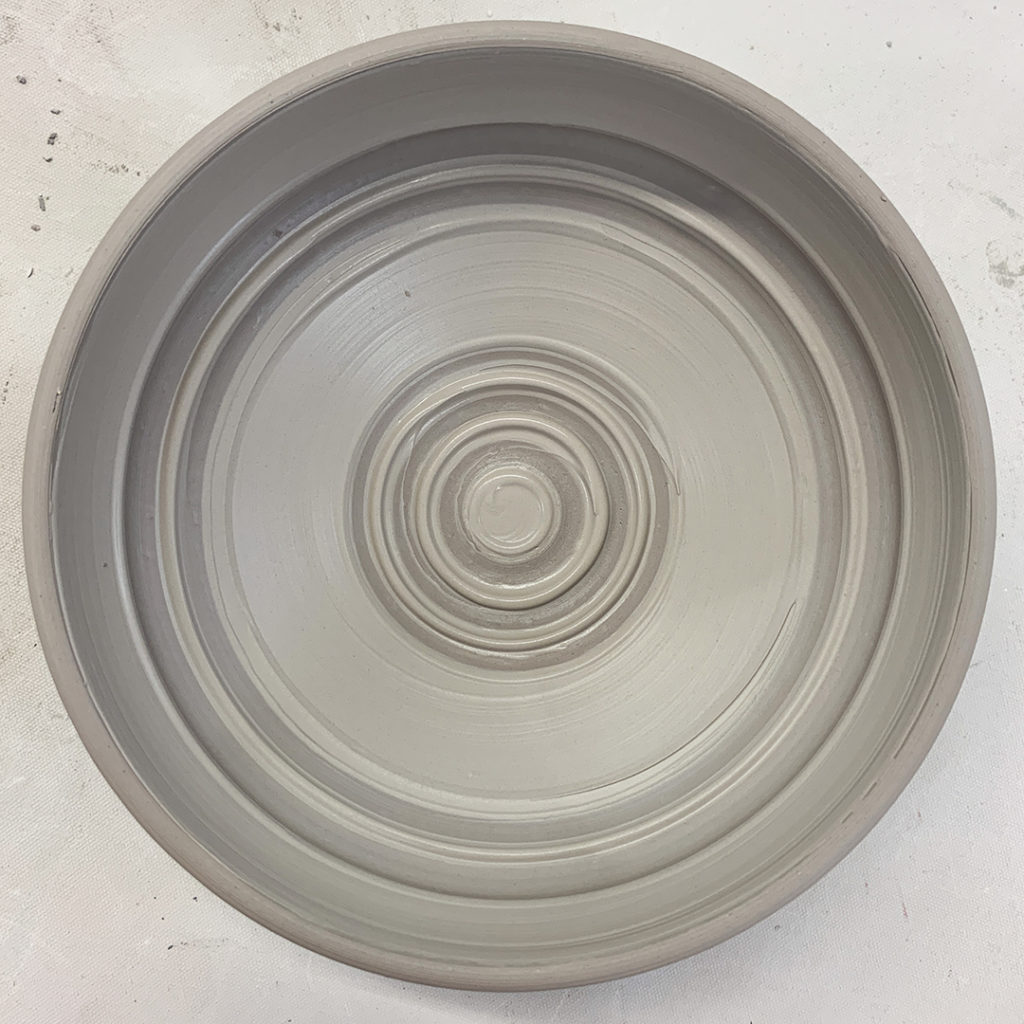
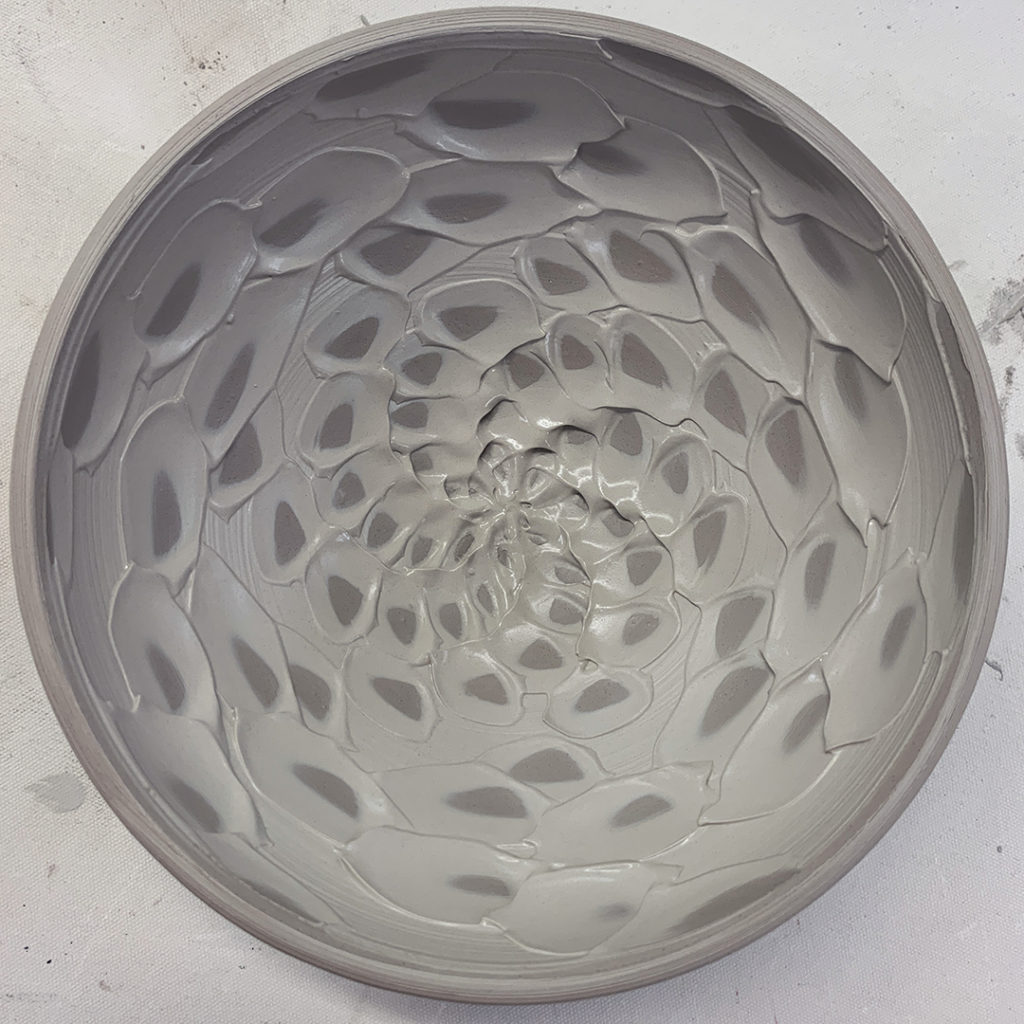
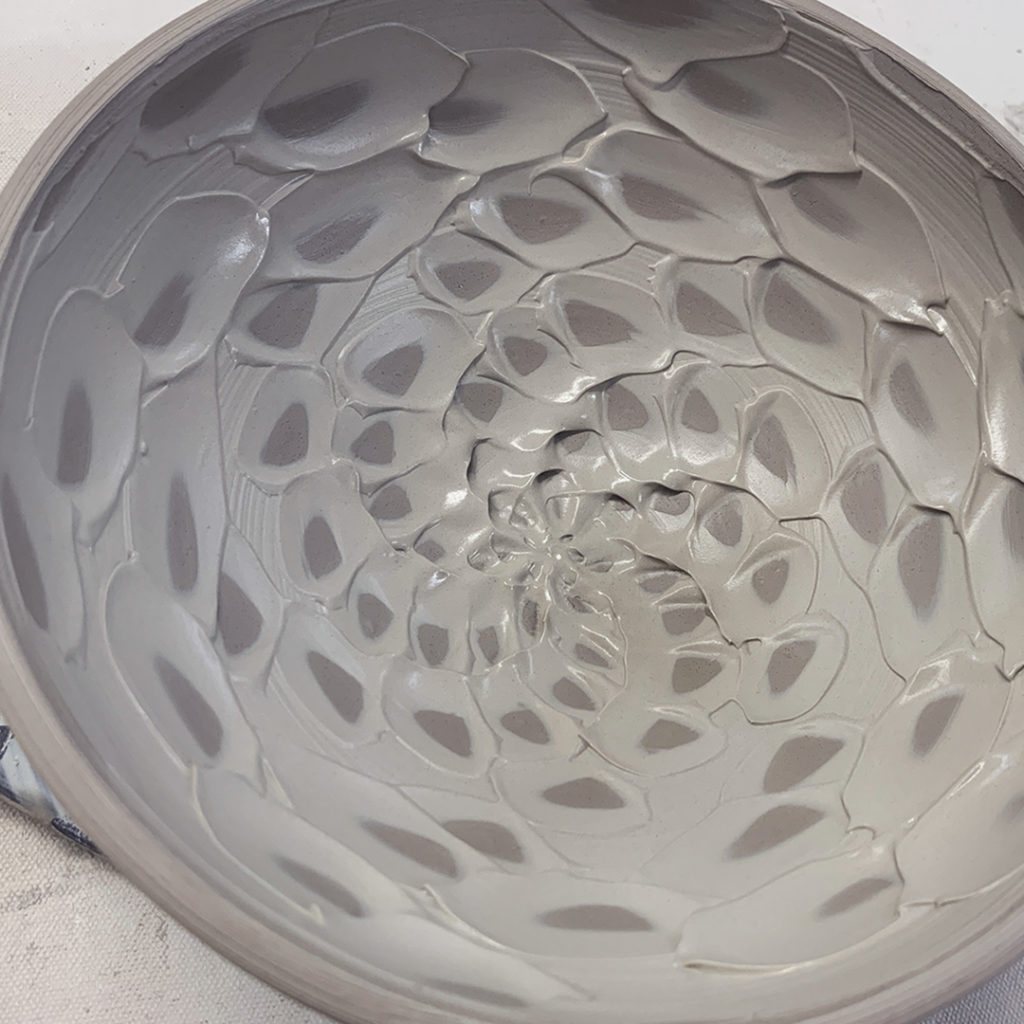
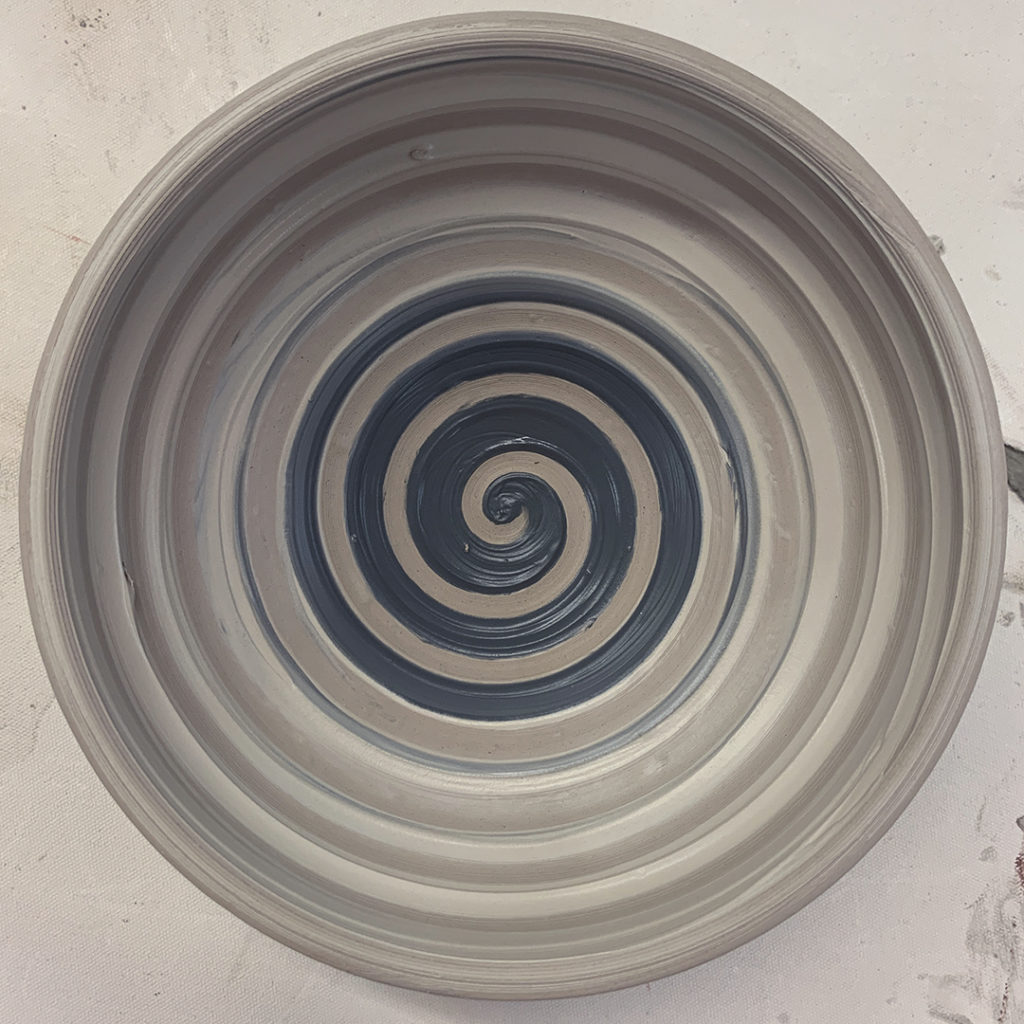
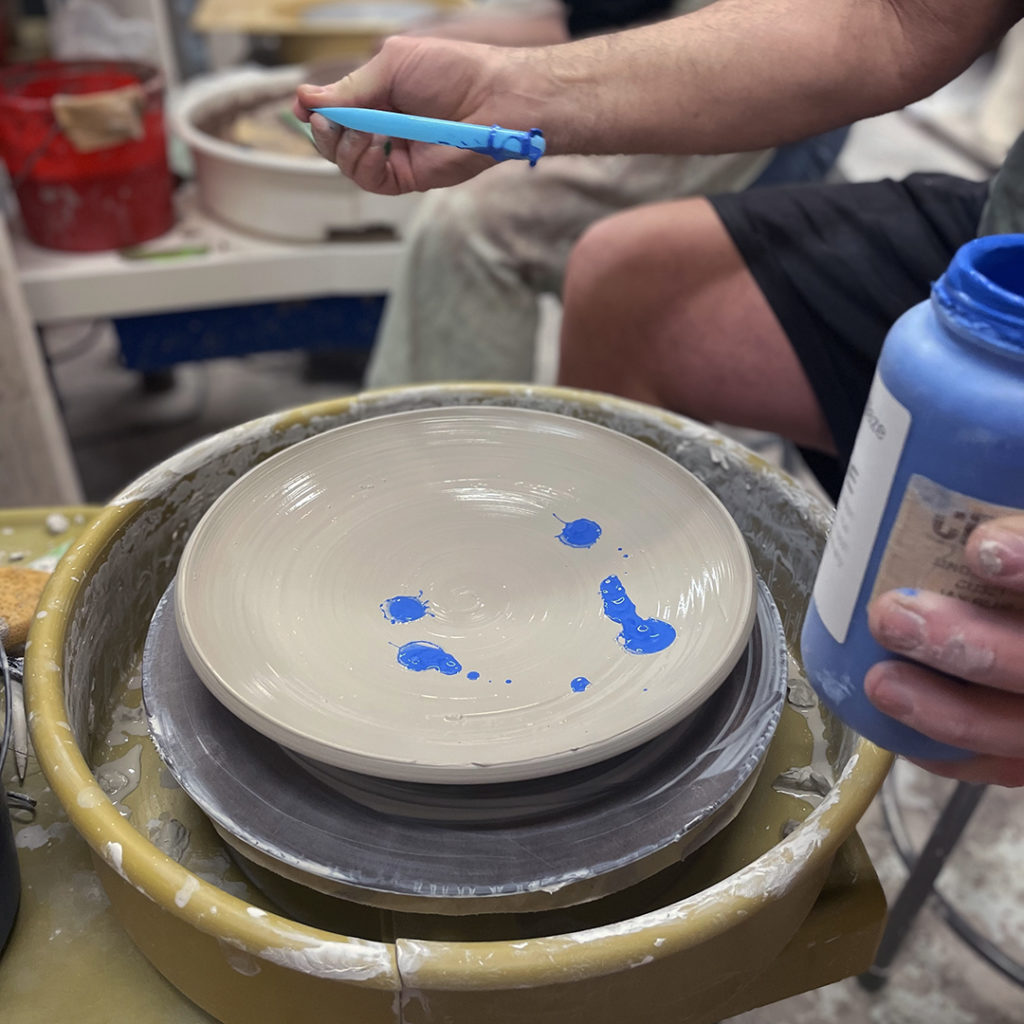
So we started with a “squiggly” version… where I took a large plat platter, painted a layer of thick slip on top, and then dribbled some blobs of colored underglazes on top of it. Not really sure how this will work… but I’m always ready to try something new… it’s just clay, right?!

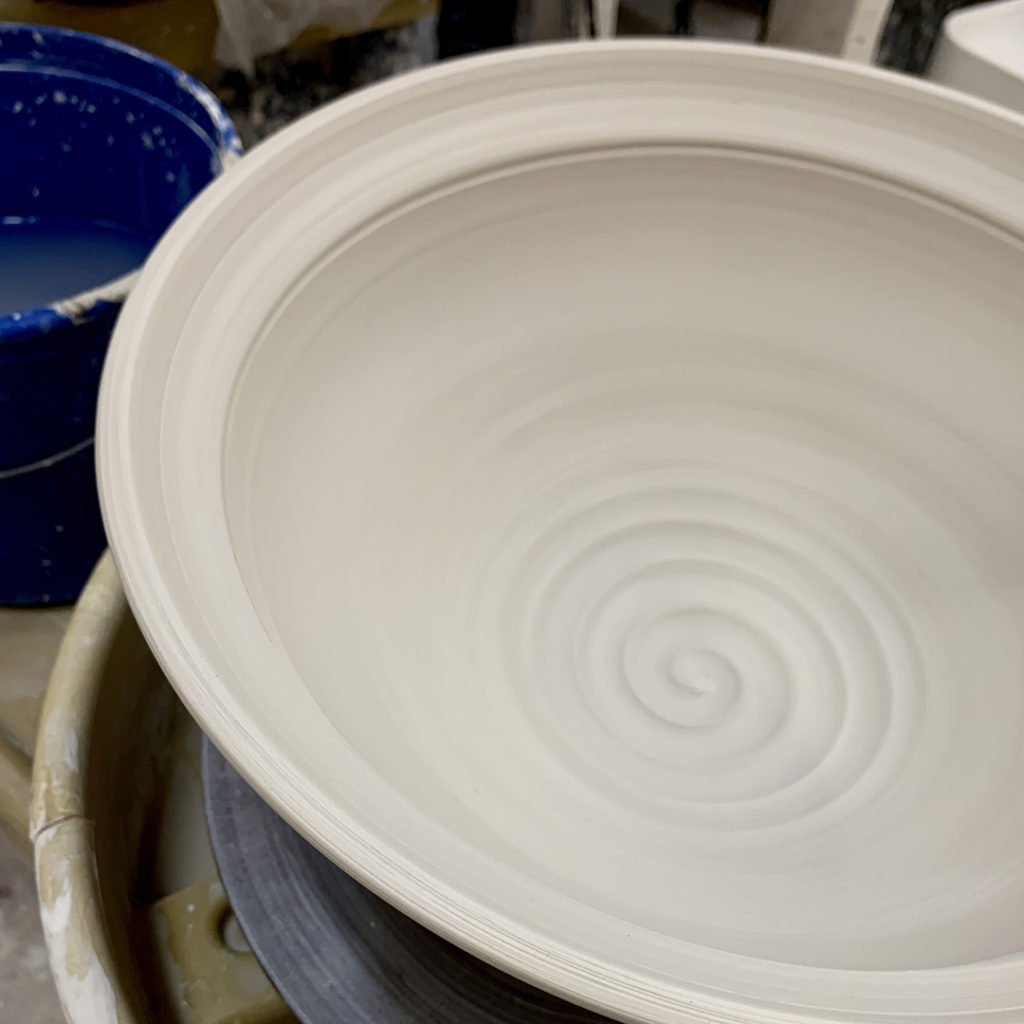
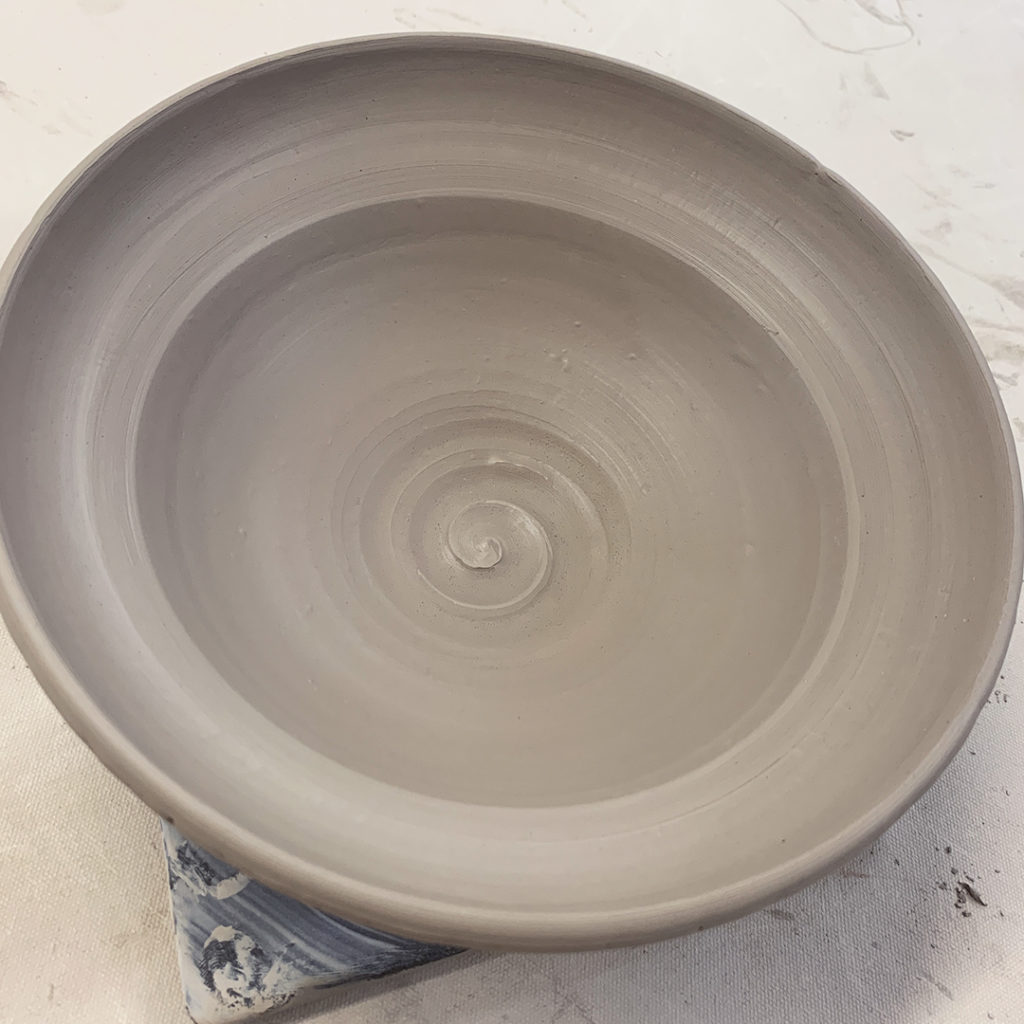
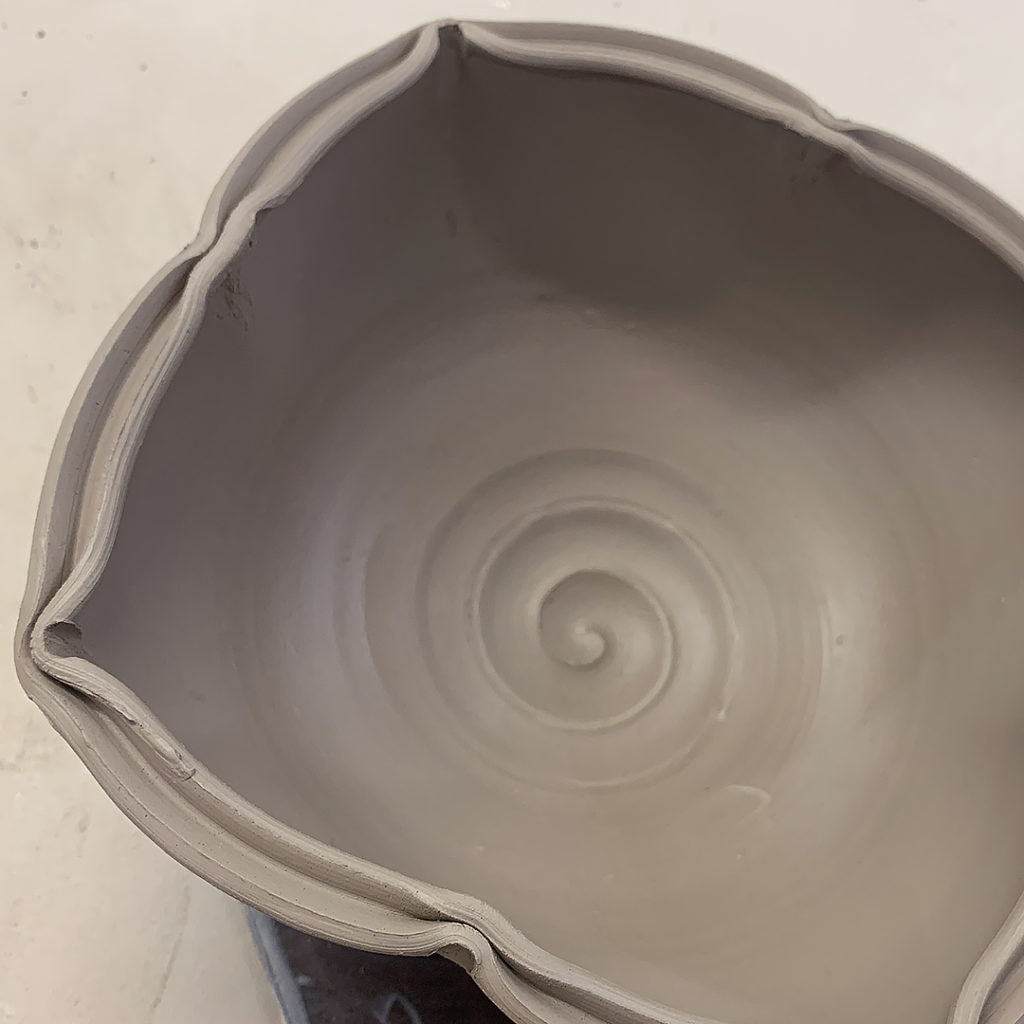
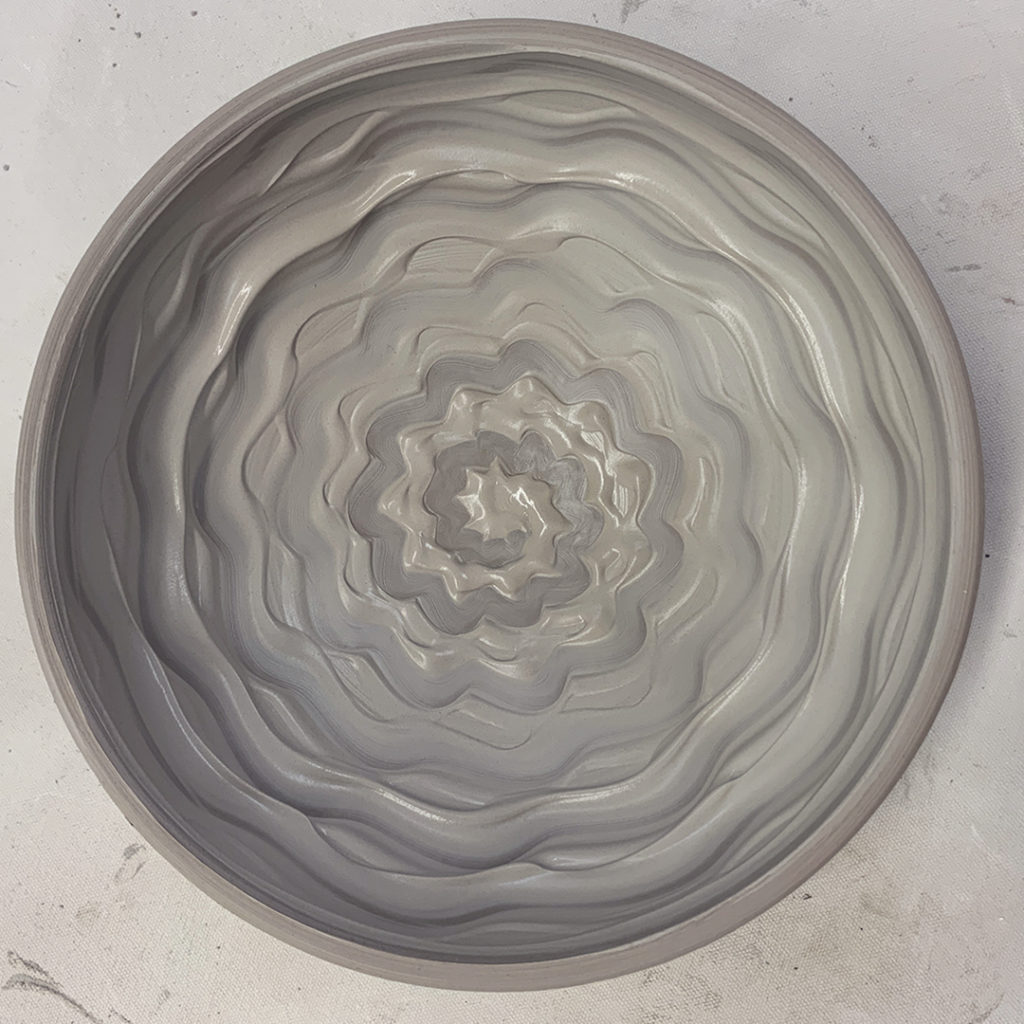
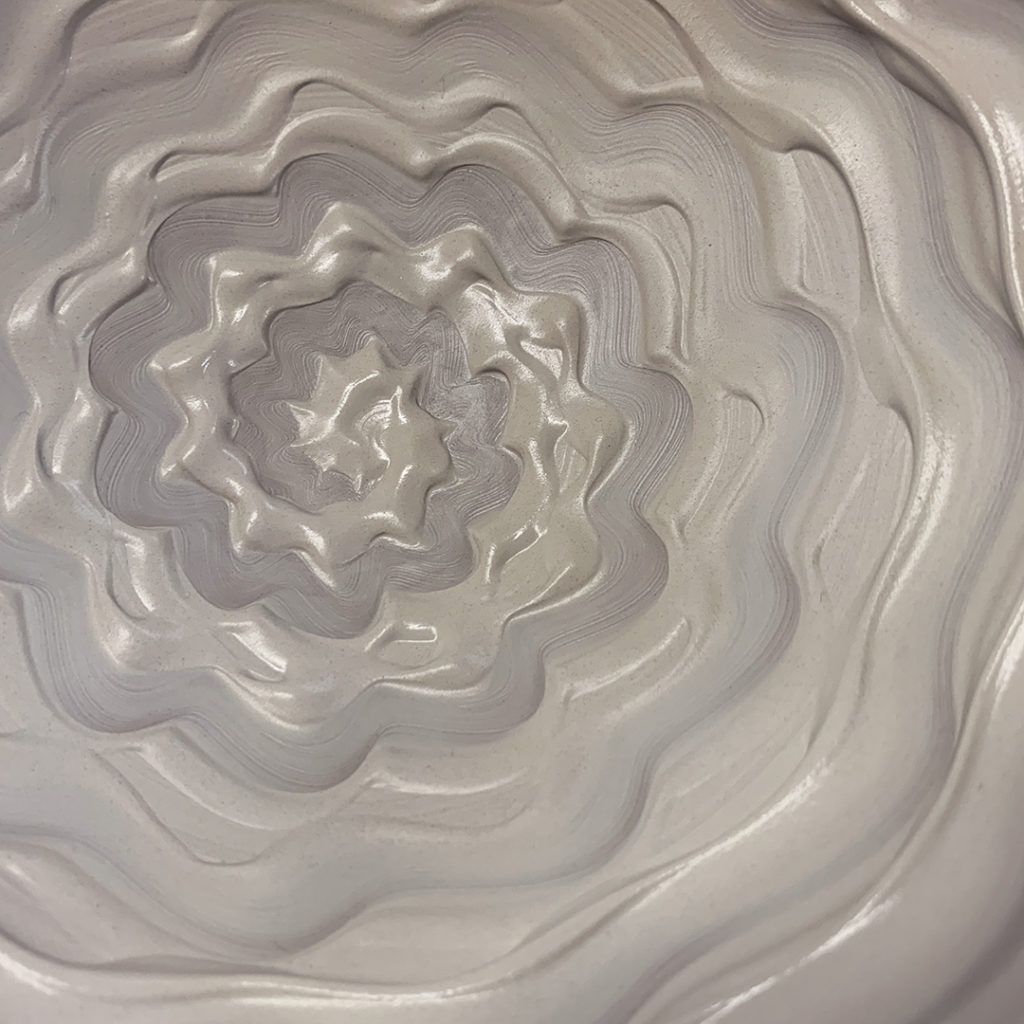
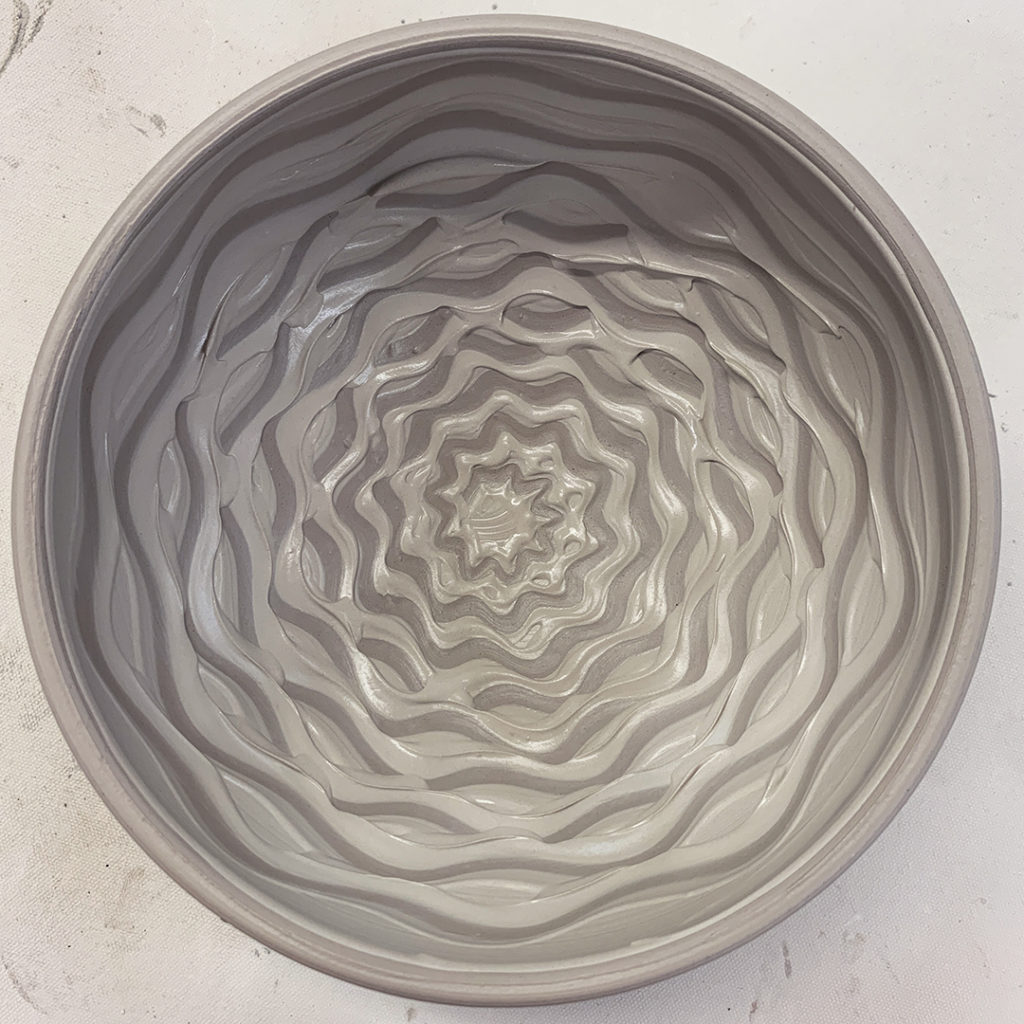
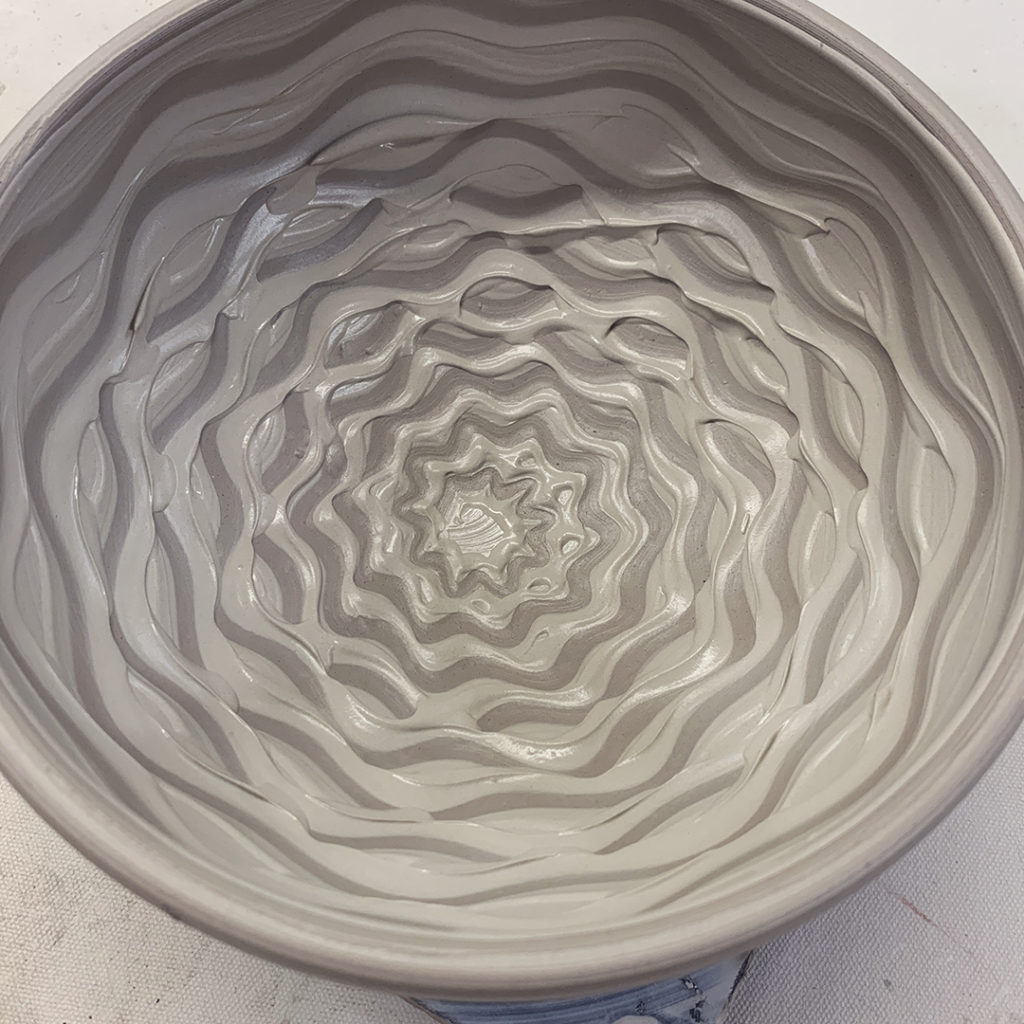
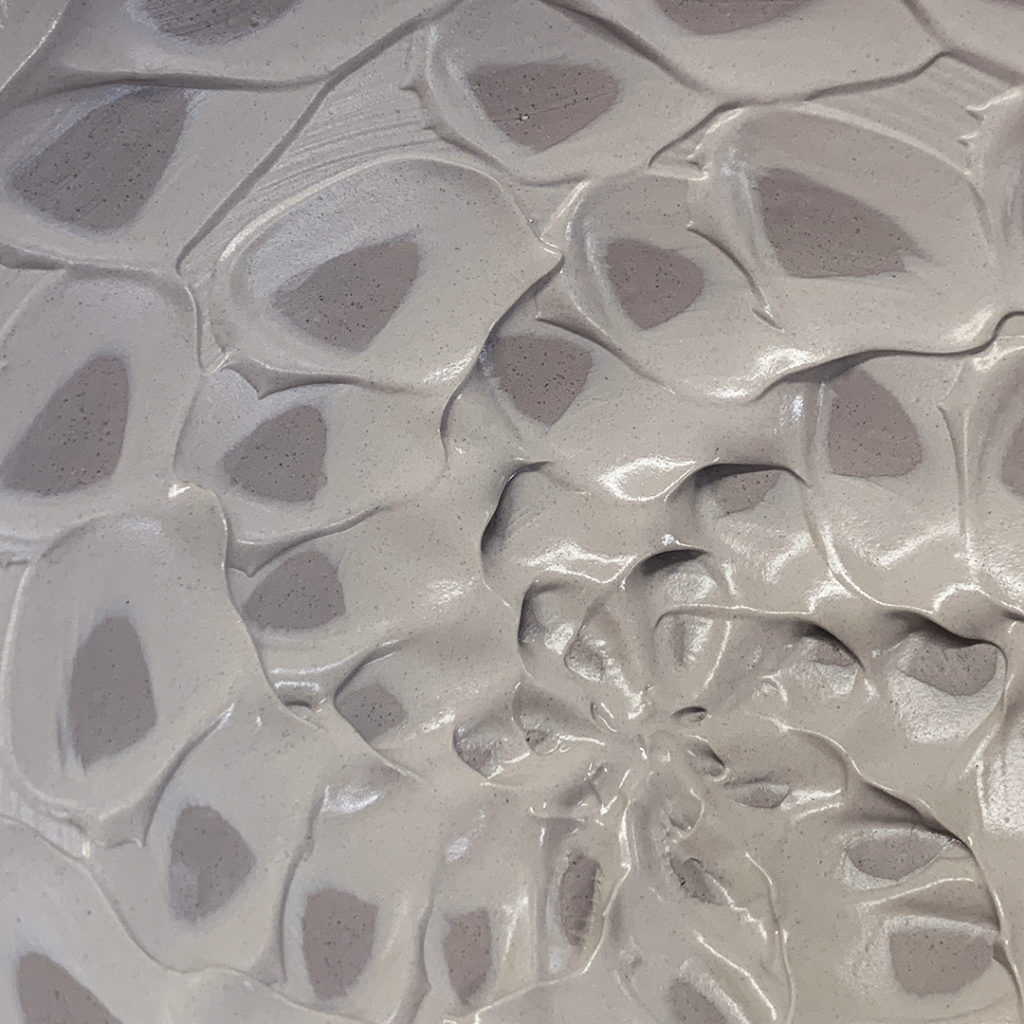
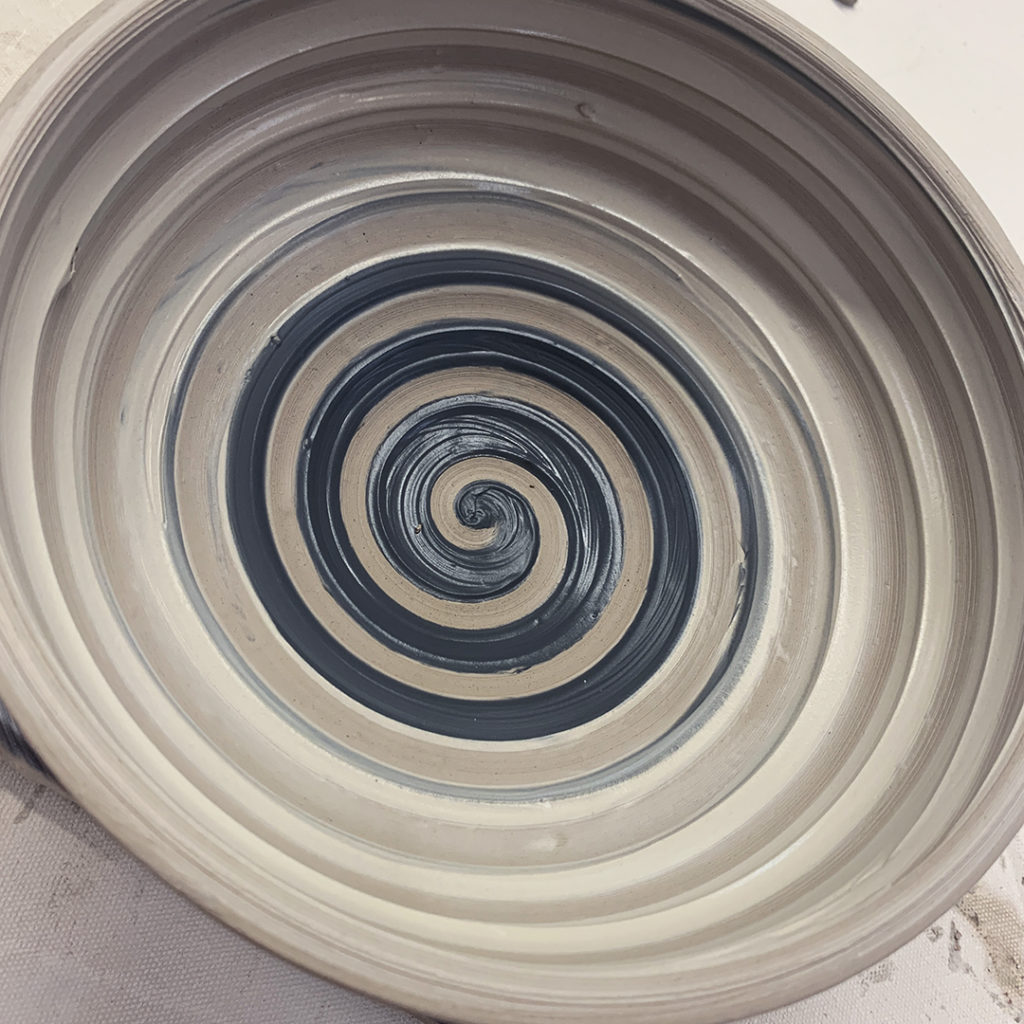
And then I took a plastic rib with a scalloped edge… a cake decorating tool… and started to squiggle through the layers of slip & underglazes to blend, blur & texture the plate. In hindsight, I kinda wish the plastic rib were either softer or thinner… as it was a bit tough to get some good squiggle up by the curve of the rim.

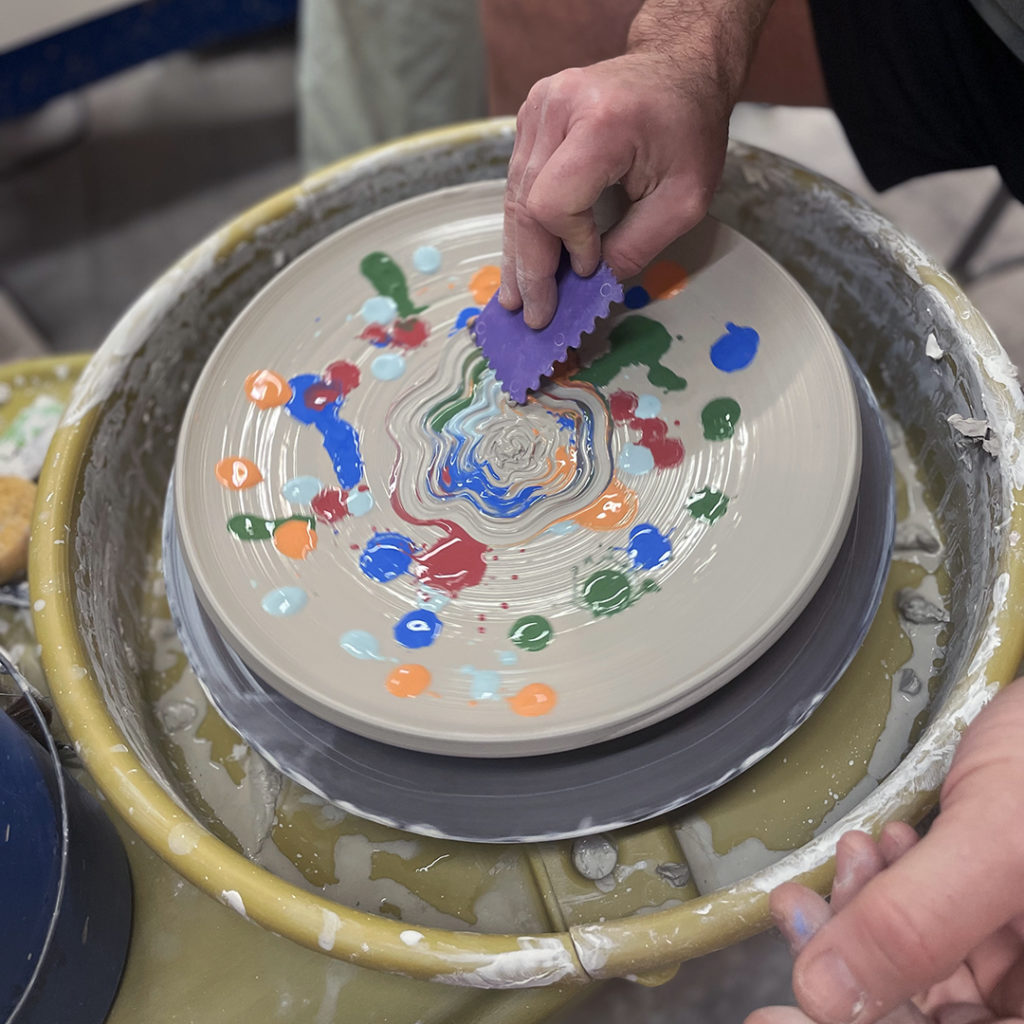
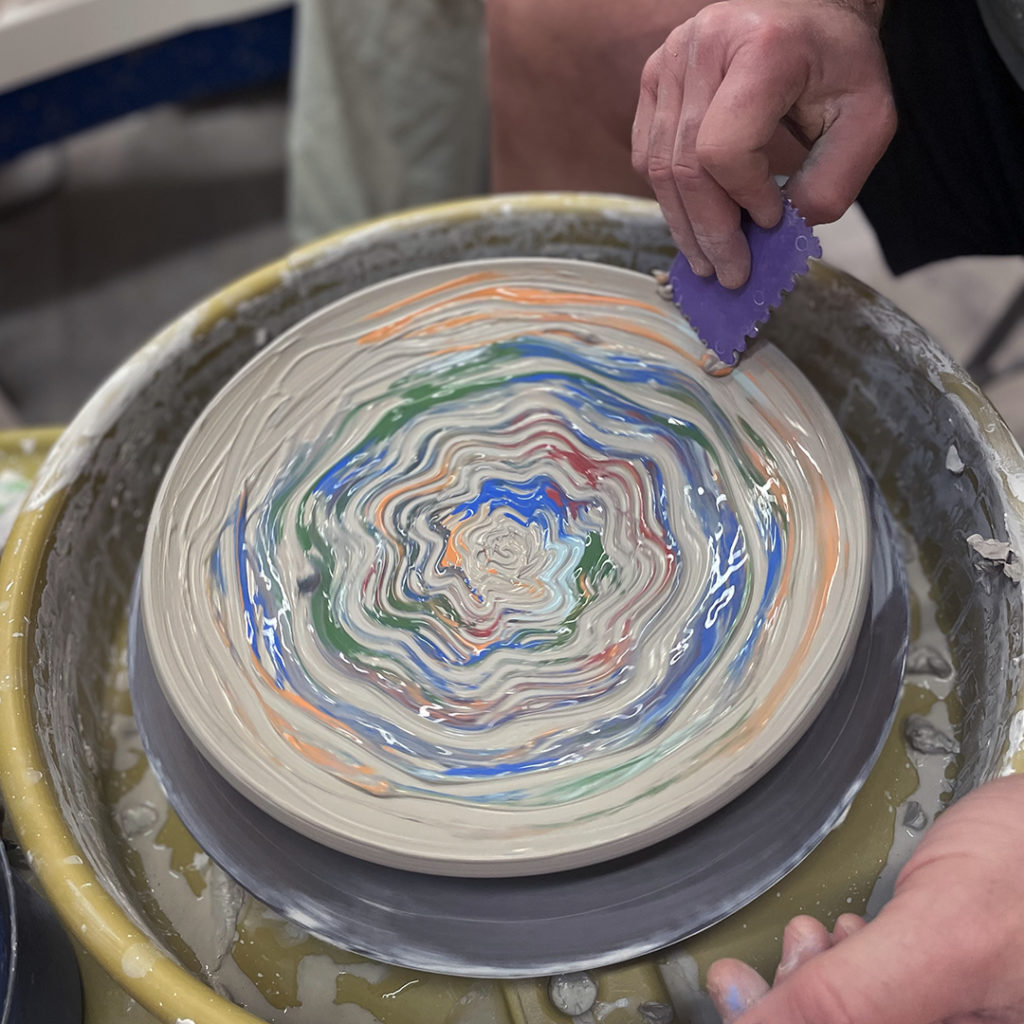
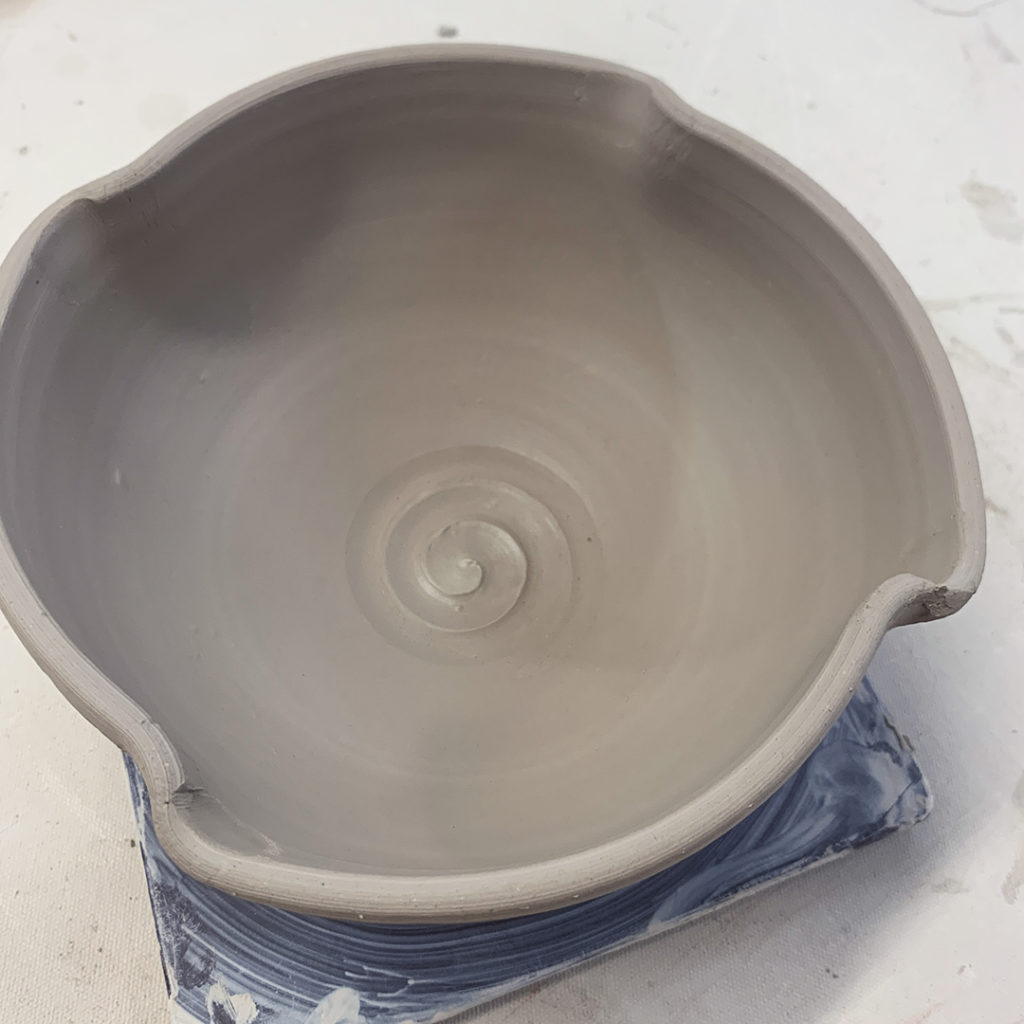
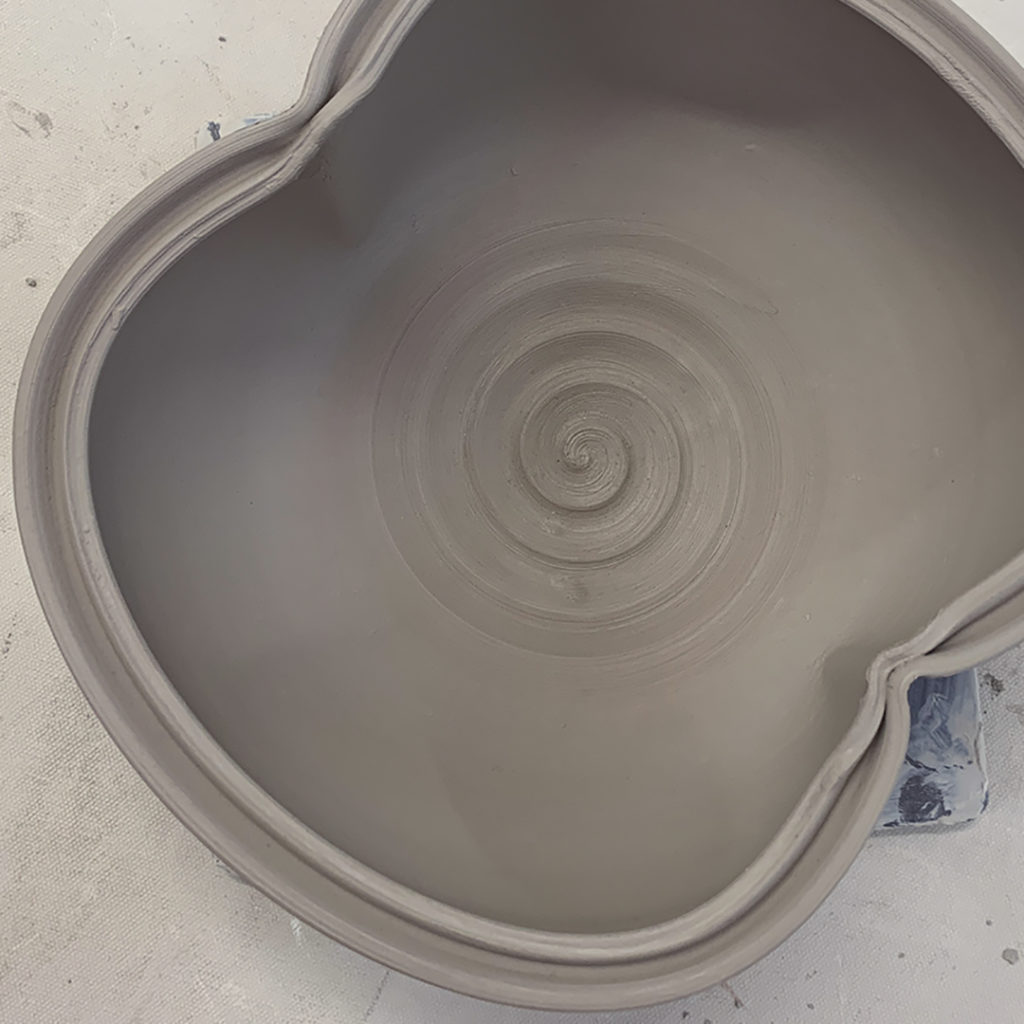
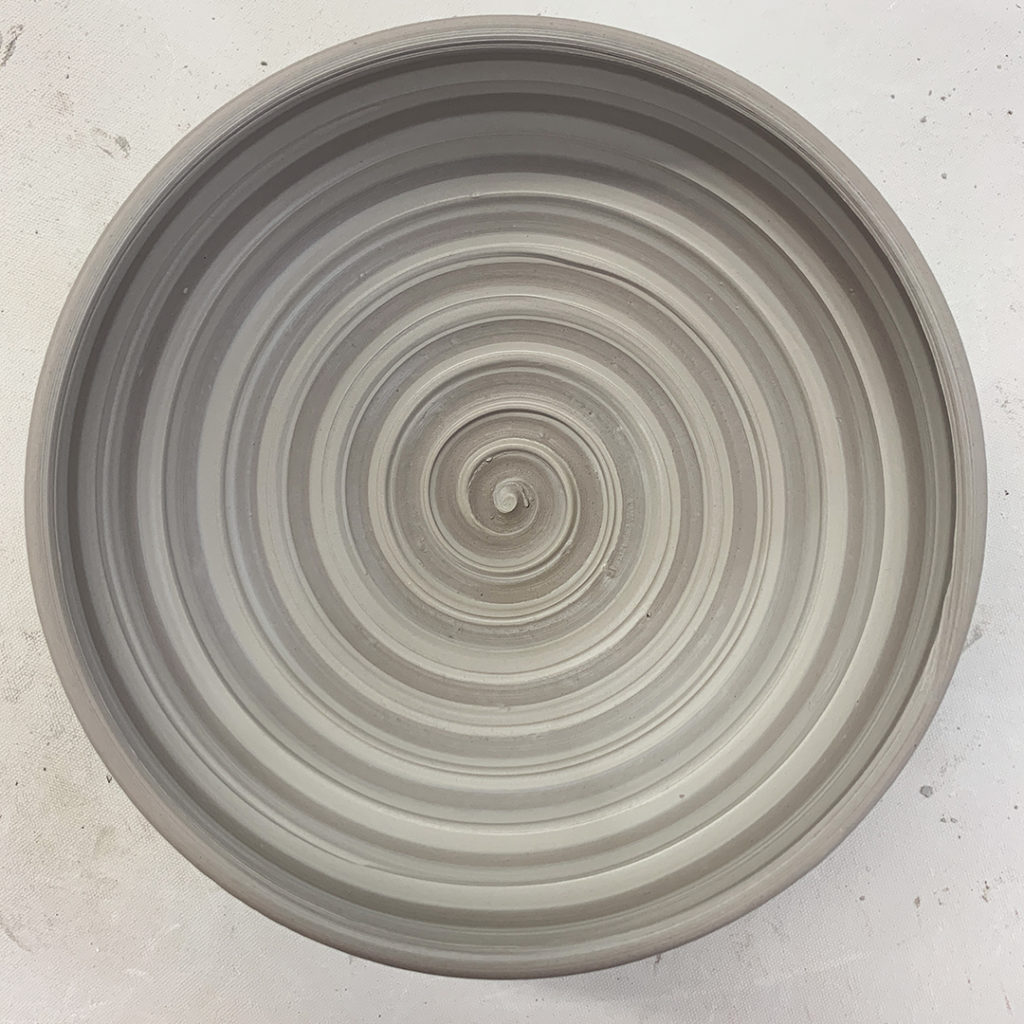
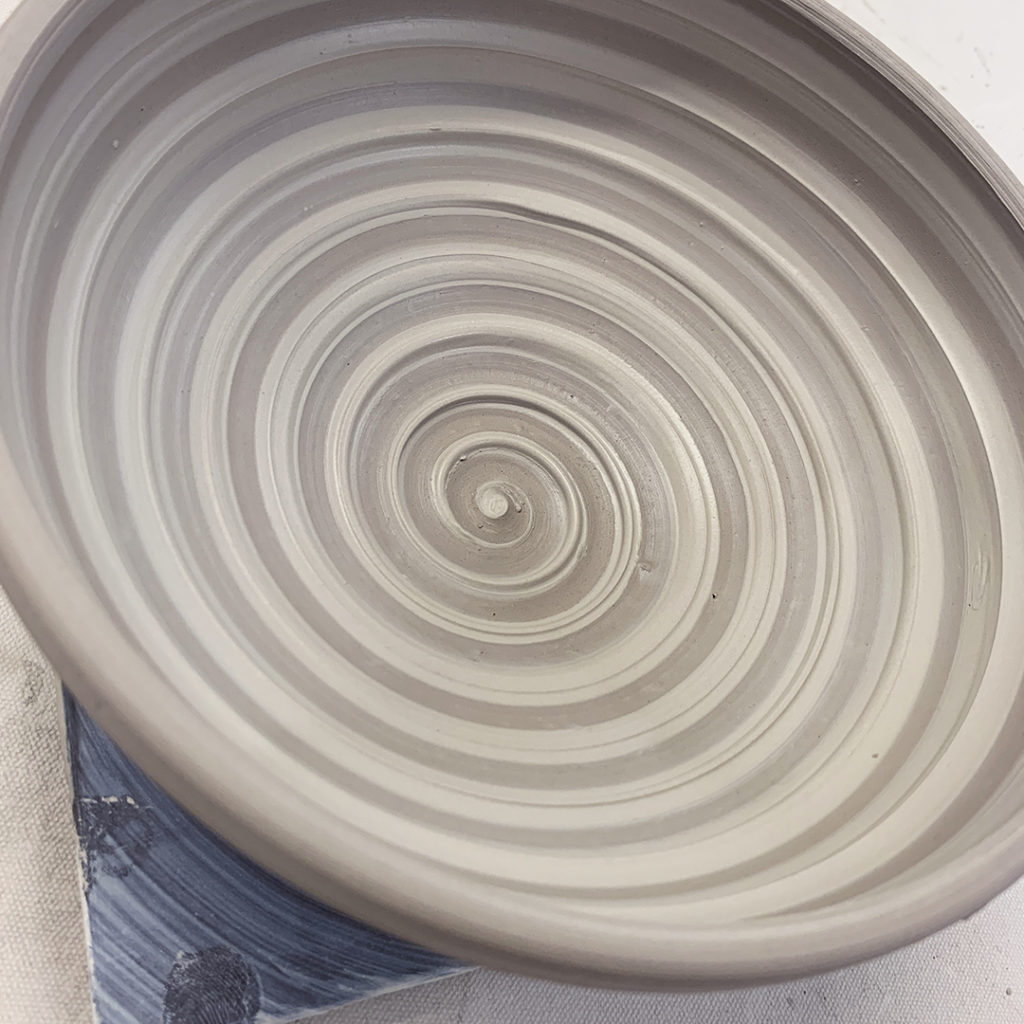
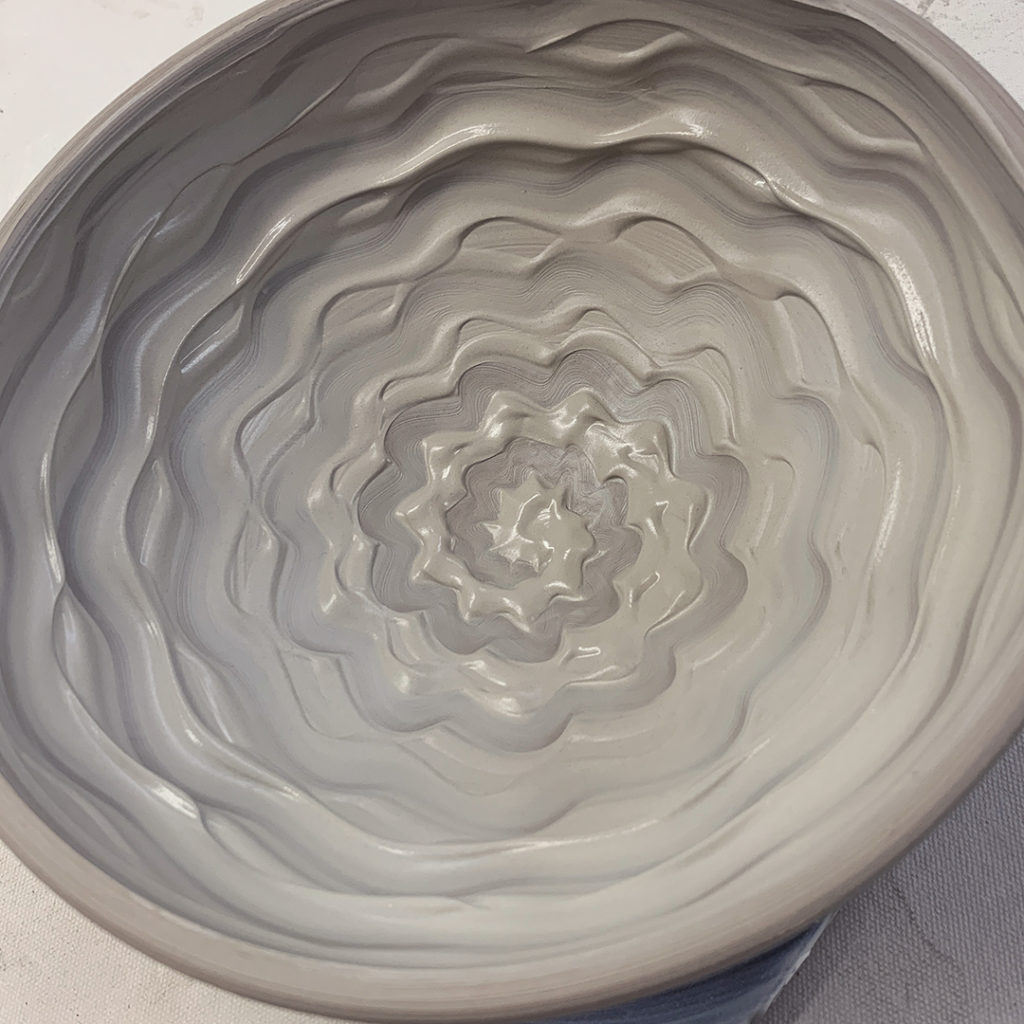
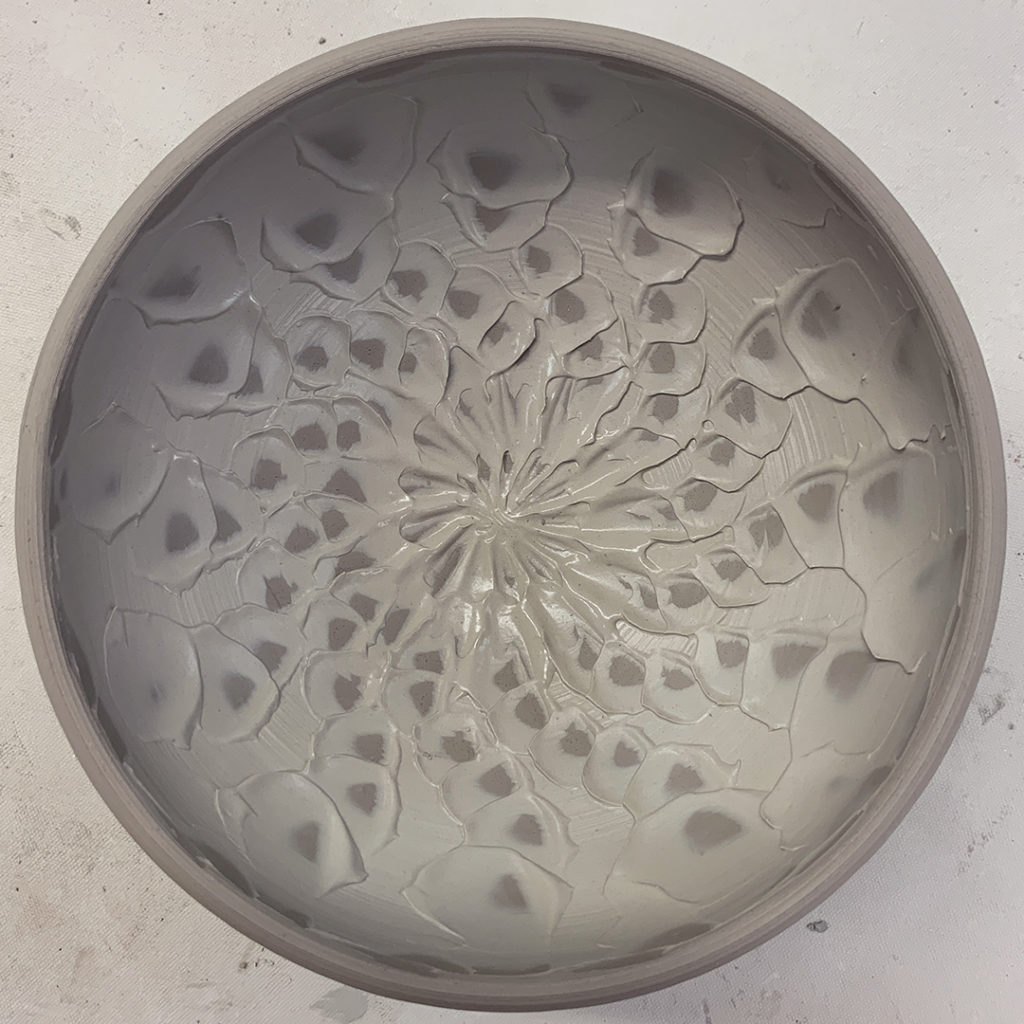
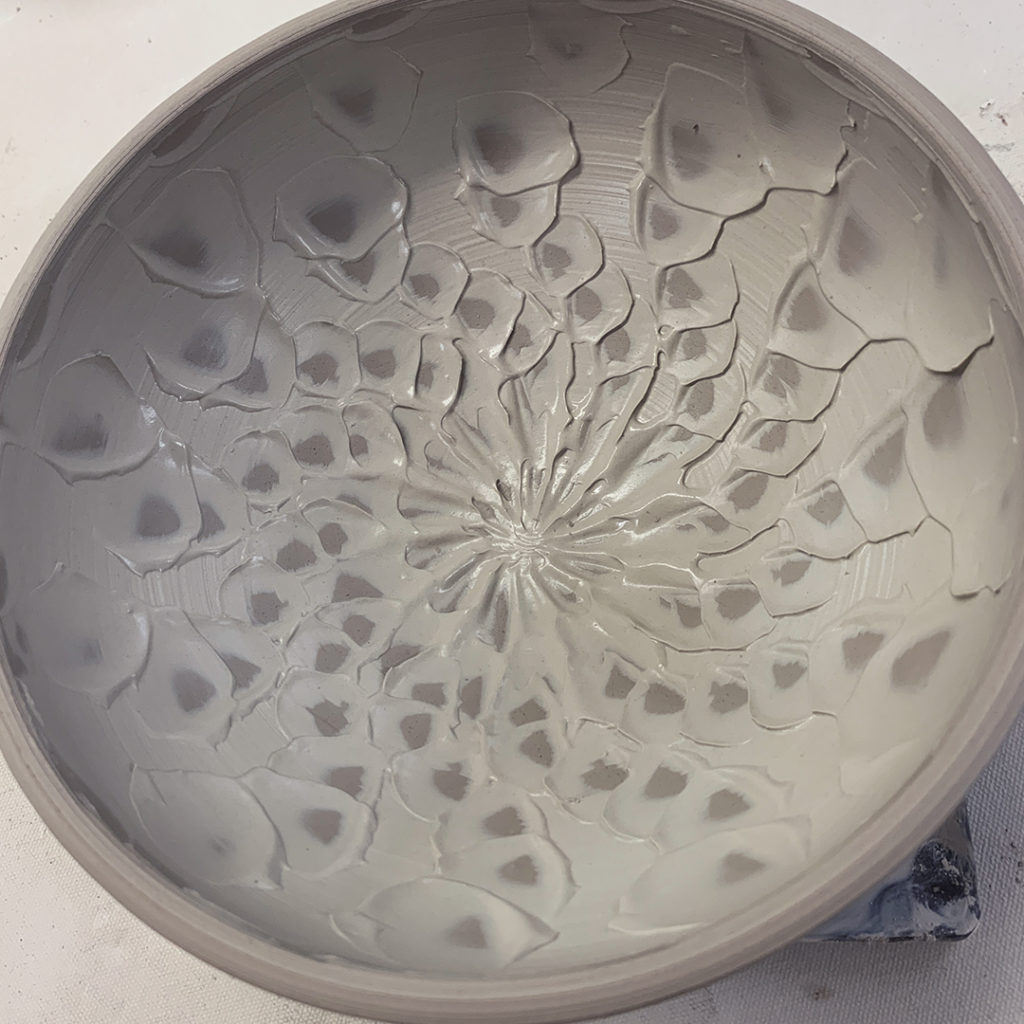
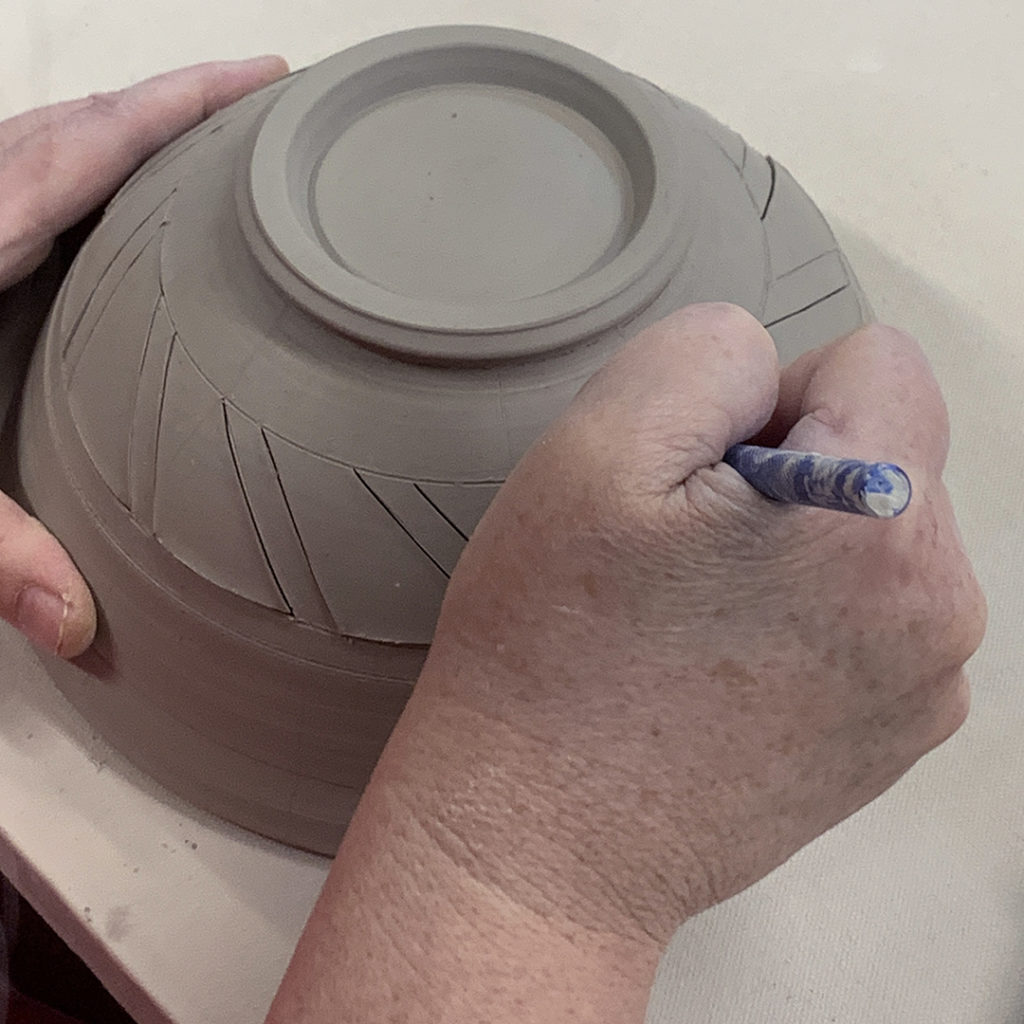
So here it is so far… I’m going to let it dry slowly and trim the bottom when it gets leatherhard. Still contemplating if it might “need” a bit of stamped texture somewhere?! And if so… where???

After bisque firing, I’m assumiong I’ll probably just sue some clear glaze to make the colors “pop” and give it all some shine. The downside might be… that I’m not fully confident that the colors of the underglazes will actually “survive” the high-fire cone 10 temperatures. But we’ll find out soon enough…

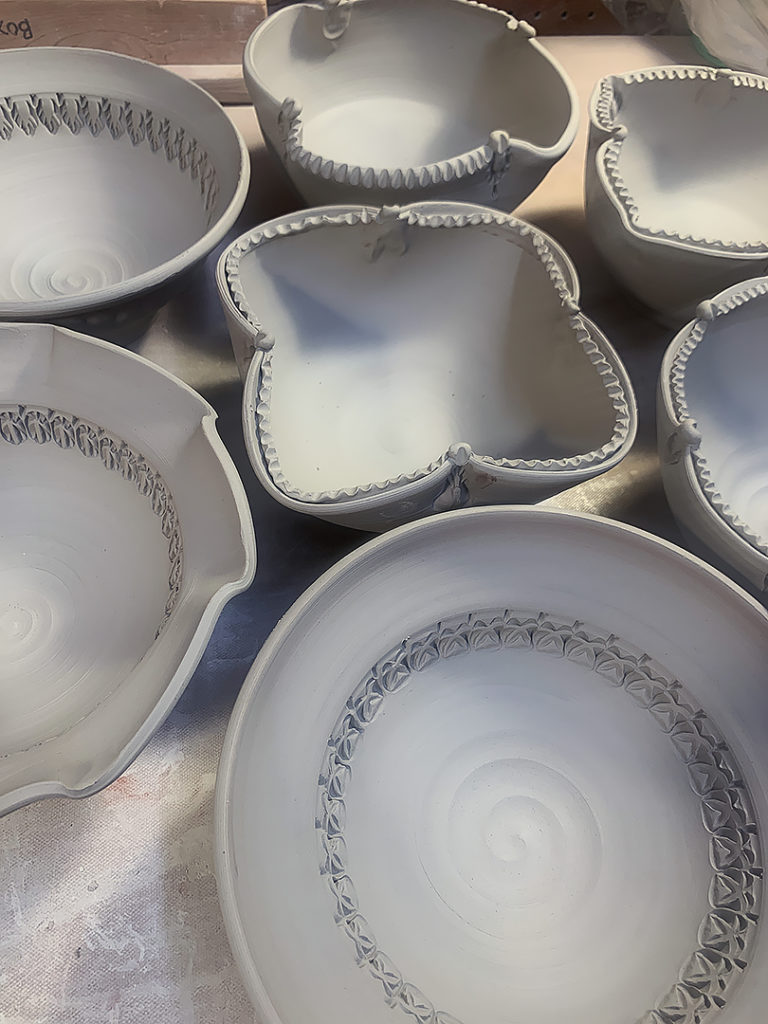
Not quite traditional “tie-dye”…. but pretty fun & groovy nonetheless!

Categories: bowls, classes, surface decoration, textures, tools

Here’s a few shots of my students getting started… a bit tentative at first… but quickly got their groove on!!!… and loving the sharp carving edges of my DiamondCore Tools!

Categories: bowls, classes, tools

Last week in my Intermediate Wheel class, we tackled some decorative carving techniques. So we came into class with some pieces with thicker walls, knowing that we would be carving into the sides…. and I brought down most of my DiamondCore Tools for my students to use. So we sat around the table and just started carving & making random patterns… having fun & trying our best not to cut through the walls!!!

Categories: classes, vases, wheelthrowing

Just another quick class demo… showing them how to throw a bit taller, get the clay to move up off of the bottom… and how to get some even wall thickness. Unfortunately, sometimes you gotta cut a few pots to show your students what you’re talking about!

Categories: bowls, classes, wheelthrowing

So tonight’s class demo was a large serving bowl… as part of Shannon’s request. She was thinking maybe 10-pounds of clay for a large bowl for making bread?! So we went for it… but decided to go with nine pounds as ten just sounded too big?! HA!!!

Categories: bowls, classes, stamped, textures

I tried my best to “save” some of the demo bowls from last week for my Tuesday night class… so I could continue the demo with decorating some of them with my students. I tried to wait… I tried to keep a few... but I just couldn’t. The bowls were starting to dry out and I didn’t want to wait too long… I hope they understand that I had to stamp without them! I’ll still bring them to class to show them what I did while they were gone!

Categories: bowls, classes, surface decoration, wheelthrowing

Last night during my Beginning & Advanced Beginning Wheelthrowing class, we tackled making a bowl on purpose… instead of a cylinder gone bad. We discussed the differences… and how I can see if it started out as a cylinder… tsk-tsk!

After doing a demo on a basic bowl, I explained how the wheel pretty much makes the plain bowl for you… but it’s up to YOU to decorate it and make it your own! So I threw a bunch of basic bowls during class for us to “play with” later!

And then we re-grouped when I was done throwing all of the bowls. We then went through a quick barrage of tricks & techniques for doing some surface decorations to their bowls. None of them are too difficult. It’s more about encouraging them to give it a try, commit to something, having fun… and i fit doesn’t work, we can always squish it up, re-wedge it and try again. IT’S JUST CLAY!!!

Bowl #1 – The “Control” Sample… this is what they all started out like…

Bowl #2 – a simple fluted edge in four places

Bowl #3 – a simple flared-out flange

Bowl #4 – A wider flared flange… more “canvas” for decorating!

Bowl #5 – a split rim with two side dents…
good potential for a basket handle to go up & over the top

Bowl #6 – Another split rim – this time with four dents making kind of a quatrefoil squared-off effect

Bowl #7 – Another split rim… this time with eight finger-pinched sections

Bowl #8 – another split rim with eight dented sections… four inwards & four outwards – creating a bit of a lotus effect

Bowl #9 – Thick white slip with a tight spiral dragged through using the rounded end of my wooden knife.

Bowl #10 – Thick white slip with some concentric banding.

Bowl #11 – Thick white slip with loose fingsr-painting squiggles.

Bow #12 – Thick white slip with groovy squiggle pattern using the rounded end of my wooden knife.

Bowl #13 – Chattering…. rhythmic tapping of a rubber rib through the thick white slip while the bowl was spinning on the wheel.

Bowl #14 – Another bowl with chattering….
this time a bit more angular & linear in the center… by request.

Bowl #15 – An ombre blended gradation of black & white slips… then a fun spiral dragged through both.

So for now they’re all under plastic up in my studio. The class demo was a lot of fun for everyone… just trying to show off some tricks & techniques for decorating basic bowls! I will continue to “detail” them… and possibly do a little stamping in the days to come!

Categories: classes, holiday, seasons, wheelthrowing

For some reason, a couple of the folks in my Advanced Wheelthrowng class are all about making holiday pieces in class?!… and you know I’m always up for a challenge. They want to get a head-start on them so that they’re ready for the holidays to come… instead of rushing last-minute & waiting for kiln firings at the end. So last week in class we tackled wheelthrown pumpkins… next up?… CHRISTMAS TREES!!!

Categories: bowls, classes, pottery, surface decoration

Last night during my SURFACE DECORATION class, we tackled carving through wheelthrown bowls to make “baskets”… with the goal of carving at least HALF of the bowl’s weight away! Tougher than it sounds. You kinda need a good plan from the start or you’ll lose some structural integrity. And then when it becomes delicate towards the end… you need to remember to NOT over-work or over-wet it… or it might just come tumbling down!

And then when it becomes delicate towards the end… you need to remember to NOT over-work or over-wet it… or it might just come tumbling down!

Categories: bowls, classes, wheelthrowing

It’s another Thursday… so another SURFACE DECORATION class tonight. And this is getting to be a little bit of a “habit”… but I made a bunch of trimmed & leatherhard bowls for my students to carve through tonight. Can’t wait to see what kind of magic they create this evening! Not so bad for throwing these bowls late last night, huh?!