Gary Jackson: Fire When Ready Pottery
A Chicago potter’s somewhat slanted view of clay & play
Categories: classes, handbuilding, textures

Okay, so this may have been my favorite pot from the entire LILLSTREET SODA-FIRING WORKSHOP… because it comes with a great story!

So back in 2017, Carmina was in my beginning wheelthrowing class. But for one of our classes we focused on handbuilding. San Francisco potter Kate Chenok had contacted me as one of my Facebook Fans saying that she was coming to Chicago and asked if she could stop by for a visit… and I said yes, of course… but then I encouraged her to do a class demo while she was here. She was so gracious and did an AMAZING demo for my class. She brought her templates and showed my class how to make these cute textured-slab-darted cups. So the story is… that Carmina made this cup back in 2017… and has been wondering how to glaze it ever since?! Until this workshop…so SIX YEARS LATER it is finally done!!!

Good save Carmina… I’m glad you waited.

To see more about Kate’s visit and the demos she did for my class… click here… http://firewhenreadypottery.com/2017/06/class-demo-by-a-visiting-artist-kate-chenok/

And then be sure to click here to see more of Kate Chenok’s work… https://www.glazedoverceramicsorinda.com/

Categories: bowls, classes, surface decoration, wheelthrowing

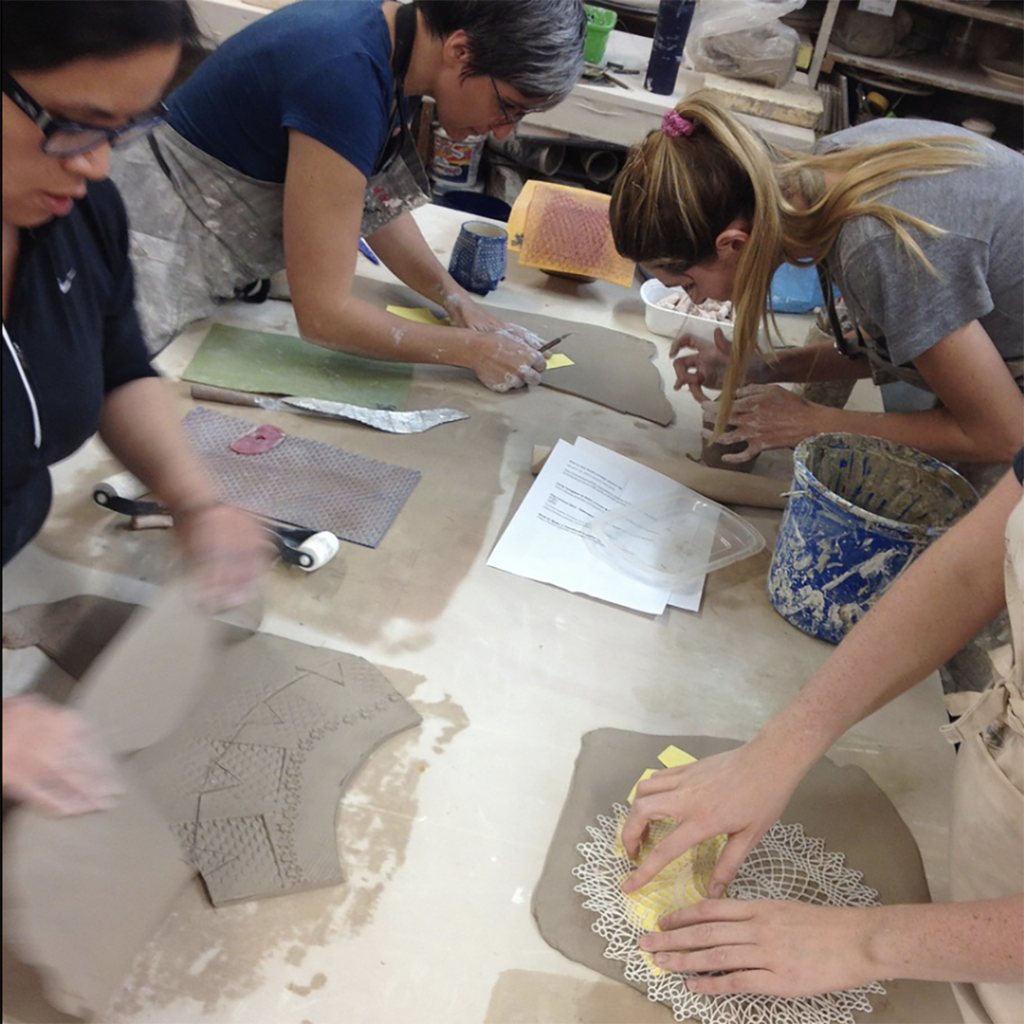
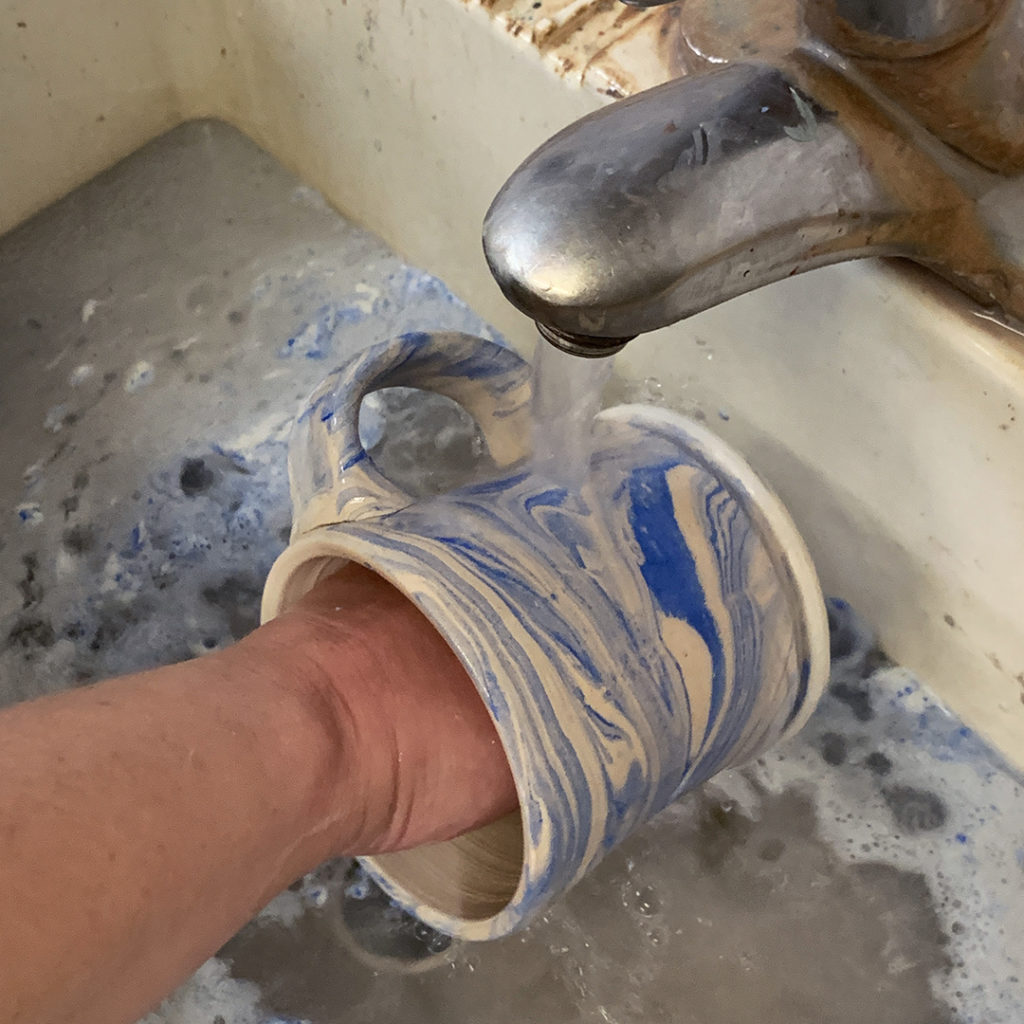
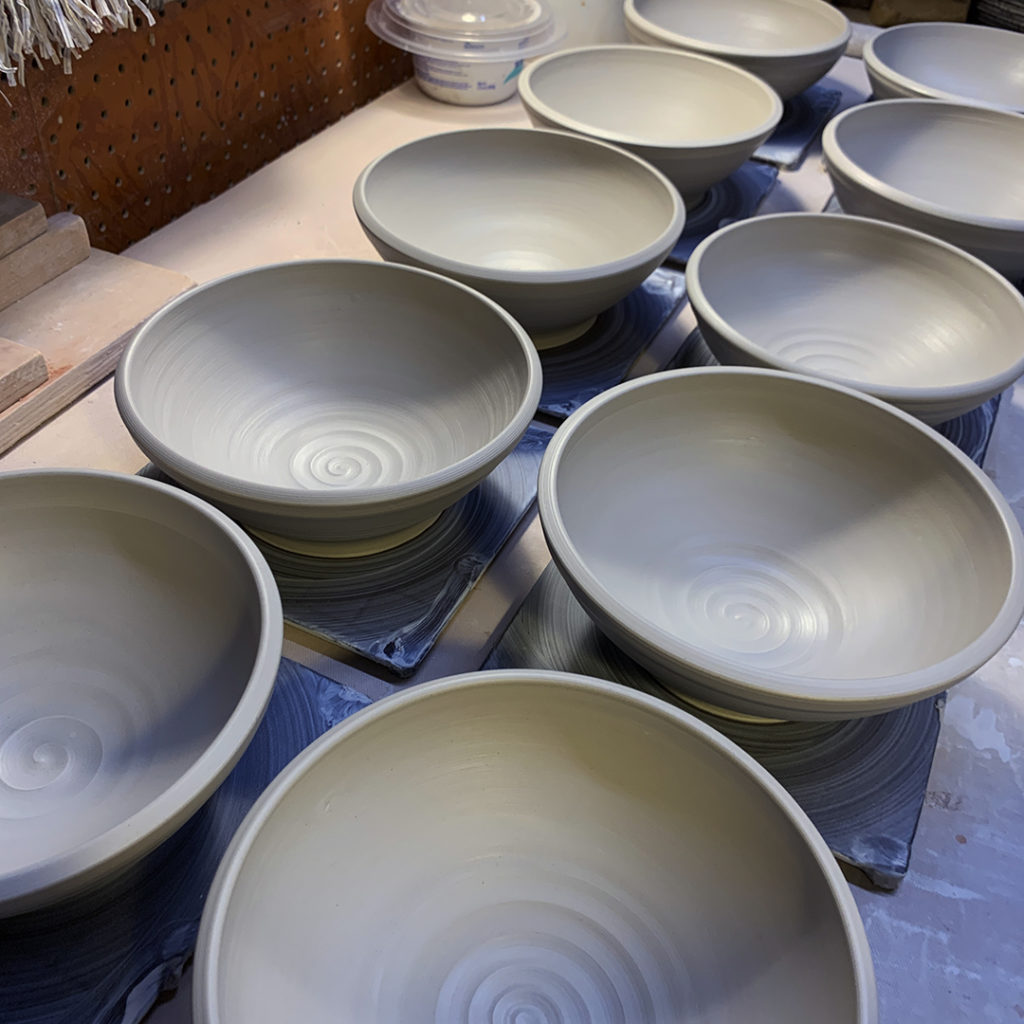
Well, it’s that time of the session… time to show my Beginner’s how to throw a bowl on purpose instead of a cylinder gone bad. So I started class with a demo on how to make a bowl with a nice even curve through the interior… with no flat bottoms, no corners, no beginner bumps or identations. I remind them that they need to throw the interior of the bowl as smooth as they can… and then we’ll trim the exterior later to “match” the inside curve.

After I did my first demo… they all went back to their wheels to give it a go! And I might have thrown “a few” more…

When I finished throwing my demo bowls, we reassembled for Part Two of the demo. A little fun in how we can alter & decorate the bowls. Trying to give them a few tips, tricks & techniques to make their pottery more of “their own” instead of the round thing the wheel made for them. How to put their own creativity into their work. I stressed that they don;t need to do any of these techniques… but please feel free to PLAY more with your clay!!! And that bowls don’t always need to be round!!!
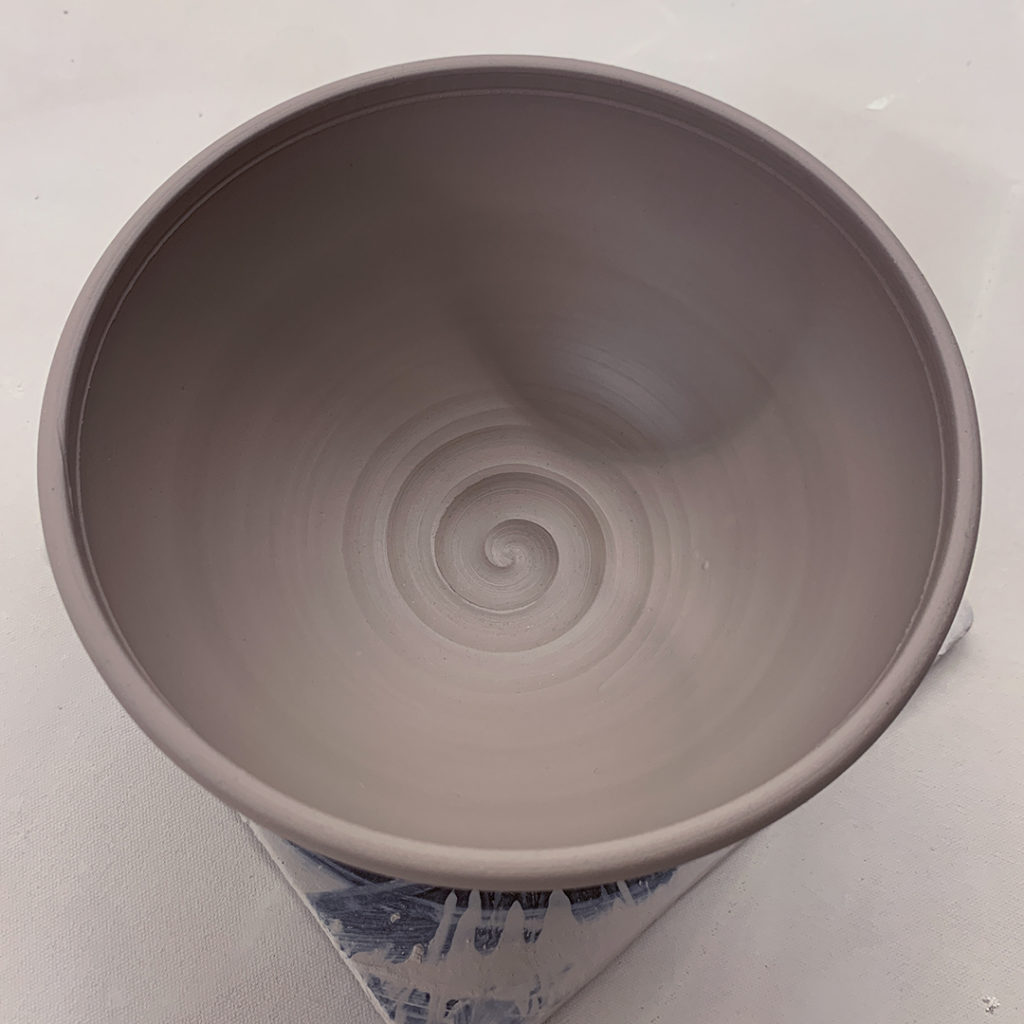
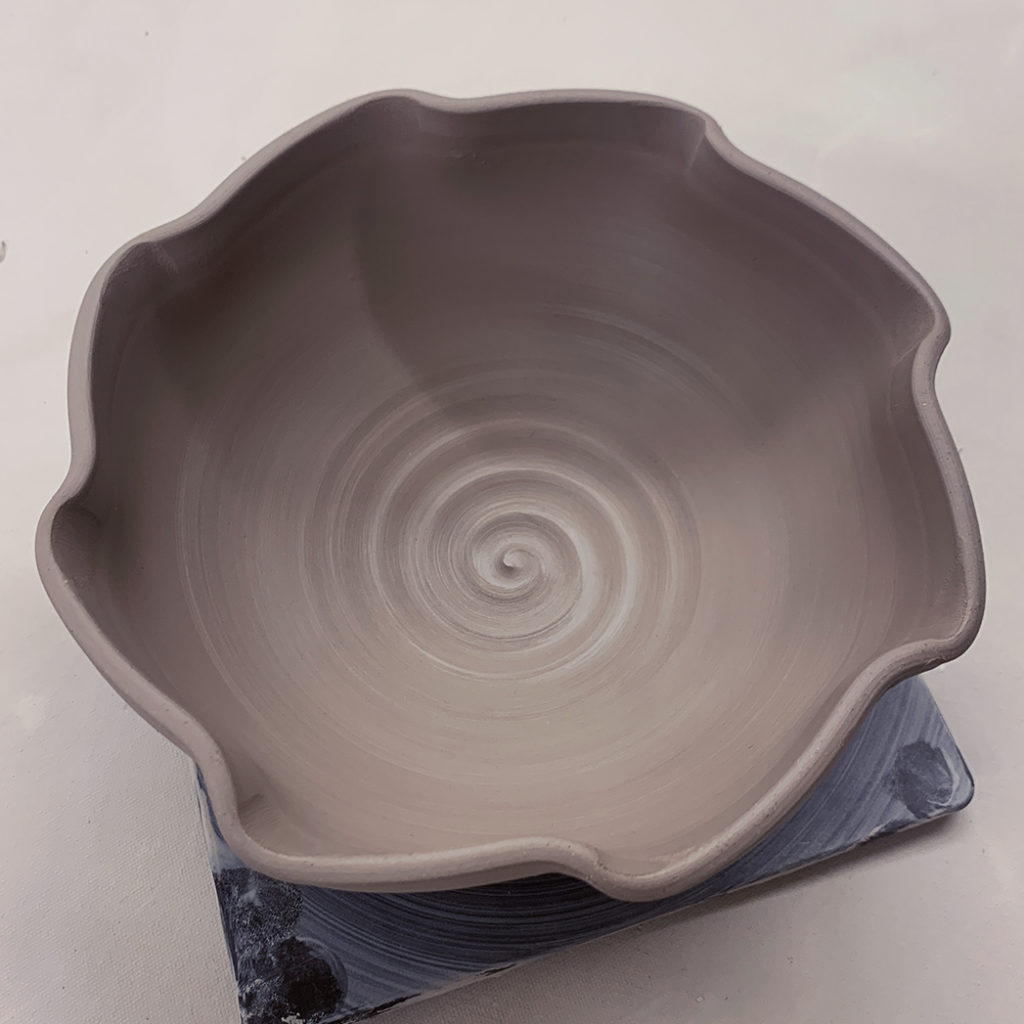
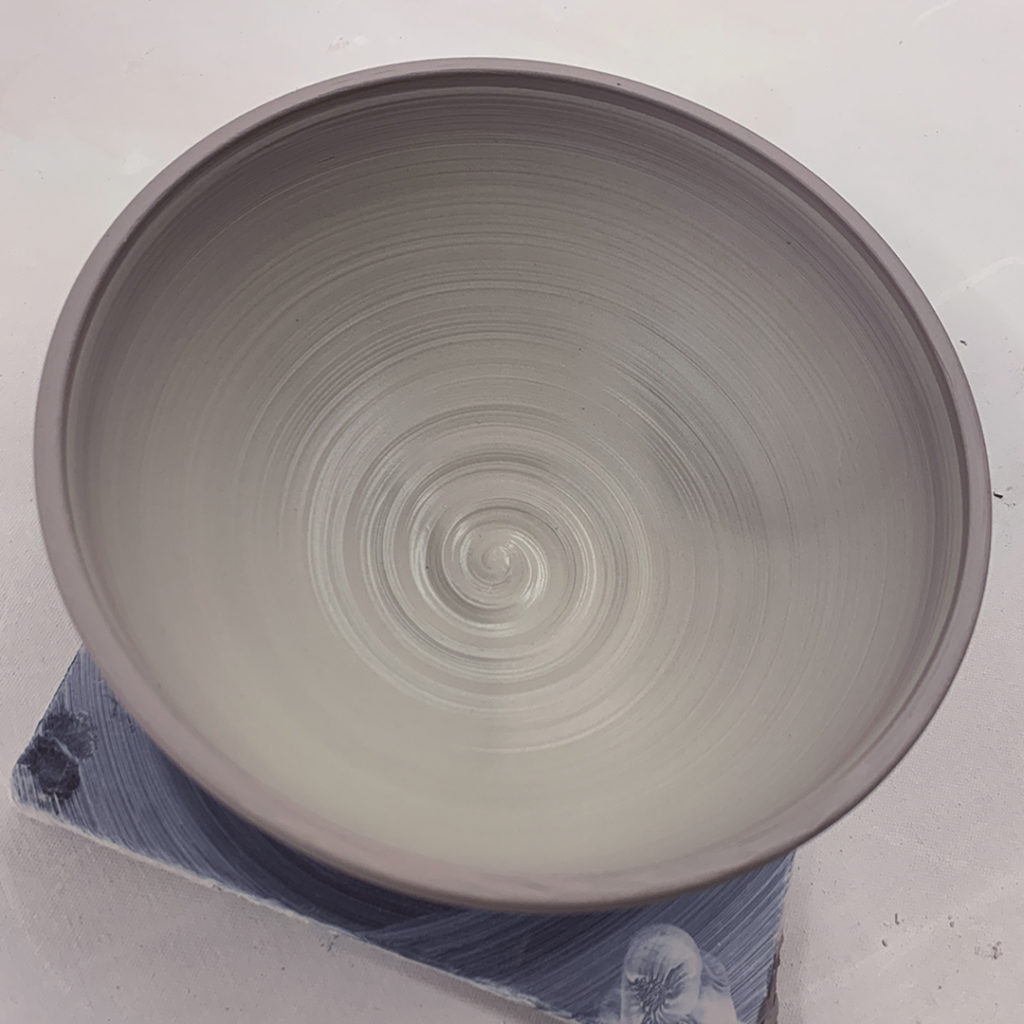
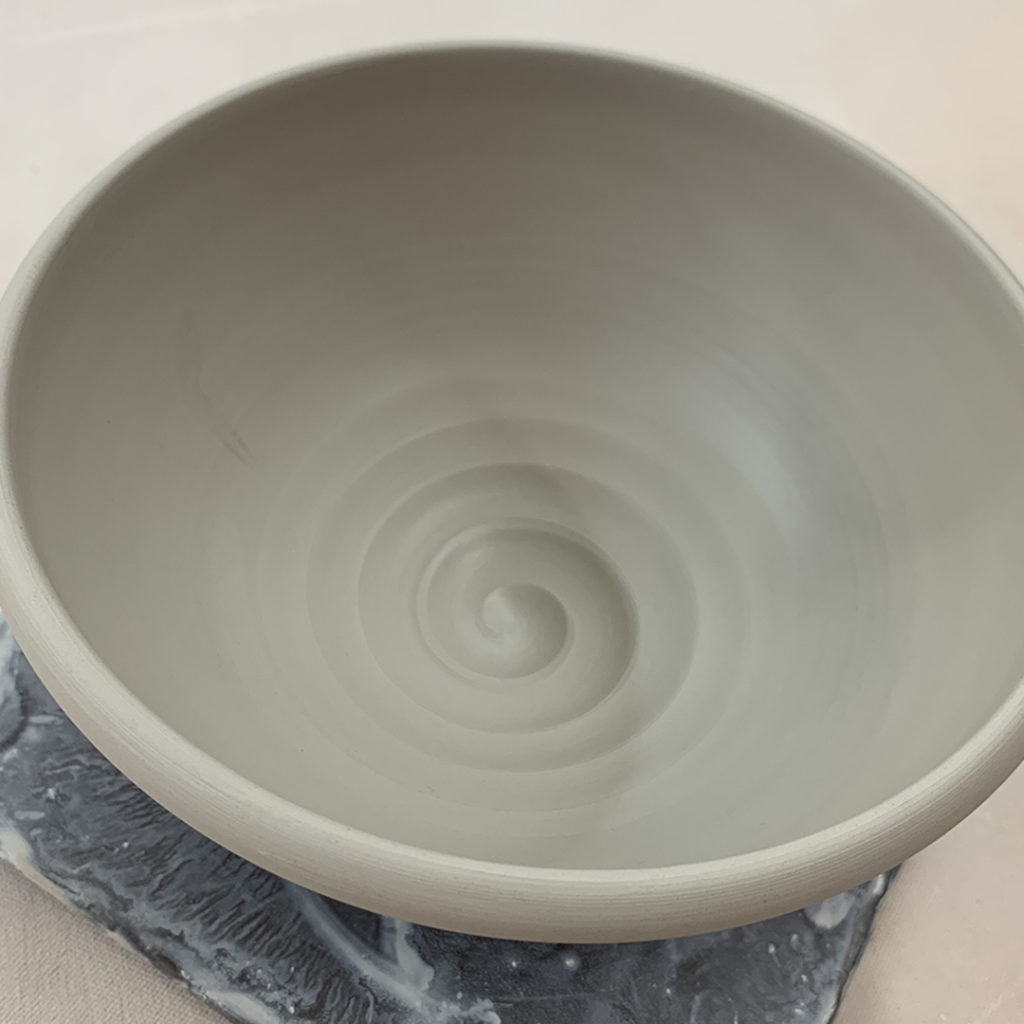
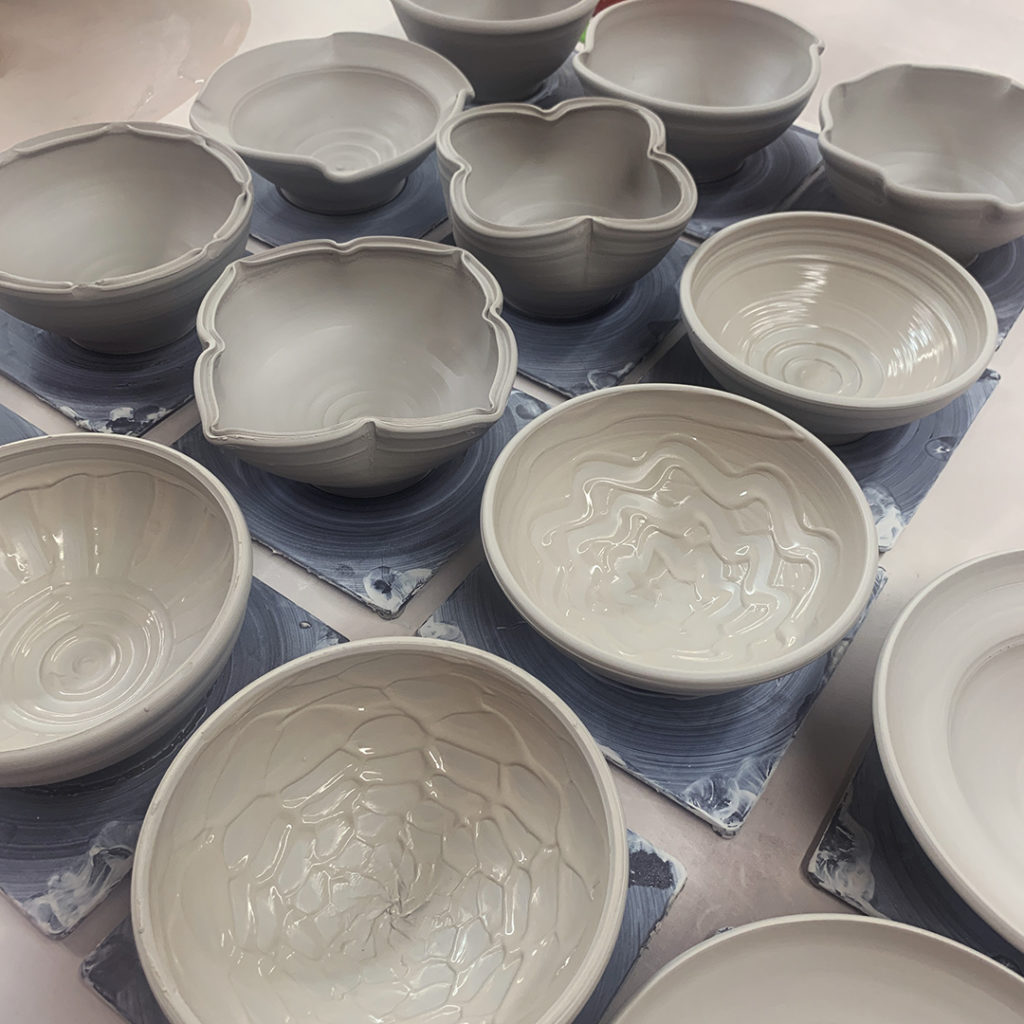
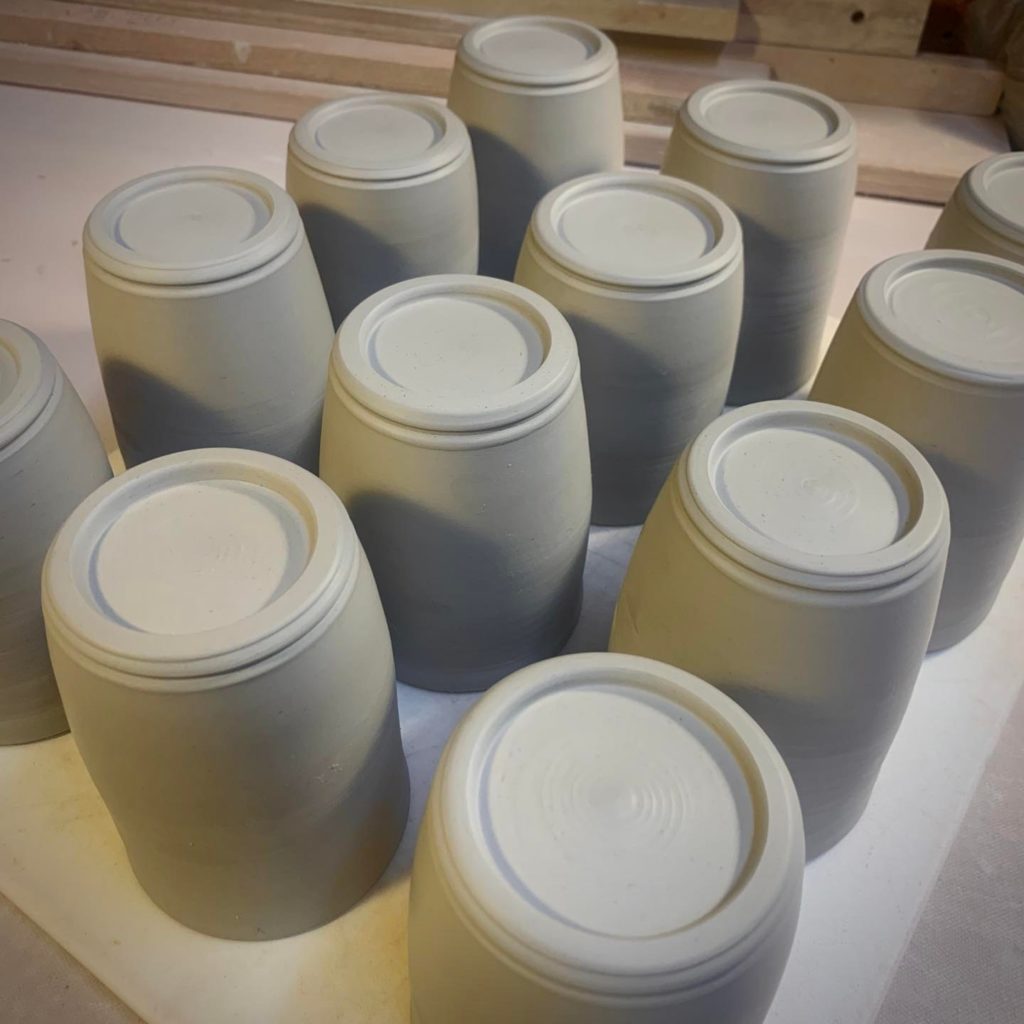
Bowl #1 – Plain
This was the first one… the “control” bowl… so we left it plain for comparison.

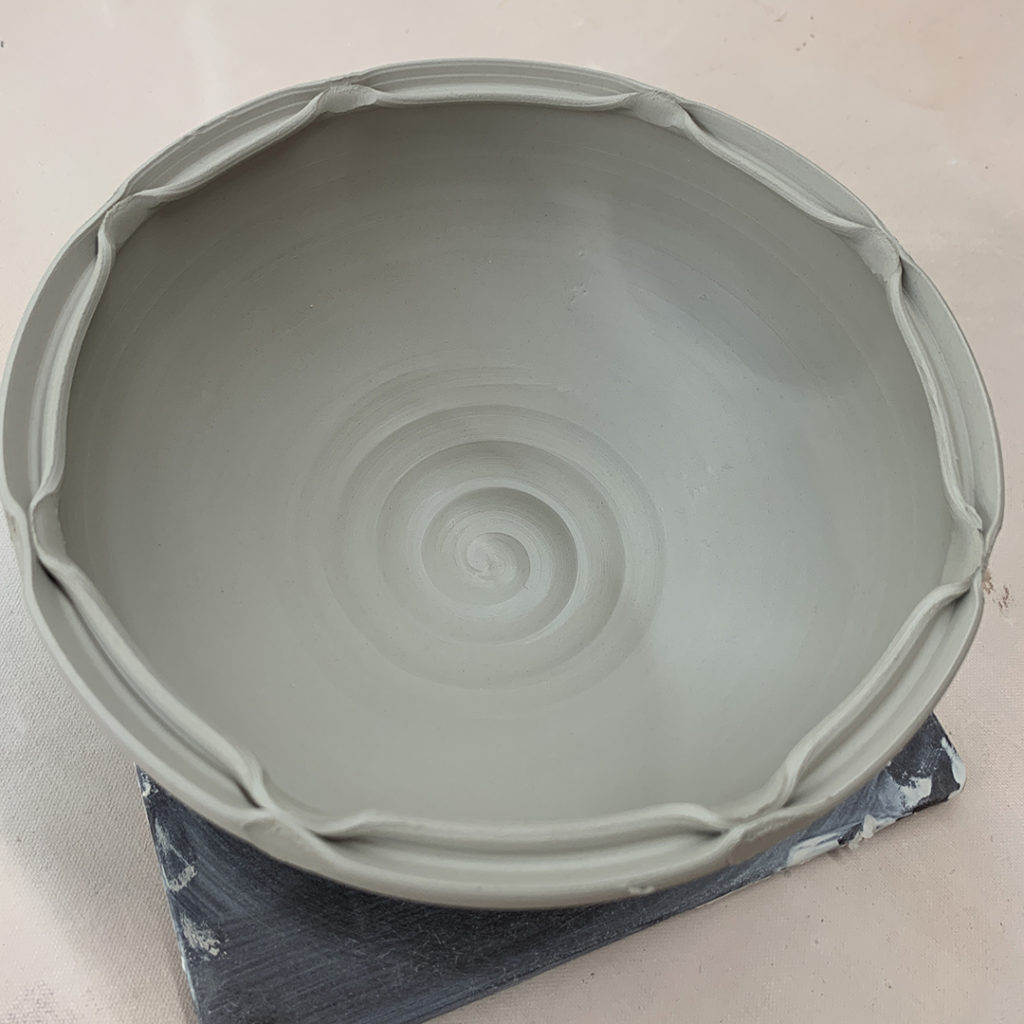
Bowl #2 – Four Fluted Edges
With a simple finger flick, I made four fluted areas. One finger inside, one finger outside… pinch & twist.

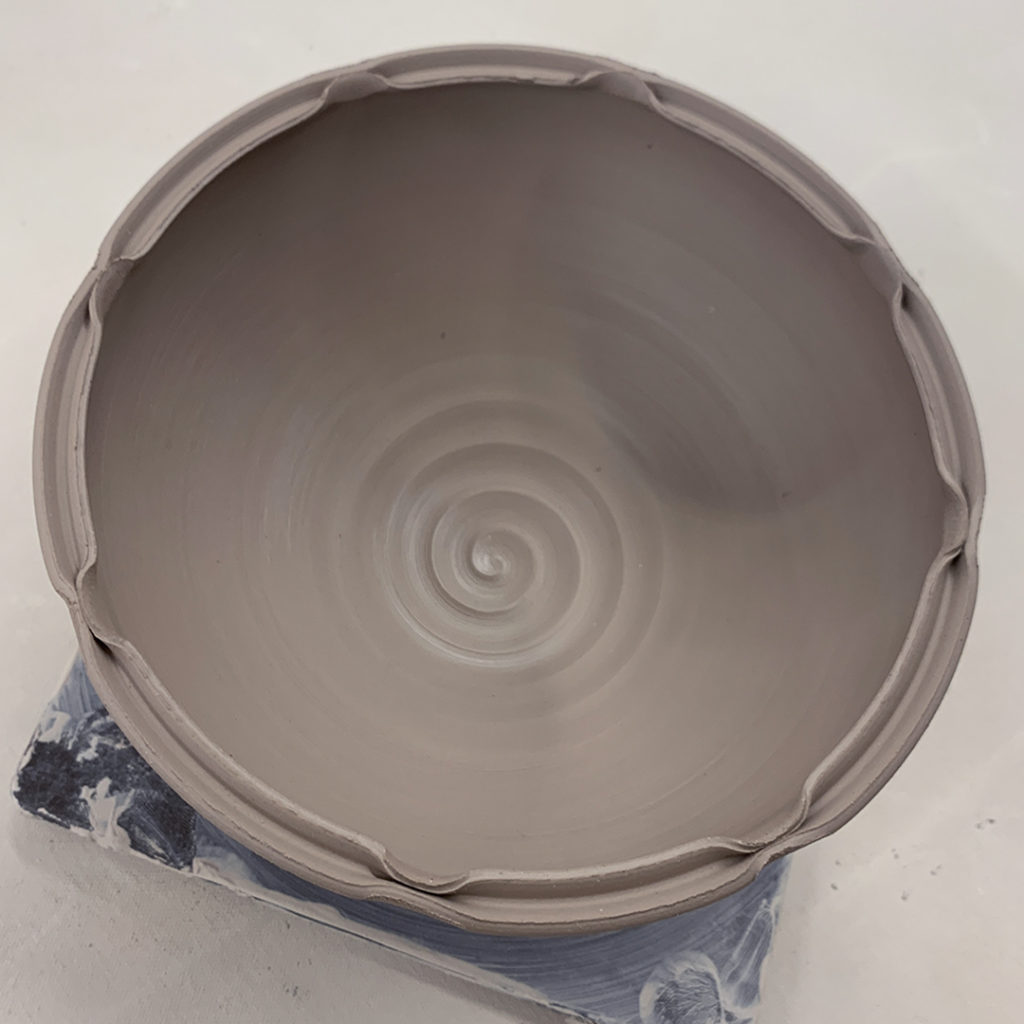
Bowl #3 – Eight Fluted Edges
And if four are nice, maybe eight are even nicer!

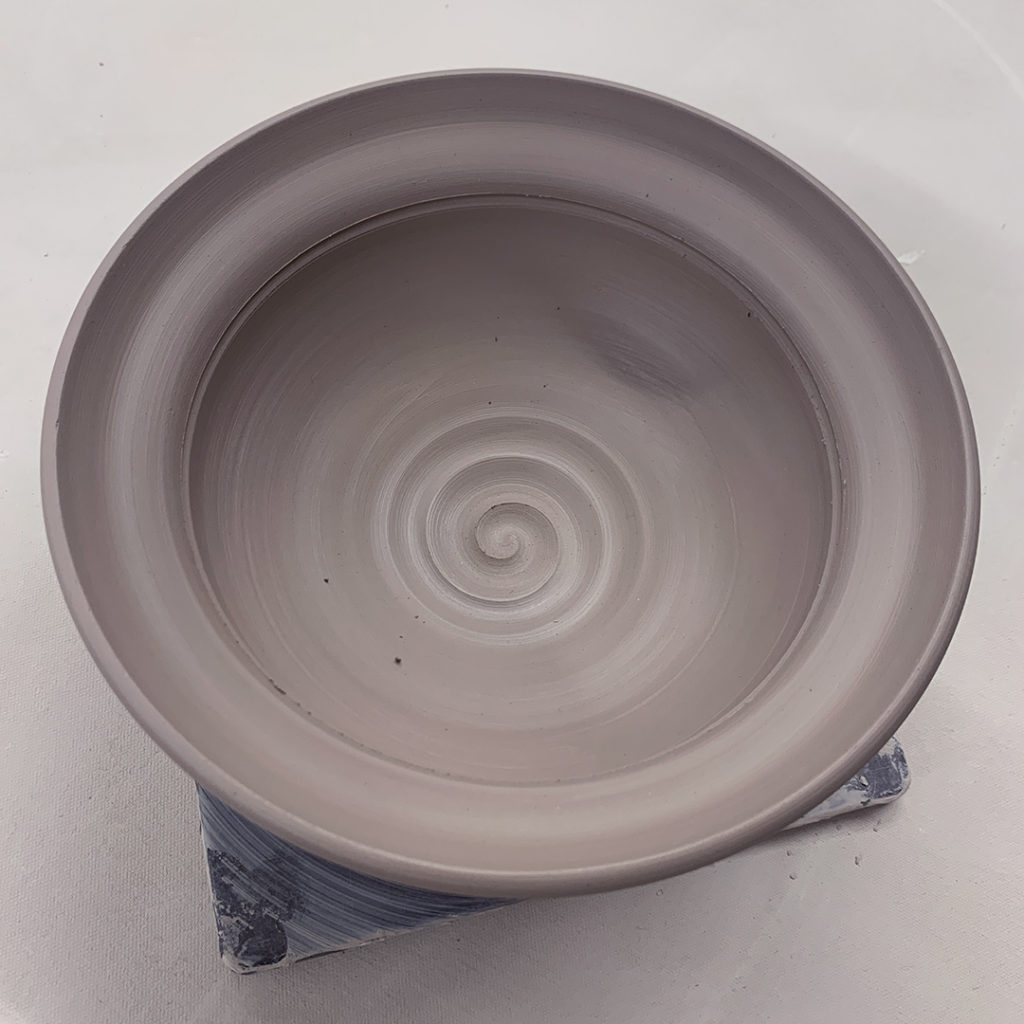
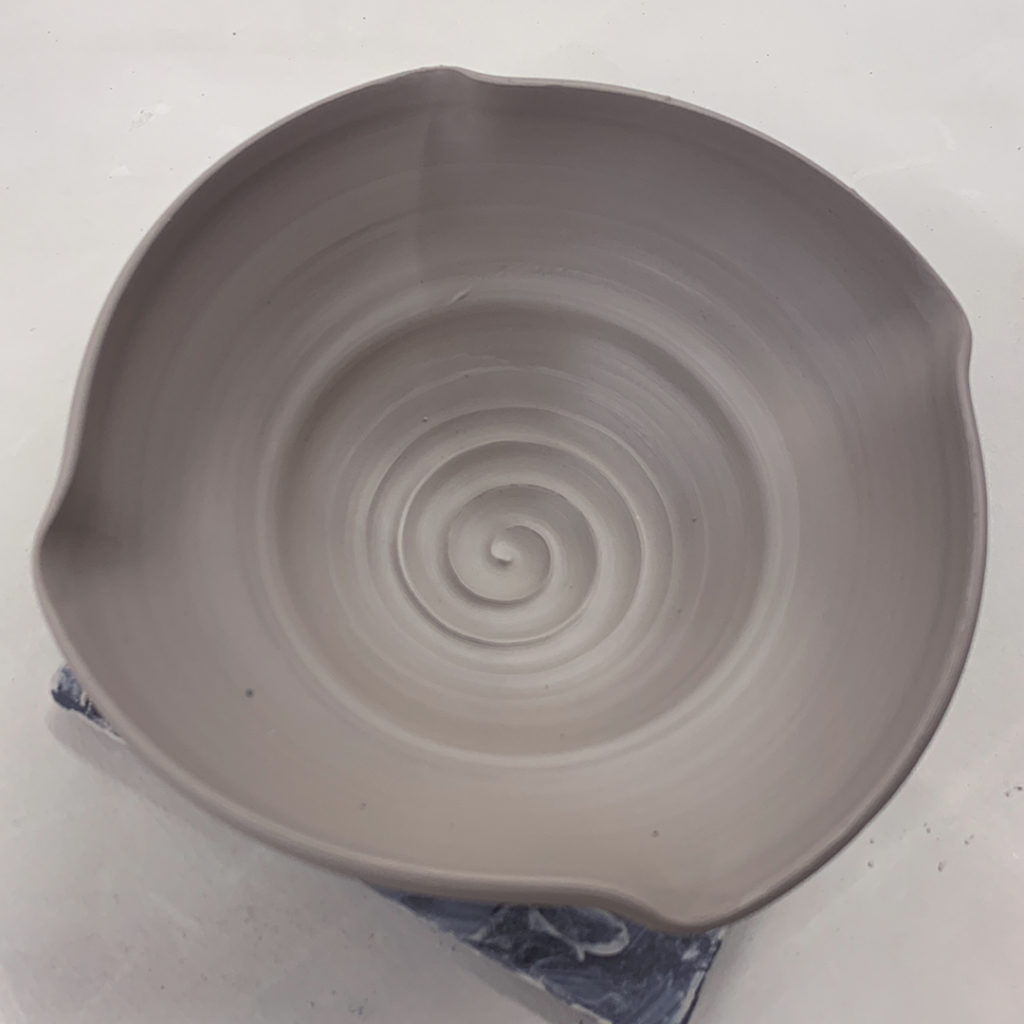
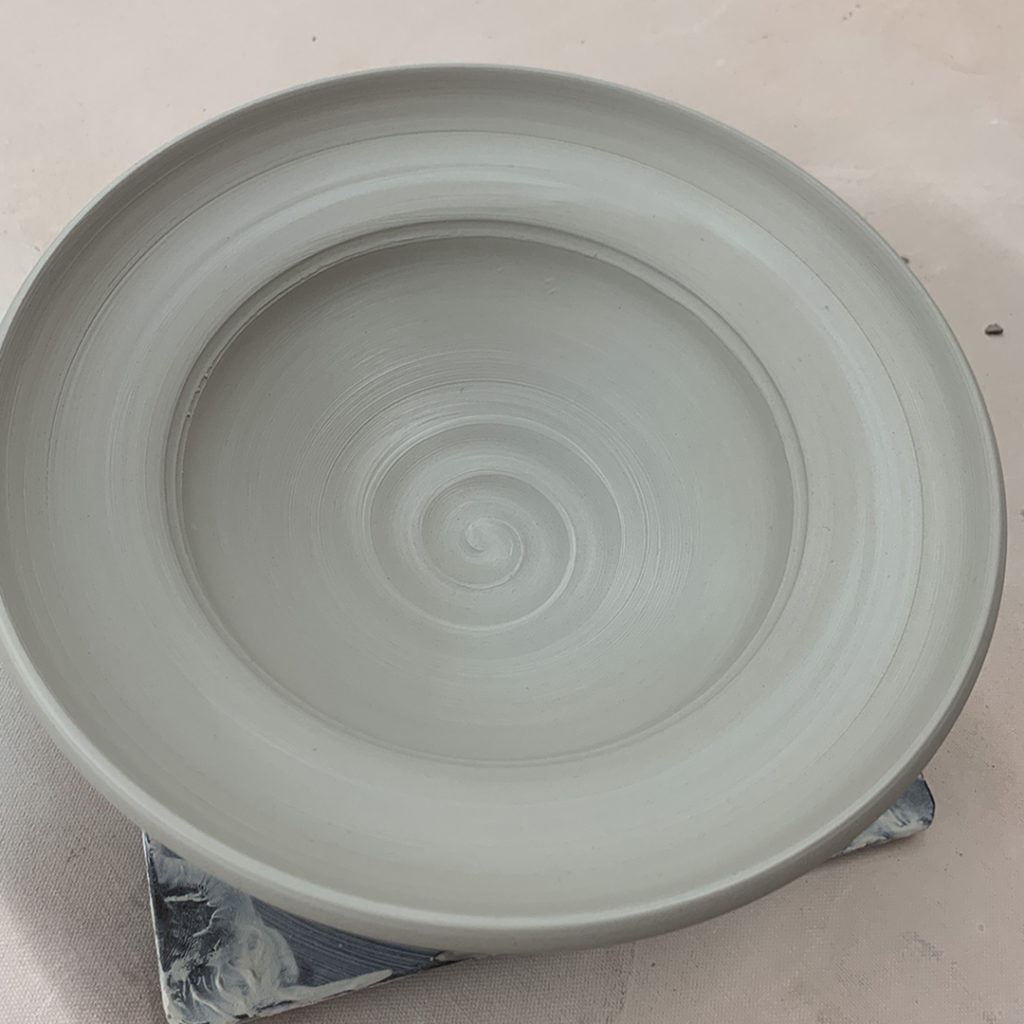
Bowl #4 – Flared Flange
With one finger stationary on the exterior, I just flared out the top edge over that outside finger… and curved it up just a little.

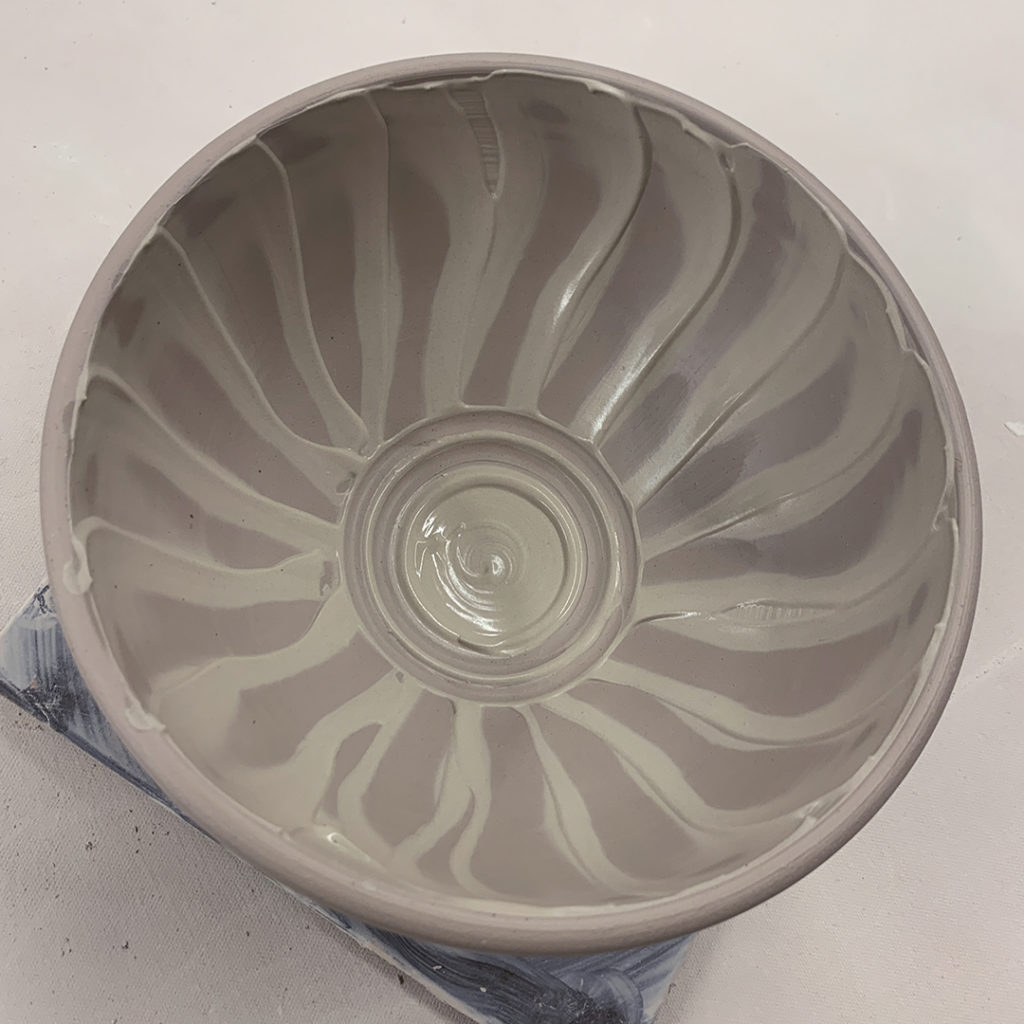
Bowl #5 – Wider Flange & Fluted Edges
Combining a flared flange… but deeper now… with some fluted edges for fun!

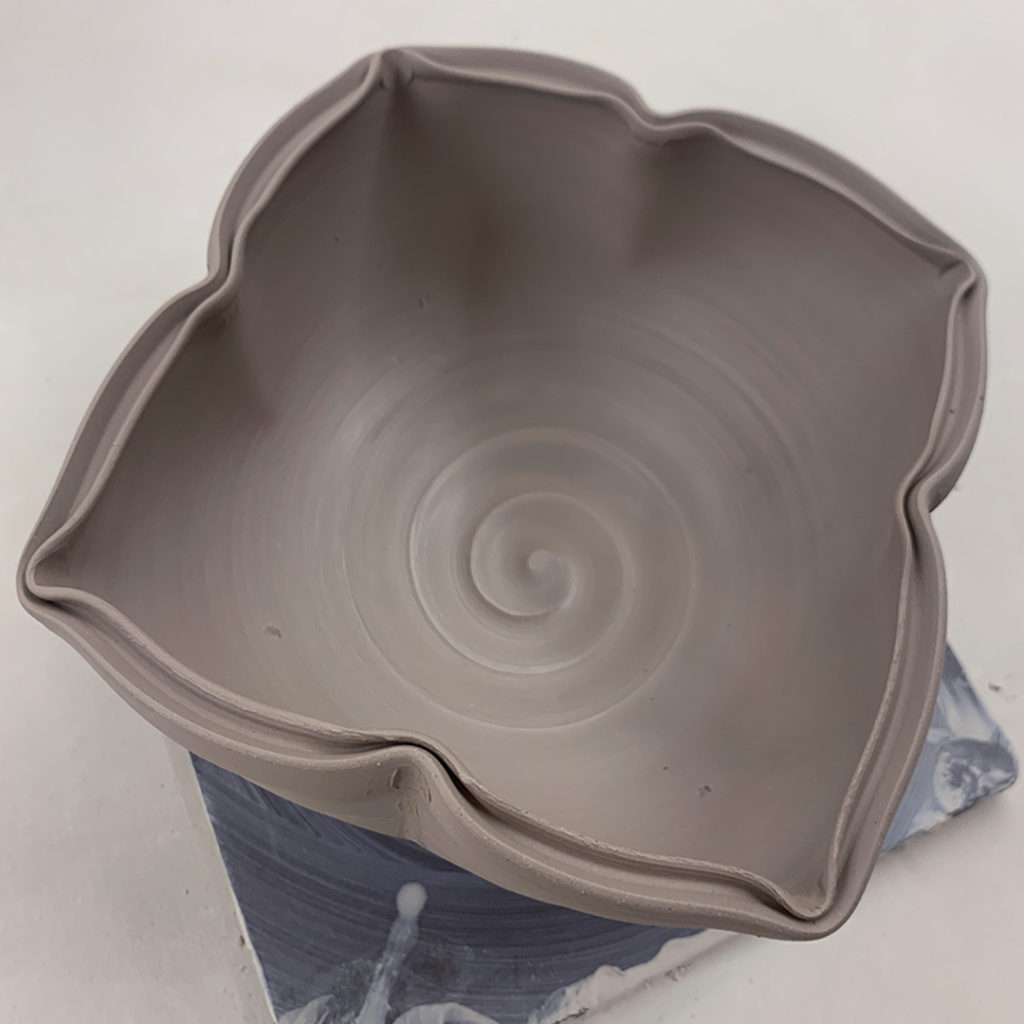
Bowl #6 – Split Rim with Pinches
With my wooden knife, I used the pointed tip to split the rim of the bowl. And then I pinched it back together in eight places.

Bowl #7 – Split Rim, Pinched & Curved
Same idea as the previous split-rim bowl… but this time I curved it outwards in between the pinches.

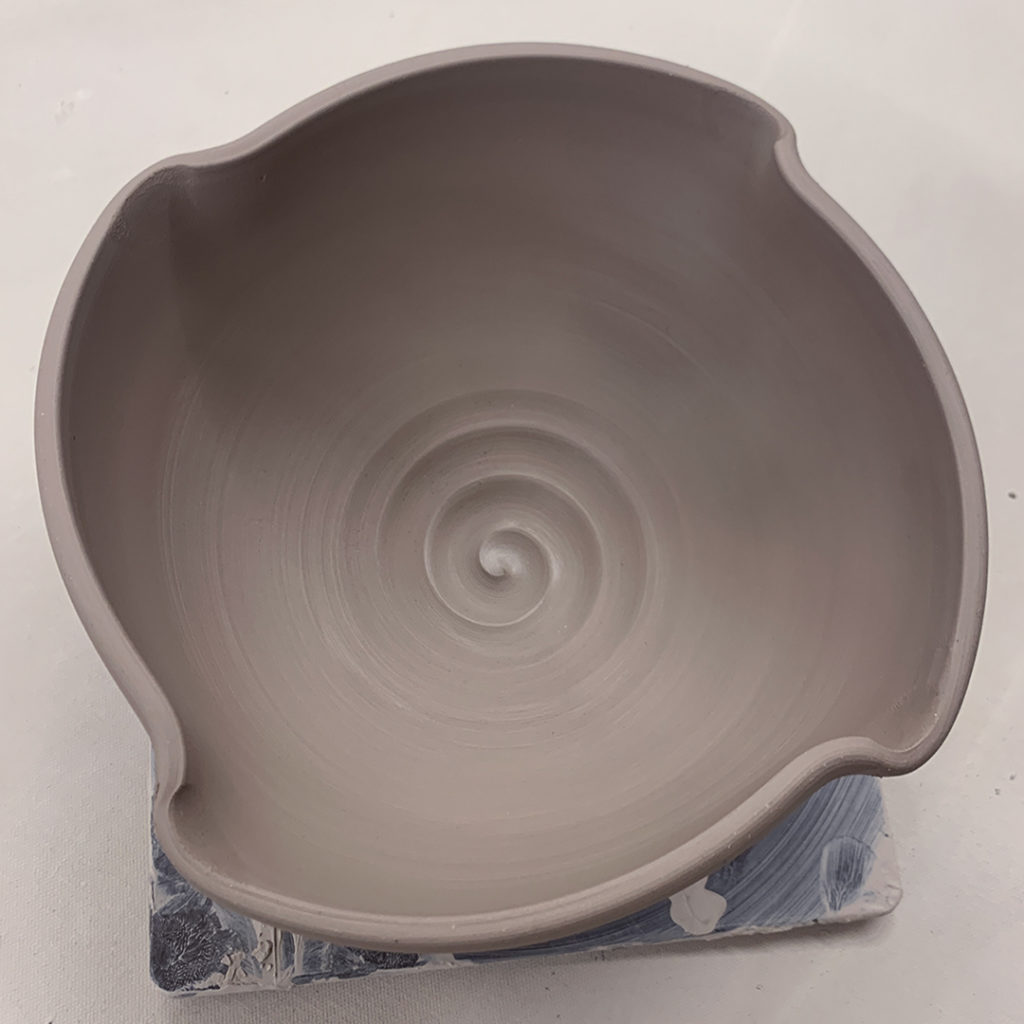
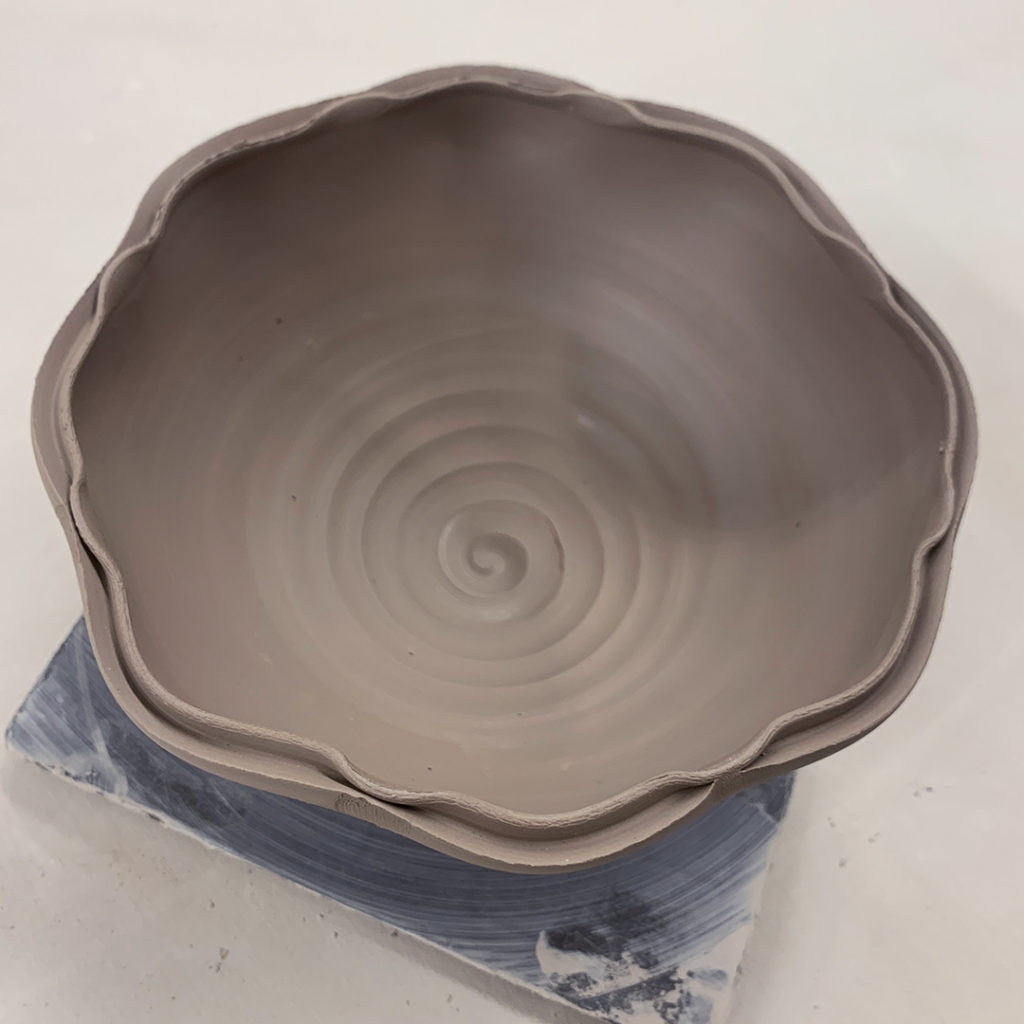
Bowl #8 – Split Rim Quatrefoil
After splitting the rim, I used the side of my wood knife to press it inwards in four places… no one ever said a bowl HAS TO BE ROUND?!!!

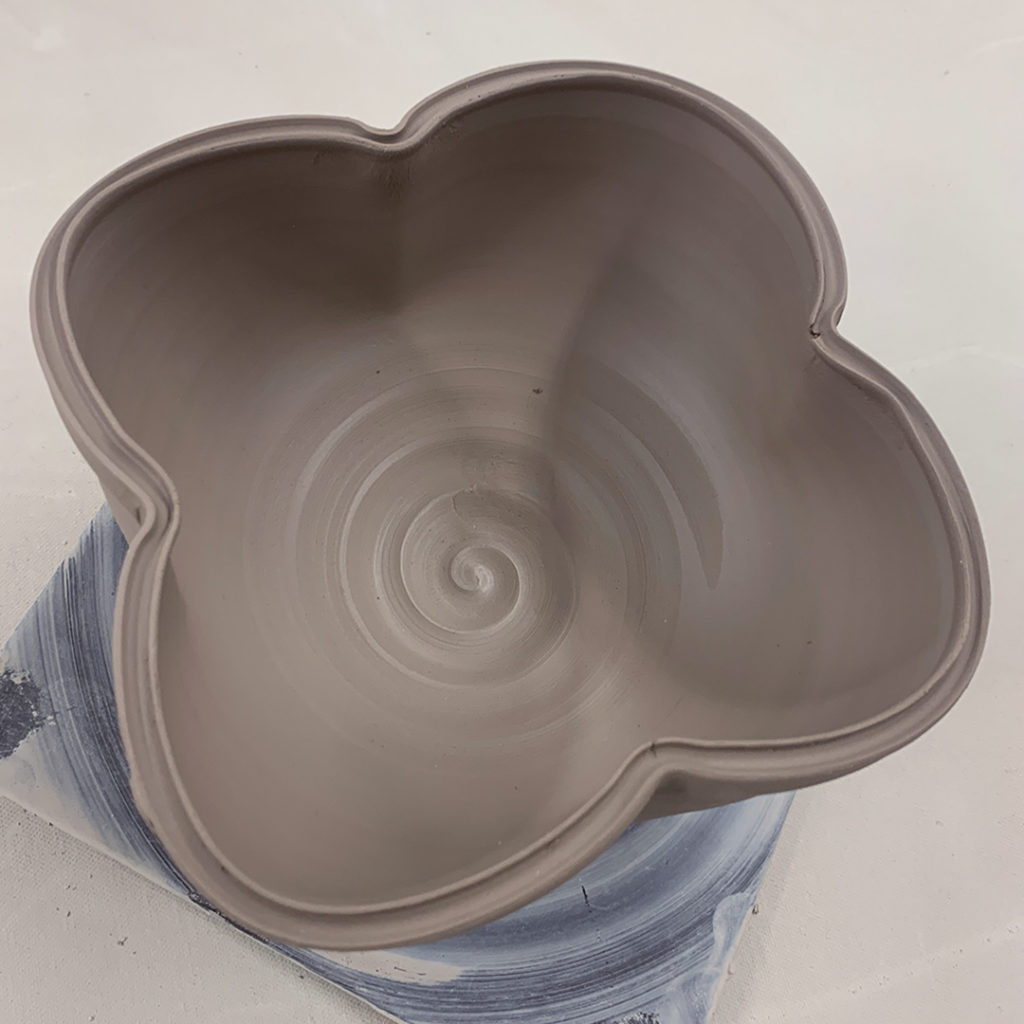
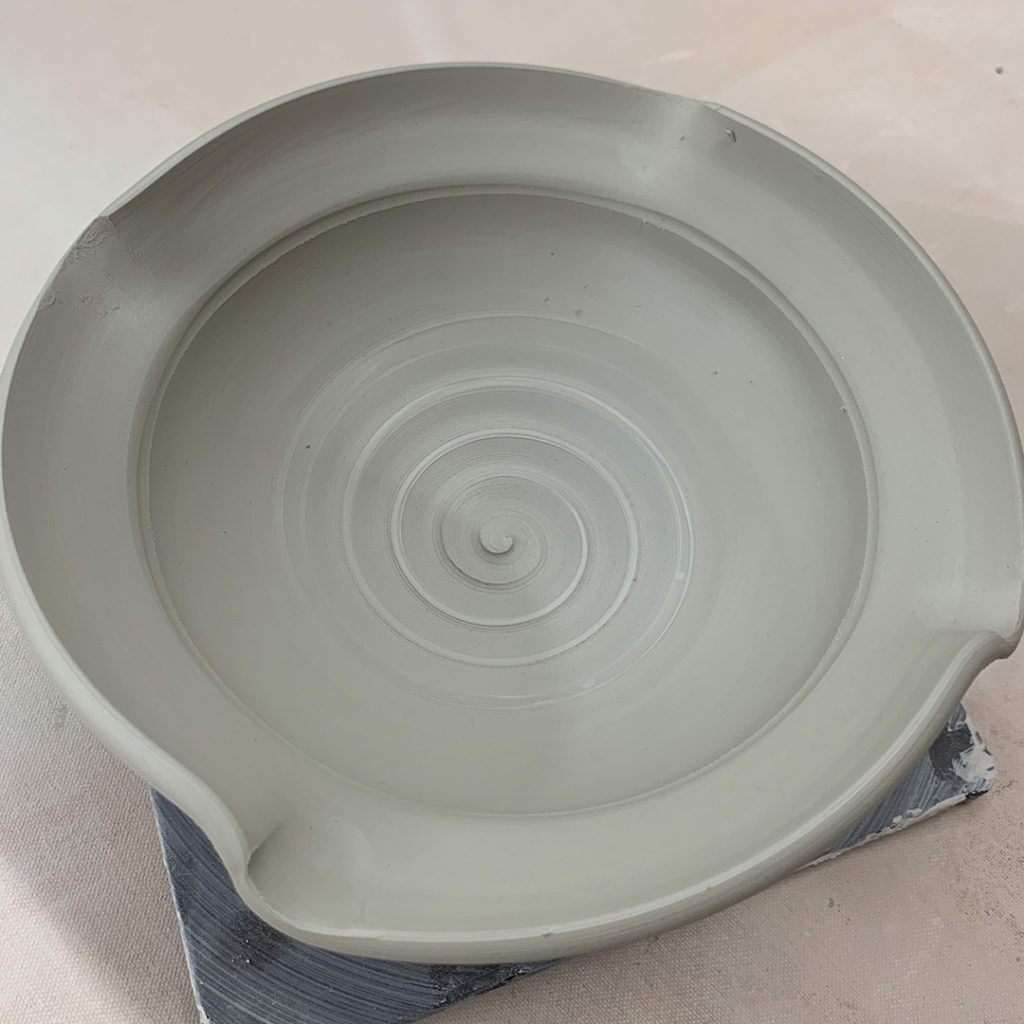
Bowl #9 – Quatrefoil Pressed Outward to Lotus
Same as Bowl #8… but this time I used the same edge of my wooden knife to press outward in between the inward pinches… kinda squaring-up the bowl.

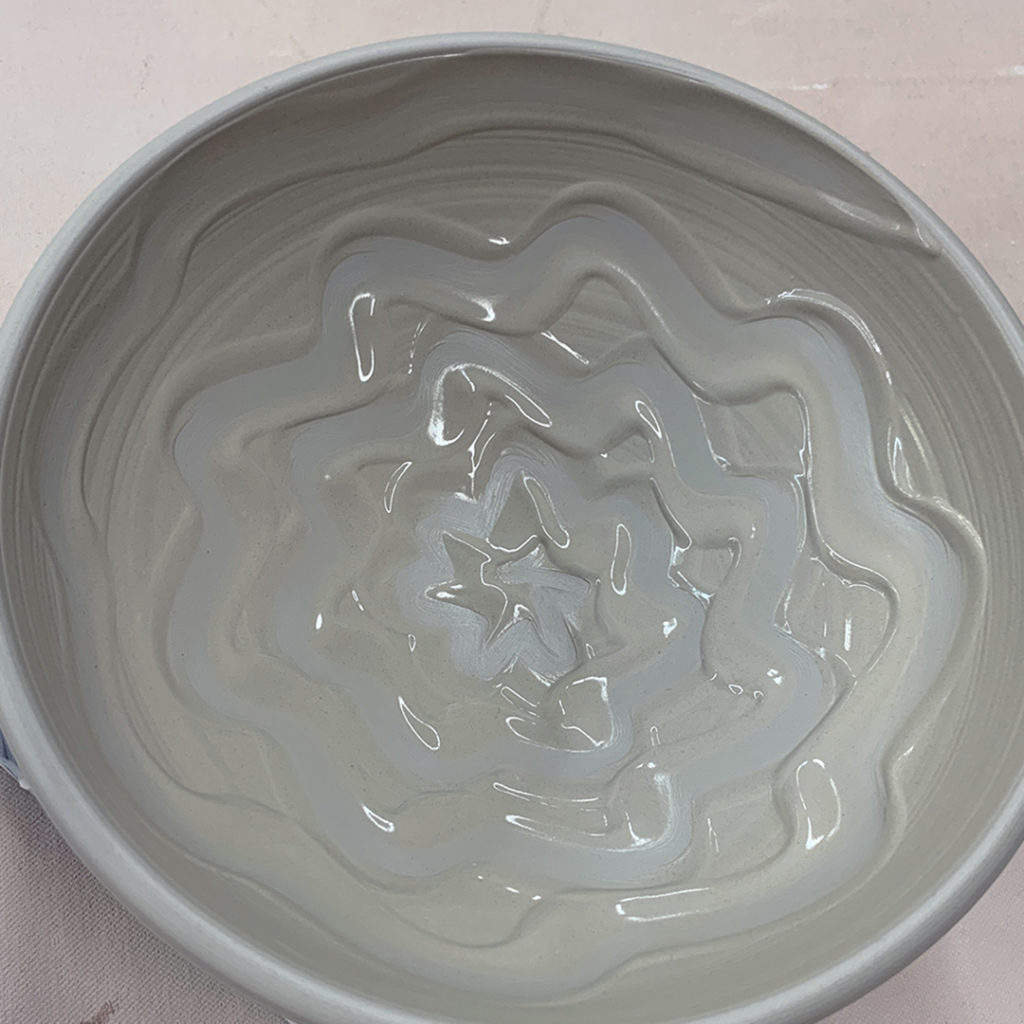
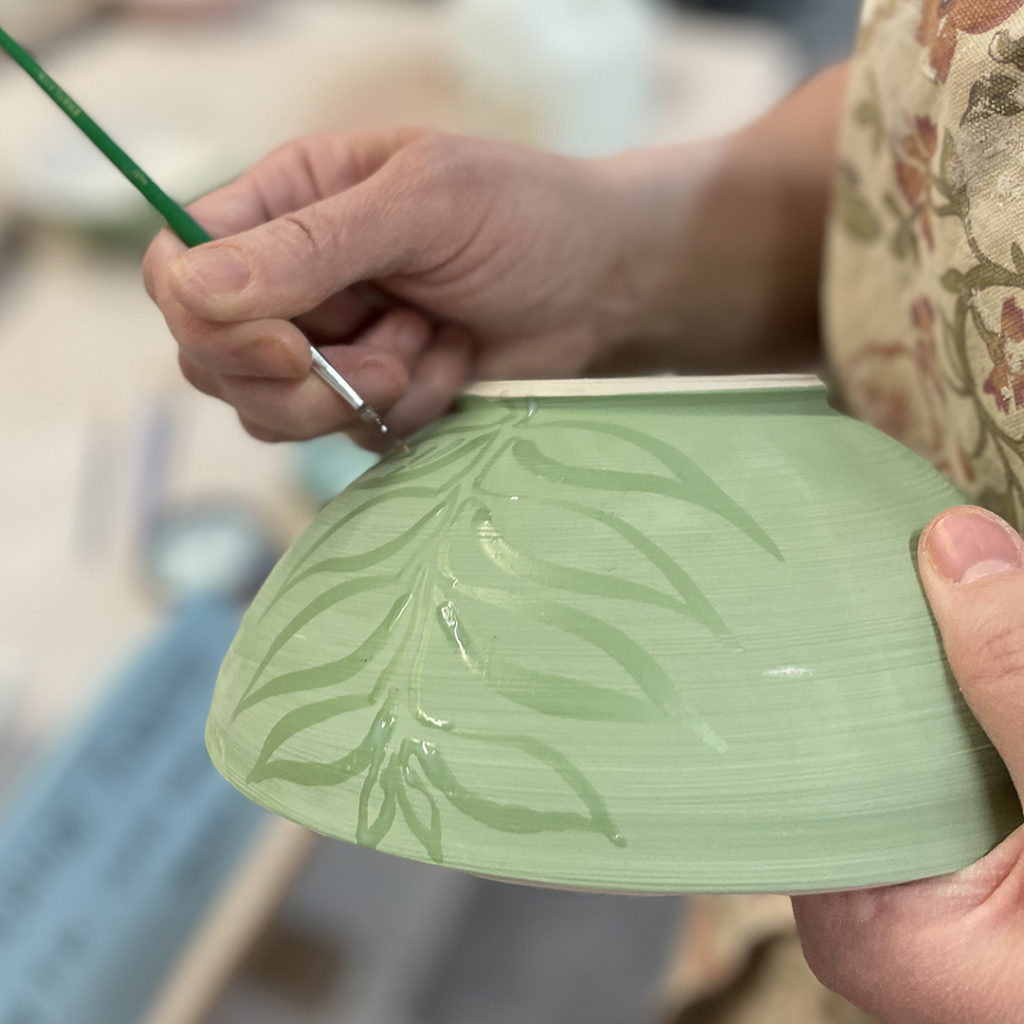
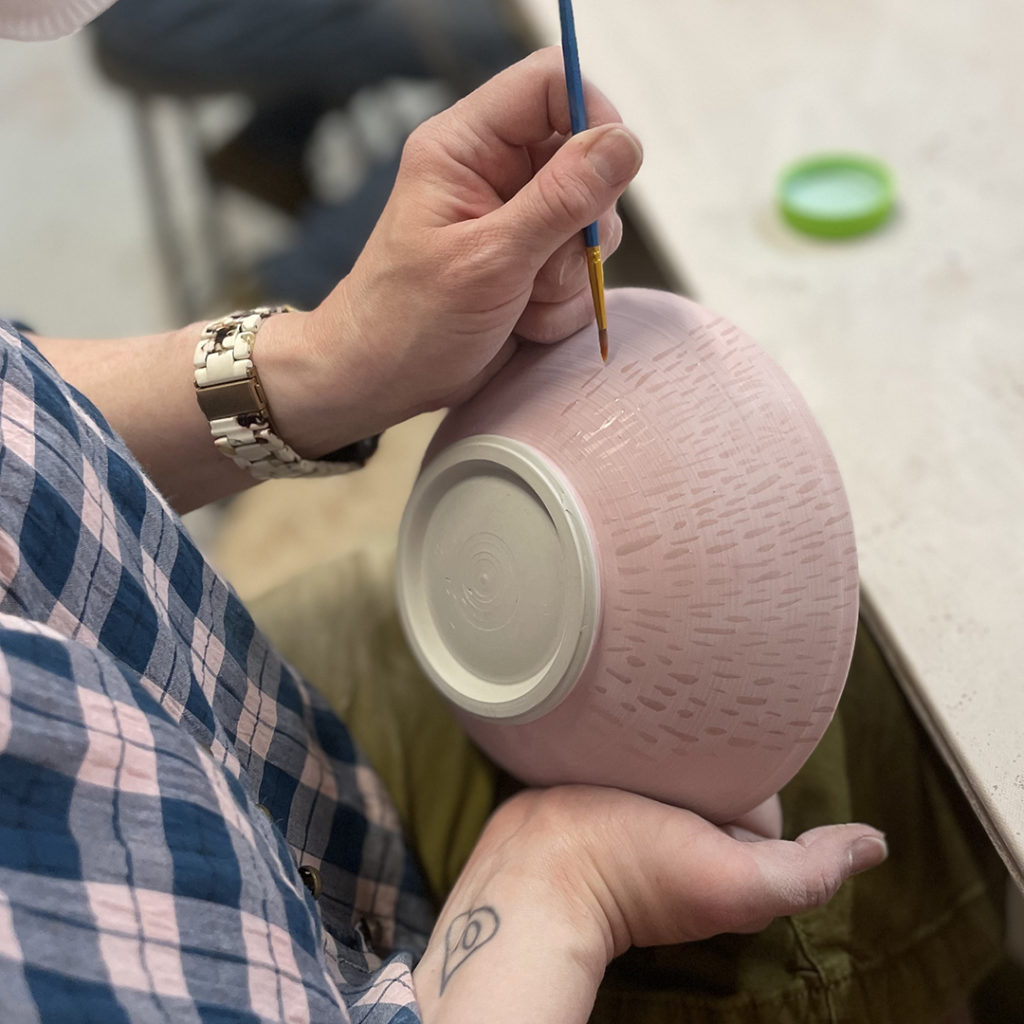
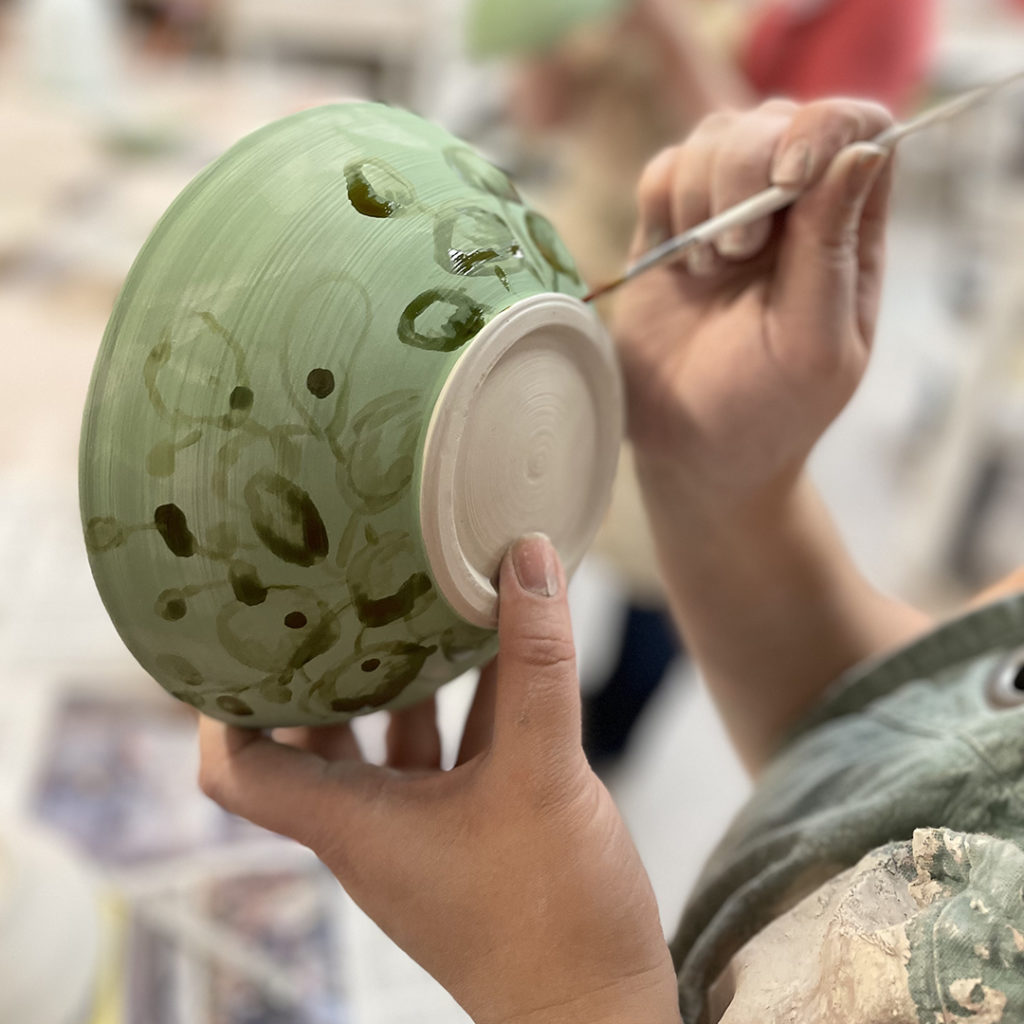
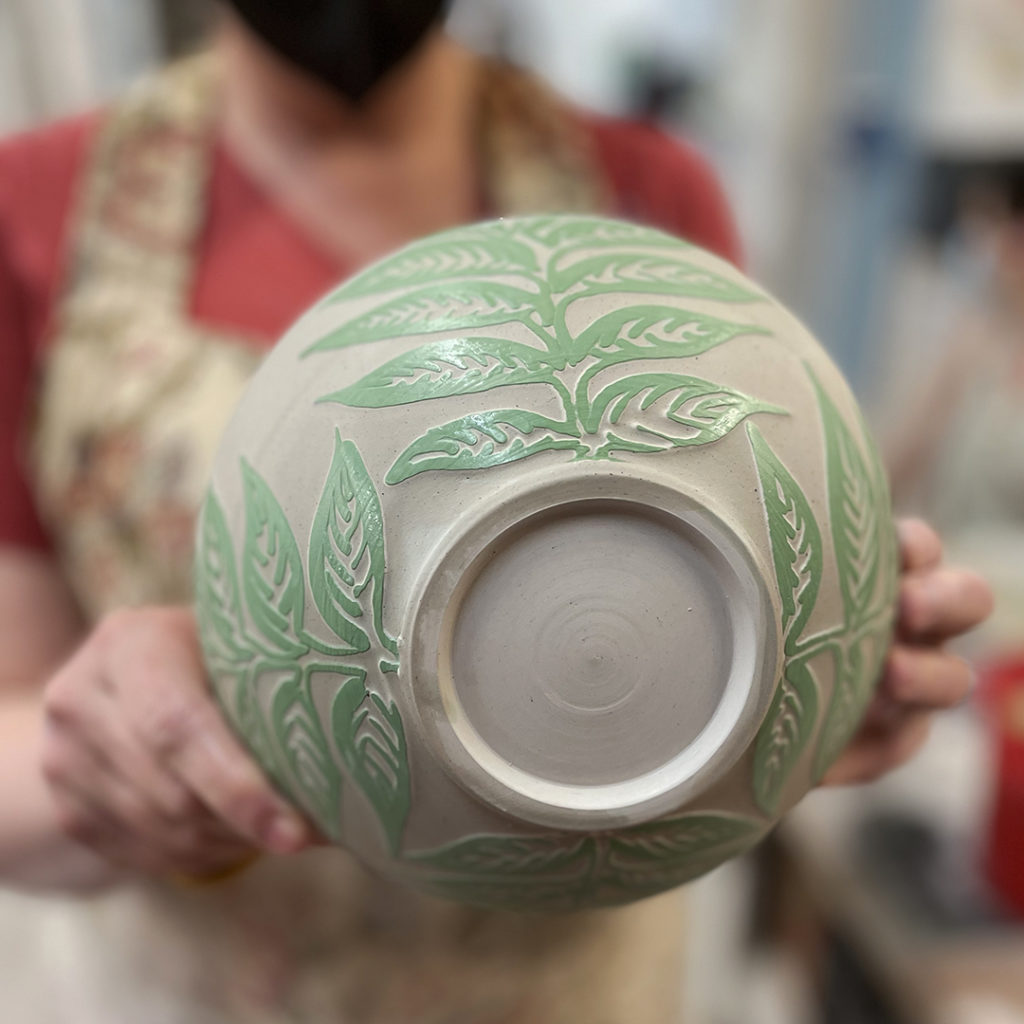
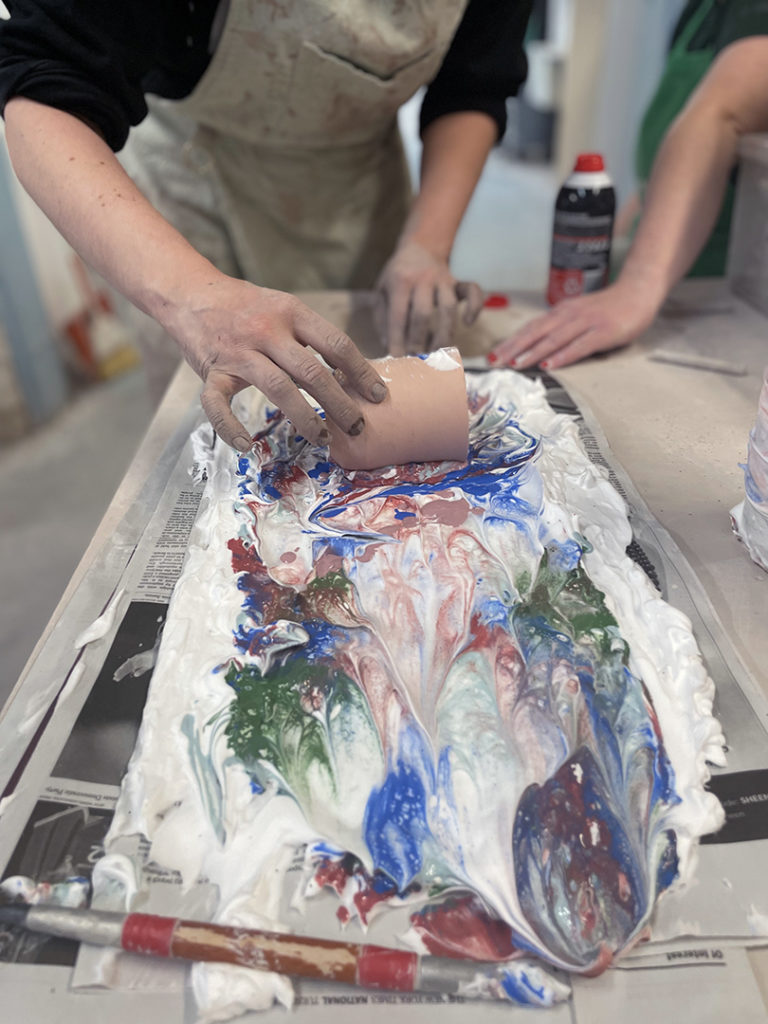
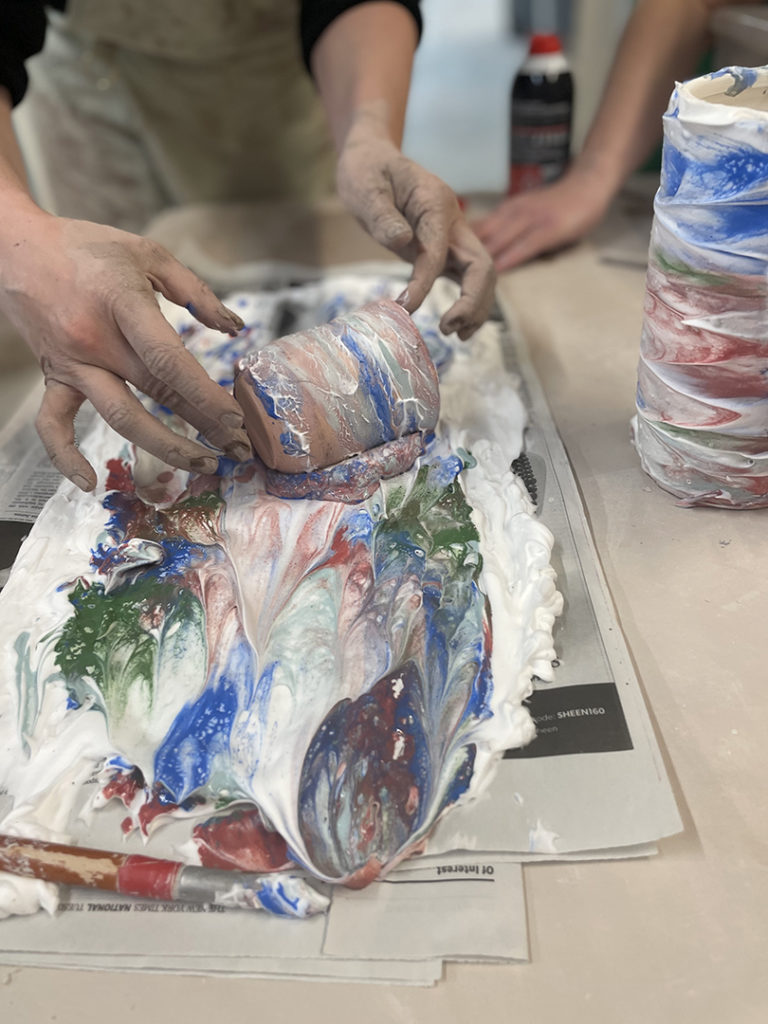
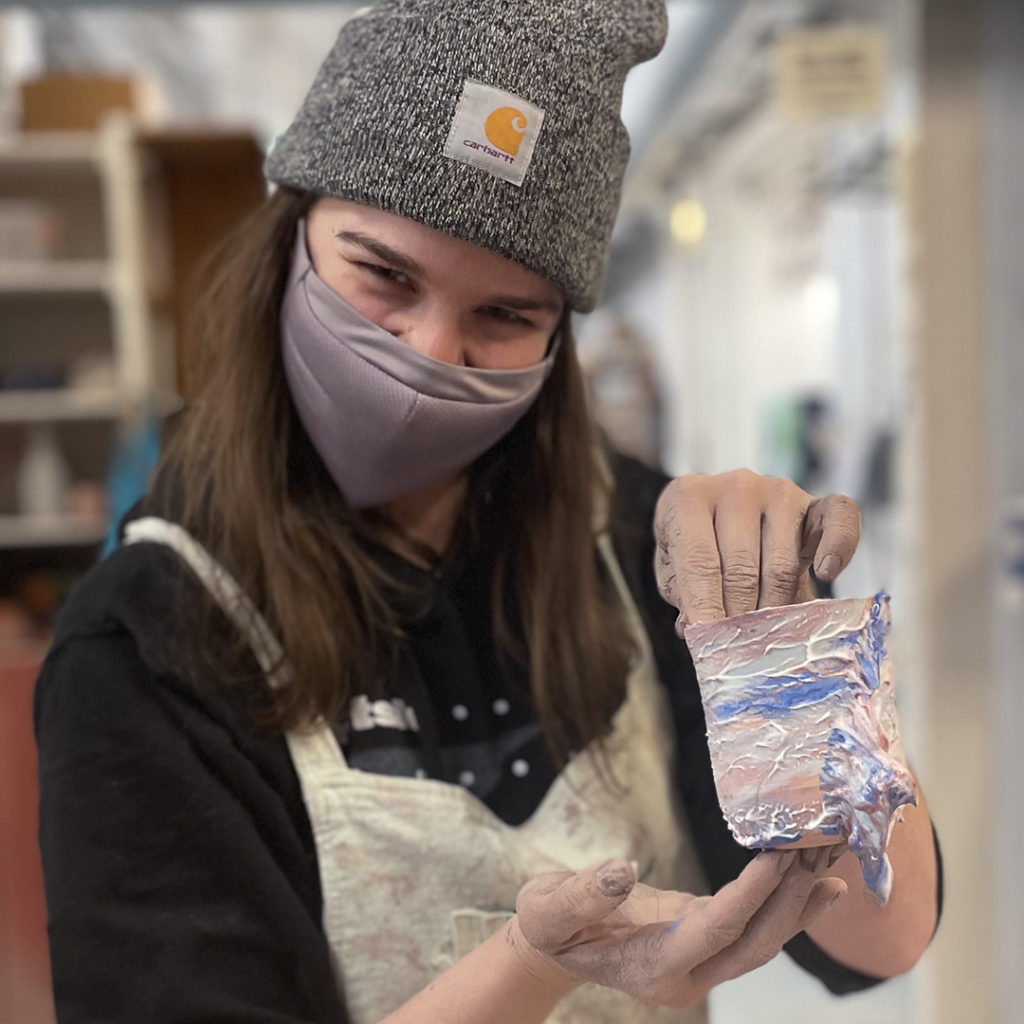
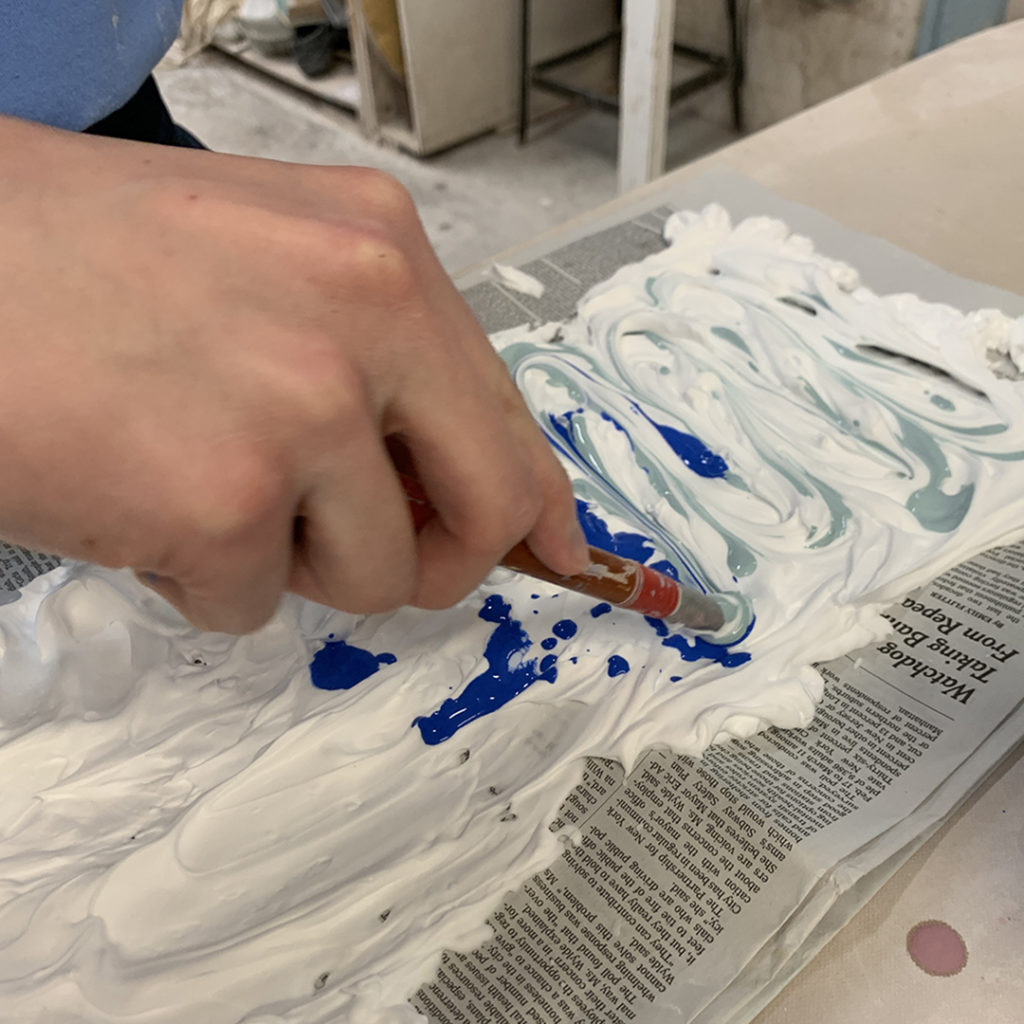
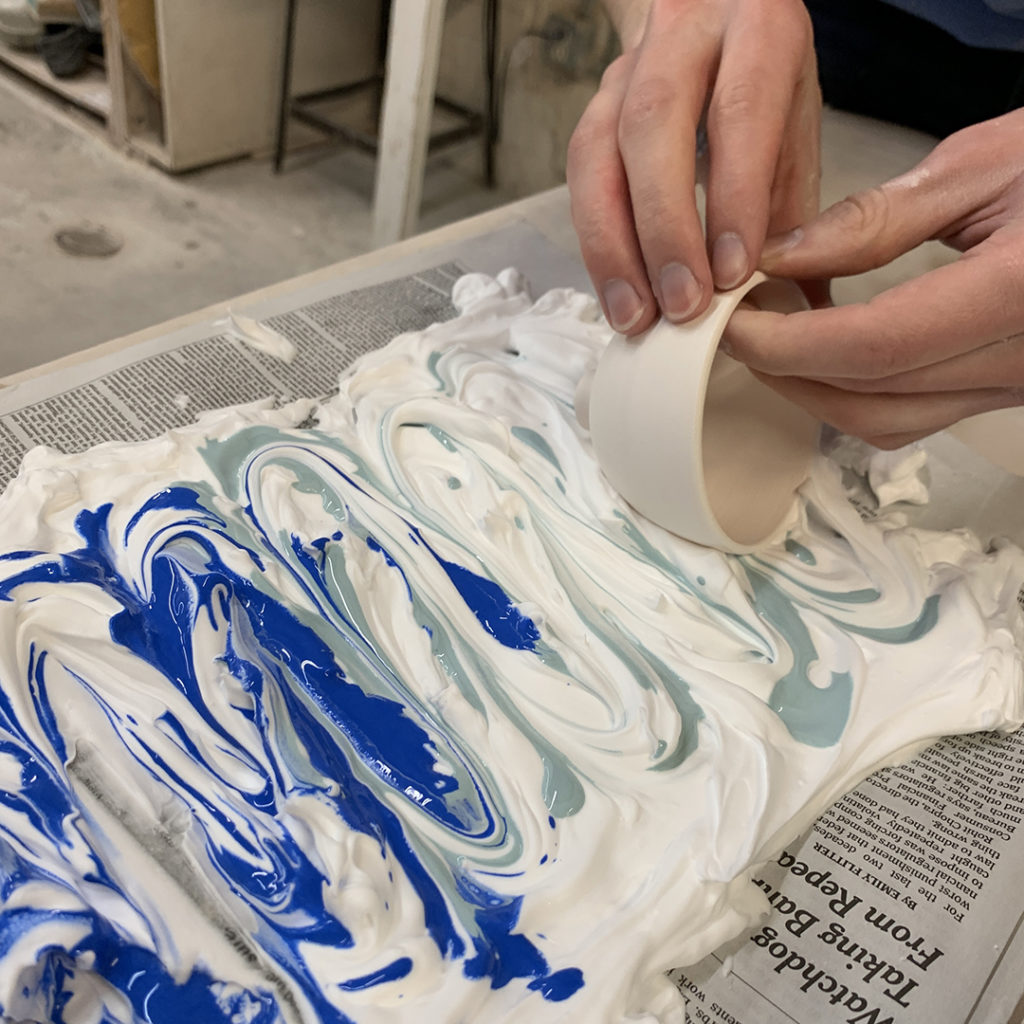
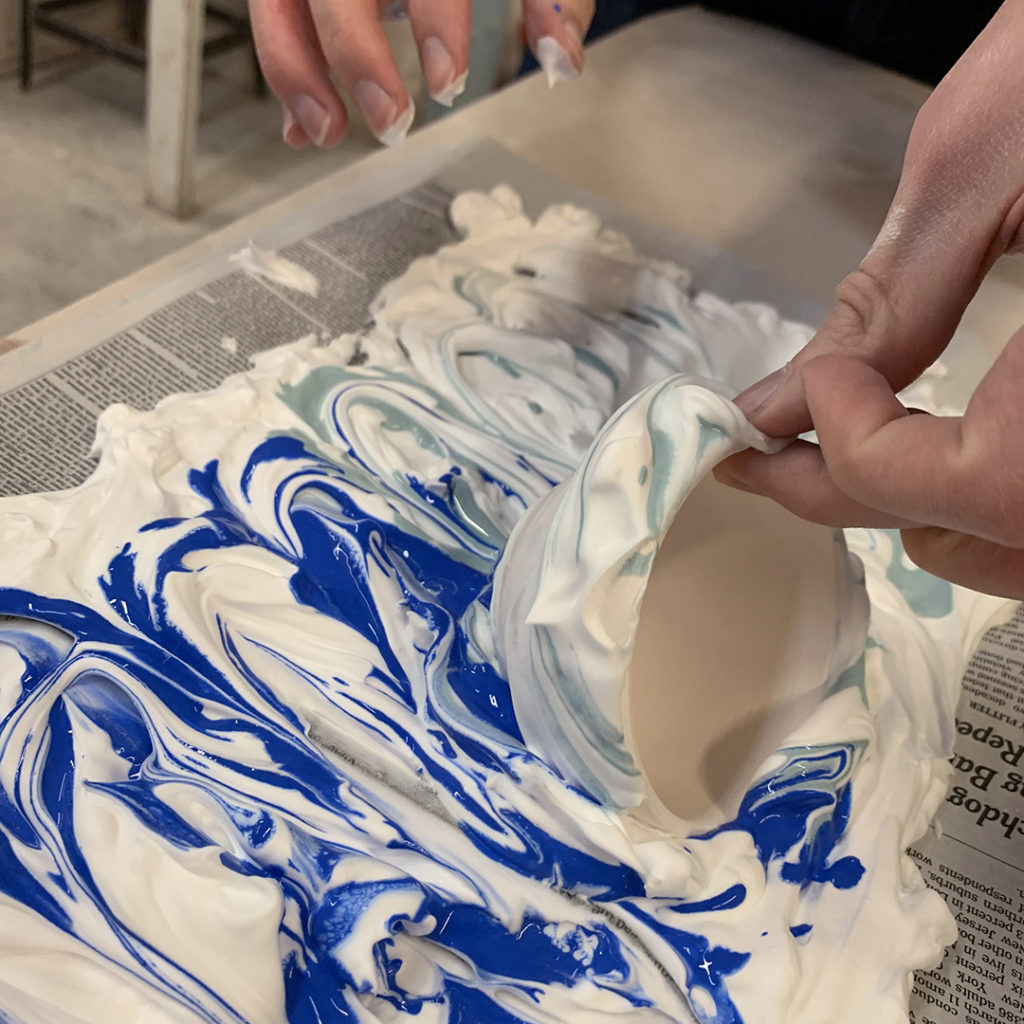
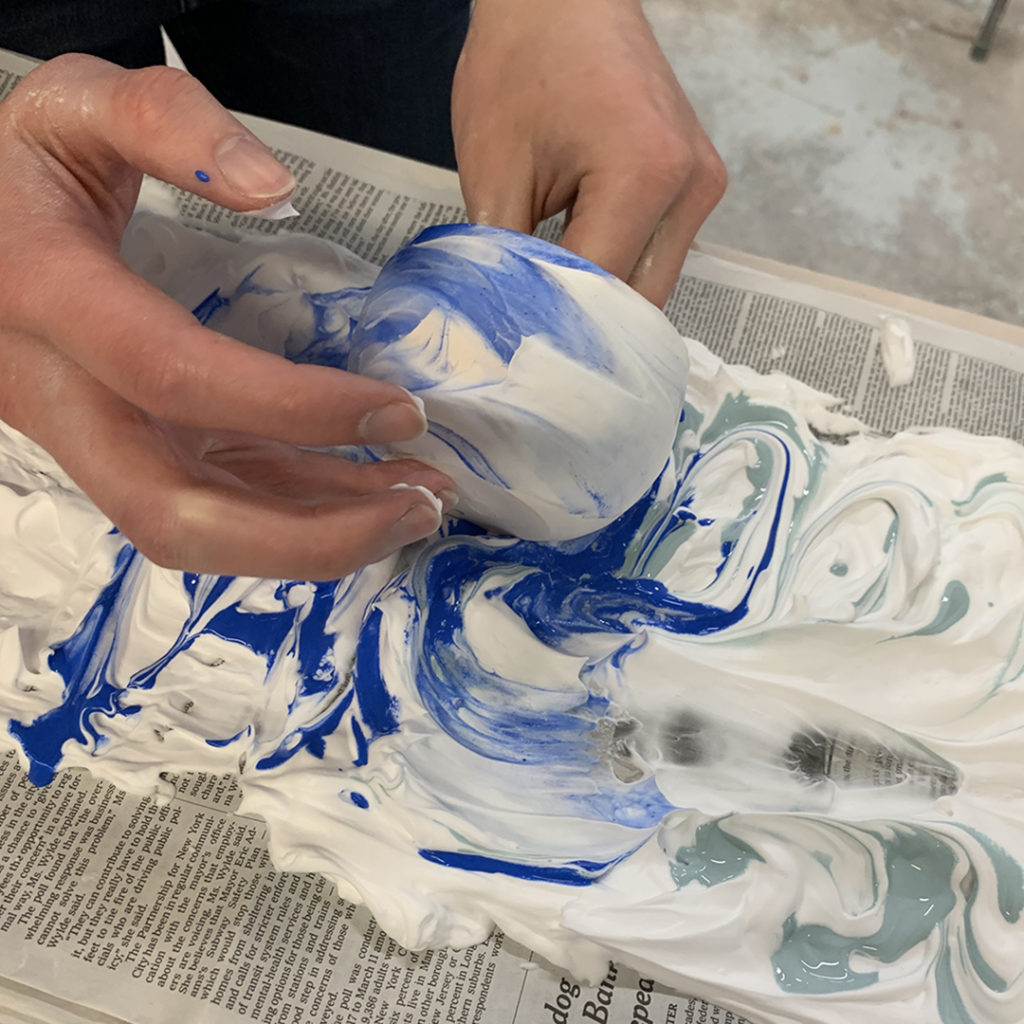
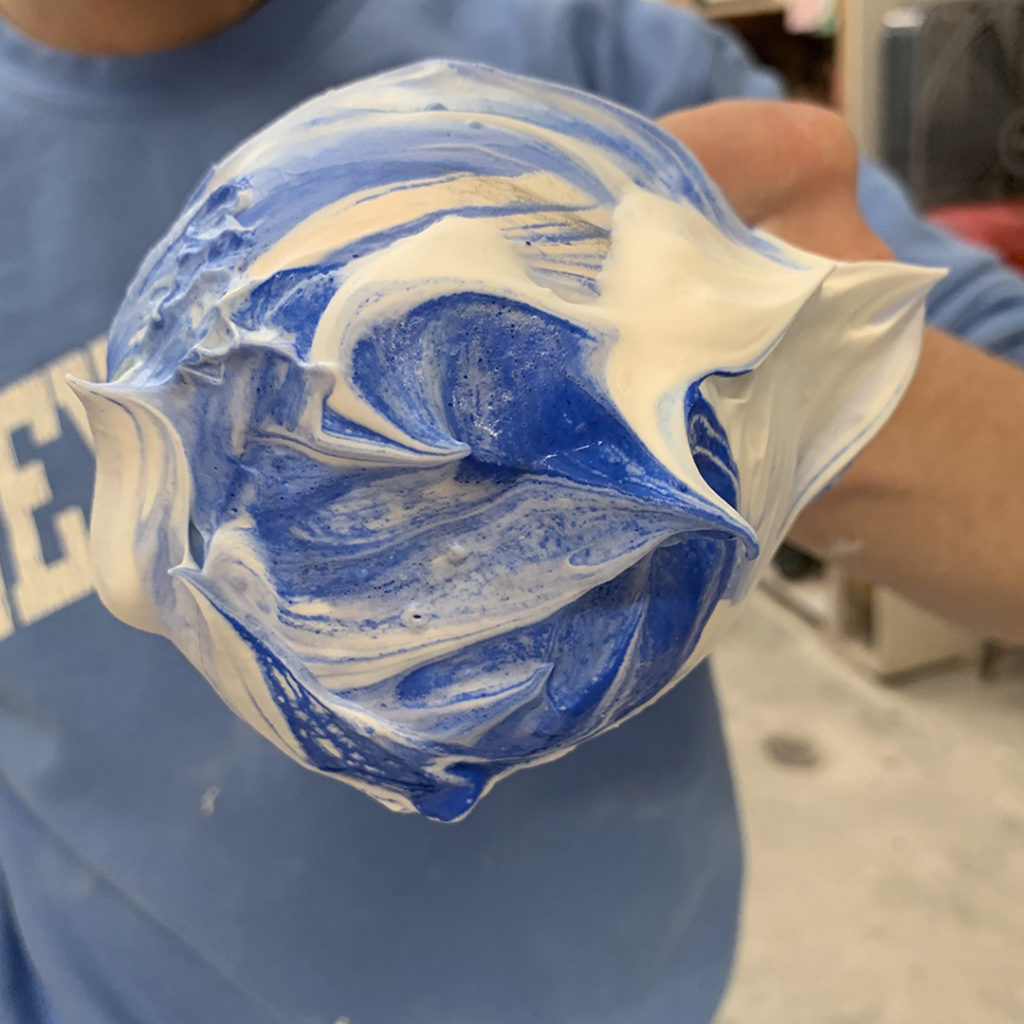
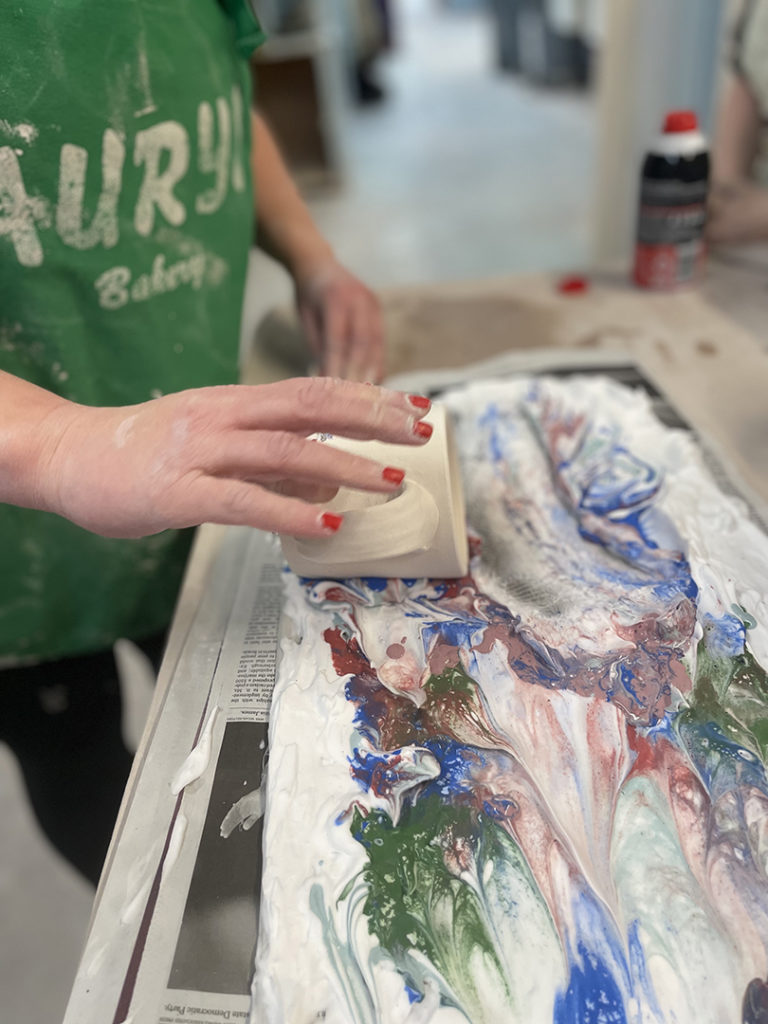
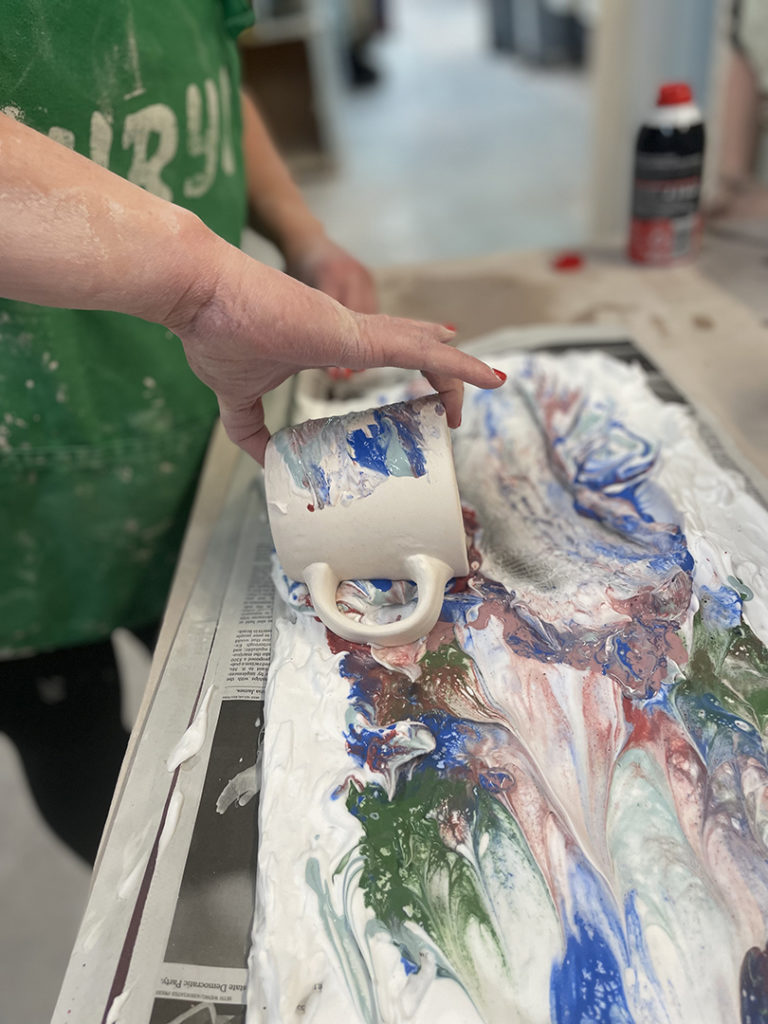
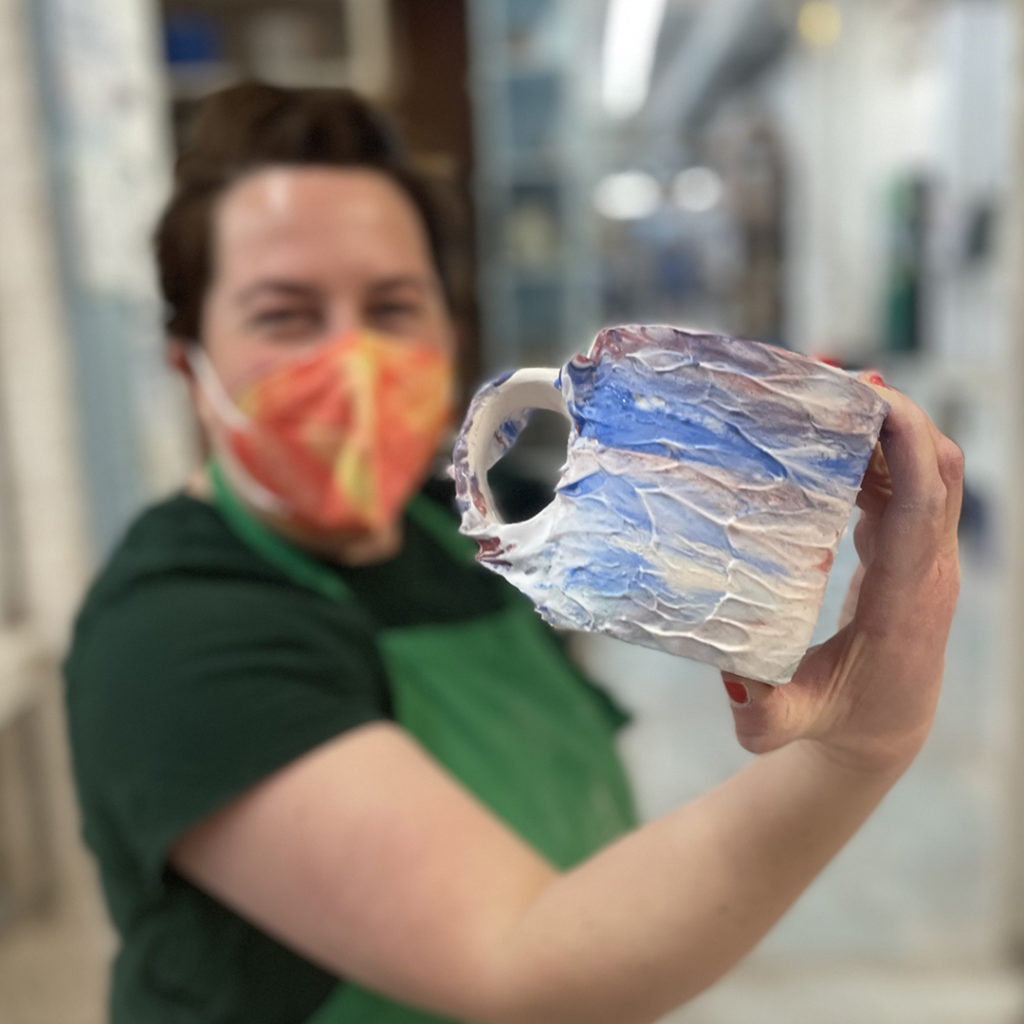
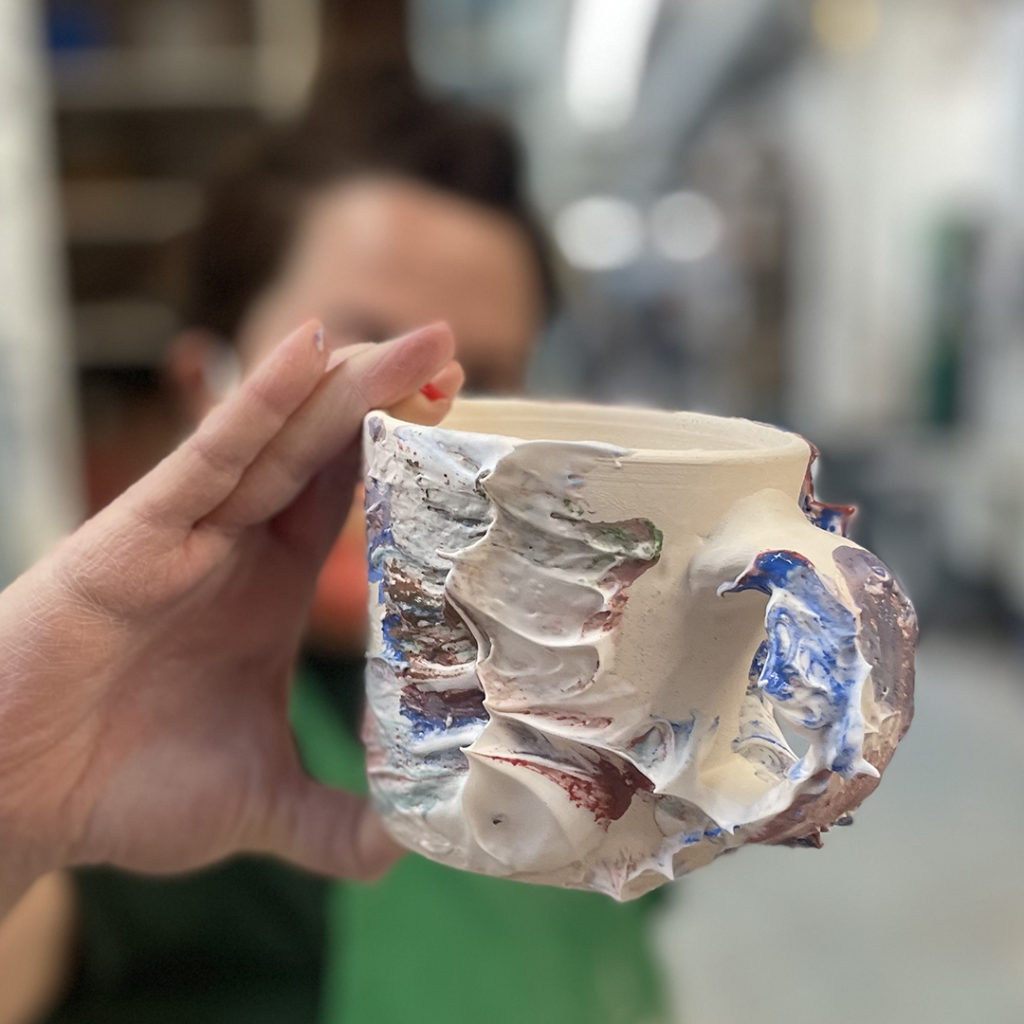
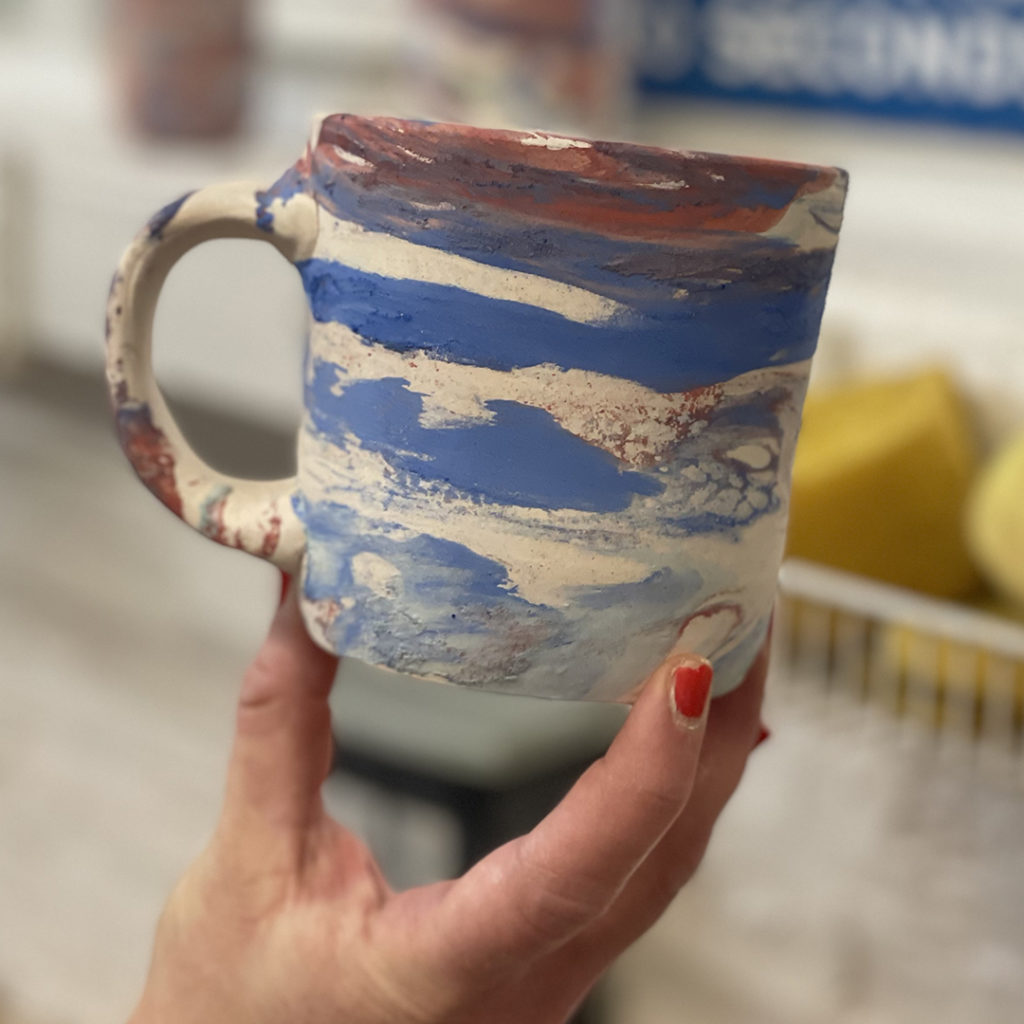
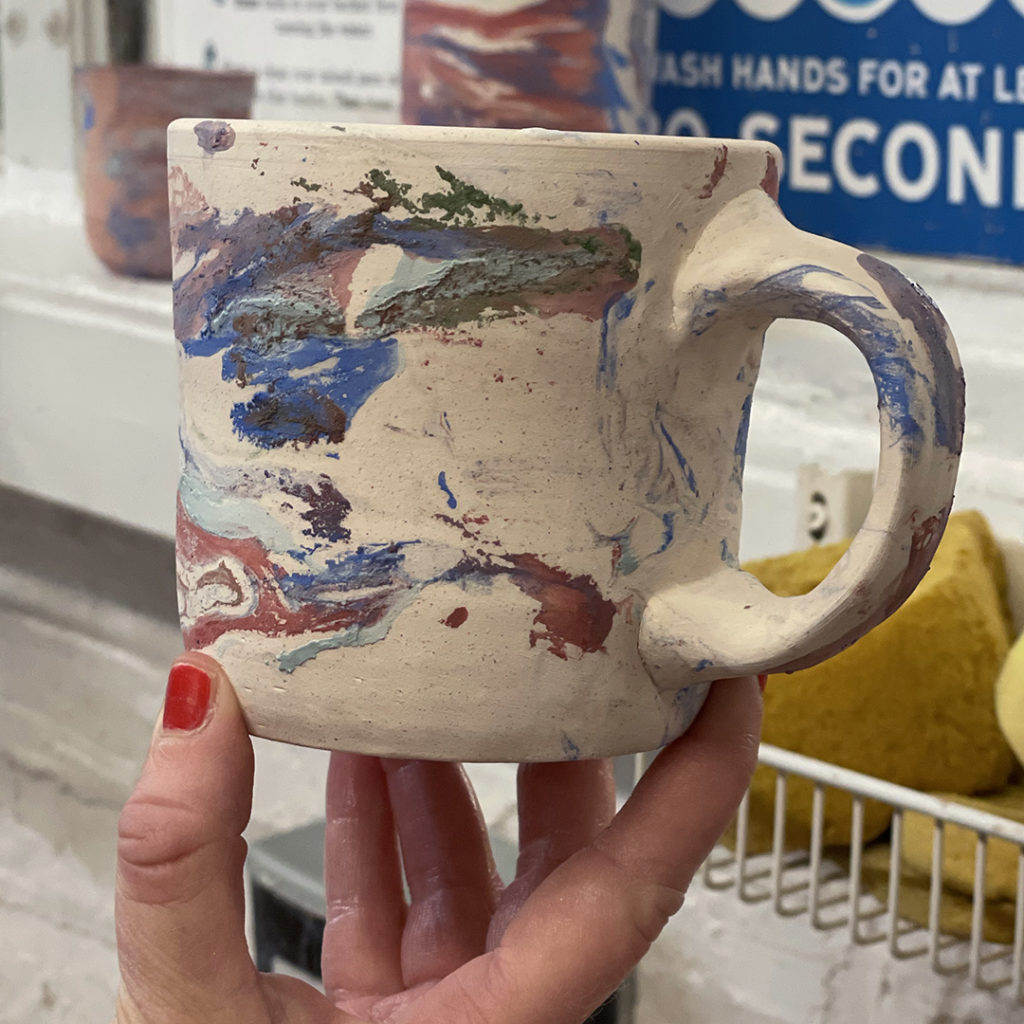
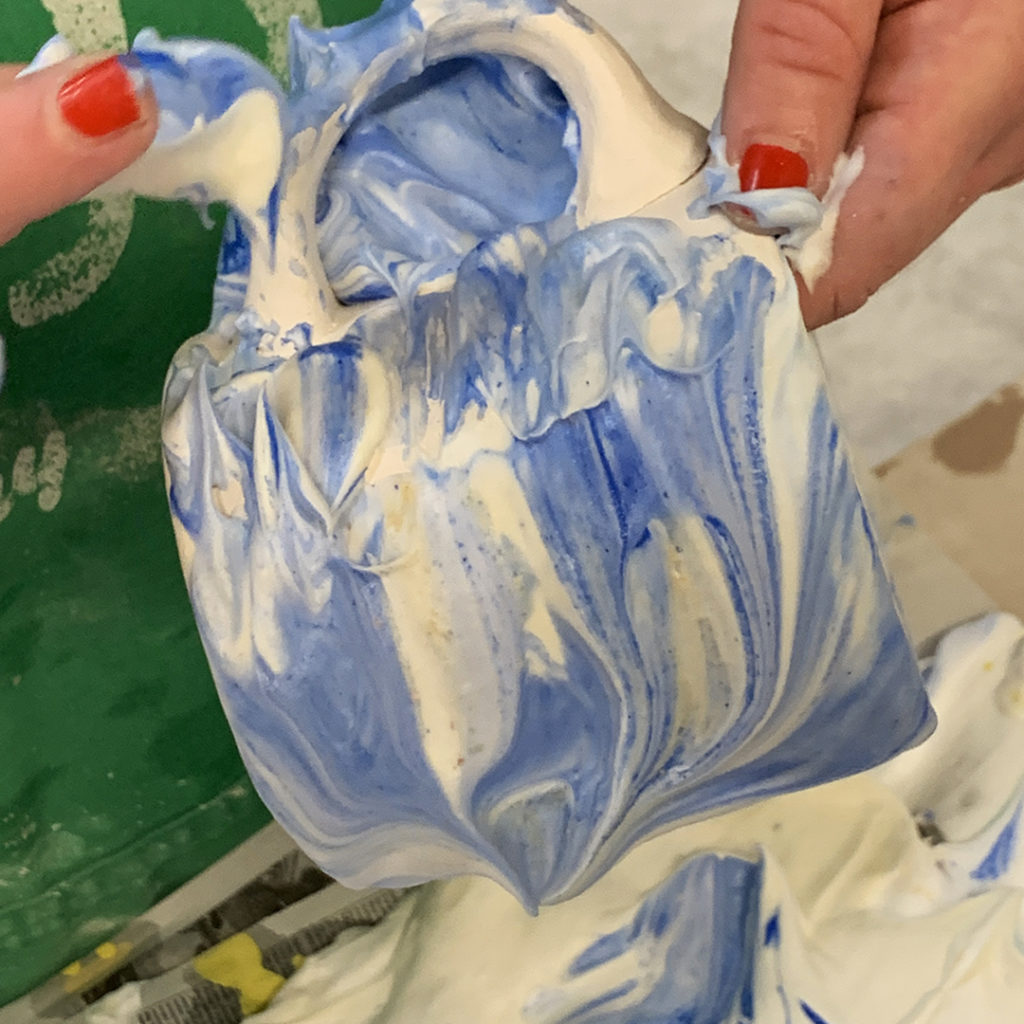
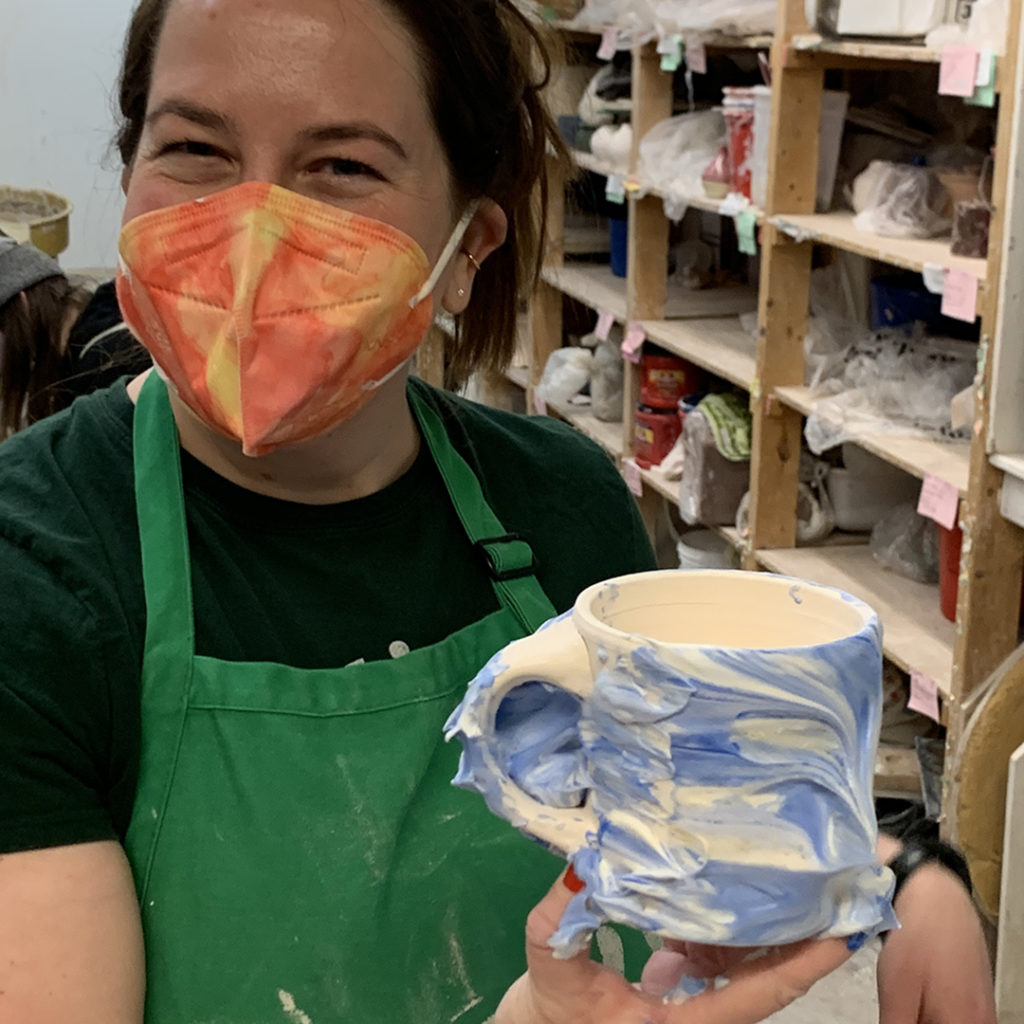
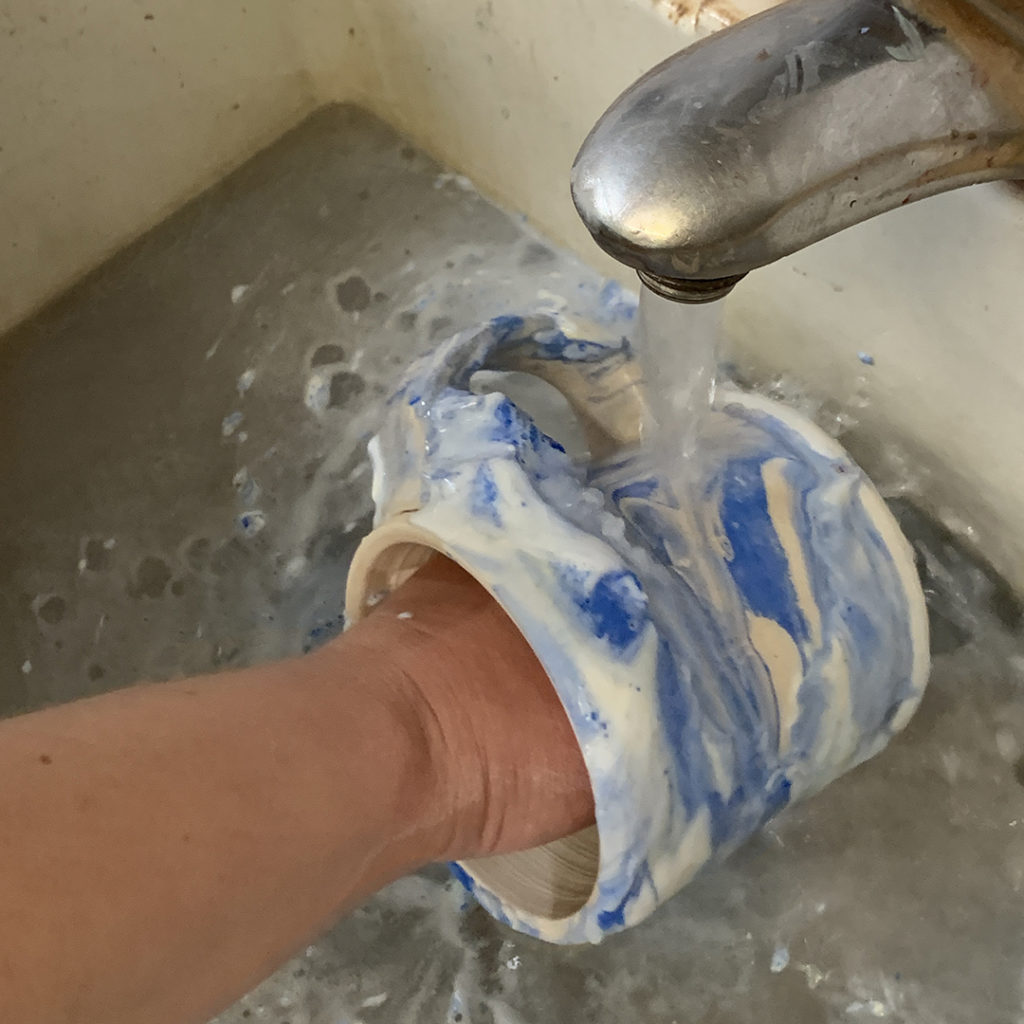
At this point, I introduced using colored slip as an option for surface decoration. I explained that it is basically a “skin” of colored clay that you can paint on to change the color of the surface of your clay. You can cover it all, cover parts of it or paint patterns & pictures!

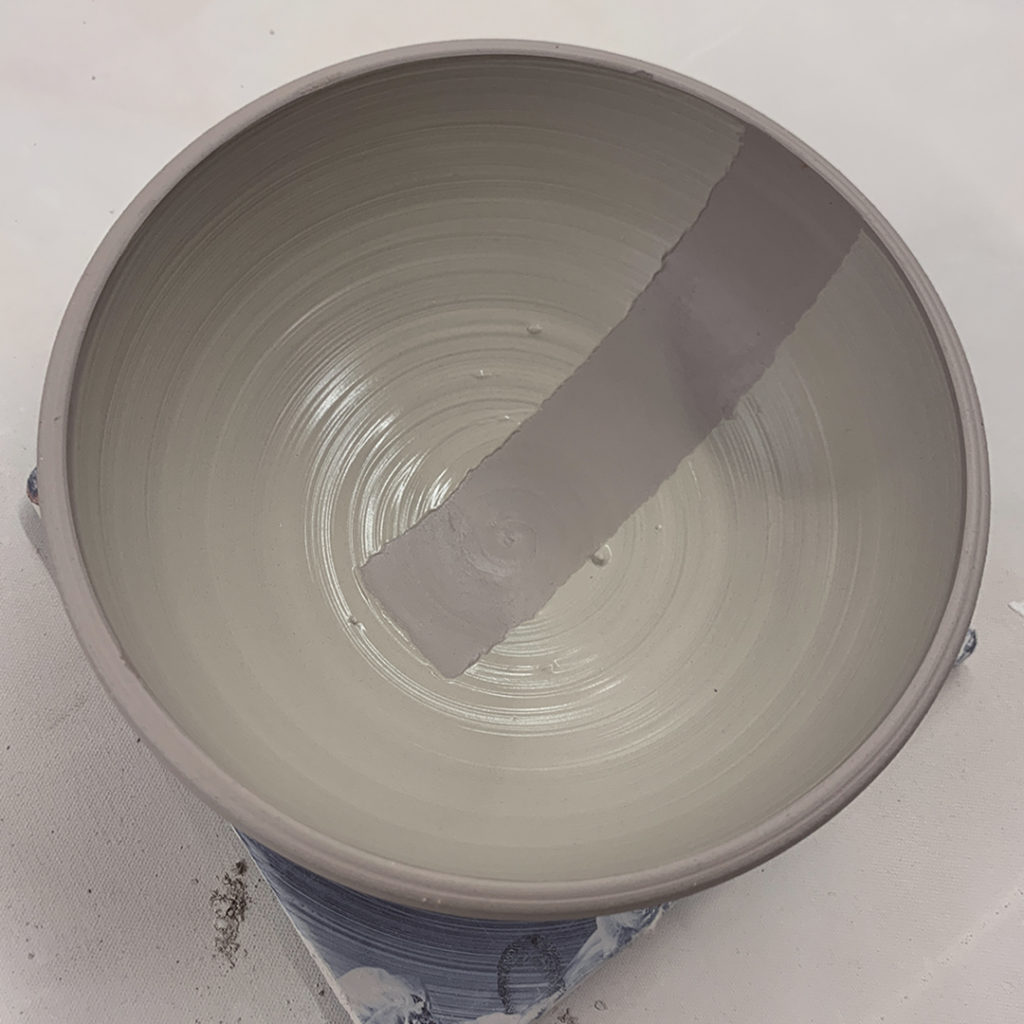
Bowl #10 – White Slip Coverage
I just painted the interior of this bowl with a simple layer of white slip to demonstrate how it will look different after glazing. Same glaze color.. . but lighter on the inside, darker on the outside.

Bowl #11 – White Slip Spiral
A solid coat of white slip, then dragging the rounded end of my wooden knife through while the bowl was spinning on the wheel.

Bowl #12 – White Slip Banding
Horizontal banding… leaving a wide space that “might” be carved with a pattern later?! A solid color layer, then removed by dragging the rounded end of my wooden knife through in bands.

Bowl #13 – White Slip Squiggles
A thick layer of white slip, then a little finger-painting… squiggling back & forth as the wheel turns.

Bowl #14 – White Slip Stencil
With a torn edge of newspaper… I wet it then carefully pressed it onto the surface of the bowl. Carefully sealing down the edges by brushing white slip over the edges… and them covering the whole bowl surface. Once covered, I gently peeled away the newspaper to reveal the deckle-edge rectangle.

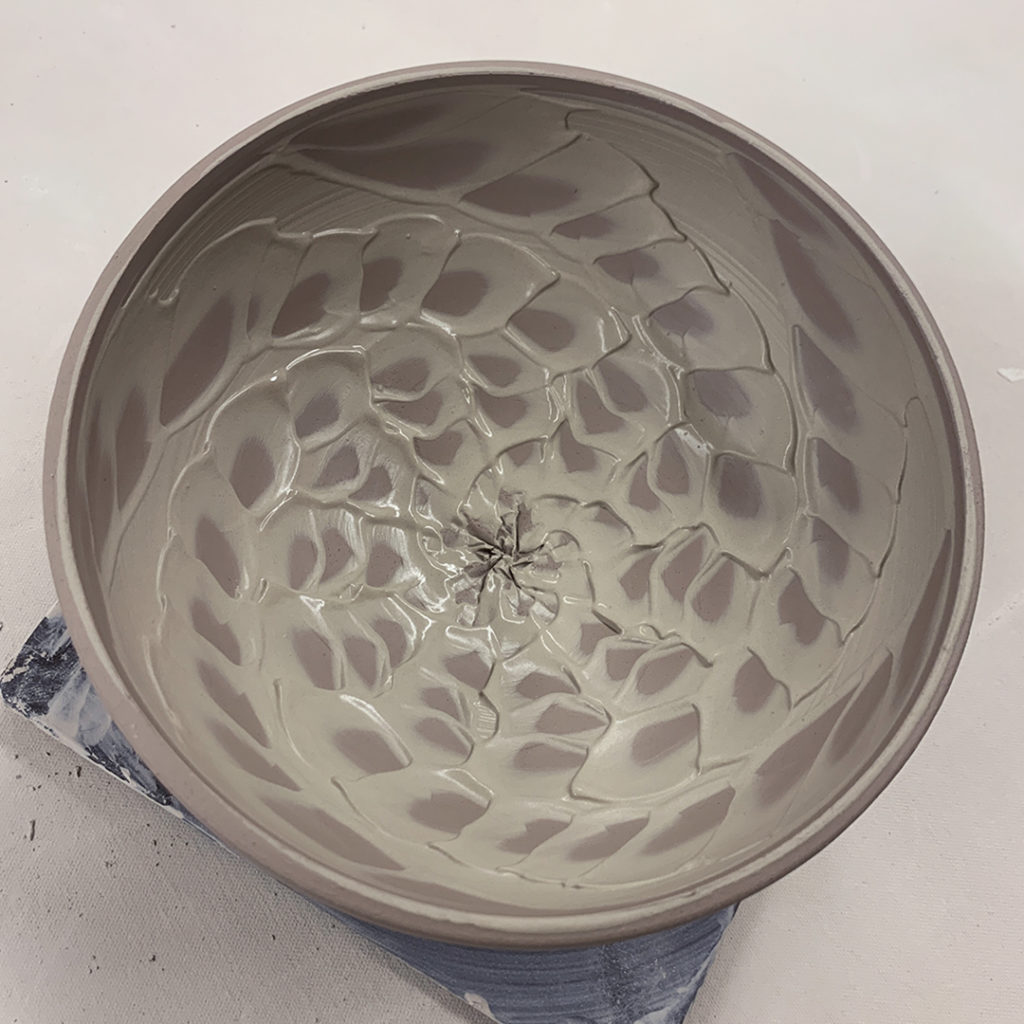
Bowl #15 – White Slip Chattering
After a thick coat of white slip, I did some rhythmic chattering through the slip with a green plastic rib. Gently tapping up & down, and up & outwards at the same time while the wheel is spinning.

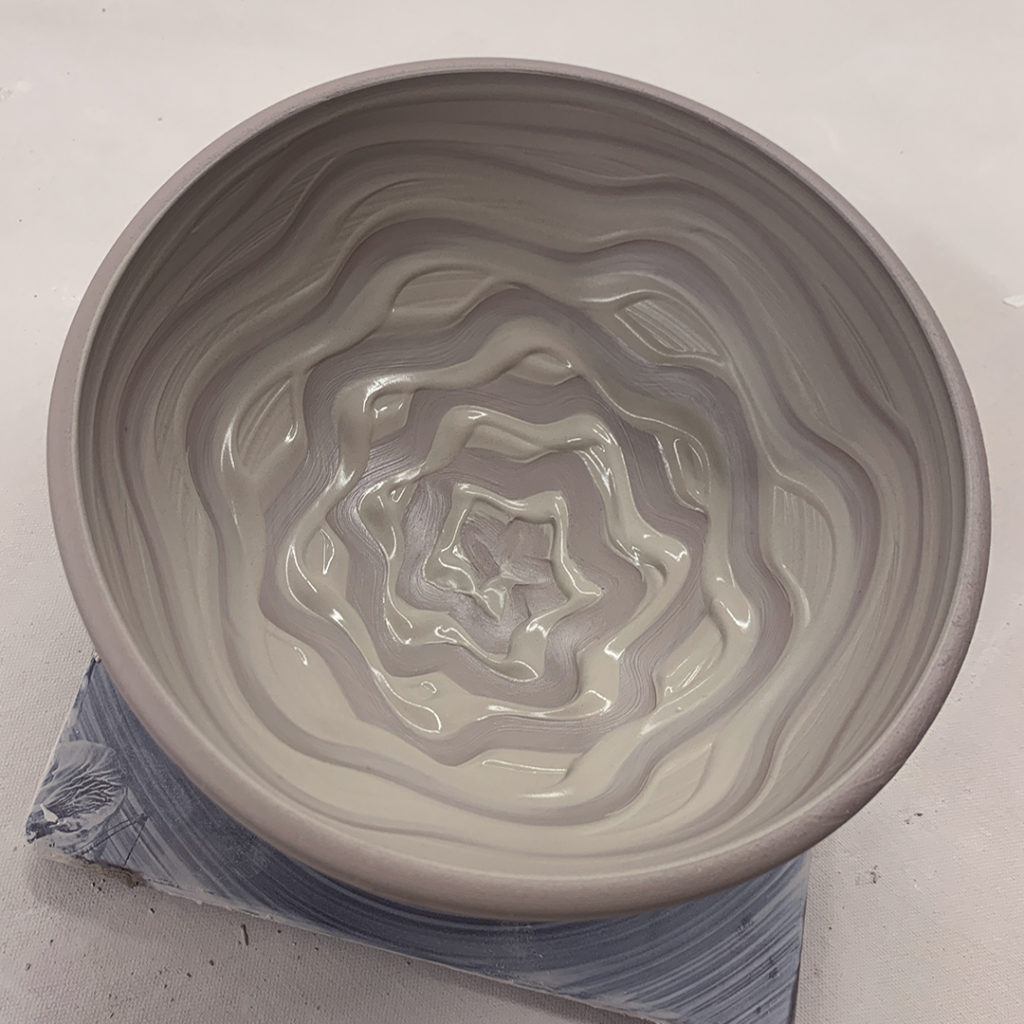
Bowl #16 – Dragged Thru White Slip
With the edge of a green rib, I gently dragged through the slip vertically… and then did a little center circle to even out the bottom where the squiggles started.

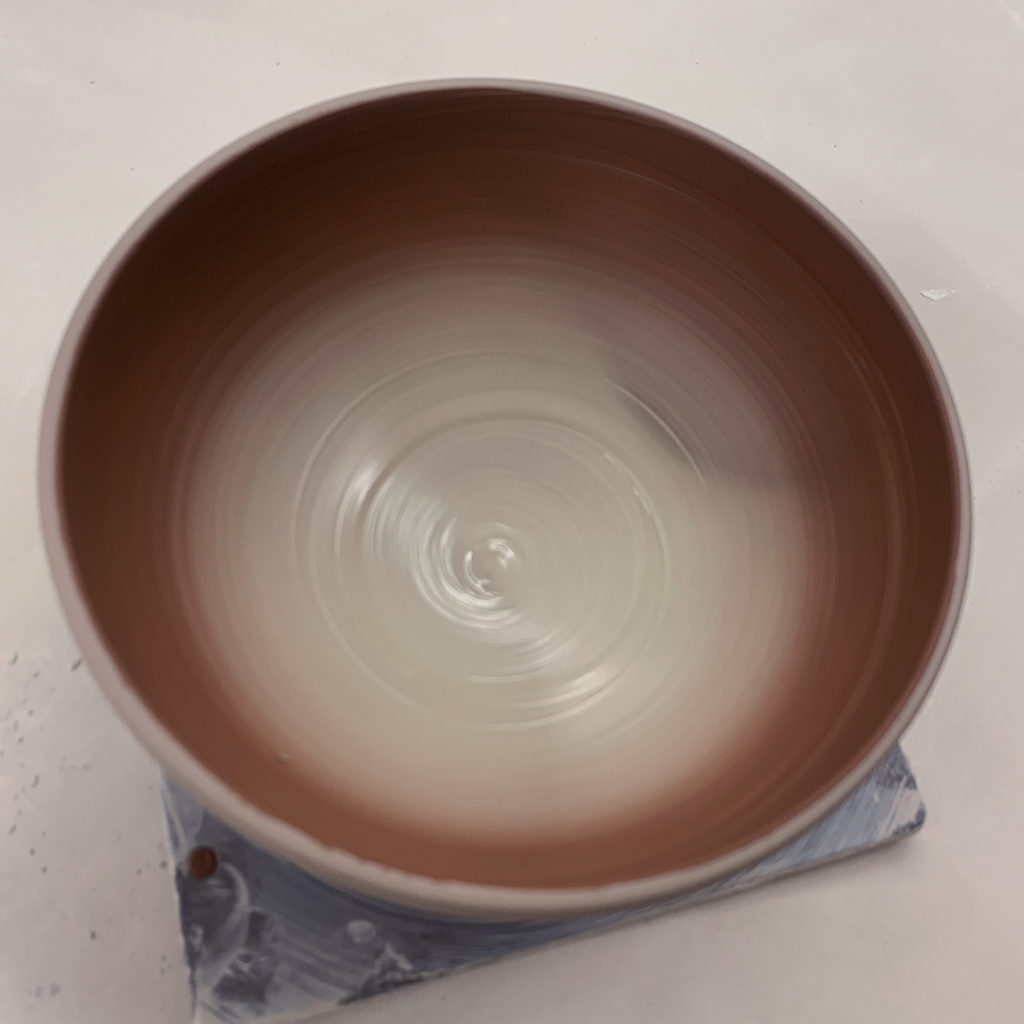
Bowl #17 – Ombre Blended Slip
With a layer of white slip, I added a layer of iron red slip for a smooth ombre blend.

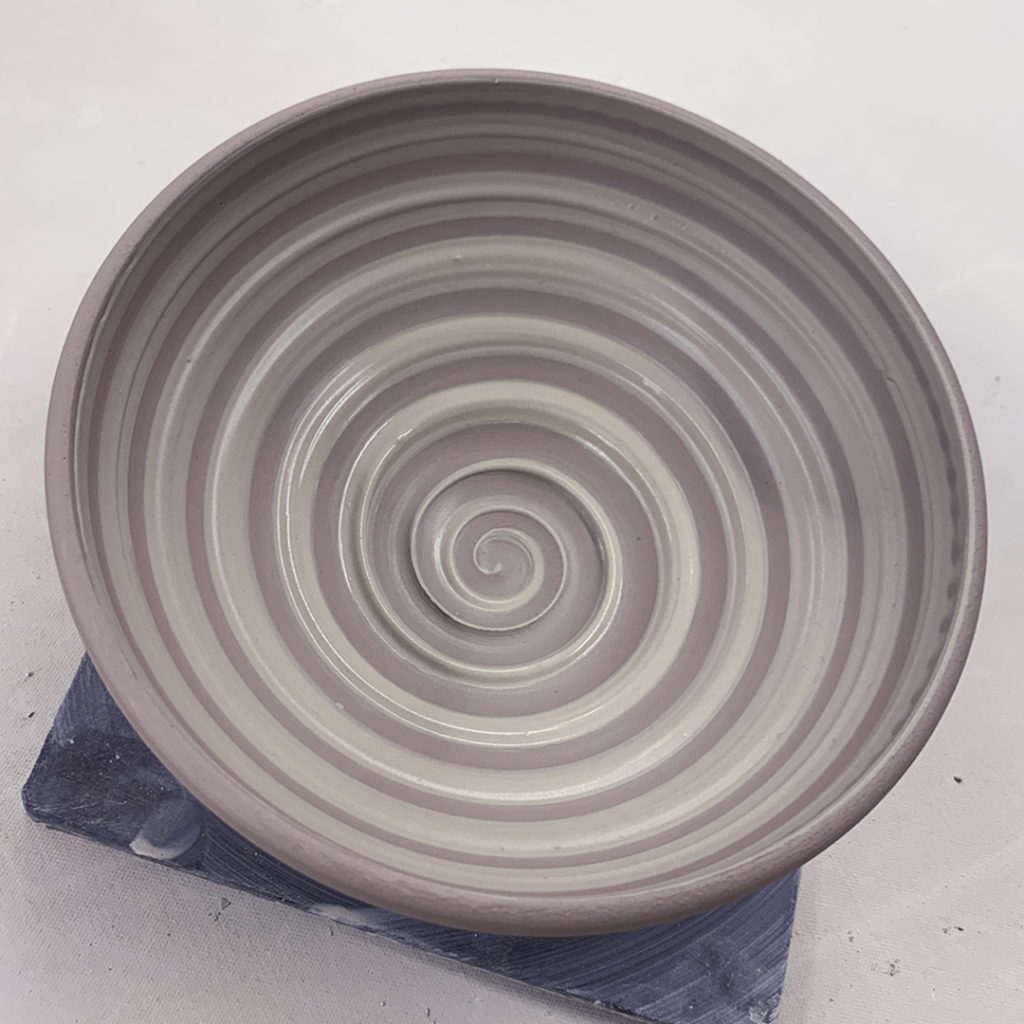
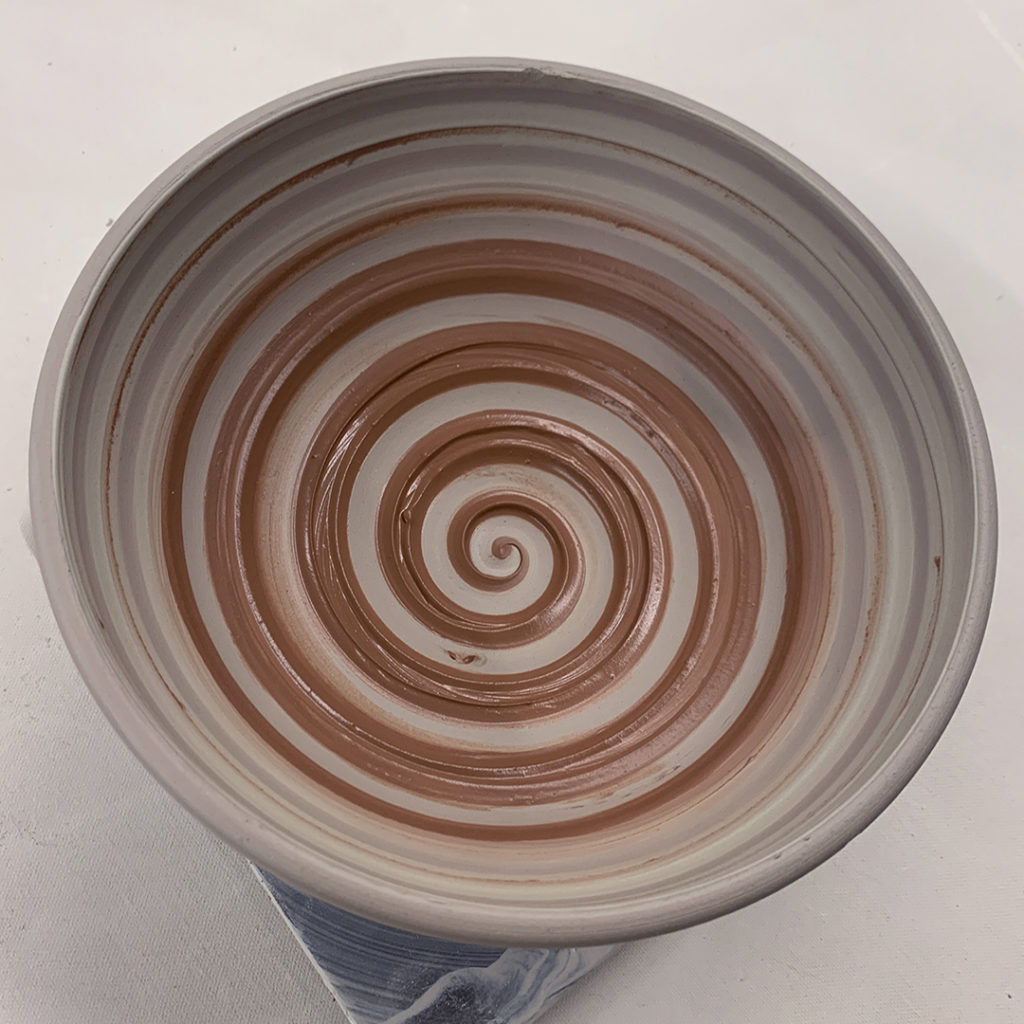
Bowl #18 – Ombre Spiral
After making the same ombre blend as Bowl #17, I dragged the rounded end of my wooden knife through both slips to make the spiral while the wheel was spinning.

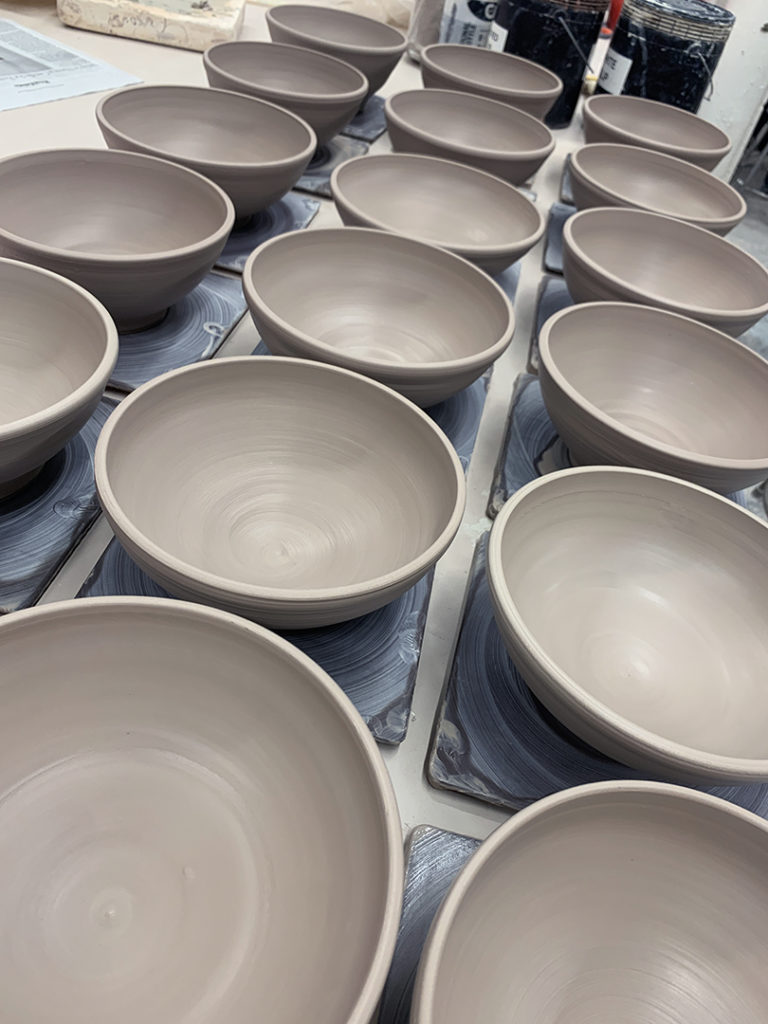
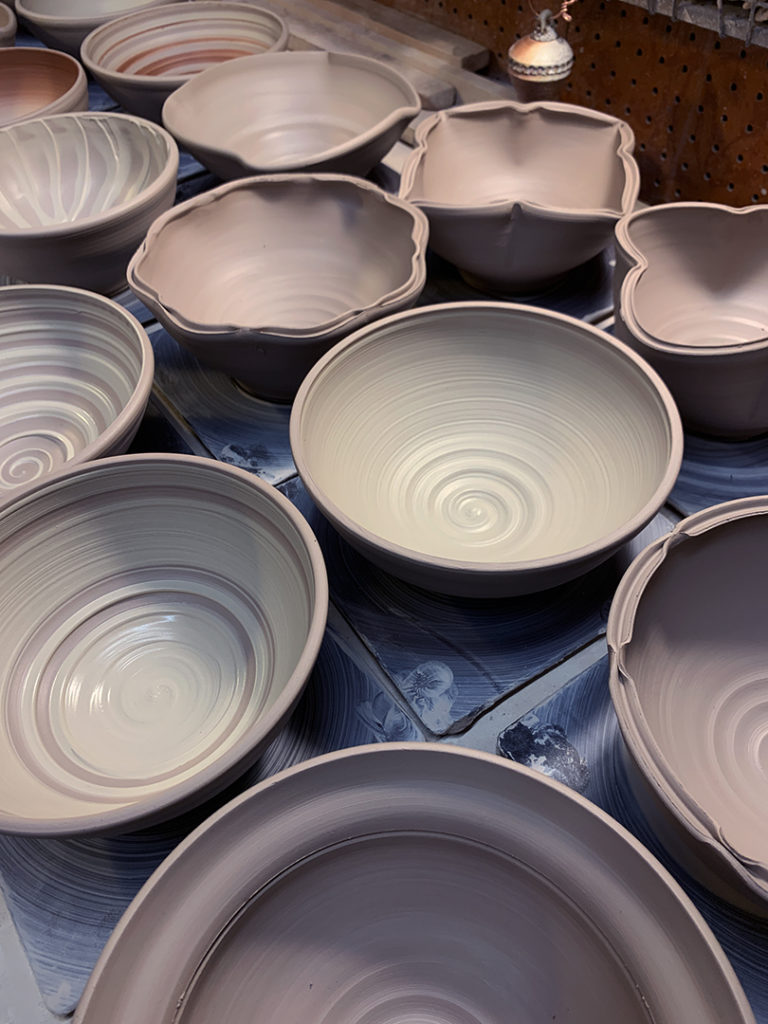
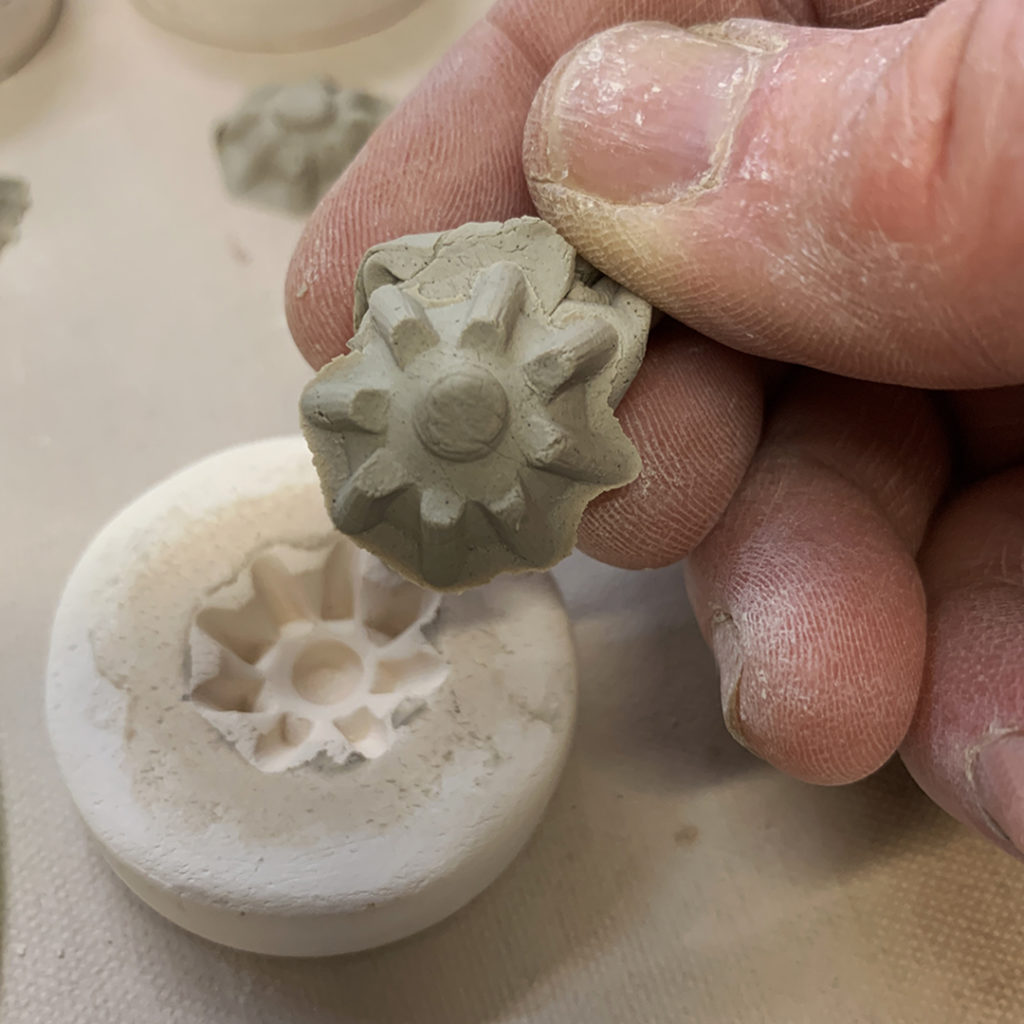
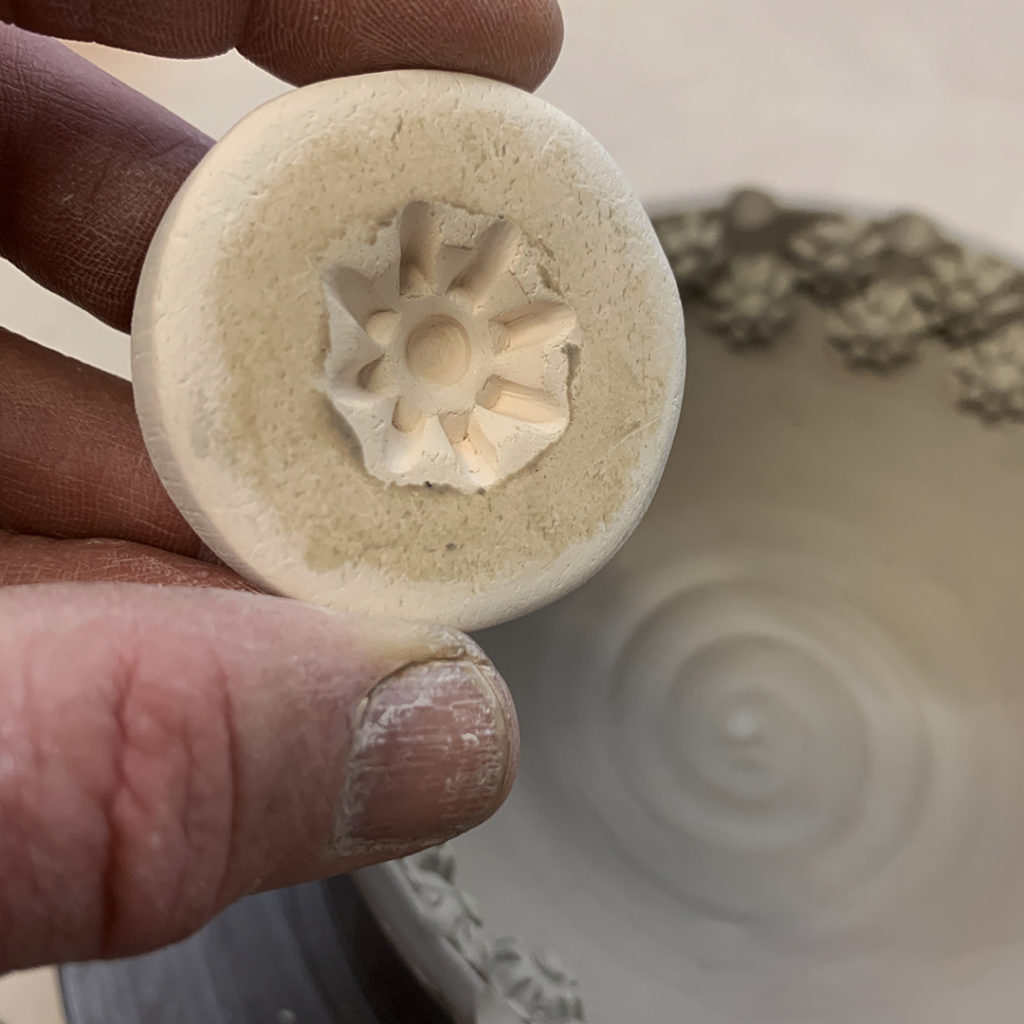
So for now they’re all up in my studio ready to go under plastic wrap for the night. I’ll keep them covered so they can dry slowly to leather-hard… and then there might be some stamping, detailing & addition. Maybe… just maybe…

Categories: bowls, classes, wheelthrowing

After throwing fourteen bowls that were all pretty much the same… my class re-grouped so that I could show them some quick tricks & techniques to make their own bowls more one-of-a-kind. I explained how I kinda feel like the wheel does most of the work in making a round bowl. But that it’s up to them to make it special & make it their own! Some quick alterations to help them make some “not-so-basic bowls”!!!

Bowl #1 – the plain one, as they all started out.

Bowl #2 – two simple finger flutes.

Bowl #3 – And if two are cute, maybe eight flutes are better?

Bowl #4 – a flared out flange.

Bowl #5 – a larger flared out flange.

Bowl #6 – A flared flange combined with four fluted edges.

Bowl #7 – a split rim… then pinched back together in eight places.

Bowl #8 – another split rim, this time indented with the side of a wood knife.

Bowl #9 – another split rim – indented in wards & outwards.

After doing some altered rims, it was time to switch to colored slips. Just adding more options & decoration techniques for my students to play with.

Bowl #10 – a layer of thick white slip, then dragged through with the rounded end of my wooden knife.

Bowl #11 – thick white slip with banded details.

Bowl #12 – finger squiggles through the thick white slip.

Bowl #13 – Channeling my inner-Steven Showalter and trying out some of his wonderful slip techniques!

Bowl #14 – rhythmic chattering through the thick white slip.

So for now, all of the bowls went up to my studio to spend the night under plastic. Trying to keep them form drying out too close… as there’s a “very good chance” that there may be some stamping & detailing still to come!

Categories: lidded jars, surface decoration, textures, tools

Boy, these class demo pieces sure seem to dry out fast?!…
even though it was under plastic, this lidded jar demo piece was surprisingly dry when I checked on it. Too dry to stamp!!! So I resorted once again to carving some patterns on the lid with my DiamondCore Tools. Sure they work best on leatherhard clay, but still work great on drier clay too!

Categories: bowls, classes, surface decoration

A few weeks back, during my SURFACE DECORATION class, my students tackled Water Etching with Catherine Tweedie! I was out-of-town for the Minnesota Pottery Tour… and Catherine is always my number one choice for a class sub. And in this case, it worked out perfect. As she was available to sub for me when I needed her to… AND she is the master of water etching so she was the perfect replacement to fill-in while I was gone.

Prior to class, I had pre-made several bowls for my students to play with. I threw them, trimmed them, and added a layer of colored slip on the exterior of most of them.

Catherine brought the bowls down to class as a surprise for them to work on… GIDDY-UP!

Catherine started by showing them how to paint wax resist patterns on the bone-dry bowls.

And then when the wax resist is dry, they started to wipe-away the unprotected surfaces with COLD water! Gently wiping the colored slip away… leaving the wax protected areas intact. The more you wipe away, the more difference in depth you start to see. Eventually you can see and feel a crisp edge around the waxed patterns.

I kinda feel bad that I missed such a great water etching demo by Catherine!… but I will say, it was more than worth it with the Minnesota Pottery Tour! Looks like I left my students in good hands… and they made some really cool patterns on the bowls.

Categories: classes, process, production

Thrown on Tuesday night, and trimmed tonight… just minutes before my SURFACE DECORATION class. I can’t wait to see what my students do with these “blank” cylinders… as tonight’s technique is mishima!!! More photos to come…

Categories: classes, lidded jars, process, production, stamped

Last night in class, we finished off Part Two of last week’s lidded jars demo. Tackling the knobs on the lids… with two knobs created while trimming (closest to the jars) and the other two with cute little finials wheelthrown onto the lids from an attached nugget of clay. Always good to have options!

Categories: classes, process, surface decoration, textures

Last week in my SURFACE DECORATIONS class, I showed my students how to use sprigs to decorate their bowls. Basically, a sprig is the “opposite” of a stamp… where you press clay into these handmade “molds”… pop them out… and then score & slip them onto the bowls. So sprigs “stick out”… whereas my usual stamping in more “pressed in.” Kinda fun… we’ll see how this looks after some glaze plays with the new textured surface!

Categories: classes, color, surface decoration

My students LOVED last week’s “tie-dyed” demo night with my SURFACE DECORATIONS class. After the shaving cream demo, they all decided to give it a try… splashing colors, smelly shaving cream & water melting away the “evidence” to leave behind some great colored results!!!

Categories: bowls, classes, wheelthrowing

Ten bowls by 10:00am!!! Sure, I shoulda been making the terra cotta drip plates… but I kinda slipped on a tangent. But seriously, who doesn’t need some new bowls???