Gary Jackson: Fire When Ready Pottery
A Chicago potter’s somewhat slanted view of clay & play
Categories: bowls, classes

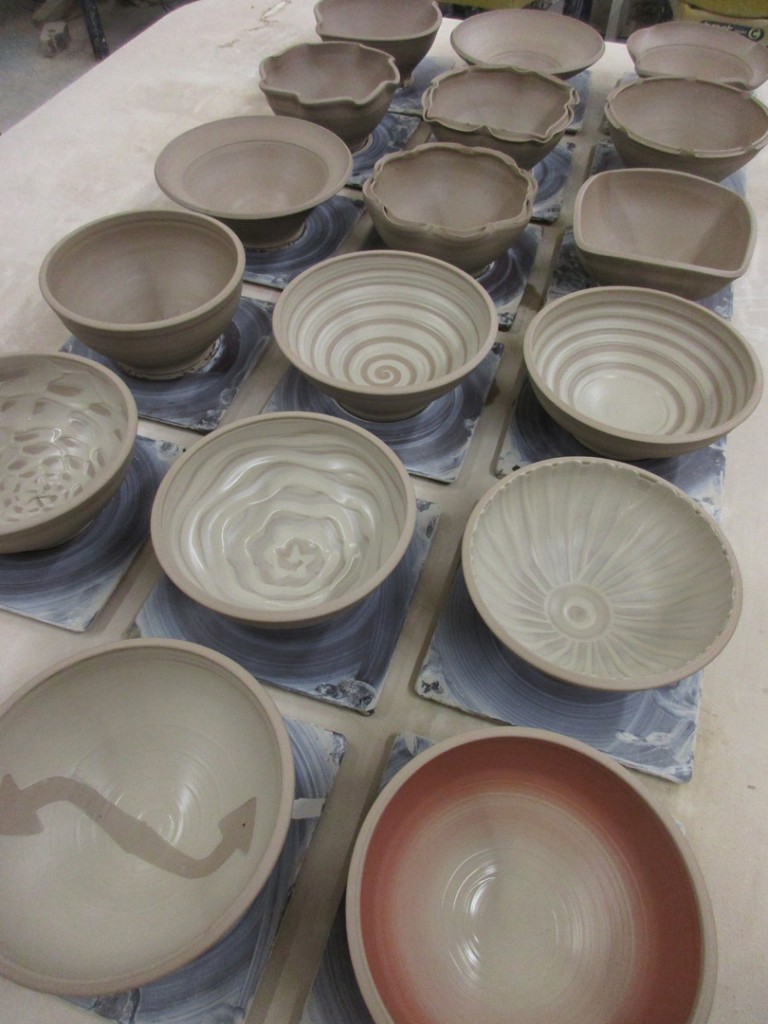
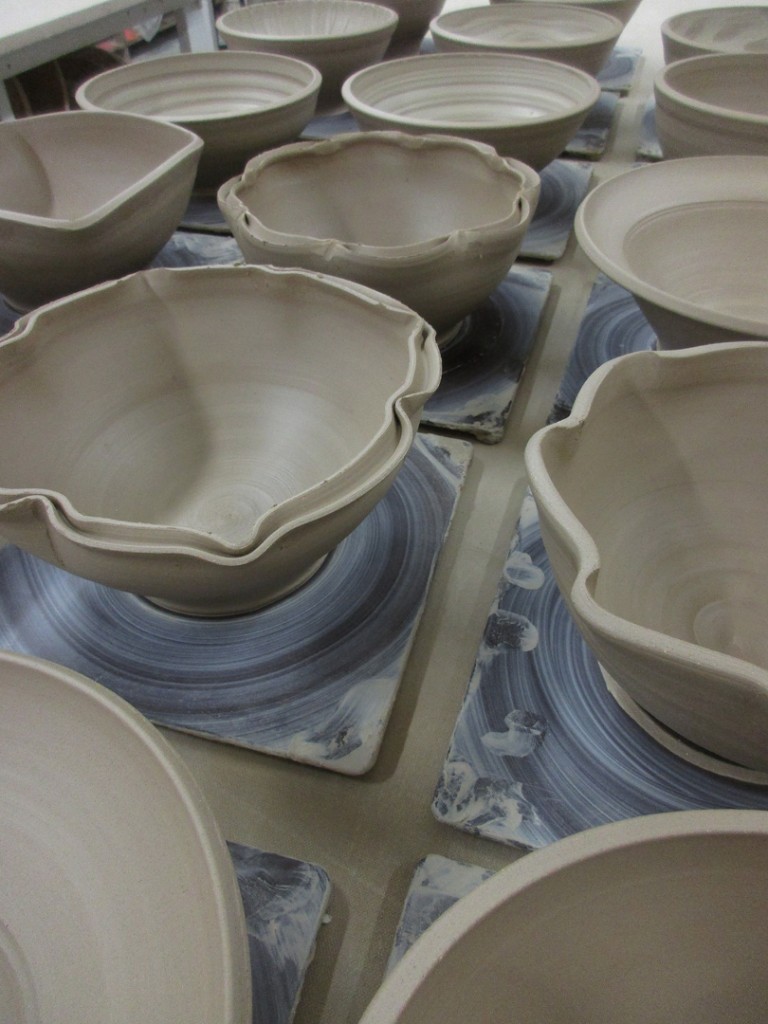
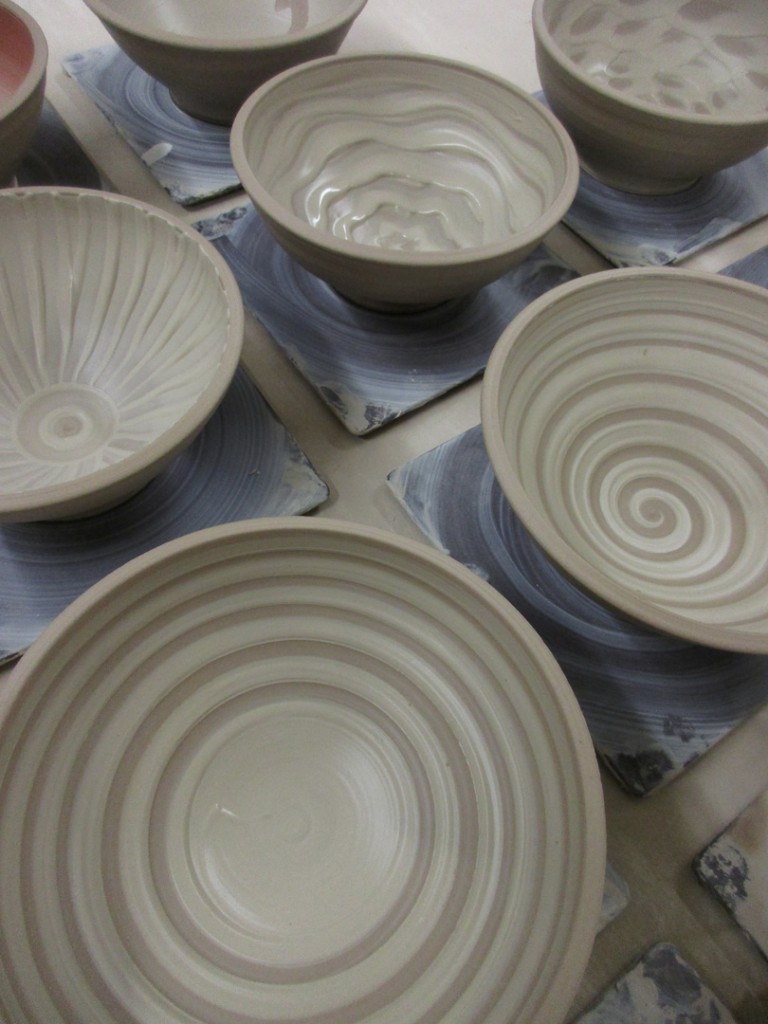
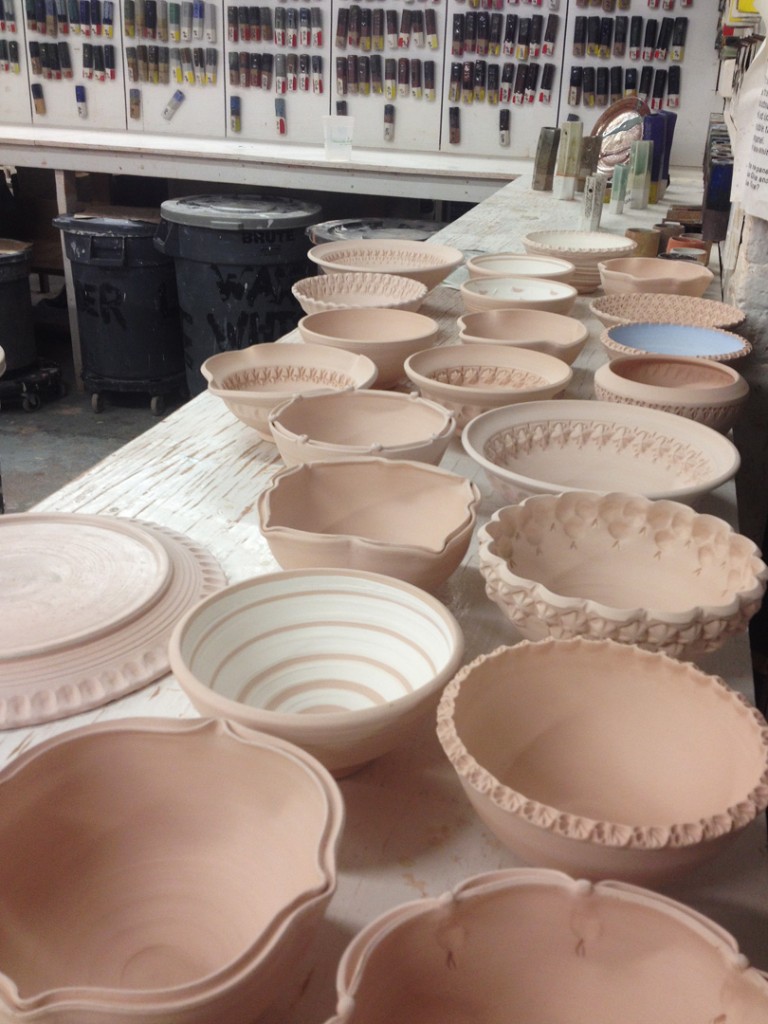
Last evening, we did my FAVORITE class demo of every session for my Beginners & Advanced Beginners. It’s the demo where I show my students how to make a basic bowl on purpose… instead of a cylinder gone bad!!! So we cover the basics of bowl-making…. and then I continue to make a LOT More bowls while they go back to their wheels to start throwing. After I’ve made a good number of bowls… a full clay bag full…  I call them all back to my demo wheel so we can start playing with the bowls. I threw them all on plastic bats and did NOT wire them off, so that they are still centered on the bat. I can then easily put them back on the wheel and they’re still centered.Bowl by bowl, we go through a whole lot of options and techniques for altering & decorating each of the bowls.

My goal is to show them some tricks… but more importantly to show them that they can actually PLAY with their clay. That they can push it further than they think… and make it their own piece of work. That bowls don’t always have ot be round… nor left exactly how the wheel made it for them.

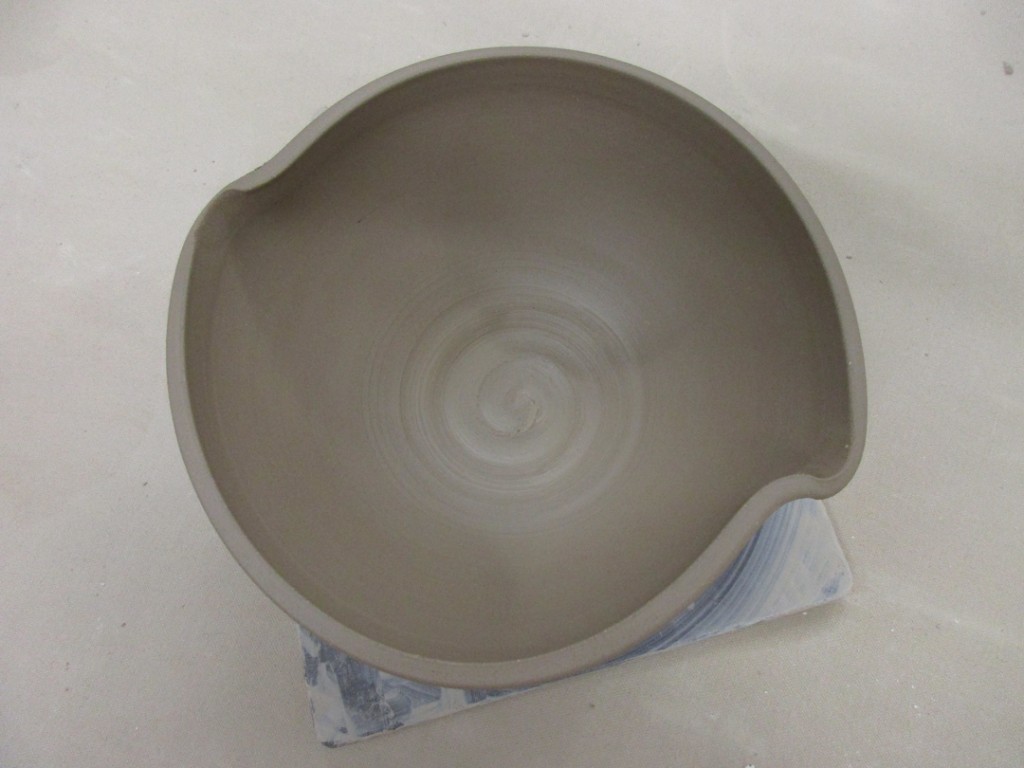
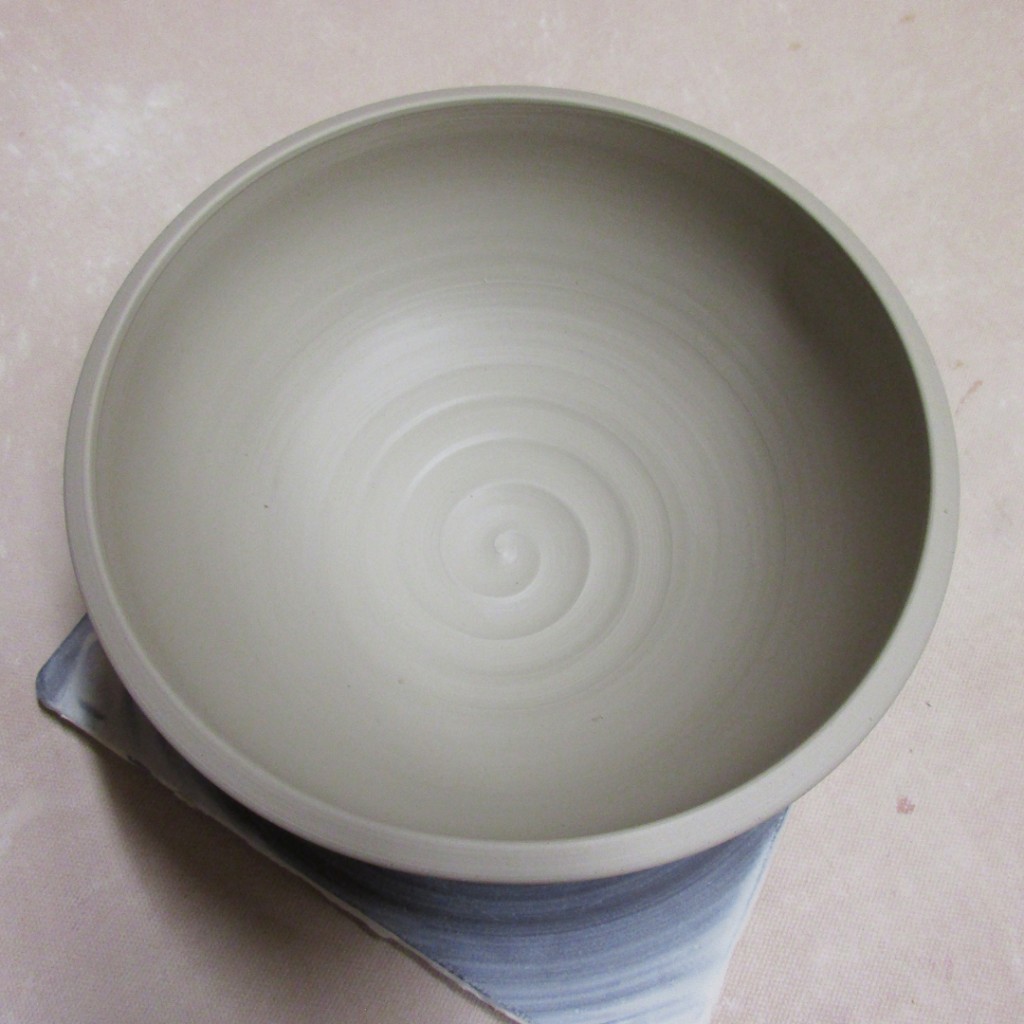
BOWL A – This is the “starter” bowl… simple, round, just as they all came off the wheel.
BOWL B – Two simple flutes to the edge, so much cooler already!!!

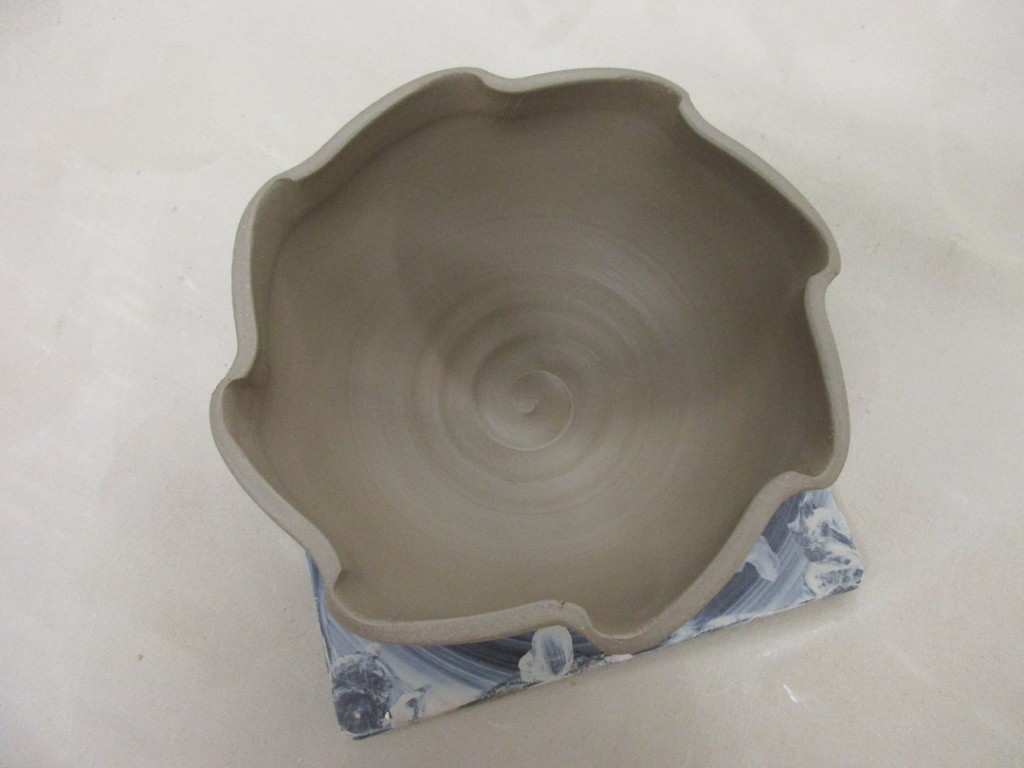
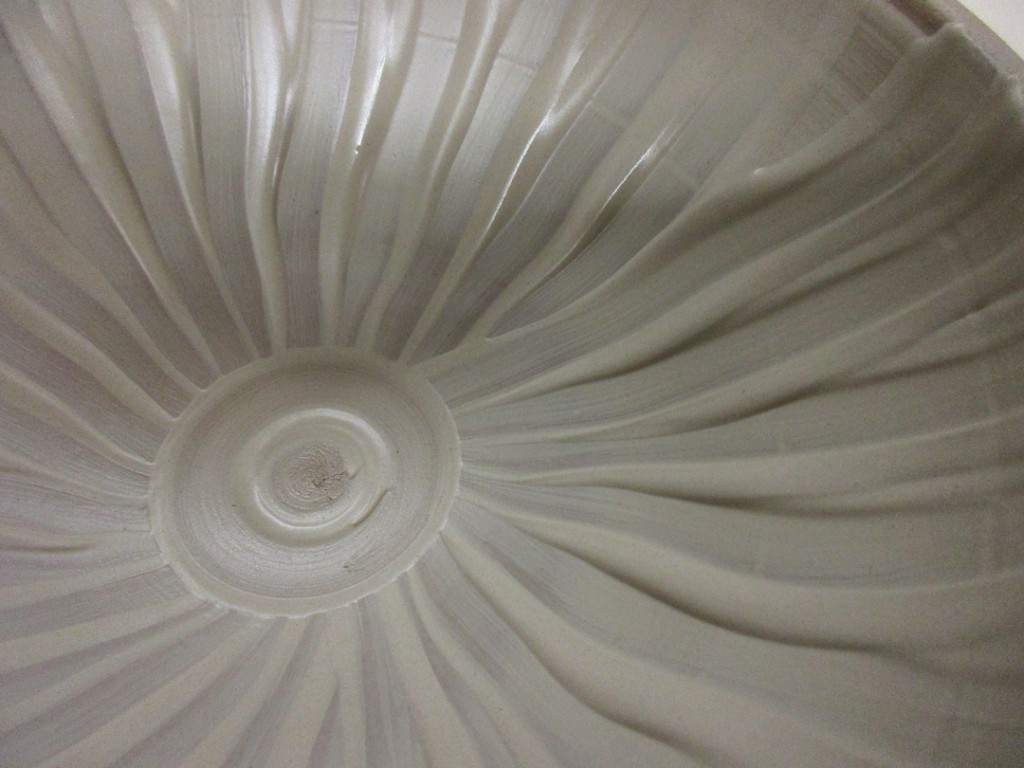
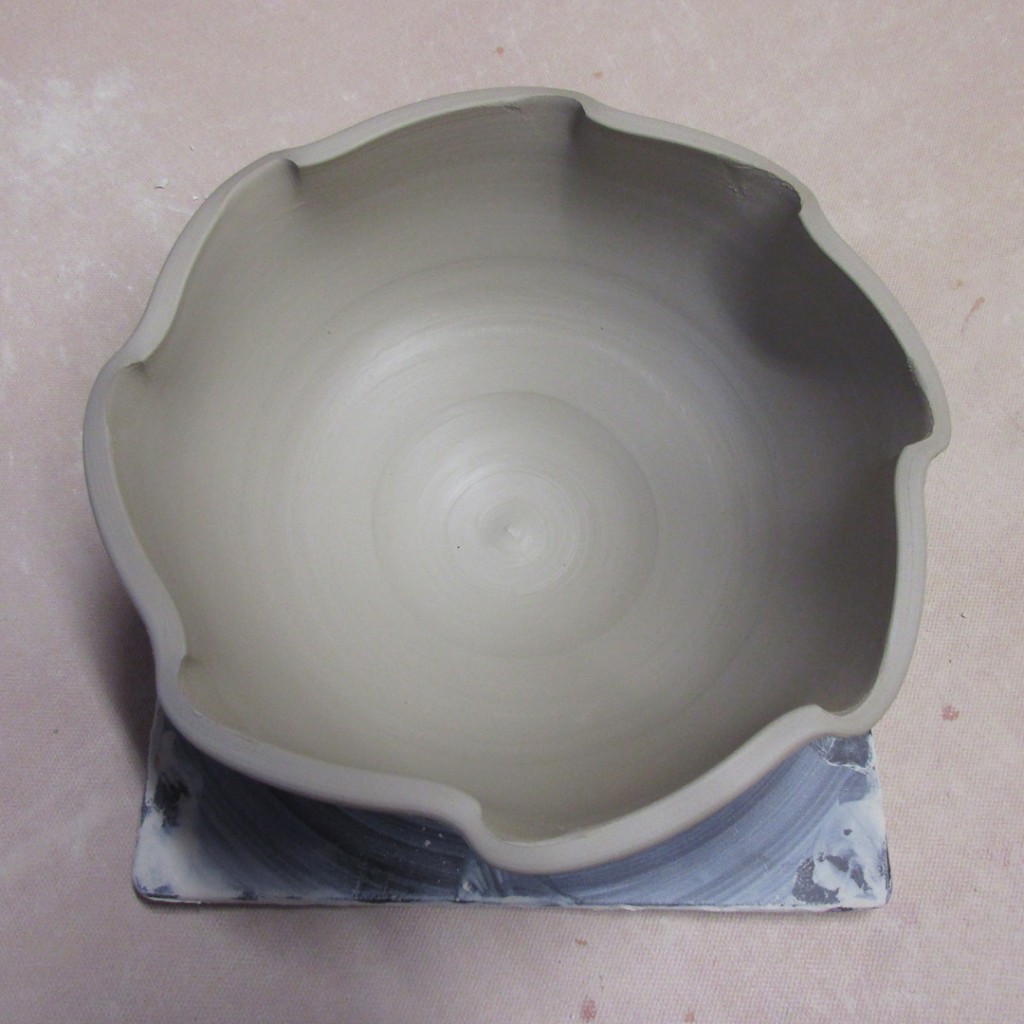
BOWL C – And if two finger flutes are good, eight might be even better?!
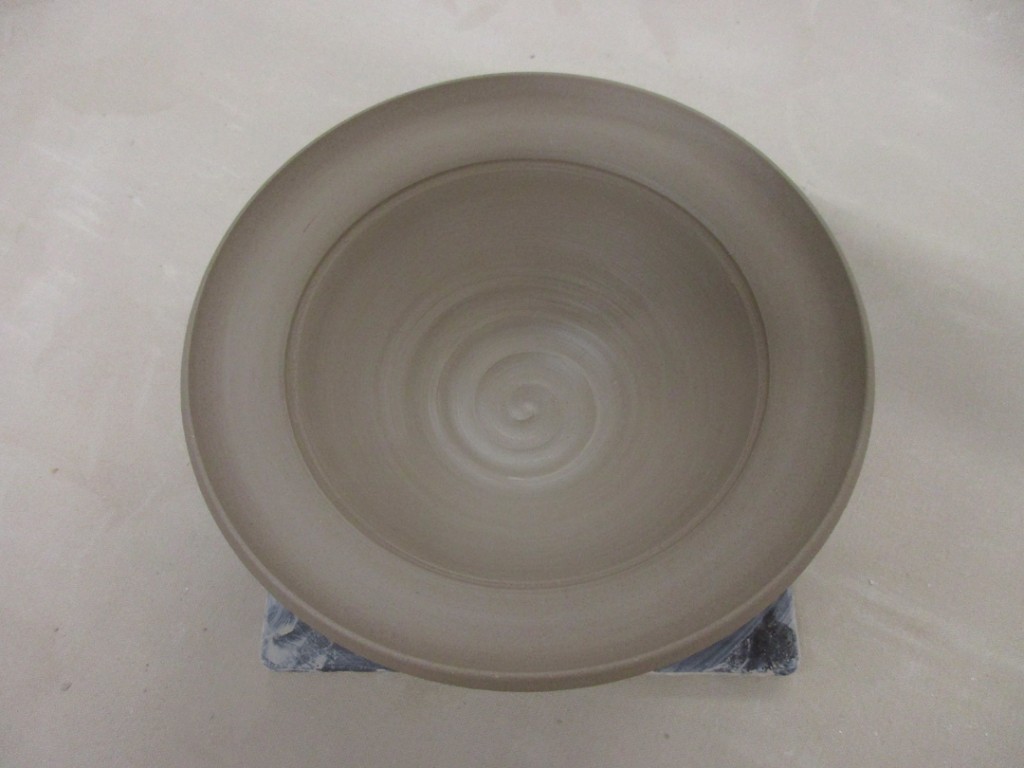
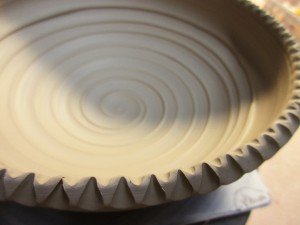
BOWL D – A small flared flange and a groove line where the change of direction happens.
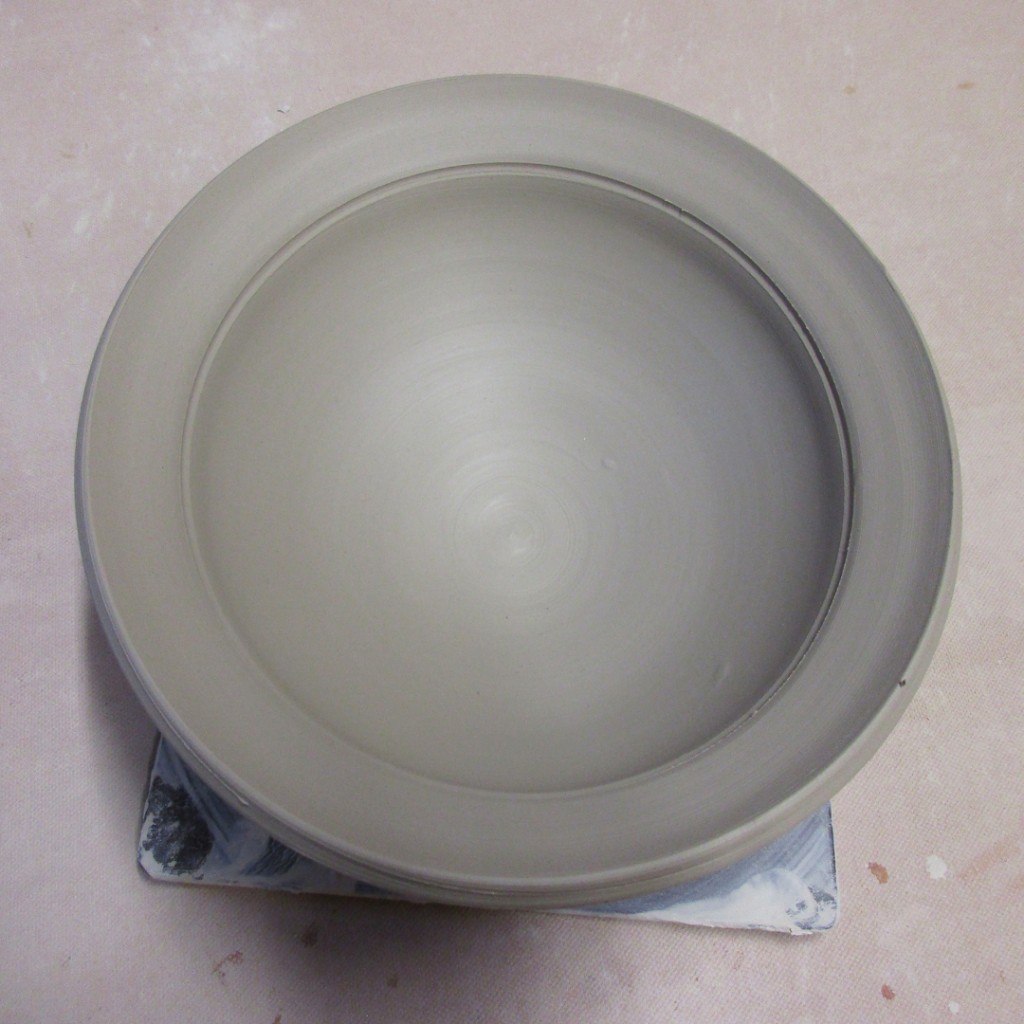
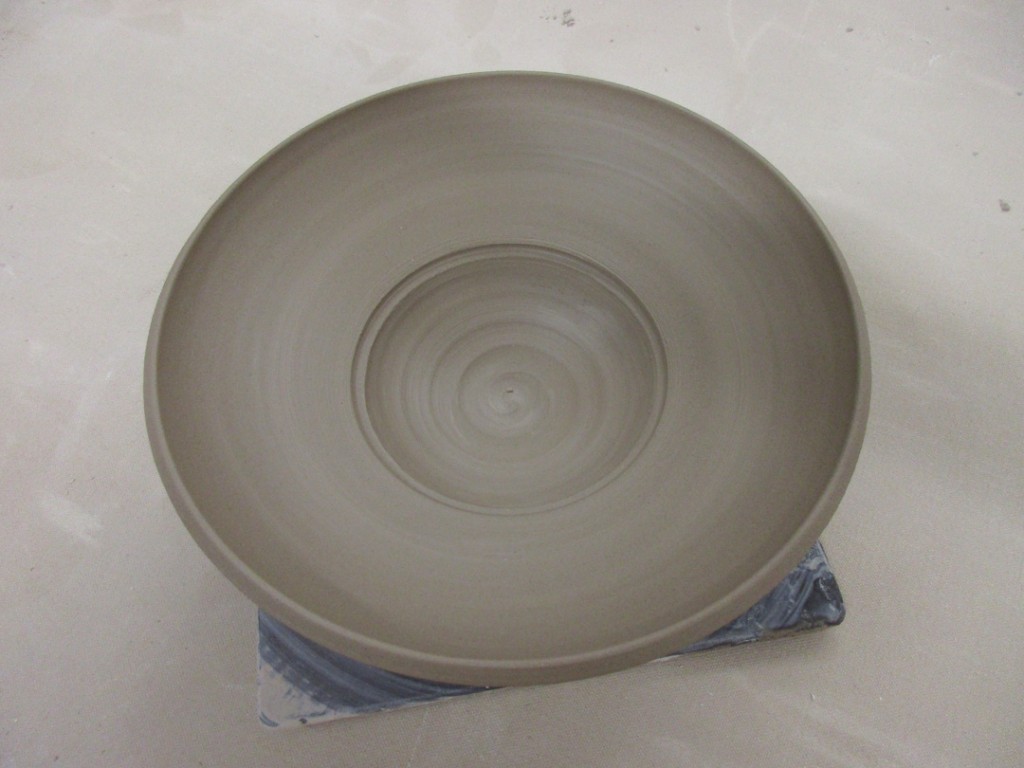
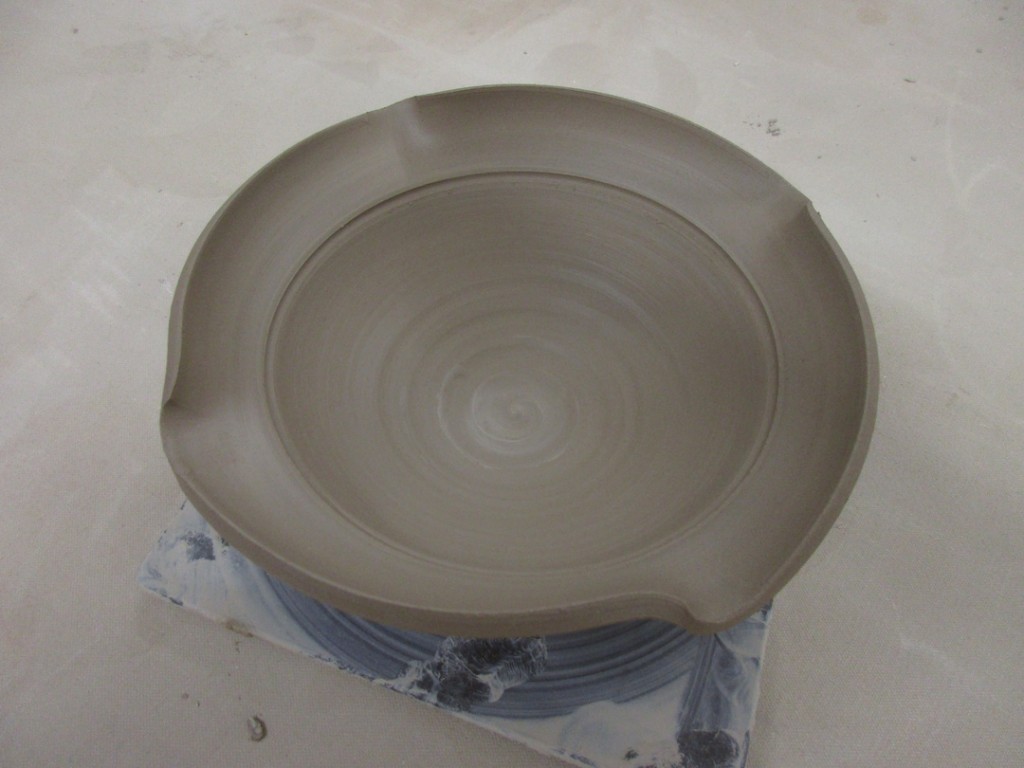
BOWL E – If a small flange was nice, maybe wider would be better?! Kinda like one of those fancy restaurants where you get the huge plate with one small fancy morsel for a huge price!

BOWL F – Combined flared flange and finger fluted accents.
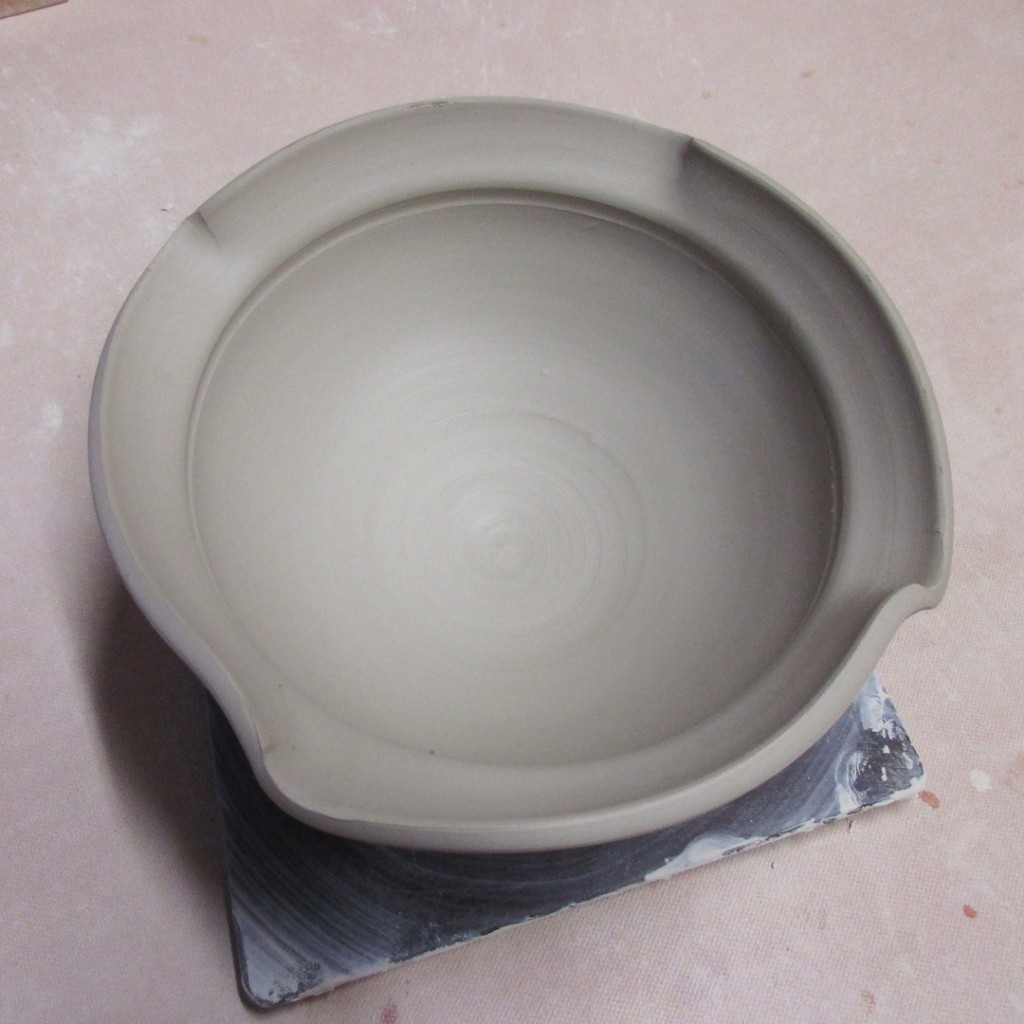
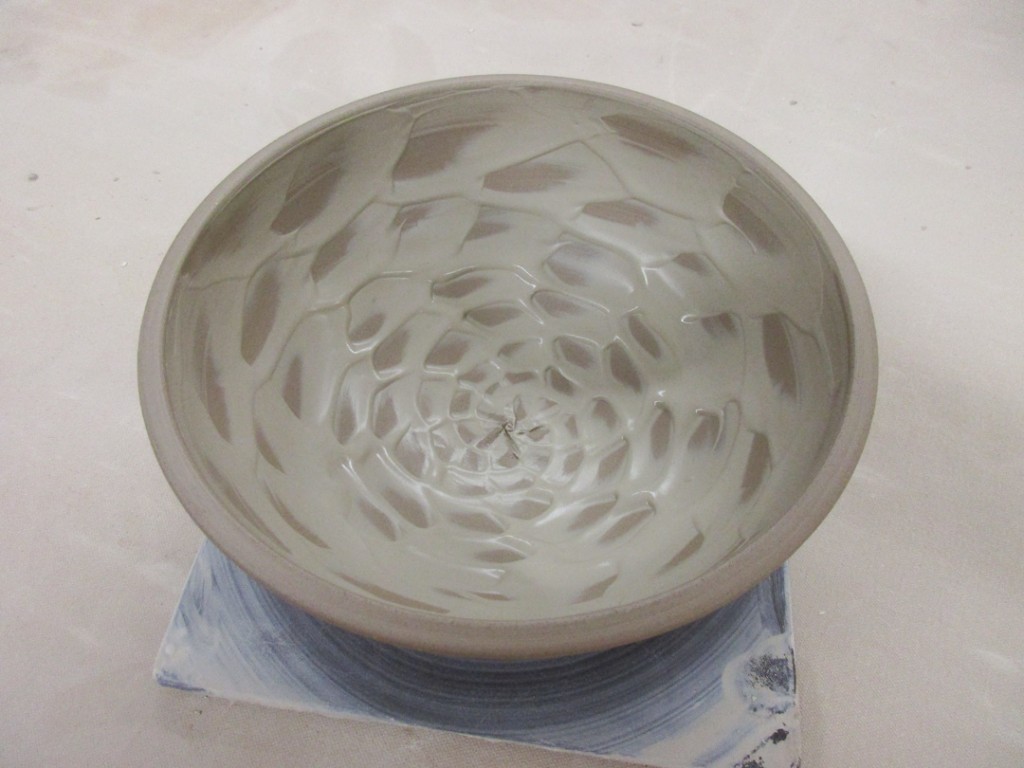
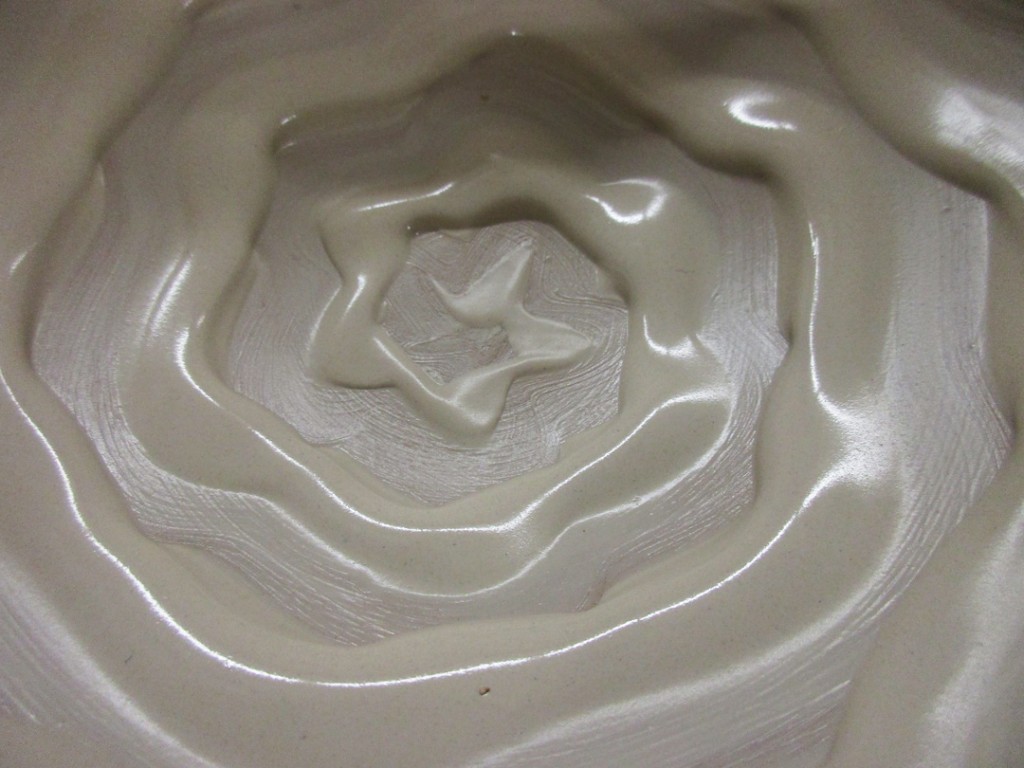
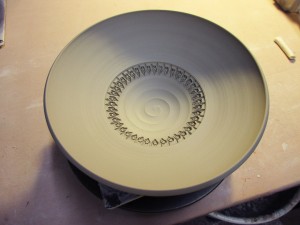
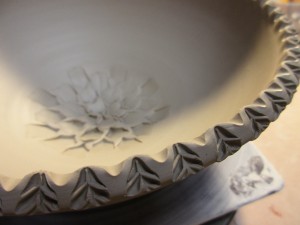
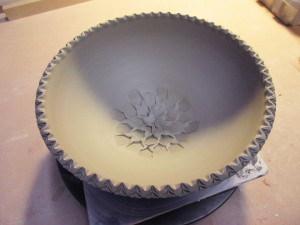
BOWL G – A fun “flower” decoration made in the bottom of the bowl with a simple dragonscale tool.

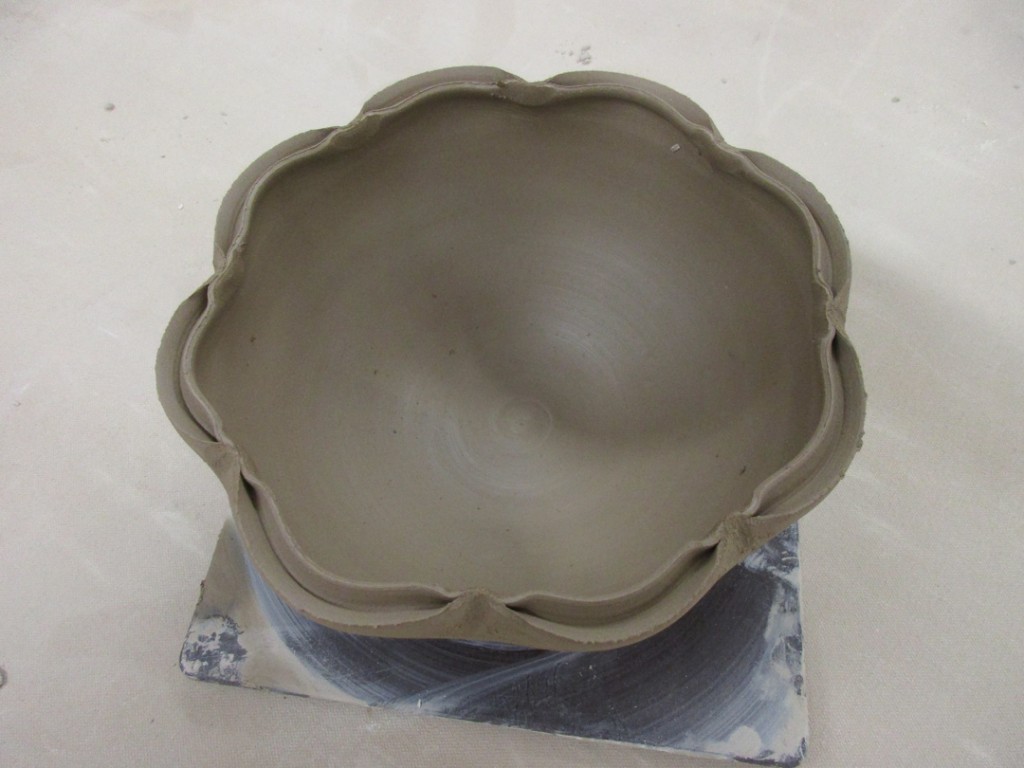
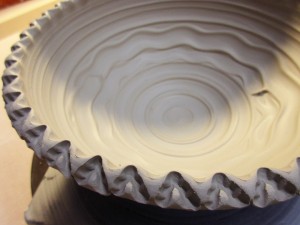
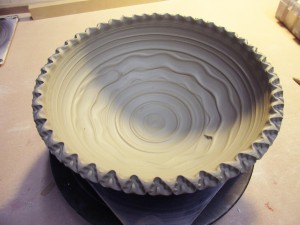
BOWL H – Split rim bowl pinched back together in eight places.
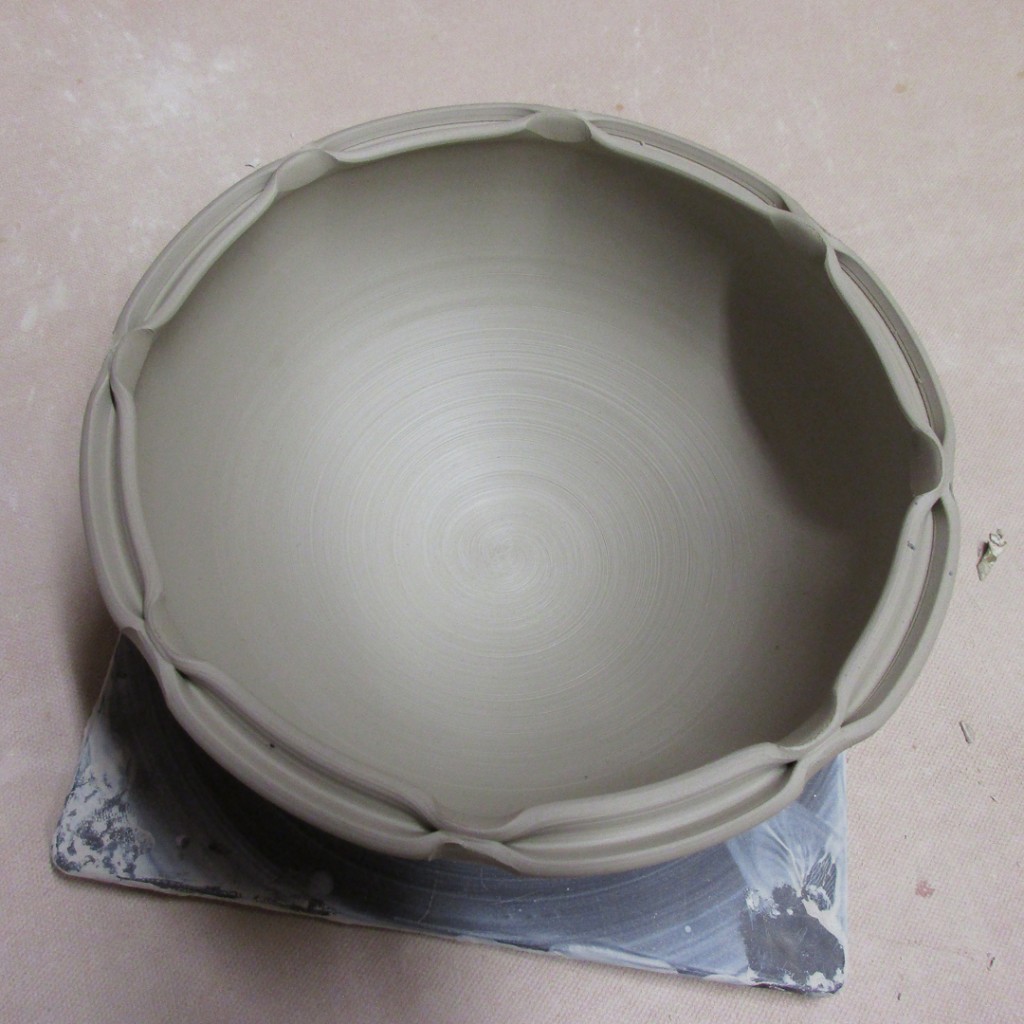
BOWL I – Very similar to the one before, except the bowl was “bulged out” and rounded more by hand between the pinch marks.
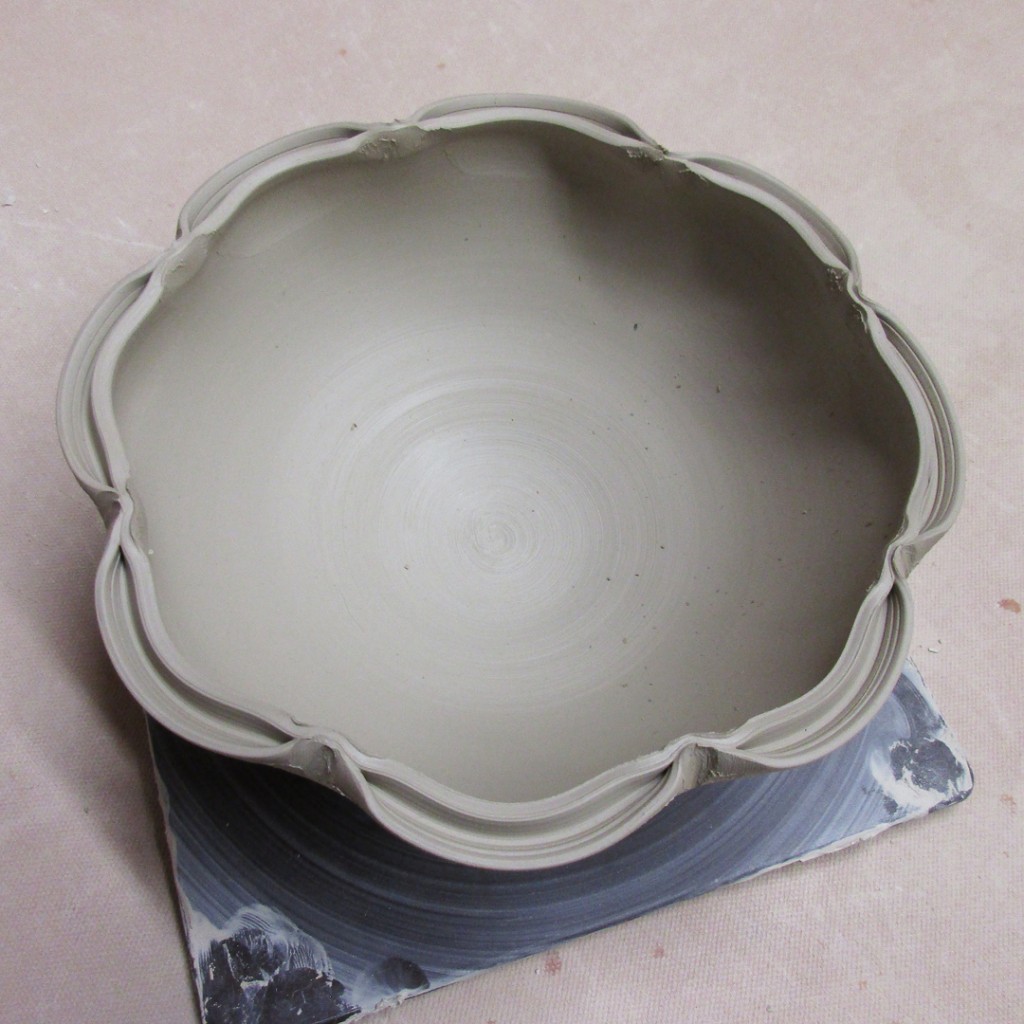
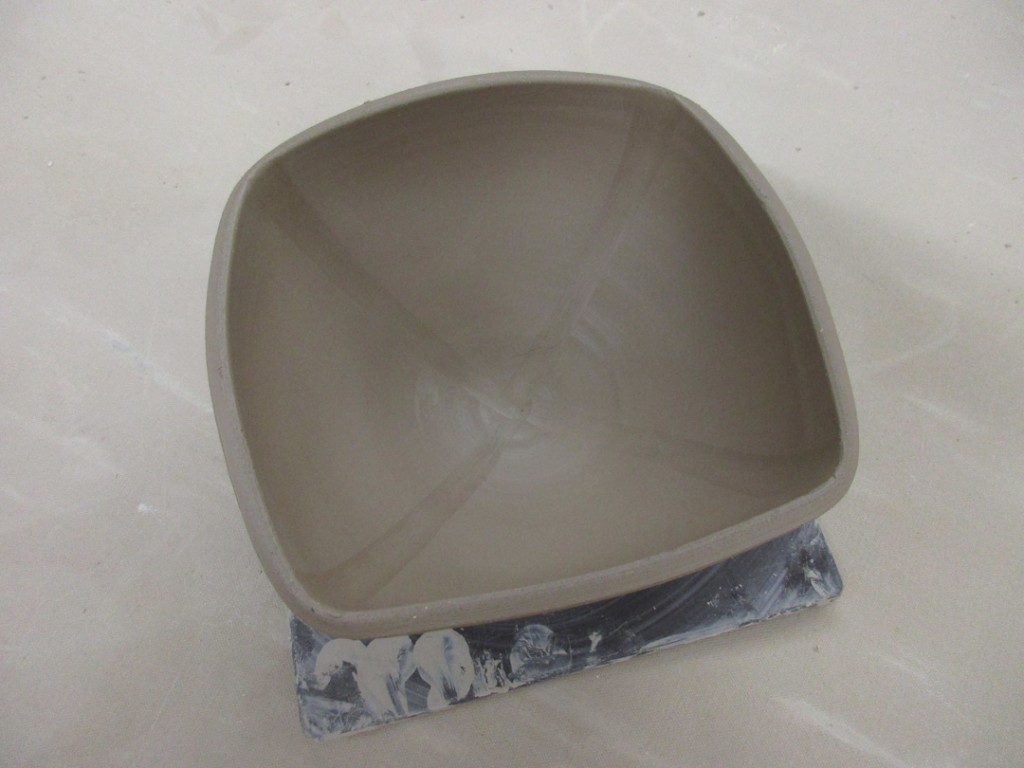
BOWL J -Another split rim pinched “in” and pinched “out”… and then formed into a square.

BOWL K -A simple round bowl with a solid coverage of white slip inside.
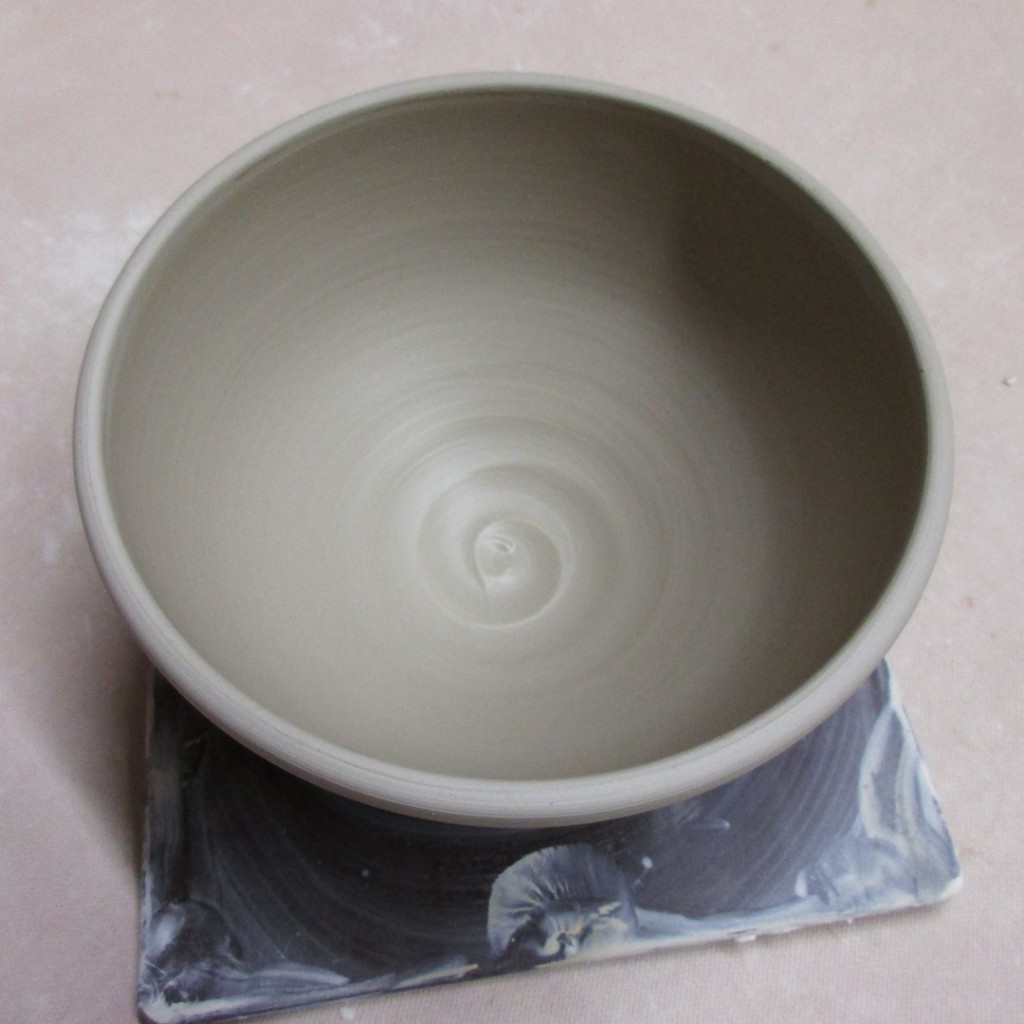
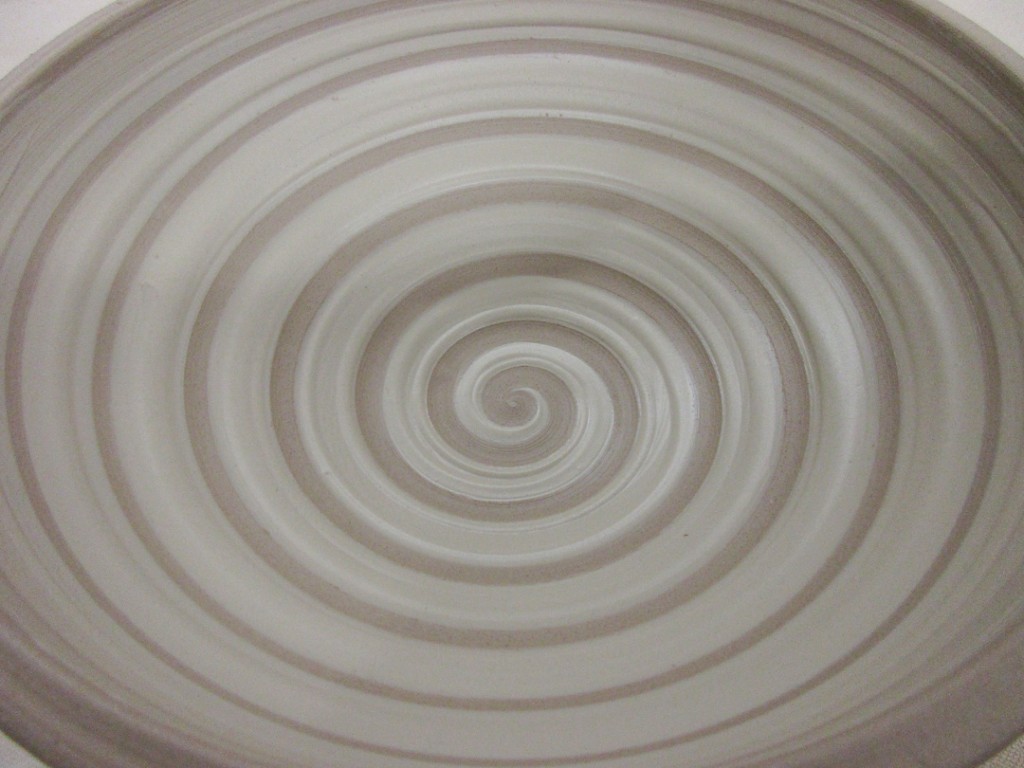
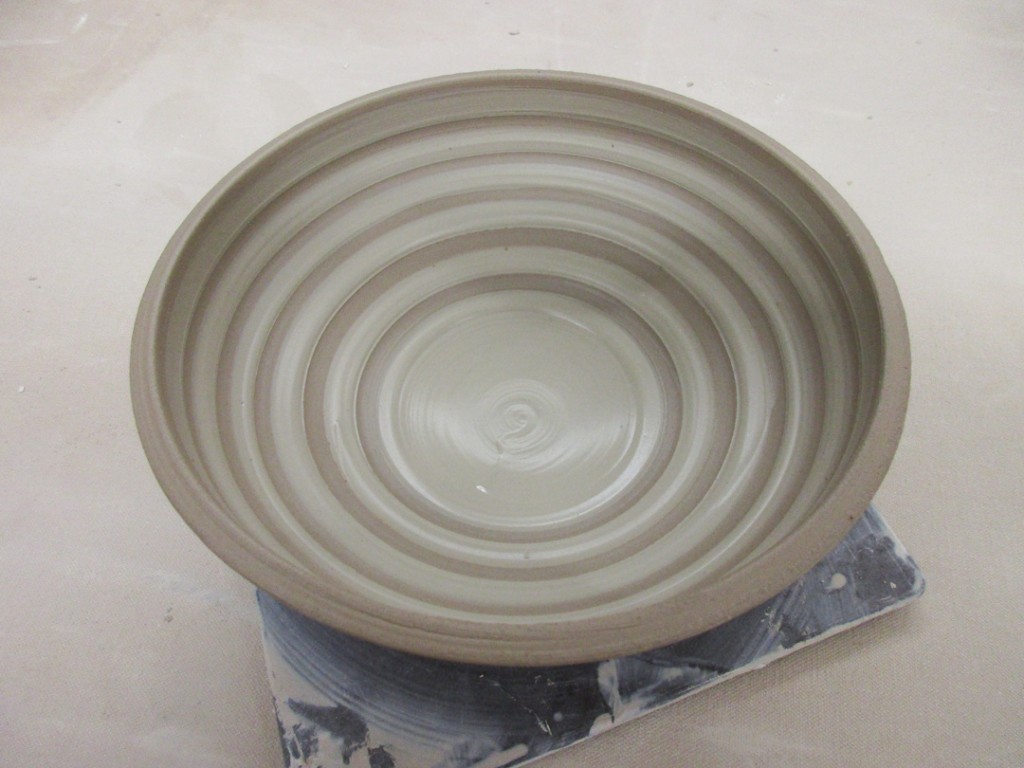
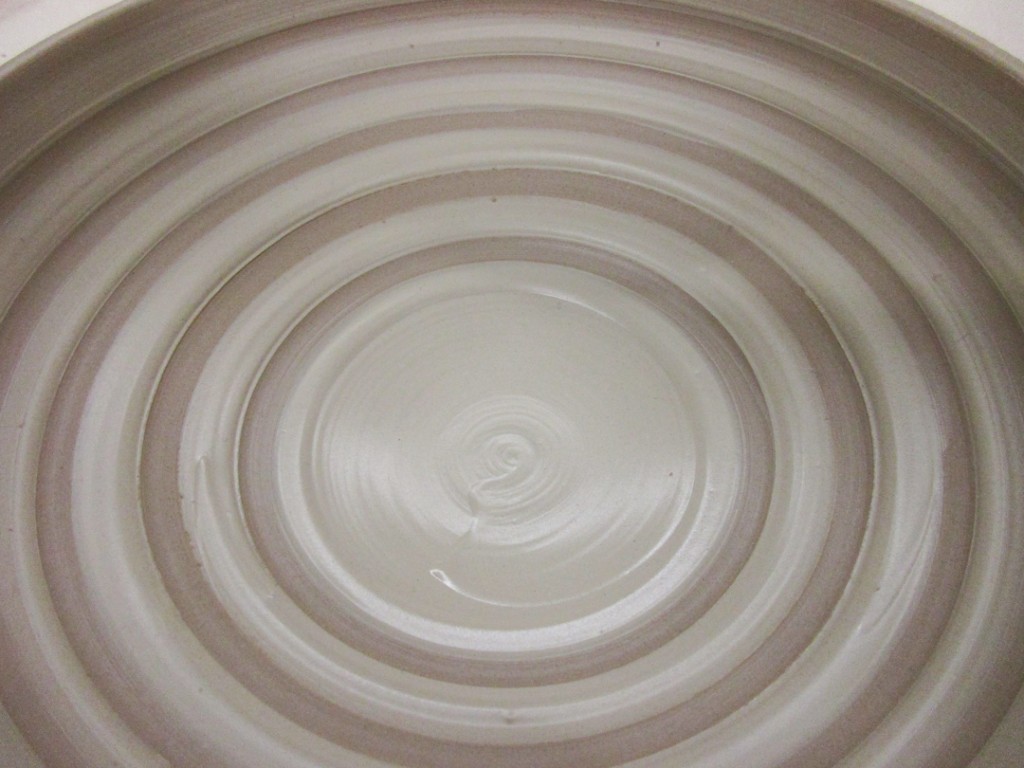
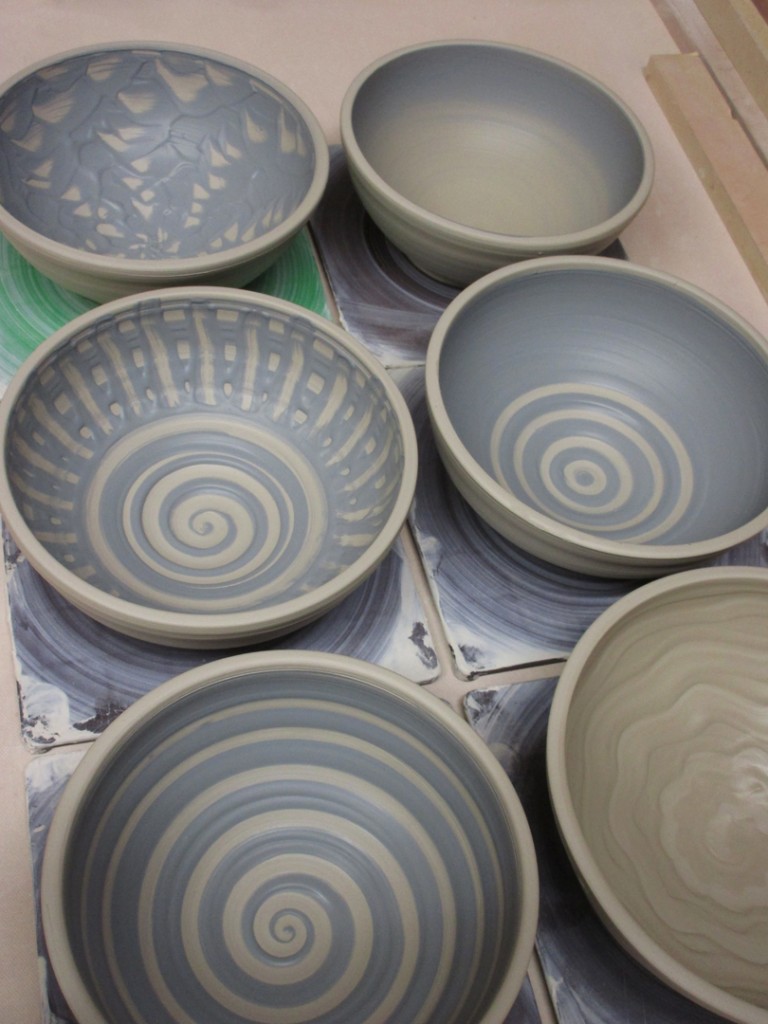
BOWL L – A simple covering of blue slip with a spiral pattern from the end of a paintbrush being dragged through while the wheel was spinning.

BOWL M – Another bowl with more blue slip. Partial spiral in the bottom. And some banding around the sides that were then dragged through vertically to create the “grid” effect.

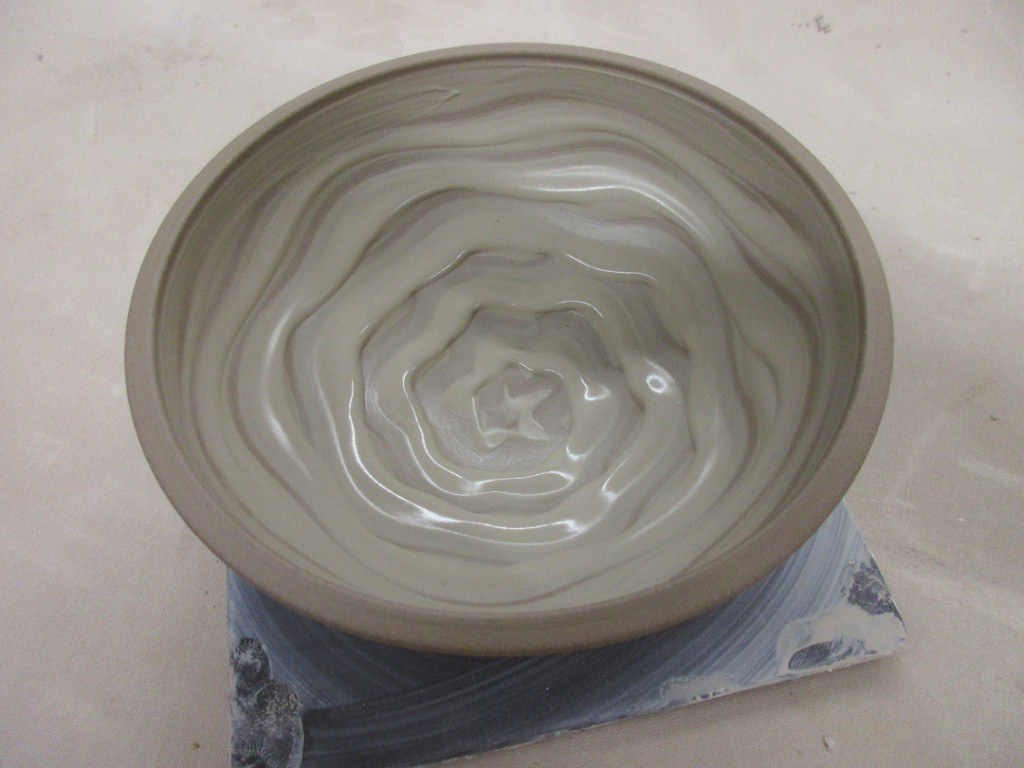
BOWL N – A thick layer of white slip with a finger squiggle through it while the wheel is spinning.
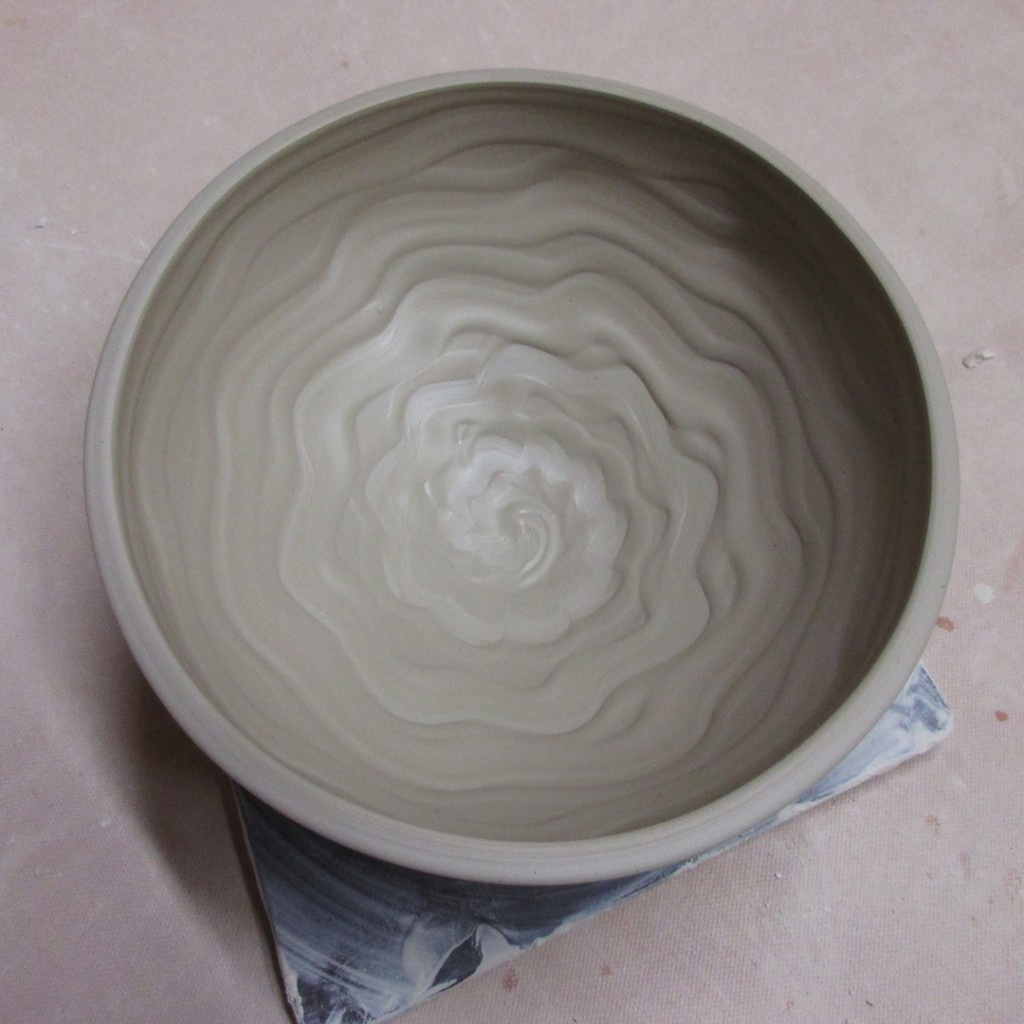
BOWL O – A layer of blue slip with a chattered pattern through to reveal the clay color below.

BOWL P -This one is funny because it started out as a newspaper stencil demo. I cut a few squares and used them as a pattern stencil. But when I pulled them out, I didn’t really like the design, AND I couldn’t find all of them. Ha!!! So I dug around to pull them all out and then re-covered it all with slip and did a little banding in the bottom.
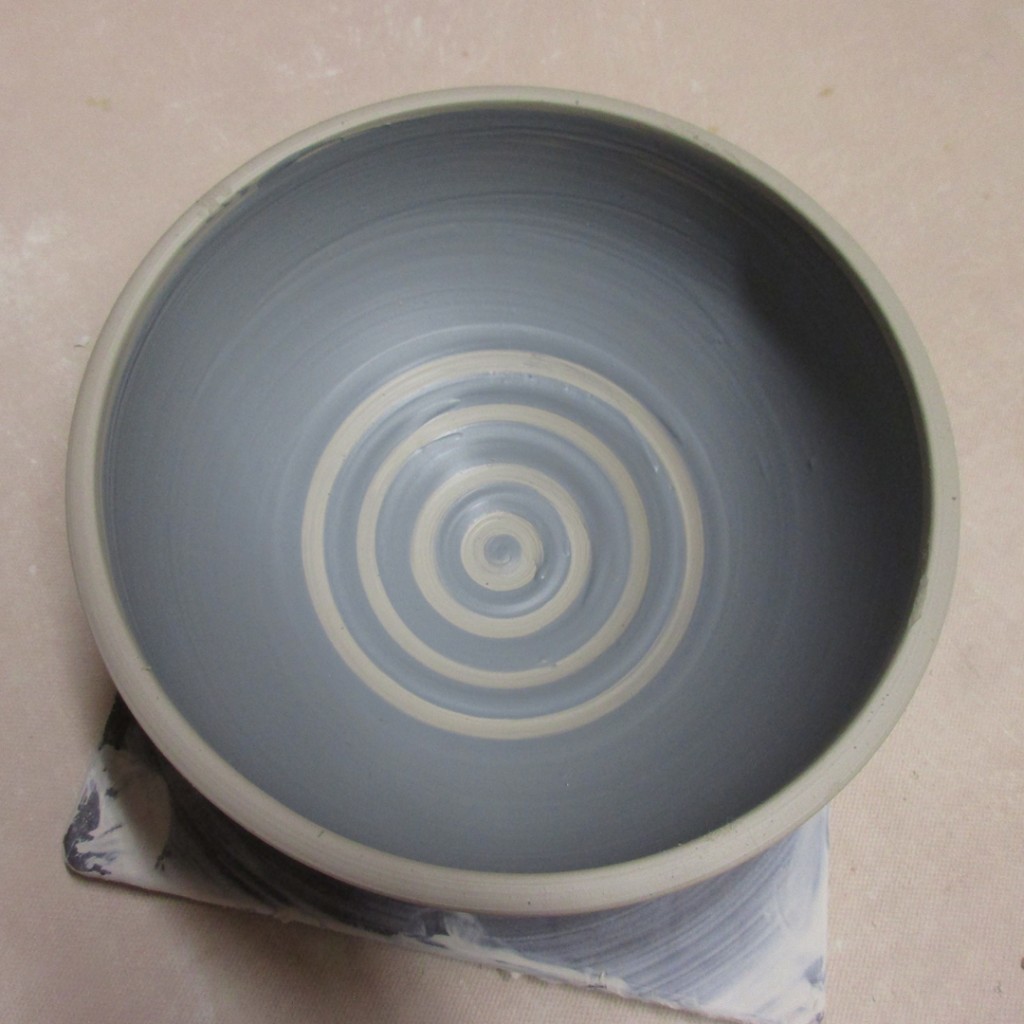
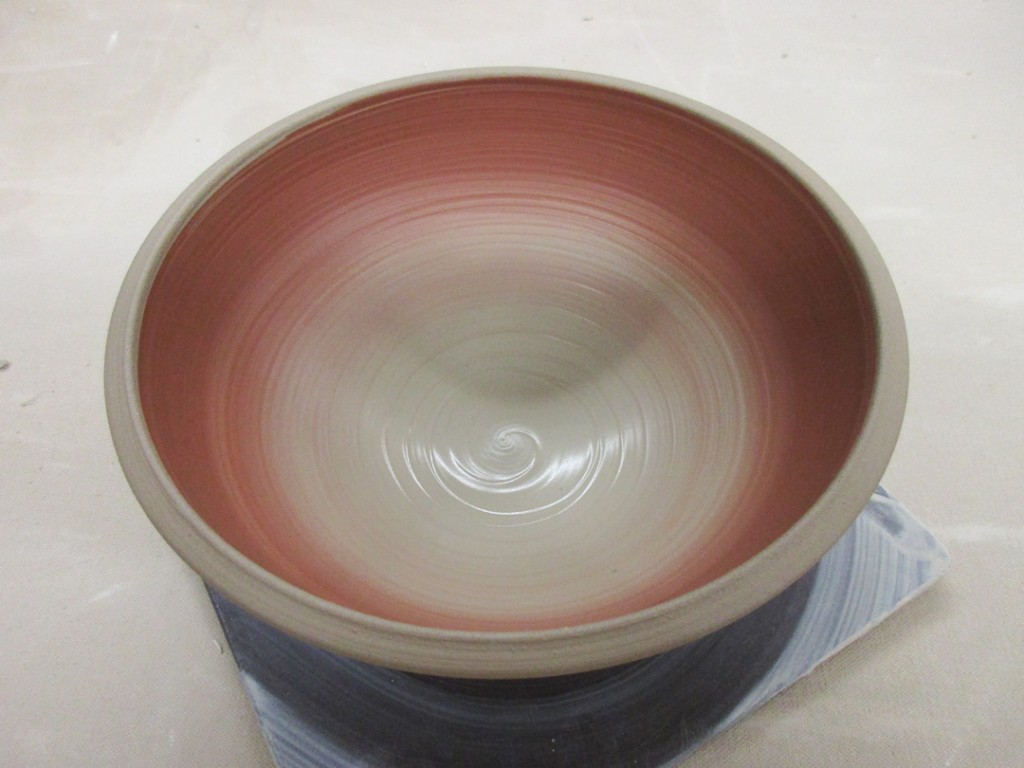
BOWL Q – A blended ombre effect with white and blue slips.
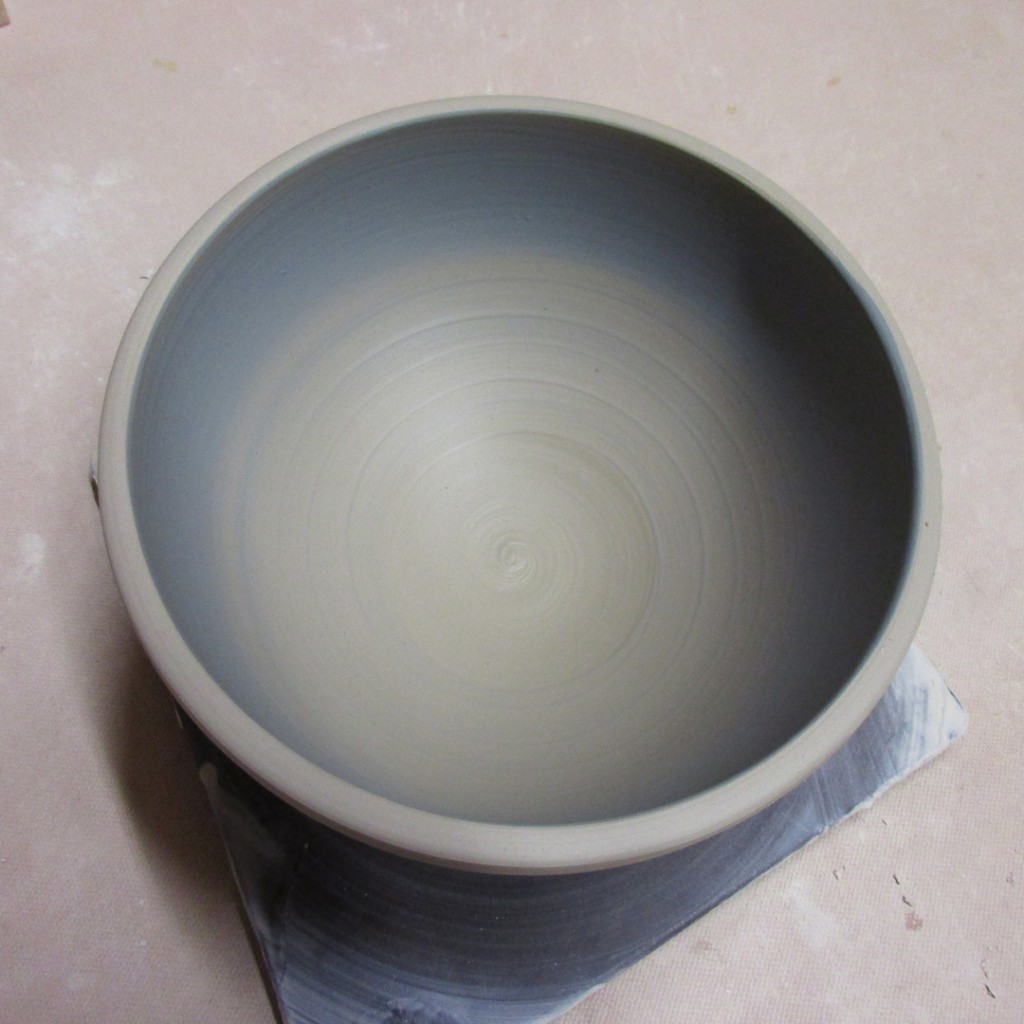
So now they’re up in my studio and under plastic. Once they set-up a bit, I will do a little more stamping, detailing & trimming of the bowls. Hopefully my students were inspired by a few of the techniques… and might actually try making some not-so-basic bowls with a little design flair!!!

 

Categories: bowls, classes, lillstreet, process, production

So we’re in Week Four of the new Spring session of classes at Lillstreet Art Center. My Beginners are doing so well this time around. Catching on really quickly and progressing quite nicely. So last night we had a full discussion about making bowls on purpose instead of “accepting” cylinders gone bad. That a “good” bowl has a really nice curve on the inside. Not a flat bottom cylinder with corners that then swoop out into a bowl. No “beginner’s” ledge on the inside from where they pinched their fingers together to lift the clay. So I showed them how to throw that good basic bowl.

After we finished that first bowl demo, my students went back to their wheels to start practicing. While they threw their bowls, I continued to throw mine as well. I used up a full bag of clay… throwing seventeen basic round bowls, each about 1-1/2 lbs. Once I got them all thrown, we reconvened so I could show them some quick tricks on how they can alter, design & personalize their pottery. Anyone can make a basic round bowl… but the fun part is making it your own!!! So I showed them the tricks, introduced them to colored slip, and tried to beat it into their head that “IT’S JUST CLAY.” Don’t be too frightened to try something. It’s not precious. Make lots of stuff. Try lots of things. If it works, great. If it doesn’t, just squish it up and do it again. Don’t be afraid. IT’S JUST CLAY!!!
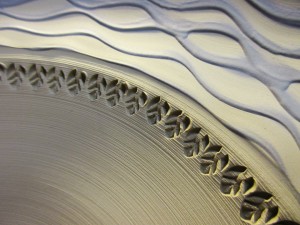
Bowl #1 – Fluted on two opposite sides.

Bowl #2 – If two flutes are good, maybe eight would be better?

Bowl #3 – A simple flared out rim… becomes a great “canvas” to decorate later.

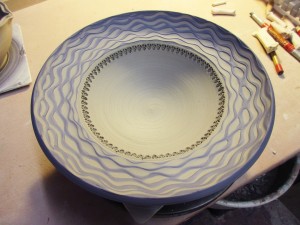
Bowl #4 – A much wider flared flange… for even MORE decoration later.

Bowl #5 – A combination of the flared rim and fluted edges. Gives it a bit of an undulating rim.

Bowl #6 – This one was squared off a bit. Who says bowls need to be round? The shape and edges will be refined and decorated later as the clay stiffens up a bit.

Bowl #7 – A simple flower pressed into the bottom with a metal dragonscaling tool. Always a fun little surprise for someone when they get down to the bottom of their bowl of soup!

Bowl #8 – A split rim using the point of my wooden knife. Then pinched back together.


Bowl #9 – The same split rim trick, but then rounded out between the pinches.

Bowl #10 – Another split rim bowl. This time the shape was altered outwards in four corners, and inwards in between.

After playing with the shapes & edges of the rim, we switched our focus to colored slips. And the huge options thisopens up for them. The fact that colored slip is like adding a new “skin of clay” on top of your bowl. An easy way to add color to your pottery at this stage. It will dry and be fired onto the pot… and then create some new effects when glaze goes over it.

Bowl #11 – I coated the inside of the bowl with some basic white slip. And then dragged the rounded end of my wooden knife through while the bowl was spinning to create this fun spiral. The color contrast between the white slip and the darker clay body will show up after glazing.

Bowl #12 – Another bowl with white slip, this time with horizontal banding.

Bowl #13 – White slip with chattering through the slip. Chattering is rhythmic tapping… I use my rubber rib tapping up & down through the glaze, moving upwards while the bowl is spinning.

Bowl #14 – A thicker layer of white slip with some squiggly finger grooves.

Bowl #15 – Another layer of white slip with finger grooves sliding up the sides. I didn’t like the way the lines met up in the center, so we added the little circular “medallion” in the middle. My original intention was to clean up the top edge, but my students really loved the texture the rough slip edges created… and they were right!

Bowl #16 – A simple newspaper stencil stuck onto the clay with water… then painted over with slip. I waited a couple minutes for the slip to set up and then carefully removed the paper stencil.

Bowl #17 – A colorful ombre effect blending white slip with some iron red slip.

And there they are… seventeen bowls that all started out very basic & round. Just a few minutes of altering and voila’… seventeen different tricks & techniques. Now go play with your clay!!!

At the end of the night I had to carry them all upstairs to my studio so I could wrap them up for the evening. Only took three trips up the back stairs… not so bad. So now all seventeen bowls are under plastic so they don’t dry too fast. I’m still planning on doing some extra detailing & stamping to some of them.


Categories: bowls, process, production, stamped, textures

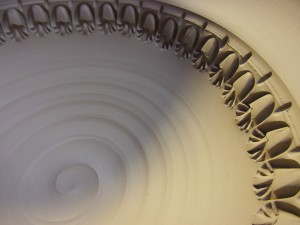
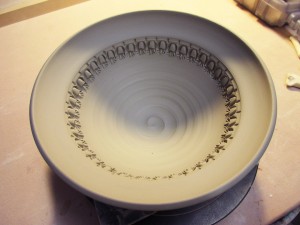
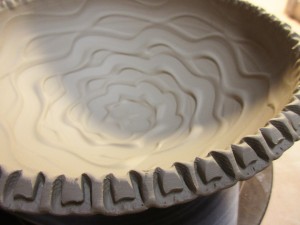
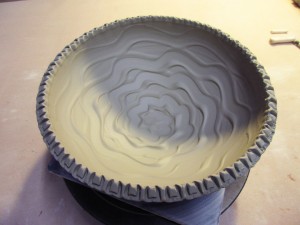
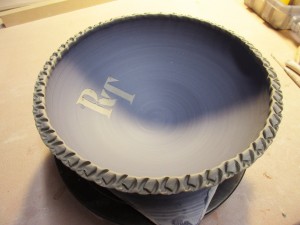
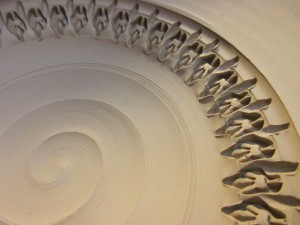
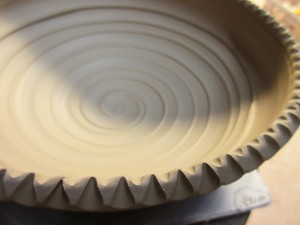
Tonight I did a little stamping & detailing of my class demo bowls from Tuesday night.
“Not so basic” just got a little more textured!!!

Categories: glaze, process, production

It seems like I go through this every session…
I’ve got a lot of class demo pots to glaze. And I keep putting it off.
So tonight I pulled them all off my Teacher Shelf and planned on glazing them all.
I had the best intentions… really I did…

I dusted them all off and waxed all the bottoms. I started “planning” on what colors & glazes I was going to use. Then I started chatting with my friend (and brilliant painter/sculptor) Martin and soon enough… voila’… motivation gone!

So once again, much like every session, I packed up my bowls, layered them with newspaper and back they went onto my Teacher’s Shelf. Maybe I’ll try it again tomorrow night?!

I hate glazing.