So I just sub taught Lisa’s Sunday morning pottery class… where we did my favorite “Demo On Demand.†We tackled stamping bowls, throwing off the hump, lidded casseroles… and sharing all of the tricks & tips I could pull out along the way. So much fun… those three hours just flew by!!!
Last Tuesday night I did my favorite demo for my wheelthrowing pottery class…
BOWLS ON PURPOSE… and not a cylinder gone bad!
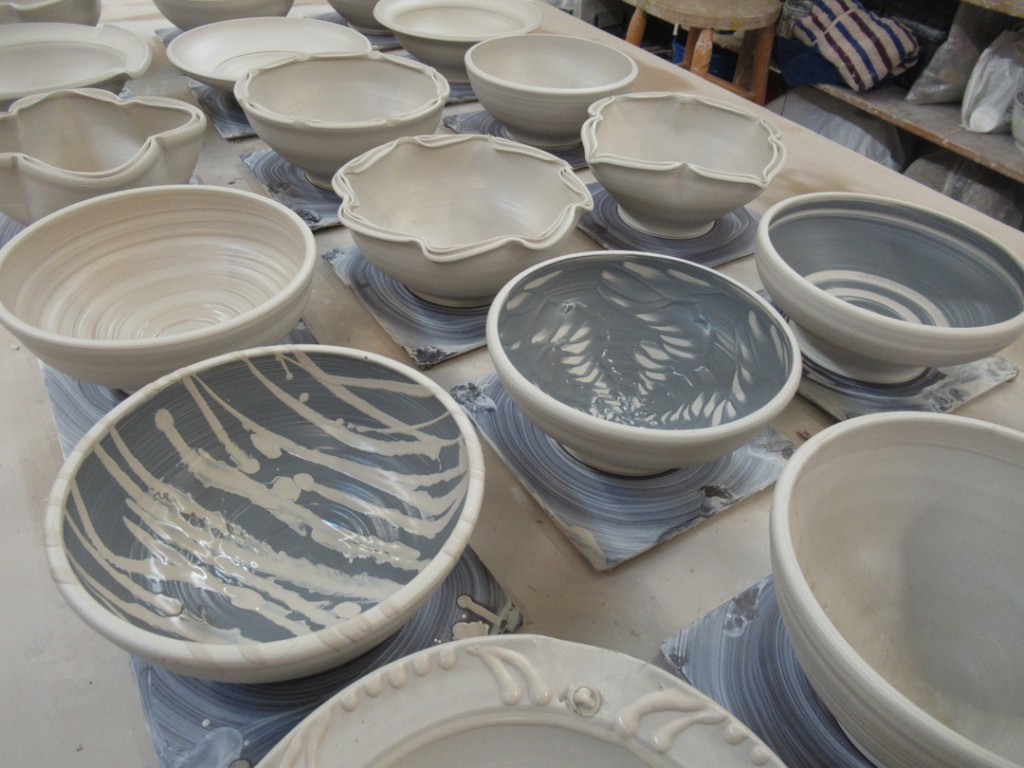
I started by showing them all how to make a nicely rounded bowl from the git-go. Establishing the interior curve right from the start. Compressing the curve. Never letting an indented groove-ledge happen while pinching & lifting the clay. The using a plastic rib to flare it our and make a nice smooth curve. After that first demo, I “released” them all so they could get to working… making bowls! Meanwhile, I threw a full bag of clay to make nineteen bowls. I then called them all back to Part Two of the demo. This is when I encourage them to “play with their clay”… and tot try new techniques to alter & decorate their simple wheelthrown forms. To show them some quick tricks & techniques to give them some ideas of what they can do…and to show them that there are a million options… just try something! Have fun!!!
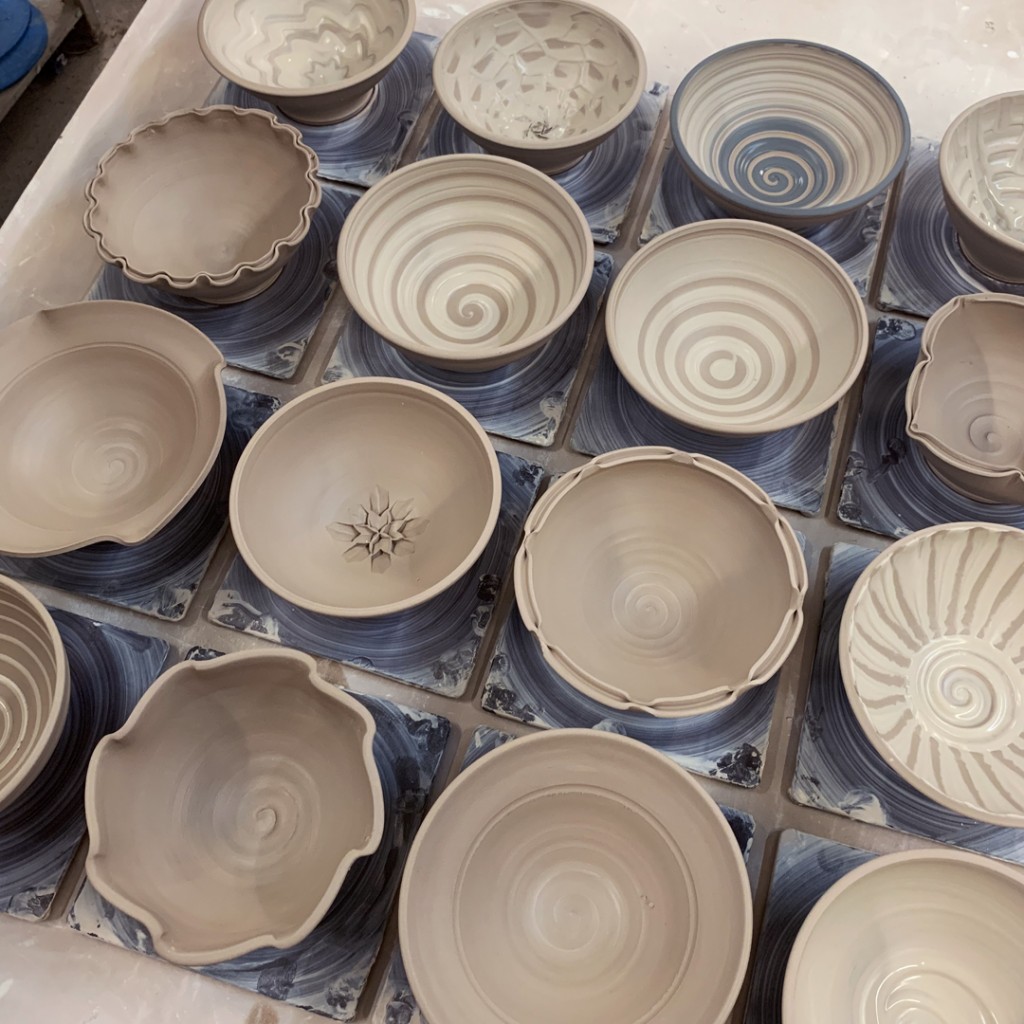
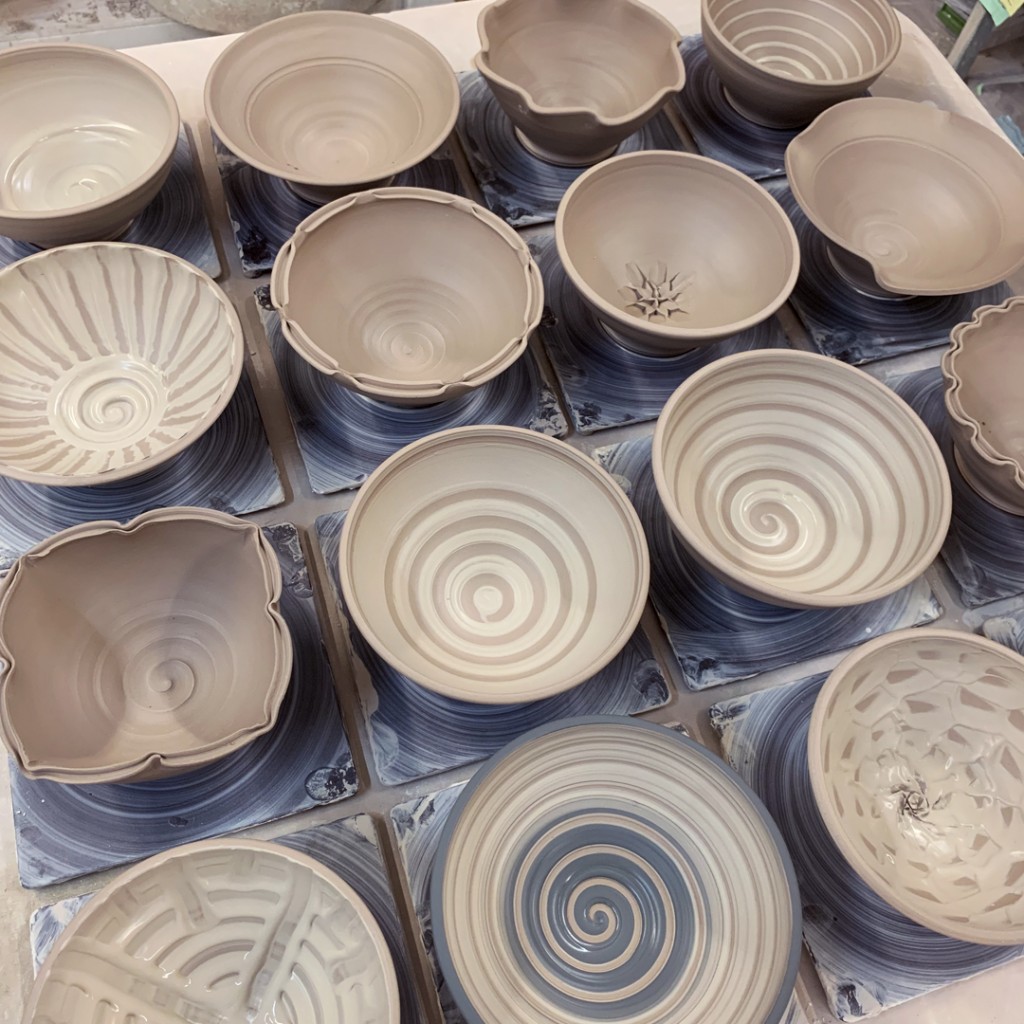
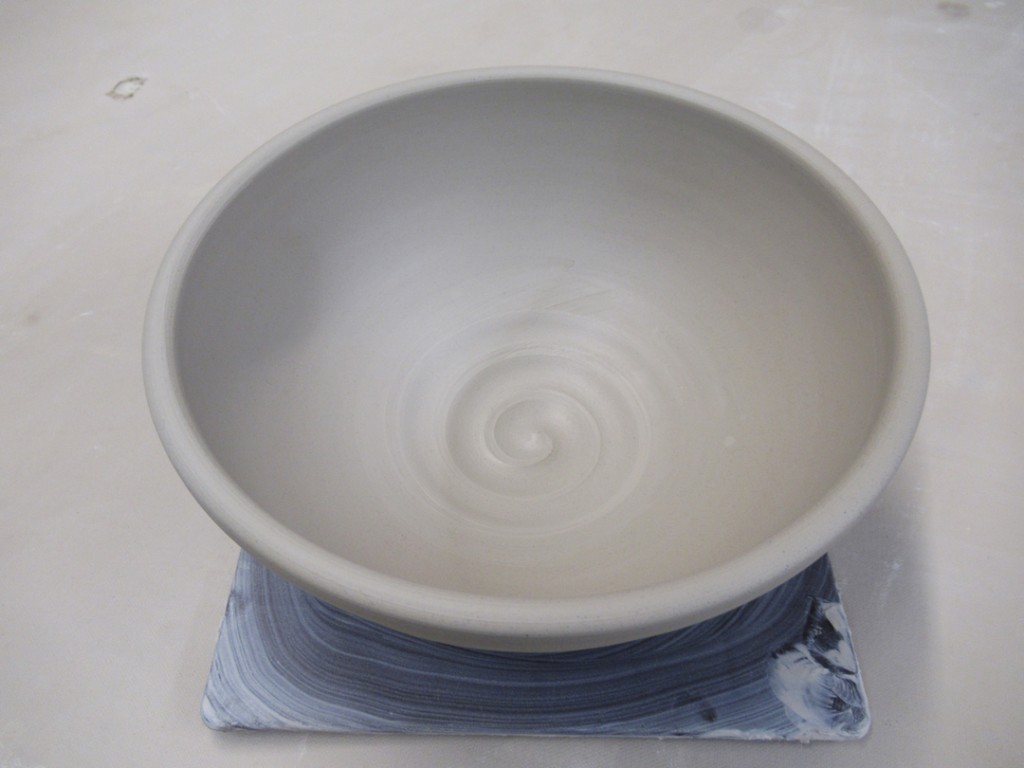
Bowl #1 – Here’s the basic bowl… simple spiral… the basis of all the bowls to come!
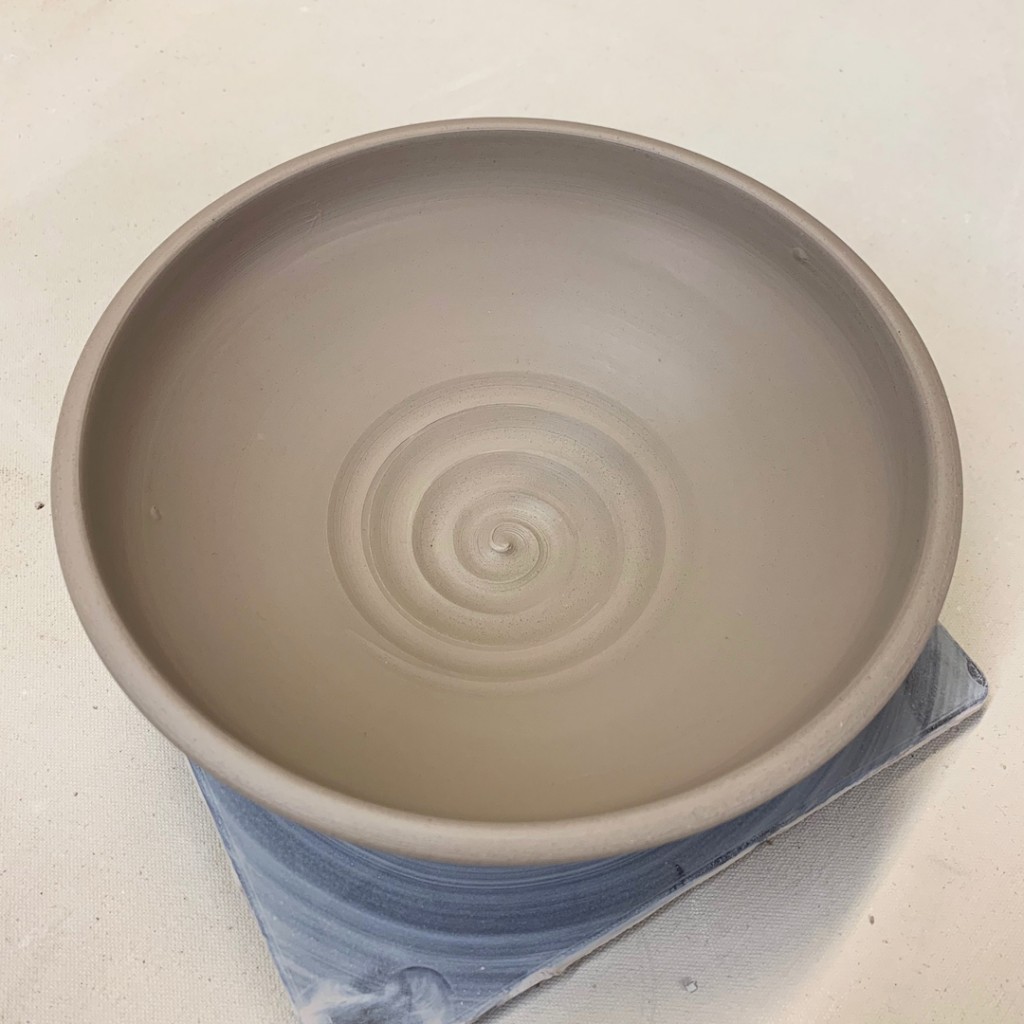
Bowl #2 – Tweaked – just two simple finger twists on opposite sides. Simple. Cute.
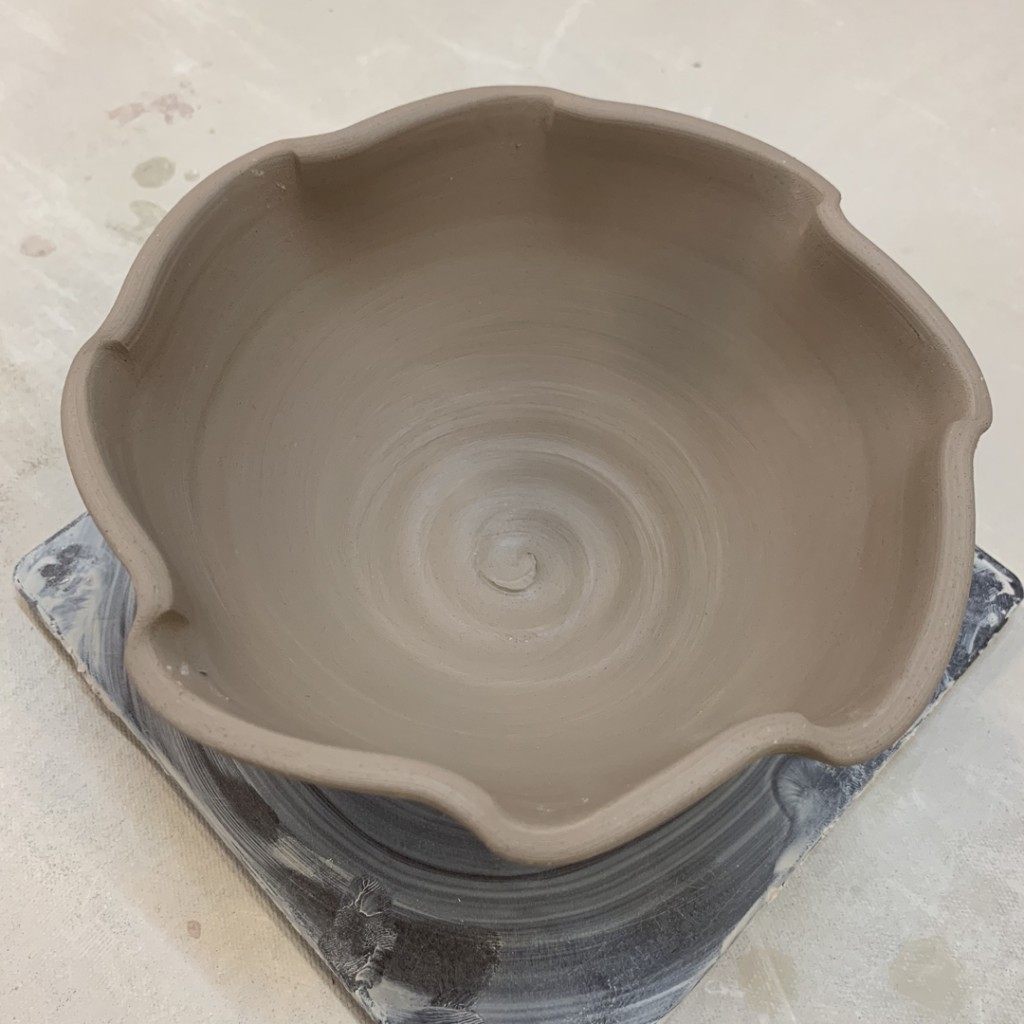
Bowl #3 – Fluted. If two tweaks are cute, maybe eight flutes are better?
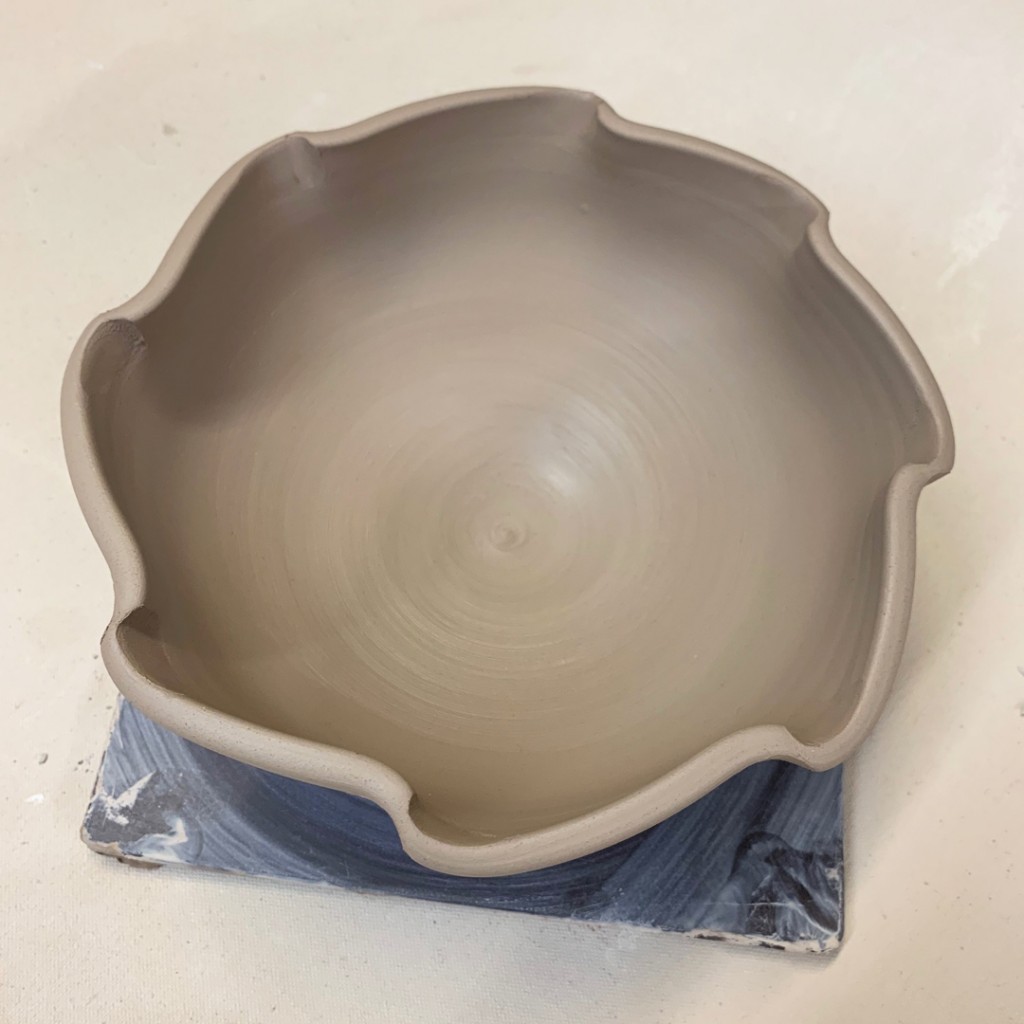
Bowl #4 – Narrow Flange – Just an inch of the rim flared out to widen the bowl.
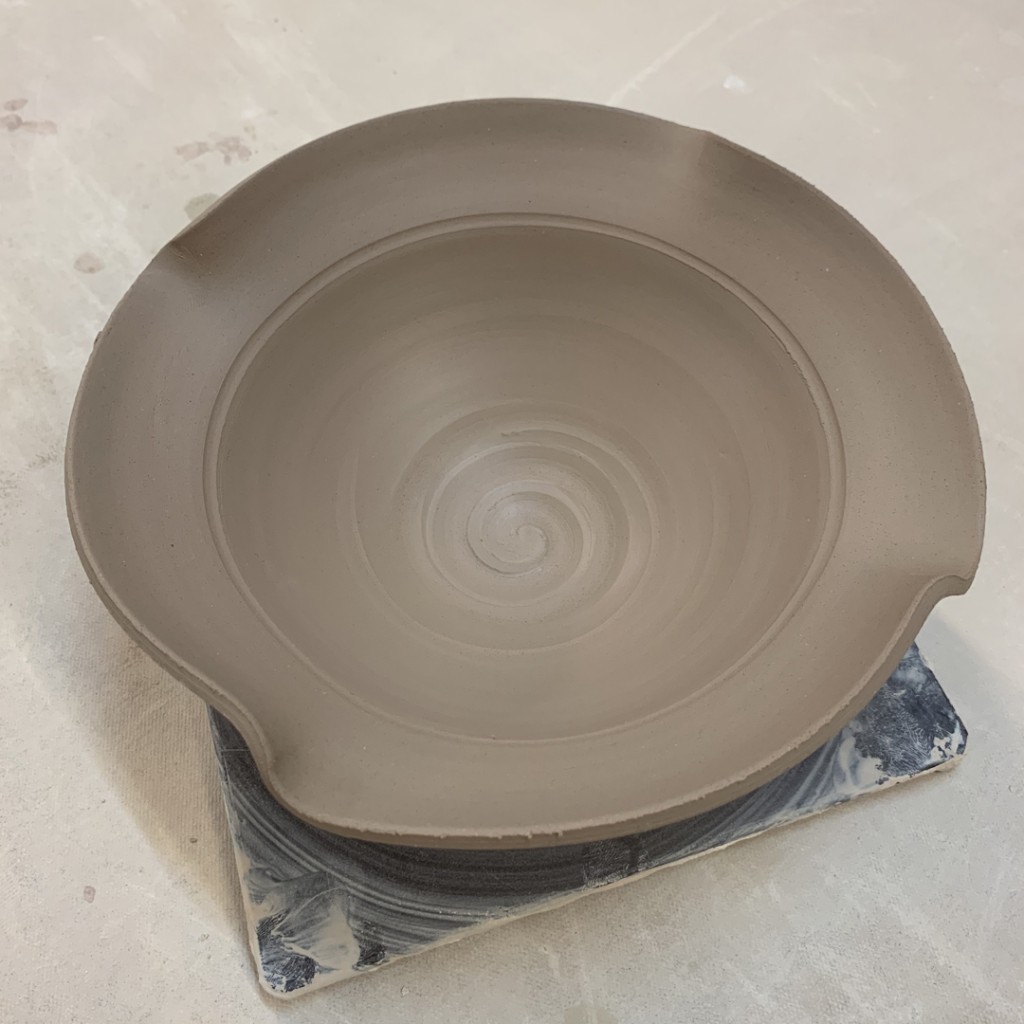
Bowl #5 – Wide Flange – If a narrow rim is good, maybe a wider flange is better?
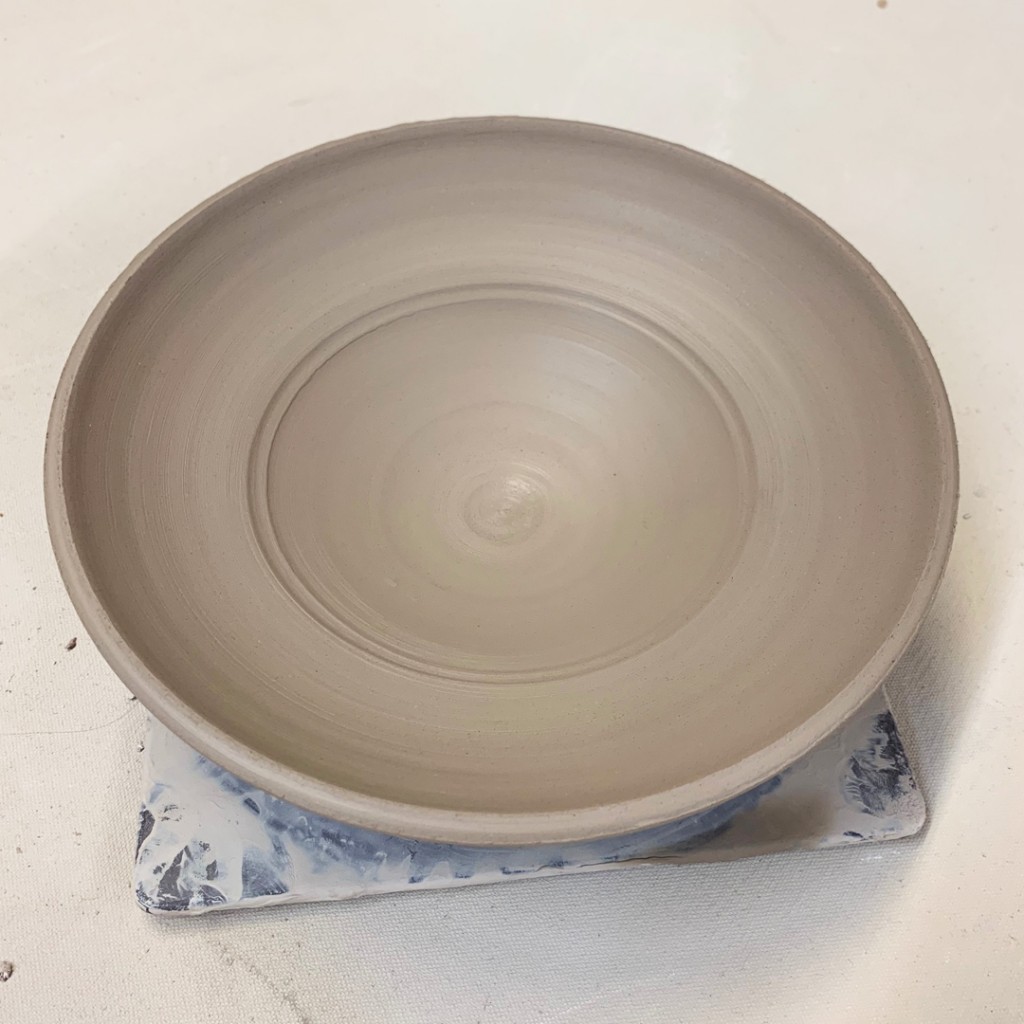
Bowl #6 – Flared & Fluted. Combining the flared out flange and the fluted tweaks!
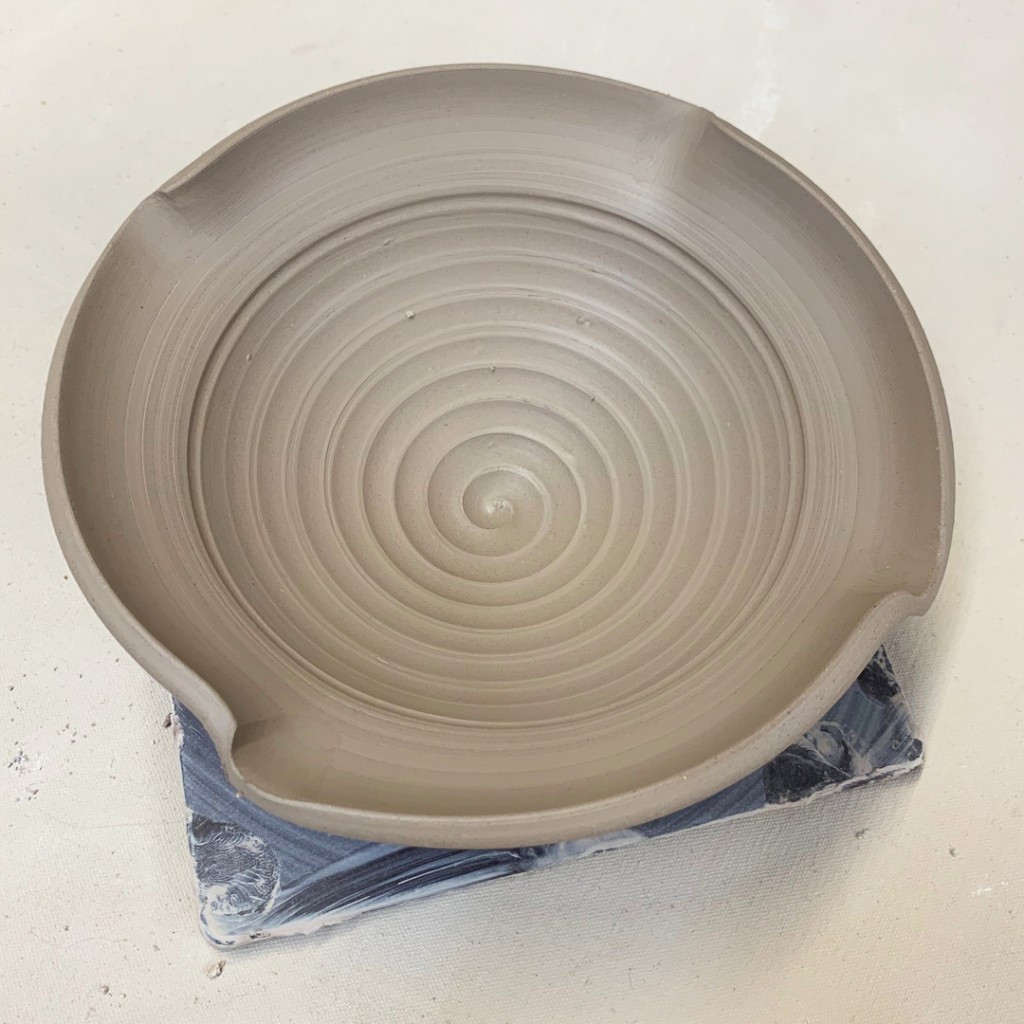
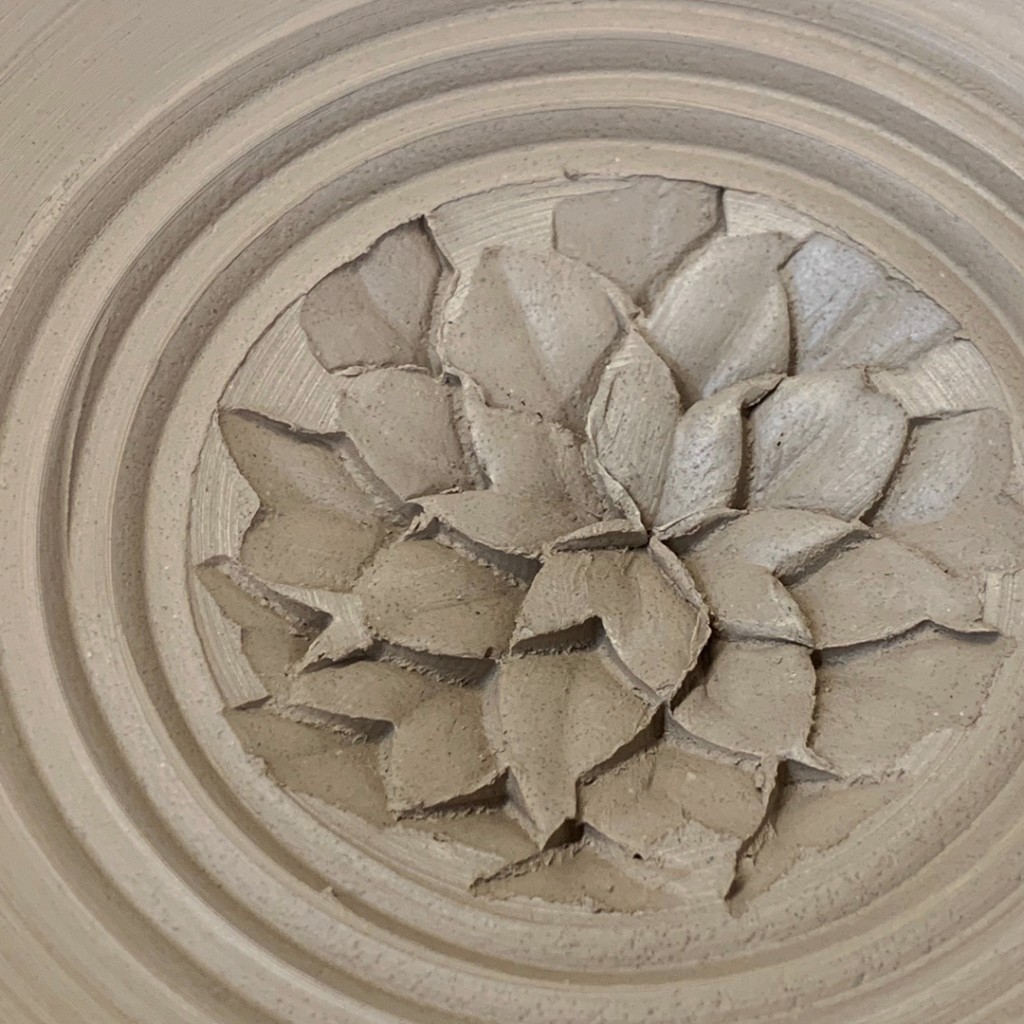
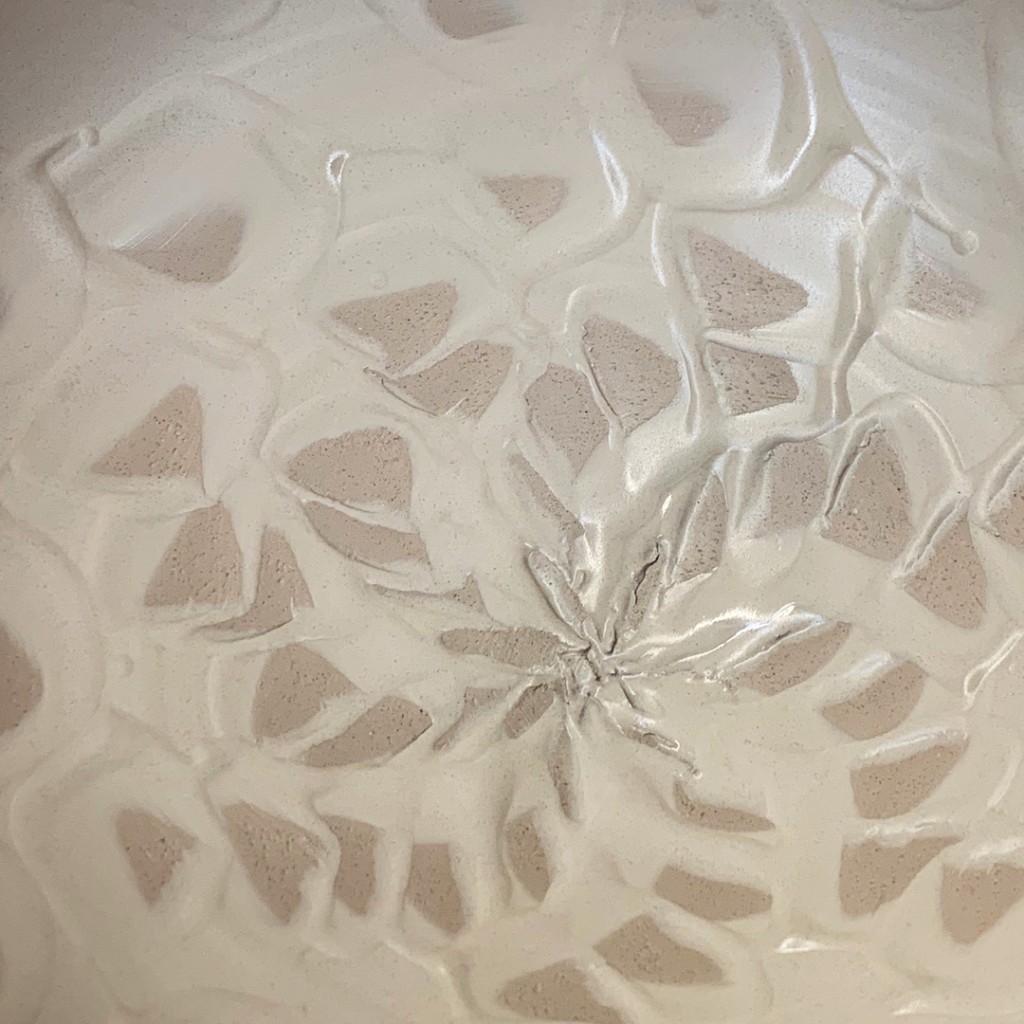
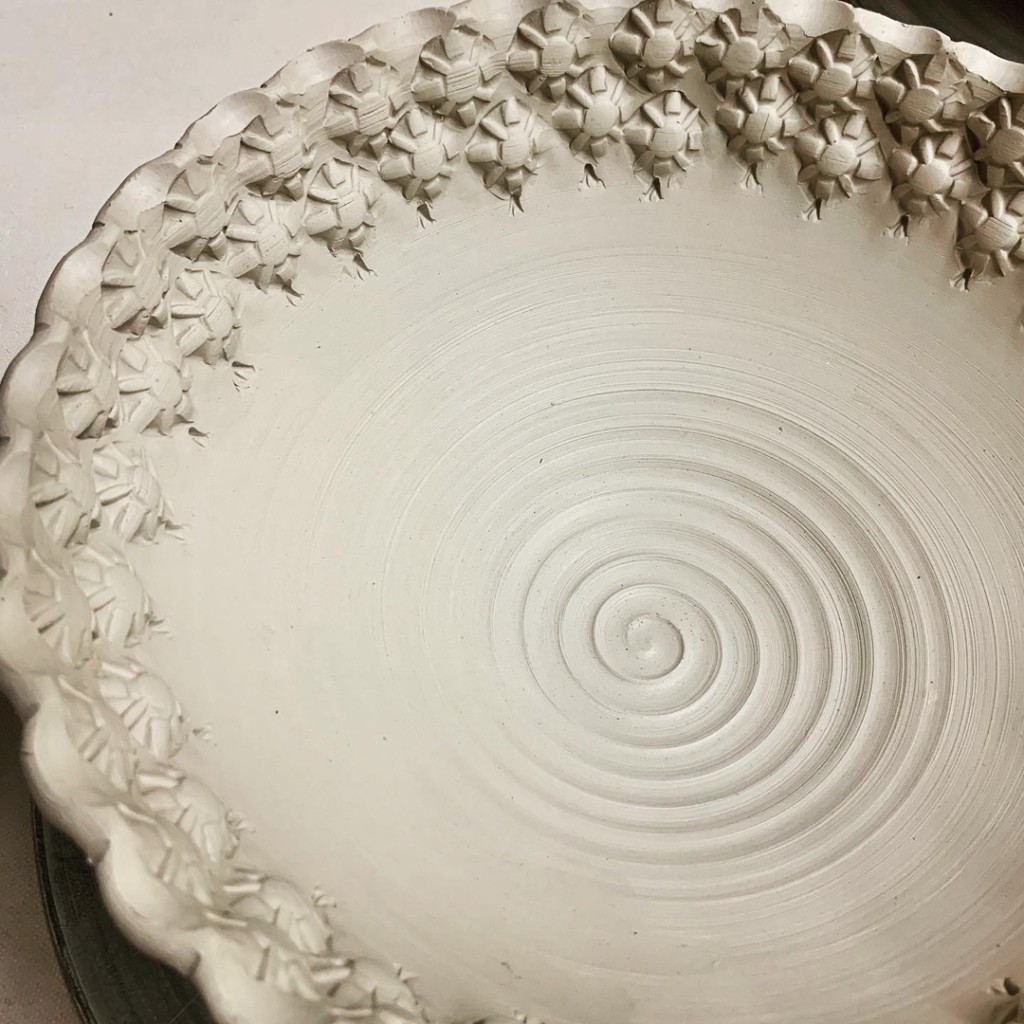
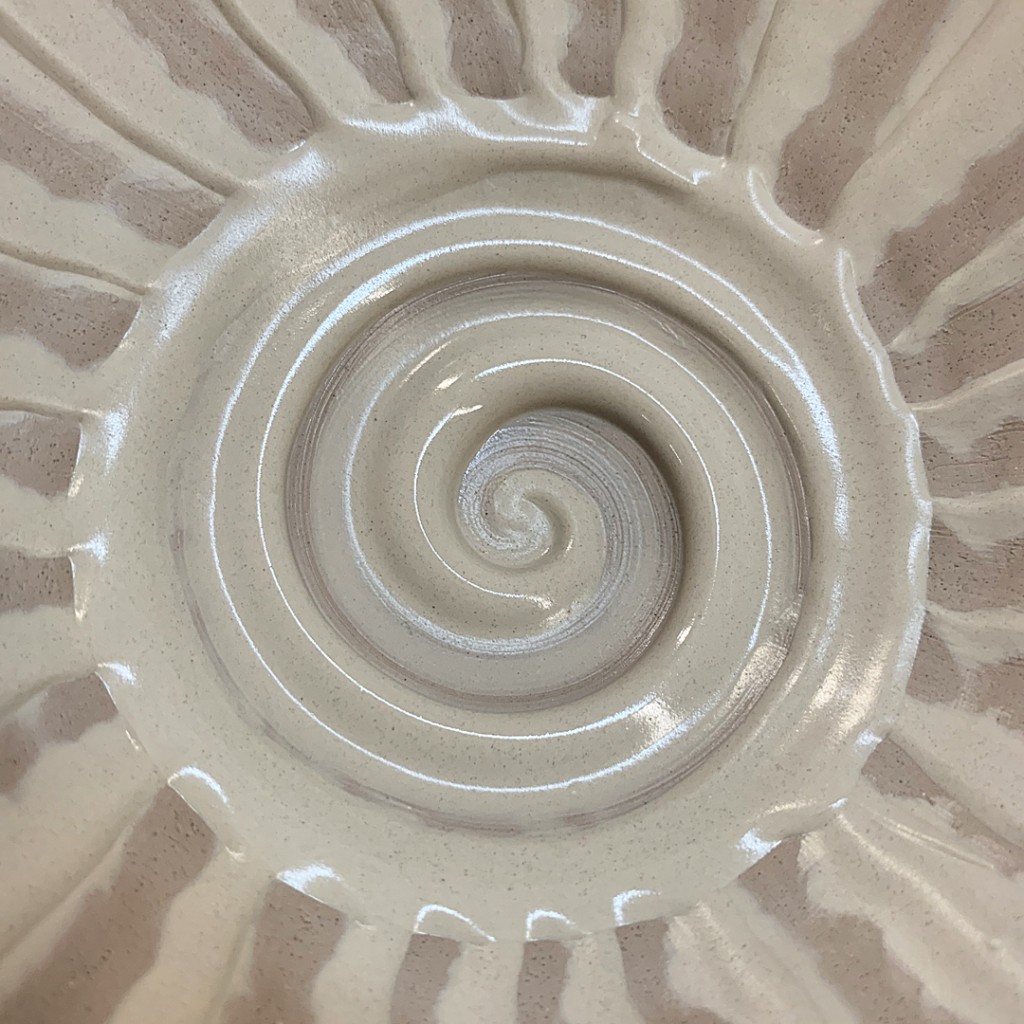
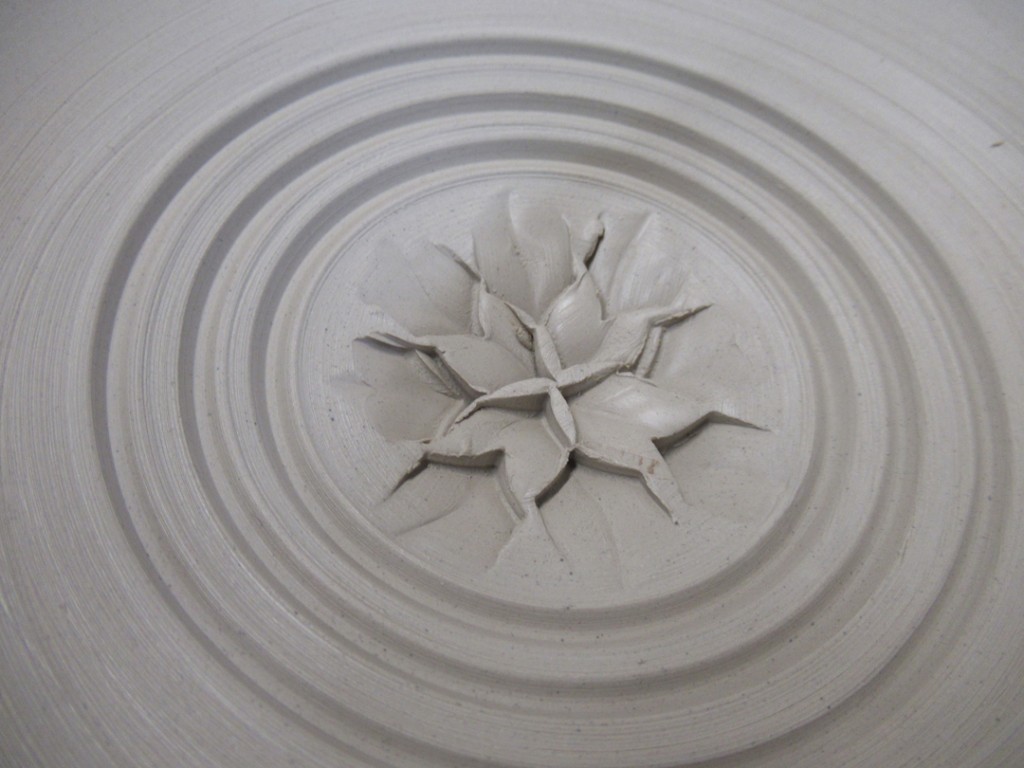
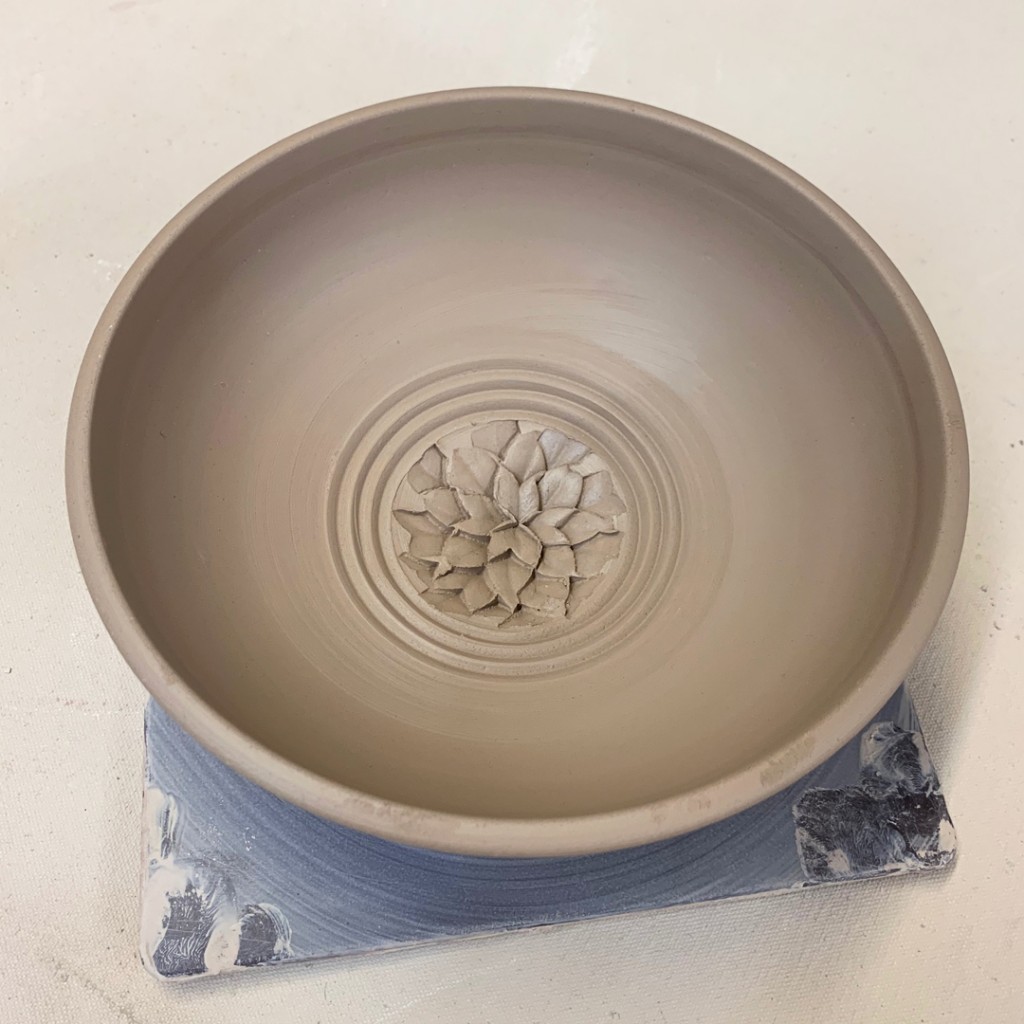
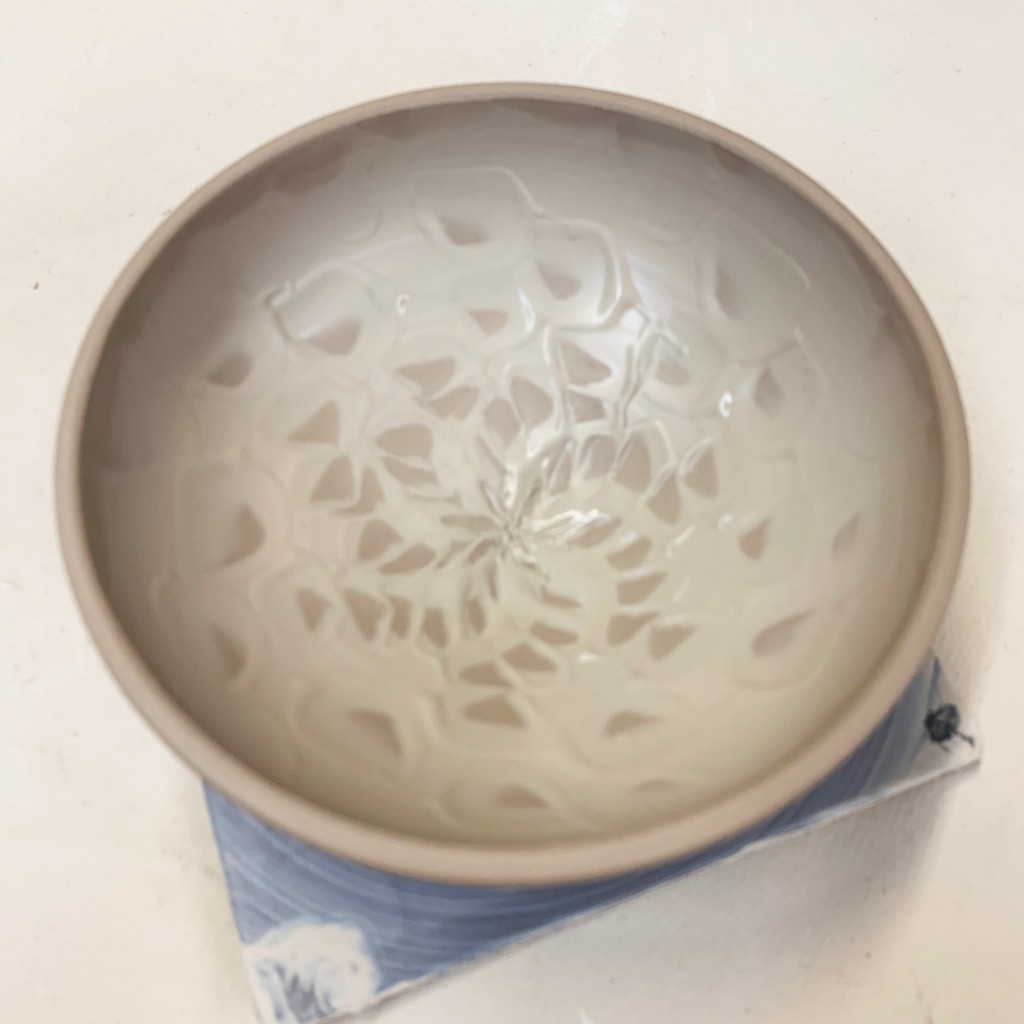
Bowl #7 – Stamped Bottom. A surprise in the bottom made with a metal dragon-scaling tool.
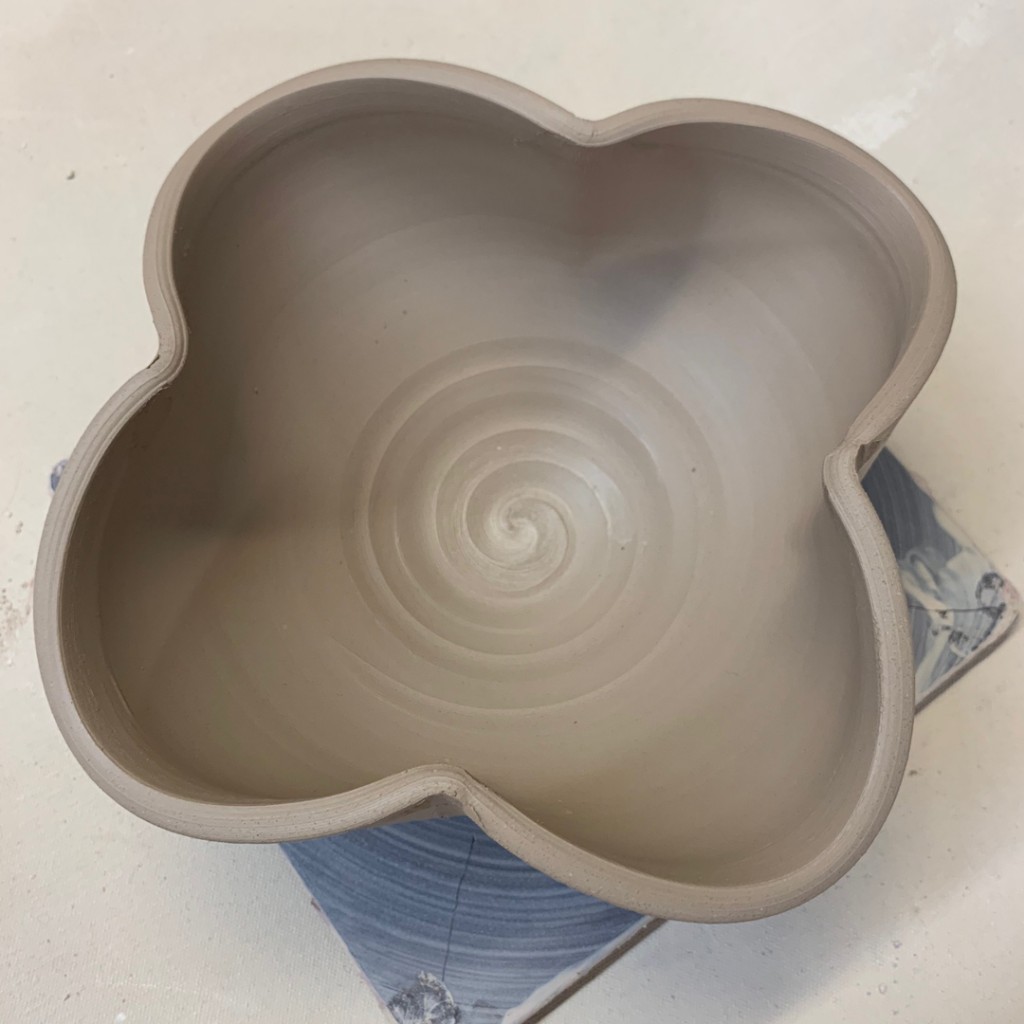
Bowl #8 – Cloverleaf – Dented in on fours sides to create a clover shape.
Bowl #9 – Pinched Split-Rim. First I split the rim using the pointed end of my wooden knife, and then pinched it back together in eight places.
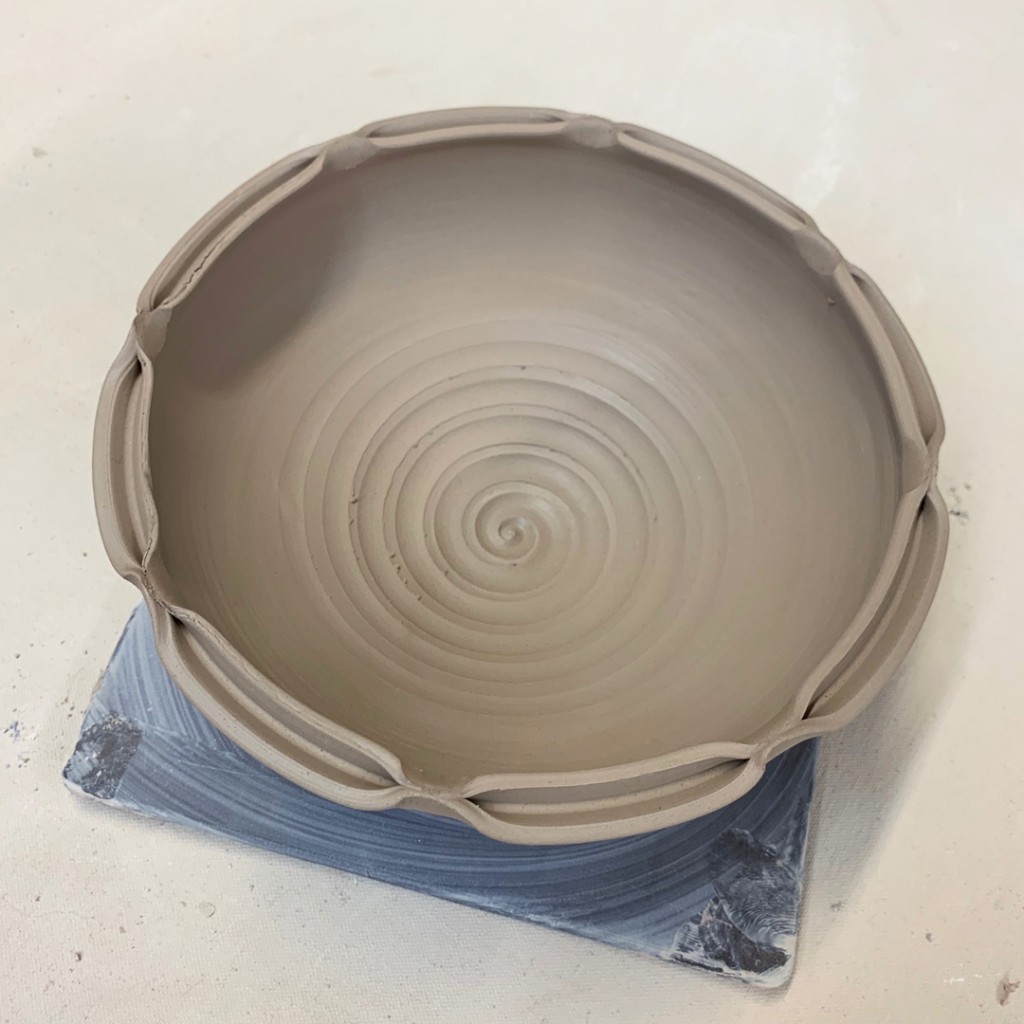
Bowl #10 – Split-Rim Lotus. Another split-rim bowl… but then dented in & dented out.
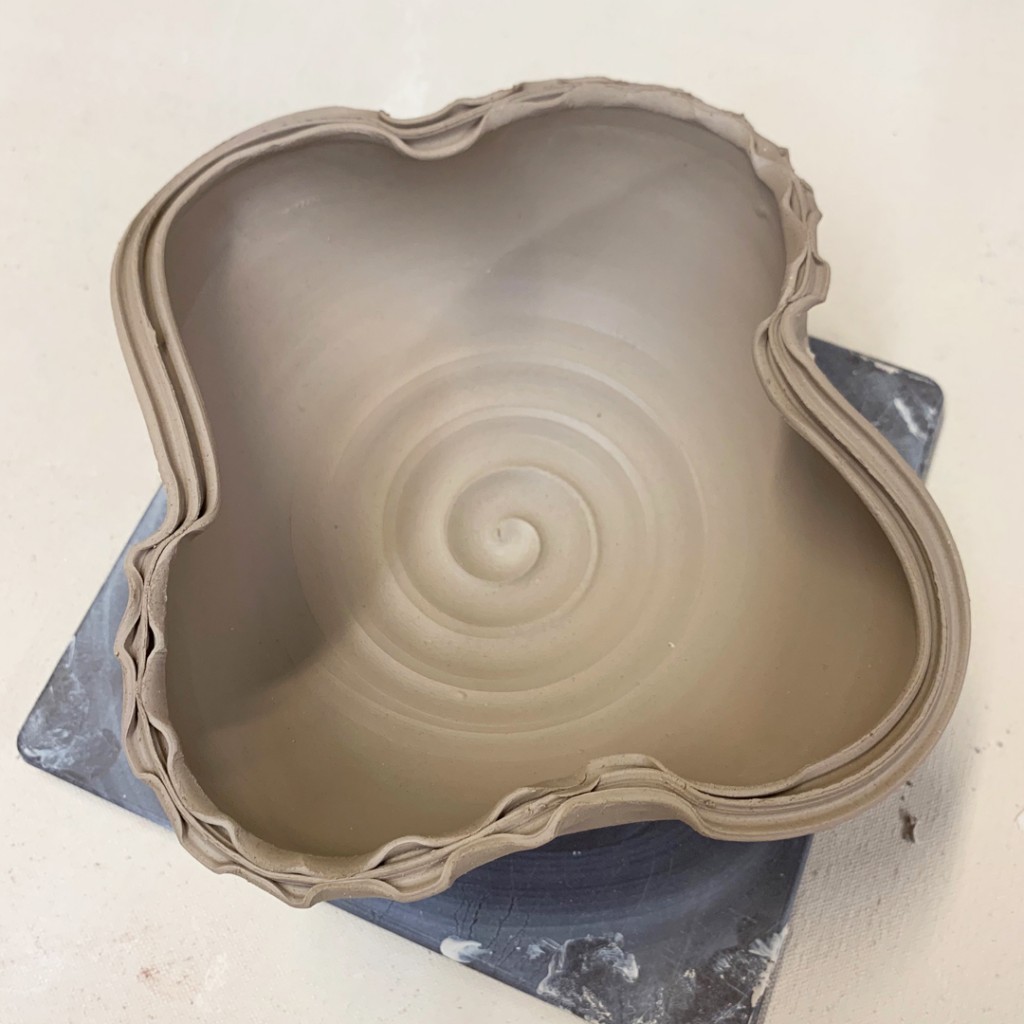
Bowl #11 – Crazy Churro – We started with a triple split-rim… but then I dented it accidentally,,, so I dented it more, and altered the shape to “camouflage” my first mistake. It got a little crazy… but might lead to something else?
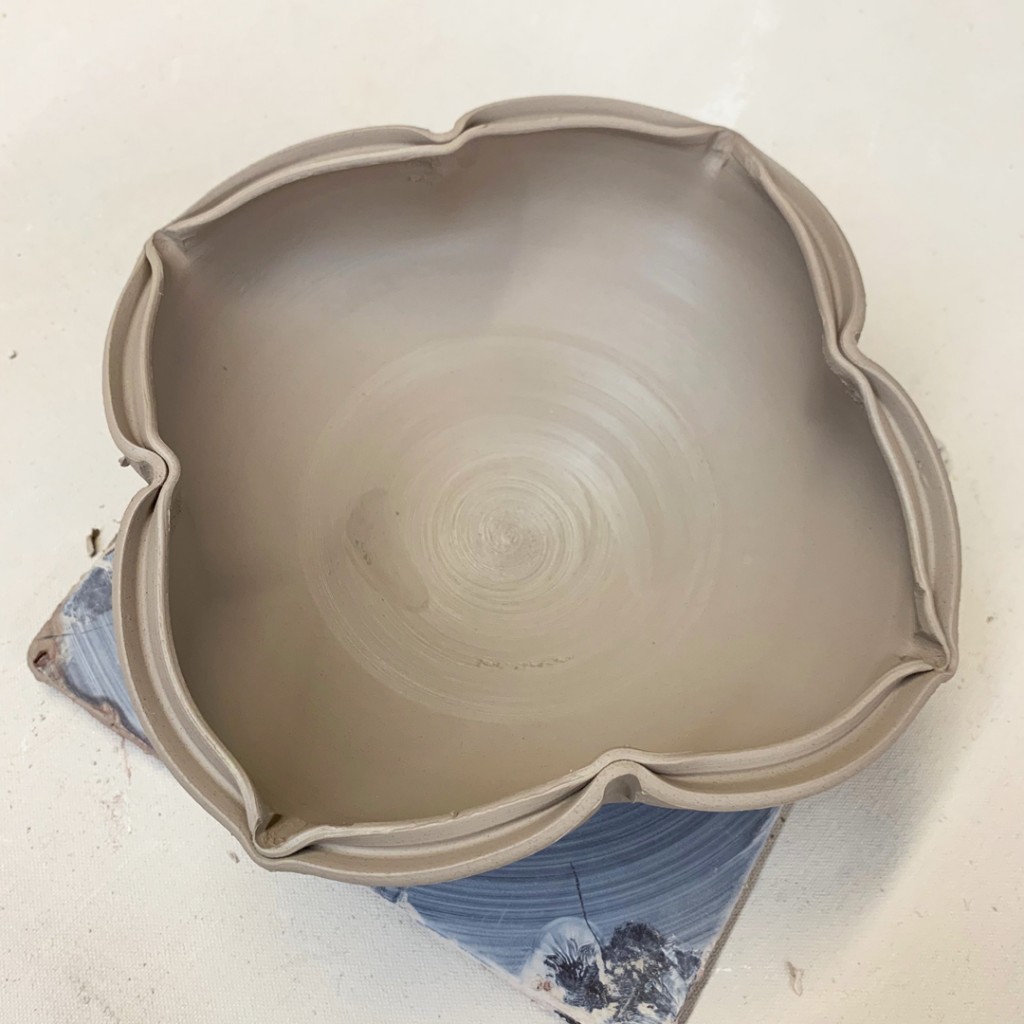
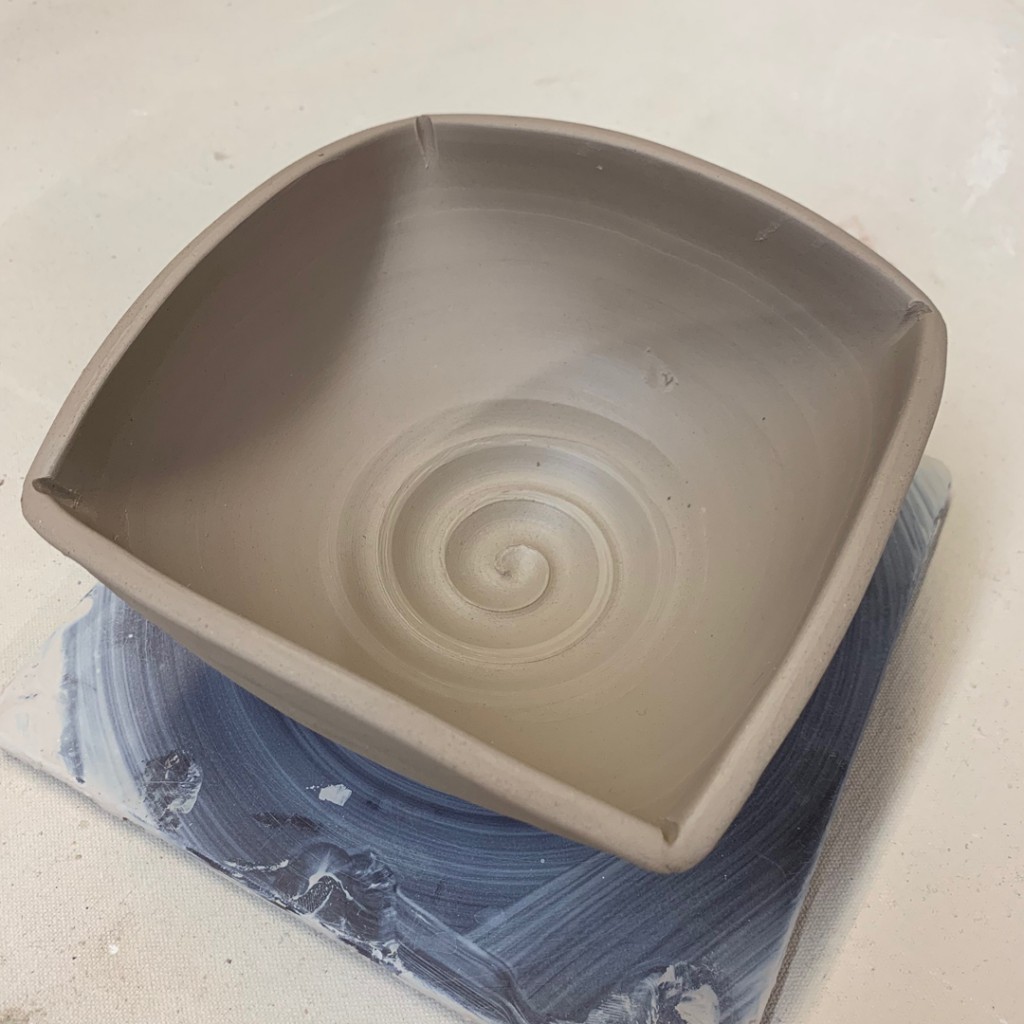
Bowl #12 – Squared – I dented four corners and then flattened the sides in.
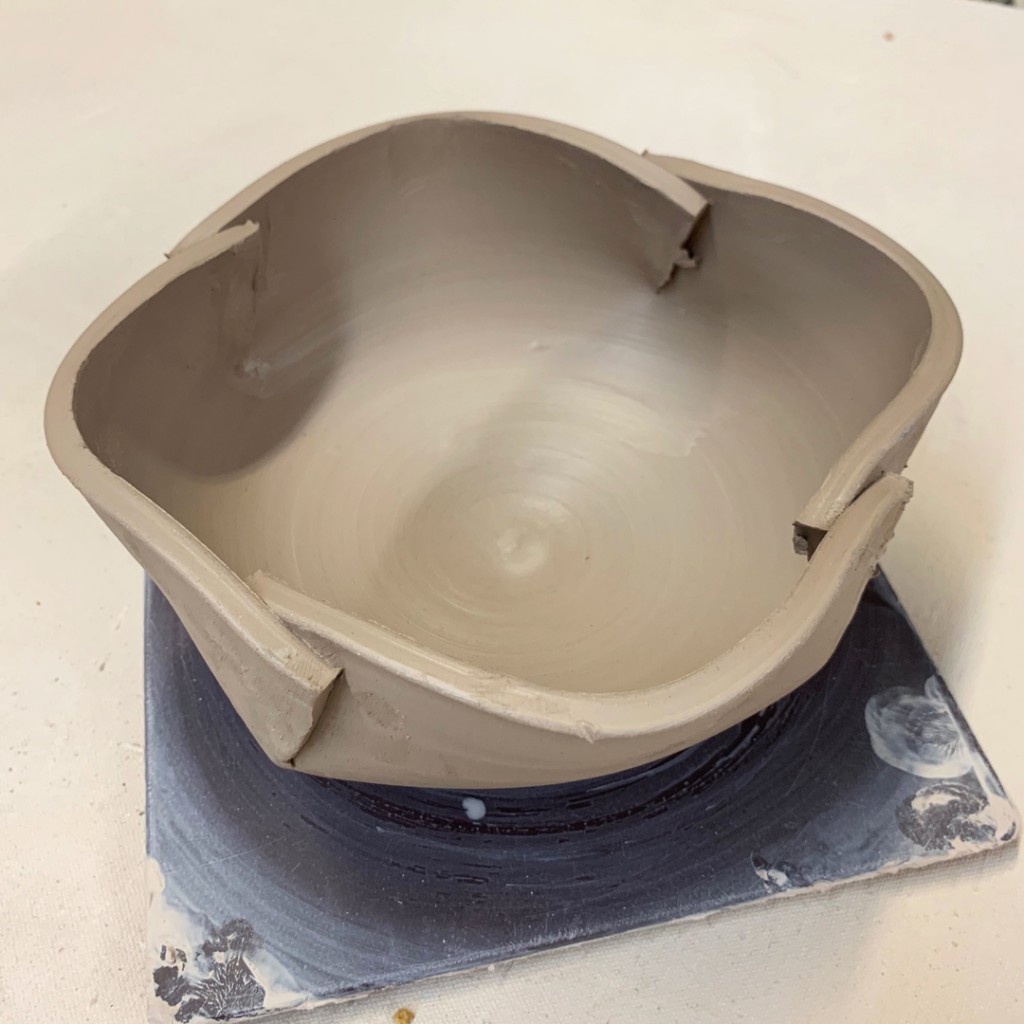
Bowl #13 – Overlapped. I cut through the sides of the bowl, and then overlapped the edges to close it in a bit more.
After altering the shapes, I decided ti was time to introduce the option of suing colored slips as a decoration technique.
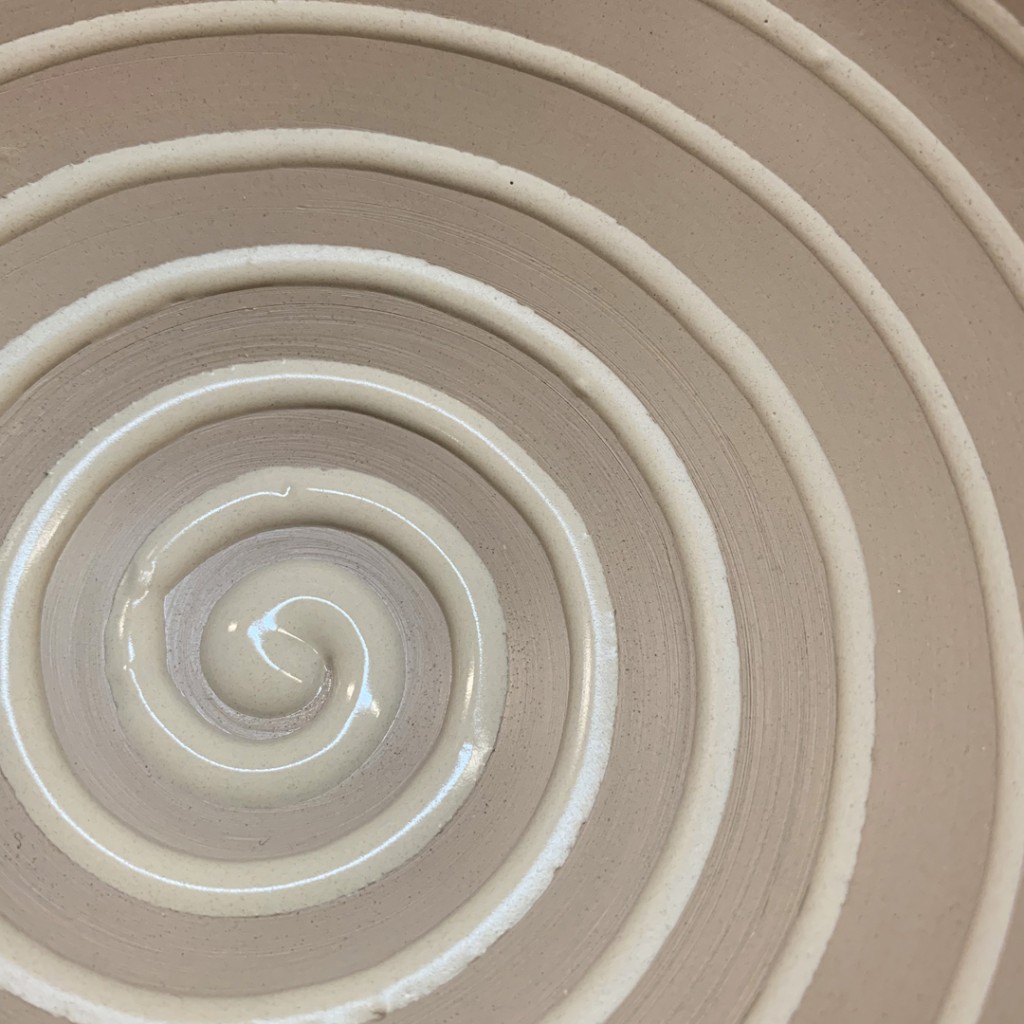
Bowl #14 – White Slip Spiral. I covered the entire interior with white slip, and then dragged through the slip as it was rotating on the wheel.
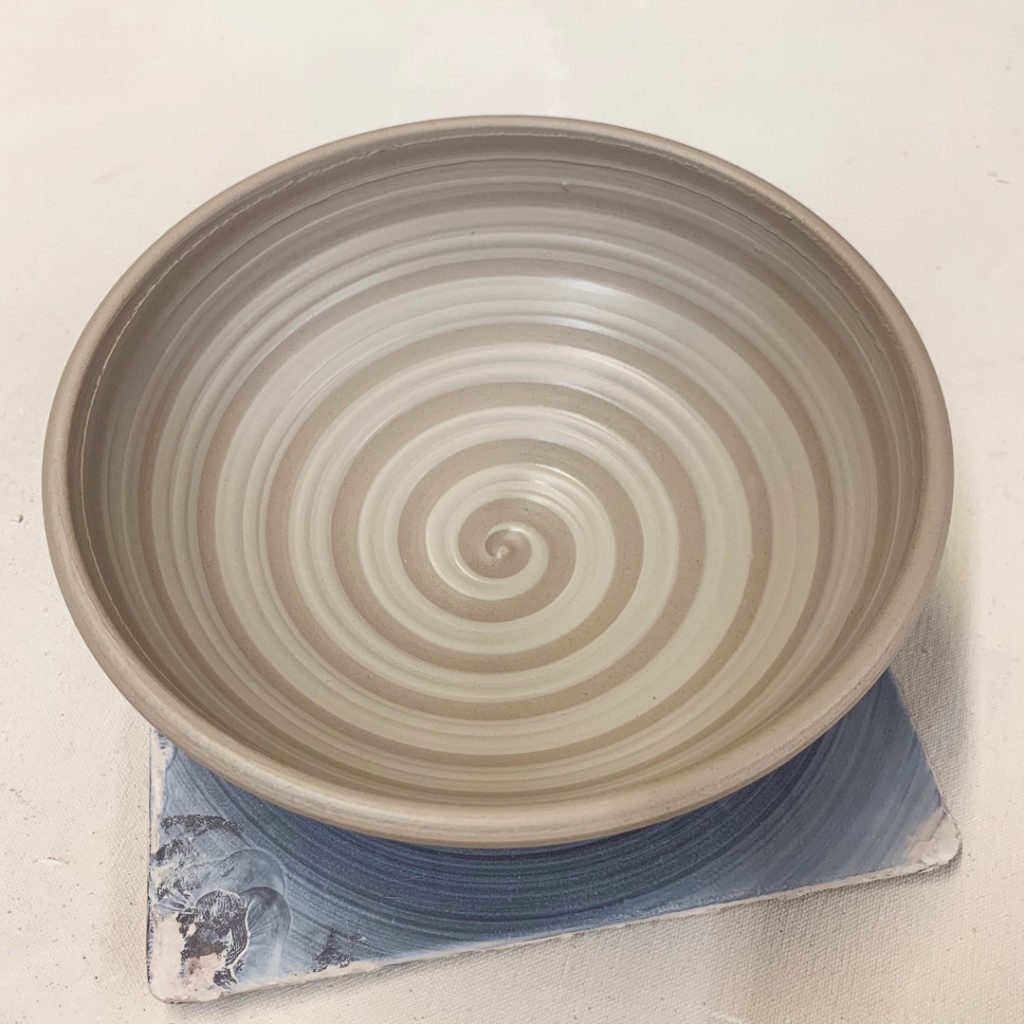
Bowl #15 – Banded. Another white slip covered bowl, this time banded with the rounded end of my wooden knife.. The Potter’s Thumb.
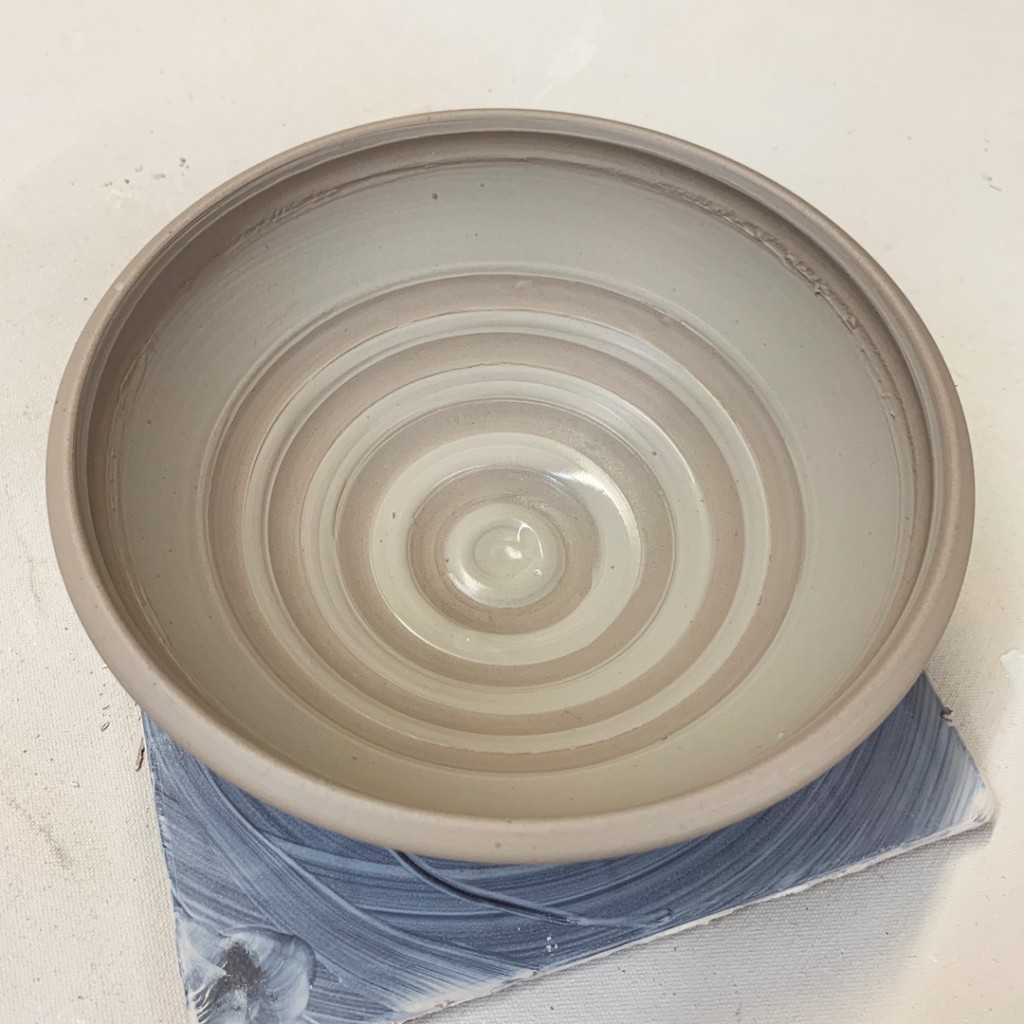
Bowl #16 – Chattered. A complete layer of thick white slip, chattered through with a green rubber rib. Rhythmic tapping of the rib through the slip as it was spinning in the wheel.
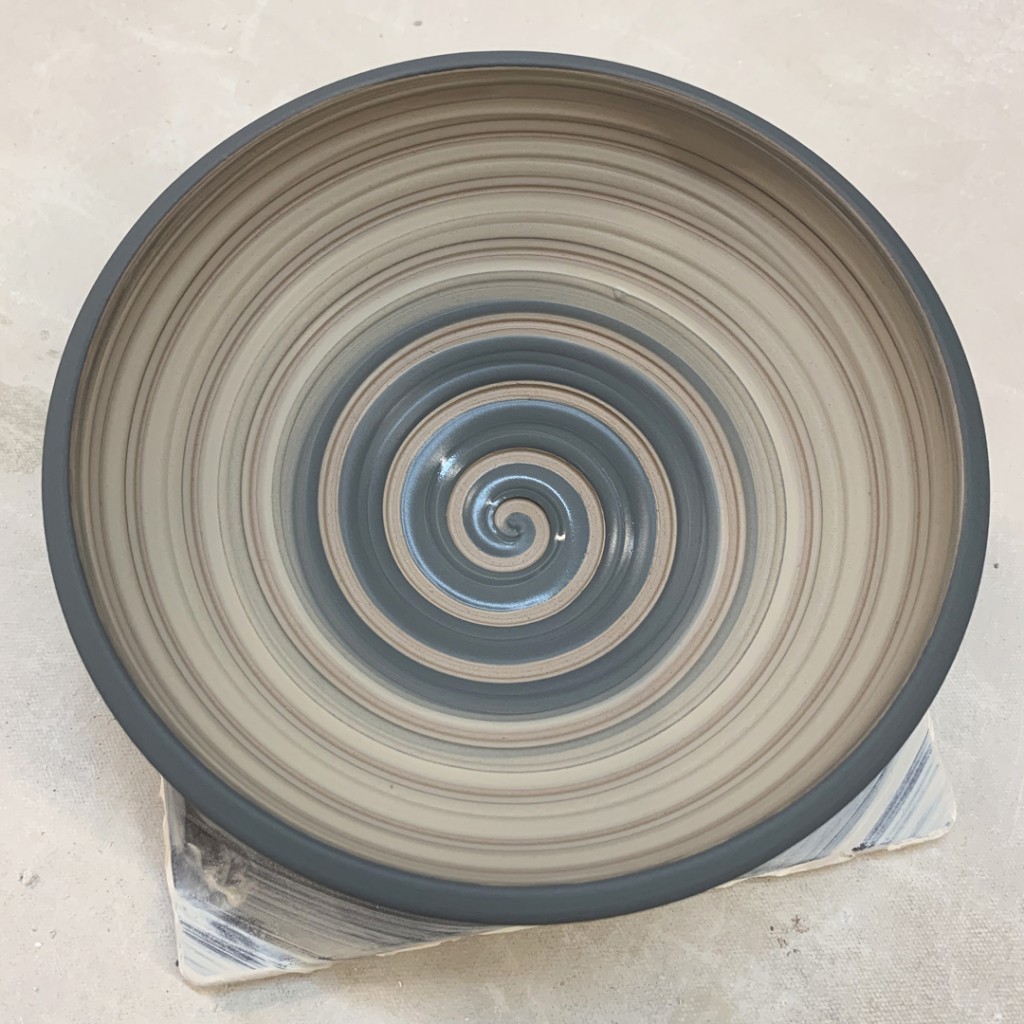
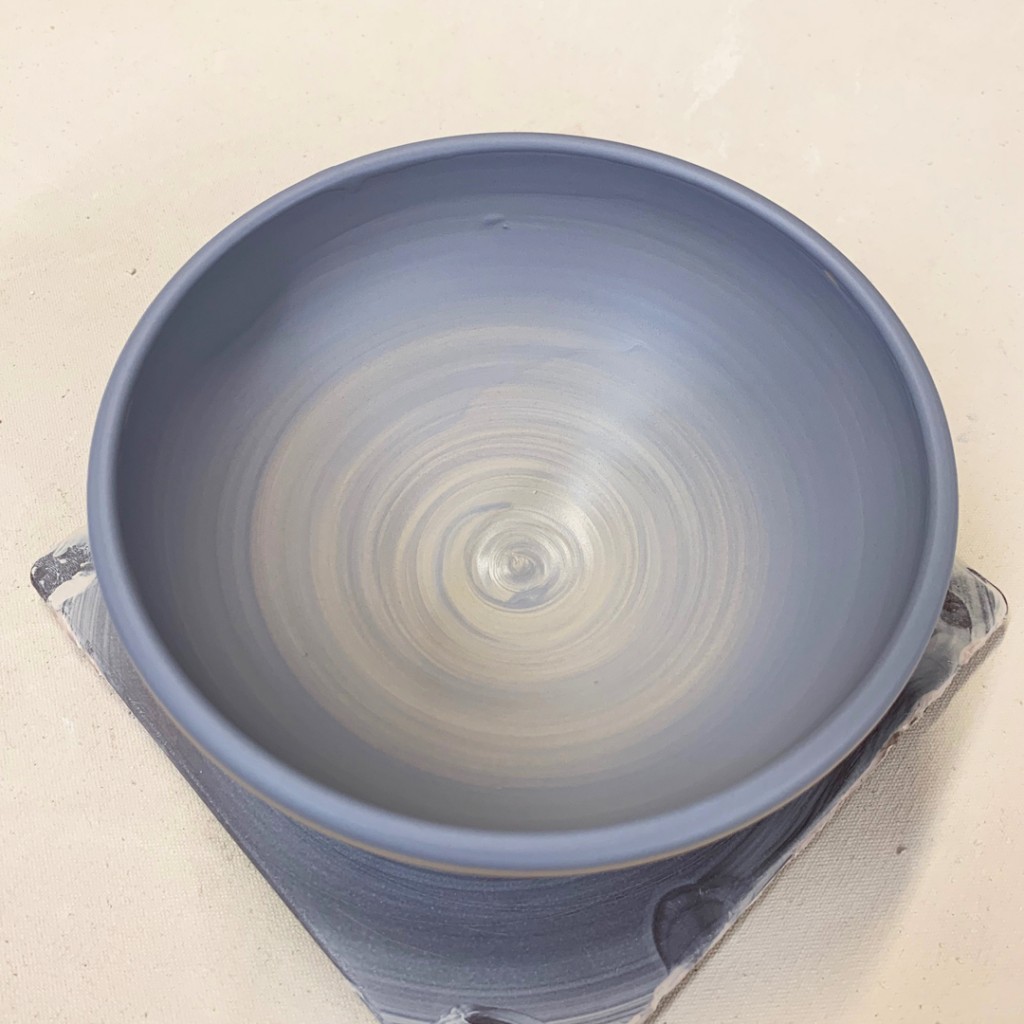
Bowl #17 – Ombre. A blended color slip mixing white and blue Mazzerine slips
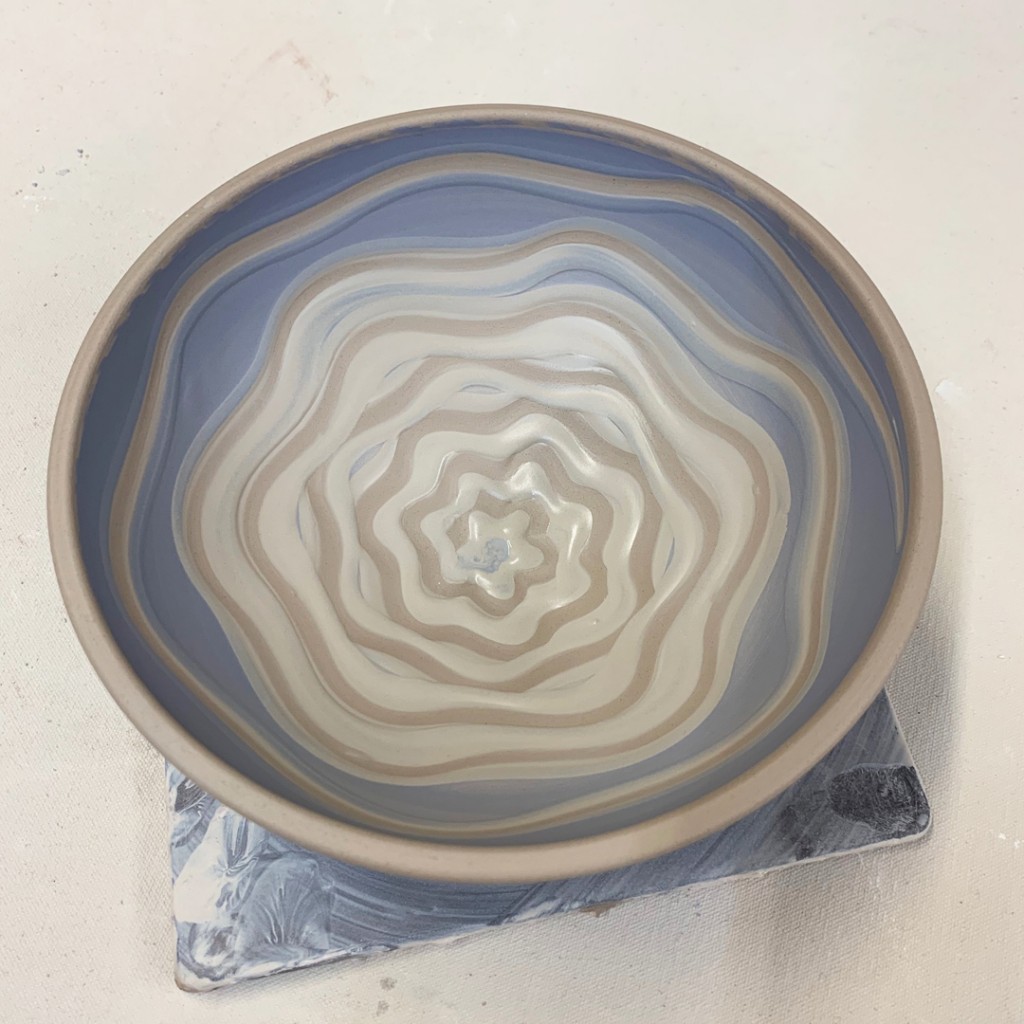
Bowl #18 – Ombre Squiggle. Another ombre blend, but then sguiggled with the rounded end of my wooden knife.
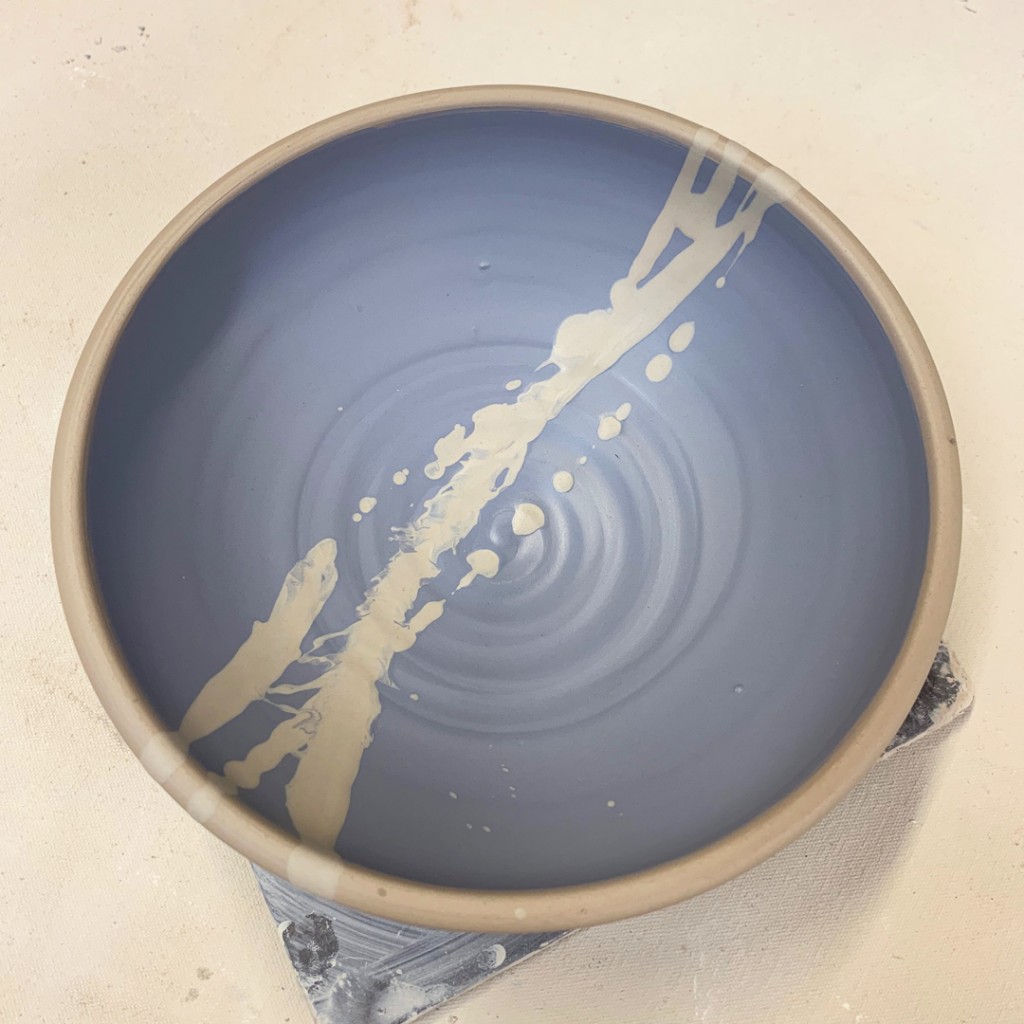
Bowl #19 – Splattered. A full layer of blue Mazzerine slip, and then a quick splatter of white slip… I had intended to do more, but the squeeze bottle got clogged. And my students all thought this looked great. So we stopped with one good splatter!
After class, I brought all of the bowls back up to my studio. They’re now under plastic as their is
a very good chance” that there might just be some more stamping & detailing that happens to these bowls before they’re done! Allegedly…
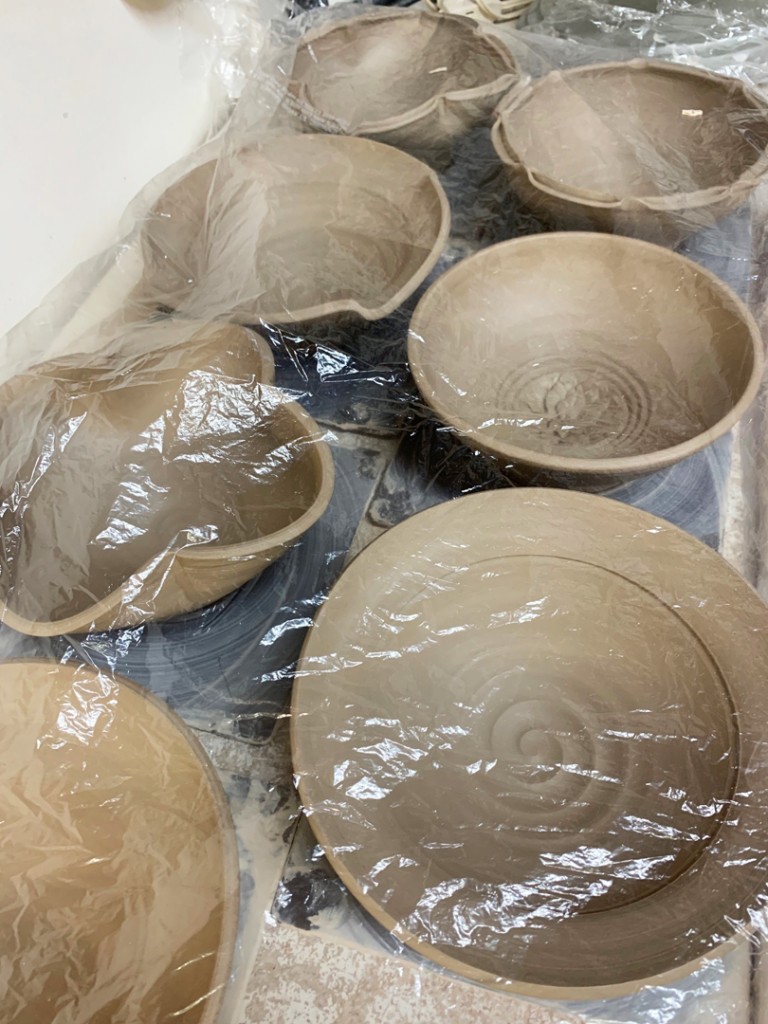
This week in my Tuesday night Wheelthrowing pottery class, we tackled making “bowls on purpose instead of a cylinder gone bad.” I like to show them how to make a real” bowl with intenti0n, instead of letting a cylinder get away from them and being okay with the “bowl-ish” shape they end up with. So for the demo, I show them how to throw a nice bowl with a beautifully even curve on the interior. No grooves. No indentations. No beginner’s ledge.
Once we cover that first how-to-bowl… then I throw a bunch more while they go back to their wheels to make some bowls… on purpose. After I’ve thrown all of my demo bowls, we reconvene at my wheel to do some quick altering & decorating. My goal is always to show them how to have fun with their clay, to get over the “preciousness” and to encourage them to do something extra to make it “their” bowl instead of just a round bowl that the wheel kind of made for them!!! This is my favorite demo every session!
Bowl #1 – Two simple fluted edges opposite each other.
Bowl #2 – And if two flutes are good, eight might be better?!
Bowl #3 – A wide flanged rim flared out.
Bowl #4 – That same flanged rim flared out and then fluted in four places.
Bowl #5 – A simple “flower” accent pressed into the bottom of a bowl using a metal dragonscale tool.
Bowl #6 – A split rim pinched back together in eight places.
Bowl #7 – Another split rim, this time pinched & flared out in flour places, and inwards in another four places.
Bowl #8 – Sticking with the split rim fun, but this time doing a “scalloped” edge efect.
And then it was time to introduce colored slip as a design option.
I pretty much stuck to white slip as it has a nice contrast to the darker stoneware I was using.
Bowl #9 – a thick layer of white slip with a spiral dragged through it as the wheel was spinning.
Bowl #10 – Think white slip later with some simple banded accents through the slip.
Bowl #11 – A layer of white slip, with one dramatic brush stroke accents swoop!!!
Bowl #12 – A thick layer of slip squiggled through with a finger… like finger painting!!!
Bowl #13 – Another layer of thick white slip, then chattered through with a rubber rib… tapping up & down from the center outwards as the wheel is spinning.
Bowl #14 – A very simple spiral of white slip made with a slip trailing squeeze bottle.
Bowl #15 – A layer of thick white slip with banding and vertical stripes dragged through.
Bowl #16 – Thick white slip with vertical drag stripes, and then a thick grooved spiral in the center.
Bowl #17 – Getting a little ” crazy” with slip, we added some black slip for an ombre gradation effect, an then a spiral dragged through it.
And for now they’re all under plastic in my studio… waiting for a little more detailing…
and who knows?… “maybe” a little stamping here & there???
Two sessions worth of class demo bowls that I finally got around to glazing!
Cleaning, packing & pricing… just in time for this weekend’s art fair in Schaumburg…
and saving some for two weeks later in Hinsdale too!!
I threw a challenge out to my students for this session… that they each make a flower pot in class that they finish, glaze, fill with plant… and bring to our final class for a fun “trading-stealing-exchanging†game! So last night I showed them how to throw one with an attached water dish!
I know I had a great time teaching my class how to make & decorate bowls Tuesday night.
So exciting to see that I must have made some sort of an impression on my students…
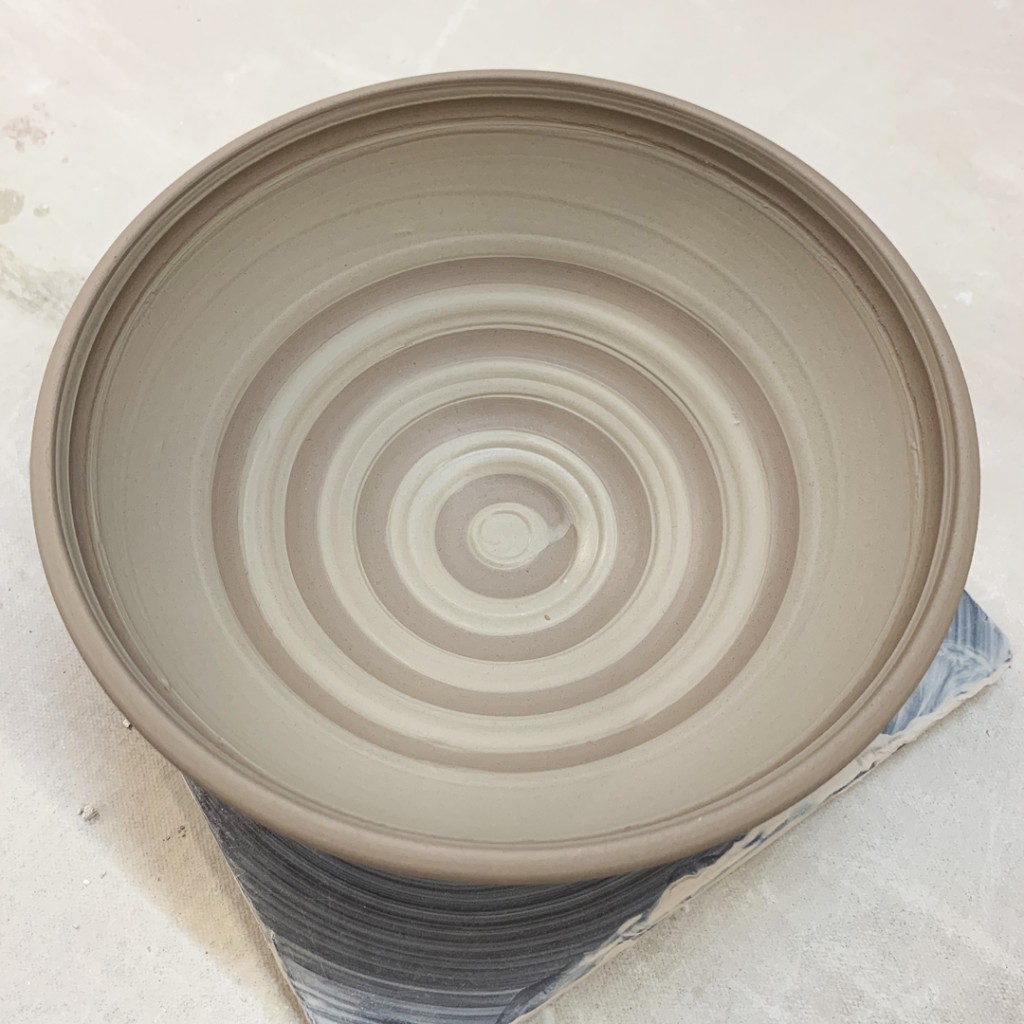
as I saw THIS show up on my Instagram Stories feed. Thanks Jen!!!
This week in my Tuesday night Beginning & Advanced Beginning Wheelthrowing class, we tackled making bowls. Yep… making bowls on purpose instead of a cylinder gone bad. I started with my bowl demo… starting with a good interior curve right from the start! After we had covered all of the “basocs” of basic bowls… they went back to their whee;s to start throwing their own bowls. Meanwhile… I continued throwing more bowls. A total of EIGHTEEN “basic” bowls.
When I had made all of MY owls, we re-grouped at my wheel for a little “decorating” FUN!!! My goal for the secodn part of the demo is to encourage them to PLAY WITH THEIR CLAY!!! To do some decorating… to make thier bowls their own. The wheel pretty much makes them round… now they get to make them their own style!!! So I quickly took my 18 “matching” bowls and started doing some quick & simple “tricks” to make them all different & special!!!
Bowl One – Here’s the “basic” bowl.. the starting point for all the others!!!
Bowl Two – Two simple “flutes” to add some flair. One finger inside, one finger outside. pinch and twist.
Bowl Three – And if two flutes are cute, maybe eight would be better?!
Bowl Four – A simple one-inch flange bent out to “widen” the bowl.
Bowl Five – And if one-inch is nice, maybe three inches would be better?!
Bowl Six – And then a combined, bent-out flange and four fluted twists.
Bowl Seven – Using a metal dragon-scaling tool… a simple flower indented in the bottom.
Bowl Eight – A split-rim pinched together in eight places.
Bowl Nine – Another split rim – dented inwards at four places.
Bowl Ten – Another split rim this time dented inwards four times, and outwards four times!
Bowl Eleven – This was last session’s “challenge” bowl… a TRIPLE split rim and then fluted in eight places. My students from last session now refer to this one as the “churro” bowl!
And then I introduced my “beginner’s” to colored slip… and then benefits.
Bowl Twelve – a simple coat of thick white slip applied and then a spiral dragged through it with the curved end of my wooden knife… which I’ve now been told is called “The Potter’s Thumb.”
We noticed that the thick white slip wasn’t showing up very well for my demo purposes…
so we switched to black!
Bowl Thirteen – A layer of black slip – and then banded rings with “The Potters Thumb.”
Bowl Fourteen – A layer of black slip, and then a chattered pattern made by rhythmic tapping of a rounded rib as the bowl is spinning.
Bowl Fifteen – A layer of black slip, followed by some thick white slip squirt-bottled onto the surface… ala Ryan Greenheck!
Bowl Sixteen – Then using the same squirt bottle, I piped on a white slip spiral.
Bowl Seventeen – Using a couple strips of wet newspaper, I outlined a triangle… layered in some thick white slip, draged my finer through it to make some texture lines and then peeled away the newspaper “stencils.”
Bowl Eighteen – Always up for a challenge… this is the one this session. Stacey was sitting-in on class and she saw this bowl on her Instagram feed. So I tried my best to “mimic” the style… flaring out the flanged rim, denting down the four accent areas, and then piping some thick white slip accents. Coincidentally, Stacey was also the one who challenged me to the triple rim “churro” bowl last session
So for now they’re all “under wraps” in my studio. I think there’s a”very good chance” that there might still be a bit of embellishing & stamping to be done on them… maybe, just maybe?!
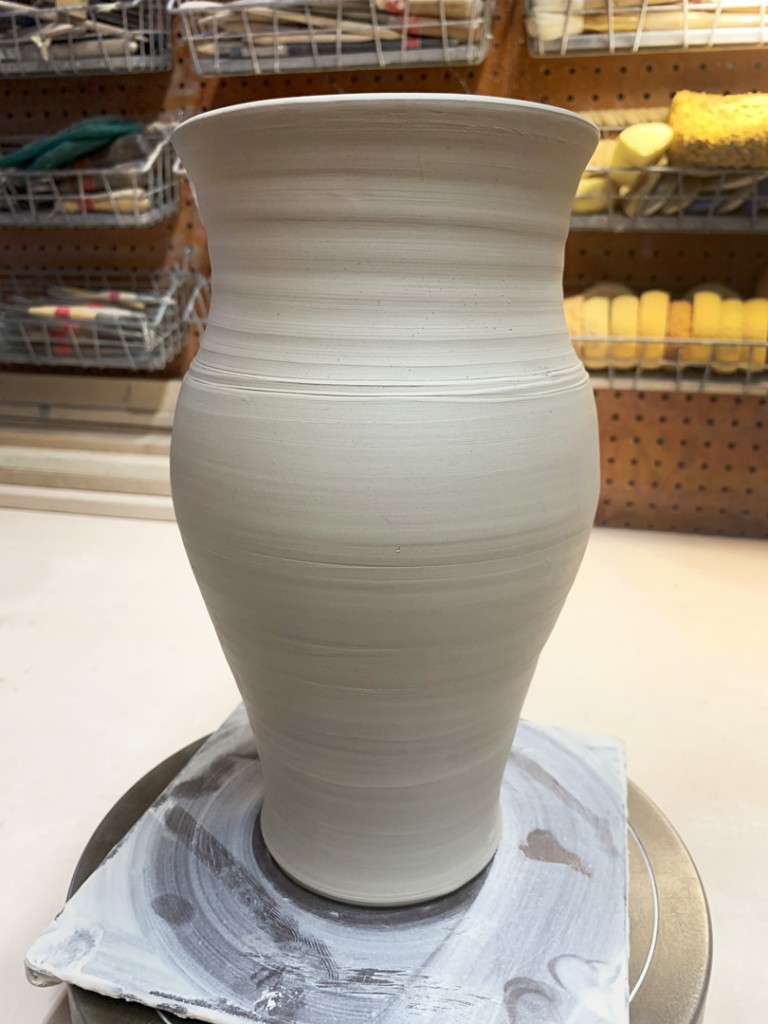
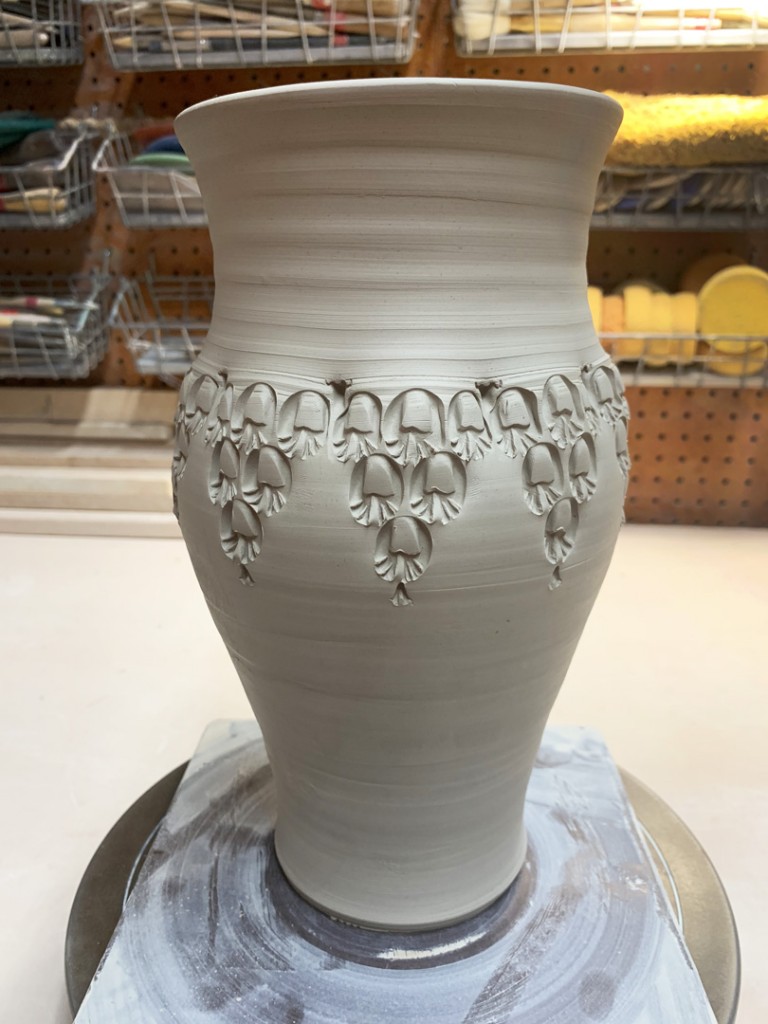
Last night’s class demo… throwing taller.
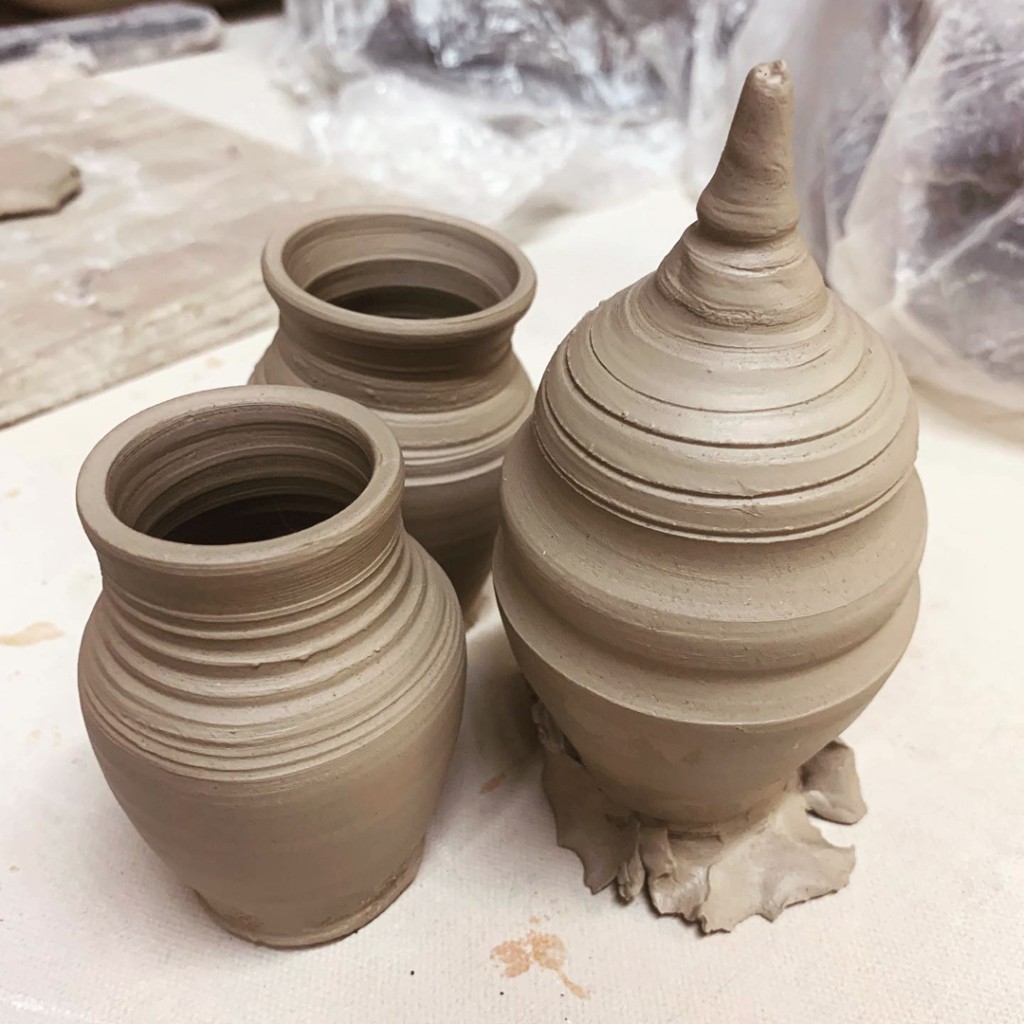
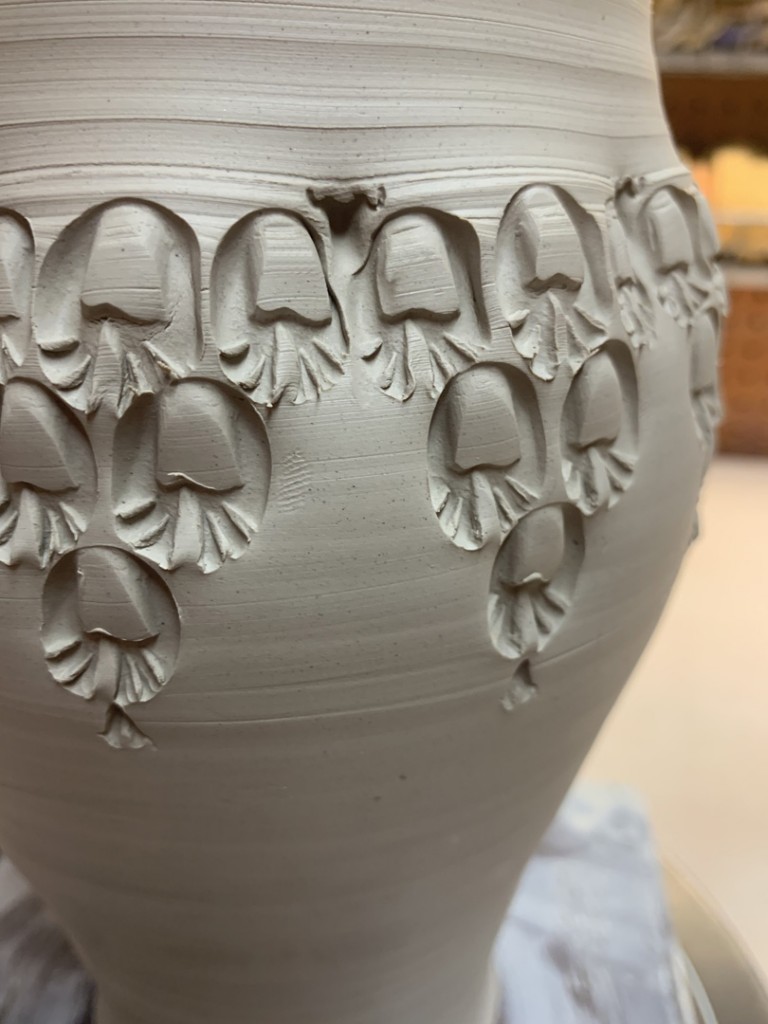
Showing them ways to get the clay to move up the wall, off the bottom and how to get their pieces taller… like this 3lbs. of clay! So here’s my demo vase as I threw it… and then as I stamped it tonight. I definitely like the stamped one better!!!
So last night in my pottery class, we discussed some more advanced glazing options. Like layered combos, stains, oxides, wood ash, wax resist, etc. It’s a bit overwhelming when you start to see the infinite possibilities to finish your pieces. My students were tracking along pretty well, but questioning what the results might look like. Sure, we have some double-dipped combo test tiles, but it’s a LOT different on a real piece.
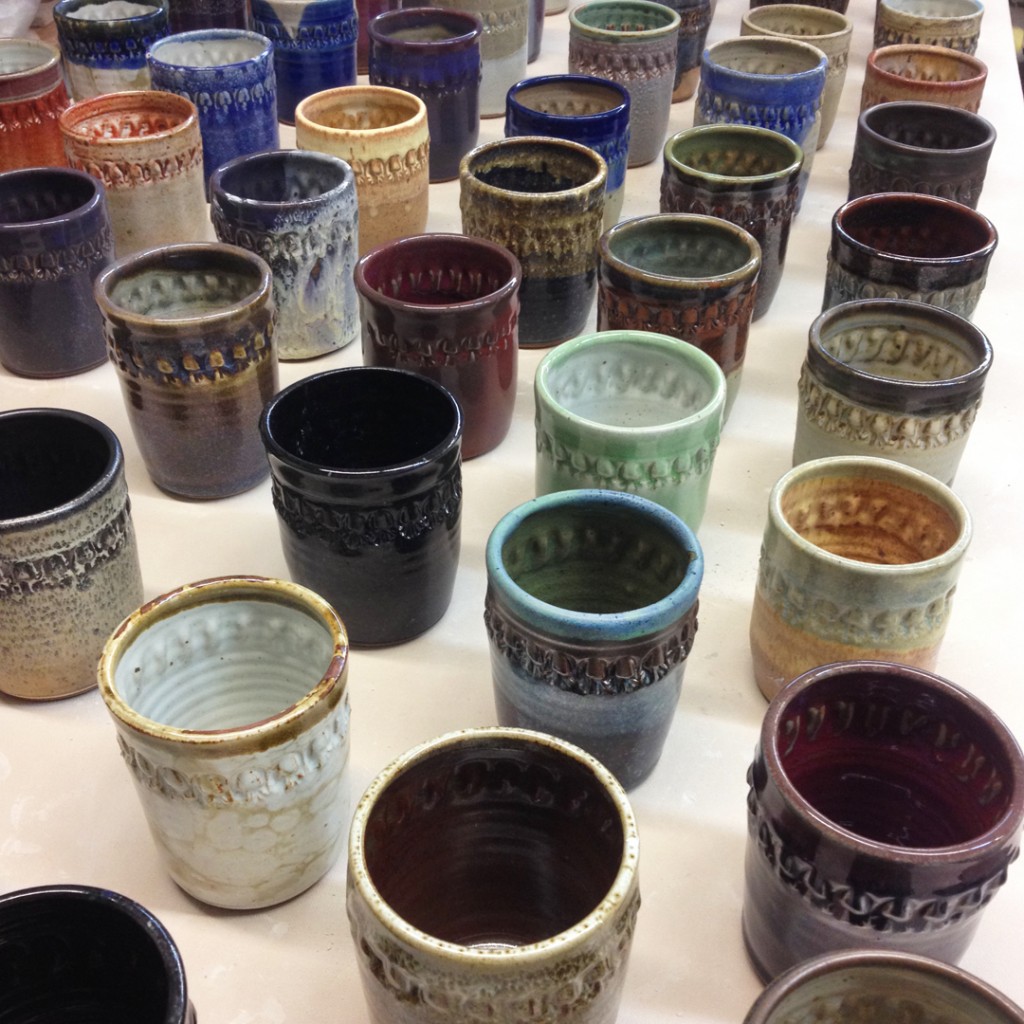
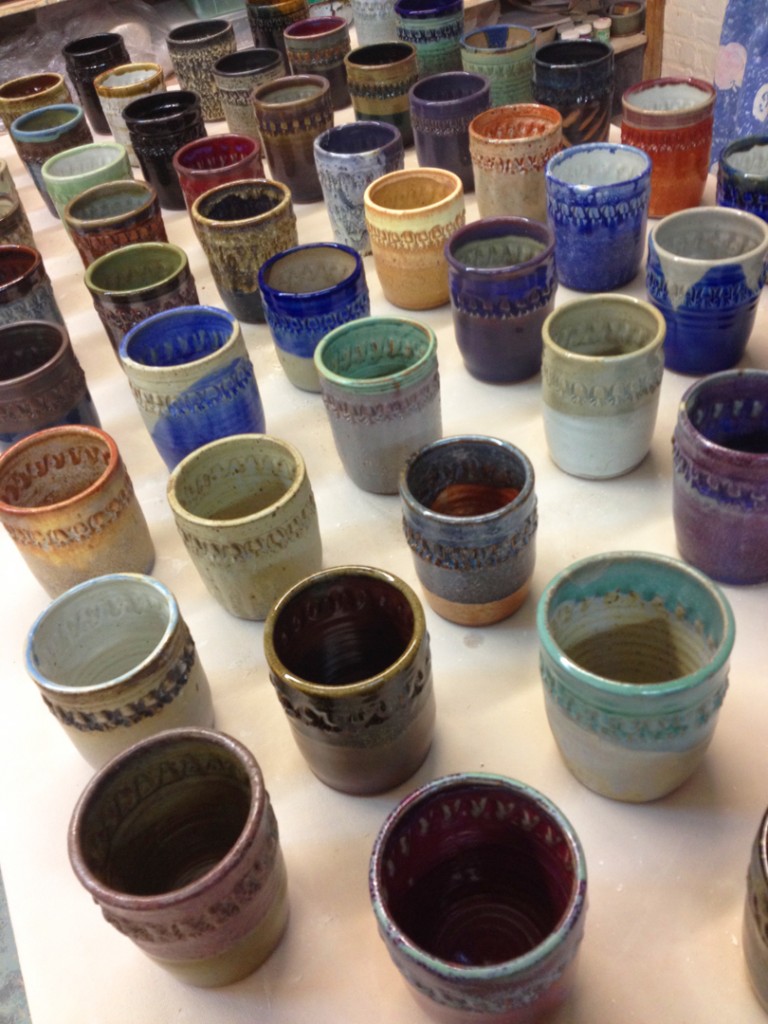
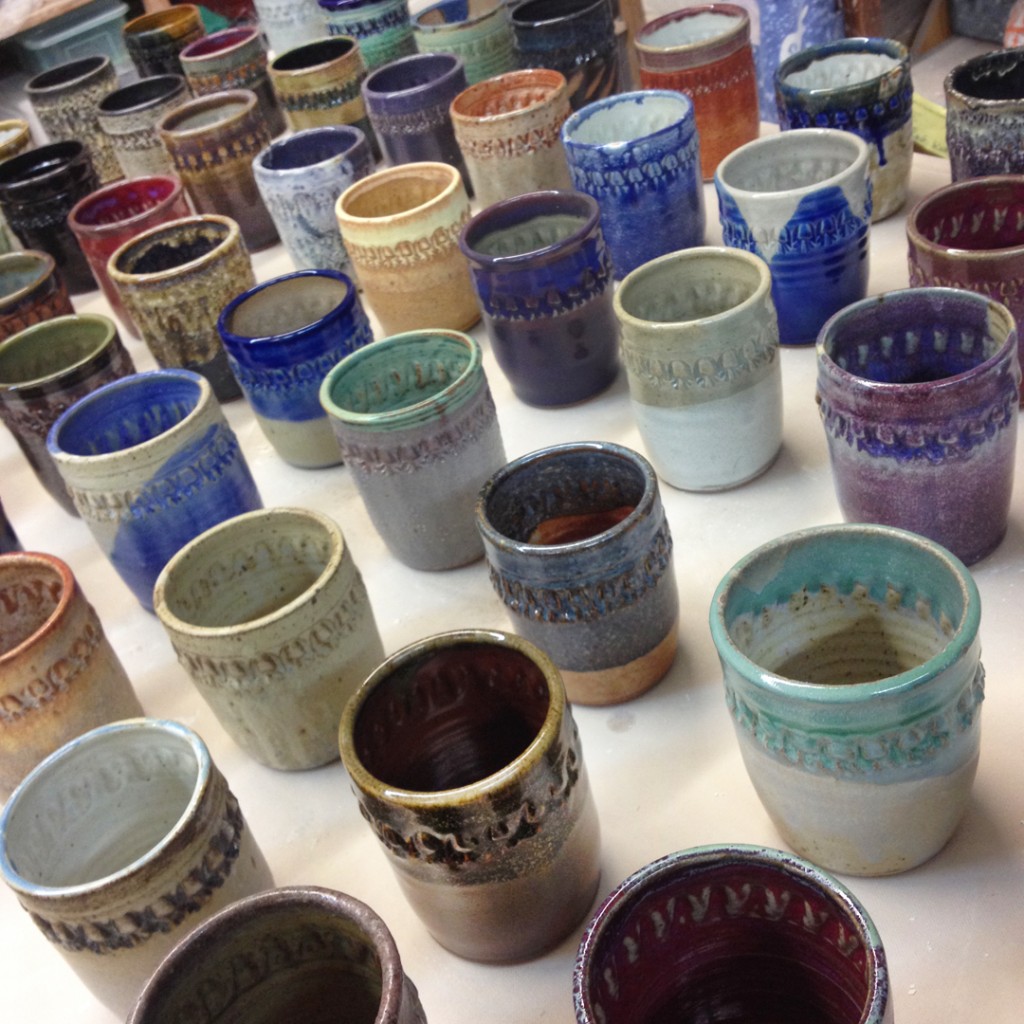
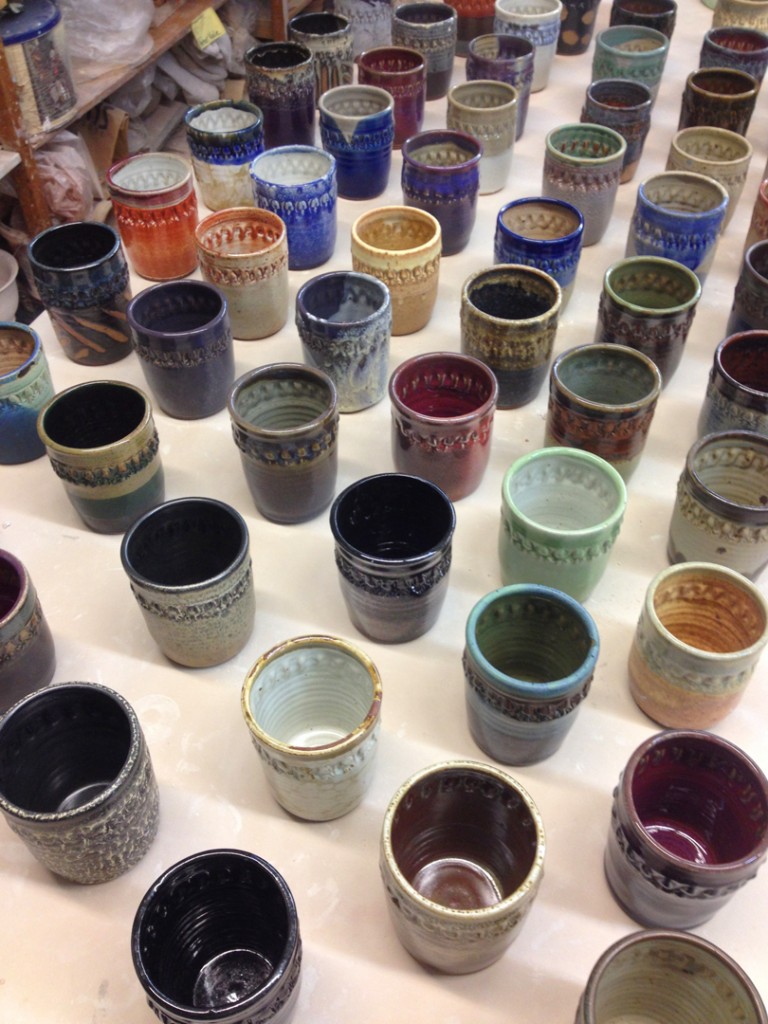
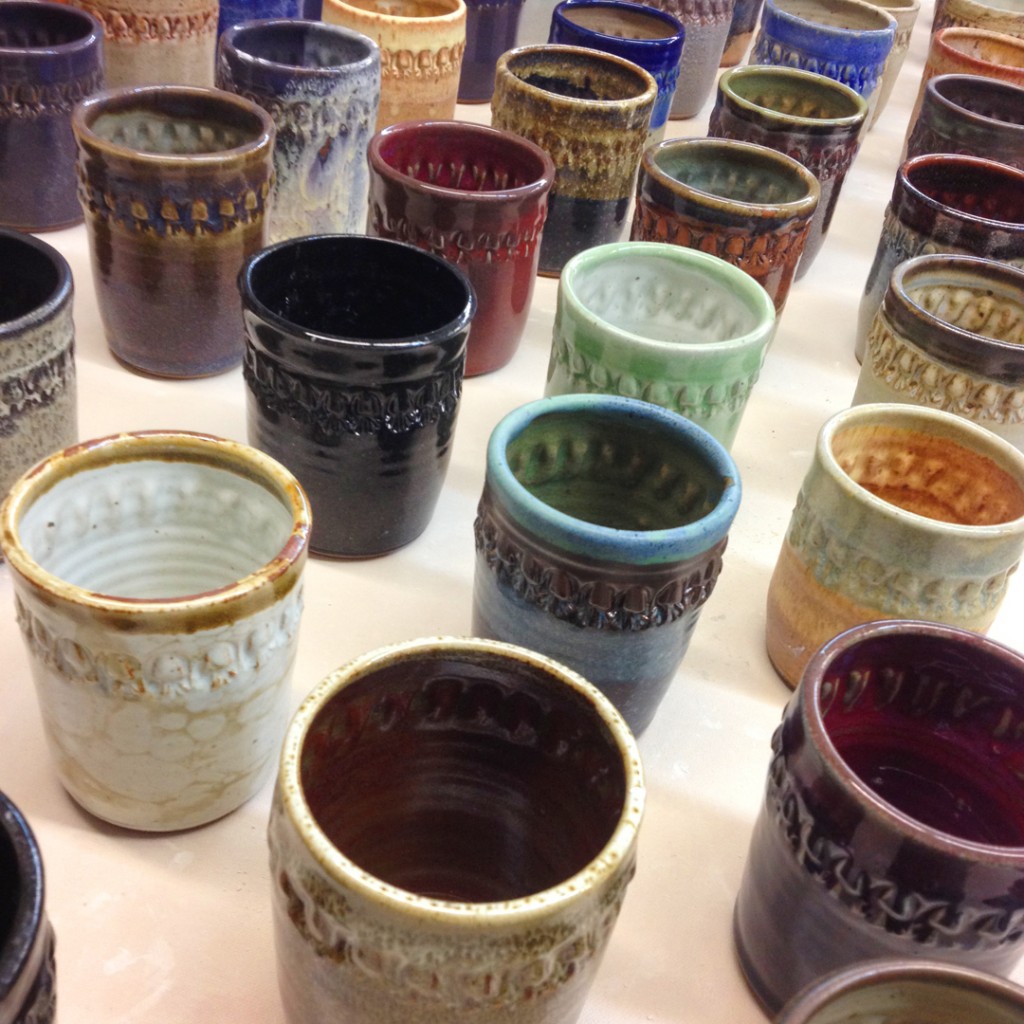
So… I completely overwhelmed them when I brought out all of the combo glazed test cups we made last session with my students. A LOT of glaze information to take in. Some good. Some not so much. But great information & inspiration… even if it is all a bit overwhelming.
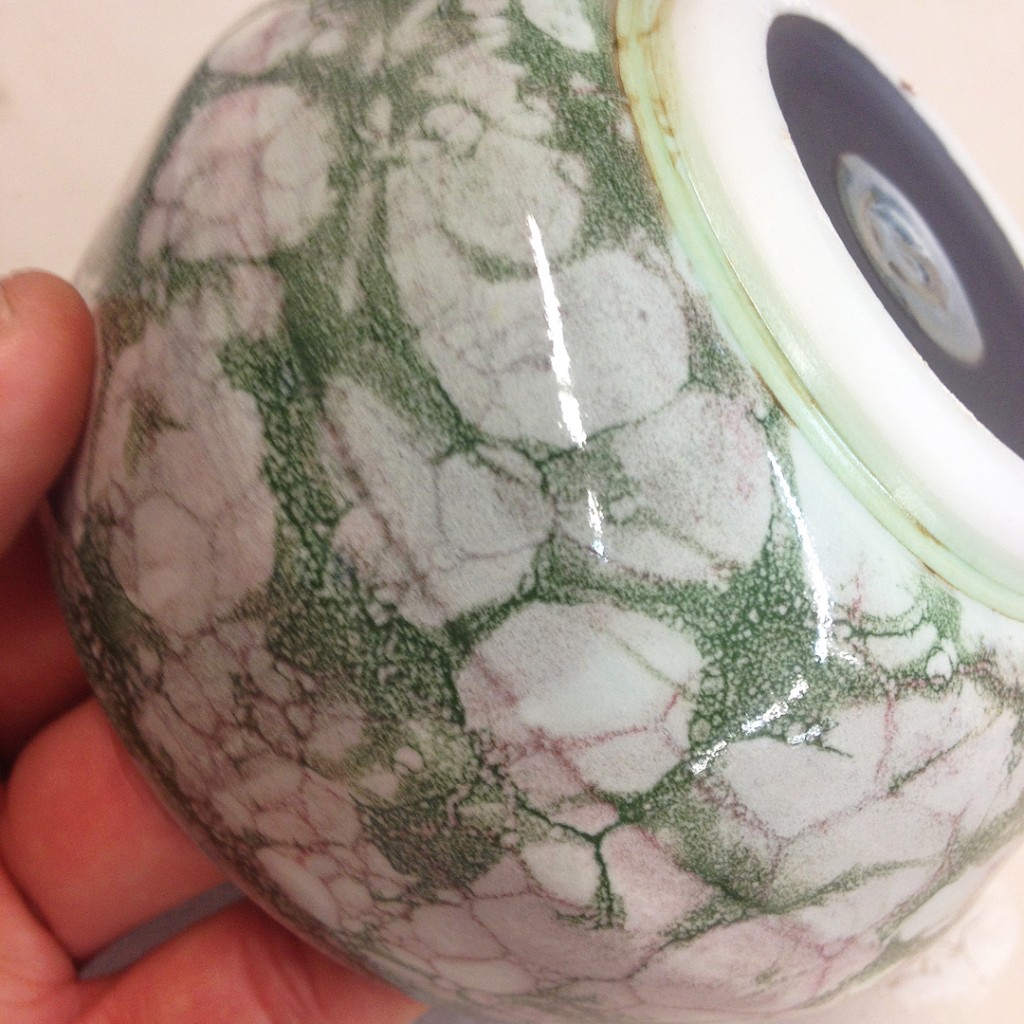
Also fresh-out-of-the-kiln… the two bubble glazing demo pieces from last week’s class. My bowl had a layer of Shaner White glaze, followed by bubbles of Tom’s Purple, and then another layer of Josh Blue bubbles.
One of my students glazed her bowl with Shaner White followed by bubbles of a green stain, and a slightly dipped rim of Randy’s Green… which explains some of the blushy pink tones!