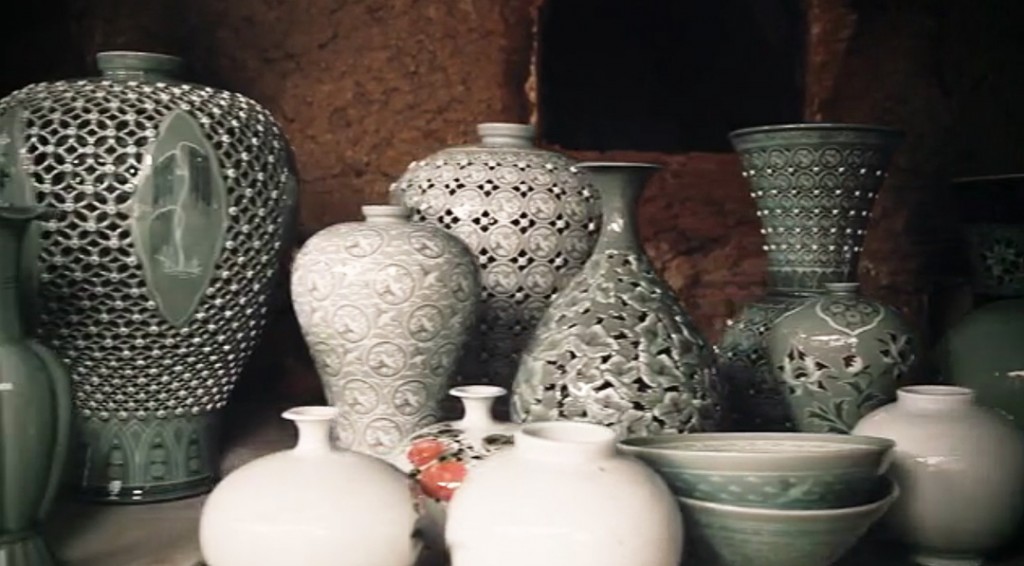
You know I usually cringe when one of my students starts off with that.
“So I saw this video on YouTube…”
I love when there are so many tips & tricks out there for potters, but frequently they’re also learning “bad” tricks along the way. So I’ve tried to steer clear of YouTube for the most part. But recently, I did do a quick search looking for new techniques to share with my students. This week is Week Eight for my class so they’re well on their way… and ready for some more surface decorating techniques.
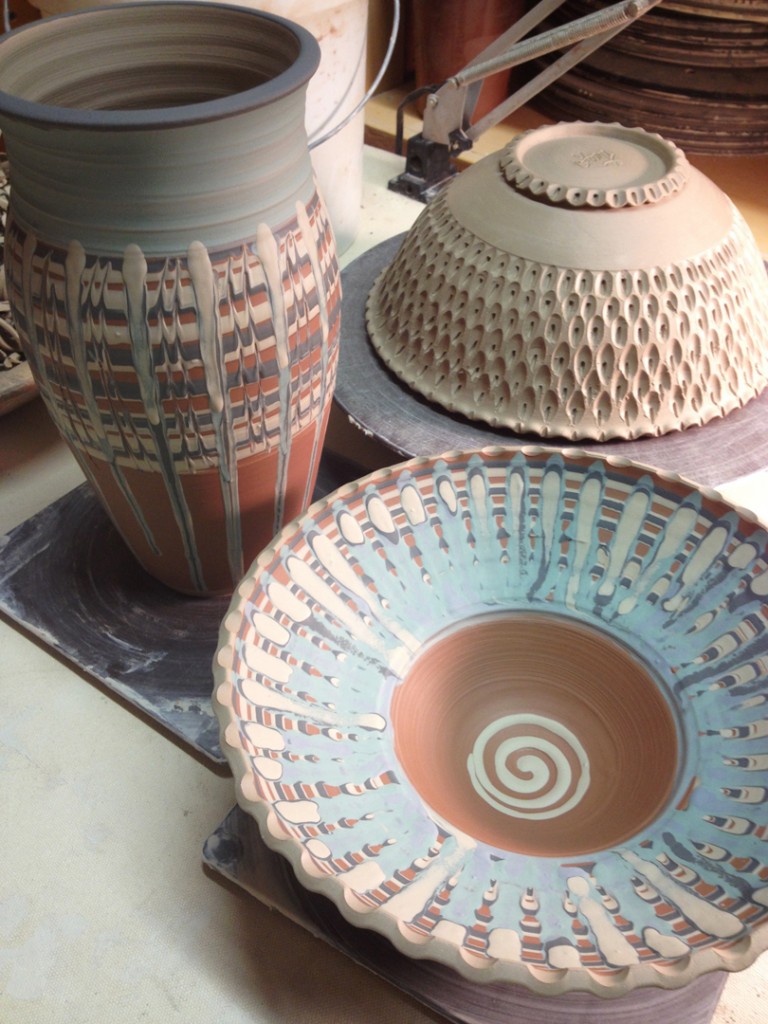
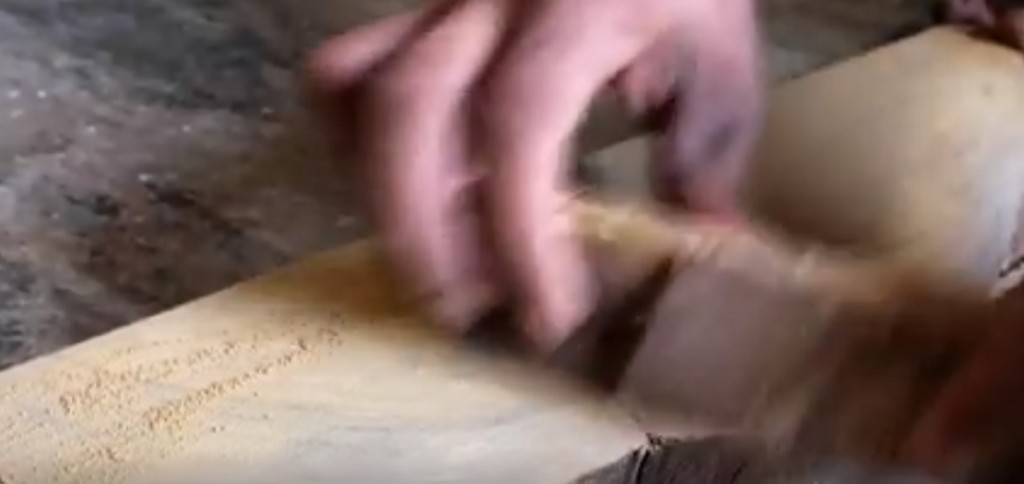
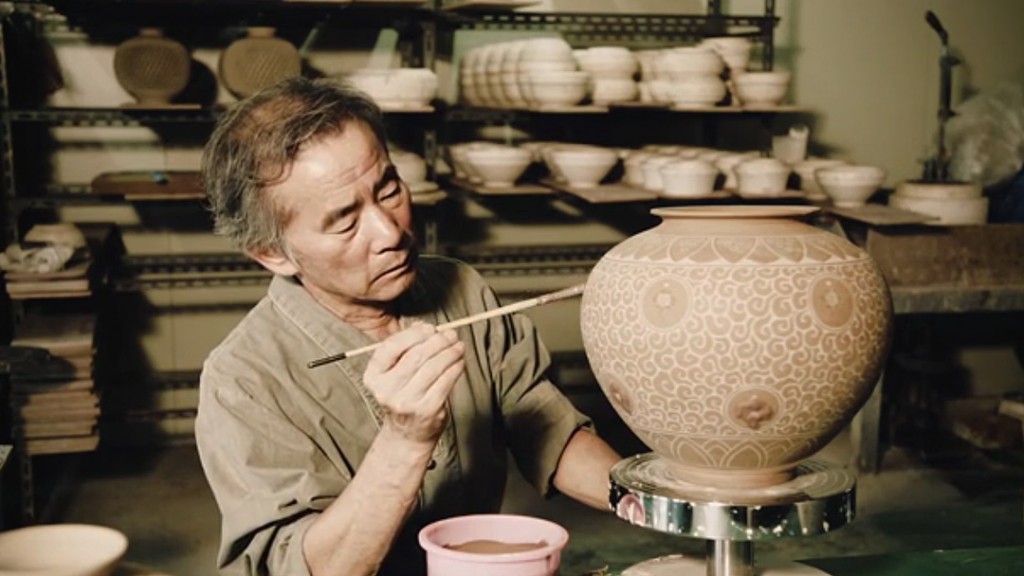
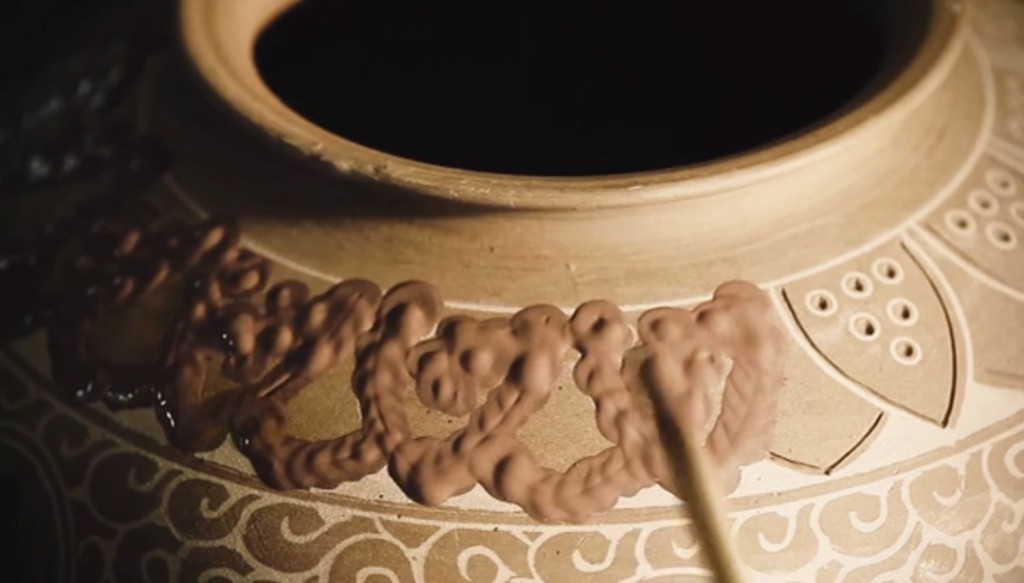
We’ve already used colored slip to change the color “skin” of their work. But when I saw this slip trailing… err, dripping… I though that my students would love this trick. And it’s not too advanced. It appeared to be pretty easy… so of course I decided to go for it. And “teach” this technique to my students without ever practicing myself!!! And quite honestly… I think it worked out pretty well. Click here for the YouTube video of slip trailing on a bowl. You may not understand a word he says… but the video alone is pretty mesmerizing! Here’s a still shot from the video…
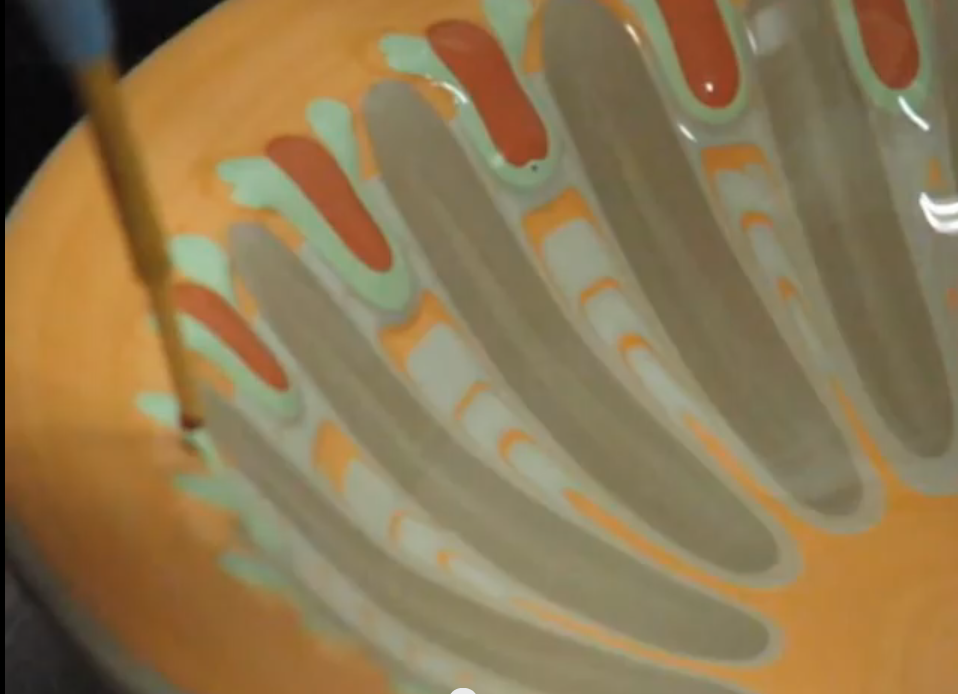
Basically, you cover the surface with a thick layer of slip. The add a couple spirals. Then add some “drips” that will run down through the drawn spirals. The demo pieces on the video are a bit cleaner than mine… but I’m sure he’s been doing this technique a bit longer than me. Can you say 10 minutes?!
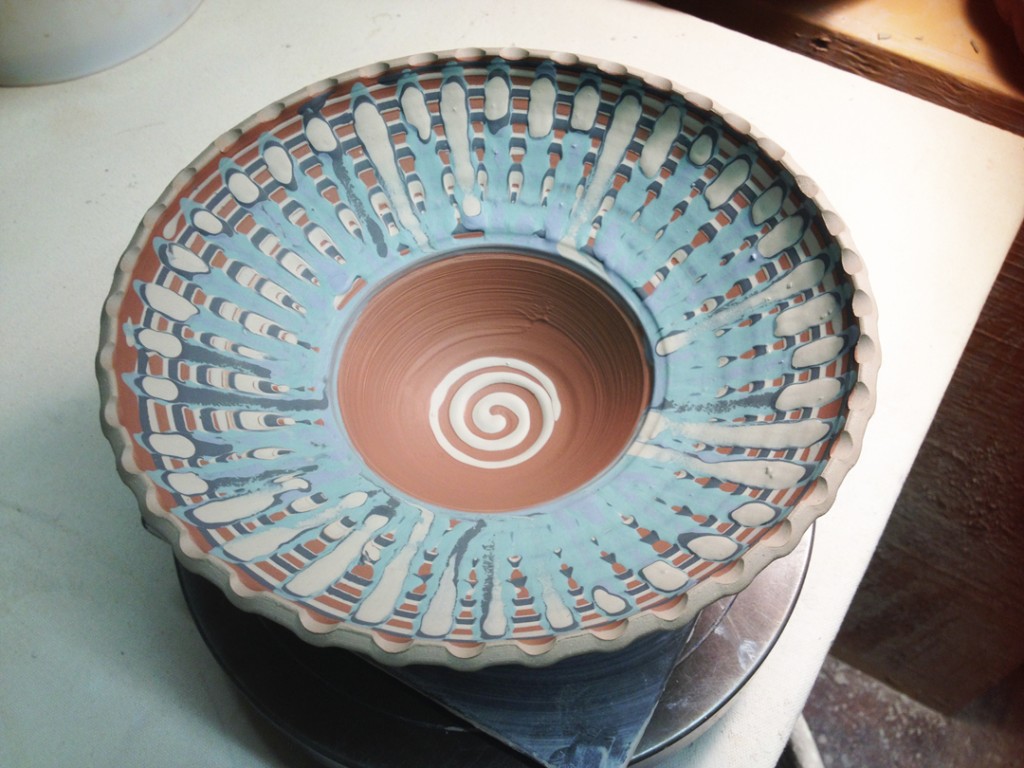
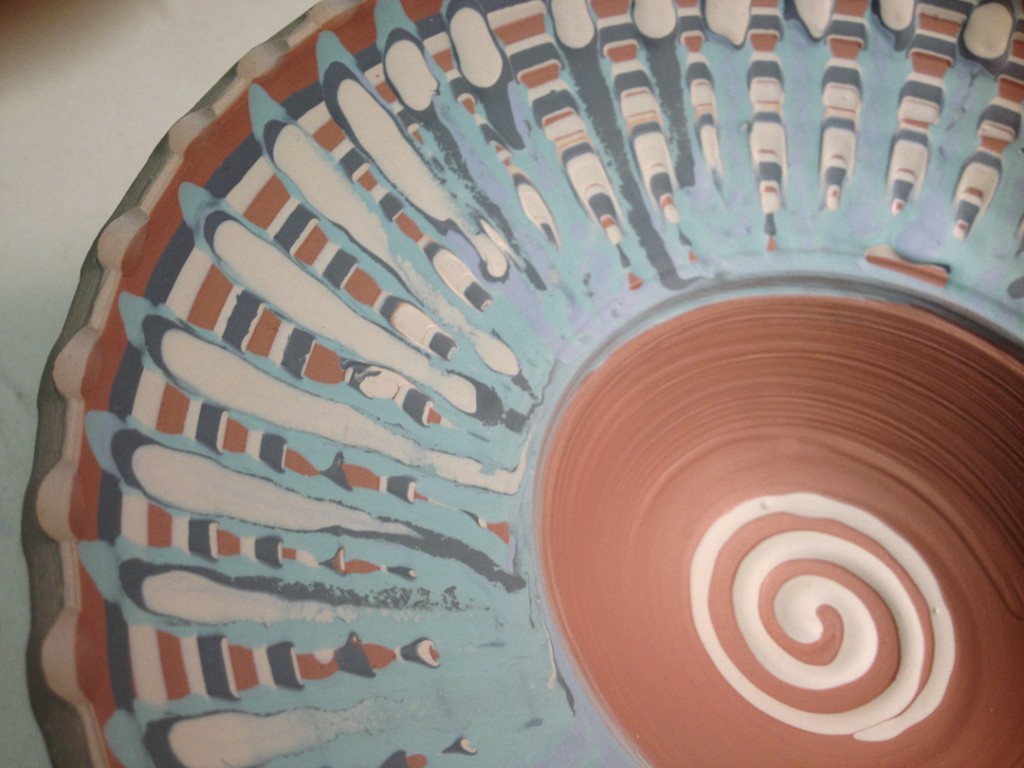
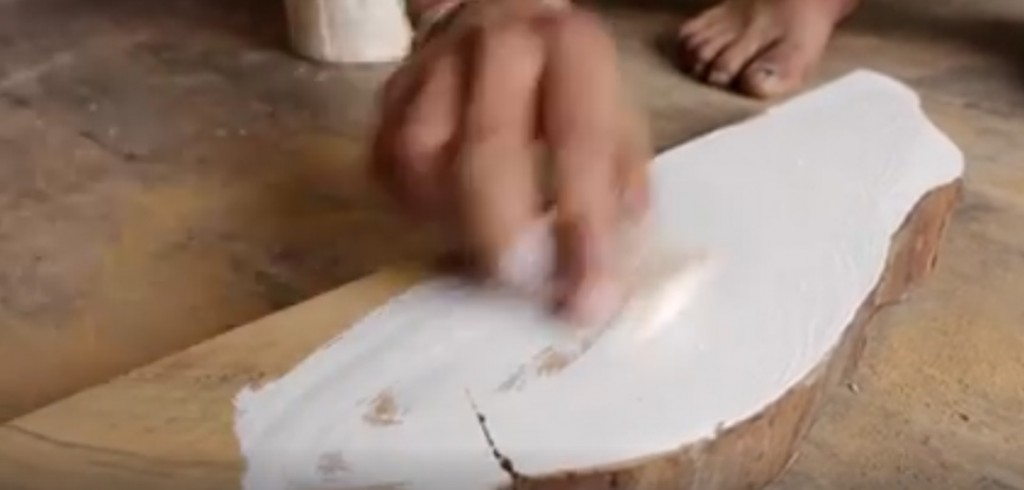
And once I had some confidence after the bowl, we tackled a more vertical surface on a taller vase. More room for the slip to run & drip. Click here for the YouTube video of slip trailing on a vase. Again, I think the potter may be speaking Russian?… and I’m not sure if this is “his” signature style or if it is more of a traditional Ukranian style of decoration? Here’s a still shot from the video…
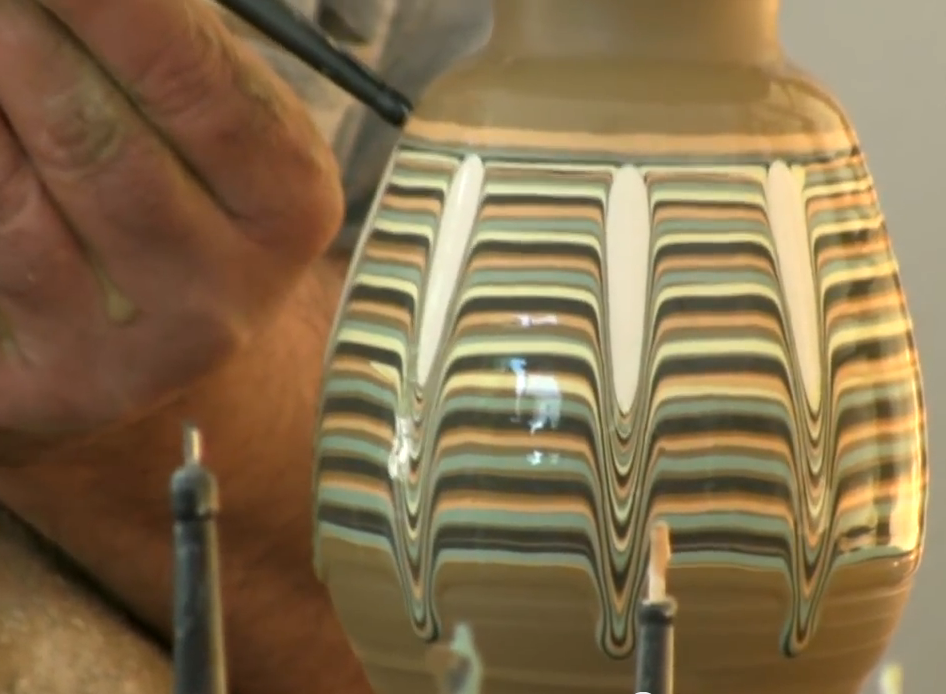
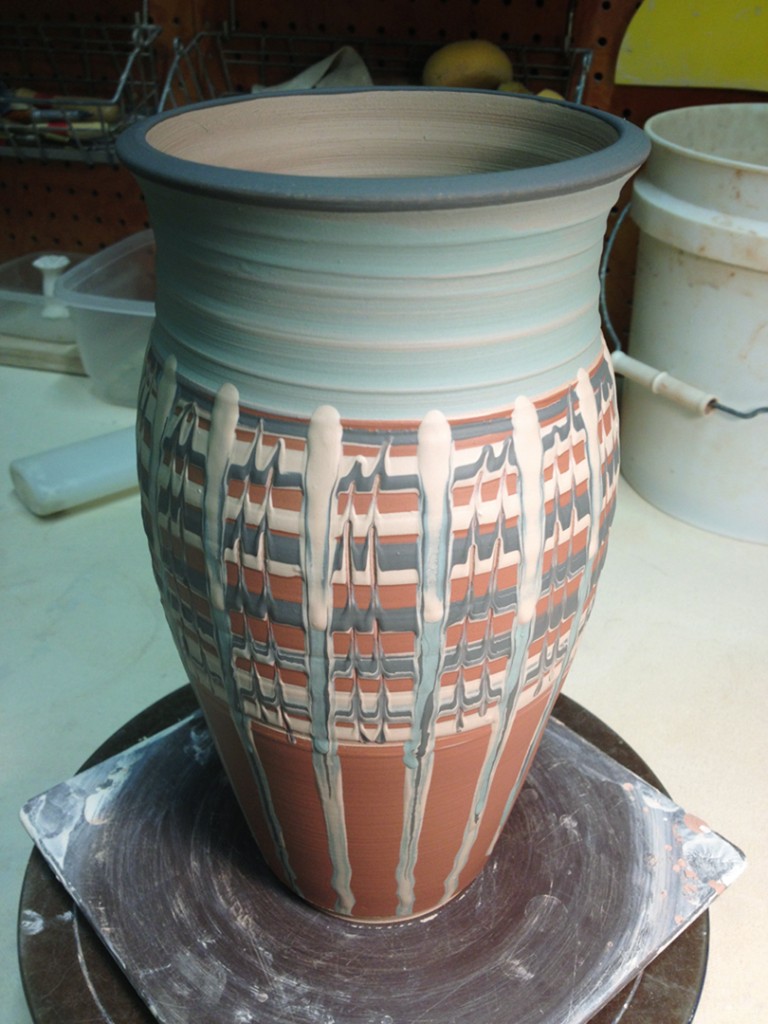
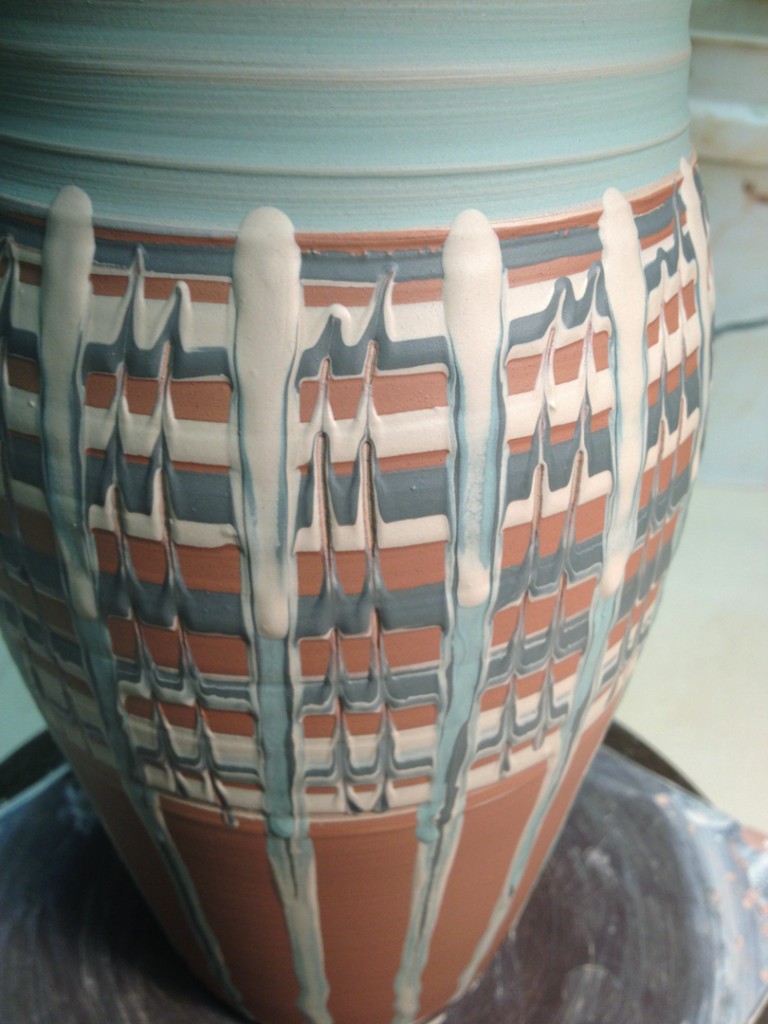
We did learn a few things along the way. My slips probably should have been sieved through a fine mesh screen. And I should have tried to get them all to be a better consistency… a couple of them were a bit too watery. And I think I needed to make the base layer and the horizontal spiral with thicker slip so that there was enough slip to “move” as the drips pushed down.
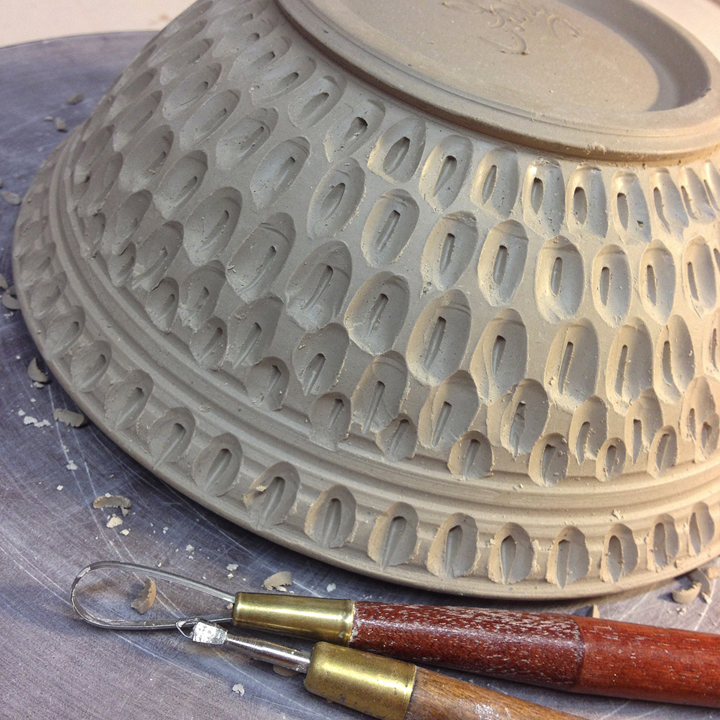
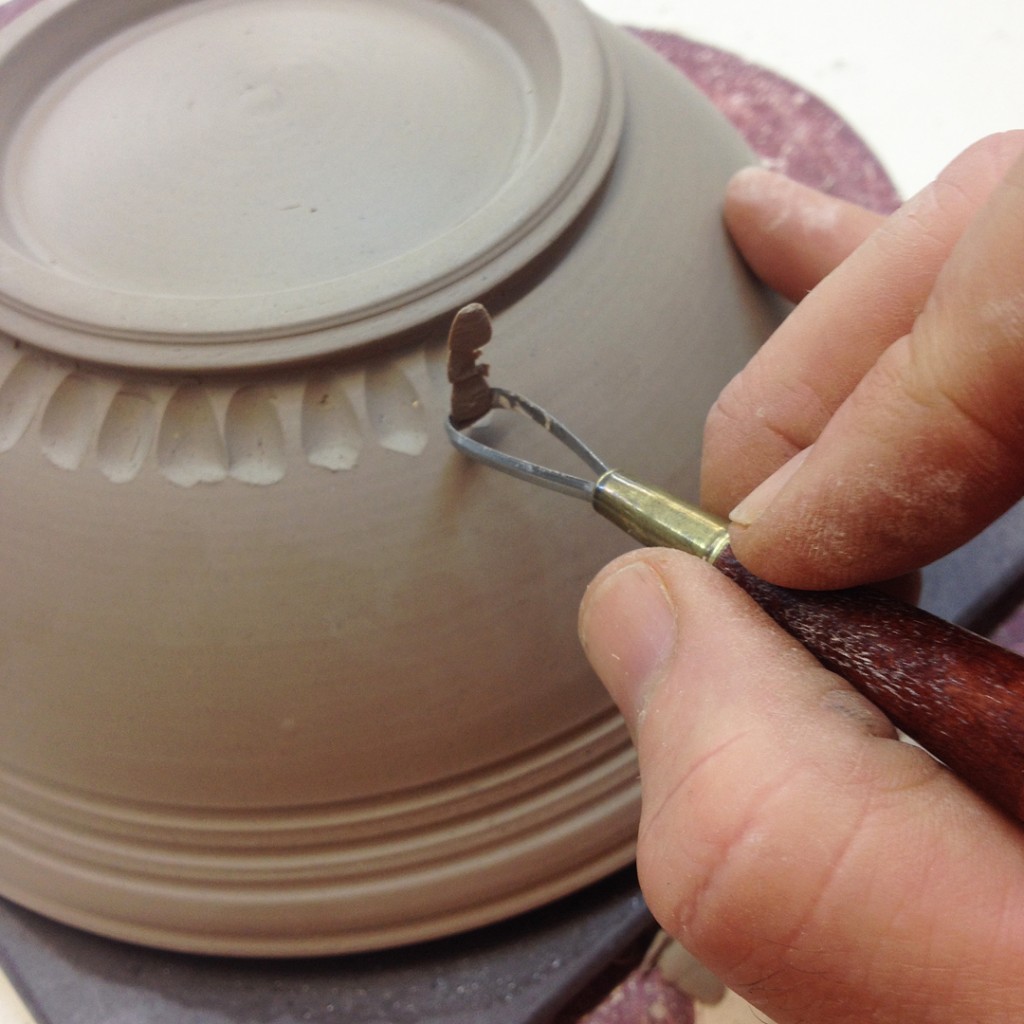
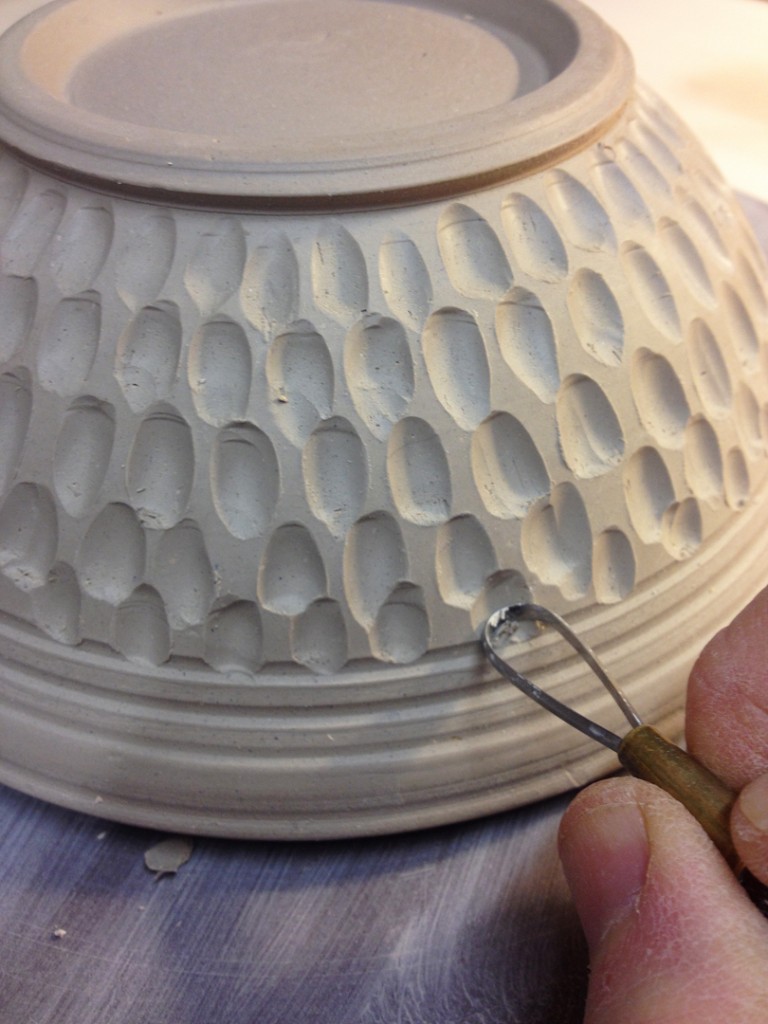
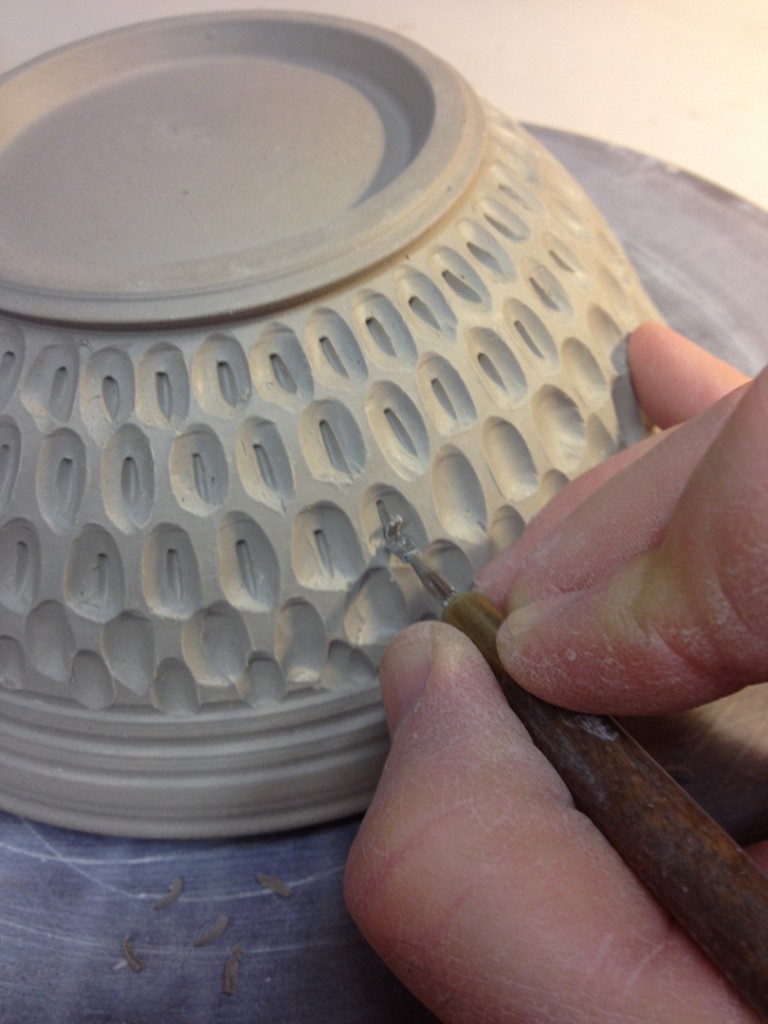
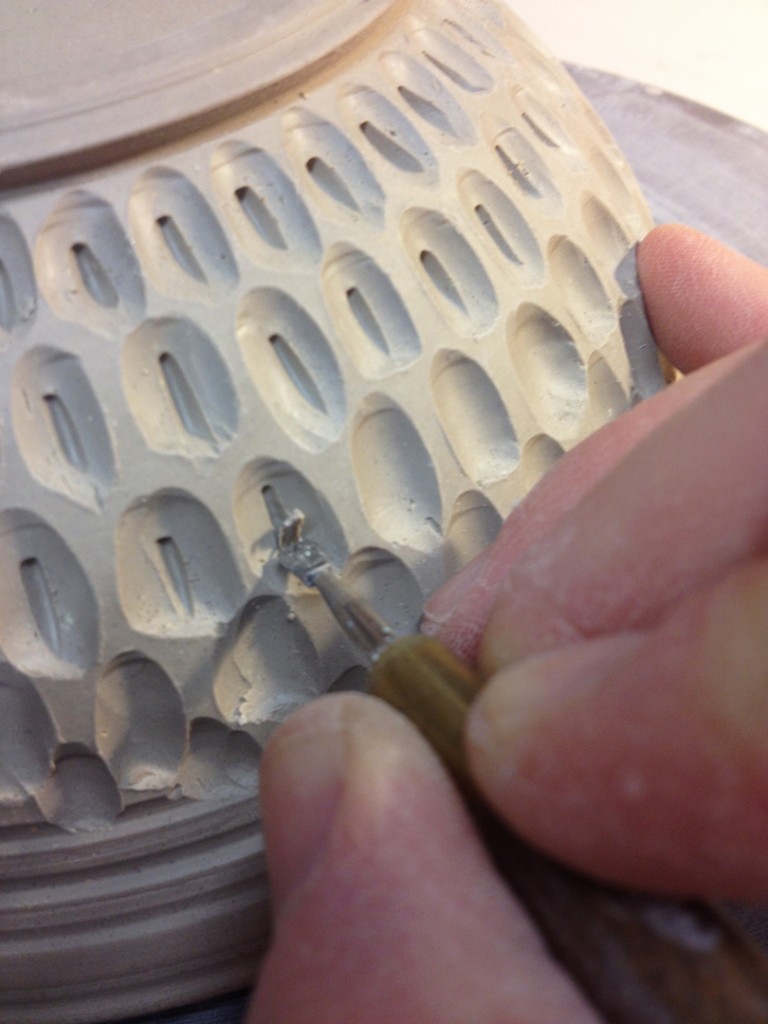
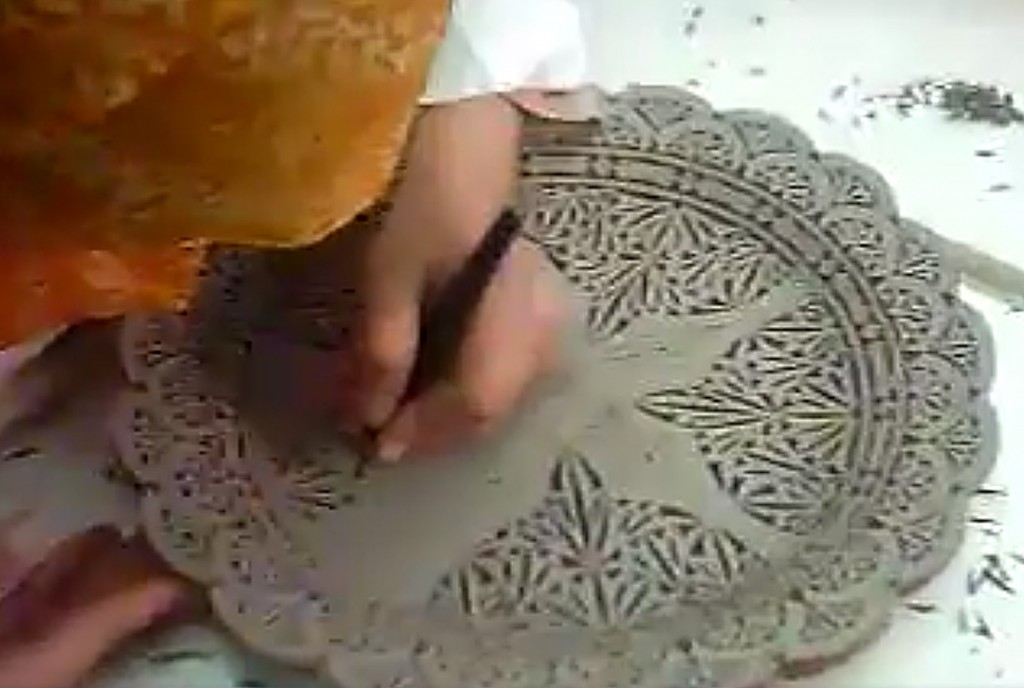
After we had “played” with drippy slips, I switched it up and did a much cleaner demo for my class. I took a wet-leatherhard bowl and did a carved texture pattern around the outside wising my round loop trimming tool and a smaller sgraffito loop tool. It’s a carving technique I learned from Amy Higgason of Pigeon Road Pottery. She used to be one of the Lillstreet studio artists, but now she lives up in the Wisconsin Northwoods. Luckily, she has shared her carving techniques and they still pop-up from time to time. In fact, she even did a demo for my class a few years back… click here to go to the blog post!
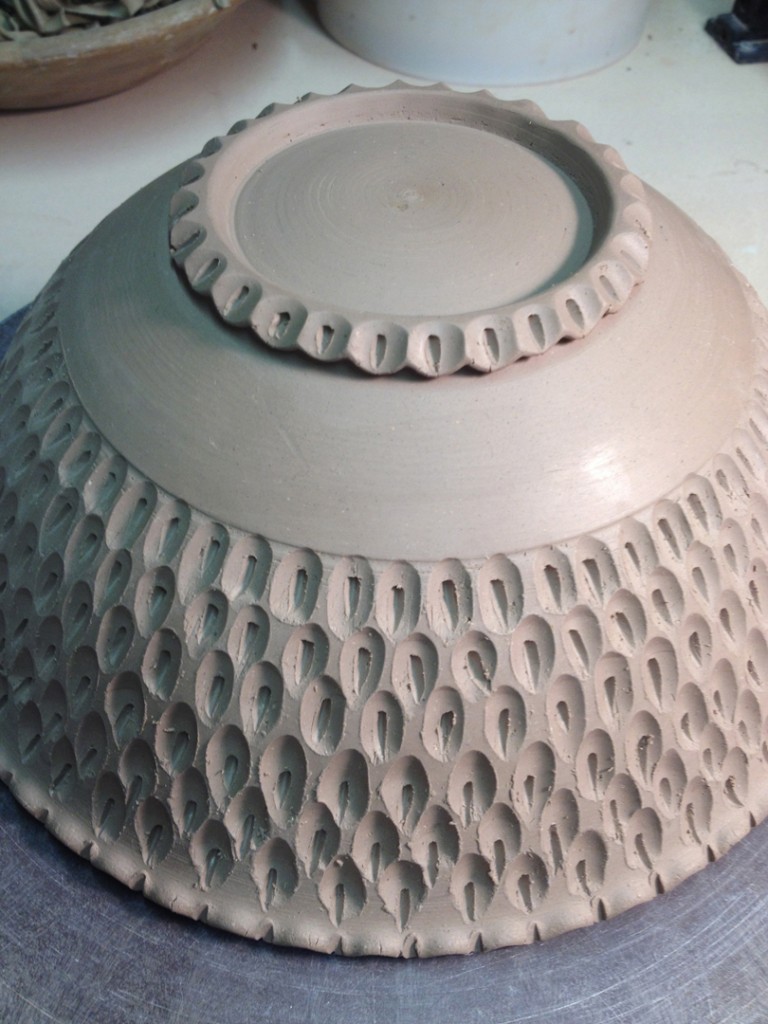
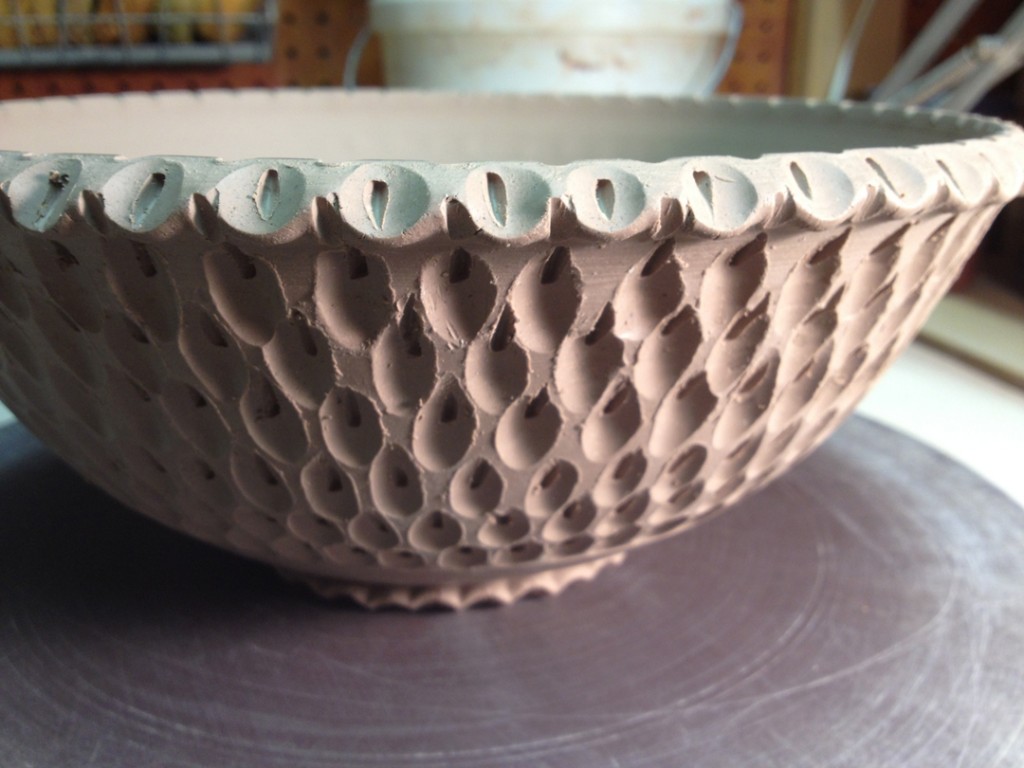
So now all three pieces are done, back up in my studio, and wrapped up for the night. I still need to trim the slip decorated pieces, but I need to wait until the slip is a bit dryer. All in all, I think it was a pretty successful evening. Several of my students gave it a shot & had fun with drippy slip… and I hope when they get around to trimming a few more pieces they may consider some decorative carving!!!
