Gary Jackson: Fire When Ready Pottery
A Chicago potter’s somewhat slanted view of clay & play
Categories: classes, creativity, lillstreet

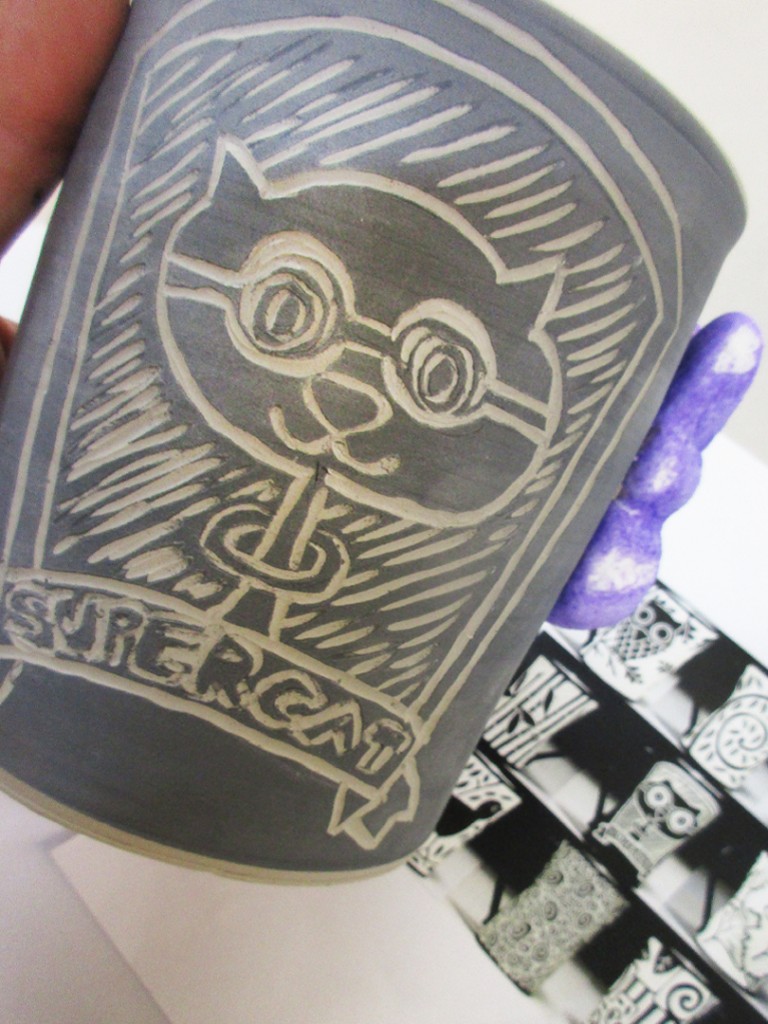
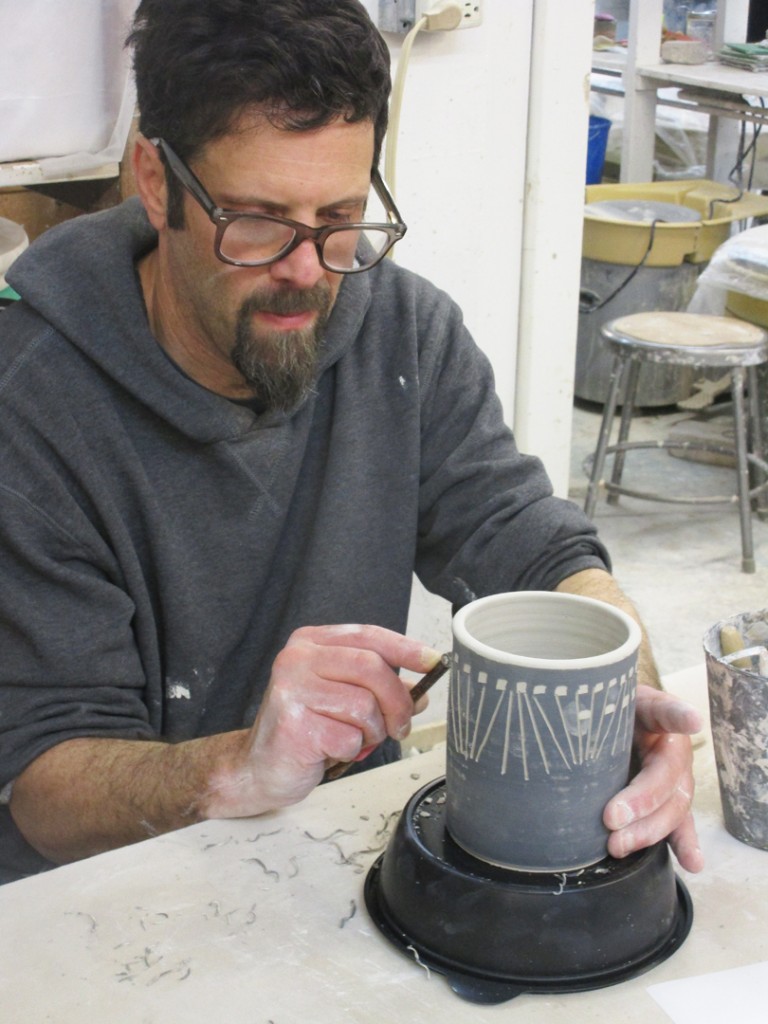
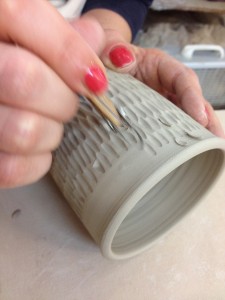
Last week in my POTTERY THROWDOWN class, I surprised my students with the “SGRAFFITO SURPRISE”!!! We talked briefly about sgraffito and looked at some examples. And then I “sprung it on them”… one hour to decorate a black slip covered cylinder I had prepped prior to class. So much to watch how each of them approached the challenge… and tackled the blank canvas with some sharp carving tools.


Save

Categories: process, tools

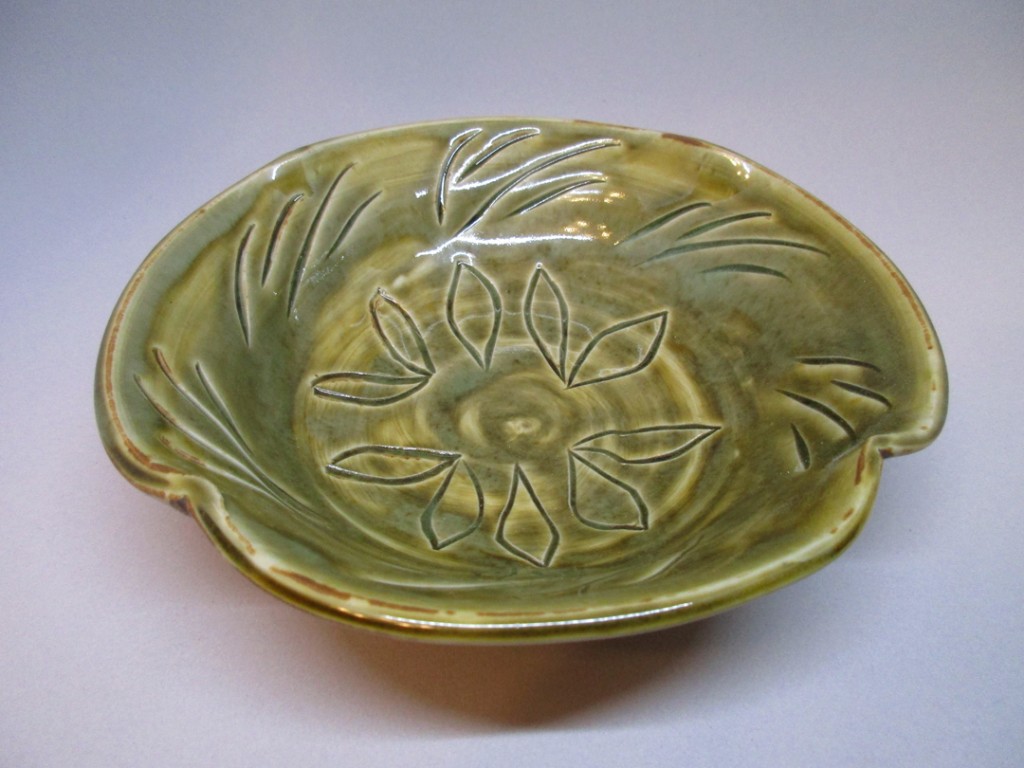
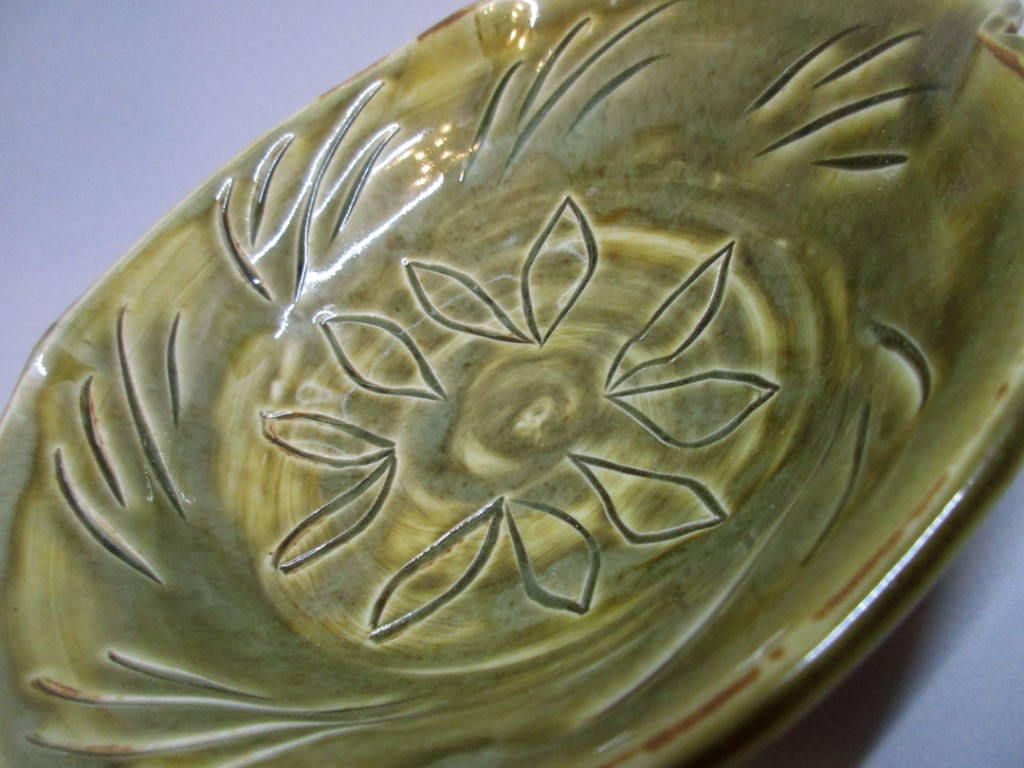
So while those freshly-thrown bowls are stiffening up a bit, I thought I’d do a little carving on one of the bowls from my class bowl demo. So with some banded areas of green slip on B-Clay that has dried to leatherhard, I set out with my Zebra Tool from Diamond Core Tools.

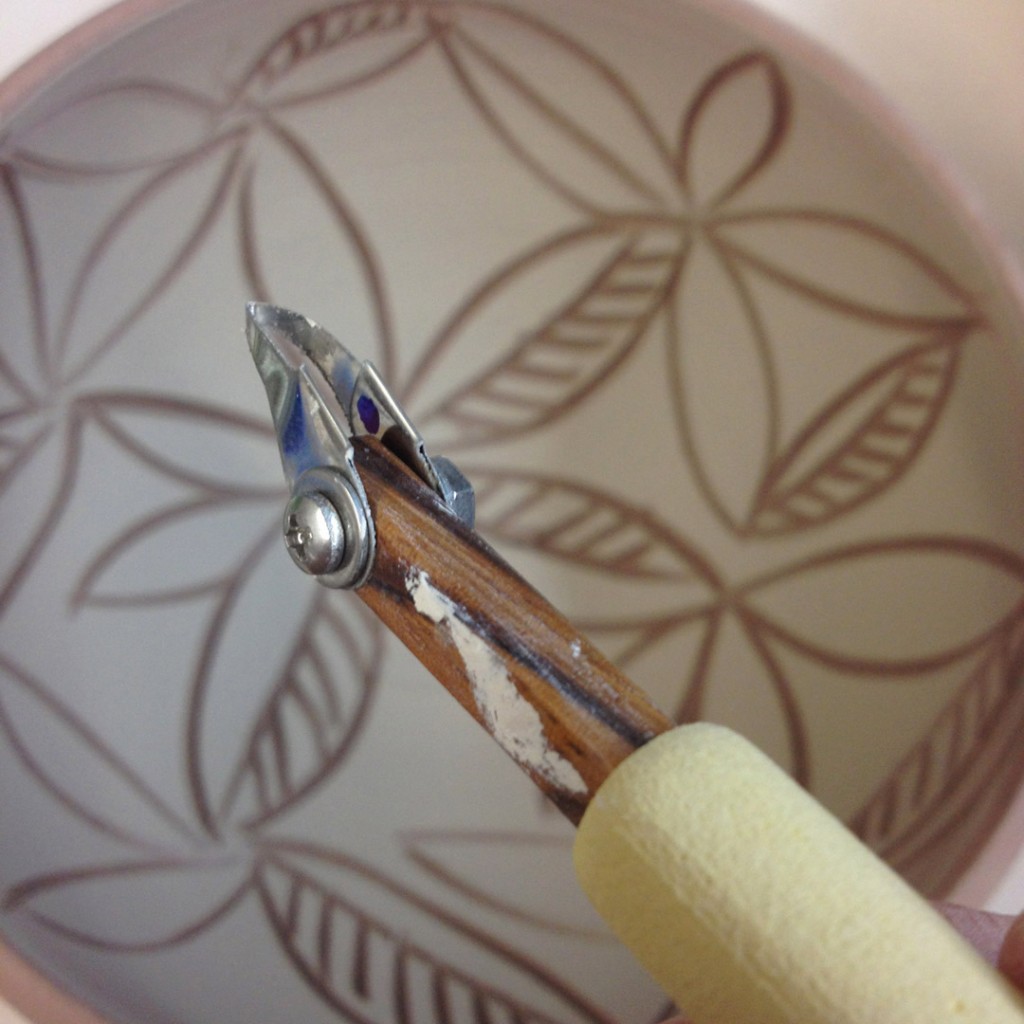
This one is my favorite… it’s the #P1 V-Tip Pencil Carver.
Nice sharp blades give clean lines and a beautiful v-shaped incision cut.

Okay, so I’m kinda regretting carving in the center. I think I liked it a lot better before I messed it up?!

Categories: porcelain, process, stamps, tools

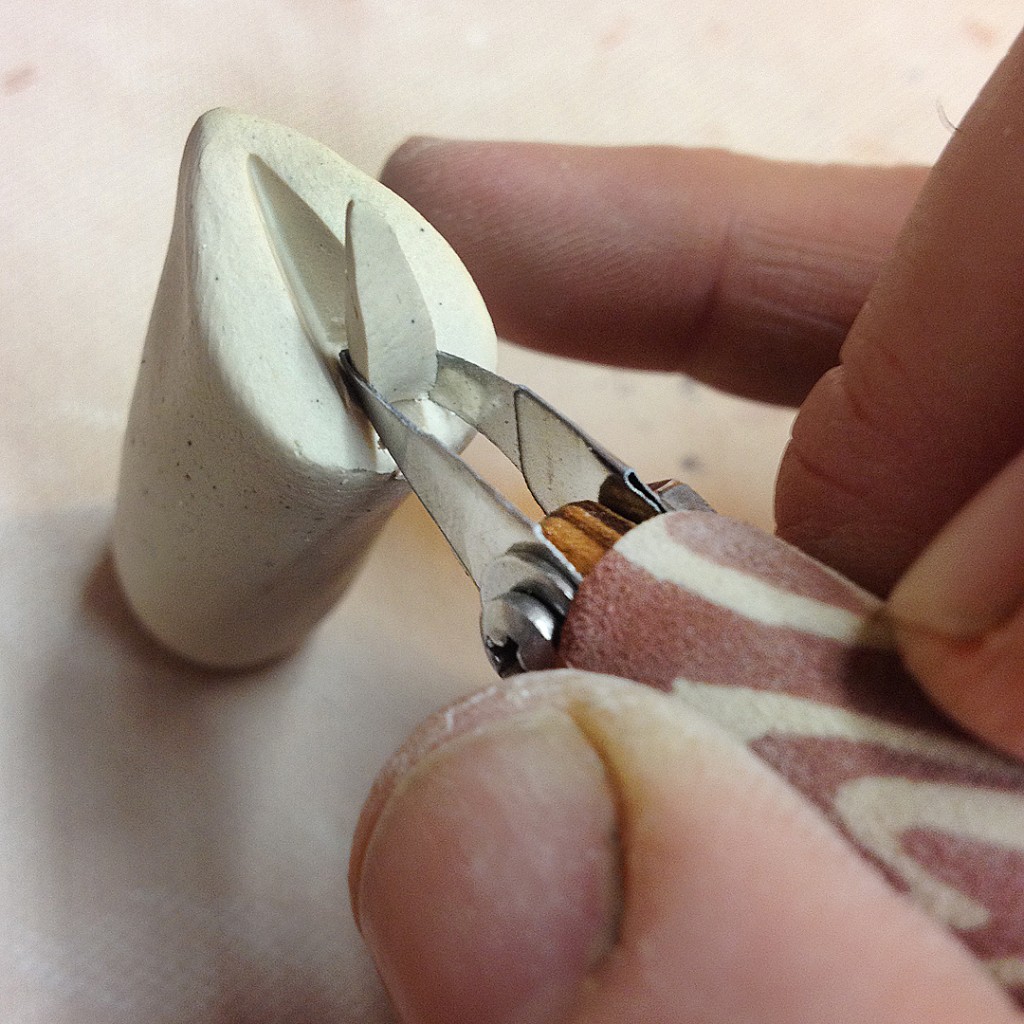
Just making some new stamps for the next set of pots coming soon. And for the first time, I decided to see what would happen if I tried my new carving tools from DiamondCore Tools for stamp-making?! Huge potential here with these great tools… I just think I need to let the clay stiffen up more & go bigger!!! No time to be timid with sharp Zebra Tools from DiamondCore!!!

Save

Save

Categories: tools

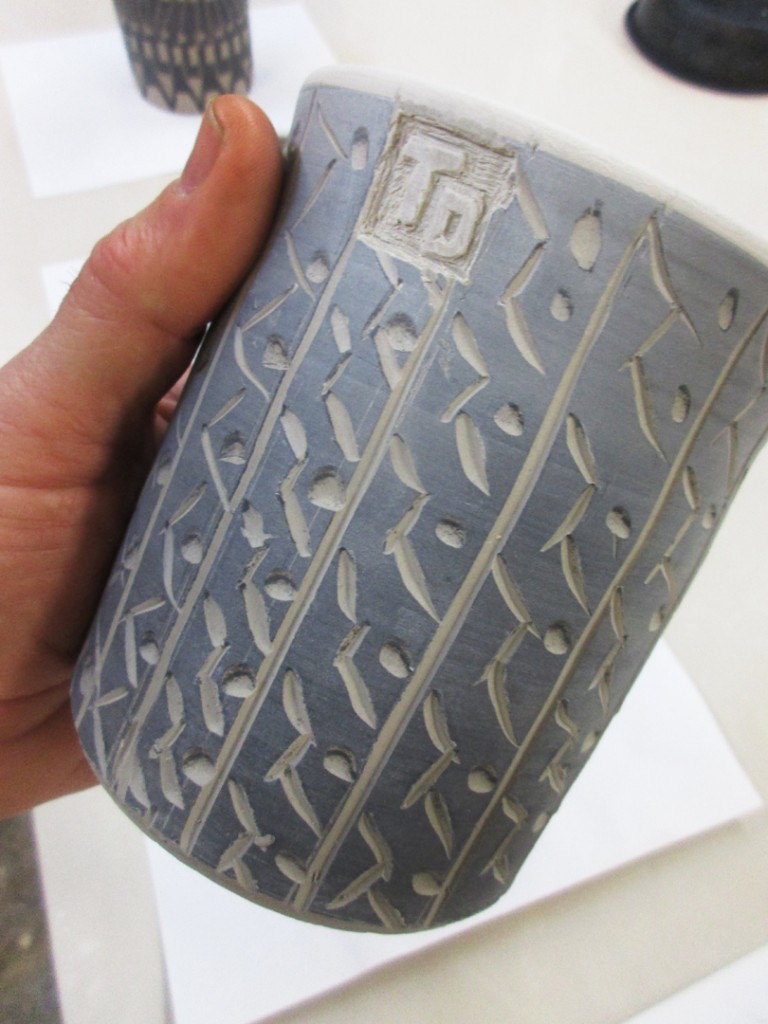
Carving some leaf patterns through white slip to reveal the darker clay color… and using these great new Zebra Carving Tools by DiamondCore Tools. They seem a LOT sharper and give a much cleaner line! Loving them!!! Plus, the foam grippy thing for comfy holding, and the fact that you can pivot and change the angle of the blade. Genius!

Save

Categories: bowls, classes

Tonight was the last class for Beginning & Advanced Beginning Wheeltrowing class.  We ended with a great potluck and a fun “White Elephant” trading-exchanging-stealing game. Everyone brought in a bowl they had made, and then went home with someone else’s. I was excited to come home with this beauty by Kit… a charming stoneware bowl that she carved using my new Zebra Wood Carving Tools from CI Industries.

Categories: bowls, classes, process

Just some quick photos from one of tonight’s bowl demos for my Simply Soda class.
I coated the bowl with wax before carving the leaf pattern… and let it dry for a few minutes.
Then I painted the exterior and filled-in the grooves with colored slip…

After it set-up for a few minutes, I wiped the excess off the wax layer.
Thus filling in only the carved grooves for a colorful slip inlay.

Save

Save

Save

Categories: classes, porcelain, tools

So I subbed this morning for Lisa’s advanced class. At their request, we worked on lidded oval casseroles as they had seen my Beginners working on theirs here on Facebook. After the oval demo, some of them were carving & adding surface decorations. I ran upstairs to grab my new Zebra Carving Tools from my studio. They loved them too! As you can see here by the little leaves Deborah was carving on the side of her porcelain jar.

And the sketch that started it all…

Save

Categories: classes, process, stamps, textures

I began my Tuesday evening by throwing a lot of cylinders in my studio. I had a plan…
I was on a mission… and my wheelthrowing class was going to be starting soon!

So I received a package of few carving tools in the mail awhile back… so exciting!!!
And I’m always telling my students to experiment, to try new things, to break out of their shells. To remember that it’s JUST CLAY!!! But I get it… my Beginners are working so hard to make each and every cylinder. It’s a lot of work. A lot of centering & focus. So much so that each piece is somehow considered “too precious” to experiment with. So tonight I plan to test them… to push them a bit… to show them that it’s NOT so precious. I figured if I provide them with already thrown cylinders, all of the “hard part” is done, right?

So I threw a bunch of cylinders and brought the down to class with me. I explained my “not-so-precious” texture & surface decoration challenge to them. I encouraged them each to do anything they wanted to the surface of their cylinder. To carve, slip, stamp, whatever!!! Just have fun… and see what happens with their new-found “freebie” not-so-precious cylinder!!! And here they go…

After class, I did a little “photo shoot” in my studio before they started to dry.

SO HERE”S YOUR CHALLENGE : Can you guess which ones are mine?!

Special thanks to Robert at C.I. Products for sending me a little “care package” of tools to try out. I’ve been kind of busy through the holidays… and finally found some time to try them out. And why not share my new tools with my students?! These Zebra Trimming Tools are pretty darn amazing. They took us a little while to get used to them. The blades are at a different angle than Kemper Tools…. and adjustable!!! The wood is so lightweight… and the foam grip pretty sweet too. But it’s really the extra-sharp blades that cut such a smooth clean line with nice line definition. I definitely look forward to using them more in my own work. Seeing what kinds of great textures & patterns I can come up with using these great new Zebra Tools!!! Thanks again Robert… your tools are GREAT!

Click here to see the wide assortment of tools from C.I. Products.
Or here to go straight to the Zebra Trimming Tools.
You’ll be glad you did… especially those of you who are carving crazy cool patterns, making cool textures and doing a lot of sgraffito or mishima.


Save

Save

Save

Save

Save

Categories: bowls, classes, textures

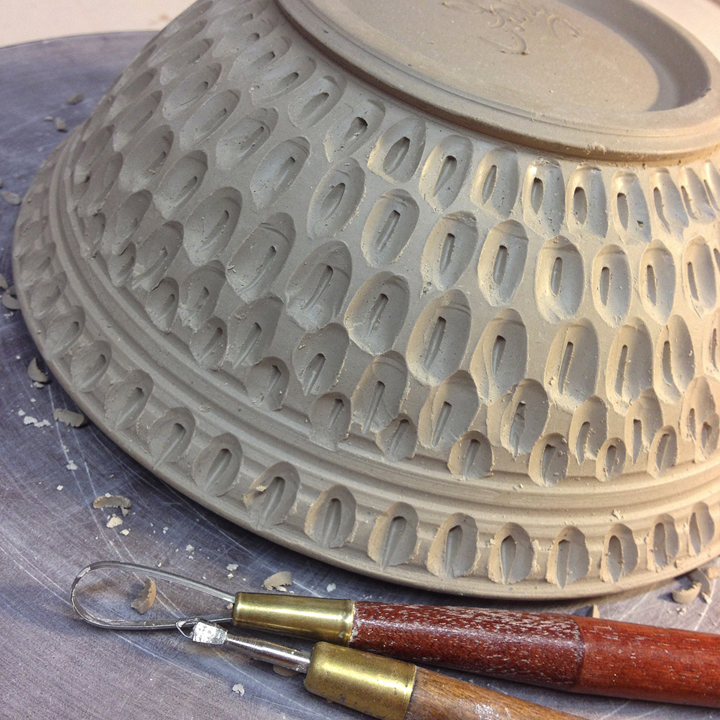
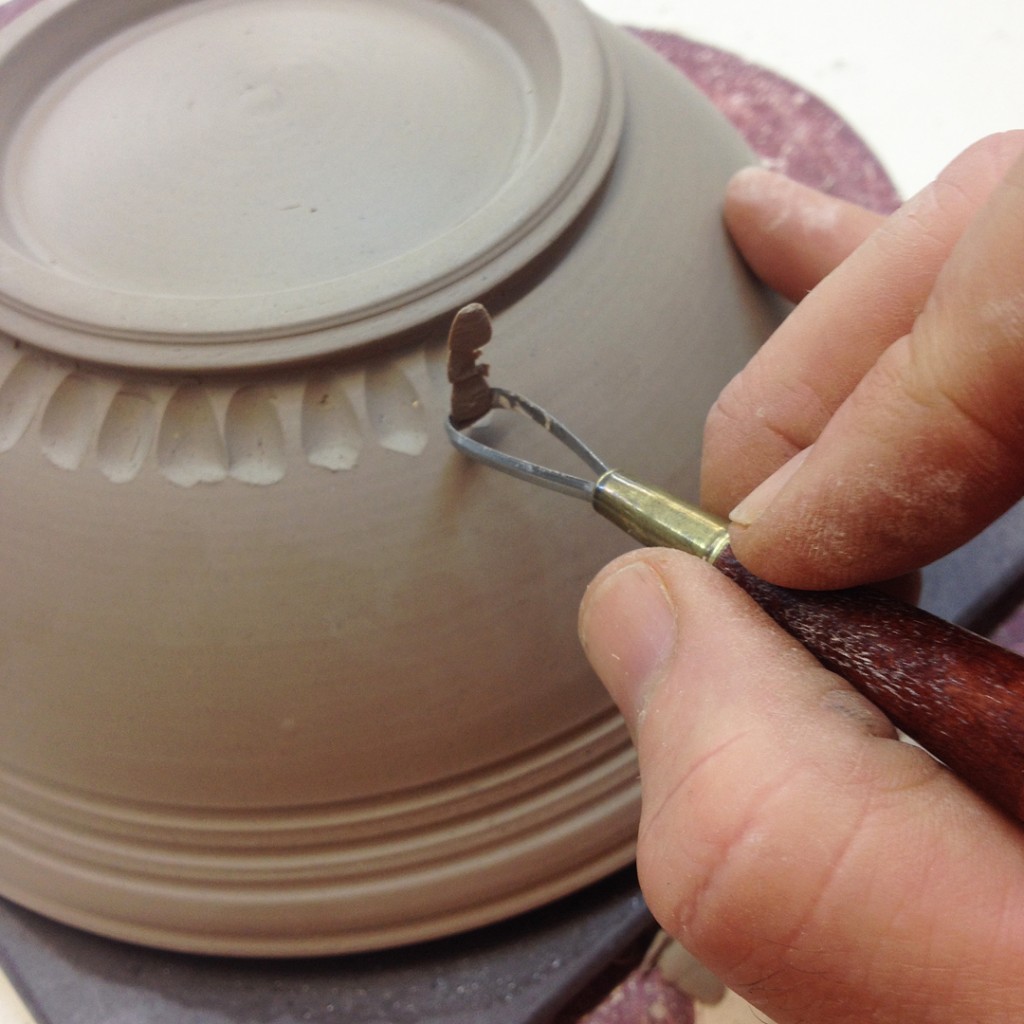
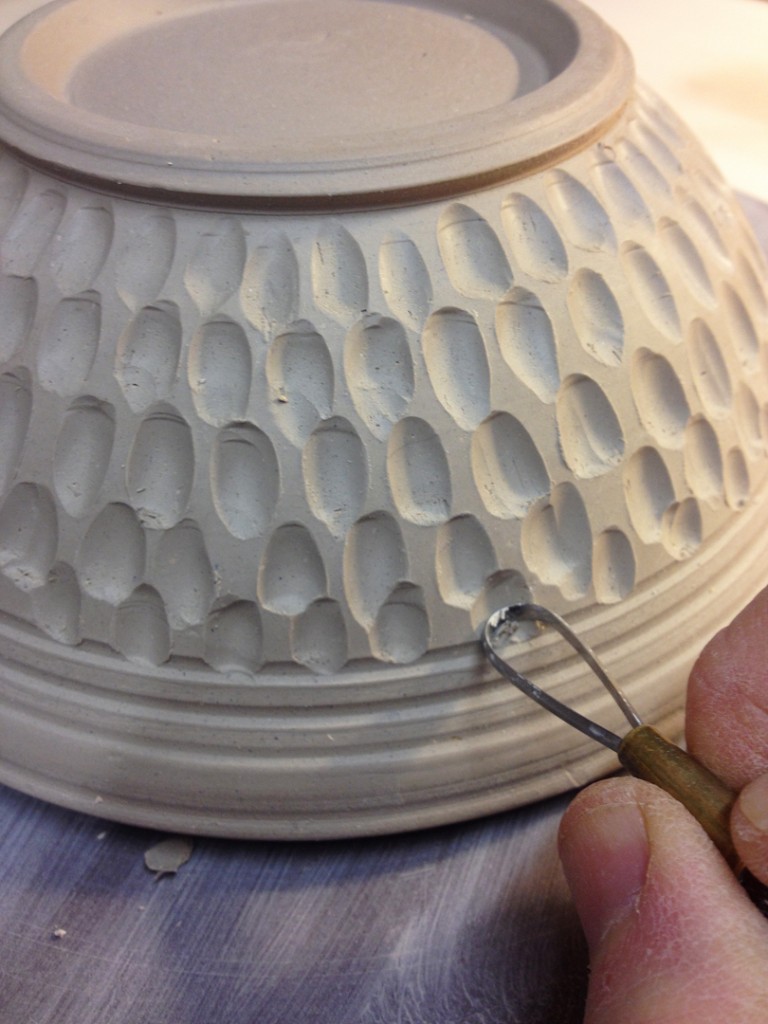
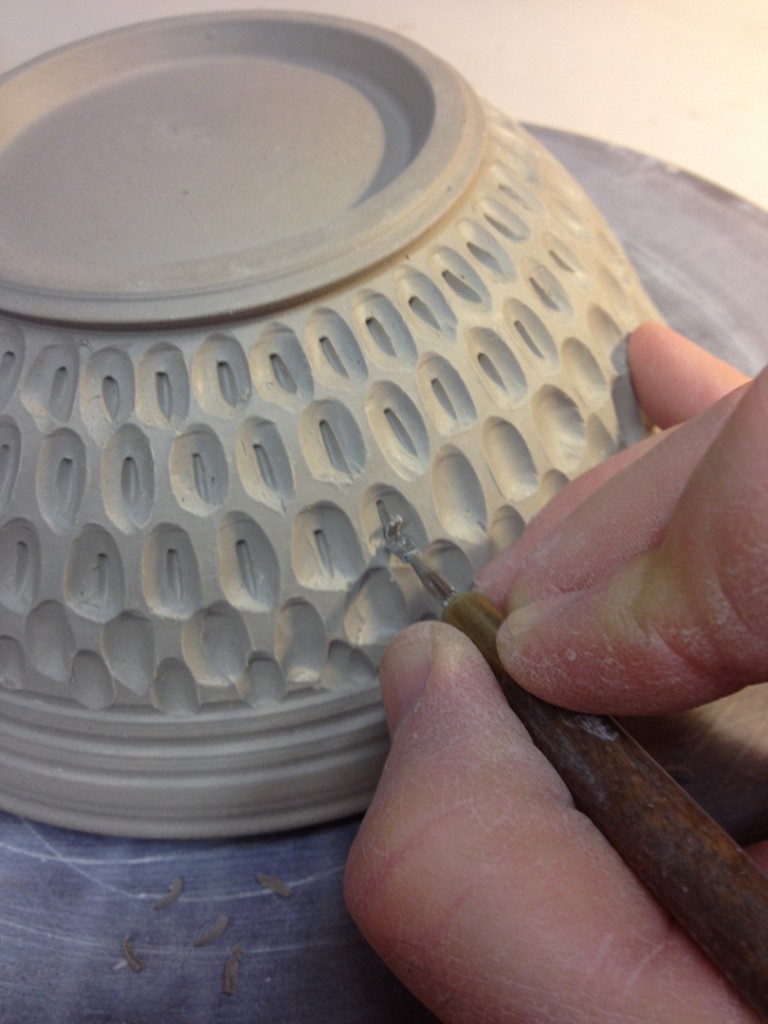
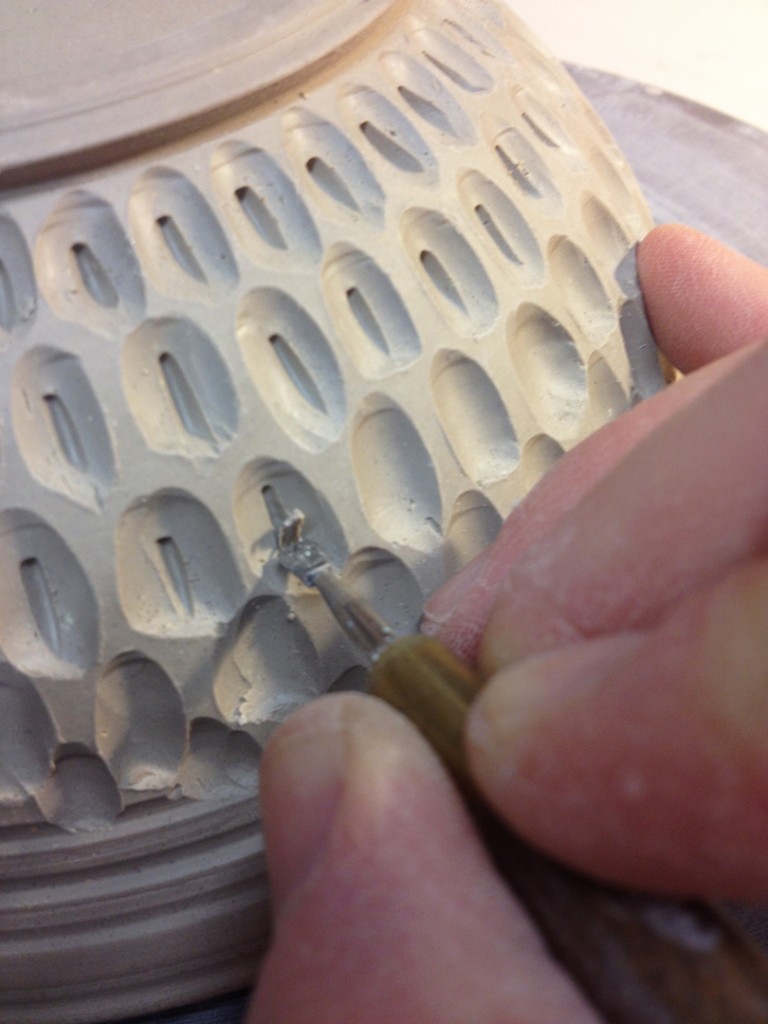
Finally finished up a bowl carving demo that I started for my class a week ago. I threw the bowl a little thicker than usual, and then set in to carving out a rhythmic pattern using the rounded end of my trimming ribbon tool.

And then a small groove in each cut-out with a small sgraffito loop tool.

Gotta love a good texture. Gotta love a good pattern.
Just a little carving trick I learned from Amy a few years back!!!


Categories: artists, creativity

Amazing craftsmanship does it once again! So amazing to watch these fine craftsmen create these amazing printing blocks. From simple plank of wood carved with intricate repetitive patterns. All by hand. No machines. Just some simple tools and a plank of wood. Makes my hand-carved ceramic stamps look like child’s play!!

According to Alchemiya.com….
“Turning a plank of wood into an intricately carved printing block. A highly skilled practice filmed by the V&A Museum as part of their Fabric of India Exhibition.”

Click here for the amazing video to go from plank to printing block.