Gary Jackson: Fire When Ready Pottery
A Chicago potter’s somewhat slanted view of clay & play
Categories: artists, process, stamps

I’ve seen this technique before done by a few artists I reallly like.
It’s a much better way to get clean linework & details in your stamps. Because you
actually draw the design you want to see first, and then carve it out so the stamp
is the same as your drawing. A much better way if you want illustrative, figurative,
lettering or intricate lines. I’ve only “played” with it before, this time, I’m going to
focus & make more… and we’ll see where this new direction may take me?!

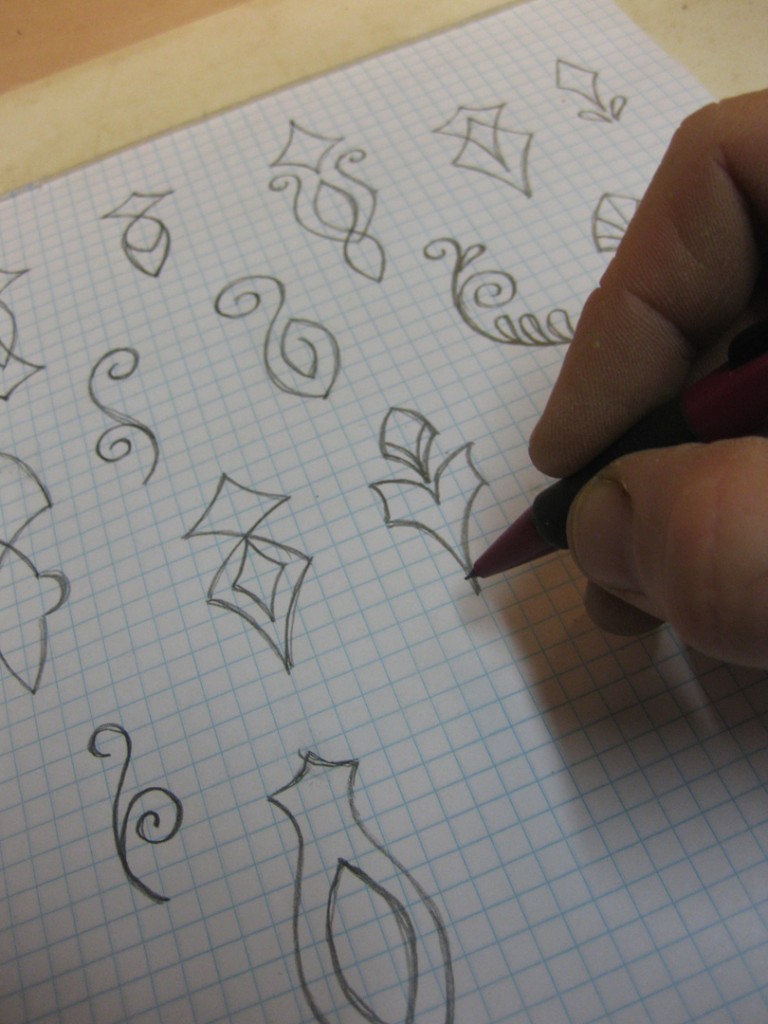
First off, I started drawing some different patterns on grid paper. I love using grid paper
for all of my doodling. I find it so much easier for me to get good proportions and more
balanced designs. Trying to remember that they’re just doodles. Draw lots of them!!!

Once you find a few designs that you think would make good stamps, the design needs
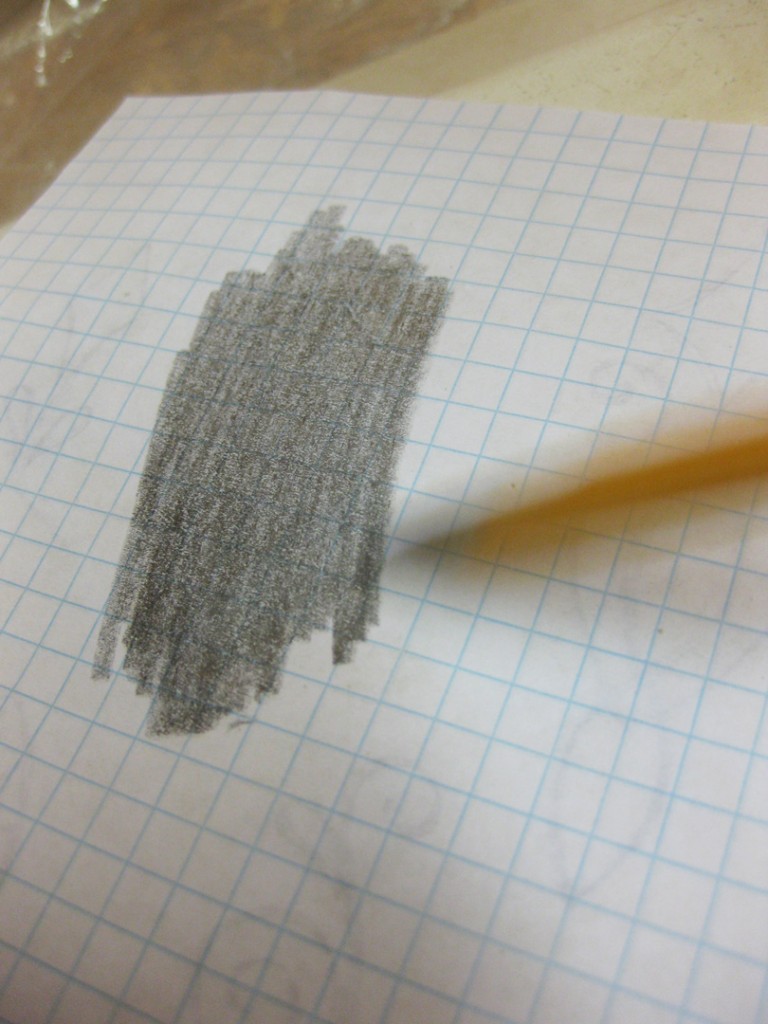
to be transferred to a sheet of plaster. So I started by flipping over the paper and rubbing
my pencil all over the back side of the design. Basically leaving carbon all over the “back”
of the design. Then you flip over the paper, place it on the plaster slab and trace over the
design. If you press hard enough, the carbon transfers to the plaster. Then you can trace
over it easily to get an “exact” replica of your doodle.

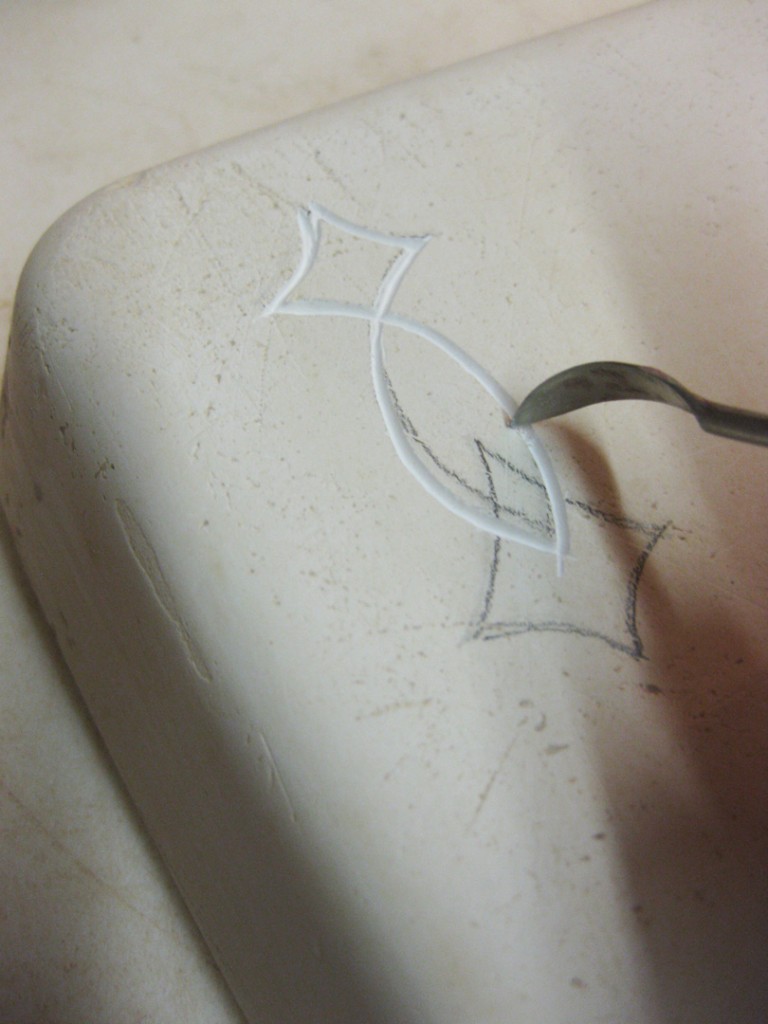
Once your design has been transferred onto the plaster, you can start carving away the
plaster “under” your design. Basically tracing over your design with a sharp tool. Use
whatever tool seems to work the best for you. A needle tool was a little too thin & pointy
for my liking. This tool has a pointed Xacto blade on one end and this curved tip on the
other. It seemed to work the best for me. But of course, different tools with different
points & different widths will give you different results. I must admit, it’s not as easy
as Kristin makes it look in her video. The plaster is very scratchy, and somewhat tough
to keep a clean, straight line. But… the cleaner your lines, the cleaner your stamps!

You do need to be very careful to keep your work area clean of the plaster dust.
I covered my work area with a sheet of plastic to catch the dust. I can then empty it easily
into my garbage can. Plaster dust & chips can ruin your clay if it gets mixed in. So by all
means DO NOT let the dust carvings get mixed in with your clay, fall in your splash pan,
or get into your reclaim buckets. And as always, be sure you are not breathing in any of
the plaster dust as you are carving your designs.

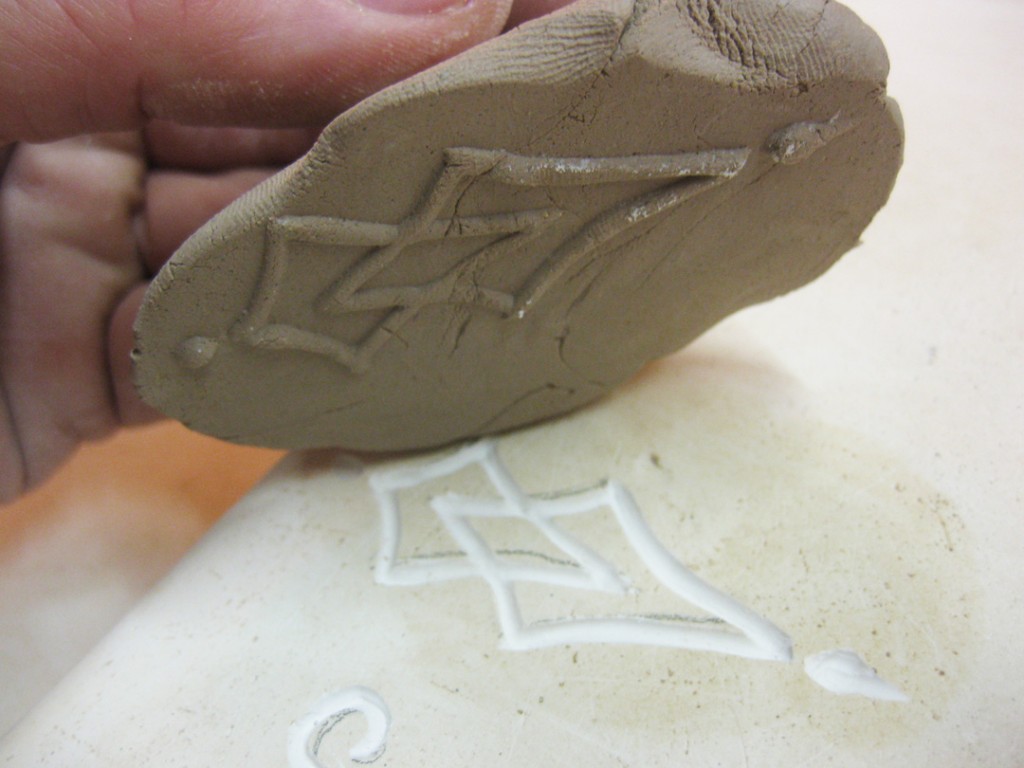
Once you design has been carved out, take a piece of clay and carefully press it into the
carved relief pattern. Be sure to press hard enough to get clay into all parts of the pattern.
One good thing about this technique is you can press a stamp at any time in your carving.
Carve part, press a stamp. Carve some more, press another stamp. Keep testing it until
you love the results! And then press a couple stamps... and save the mold for later!!!

When you get to the the “final” stamp, press in your clay and keep a little extra clay
in the center to act as the knob. Press all around the design and what clay “pops up”
through your fingers becomes the knob.

After you press in the clay, give it a couple seconds and then remove the clay very carefully.
The resulting stamp will be on the bottom of the clay.

But when you’re going to be using them as stamps, remember that what you’re pressing
into your clay will leave a lasting impression. So it’s not just the raised design, but it’s also
the perimeter of the pressed clay. So to clean them up a bit, and get the perimeter to go
along with the design, I took my Xacto blade and trimmed away the excess edges.

And when you’ve made a couple, do it again and make some more!!!
You can use the same slab of plaster over & over again. Put your carvings all over the place.
Doodle. Draw. Carve. Test. Carve. Refine. Press. Trim. Finish. Repeat. Repeat again.

After making a couple of these “raised line” stamps, I was wondering if I could add a bit more
of my own technique? So I added a few impressions ala my own stamp making style into the design.
My thought is that it might add a nice contrast to the clean line work of the raised stamp pattern.
Nice lines AND a little geometric “pop-out” in between!

After I had made a few, it was time to let them sit out to dry. Once they’re dry they can go
into a bisque kiln. Remember, you want to keep your stamps porous so they release cleanly
from the leatherhard clay.

We’ll see how they work after they’re bisqued. I’m excited to be trying something new…
and yet a bit apprehensive to see how I can work them into my own style.

Categories: artists, friends, holiday, ornaments, production, seasons, studio

During this past holiday season, my metalsmith friend Sarah Chapman and I were already
planning the “next” holiday season. You know how we’re never satisfied… that’s us, always
moving forward… always working on the next project. So there we were working in Sarah’s
booth at the “One Of A Kind Show.” We both decided that she needs to try making Christmas
ornaments. And you know I’m always up for a challenge… always willing to “gently push”
my friends to play along with me. Thus the “2013 Ornament Challenge” was born.

So here’s the deal…
We’ve both committed to making a new & different holiday ornament every month in 2013.
I will post all of our ornaments here on my blog and we’ll both link to it on Facebook so
everyone can keep up with us. As we get closer to Christmas, there’s a really good chance
we may be asking for your input as to which of the monthly designs were your favorites
to help us decide which ones to make more of to sell for the holidays. Some ornaments may
be one-of-a-kind… some may be production… some may be a disappointment…
some may even be a Gary & Sarah collaboration of clay & metal.
Who knows where the ornament challenge may take us?… dare to dream, huh?!

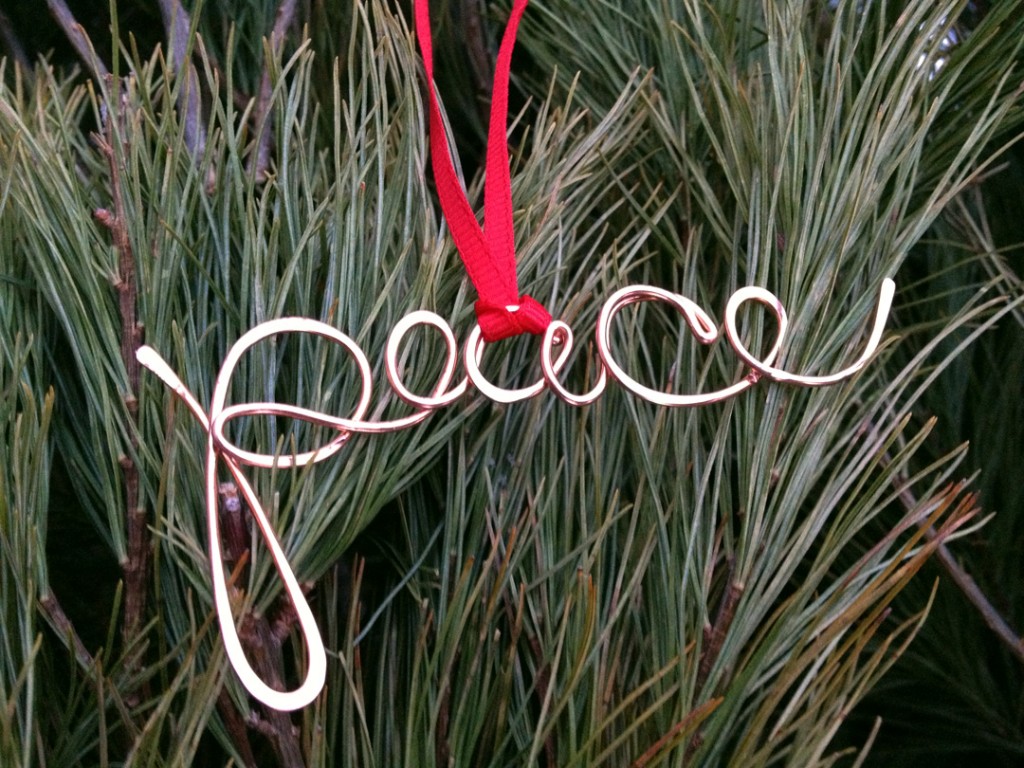
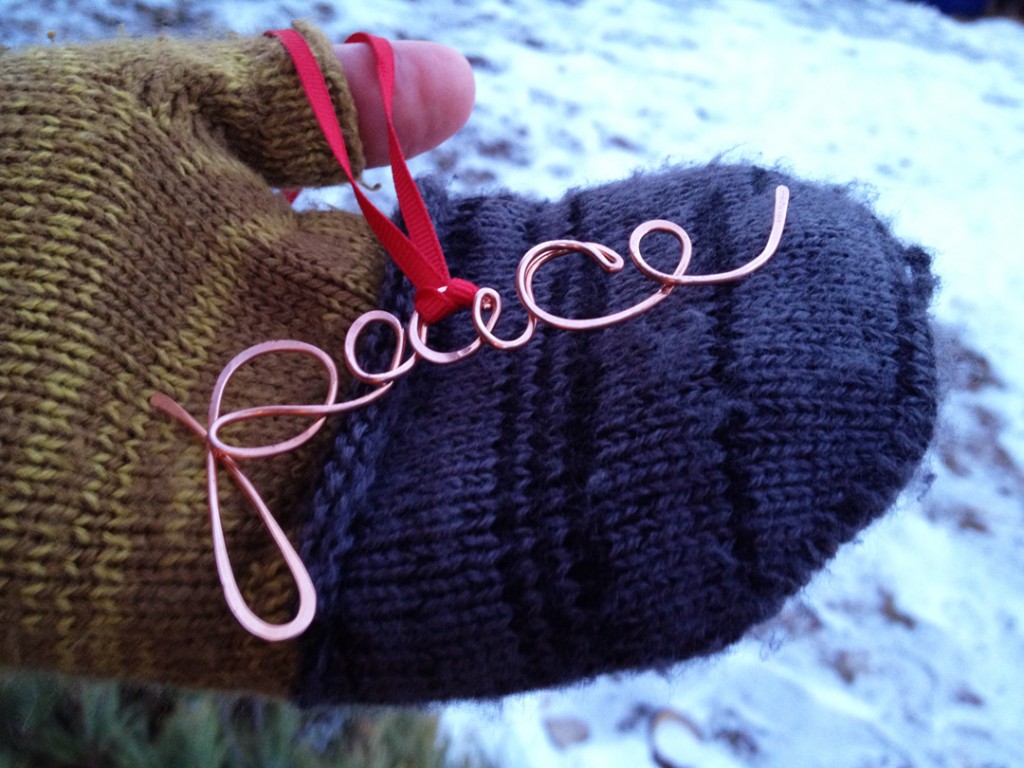
Here’s Sarah’s entry for January. With a wonderful message to kick-off the New Year.
And according to Sarah… “It’s what everyone could use more of !”

And here’s my entry for January. Mine’s not quite a “done” as Sarah’s is. That’s me… slacker.
But working in clay is a little different than metal. It’s really tough to fire just one piece.
Or even five pieces. The problem is, you need to fill an entire kiln before you can fire them.
So I hate to say that the majority of mine will be somewhere in the leatherhard or greenware
state. I’ll try to re-post them again whenever they’re glazed and finished. So my ornament
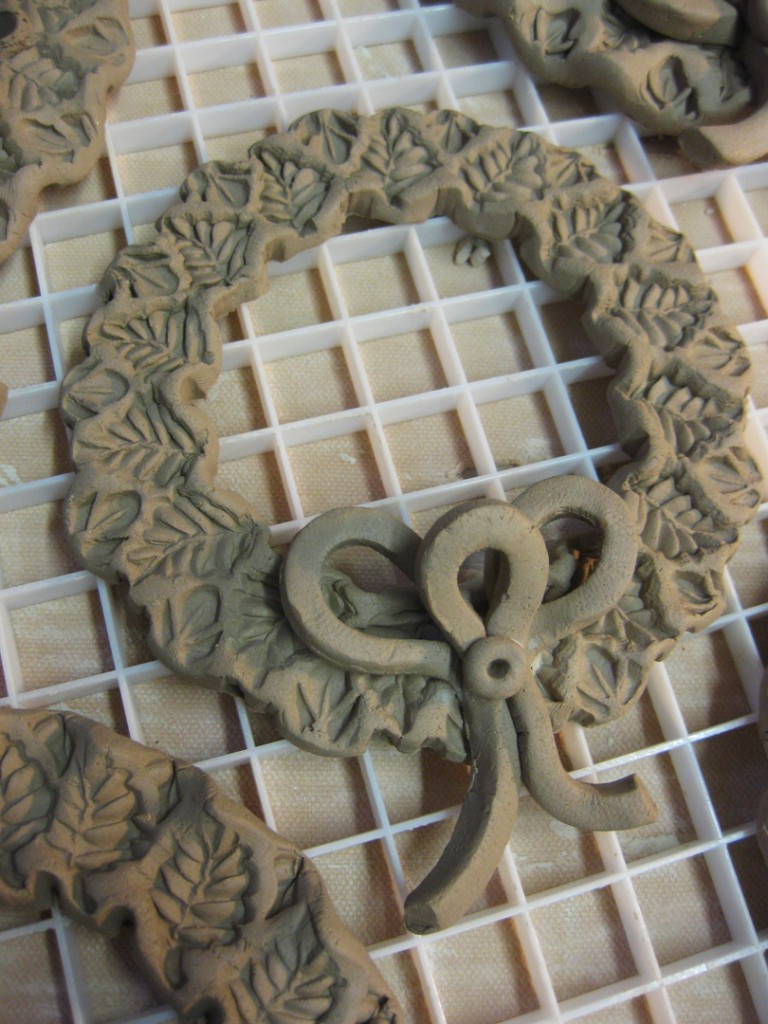
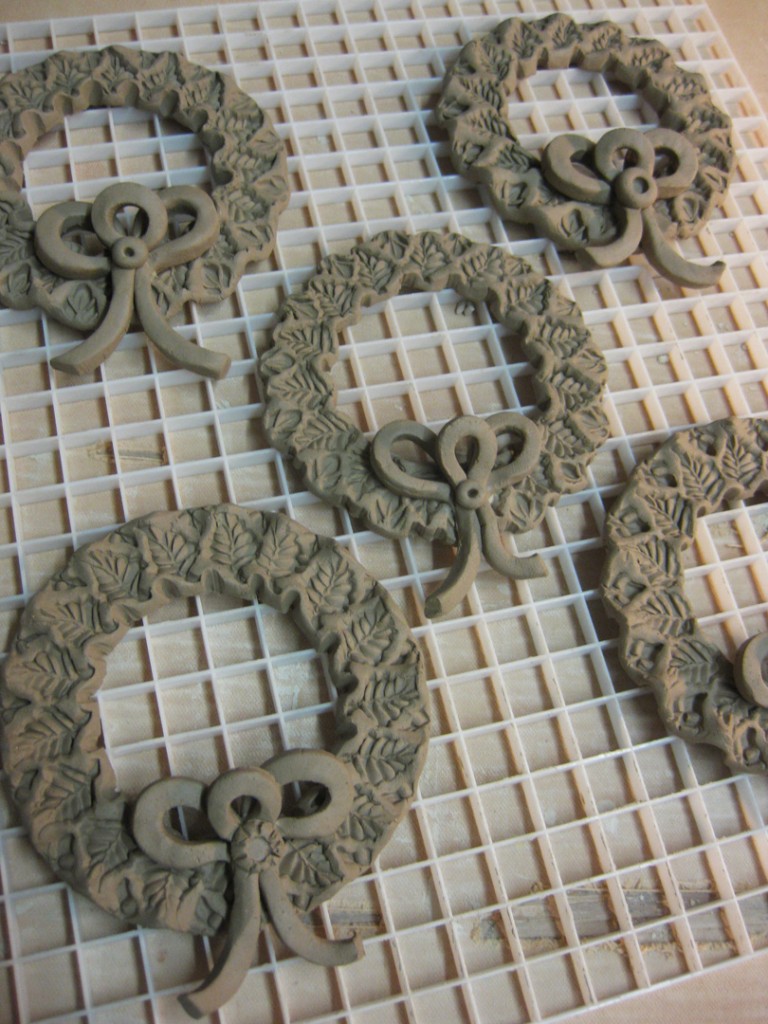
this month is a wreath… trying to stay in my own style, use my own stamps, but still making
something new! I made five wreath ornaments so that I have a couple to play with when I get
to glazing & finishing. Hoping at least one of them turns out great…

Well, there it is… the kick-off of our “2013 Ornament Challenge.”
Our plan is to keep this up every month. To push each of us out of our comfort zone…
and force each of us to work on something new & different throughout the year.
And a great chance for Sarah & I to play with each other even though she’s
up & moved to Minneapolis. With this, we get to play long-distance every month!!!

For more about my metalsmith friend Sarah Chapman…
WEBSITE: Click here to see more incredible work by Sarah Chapman.

FACEBOOK: You can also follow Sarah on Facebook by clicking here!

Click here to follow me and Fire When Ready Pottery on Facebook.
Just be sure to click the “LIKE” button… and to “SHARE” with your friends!

Categories: art fair, artists, pottery

Great fun in my mailbox this weekend…
The posters for the St. Croix Valley Pottery Tour are out!!!

Mark your calendars for May 10th, 11th & 12th to make a trip up north
for an incredible weekend of pottery! This year there will be 50 well-known potters
from around the country showing at the seven local studios.

Sure, most of the standard favorites will be there… Bob Briscoe, Matt Metz, Suze Lindsay,
Steven Hill, Sylvie Granatelli, Ellen Shankin, and Delores Fortuna!!! But there are also a
few new faces on the Tour that I’m excited about too! Great artists. Great fun. Great pots!!!

Categories: artists, creativity, holiday, inspiration

I found this online and had to share…
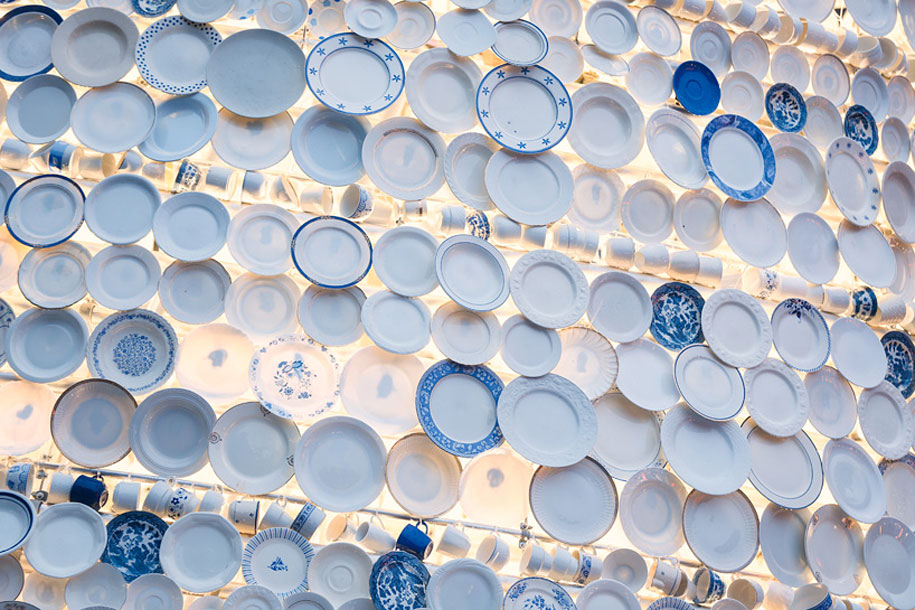
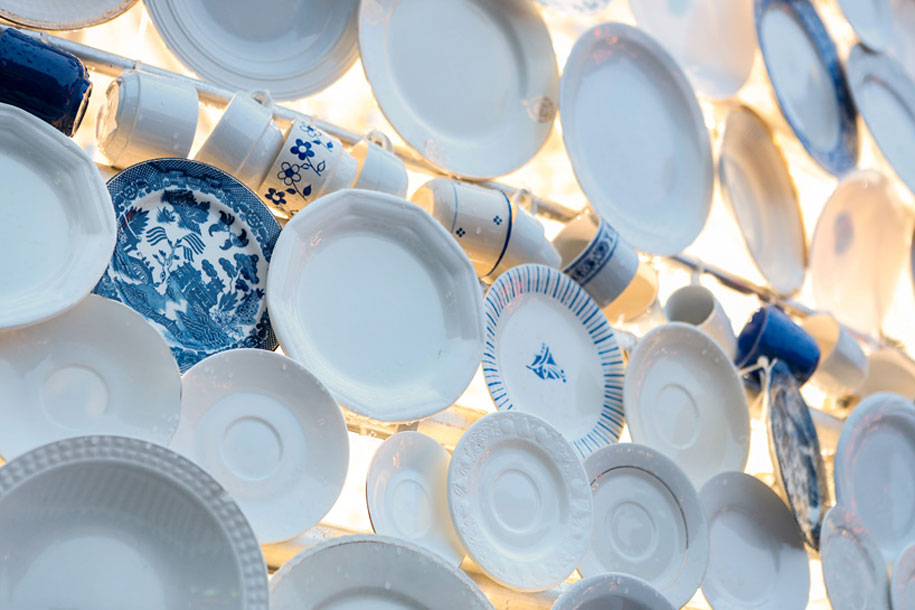
Looks like entire cities are getting more and more excited about DIY Christmas trees.
Last year Kaunas in Lithuania had one made from 32.000 recycled bottles and this year
a Belgian town called Hasselt put up a 30-foot high Christmas tree, made from 5,000
porcelain plates. The plates were brought by around 3,000 residents of the town,
which symbolically titles itself as the Capital of Taste.

The idea was presented and implemented by Inge Vanluyd and Stefan Vanbergen from
Belgian company mooz. “At home we all have odd plates and cups which just don’t go
with anything and as a consequence never find their way out of the cupboard. W
e
noticed that friends and family also had ‘spare’ plates hanging around the house. This
was enough to get us thinking about a creative
destination for these everyday objects,”
explain the creators.
Kinda want to make one of my own now…

Categories: artists, My Talented Friends, textures

I stopped by Lillstreet Art Center this evening to drop-off a few things, pick-up a few things,
chat with a few friends, water my studio plants… and see what I’ve been missing as I’ve been
too busy to get much done in the studio lately. Too busy with holiday projects & preparations.
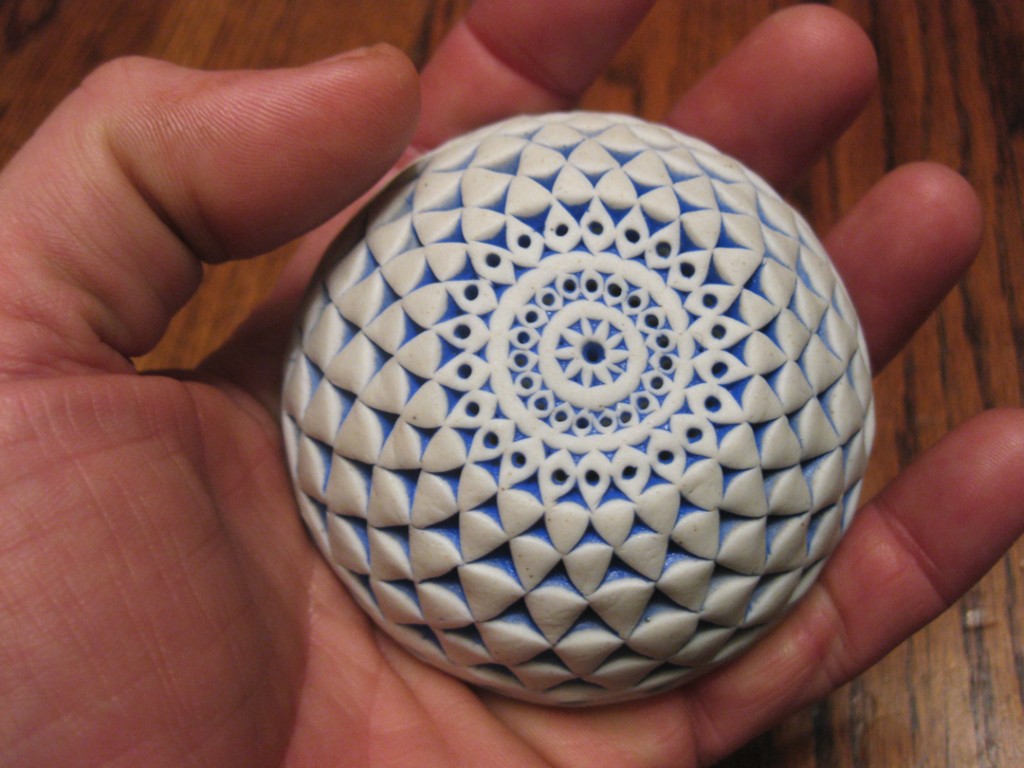
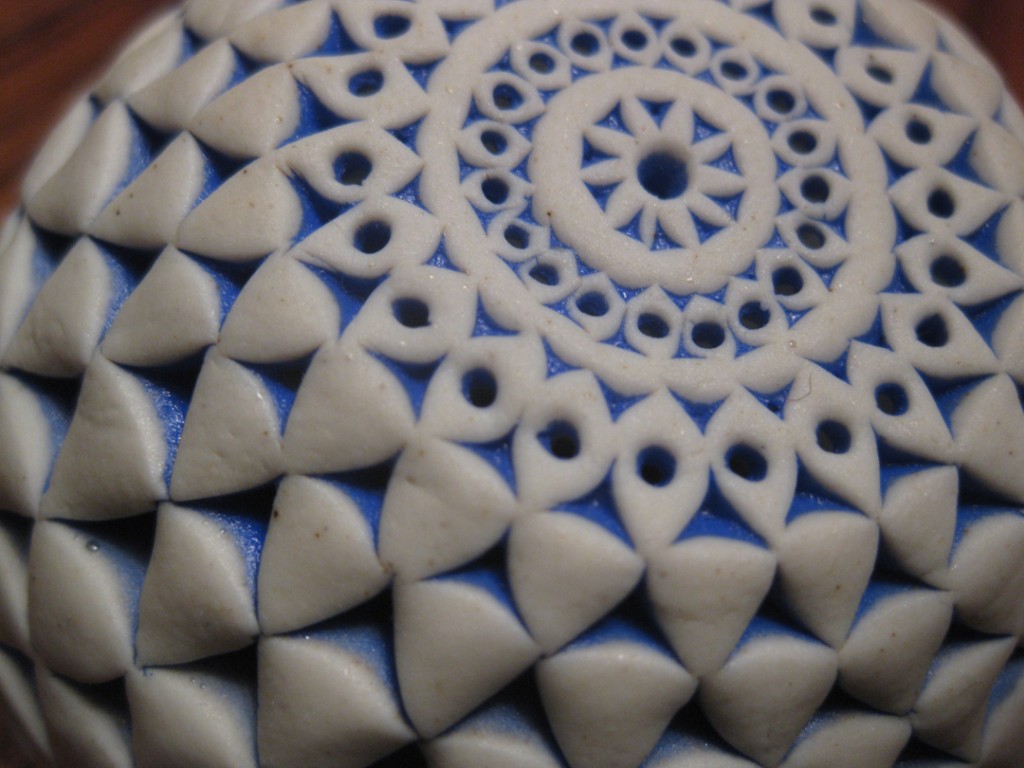
But never too busy to get a wonderful porcelain present from Terry Hogan.

Another wonderfully precise, pierced & patterned porcelain beauty to add to my collection!

Merry Christmas to me… and thank you again Terry!!!

Categories: art fair, artists, lillstreet, studio

If you’re still looking to check some people off your holiday shopping list,
I’ll be in my studio this Sunday 12/16 from noon-5:00ish
for any last minute shoppers! Be sure to stop by to pick-up some pottery for that
special someone on your list. And a little somethin’ somethin’ for yourself!

Feel free to stop by my studio on the second floor of Lillstreet Art Center.
When you come in the front door, make a quick turn and go up the stairs to Studio 205W.
4401 North Ravenswood, Studio 205 West, Chicago, Illinois 60640.

And then, just a couple blocks north of Lillstreet, you can find even more holiday gift ideas
with “The Chicago Art Girls” and their Holiday Pop-Up Show. Stop by and see jewelry by
Amy Taylor, chain maille by Melissa Banks, fine prints by Judy Zeddes, colorful ceramics
by Nancy Gardner, groovy “recycled” pieces by Melissa Kolbusz… and many more FEMALE
artists!… although I’m still a little annoyed, perplexed & amused by the overtly sexist omission
of any ART GUYS?!!! Maybe next time?…

The Chicago Art Girls Holiday Pop Up Shop – December 15th & 16th, 11:00am-5:00pm.
Helium Gallery – 4710 North Ravenswood, Chicago, Illinois 60640

Categories: art fair, artists, holiday

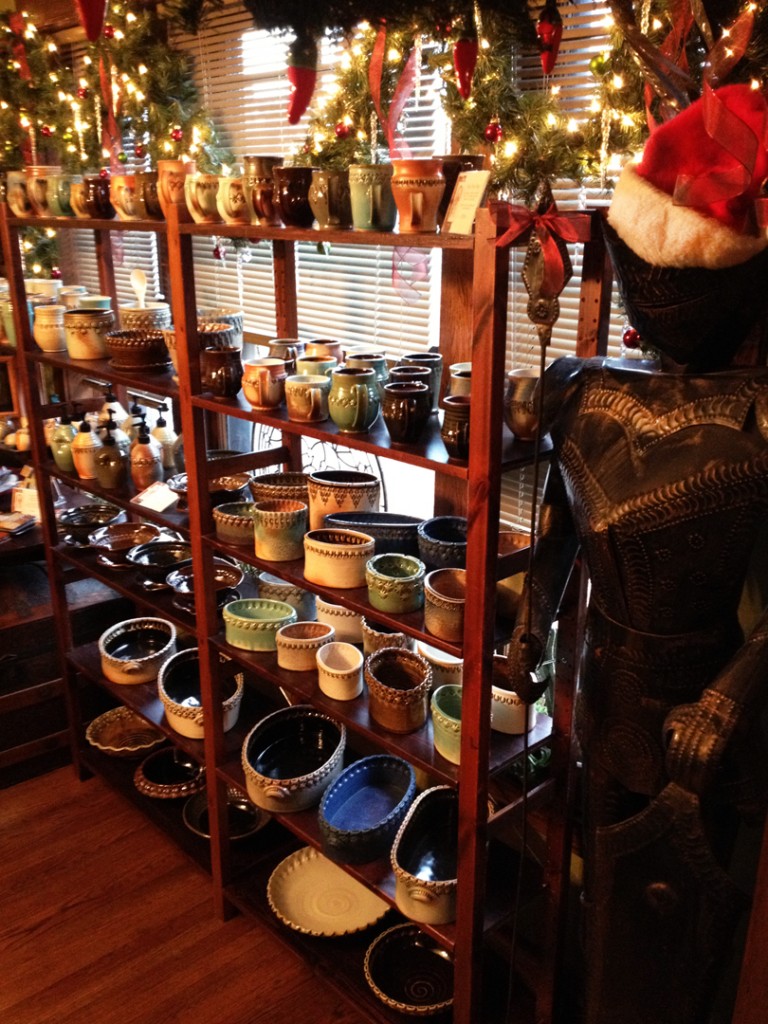
Shelves are stocked and the doors are open!
C’mon over to do a little holiday shopping, a little chatting and to share some holiday cheer…
and treats! And yes, that is indeed the “Knight Before Christmas” standing guard in the
corner of my dining room!

Categories: art fair, artists, holiday

Just one day away… “Mud & Metal” is tomorrow from 10:00am-6:00pm.
Be sure to stop by ready to cross some names off your holiday shopping list.
I’ve replenished the shelves… including the “Tired Of Shlepping” shelves.
And Amy Taylor will be bringing her beautiful work early in the morning.
Share some handmade holiday gifts this season!

Categories: artists, holiday

Whether it’s one of the hundreds of artists down at the “One Of A Kind Show”
this weekend, or me & Amy this Saturday at my place, we’re all hoping that you
take some time to support your local artists this holiday season.
Bring some handmade magic to your holiday gift giving!

Categories: art fair, artists, friends, My Talented Friends

Here’s a little more of a “sneak peek” at Amy Taylor’s wonderful work.
Keep in mind that practically everything has a hinge in it to give an extra swivel.
Even better – she’s coming to my home this Saturday with all of her lovelies this
Saturday, December 8th for “Mud & Metal : A Collaborative Holiday Show.”

So plan on stopping by my place this Saturday from 10:00am-6:00pm to stock up,
do a little Christmas shopping, hang out, and tackle that holiday gift list! We’ve got
a lot of wonderful gift ideas in every room of my home. C’mon by this Saturday!