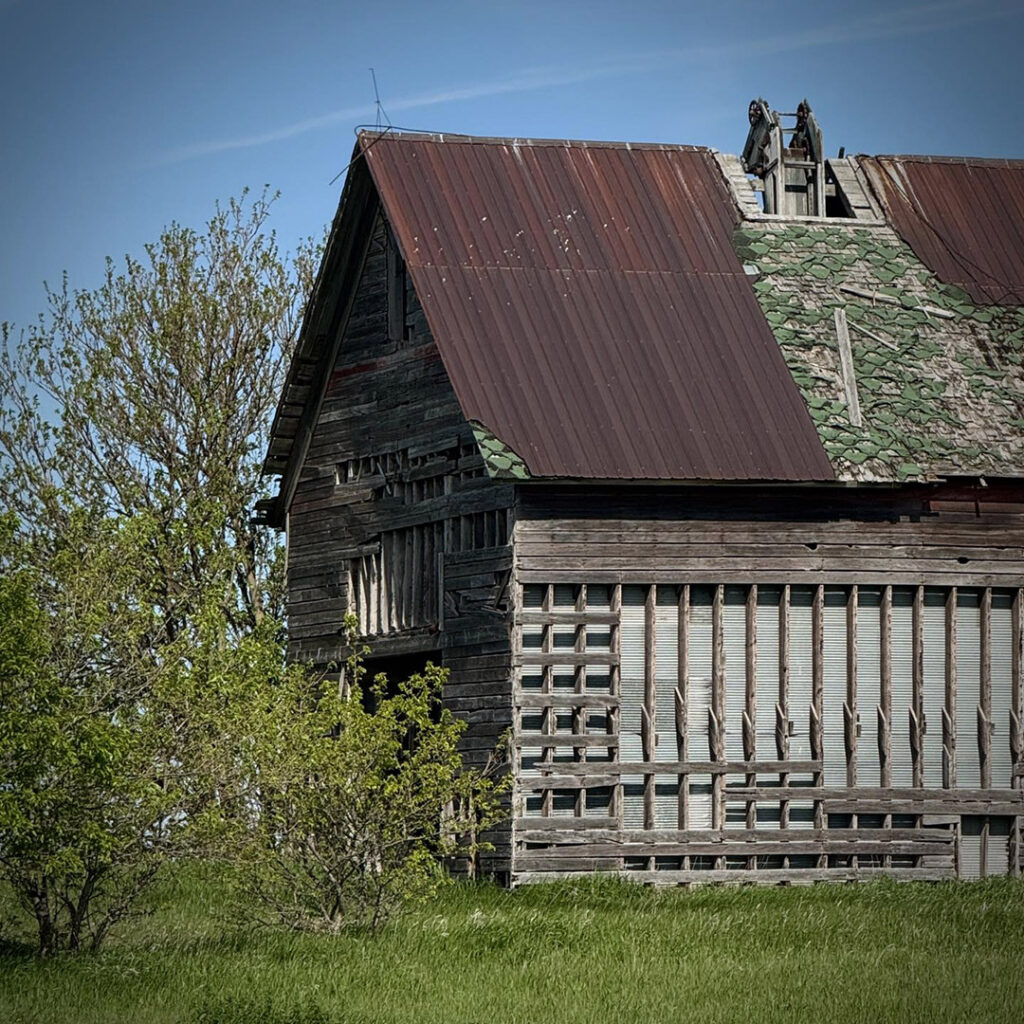
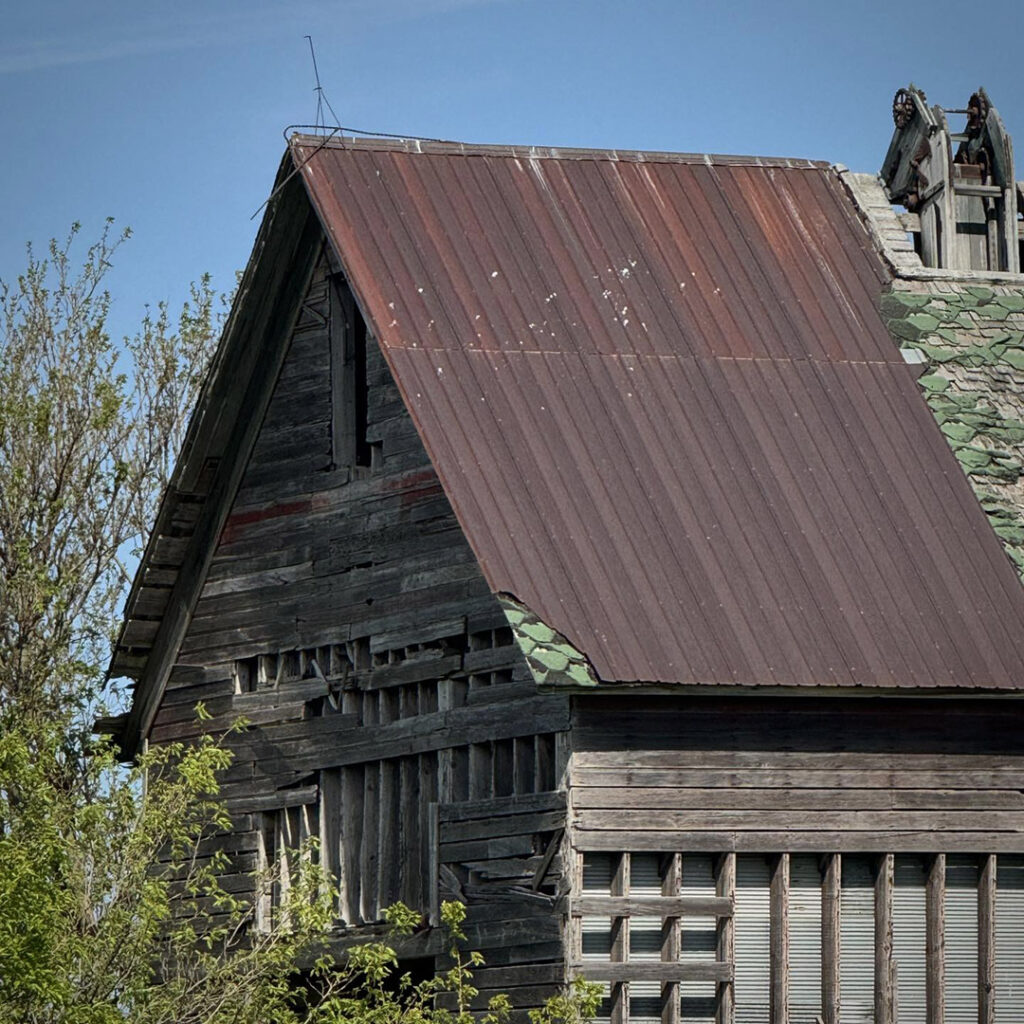
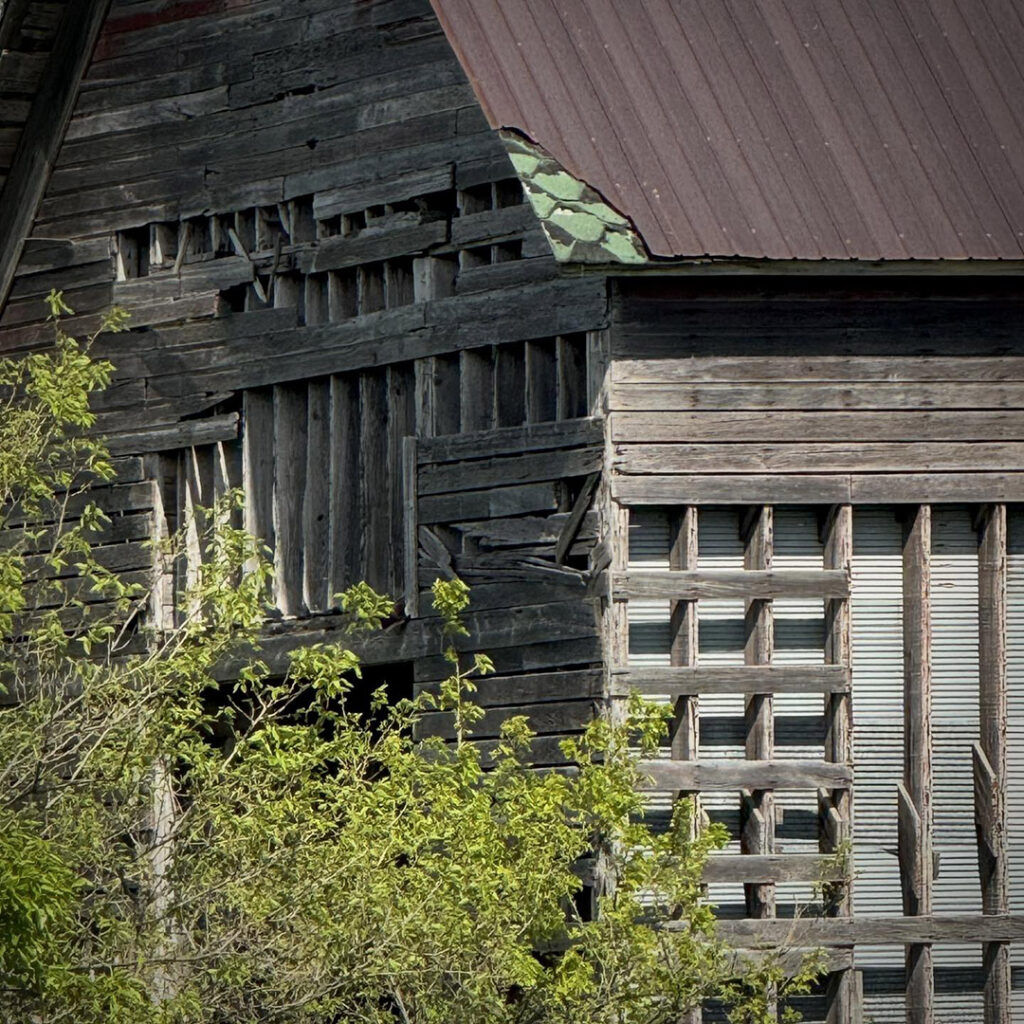
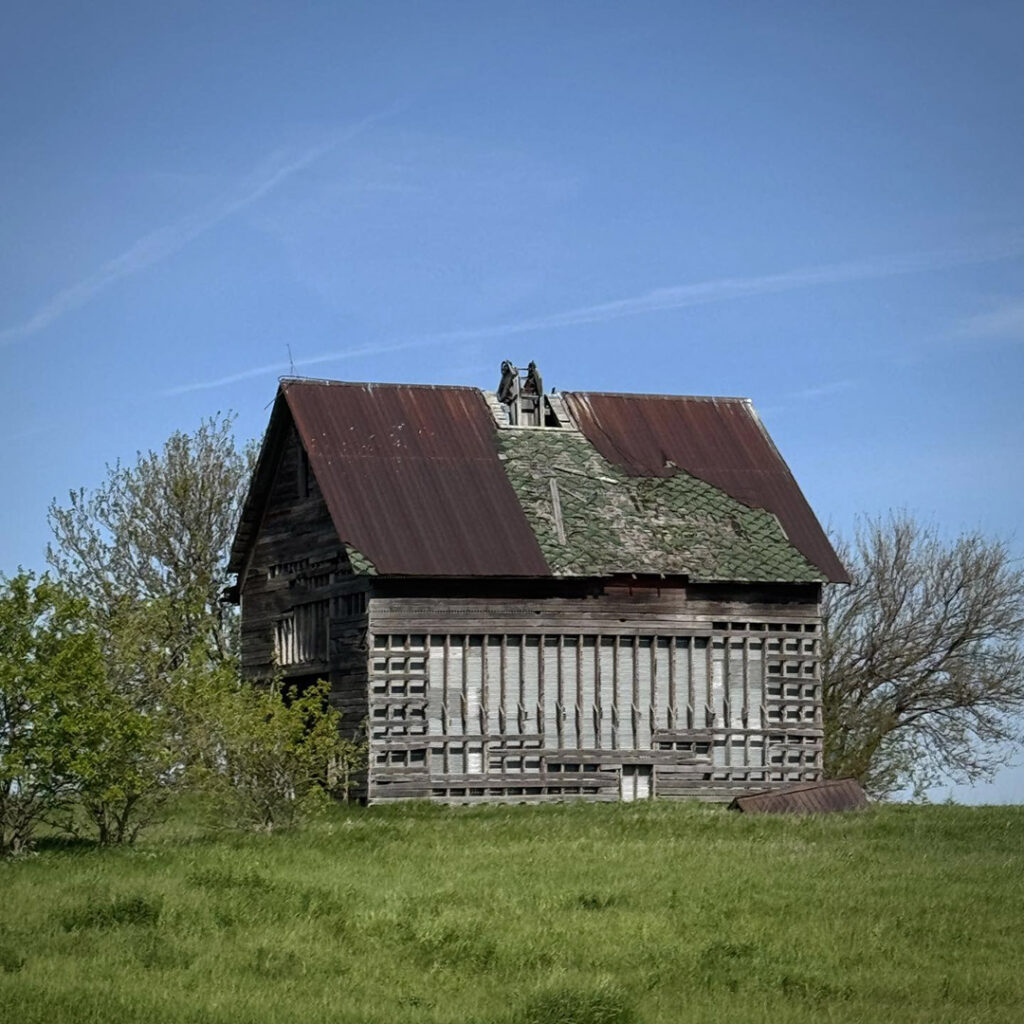
Another great roadtrip to Central Illinois… driving past my favorite weathered barn. Love this barn… and how it has changed over the decades. A little more dilapidated every time you drive by!!!
Rusty metal, weathered barn boards & blue skies… what’s not to like???
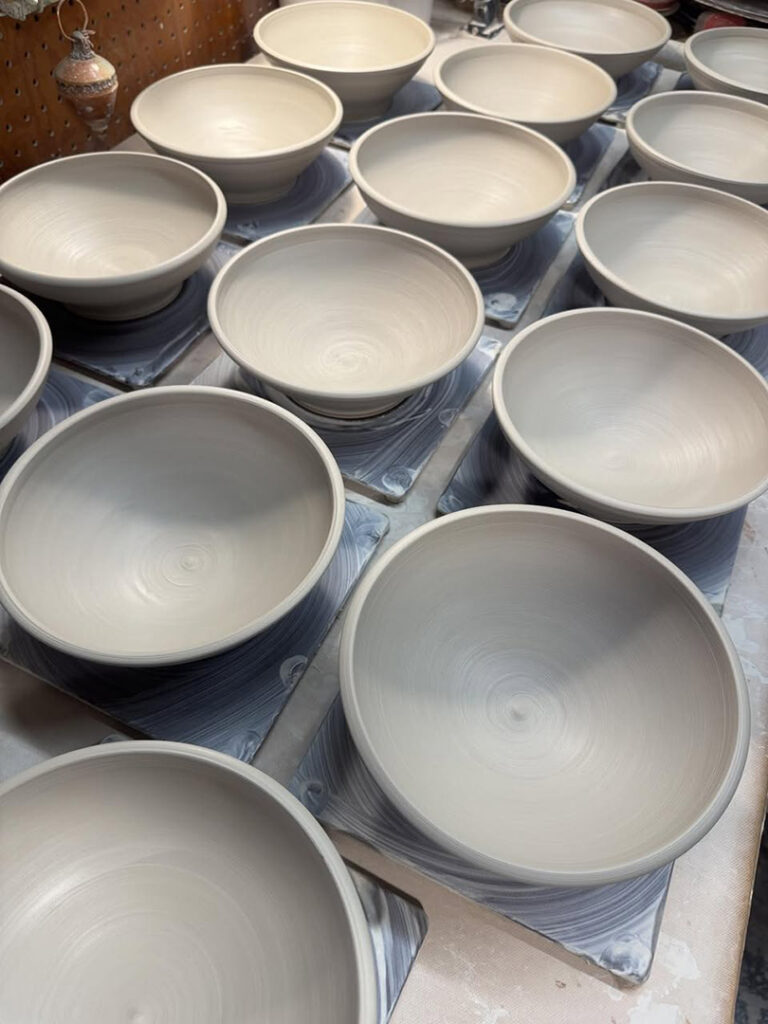
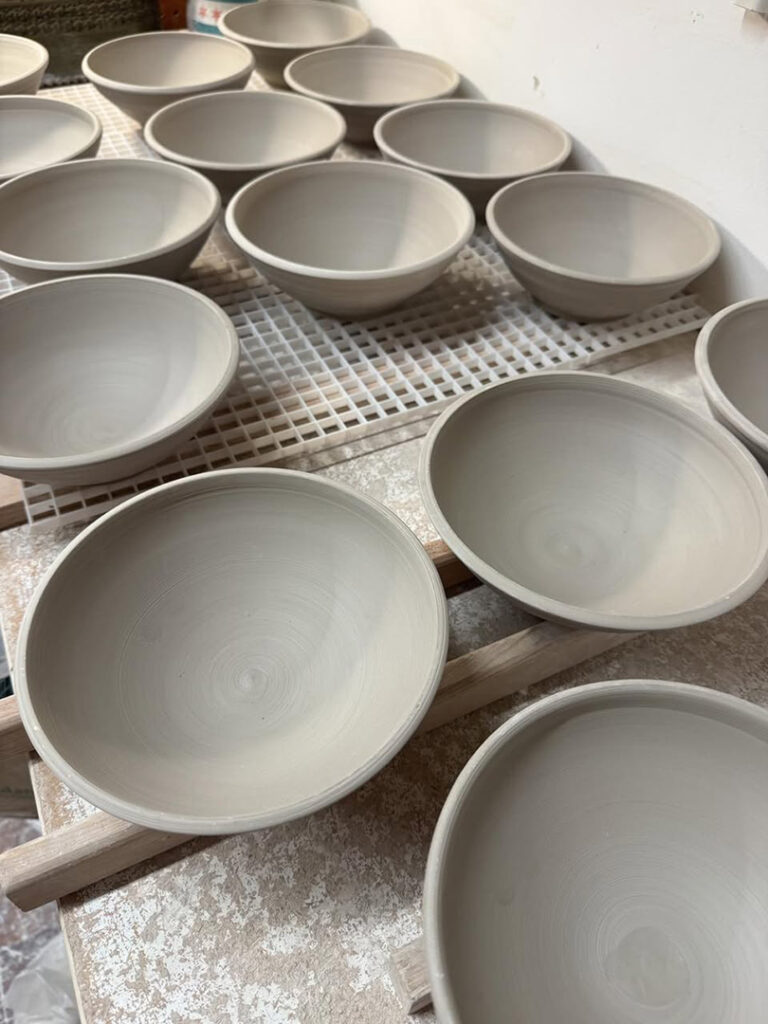
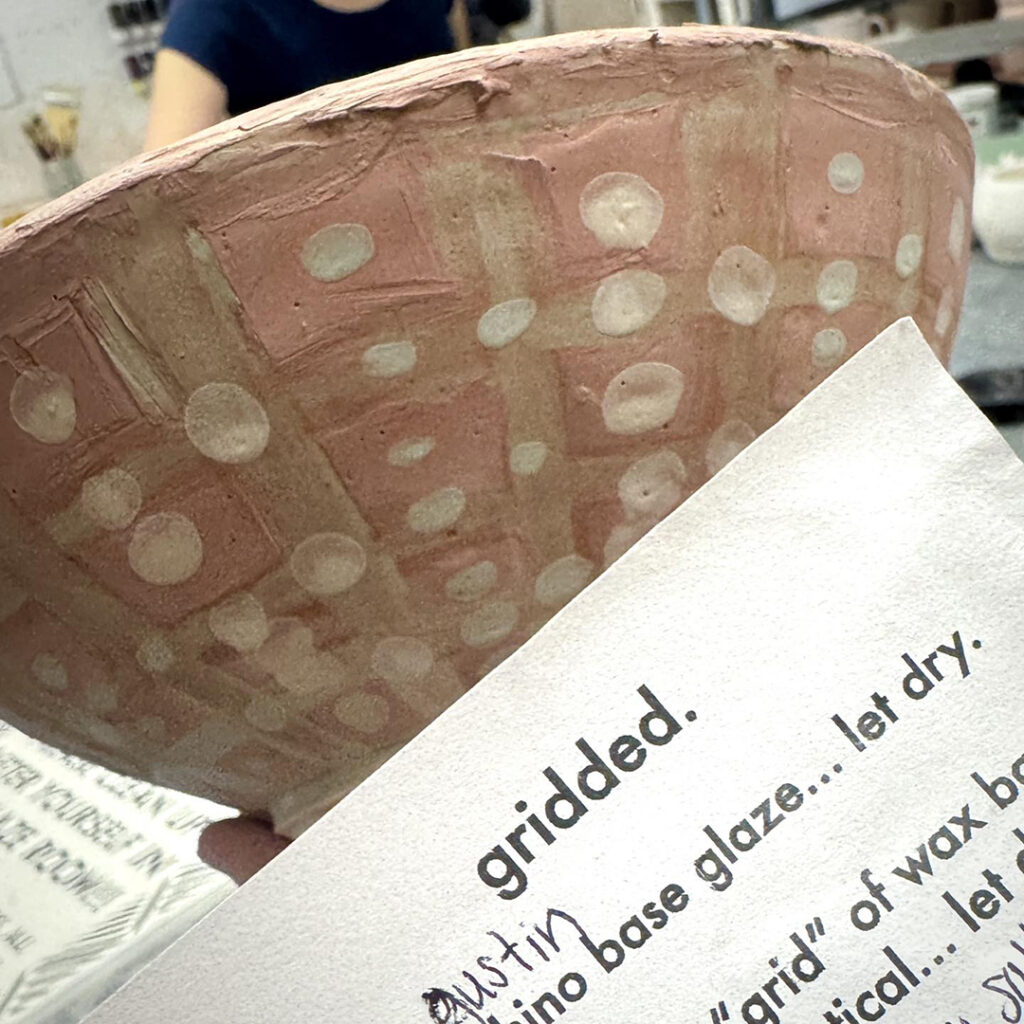
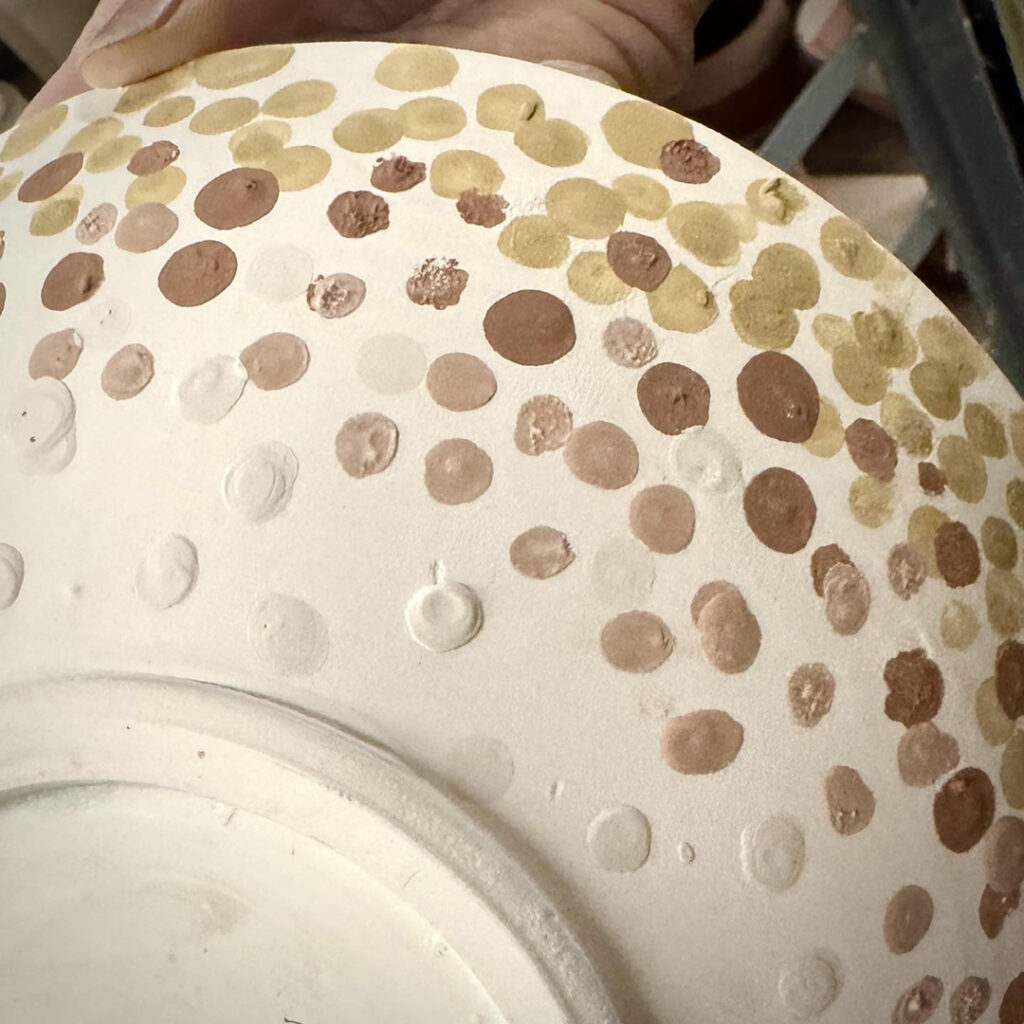
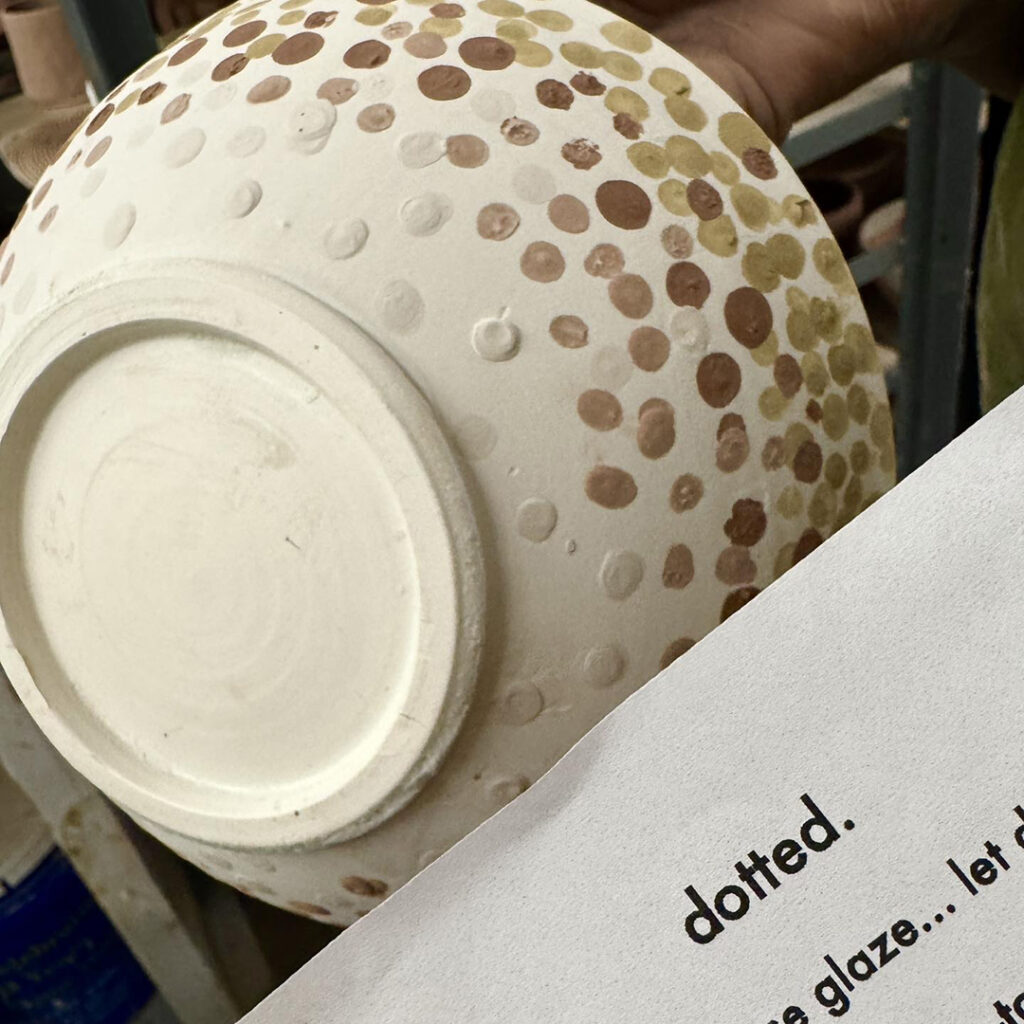
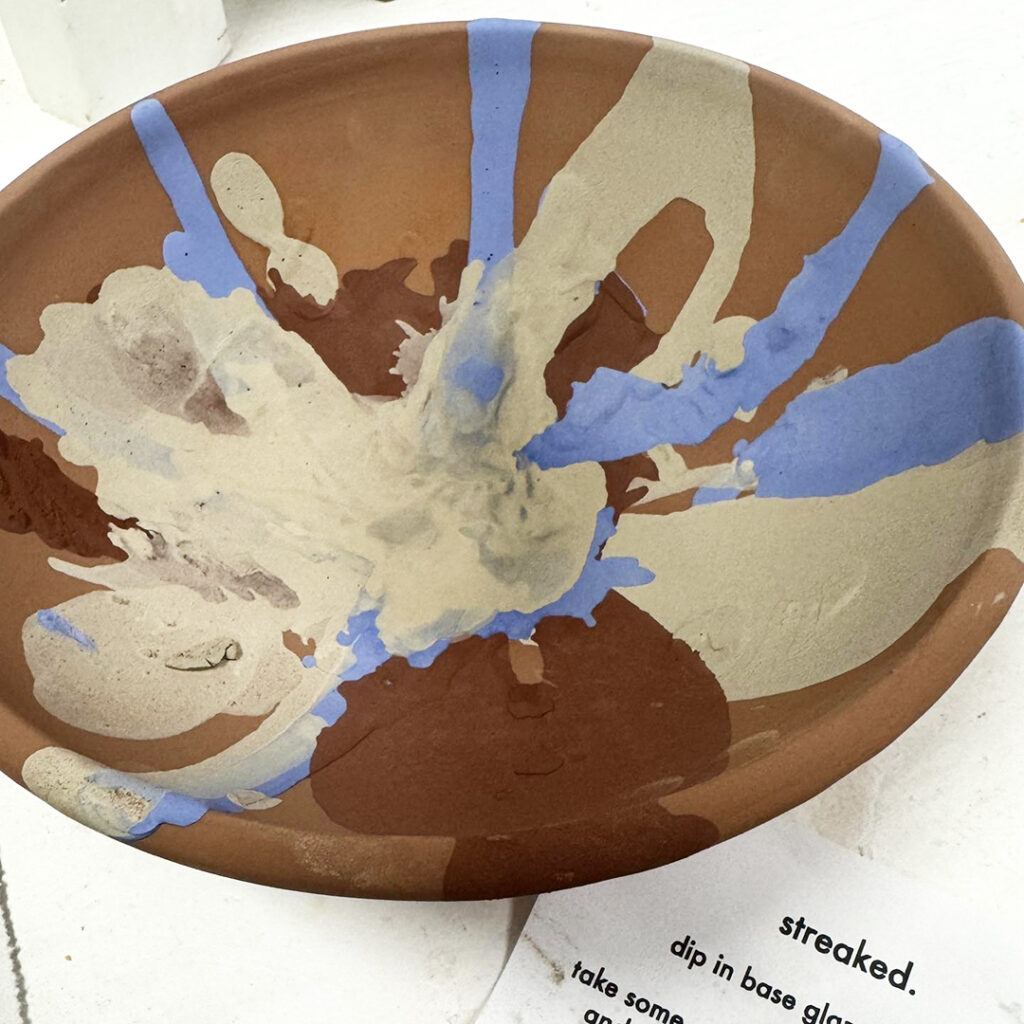
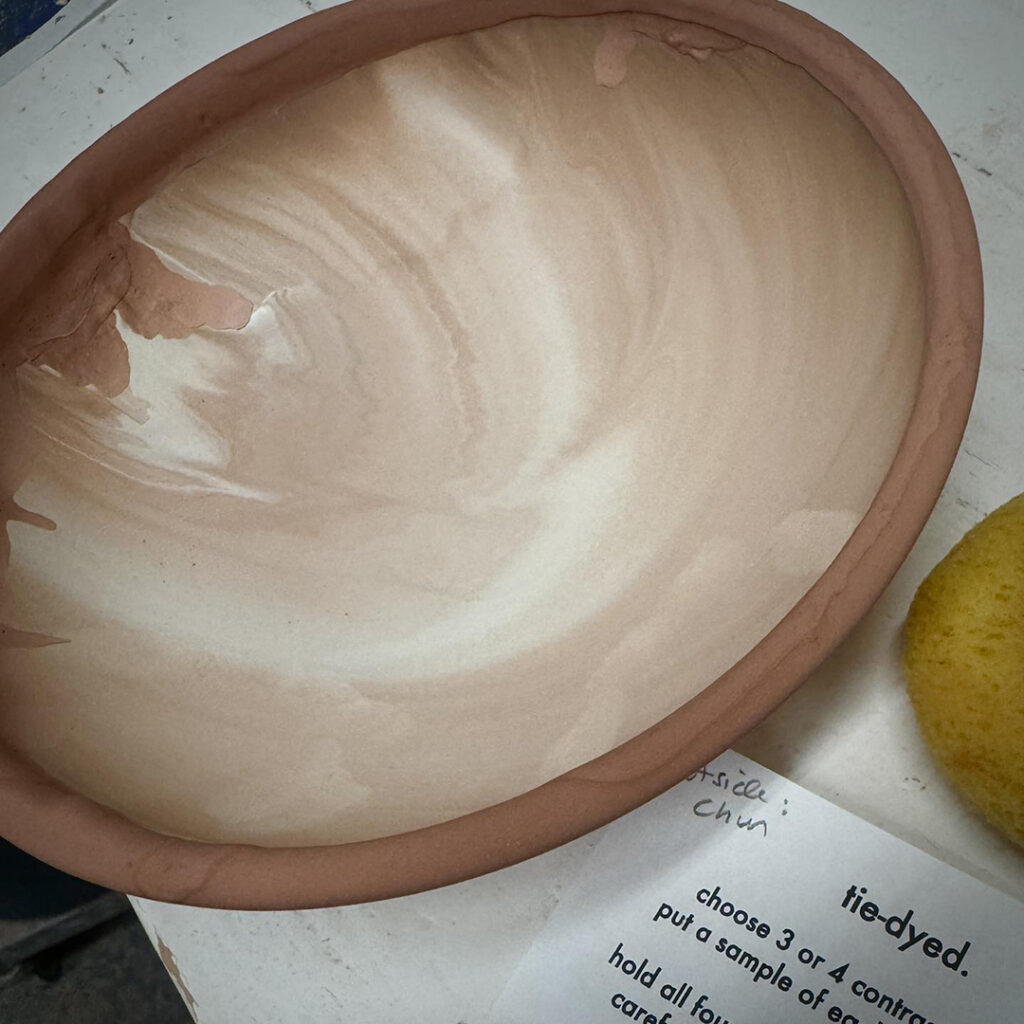
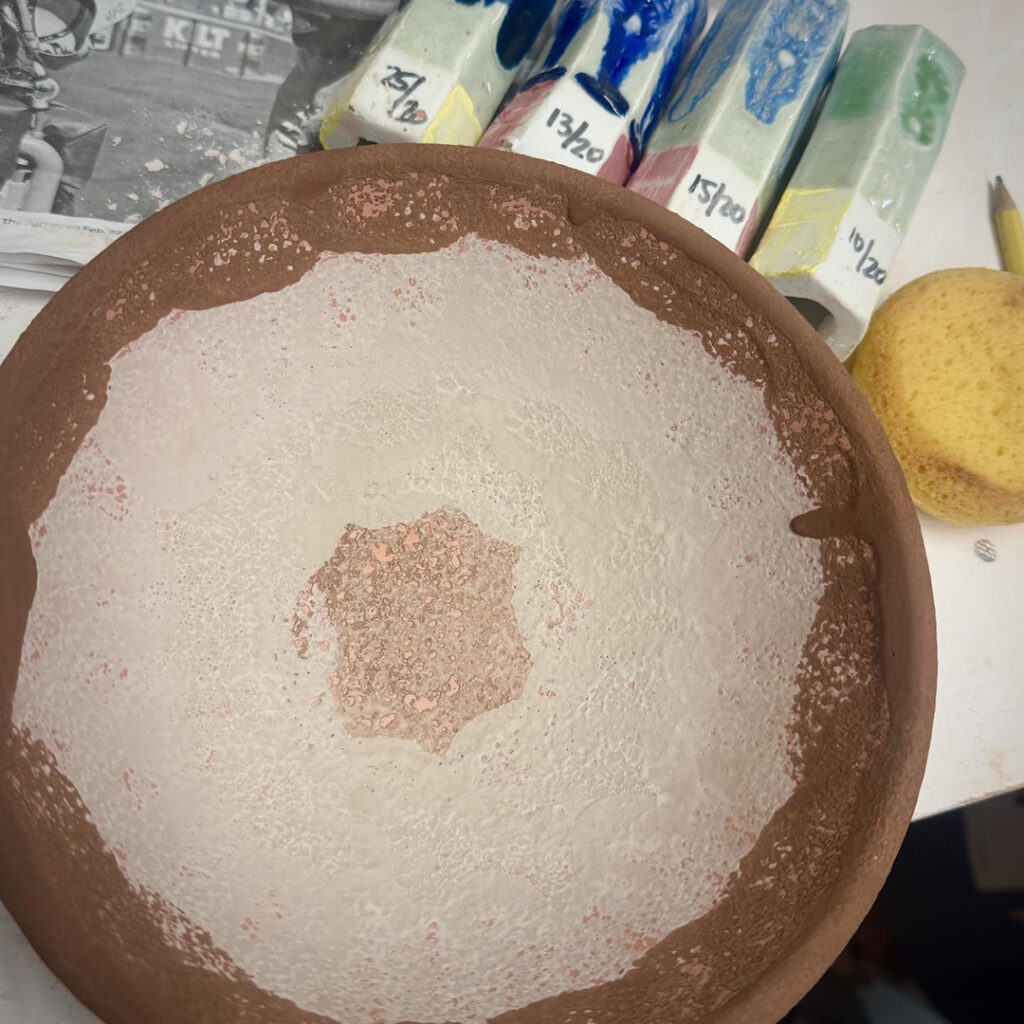
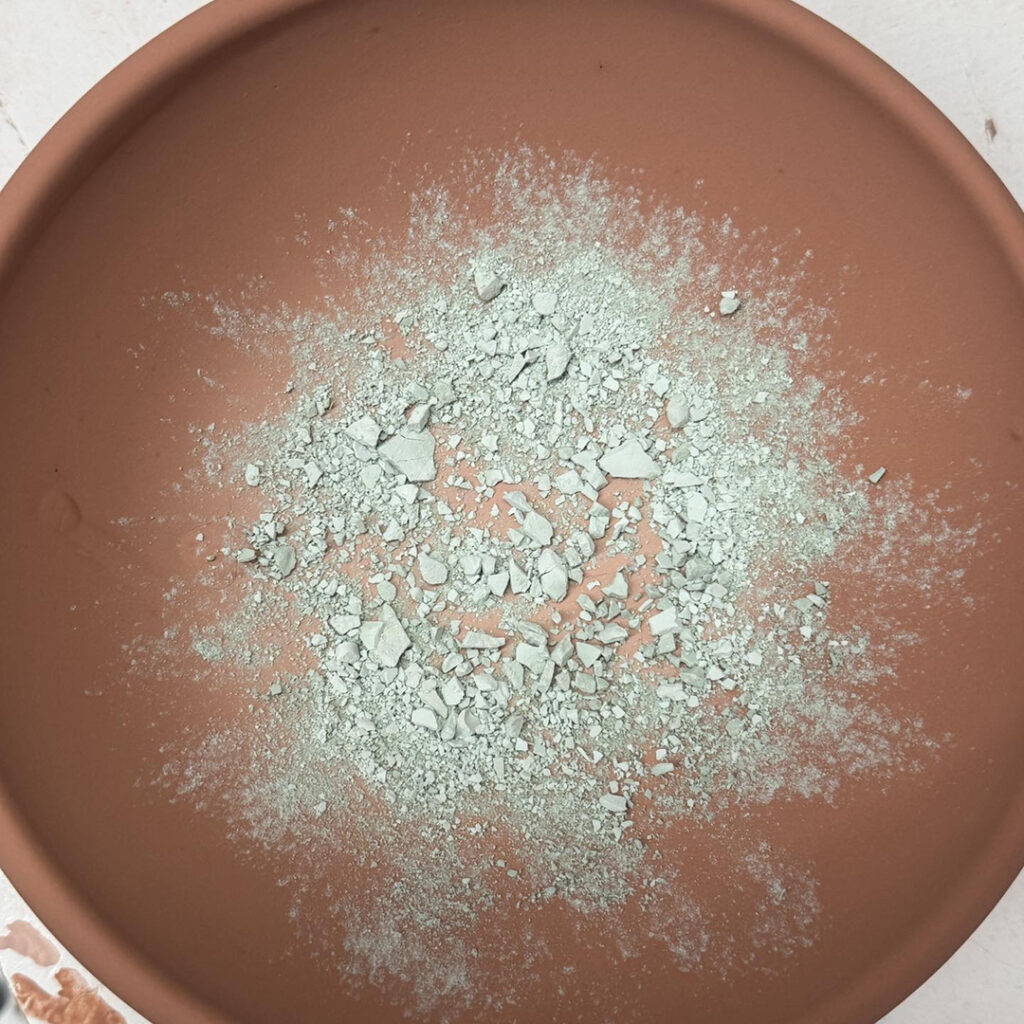
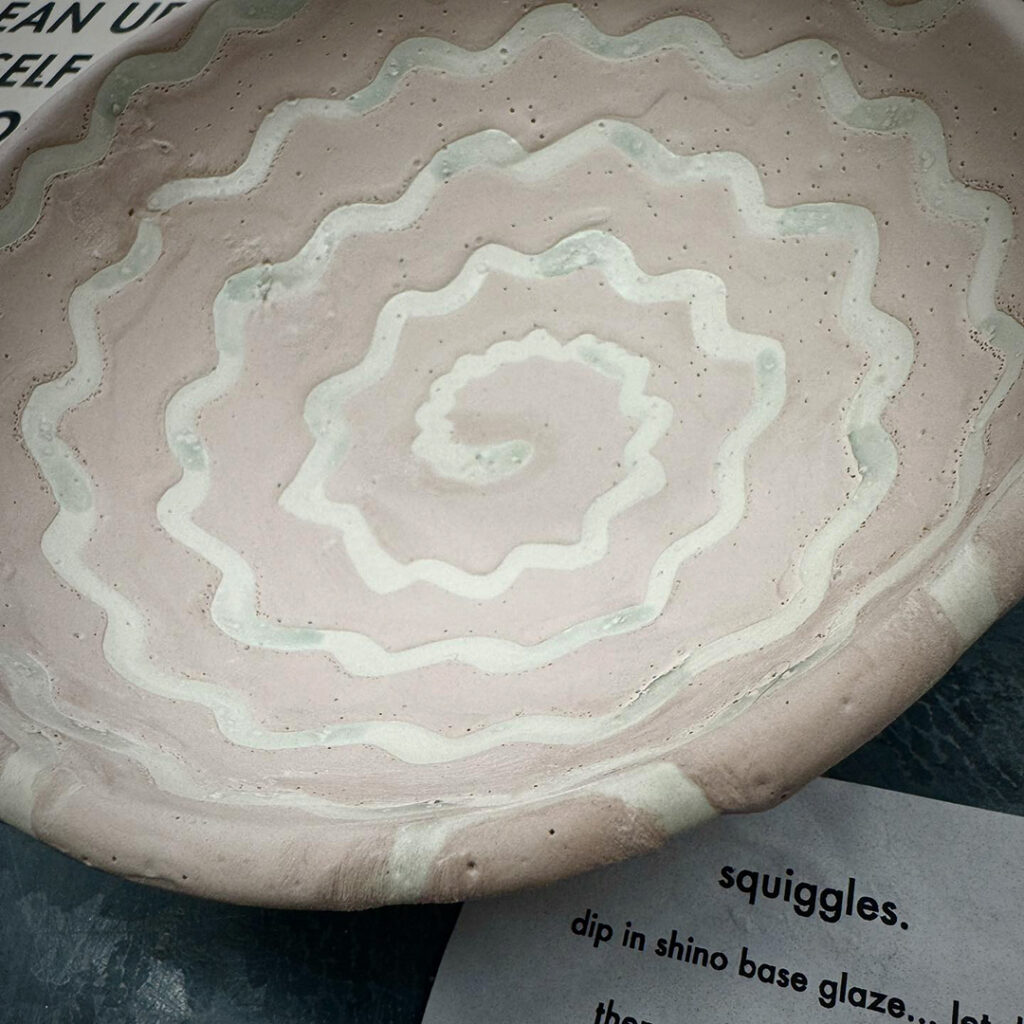
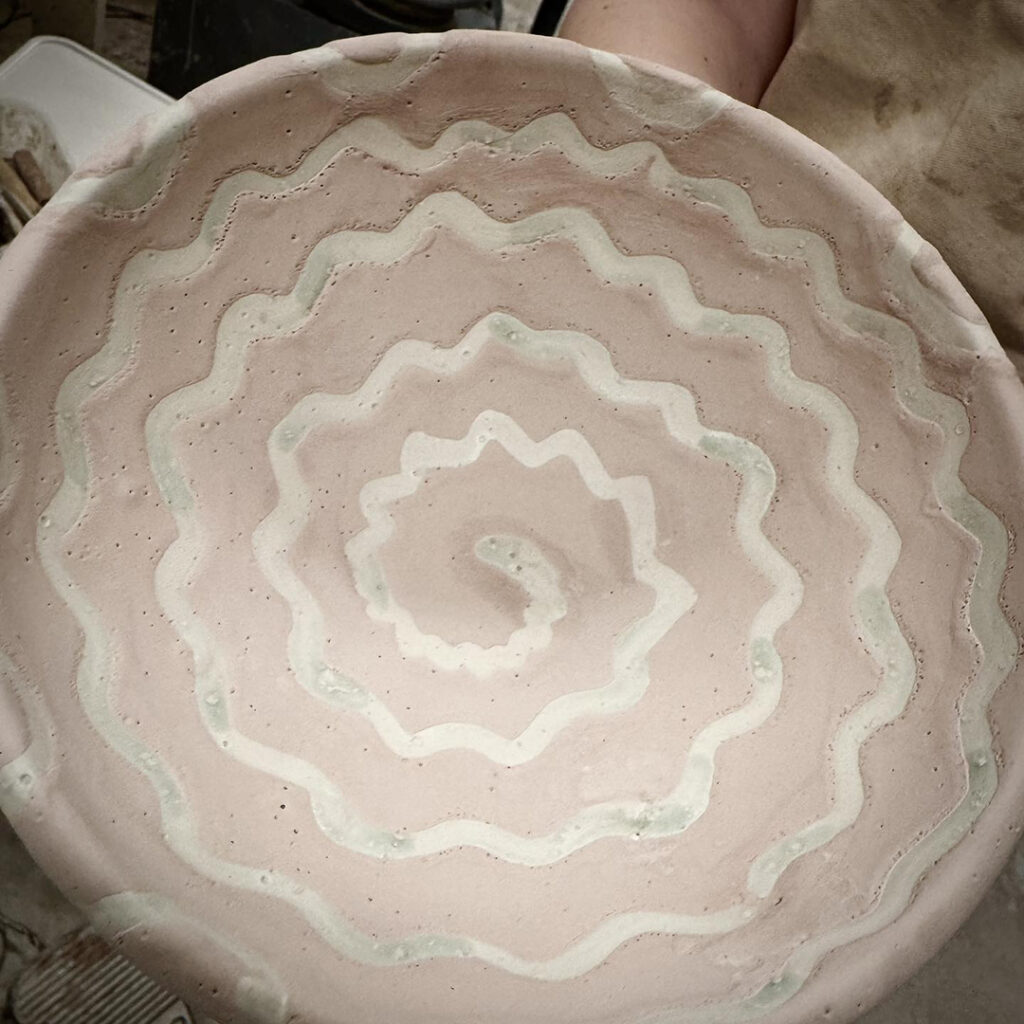
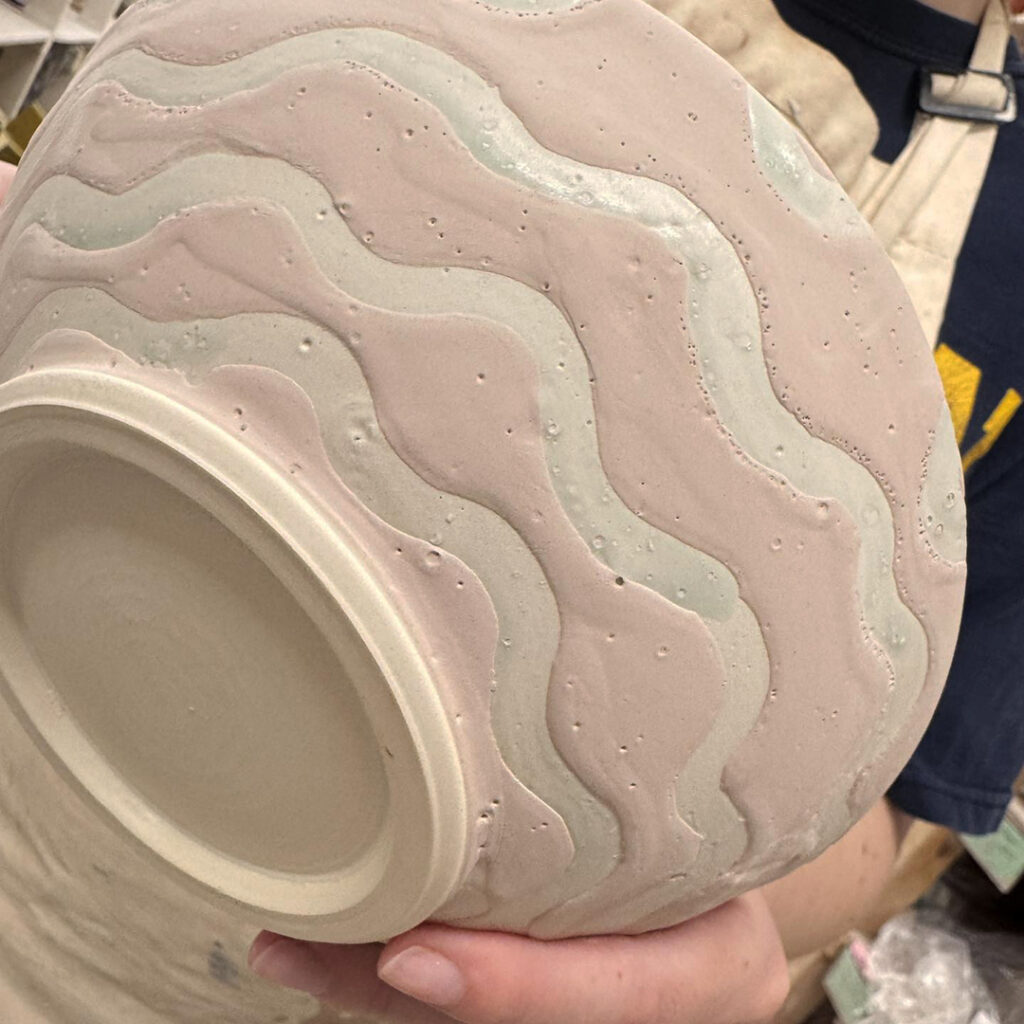
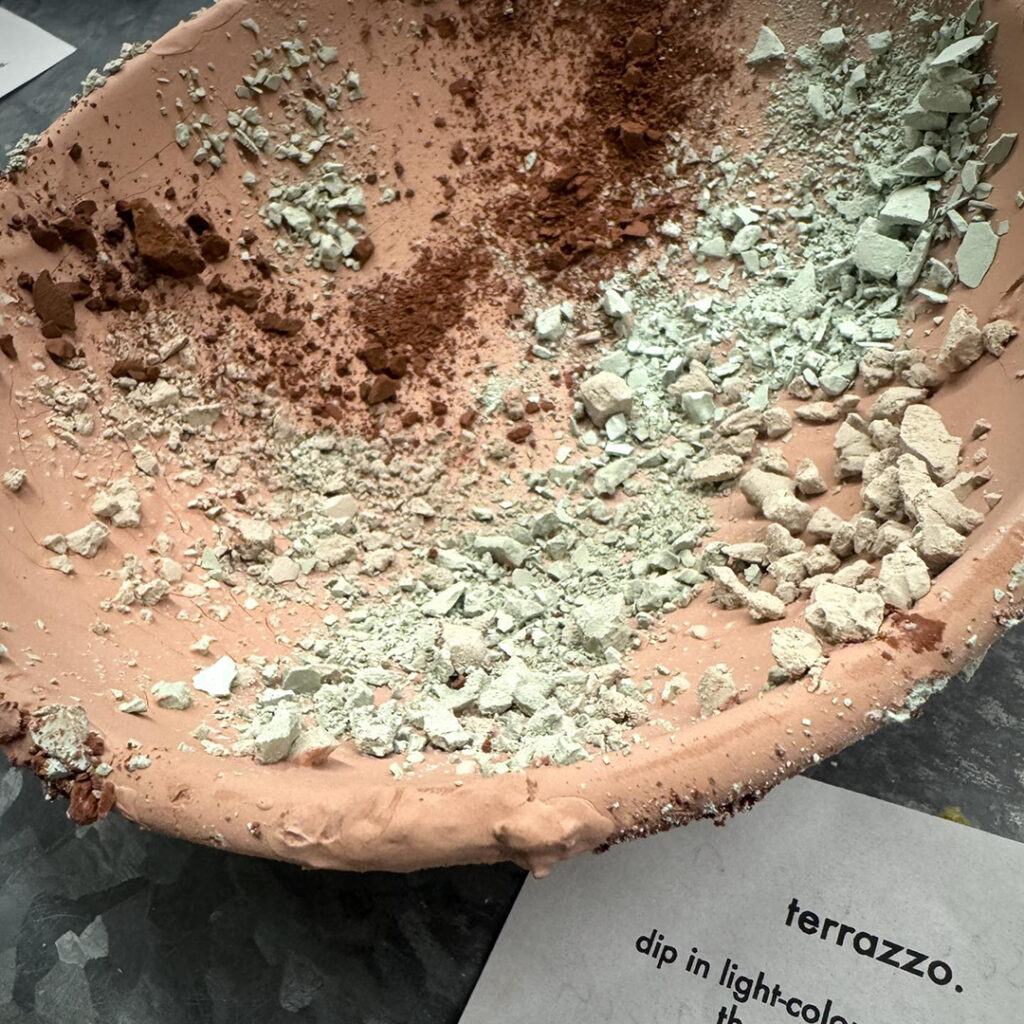
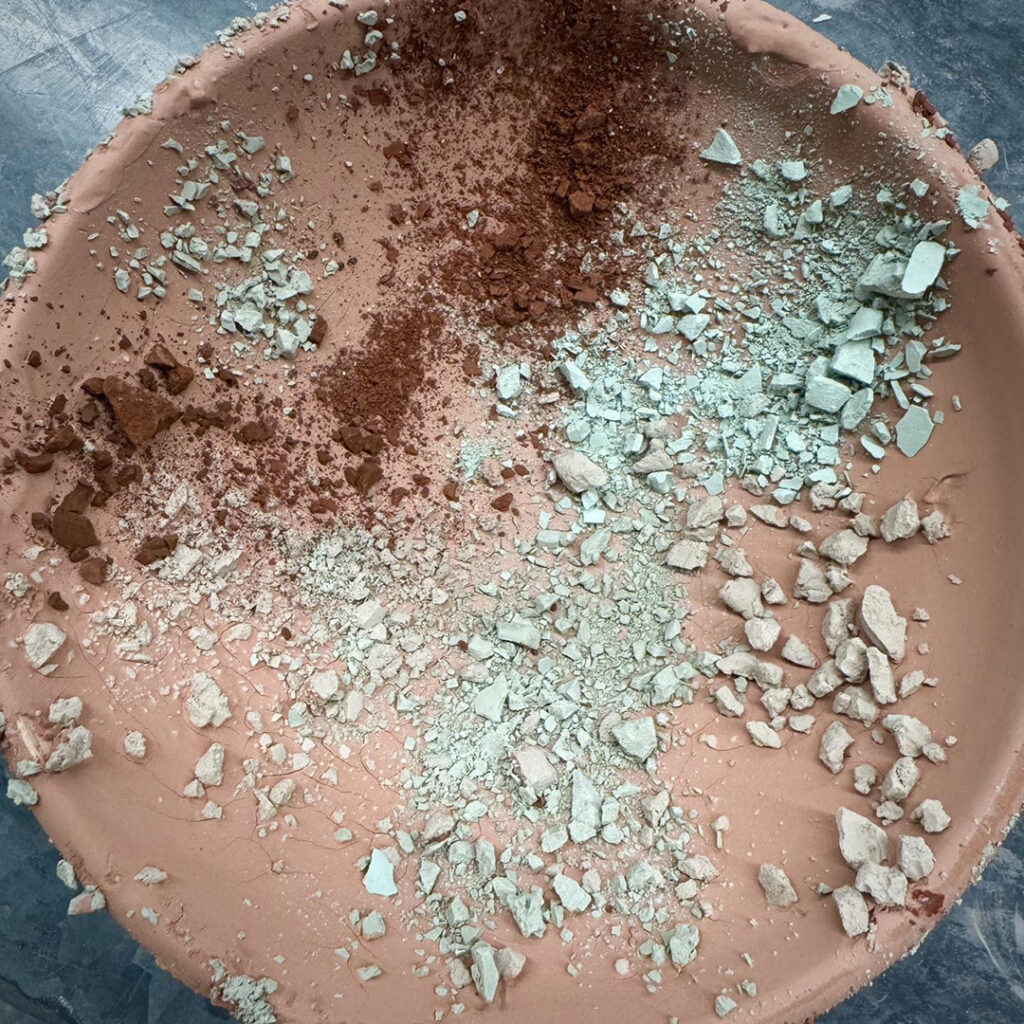
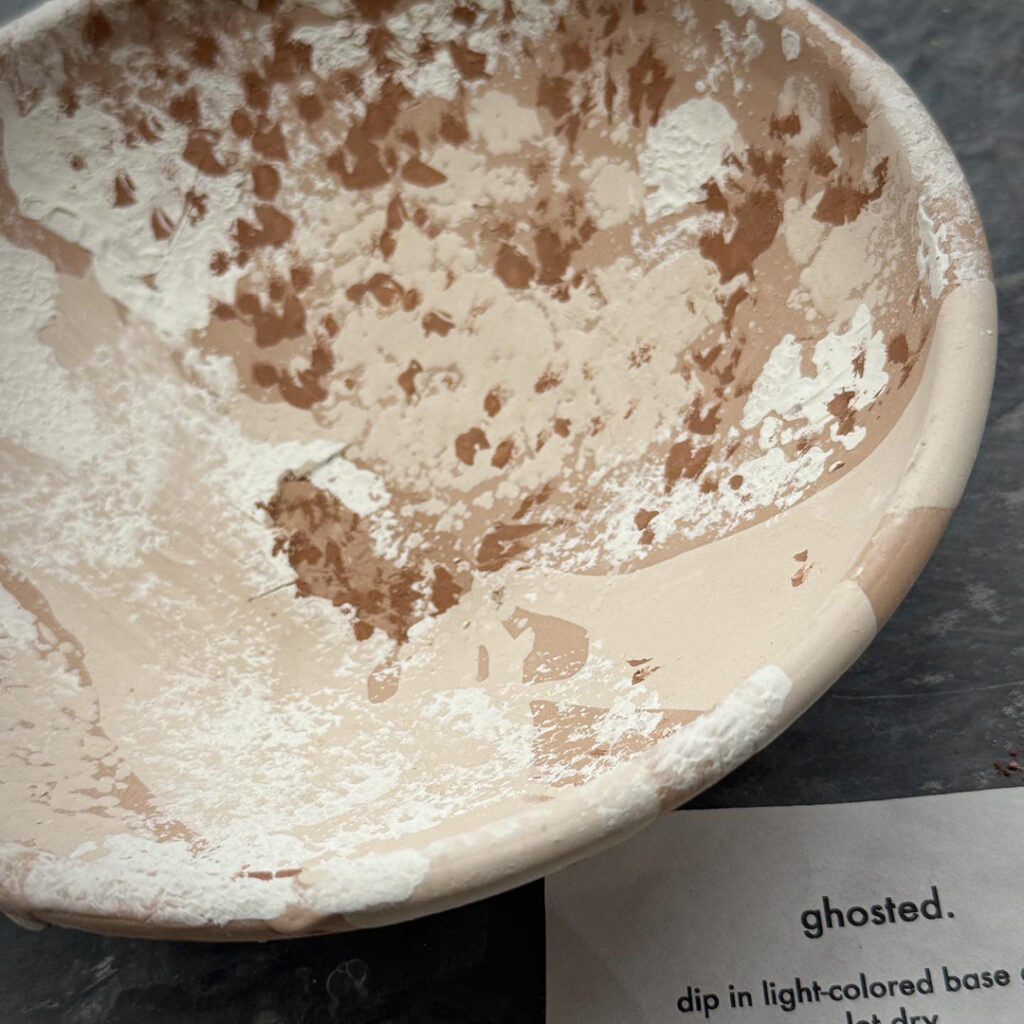
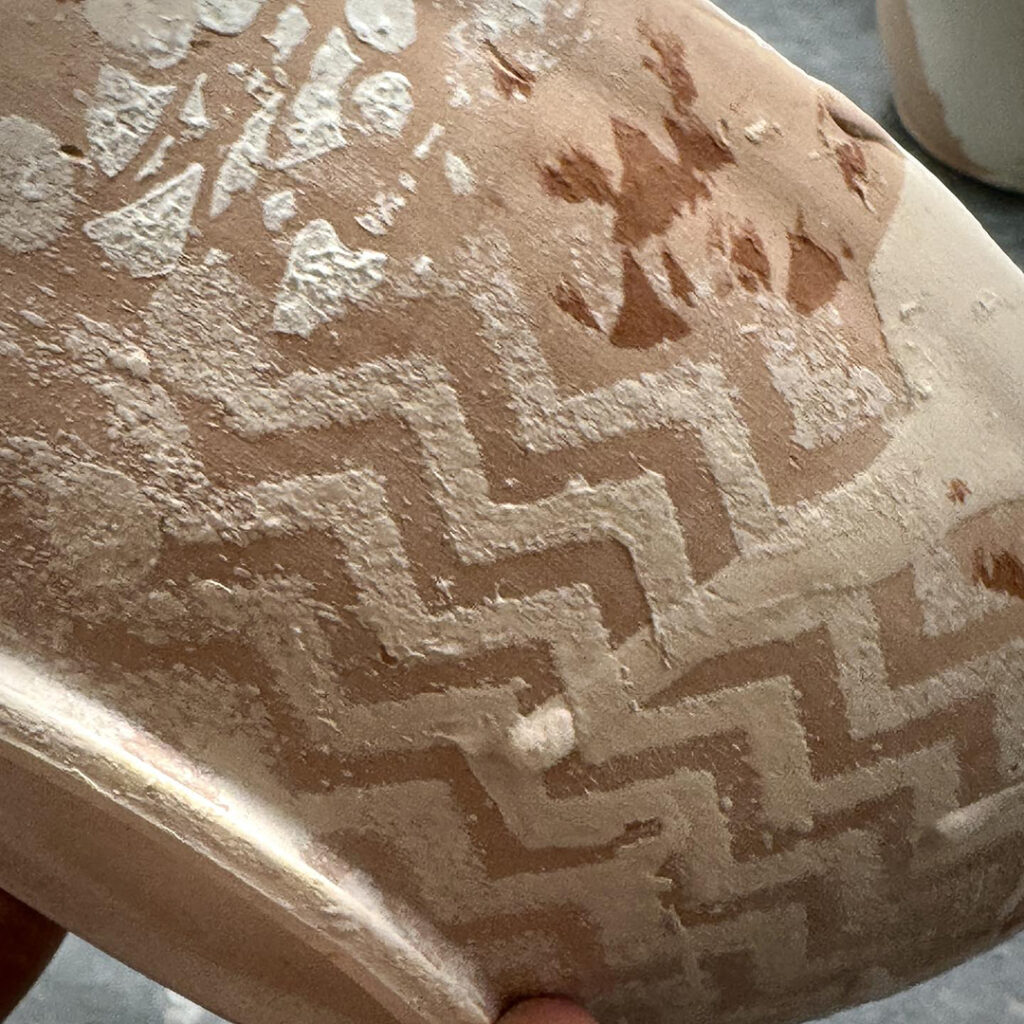
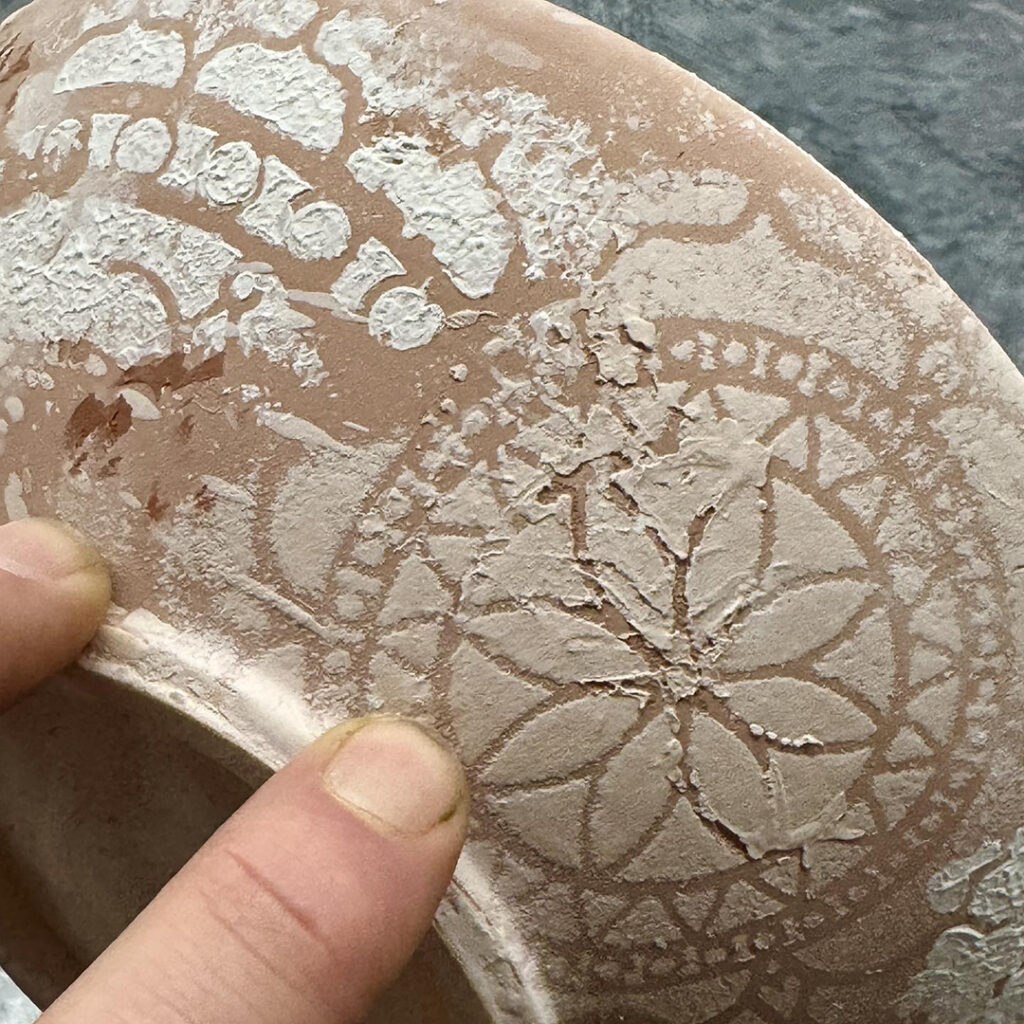
After returning from Minnesota… I realized I had nothing ready for my SURFACE DECORATION class for a night of glazing fun. So Tuesday early evening, I threw fifteen bowls before teaching my Tuesday night class. That same evening late after class, I trimmed them all… dried them as much as I could overnight on plastic racks… and then they were in a bisque kiln early the very next morning! Done, fired & ready in time for last night’s class… a fun SURPRISE!… with a “free” bowl for each student to experiment on instead of using one of their own “precious” pots!!!
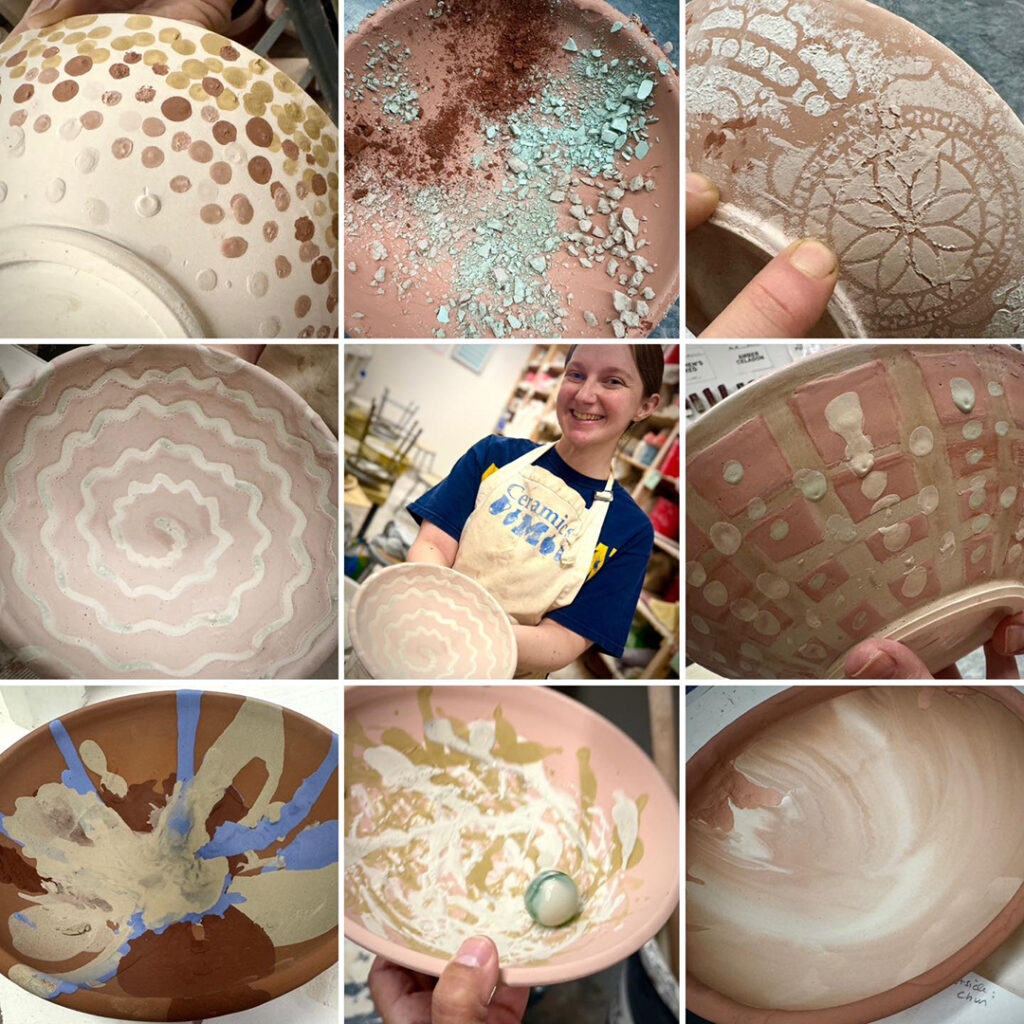
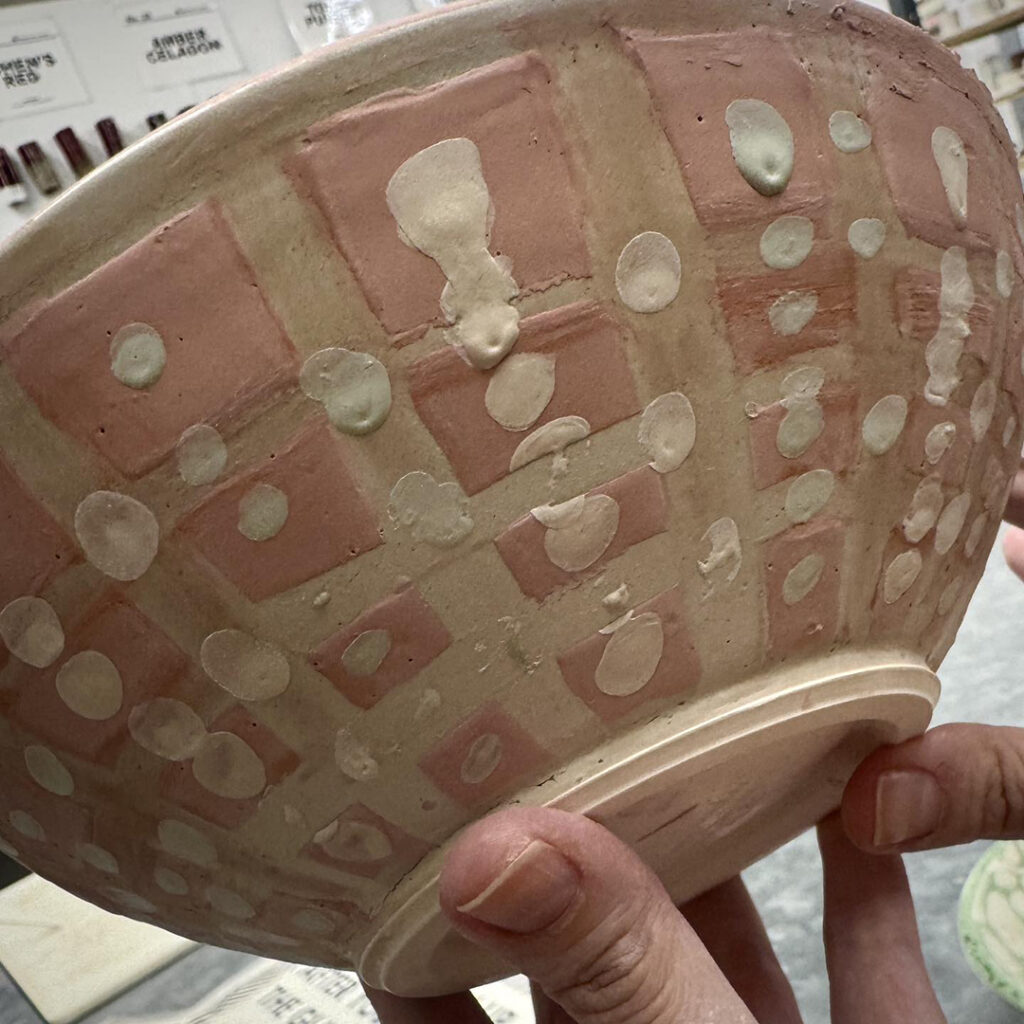
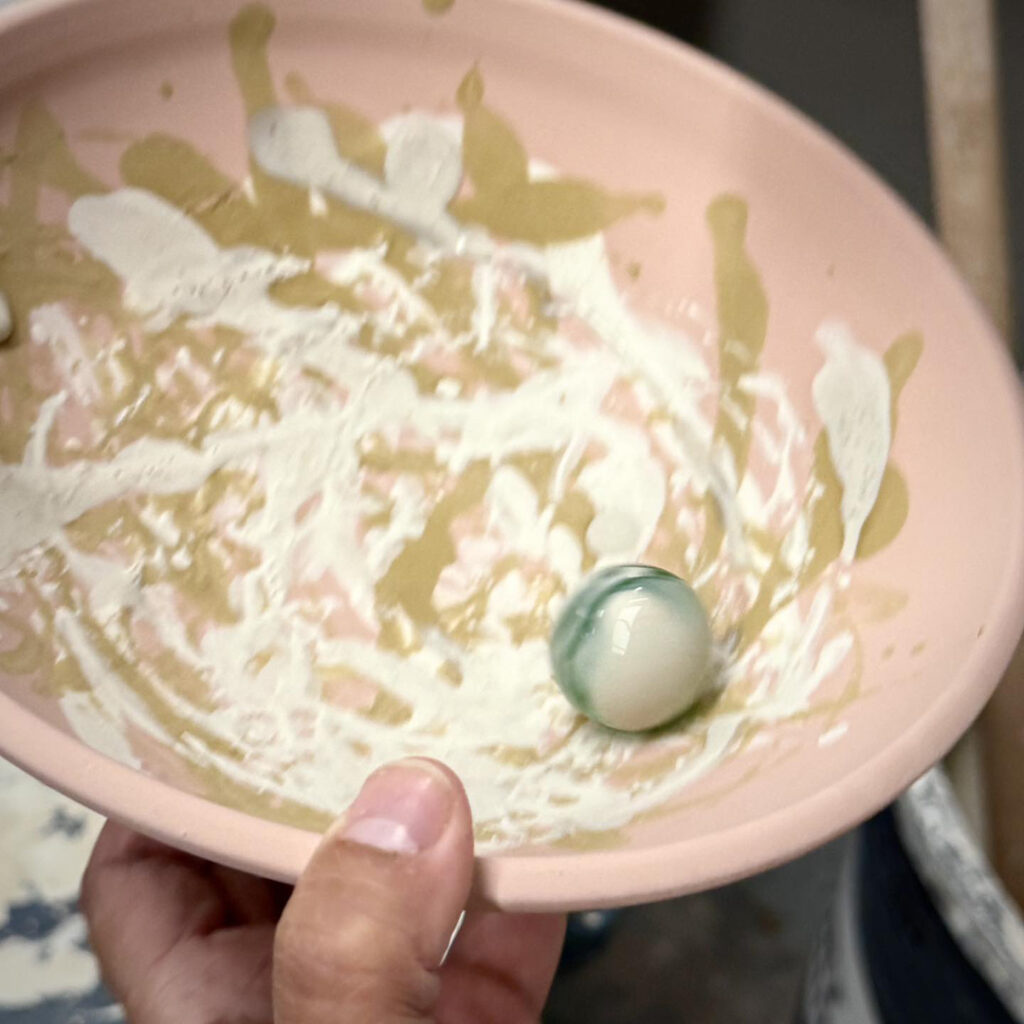
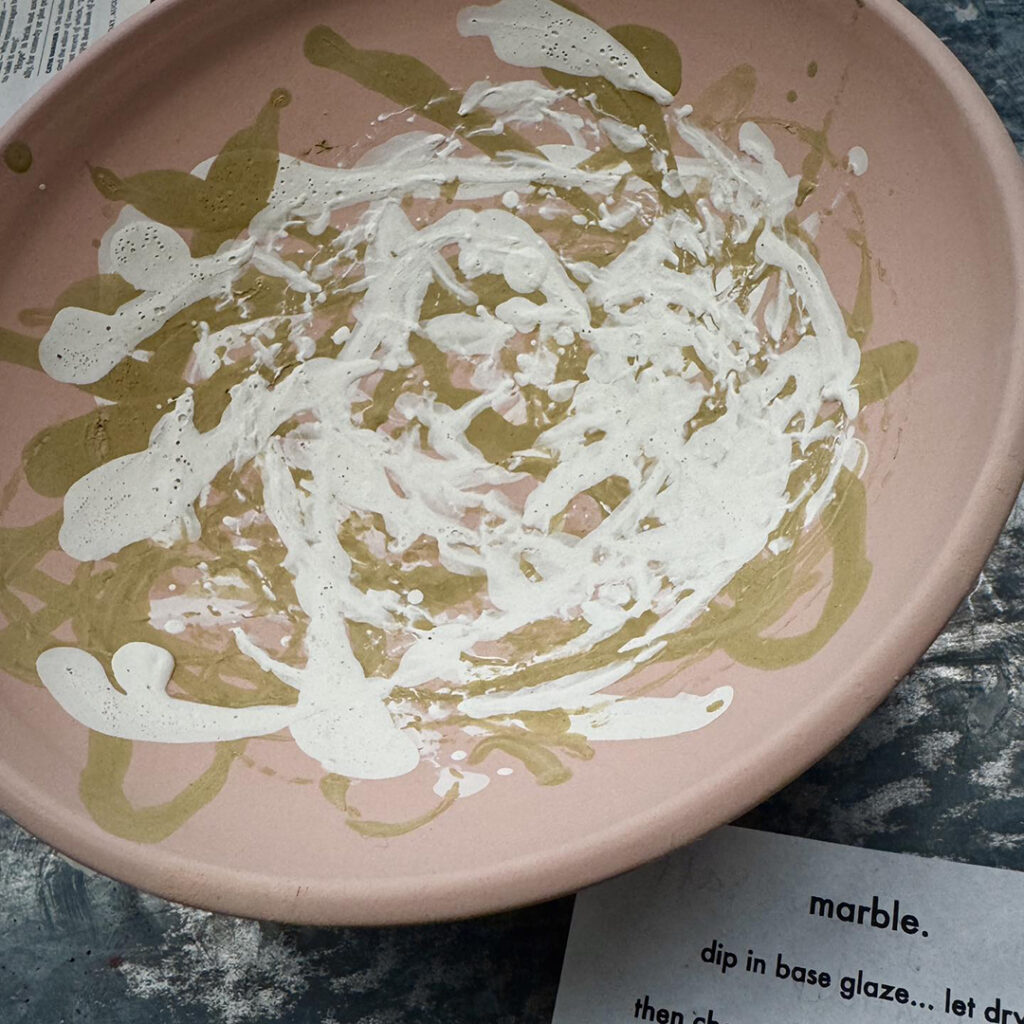
So last night in my SURFACE DECORATION class, I challenged my students to a bunch of experimental glazing techniques. They each randomly chose a different “challenge”… and glazed one of my “freebie” demo bowls following & interpreting the instructions! They all had so much fun… and now we’re all anxious to see the results!!!
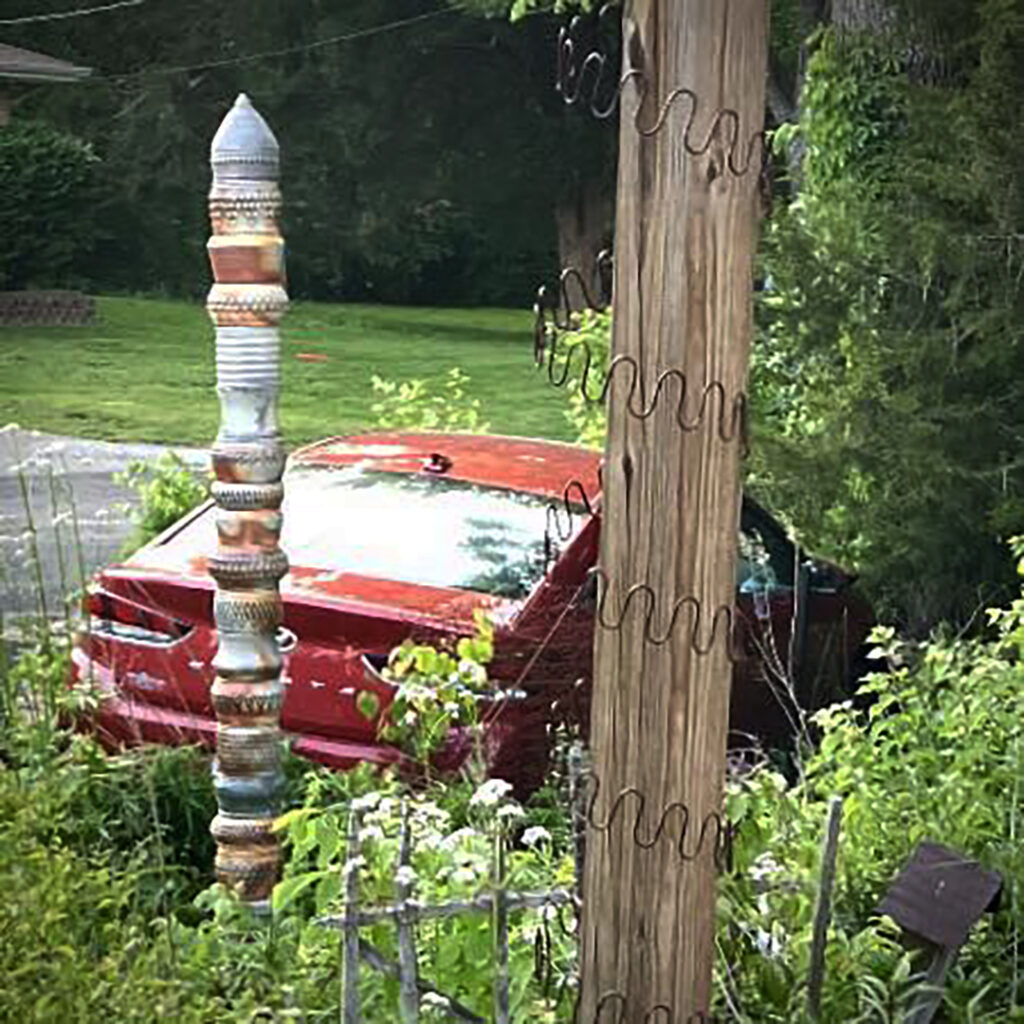
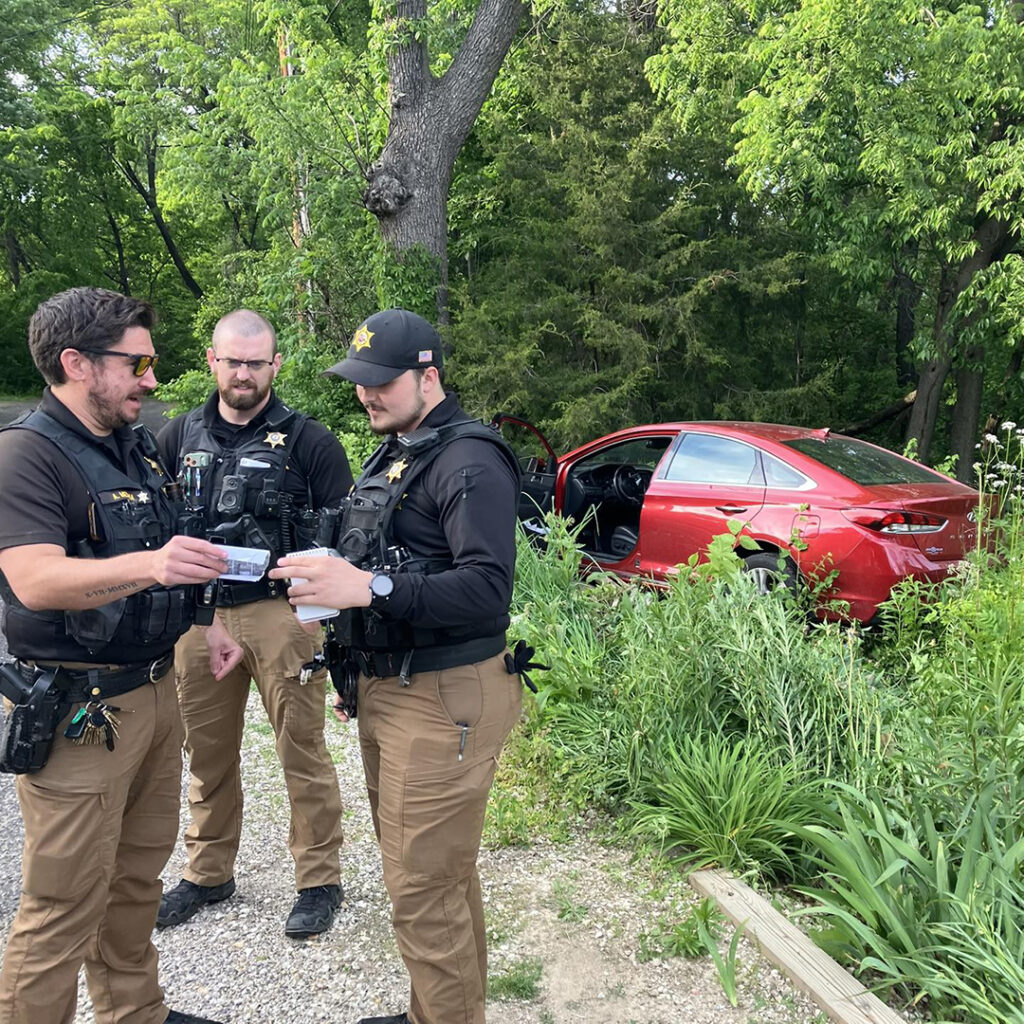
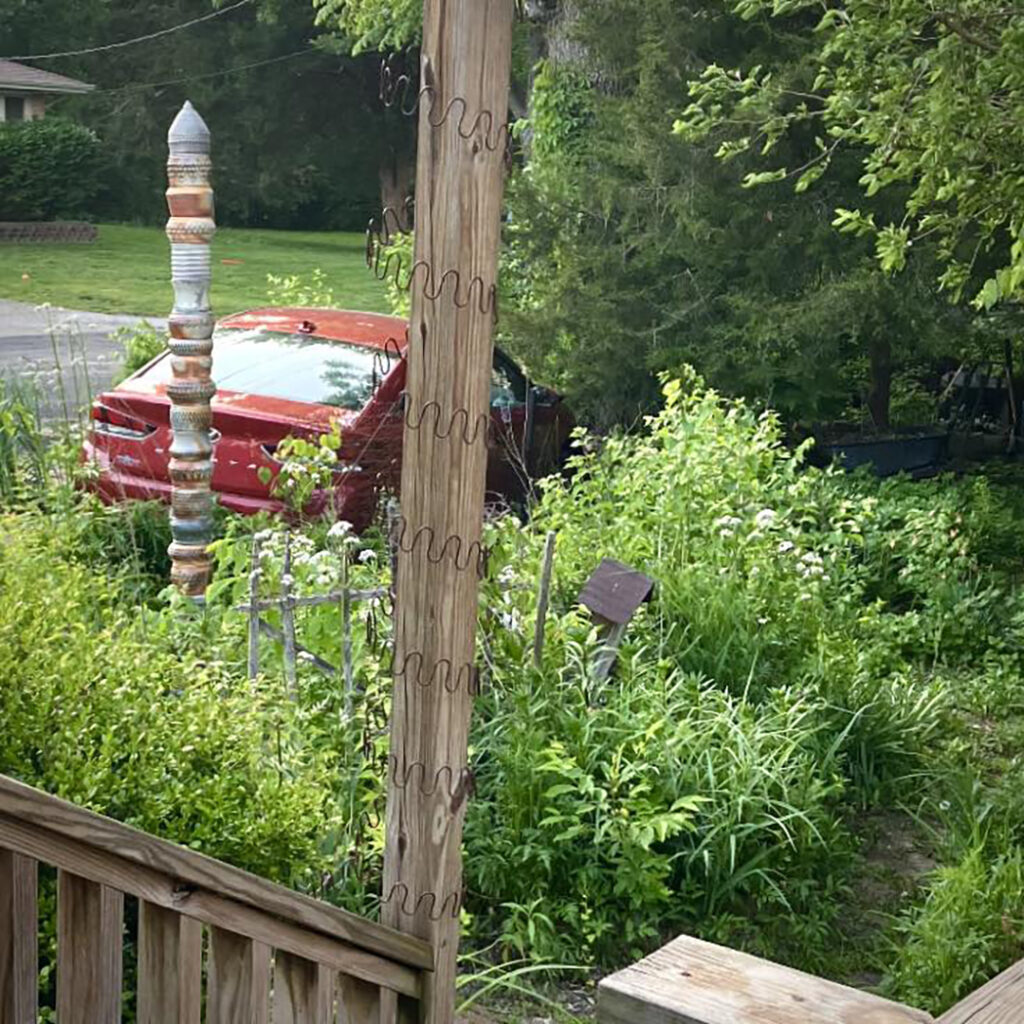
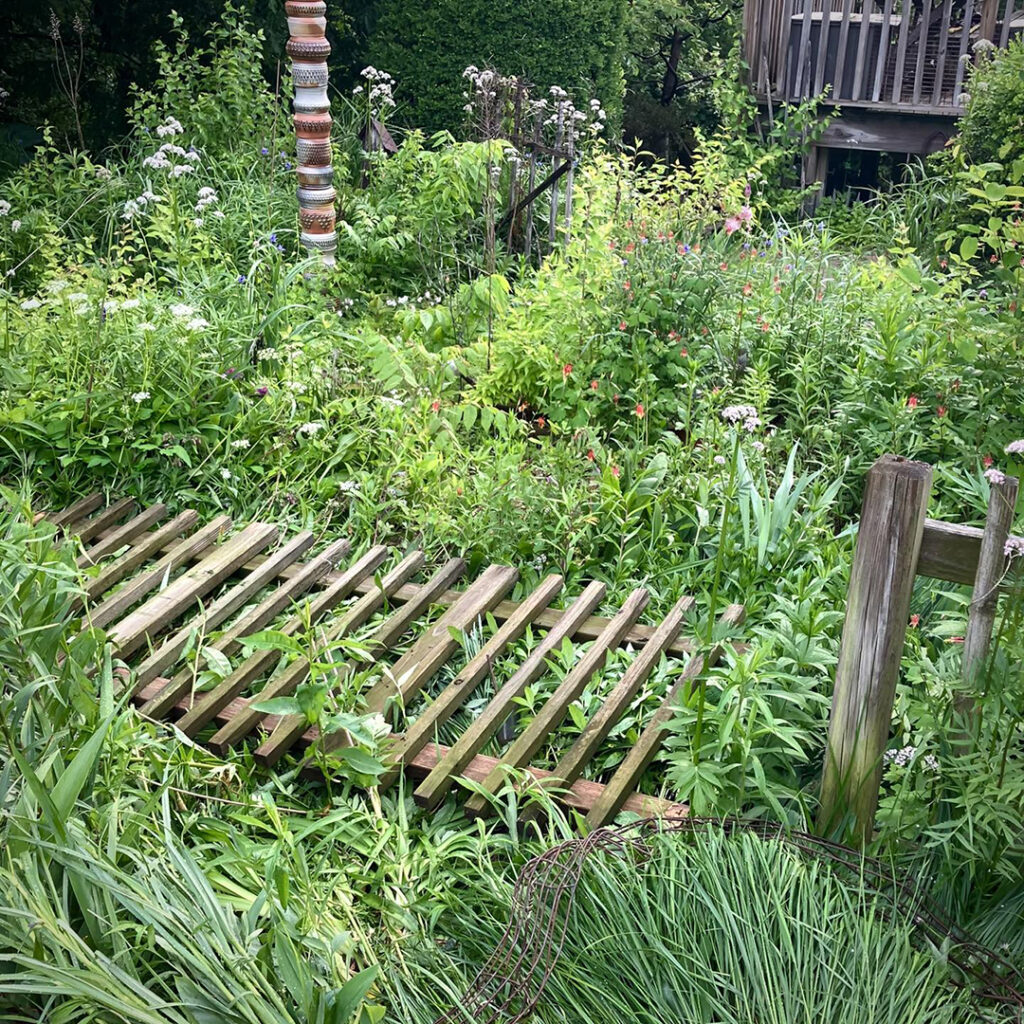
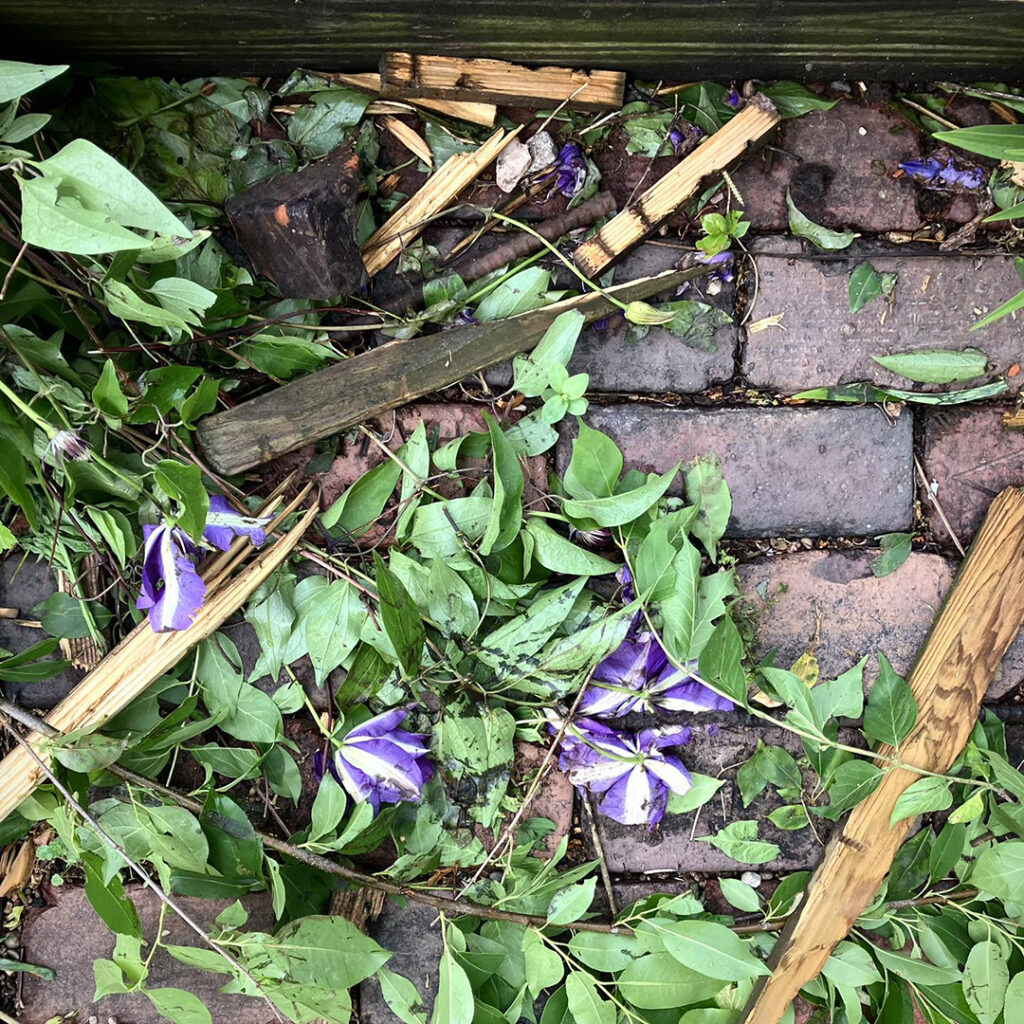
So THIS happened yesterday. My friends in Peoria are proud owners of a custom totem pole… and let’s just say, that is NOT a parking space!!! Apparently some crazy driver zoom-backed into their yard, breaking the fence, smashing some plants… and landing precariously close to my totem pole!!! Took them all day to figure it out… towing the car out late last night. Luckily, the totem pole is just fine!!!
Wonderful colors splashed upon a lot of cloud-cover this morning. It started out great… and I had huge expectations. But then it sort of just petered-out. We never saw the actual sunrise. It just kinda fizzled and the clouds won!!!
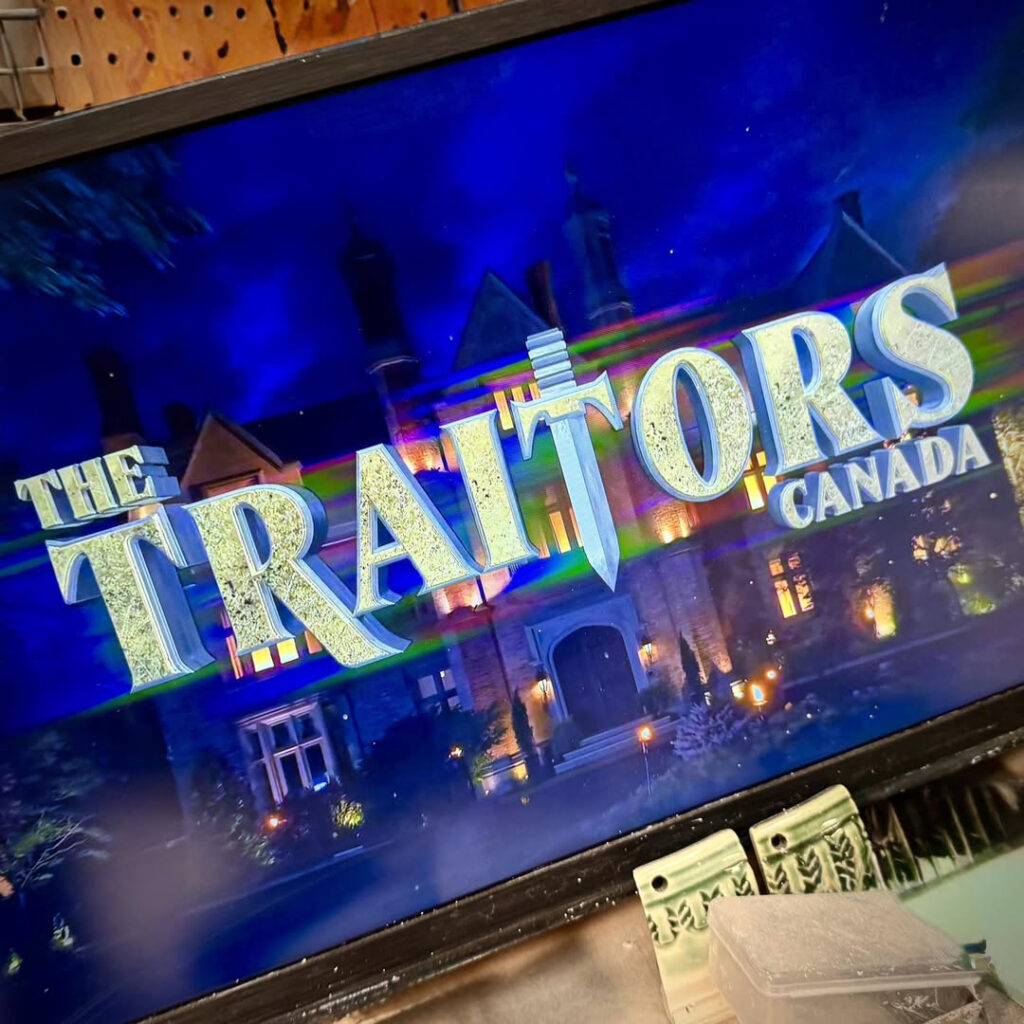
So I got to the studio a little early… flipped on my TV… Peacock came up… and something AMAZING showed-up on my screen!!!
THE TRAITORS CANADA!!!
And it looks like they dropped three full seasons all at once!!! OMG!!! I had no idea this was coming. I’m beyond excited… especially with the Survivor 50 Finale next Wednesday. Something wonderful to look forward to!!! The addition is real…
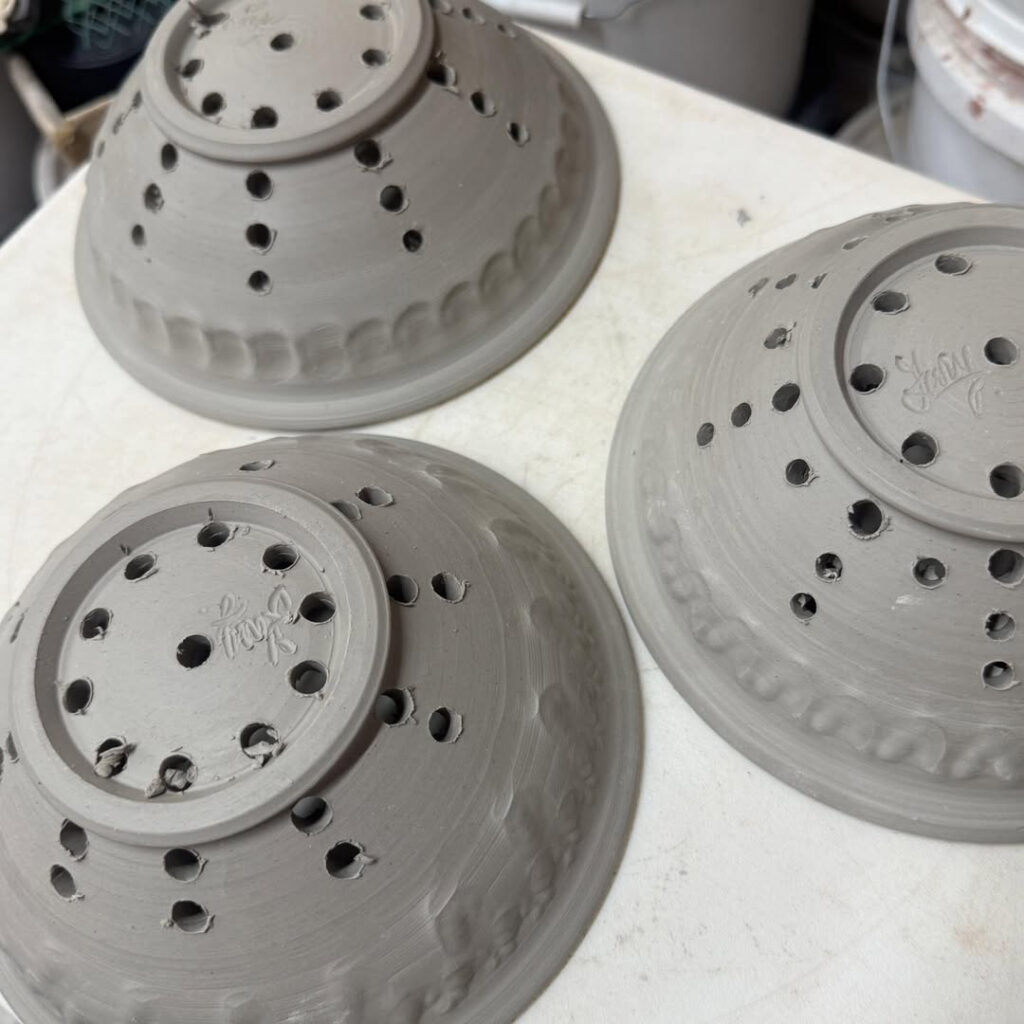
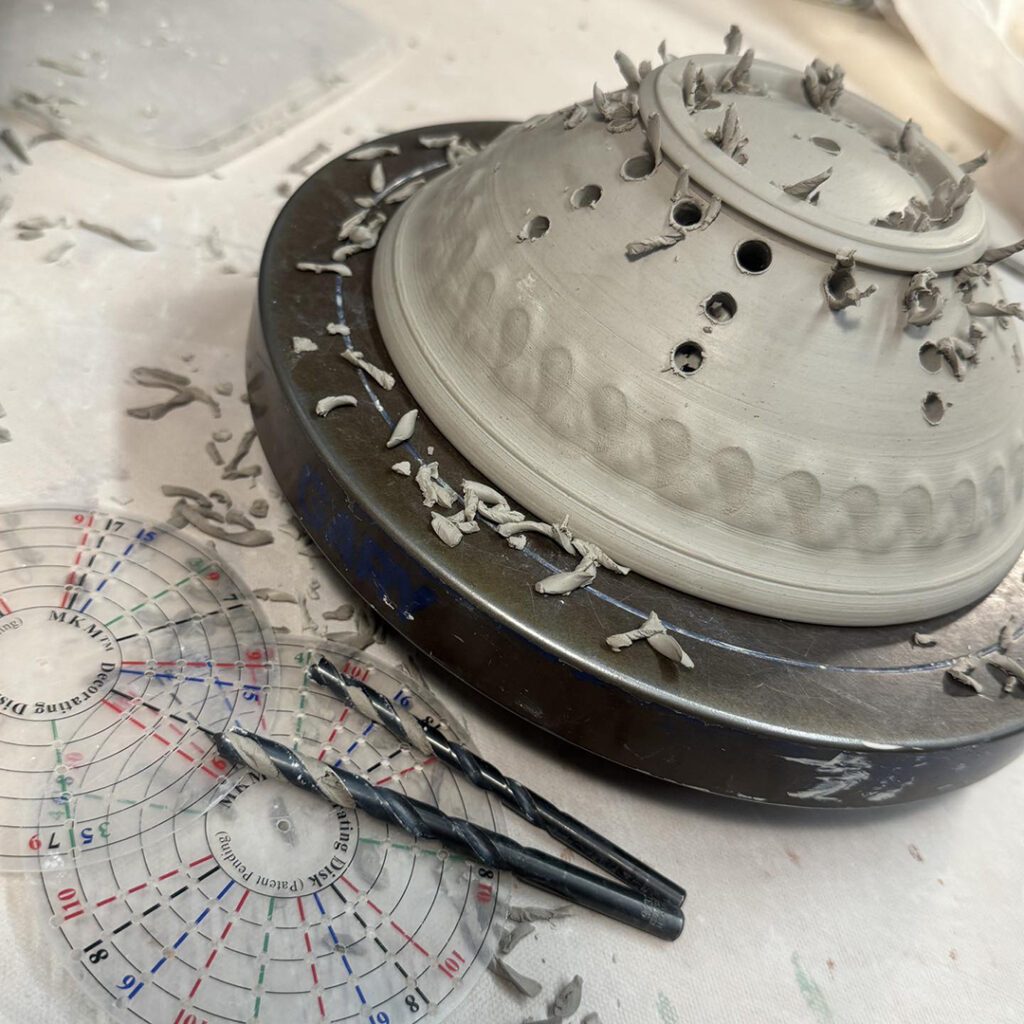
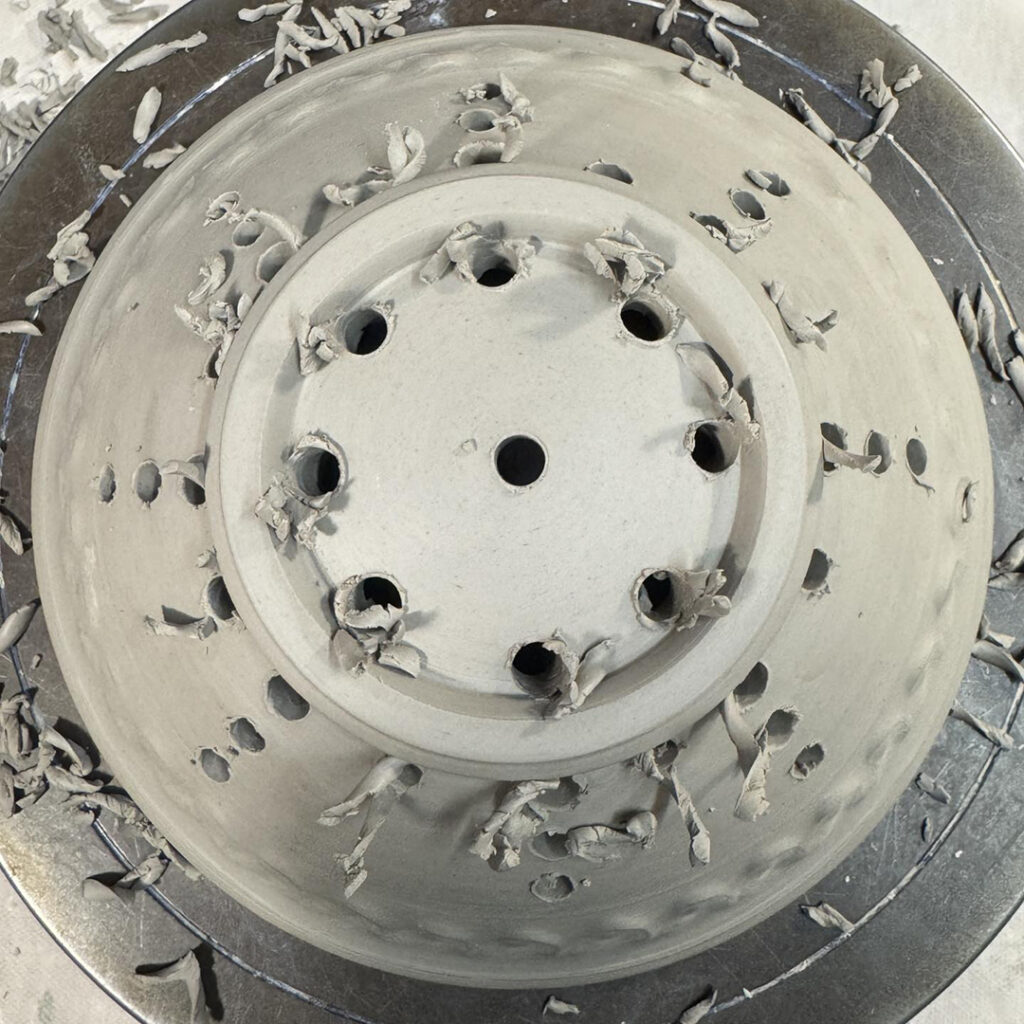
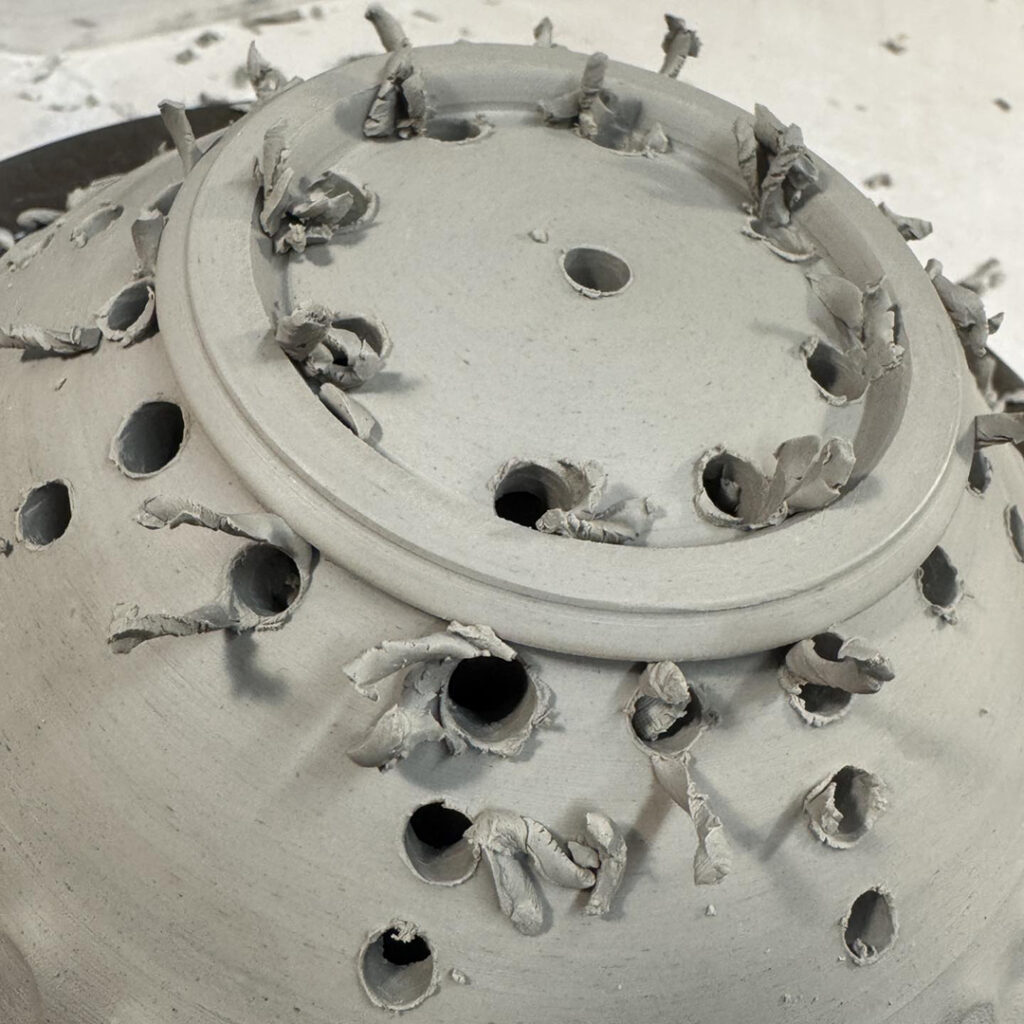
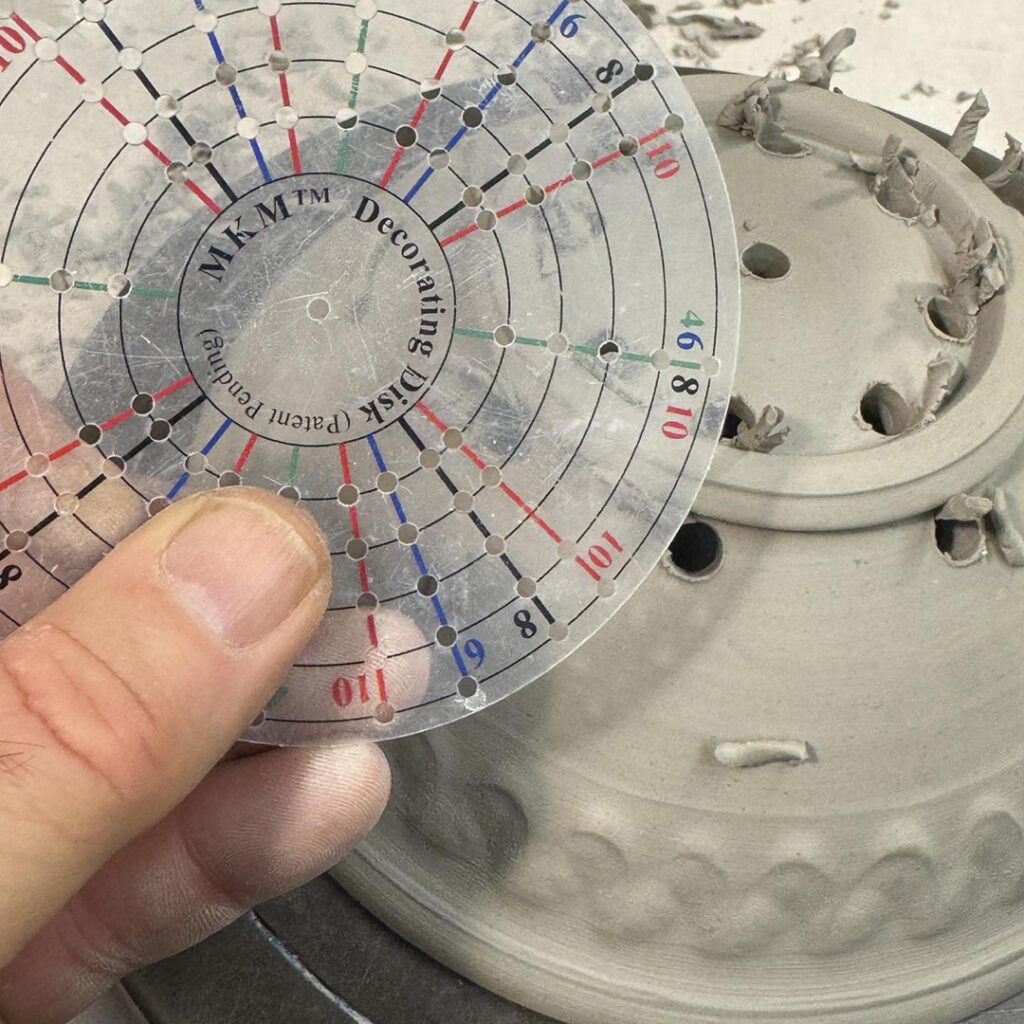
Drilling holes making berry bowls this morning. Using drill bits for assorted sizes of holes… and a decorating disk from MKM Pottery Tools for even segments & spacing!