11.10.2025
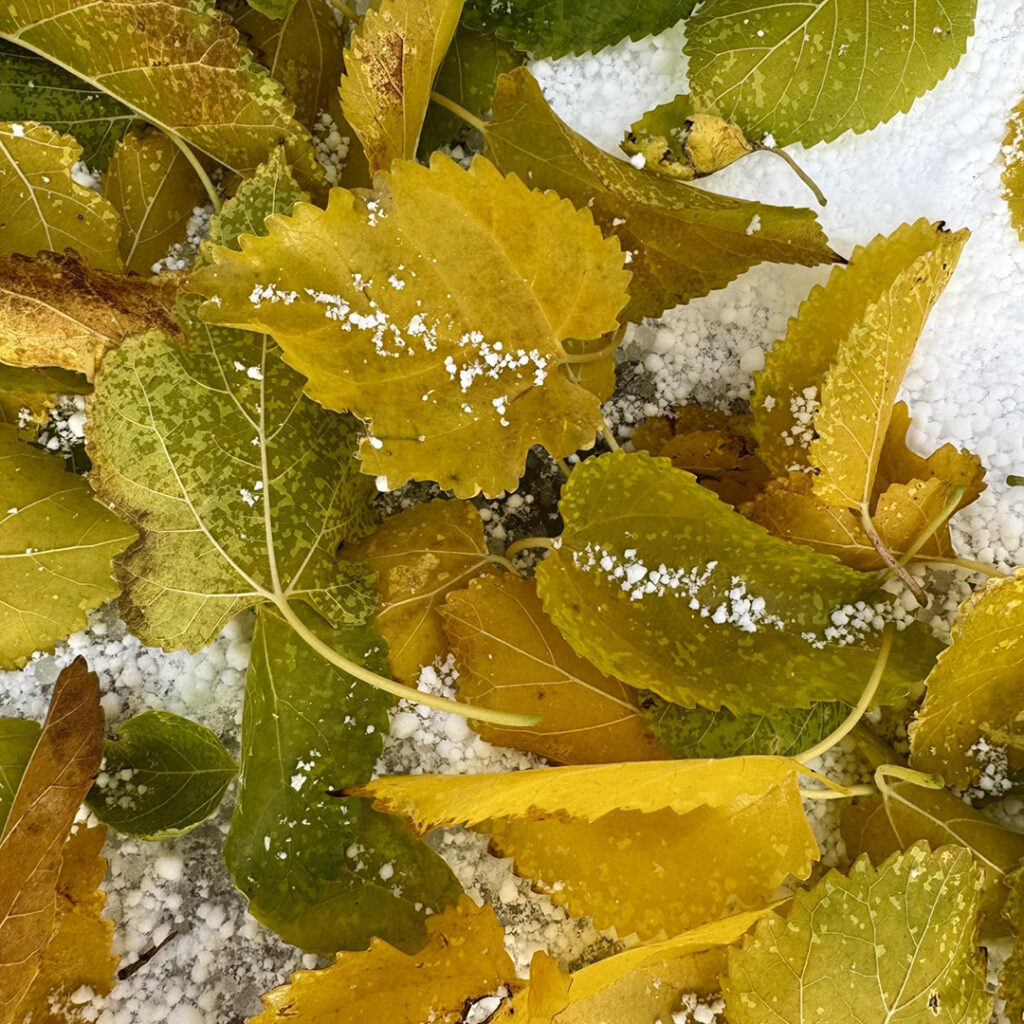
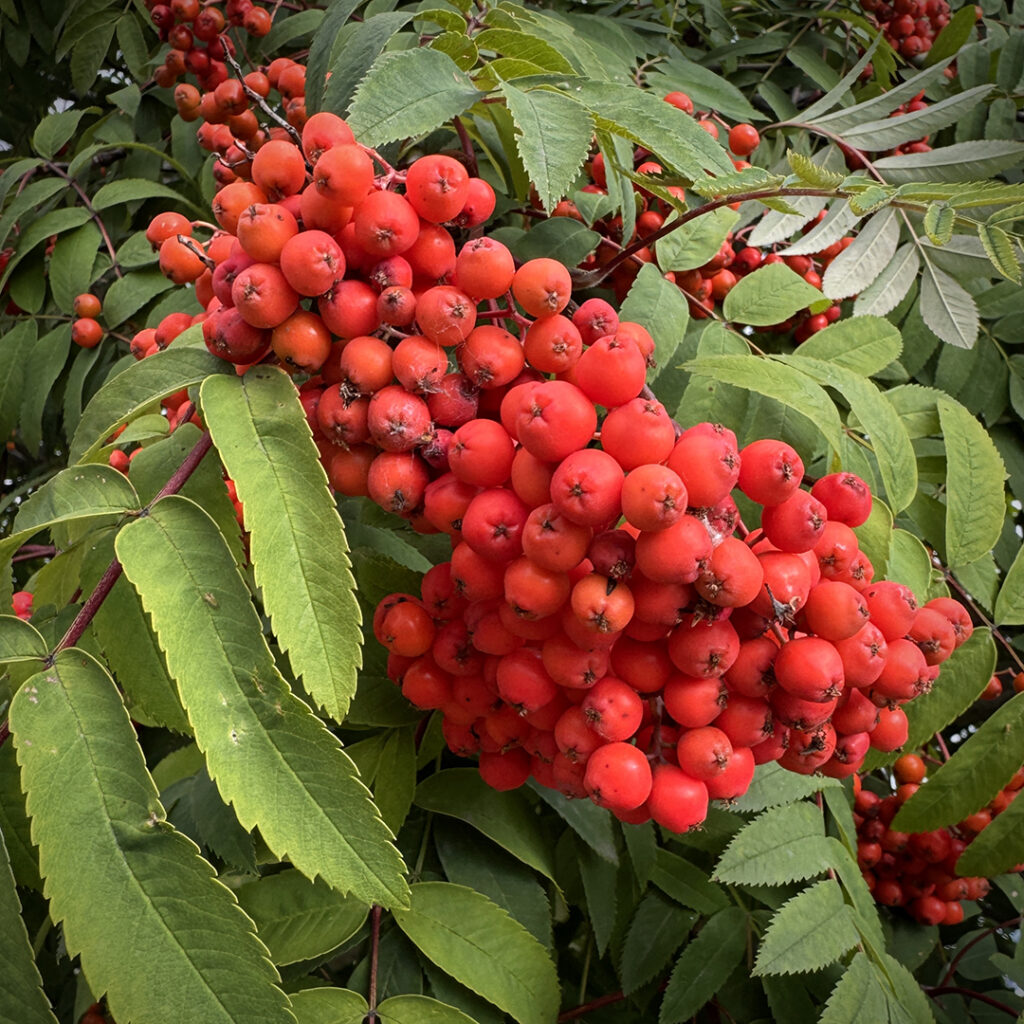
Well, we finally got our first snow of the season… a bit too soon for my liking. Nothing too heavy in my neighborhood. But it looks like some of the trees were caught off-guard too!


Gary Jackson: Fire When Ready Pottery
A Chicago potter’s somewhat slanted view of clay & play |
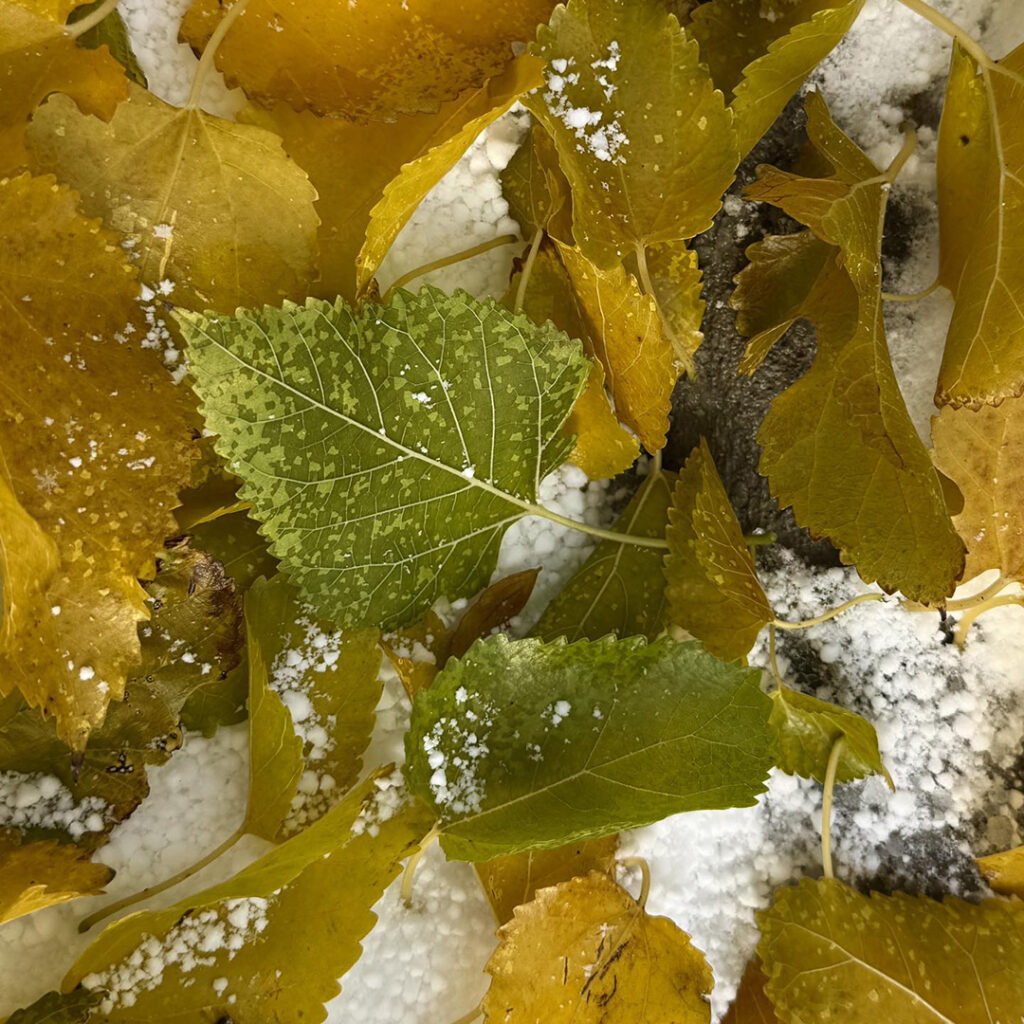
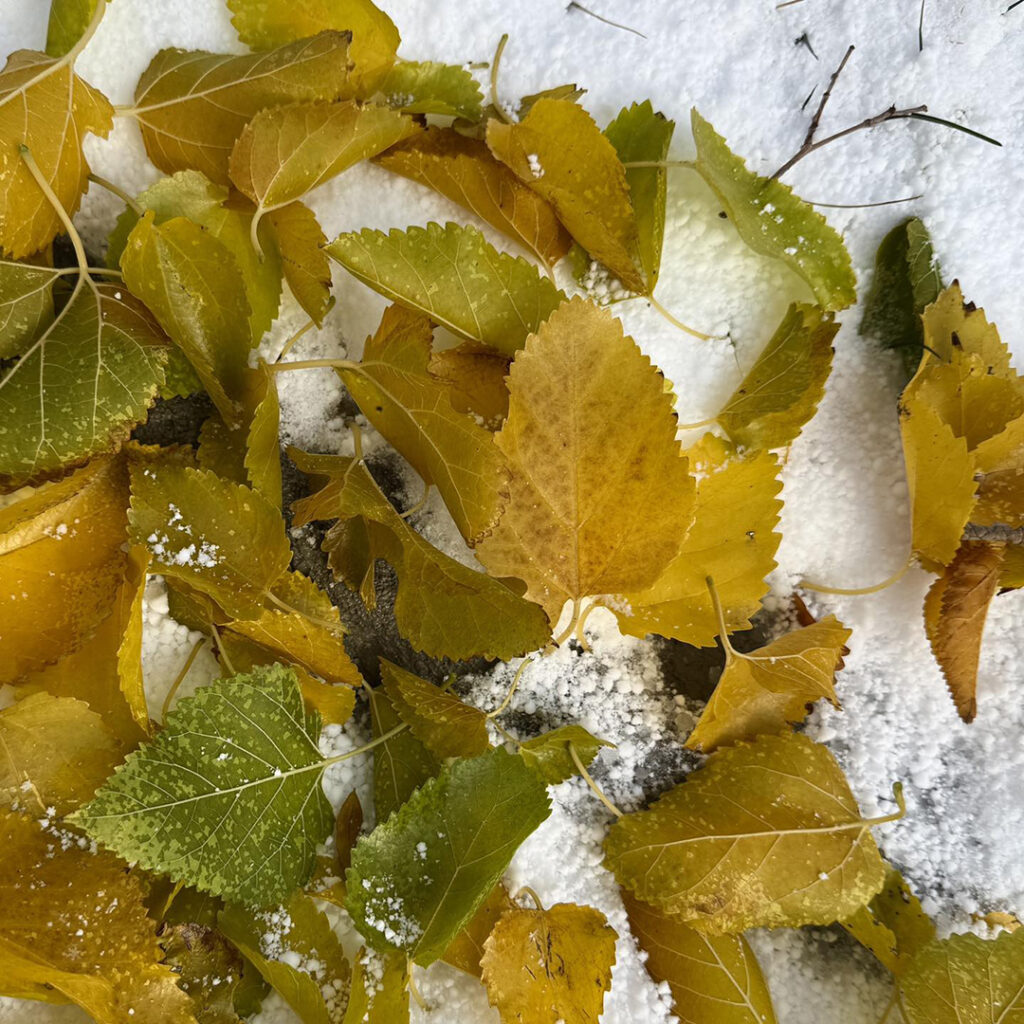
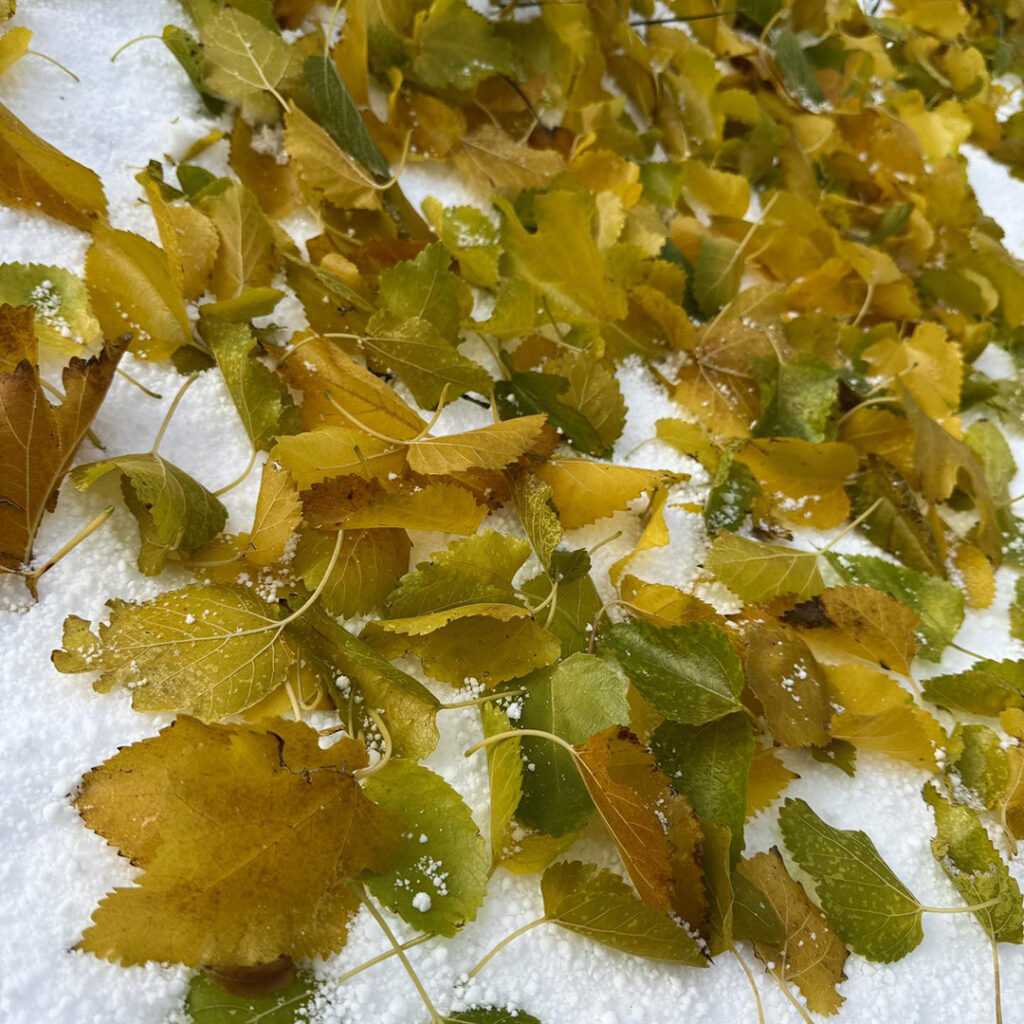
Well, we finally got our first snow of the season… a bit too soon for my liking. Nothing too heavy in my neighborhood. But it looks like some of the trees were caught off-guard too!
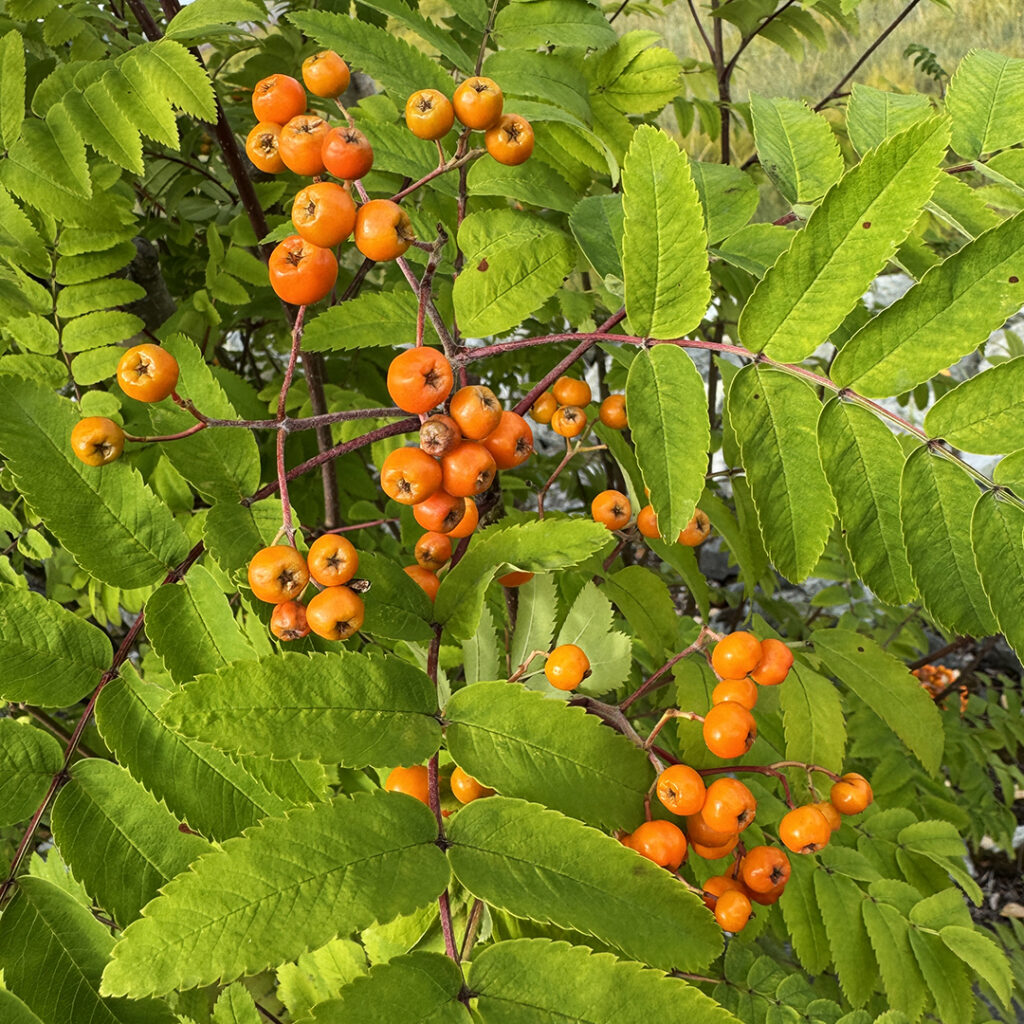
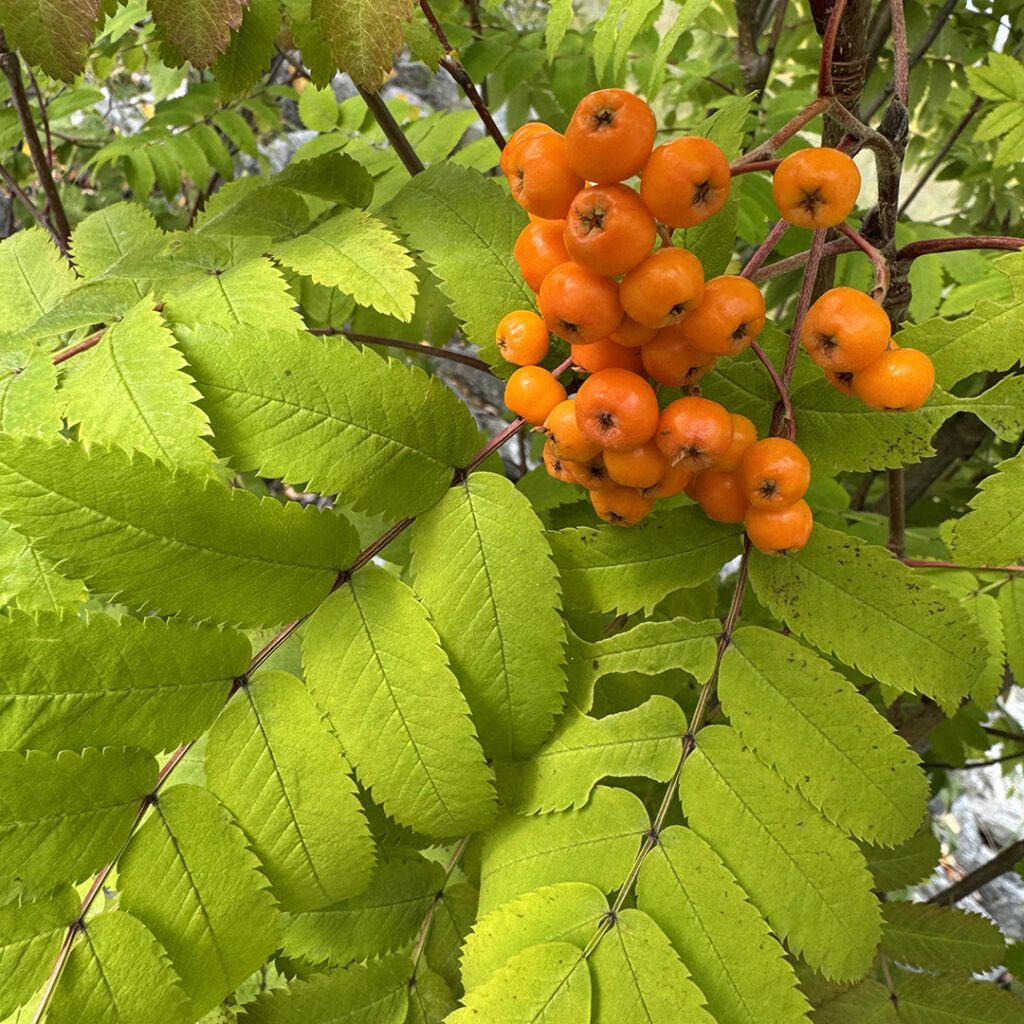
Another batch of mugs in the making… this time with a NEW festive holiday flair!!! A very Limited Edition… hopefully just in time for my HOLIDAY HOME SHOW coming soon!!!

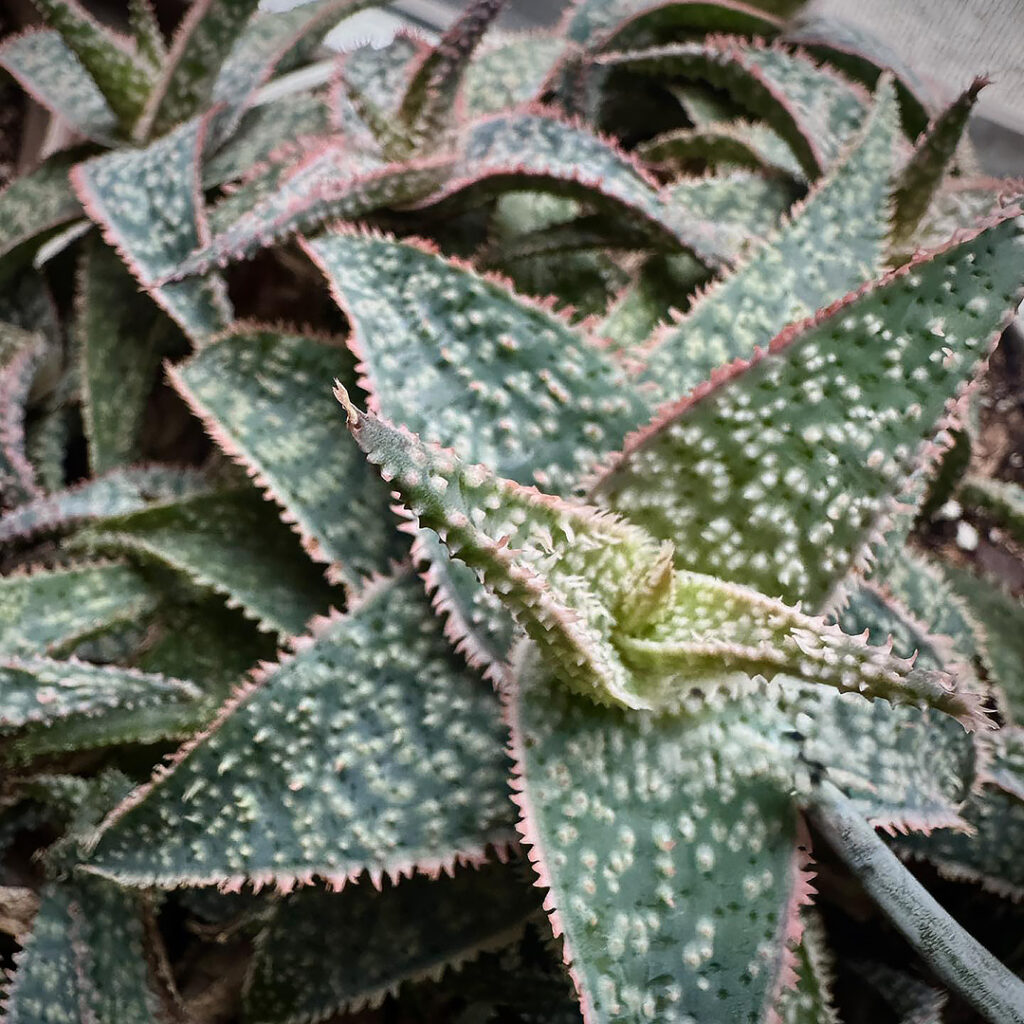
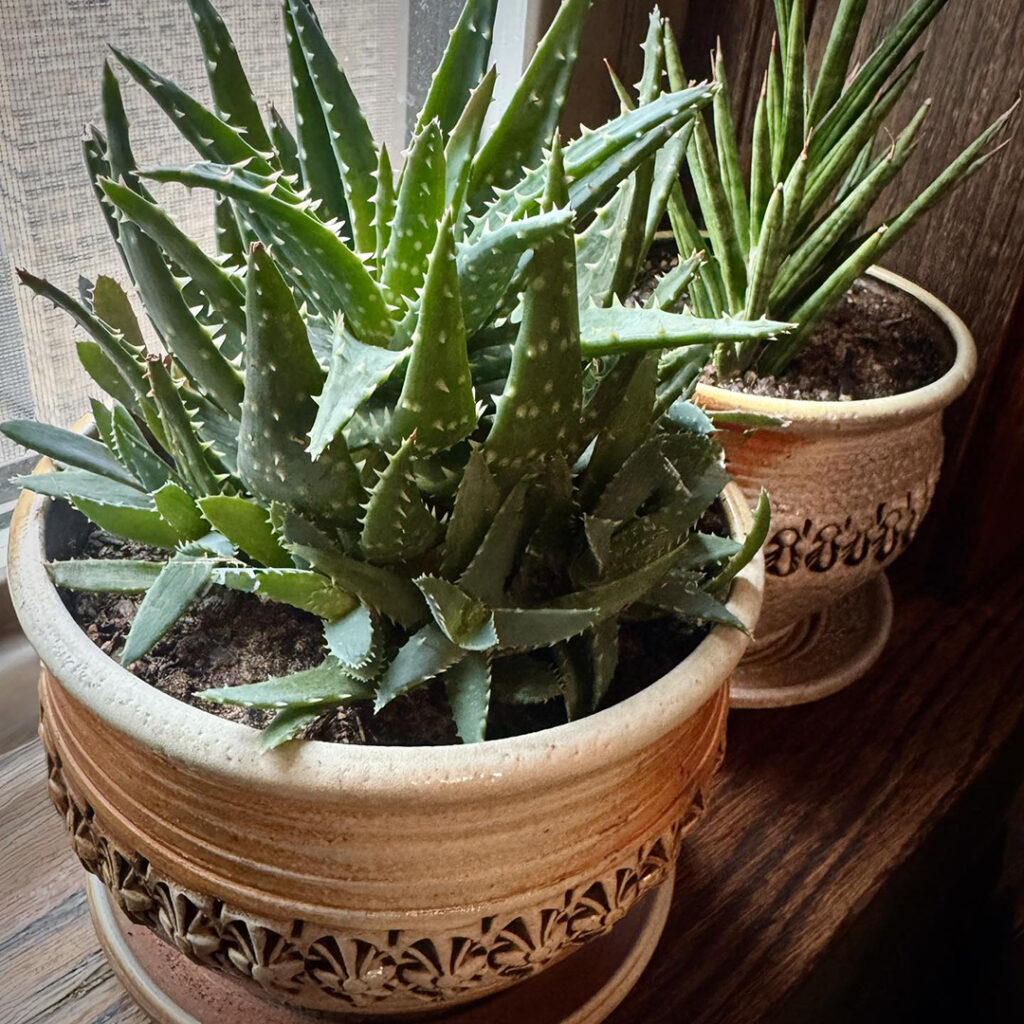
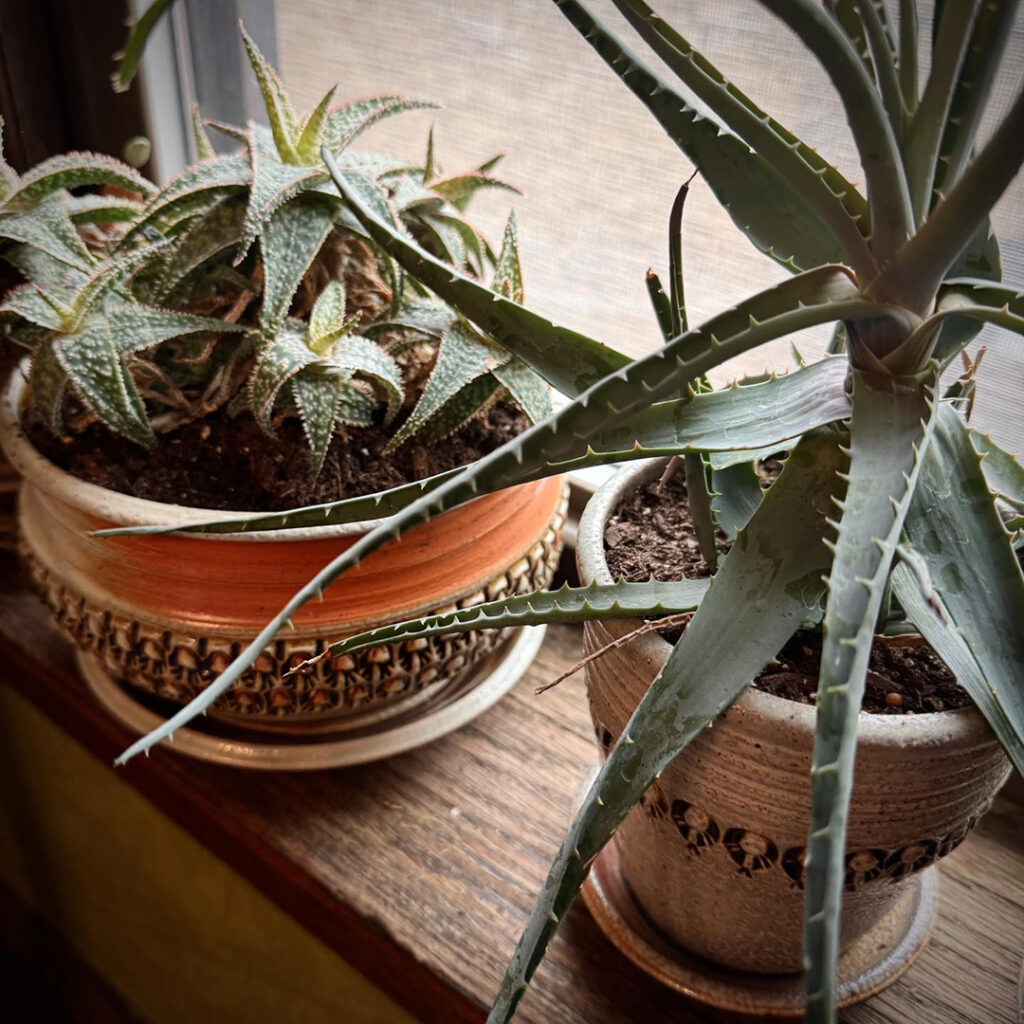
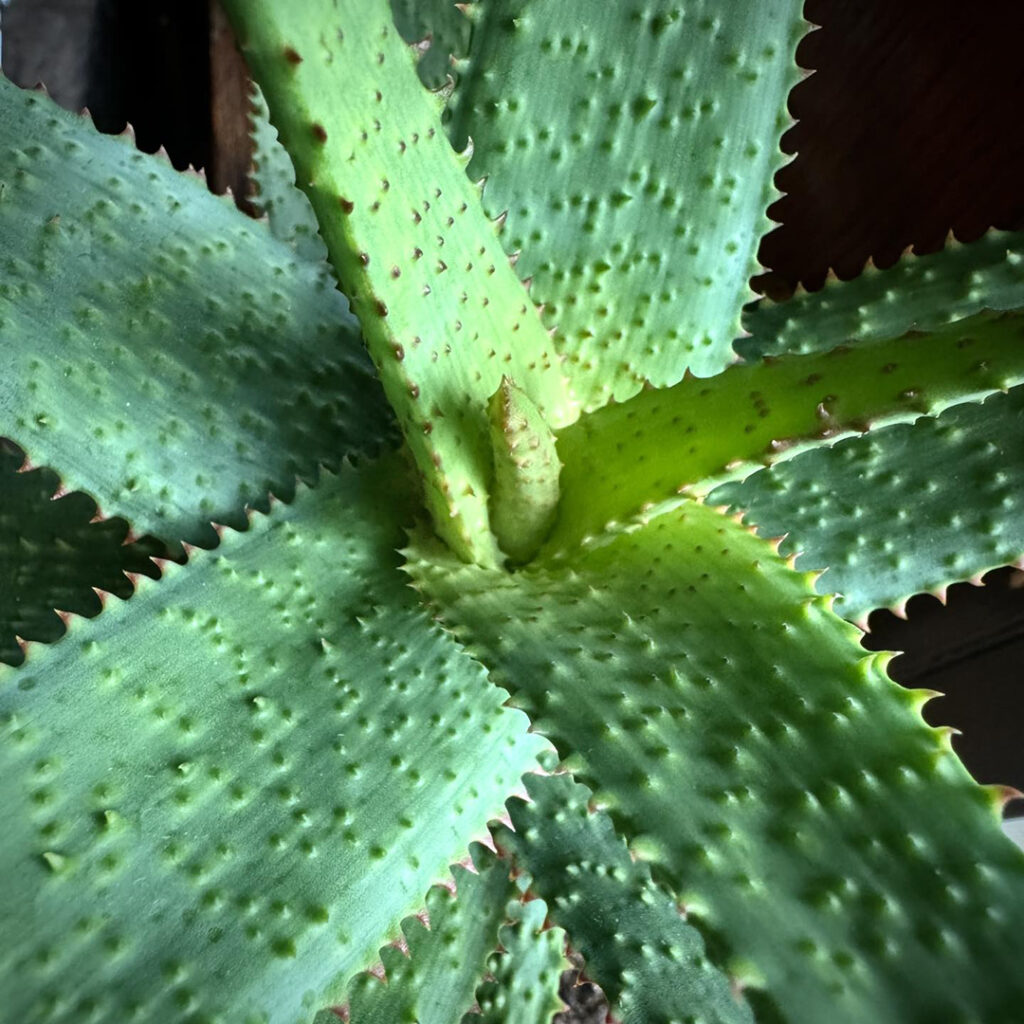
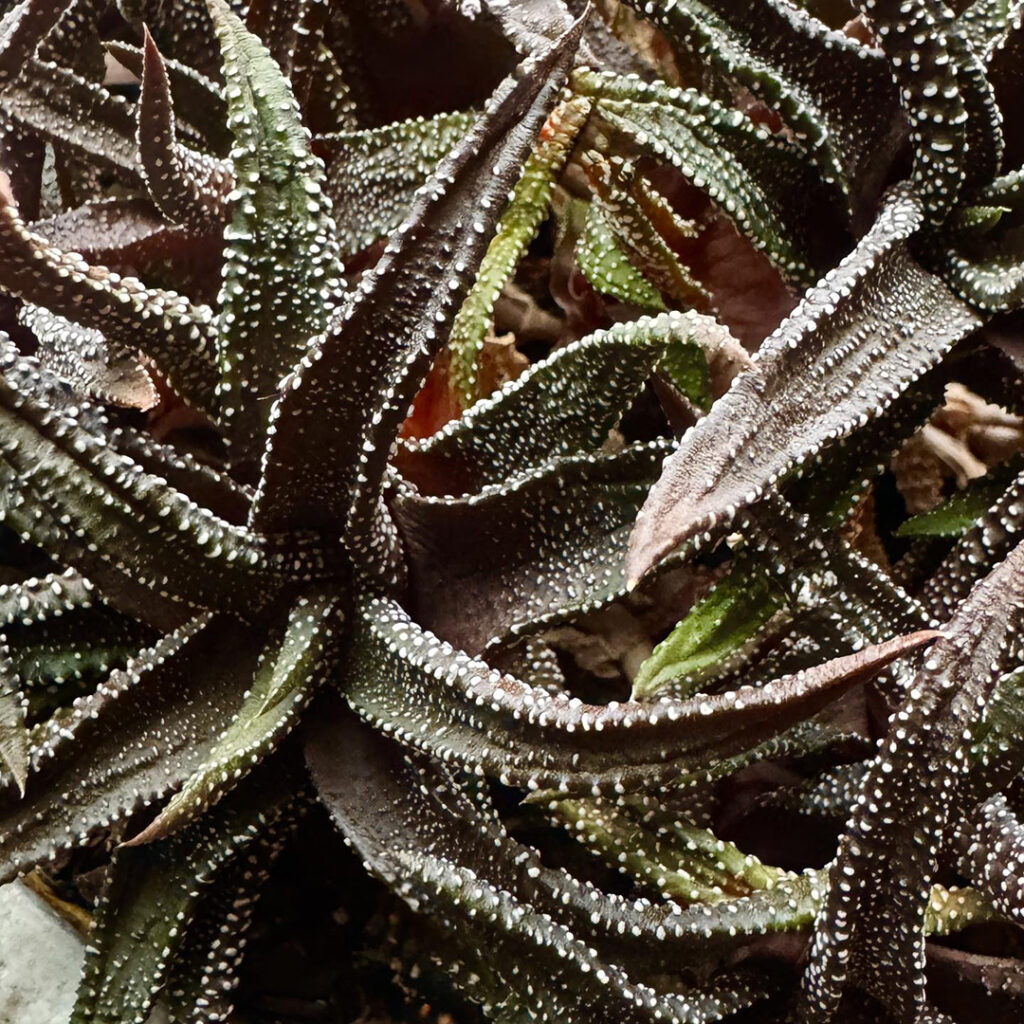
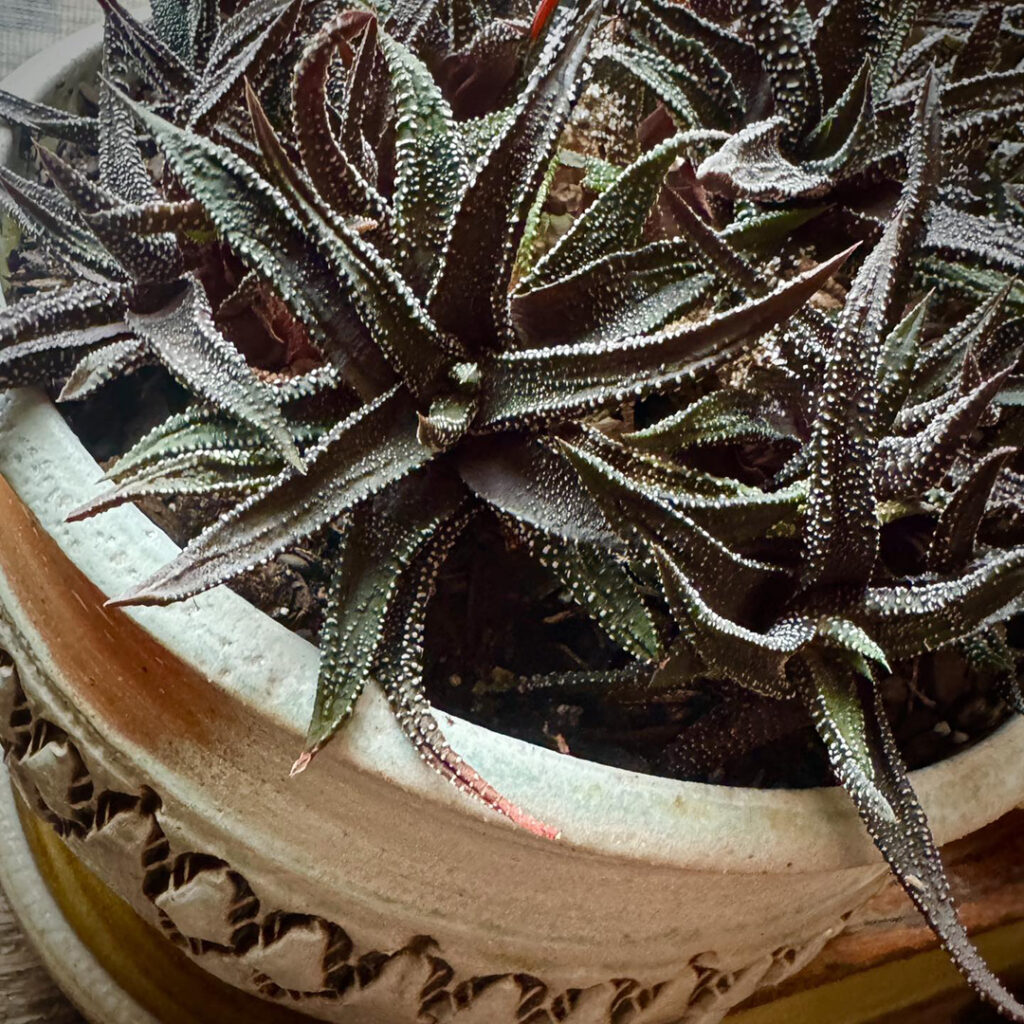
Gave my plants a little TLC this weekend… especially the cactus & succulents that get blocked behind the shelves for my Holiday Home Show. They look happy now in their handmade flowerpots… let’s hope they’re still happy a couple months from now when I finally get to take all of the shelving back down?! I mean… they’re cactus, they’ll be fine, right???

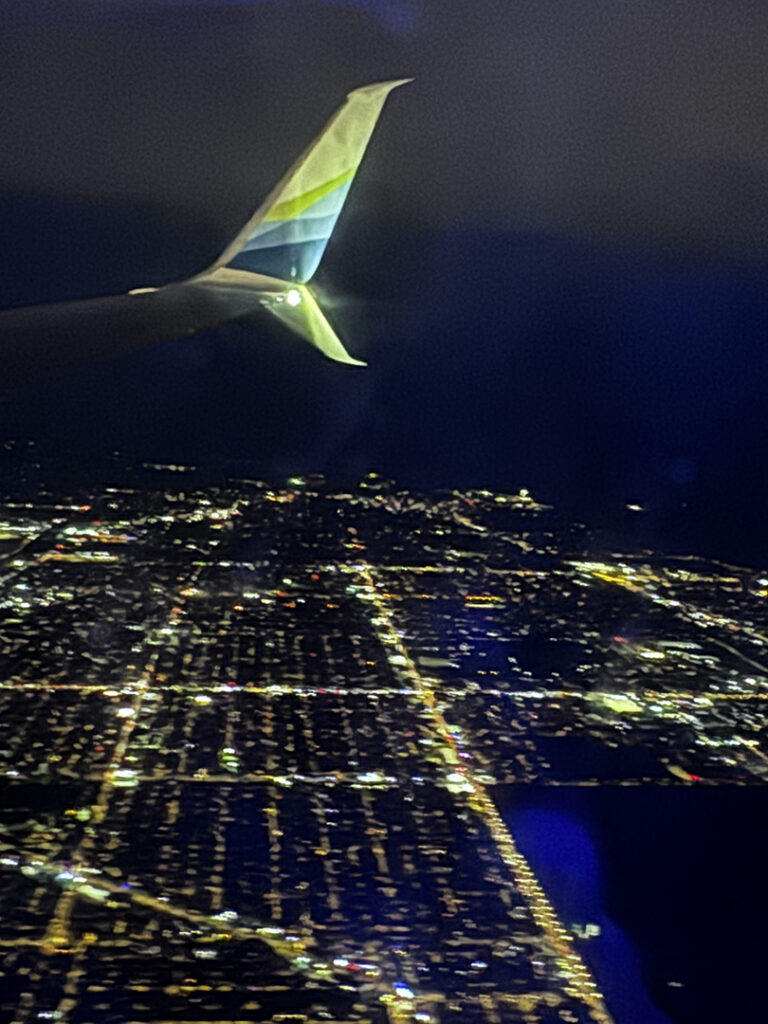
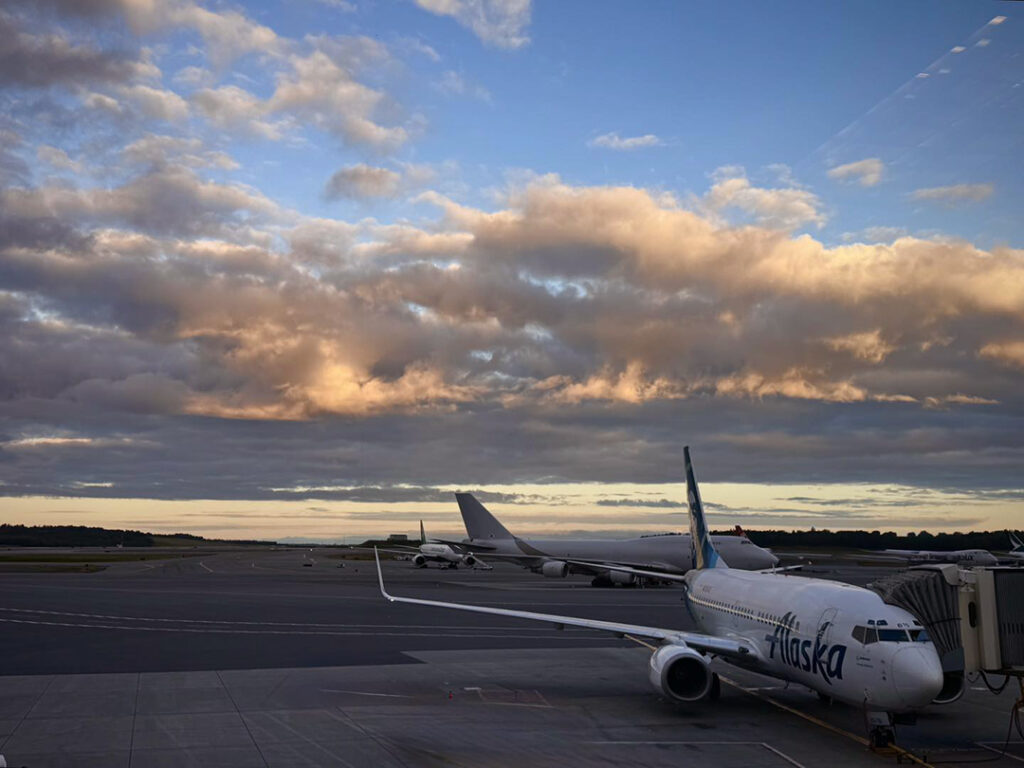
Well, not anymore… after a week in Alaska is felt great to be making it back home. Of course after a great nap on the plane… it was nice to see the bright lights of Chicago through the airplane window. THANK YOU ALASKA for an amazing week… so beautiful, so many great memories. Thanks to everyone who made my trip so memorable!!!
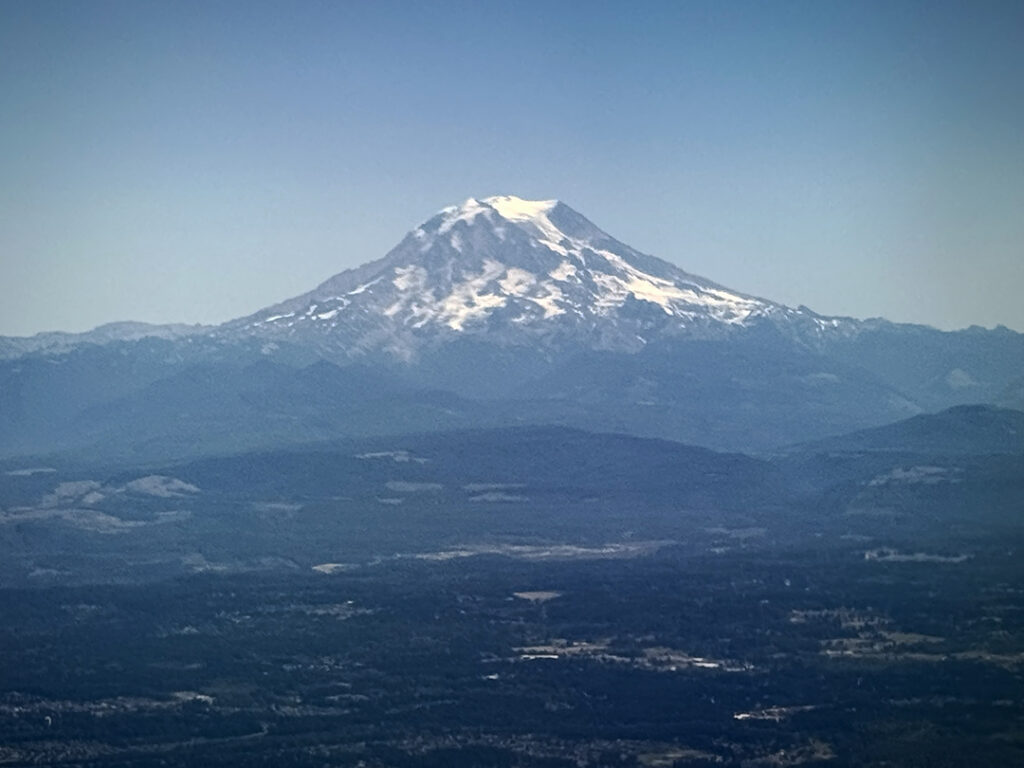
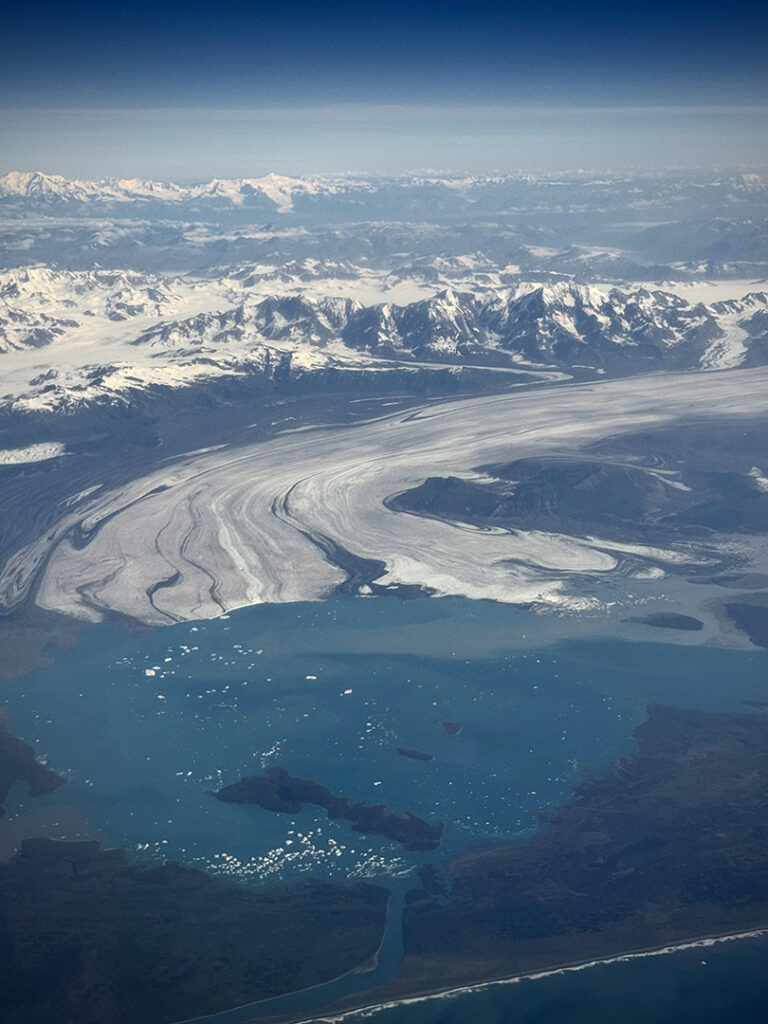
One last mountain on my way home… with a layover in Seattle and a view of a snow-covered Mt. Rainier.
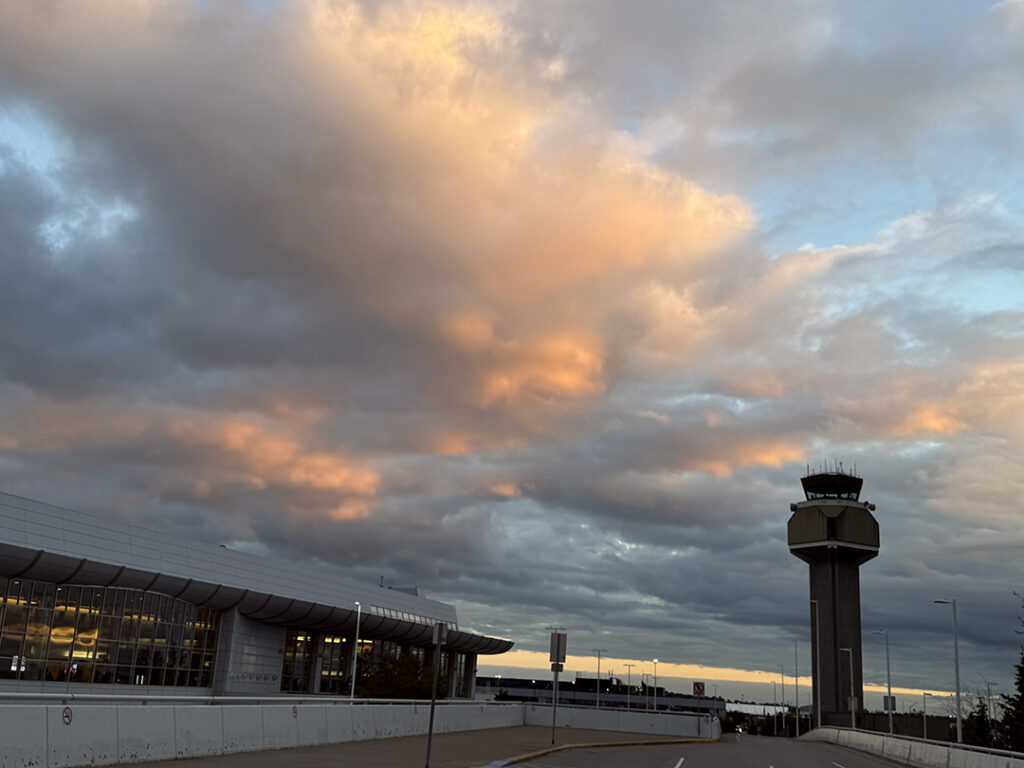
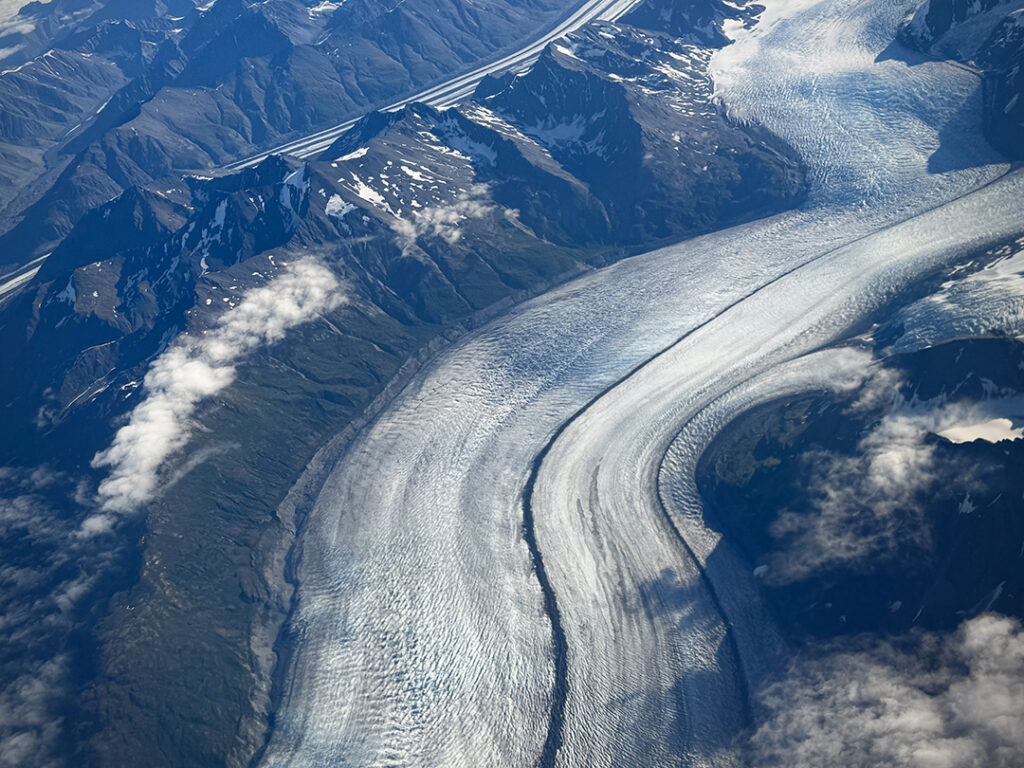
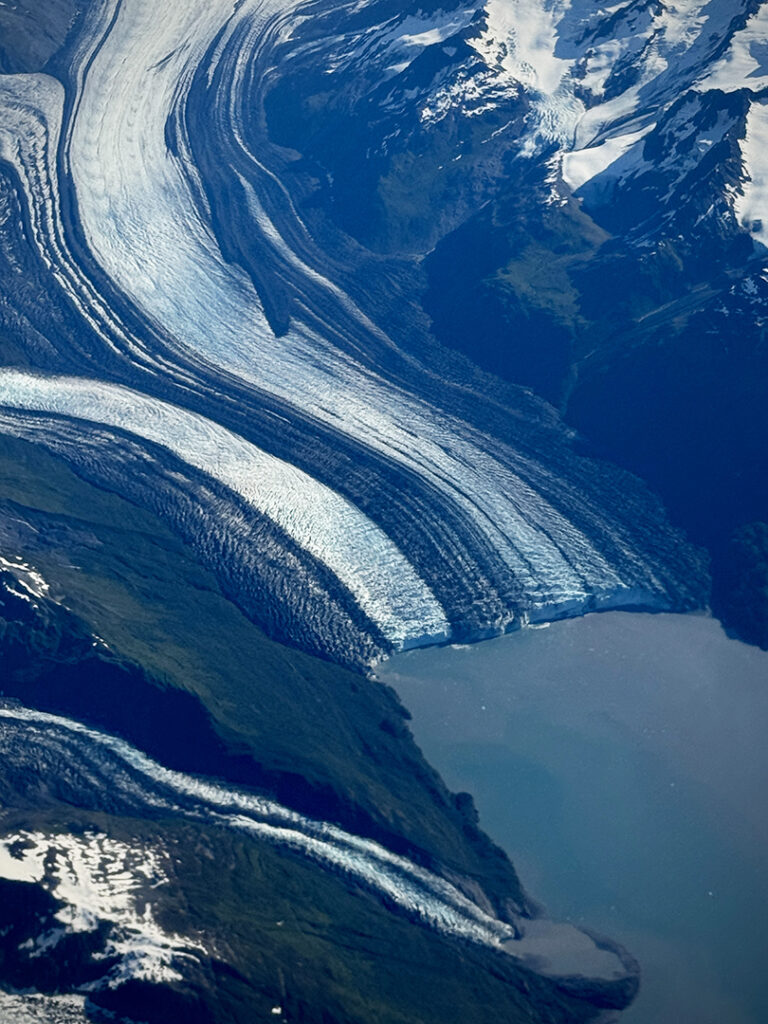
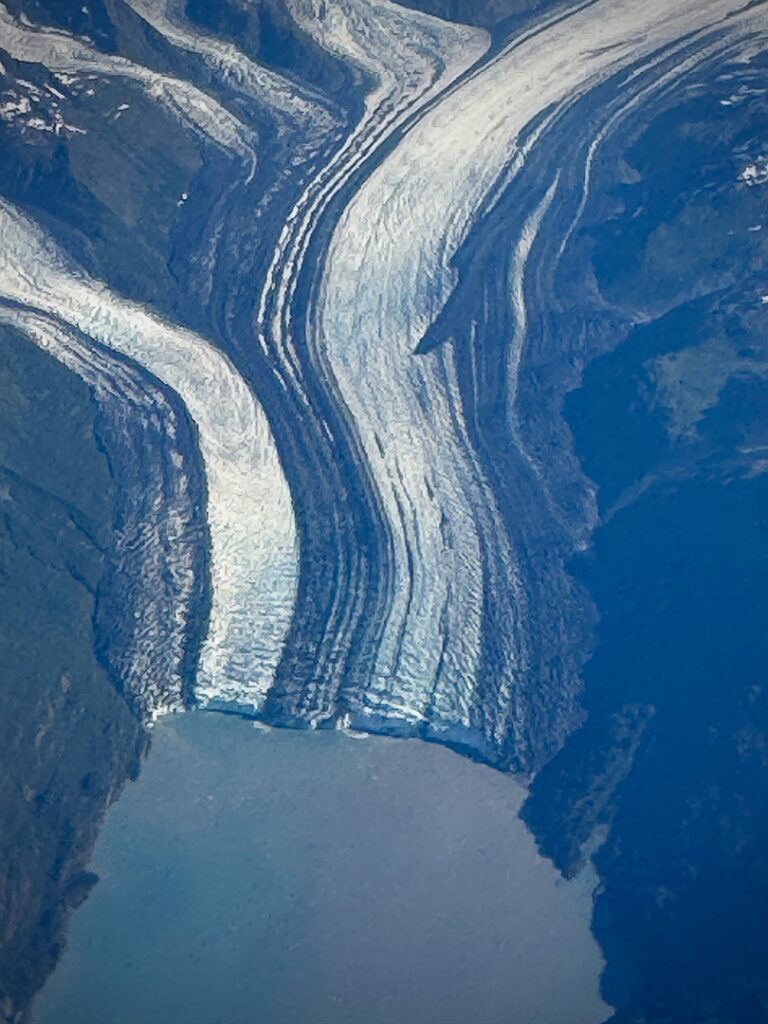
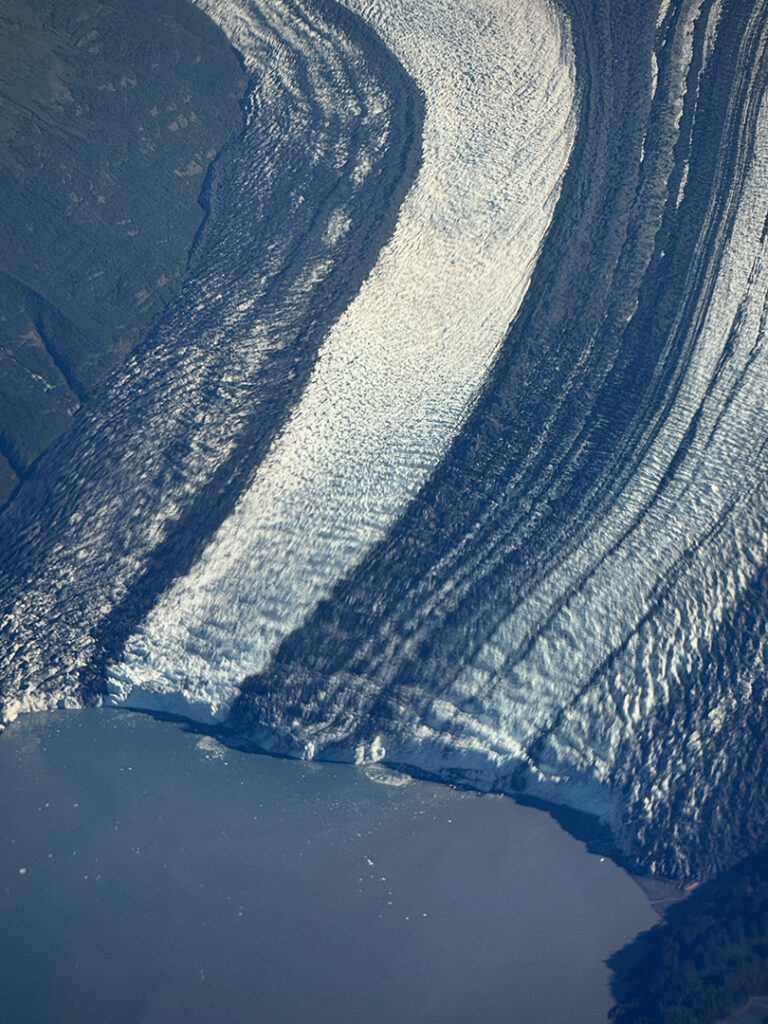
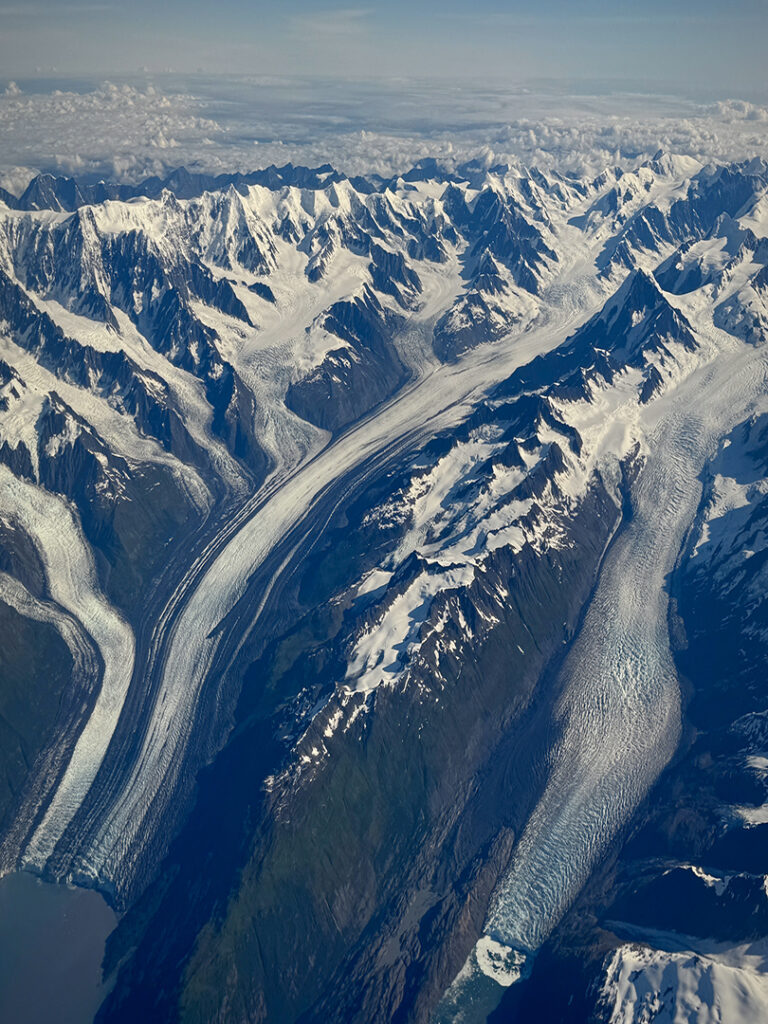
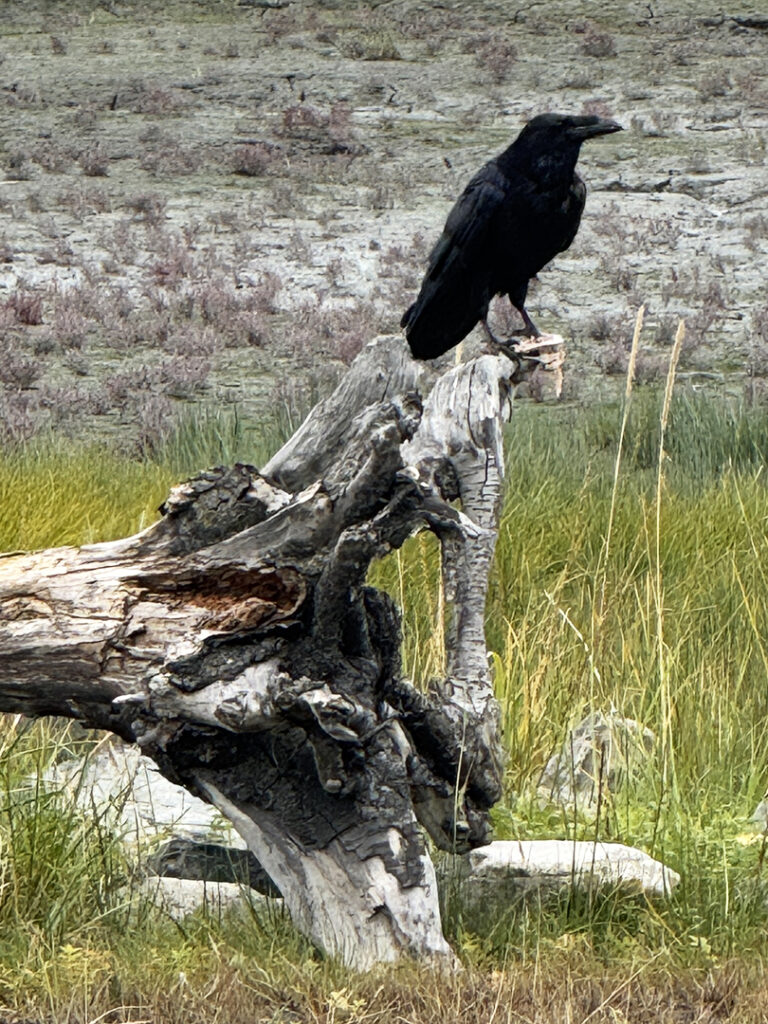
The last day of my Alaska Adventure had finally come… Friday morning flying out of Anchorage International Airport. A beautiful sunrise to start the day… but even more beautiful sights as we were flying. Typically I fall asleep immediately on an airplane… but not this time, there was to much to see. Crazy cool mountains & glaciers all over the place!!! Even more stunning from above!


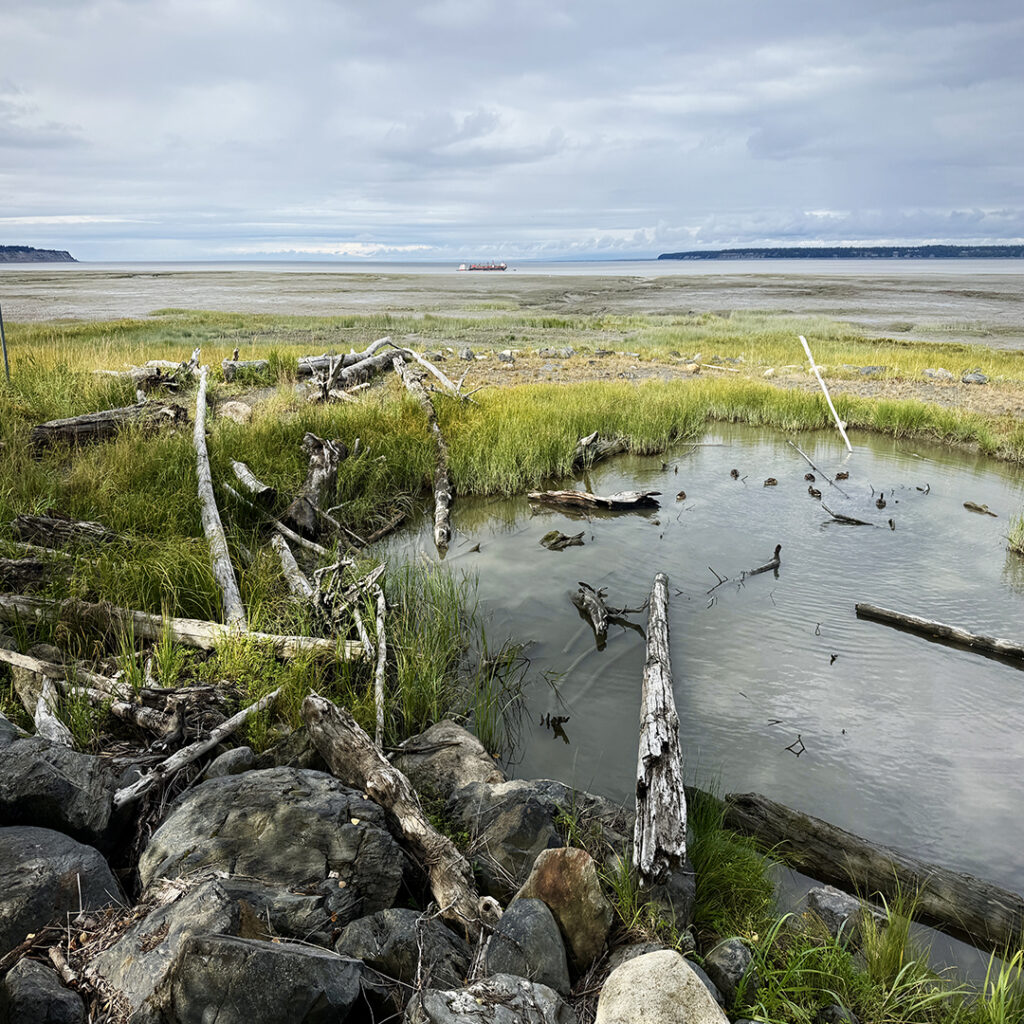
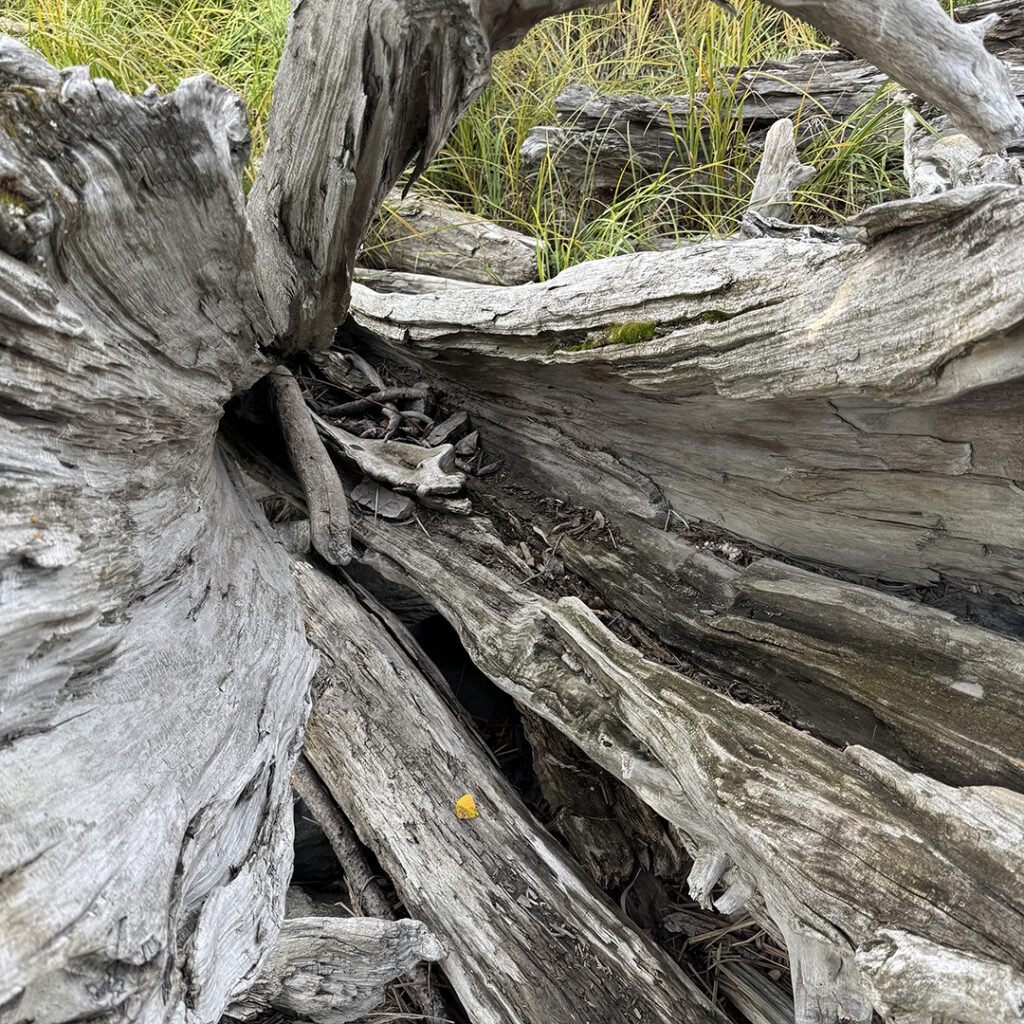
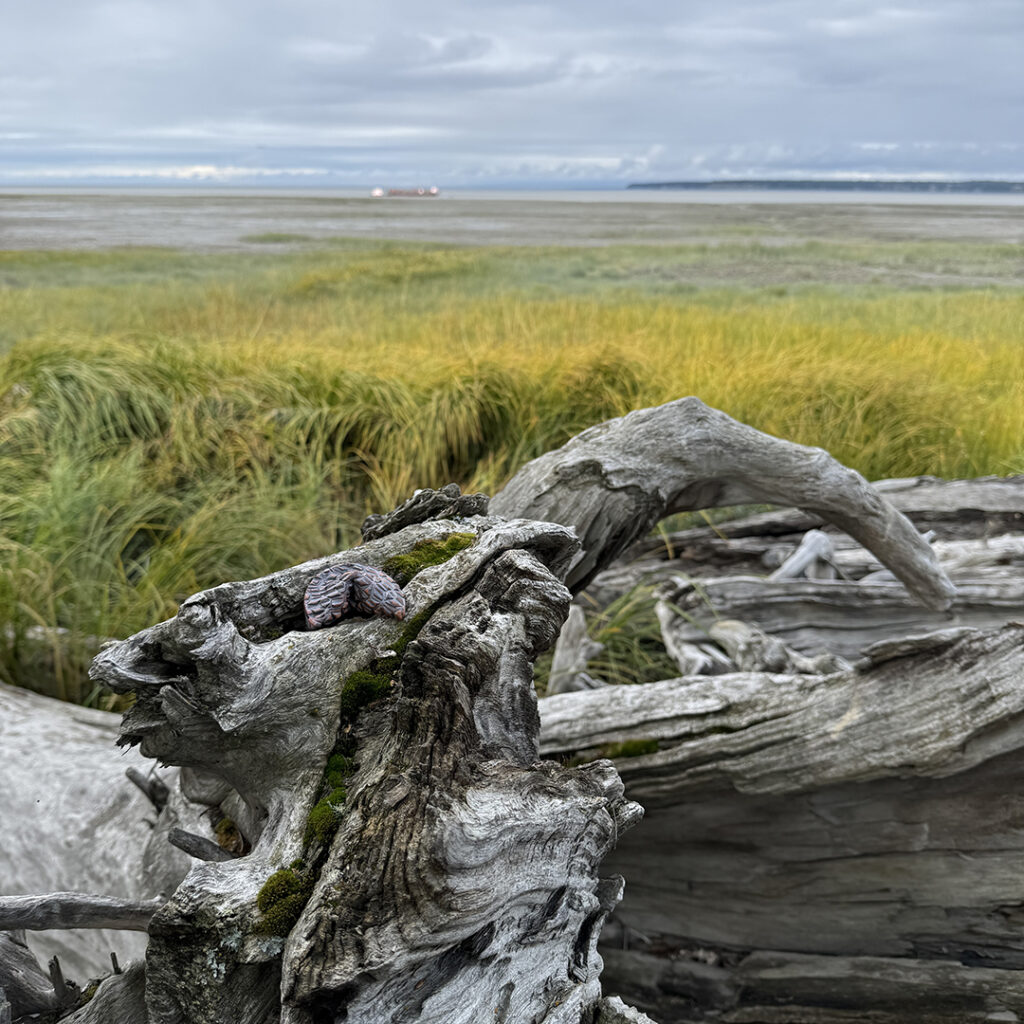
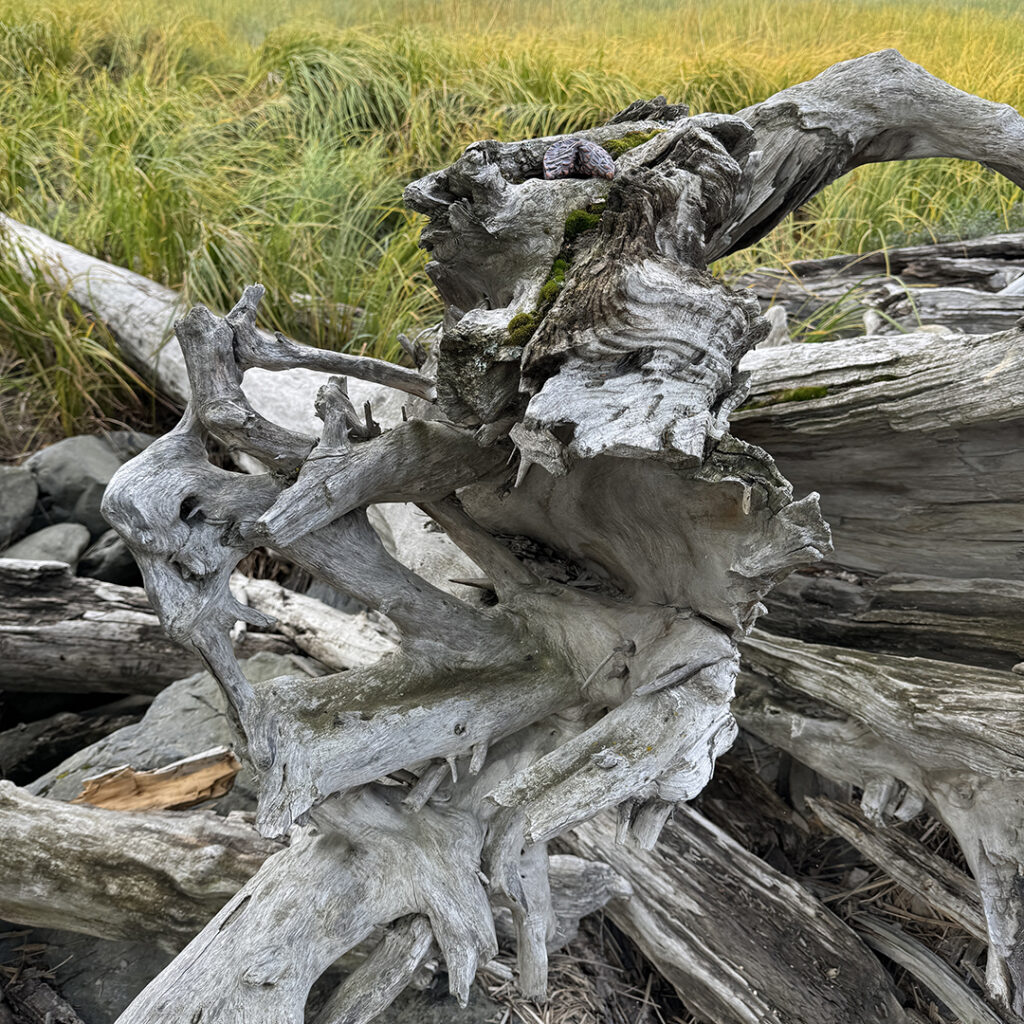
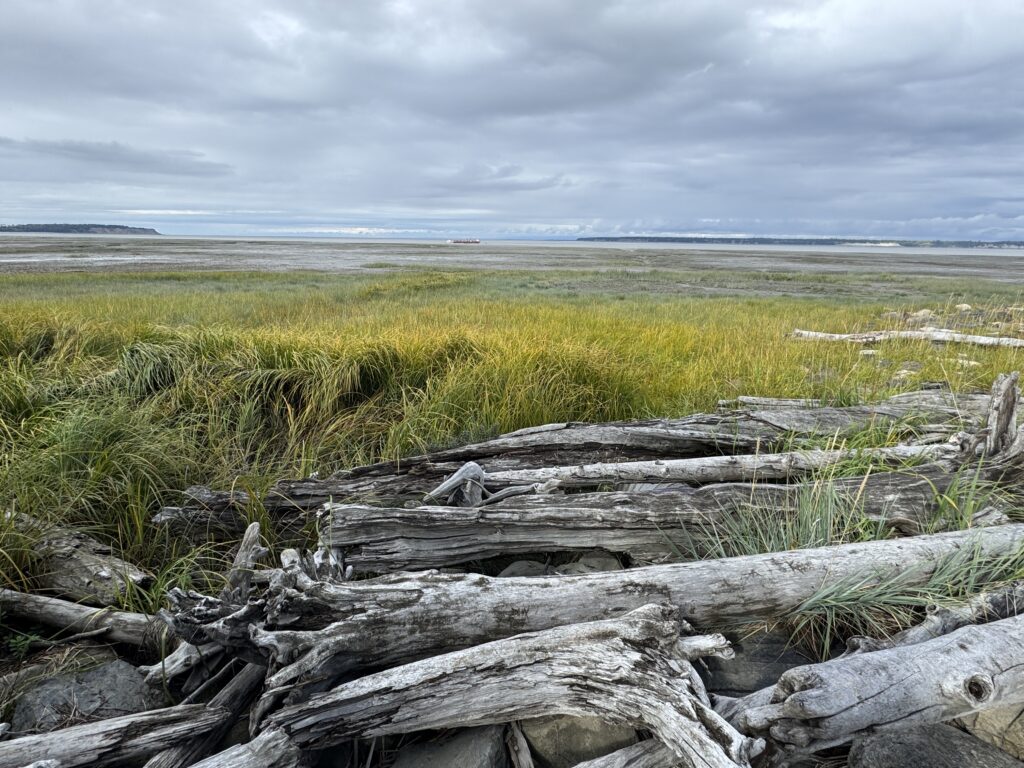
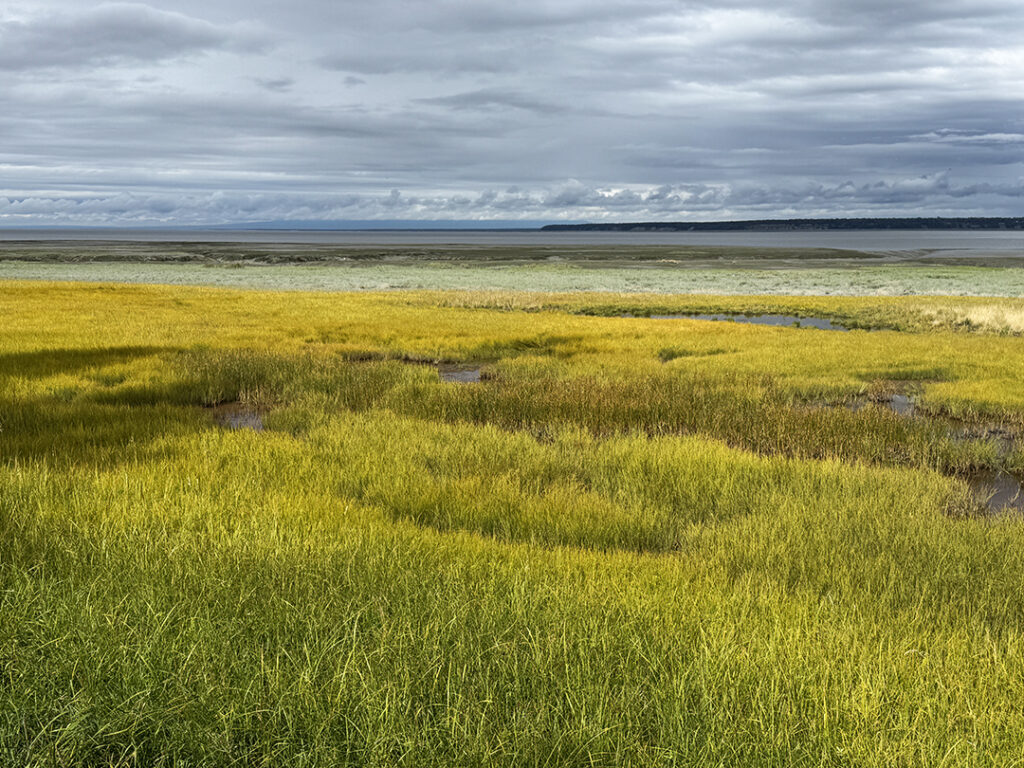
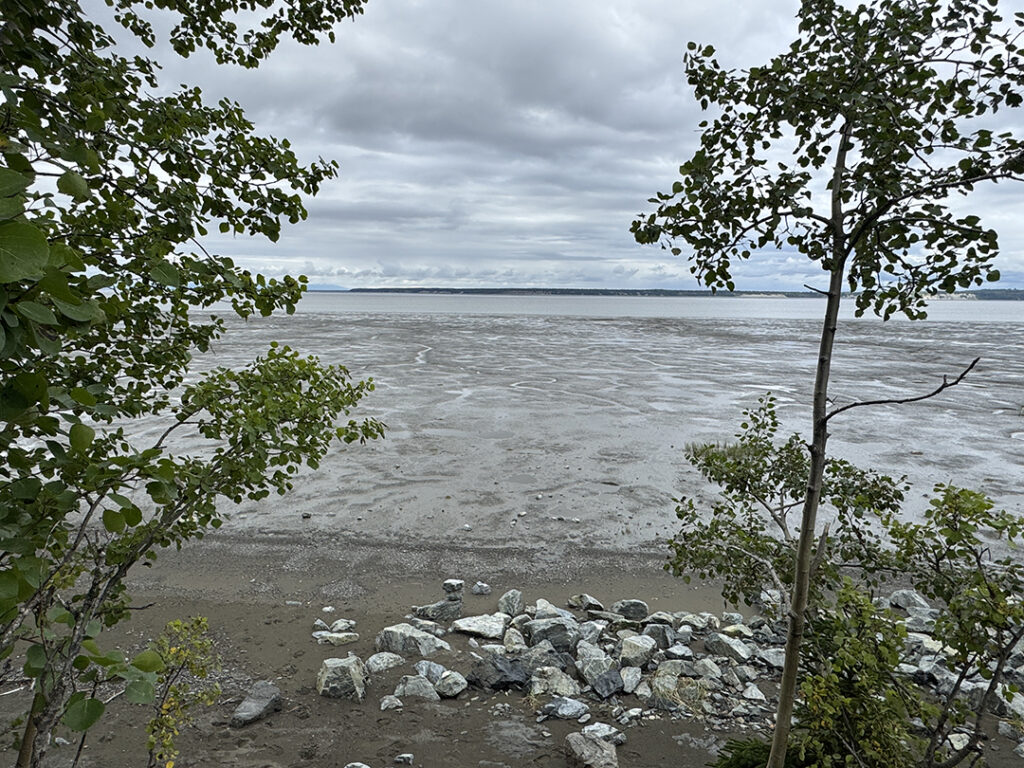
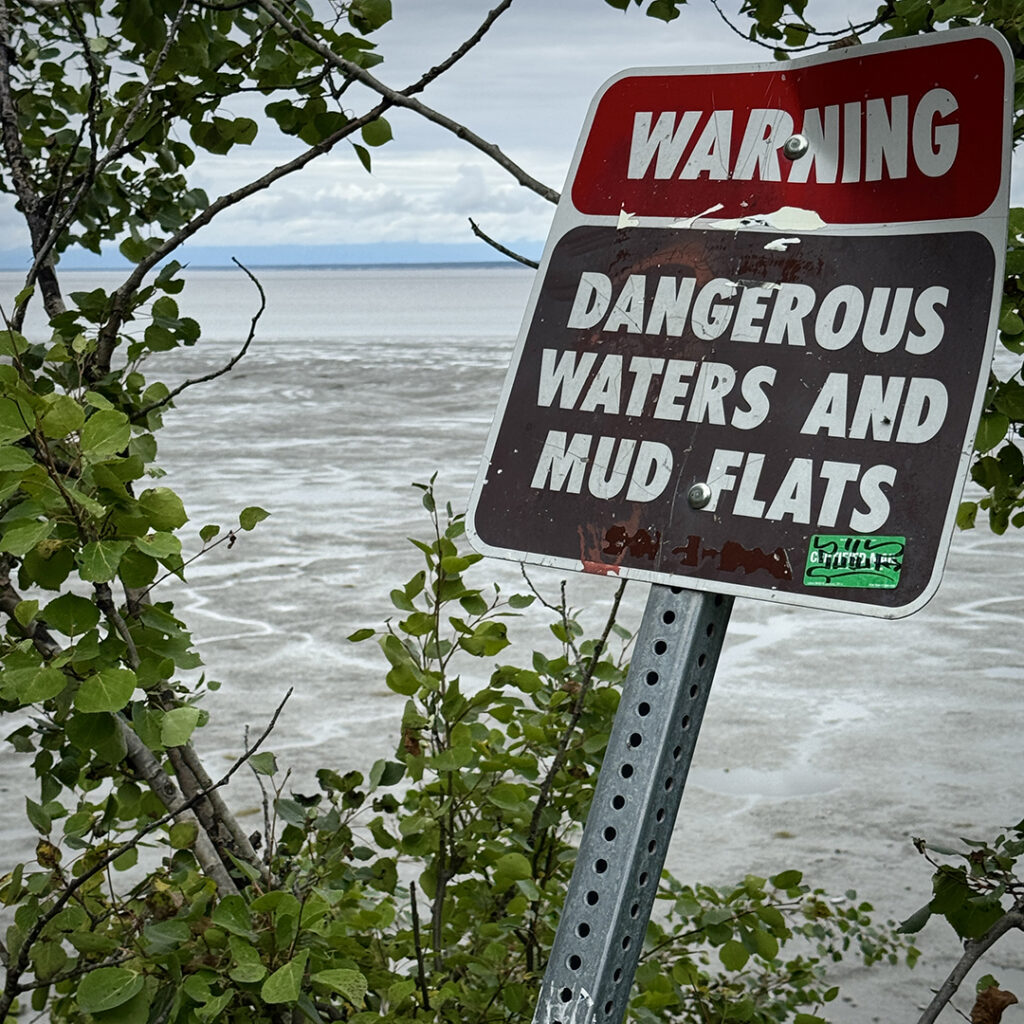
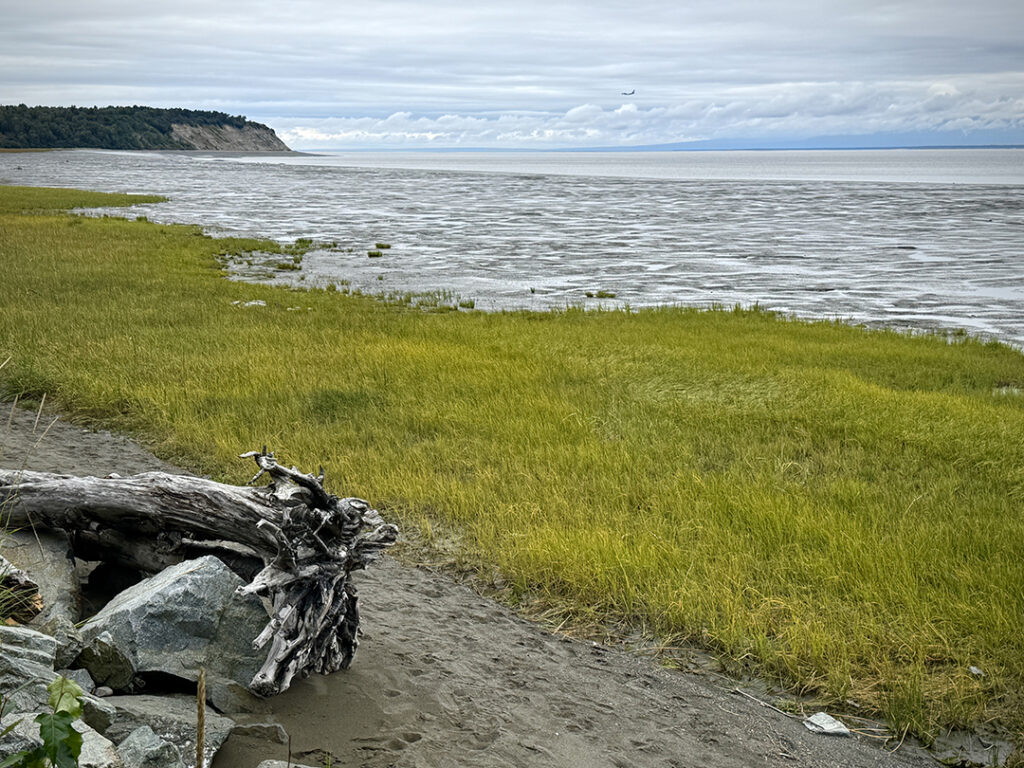
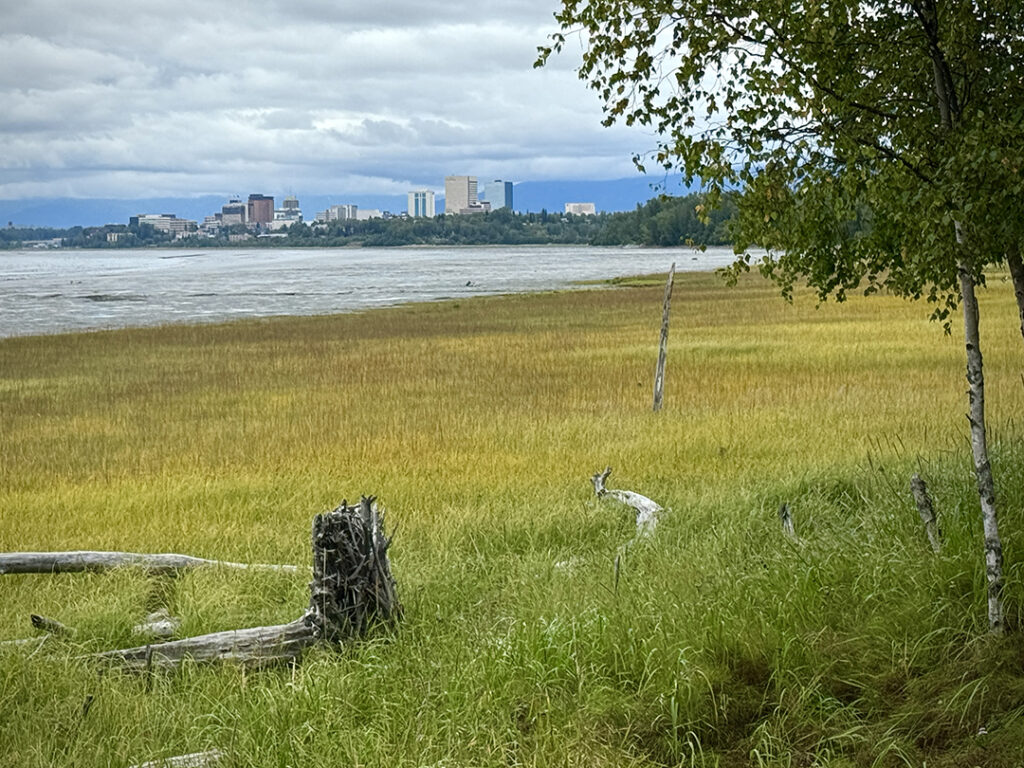
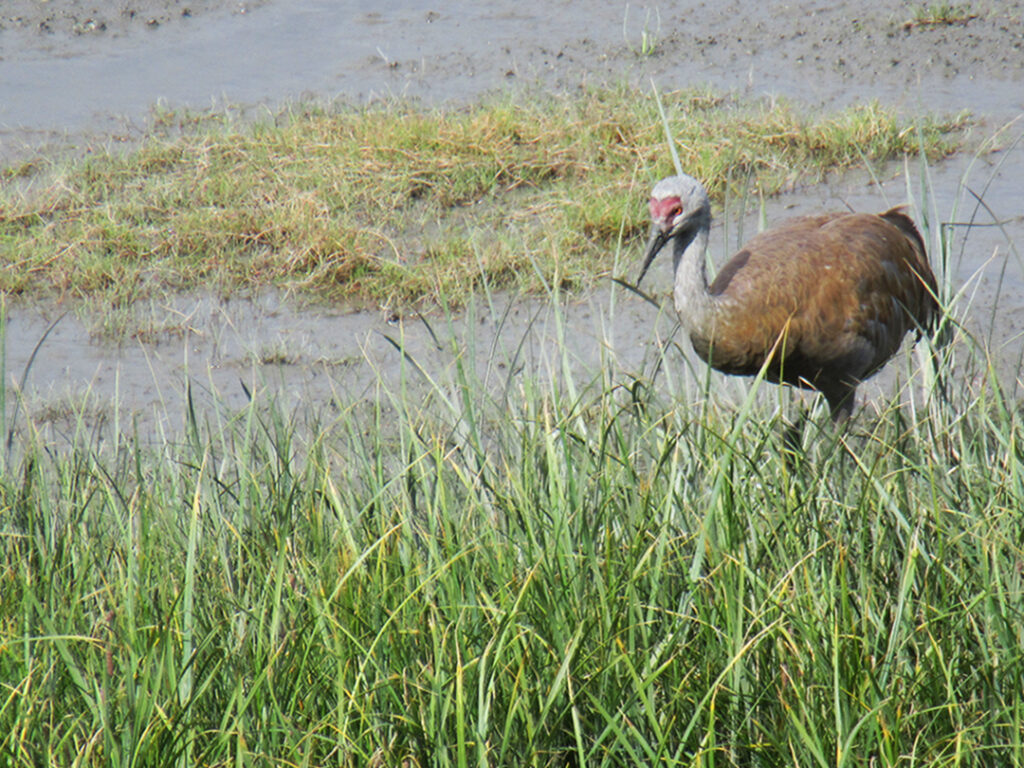
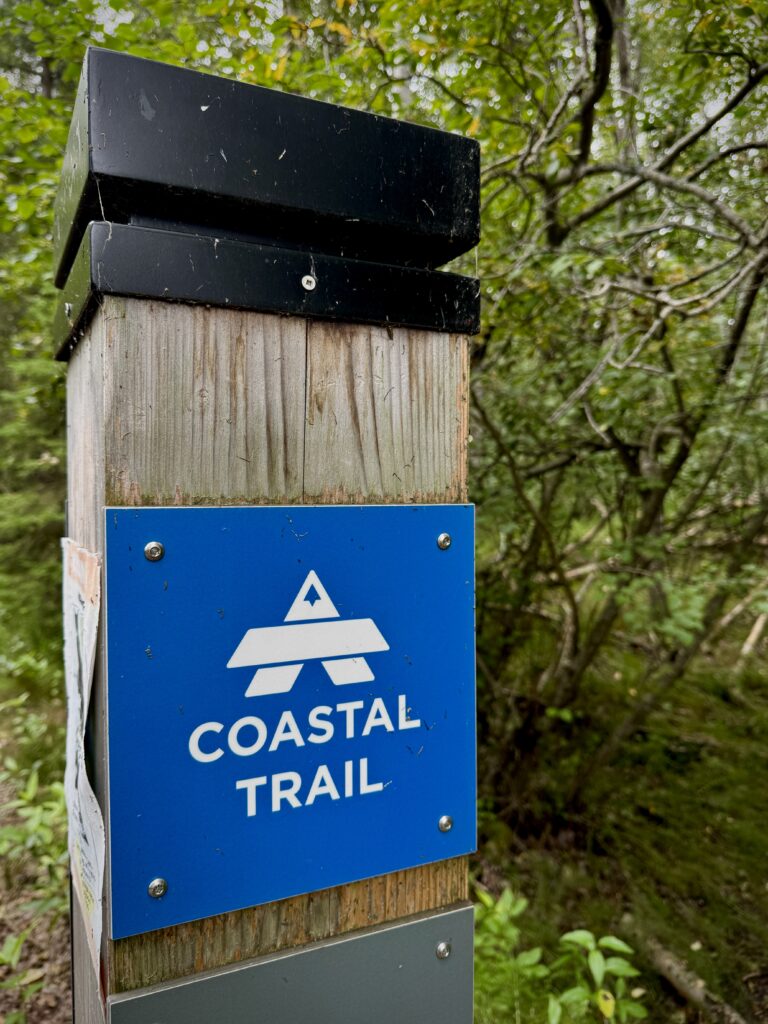
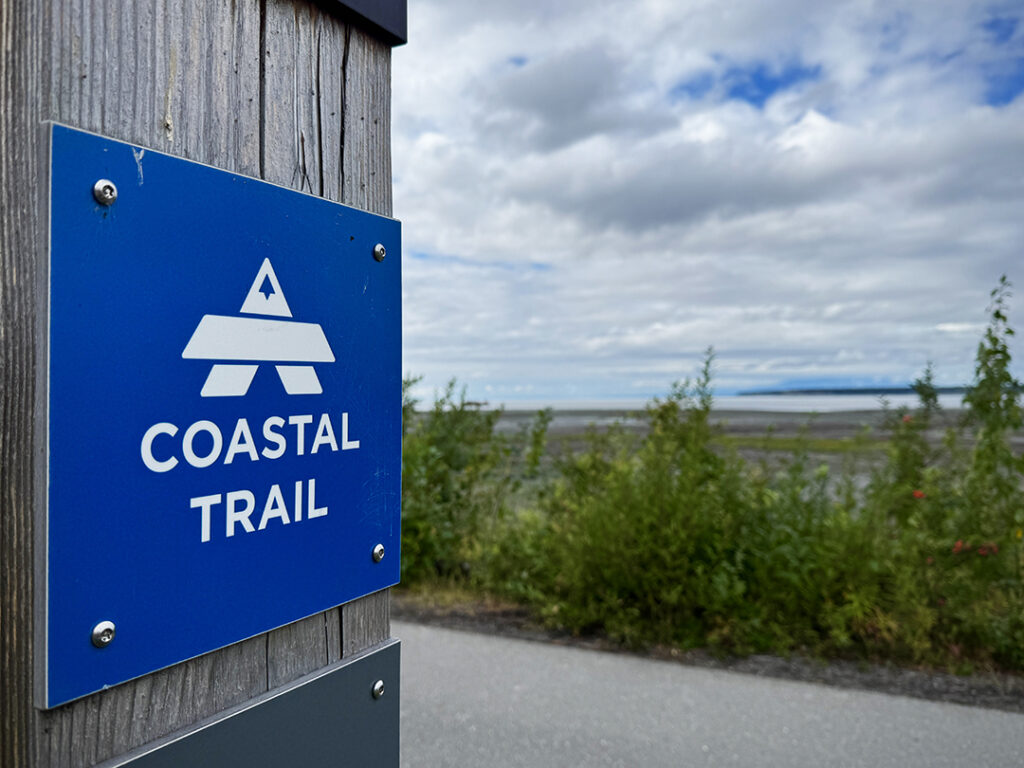
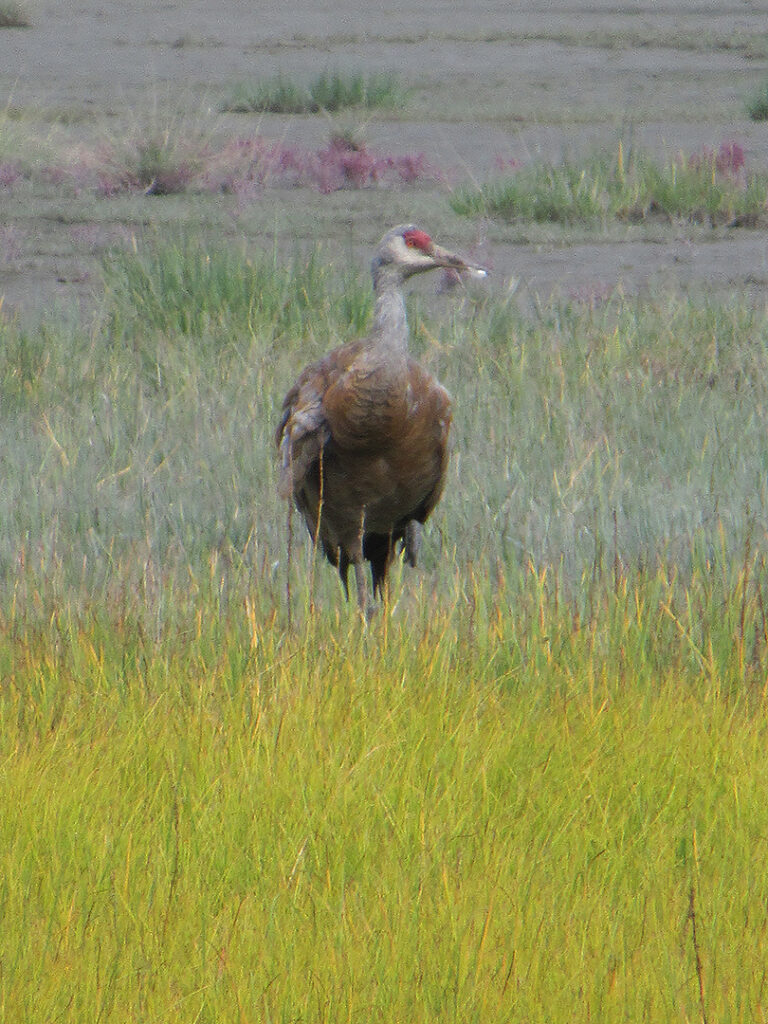
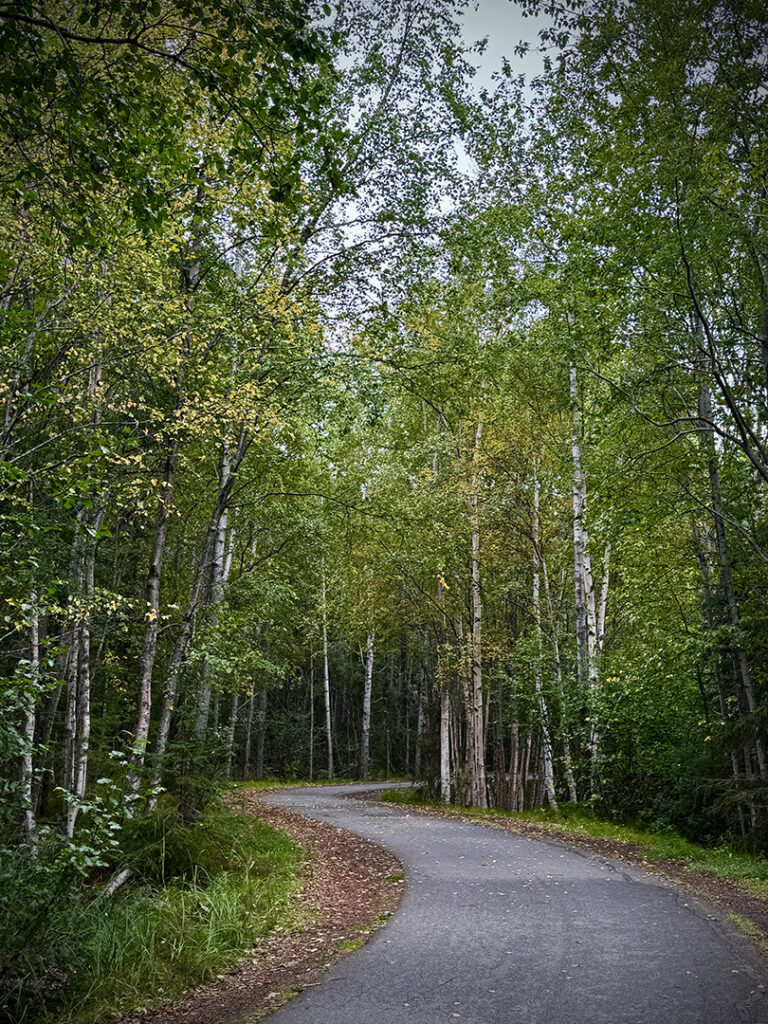
With the afternoon to myself, I decided to hike along the Anchorage Coastal Trail. I considered renting a bike for a change, but the trail didn’t look all that long on my map. So I decided to walk it instead. It was a well-maintained paved path all along the waterfront. Curving in & out along the shore, which during low tide reveals the mudflats which were pretty cool to see. I kept walking until I made it down to Earthquake Park… and it was then that I realized that the Coastal Trail went a lot further than my map showed… it continued past the edge of the paper – HA!!! Dang, I shoulda’ rented a bike!!! Still a great hike on my last day of fun in Alaska!


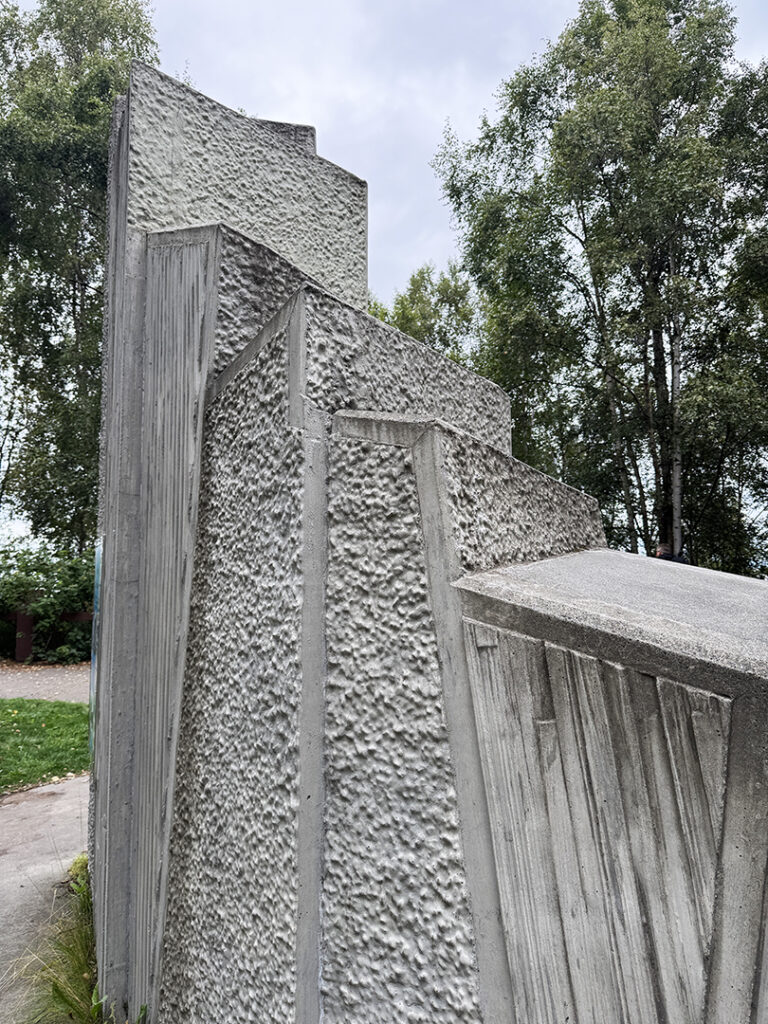
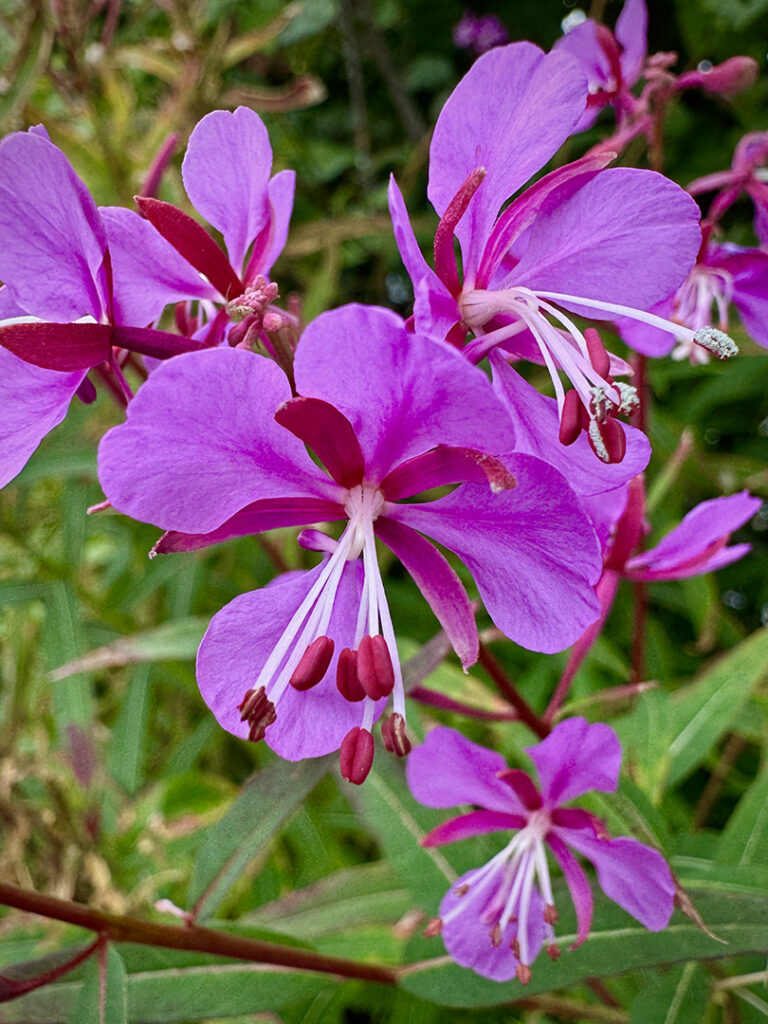


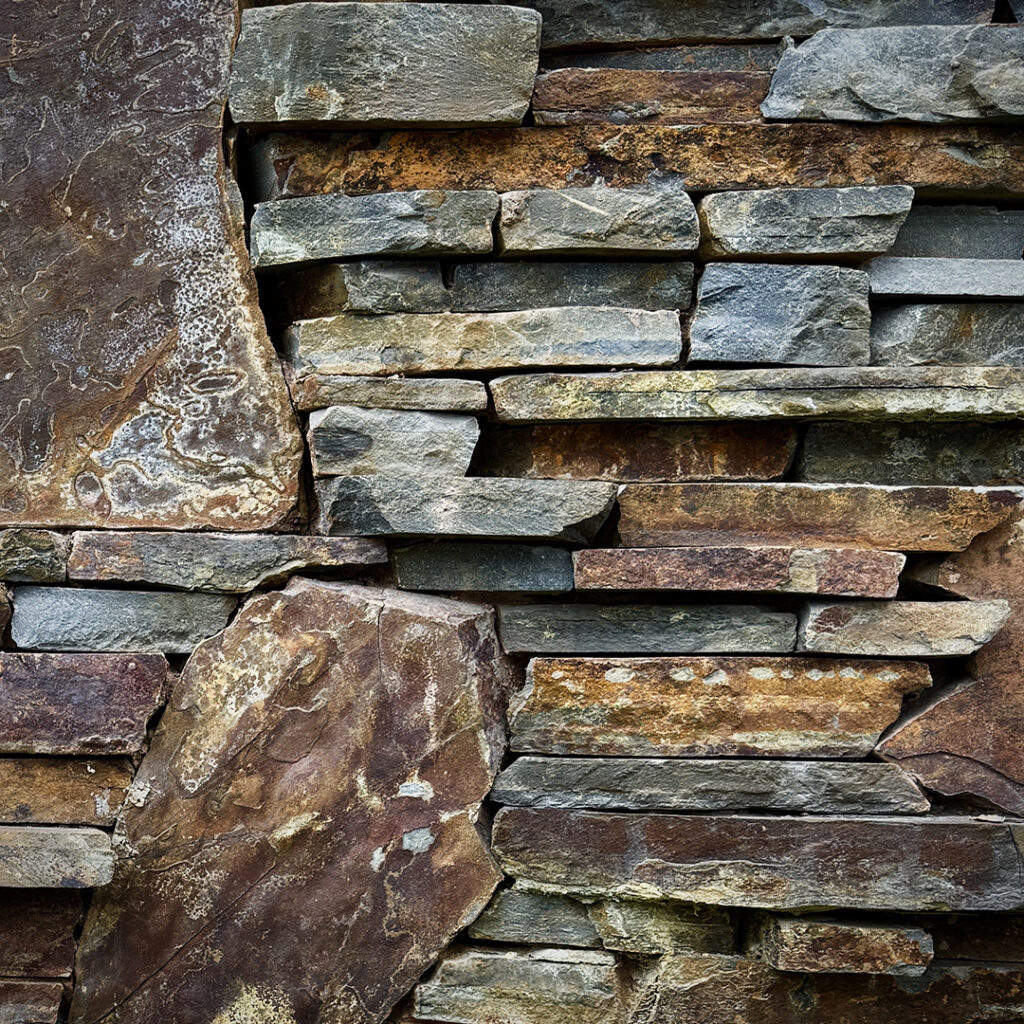
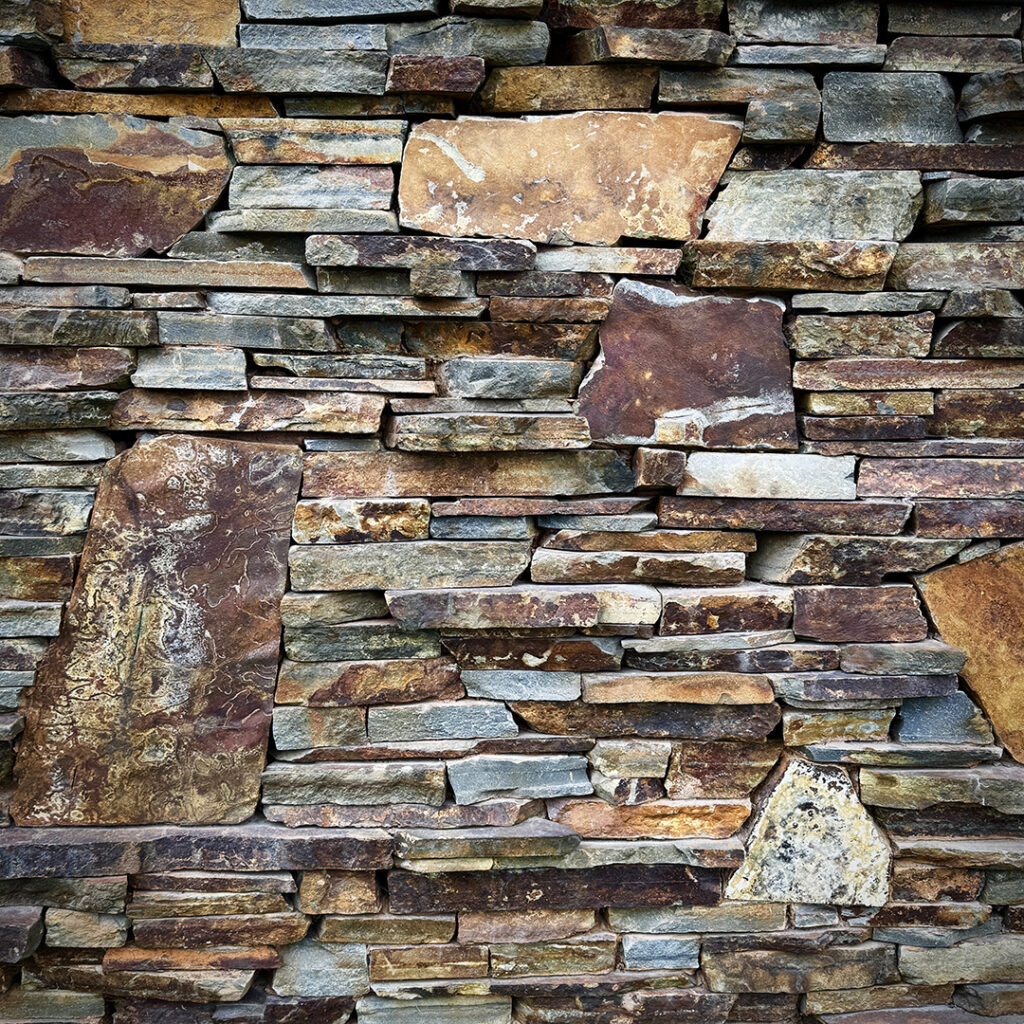
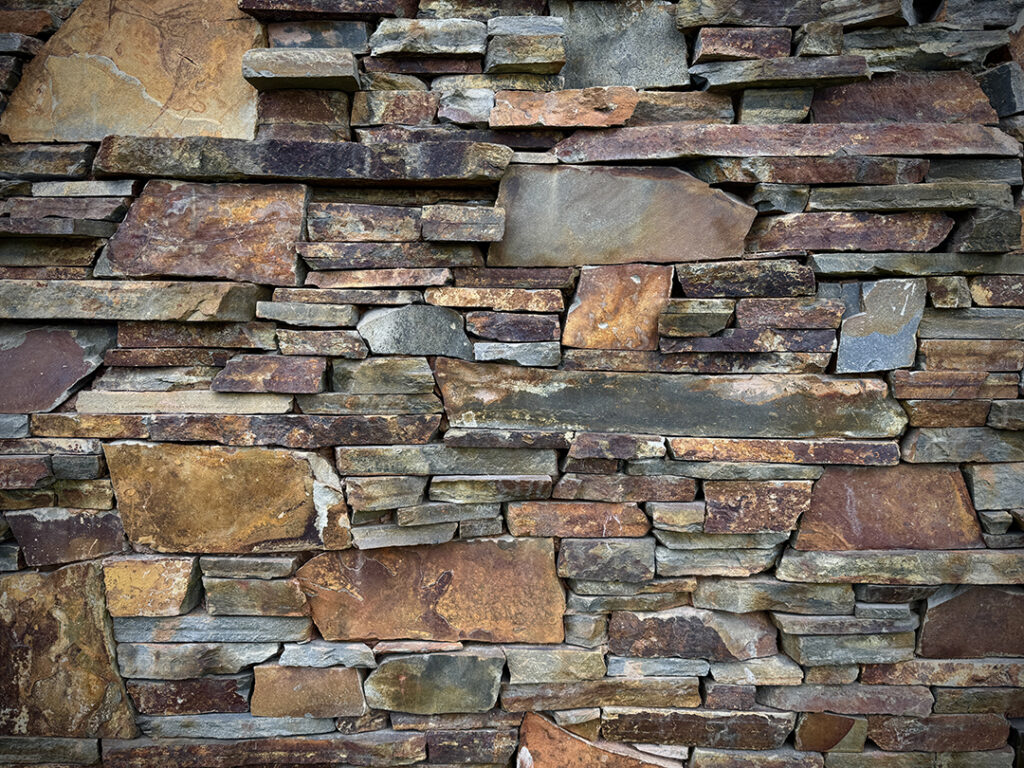
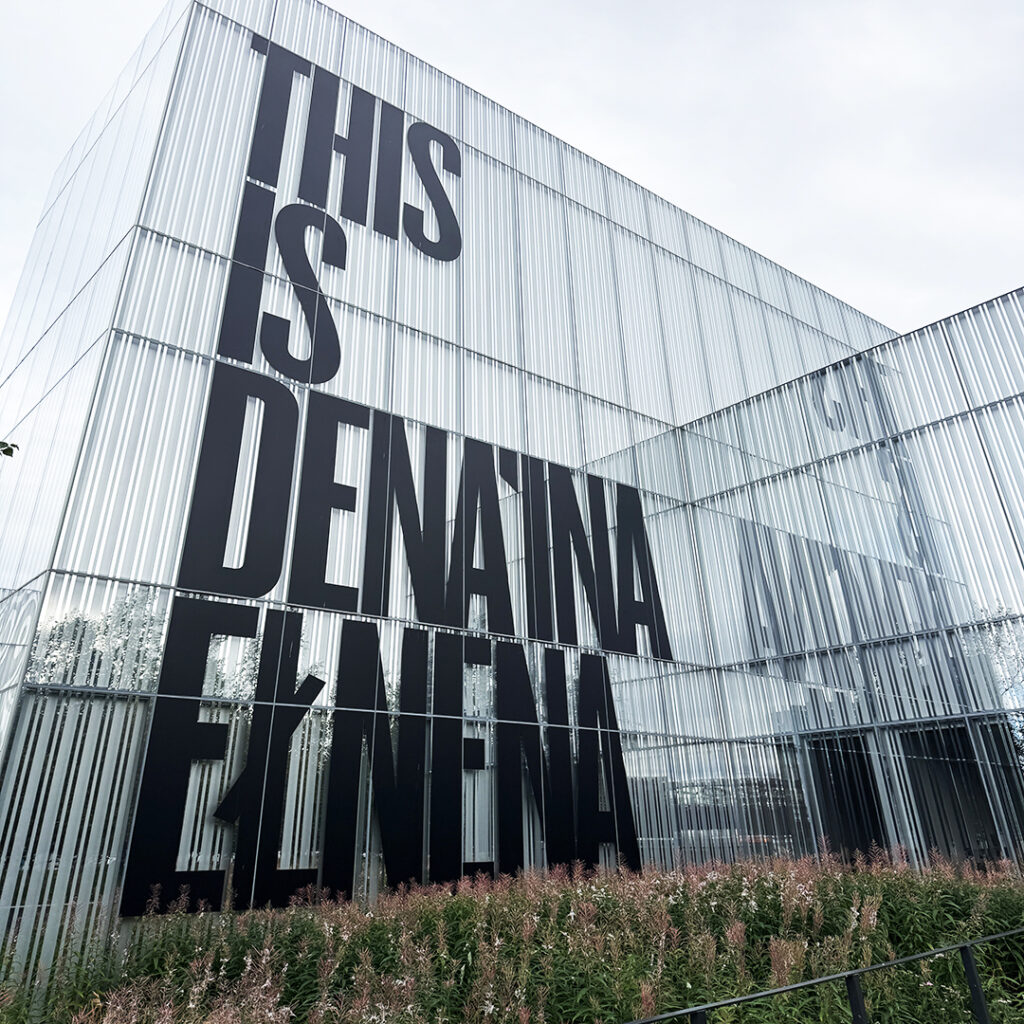
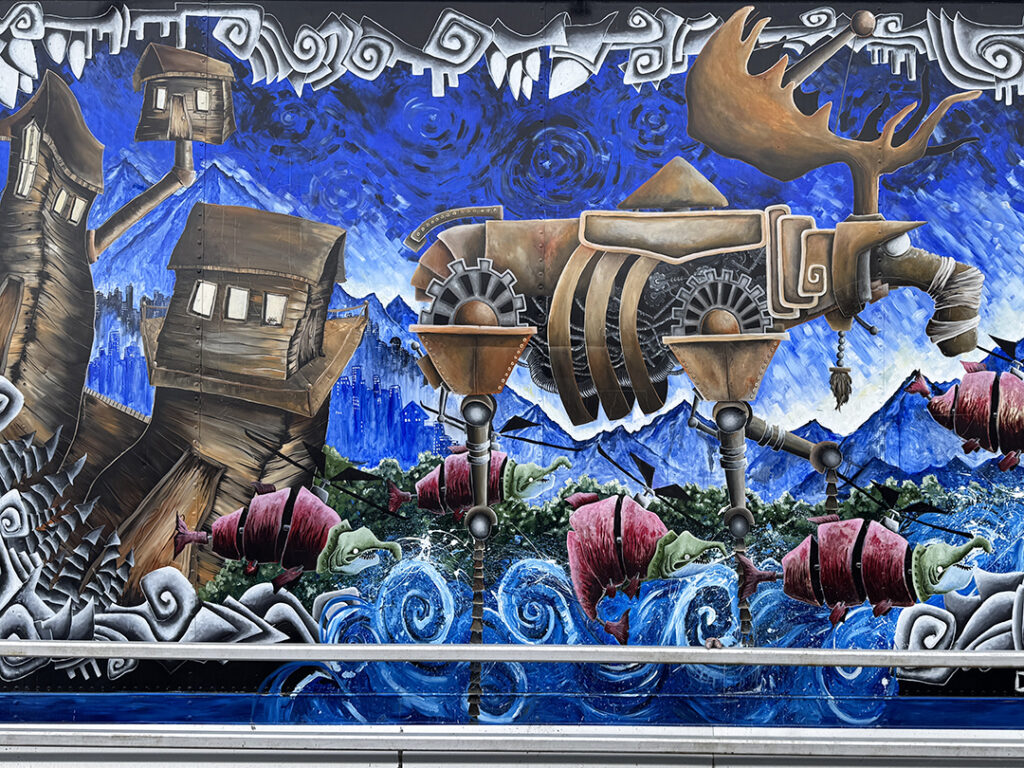
So there’s this building in Anchorage… didn’t really care what it was... but I was TOTALLY enamored by the side of the building COMPLETELY covered by these amazing slabs of stone!!! You know I love a good texture… and I love some good nature… so put them together?! Brilliant. Plus, a “few” of something is fun… a “multitude” of something is FANTASTIC!!!


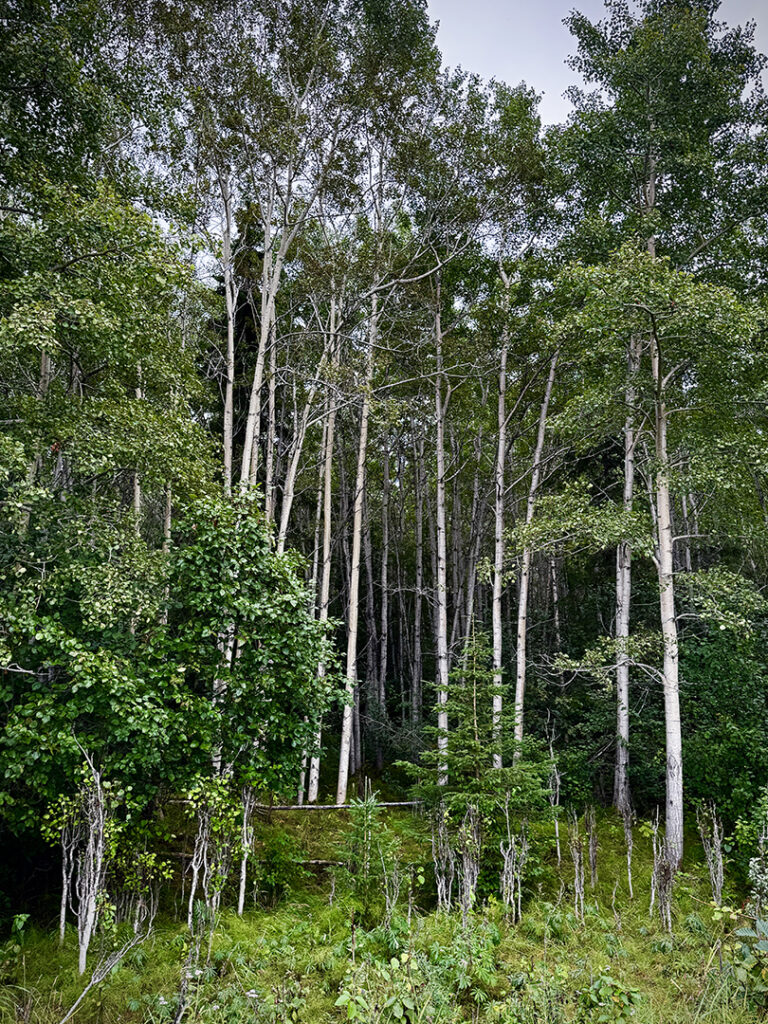
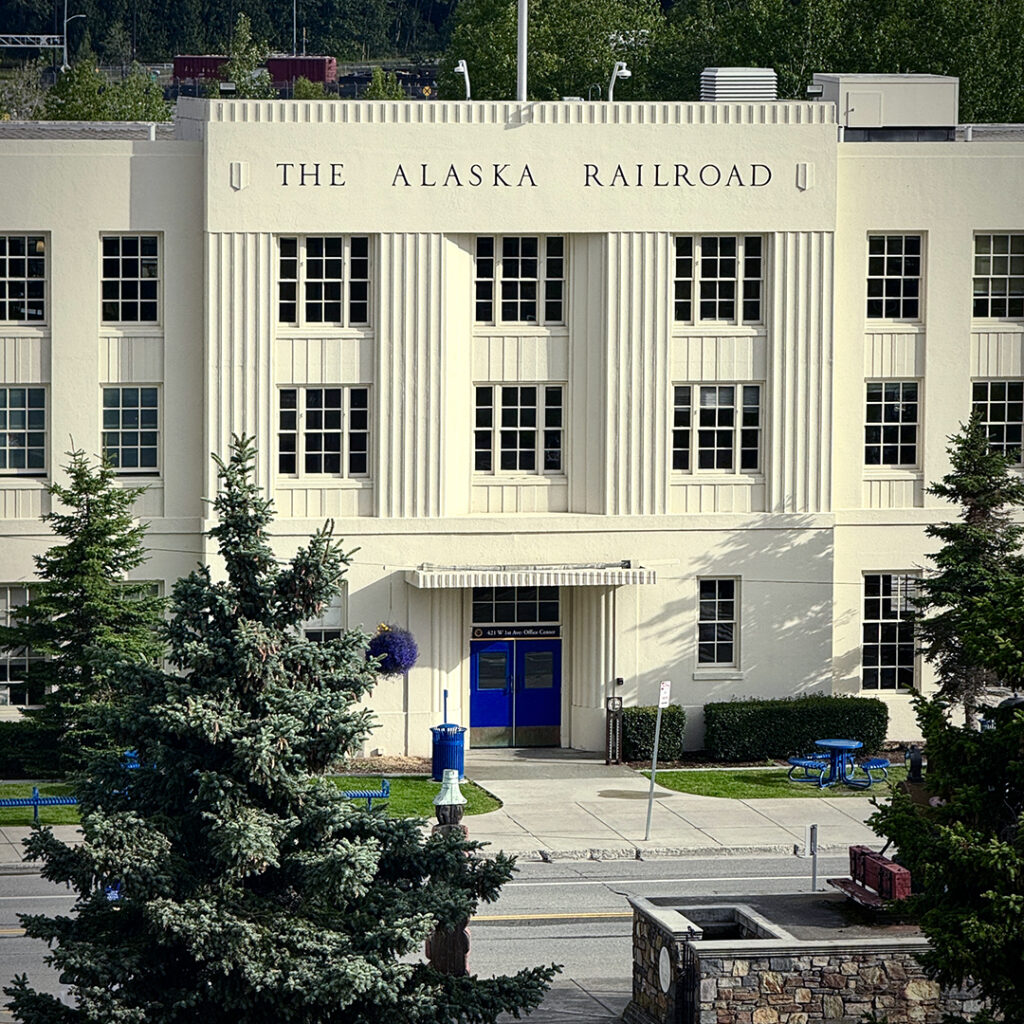
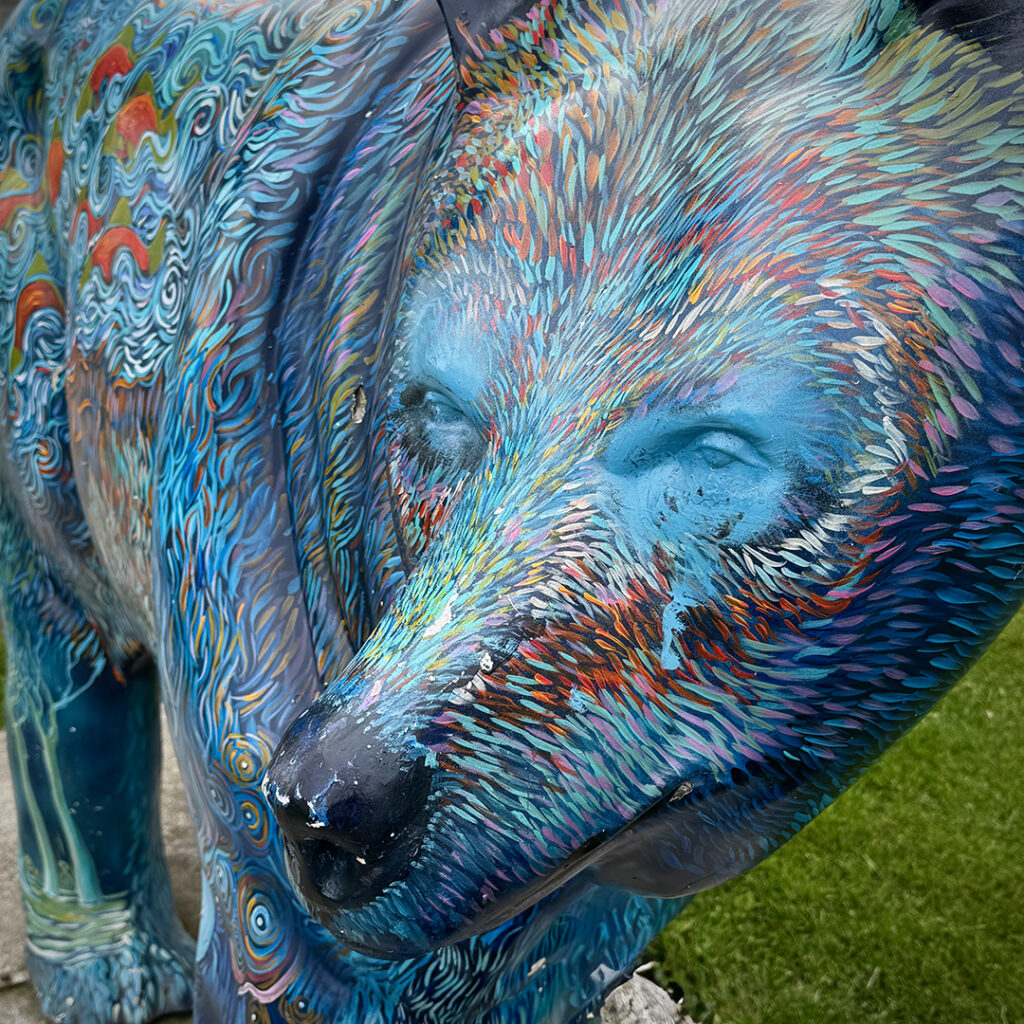
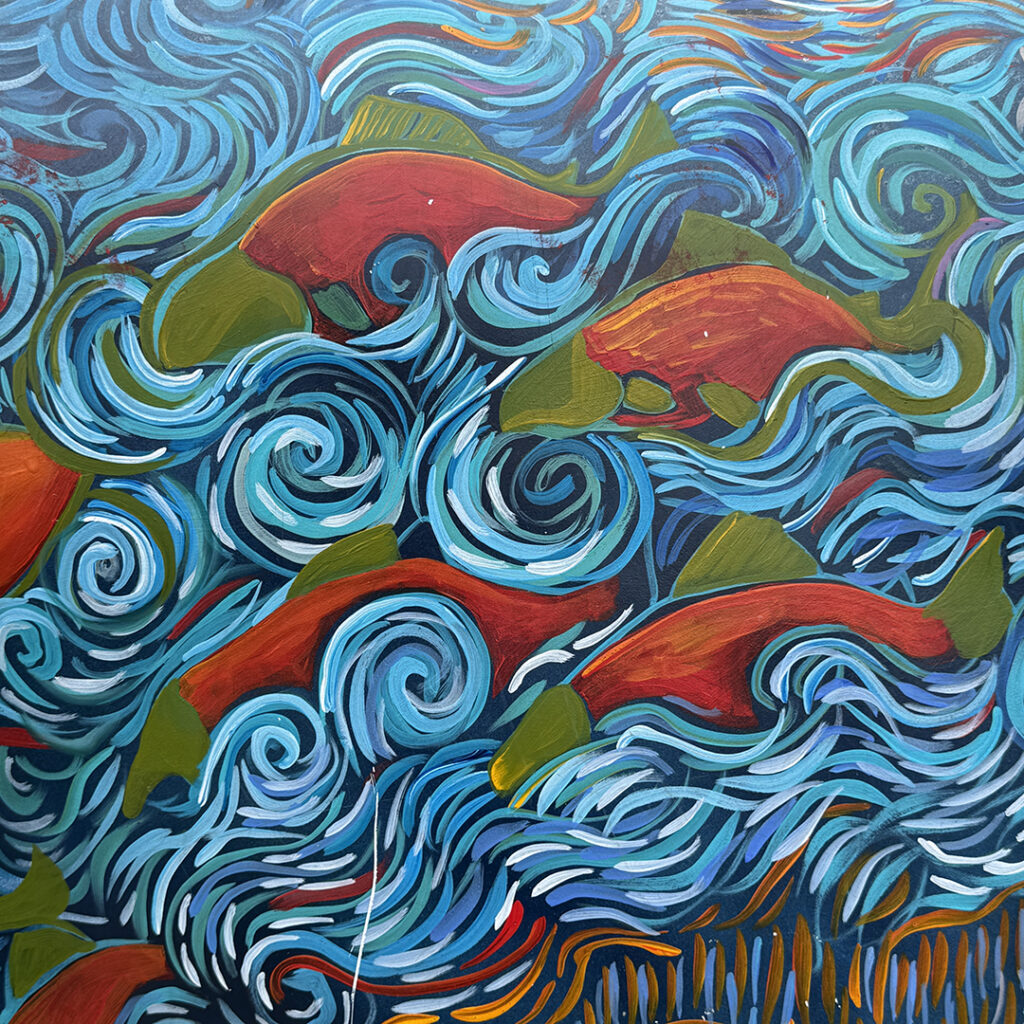
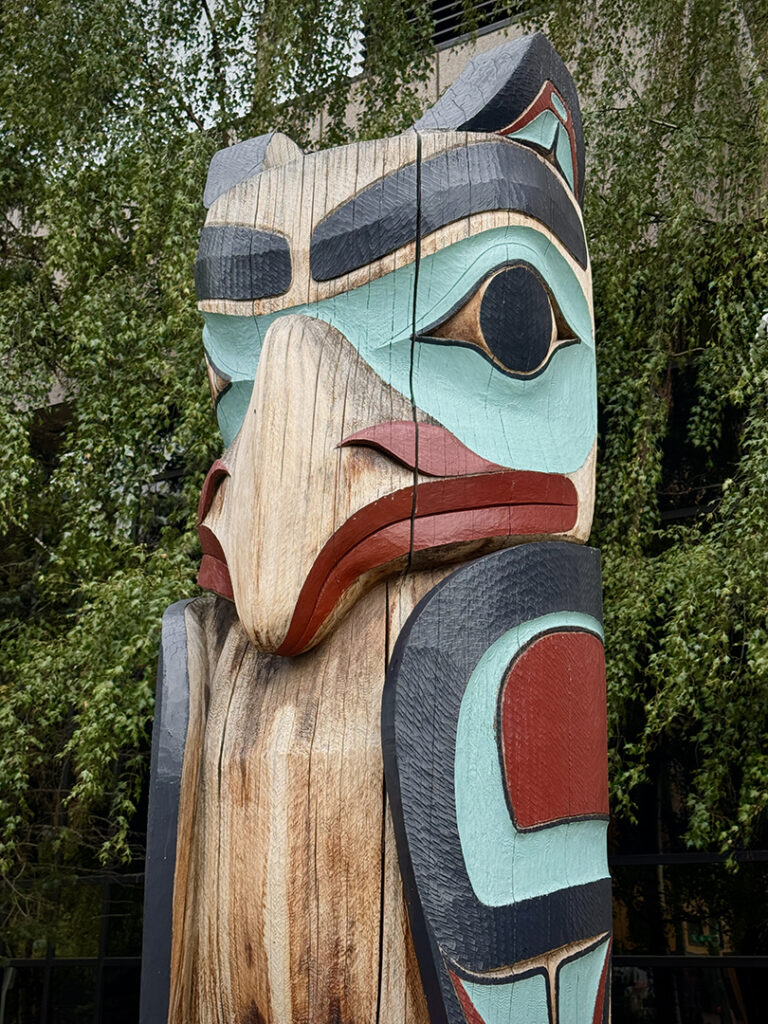
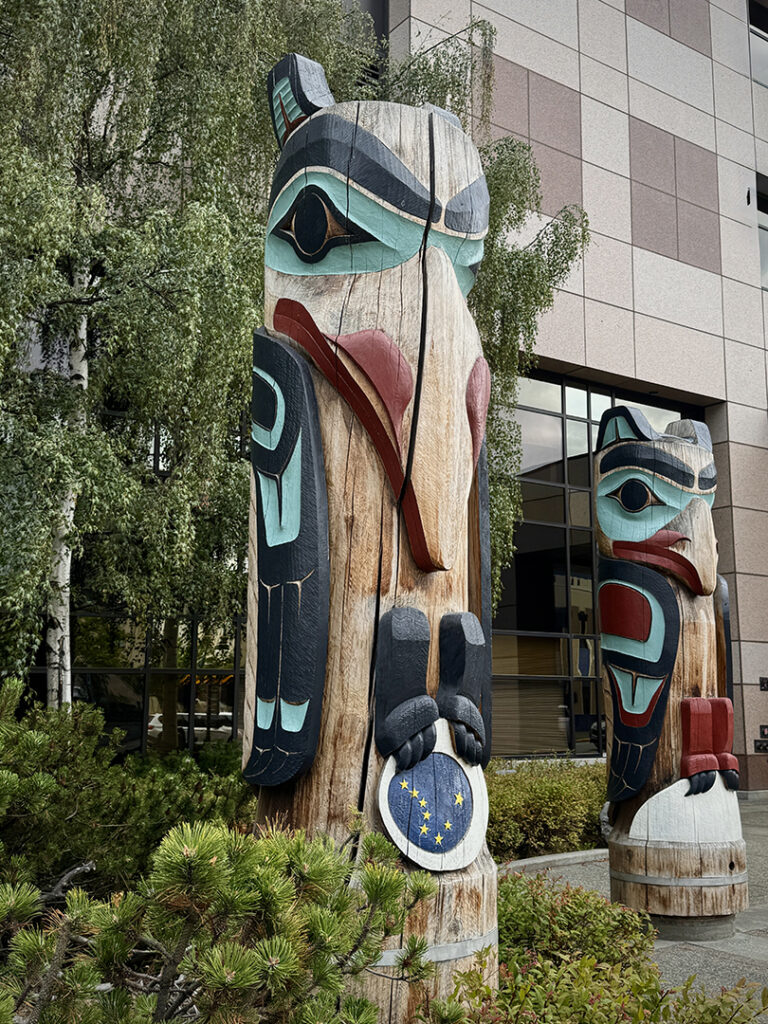
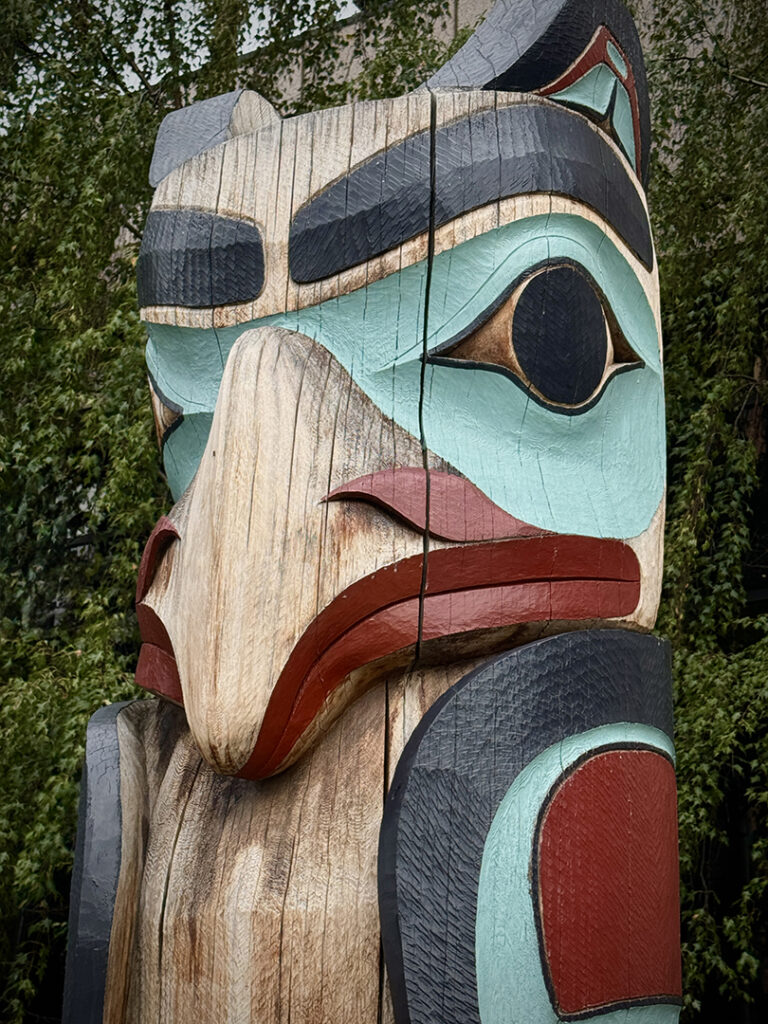
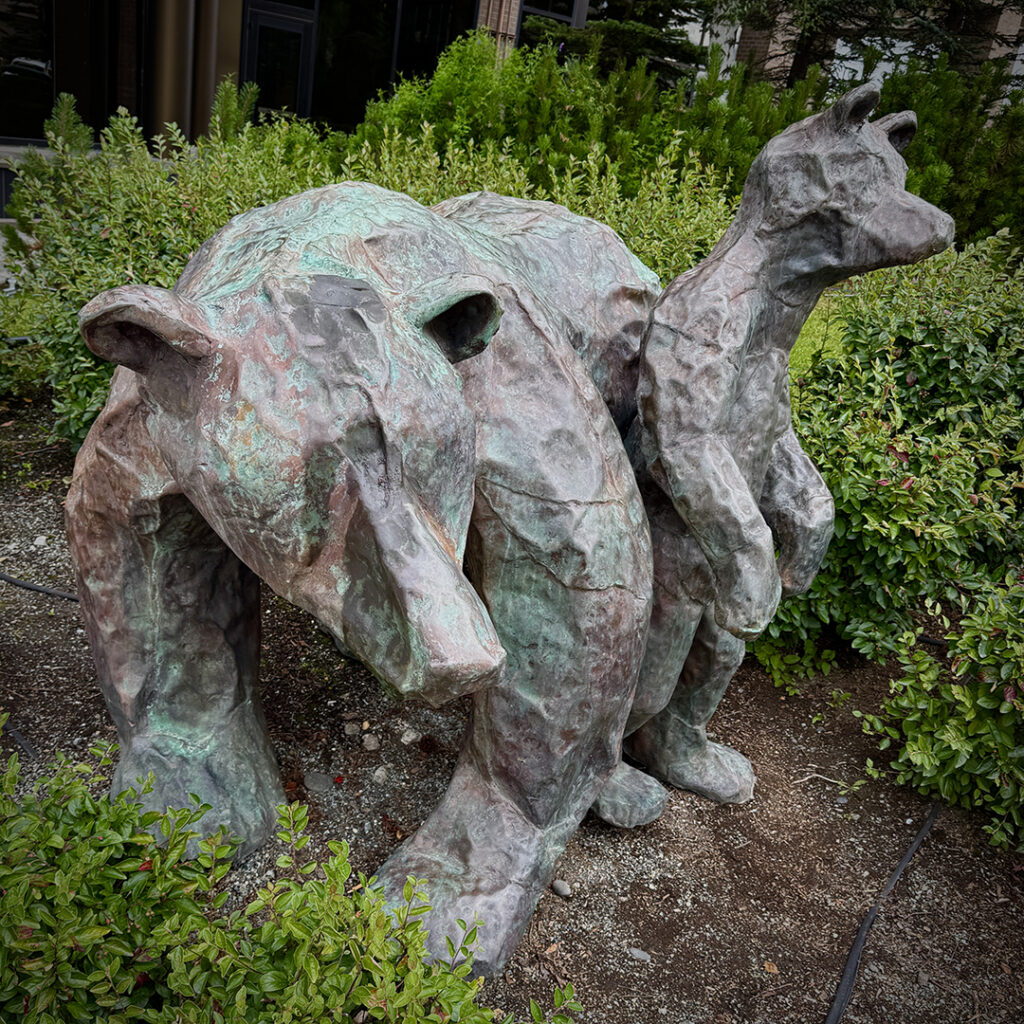
By Thursday, we had made it to Anchorage & Theresa dropped me off for a day on my own… as she had to get back home to Fairbanks to work the next day. Anchorage is not a huge city, so I pretty much walked the entire downtown area before noon. It wasn’t very busy or crowded… perhaps because it was the middle of a workday? I hit most of the art galleries & gift shops… looking for some last-minute souvenirs made by local artists.


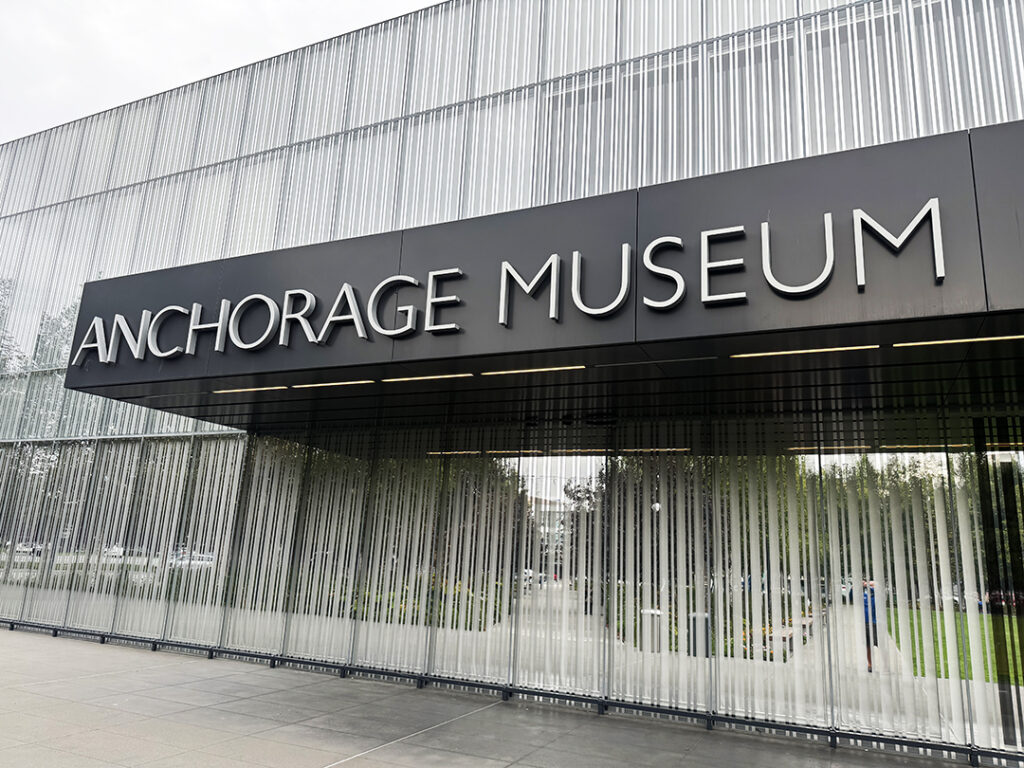

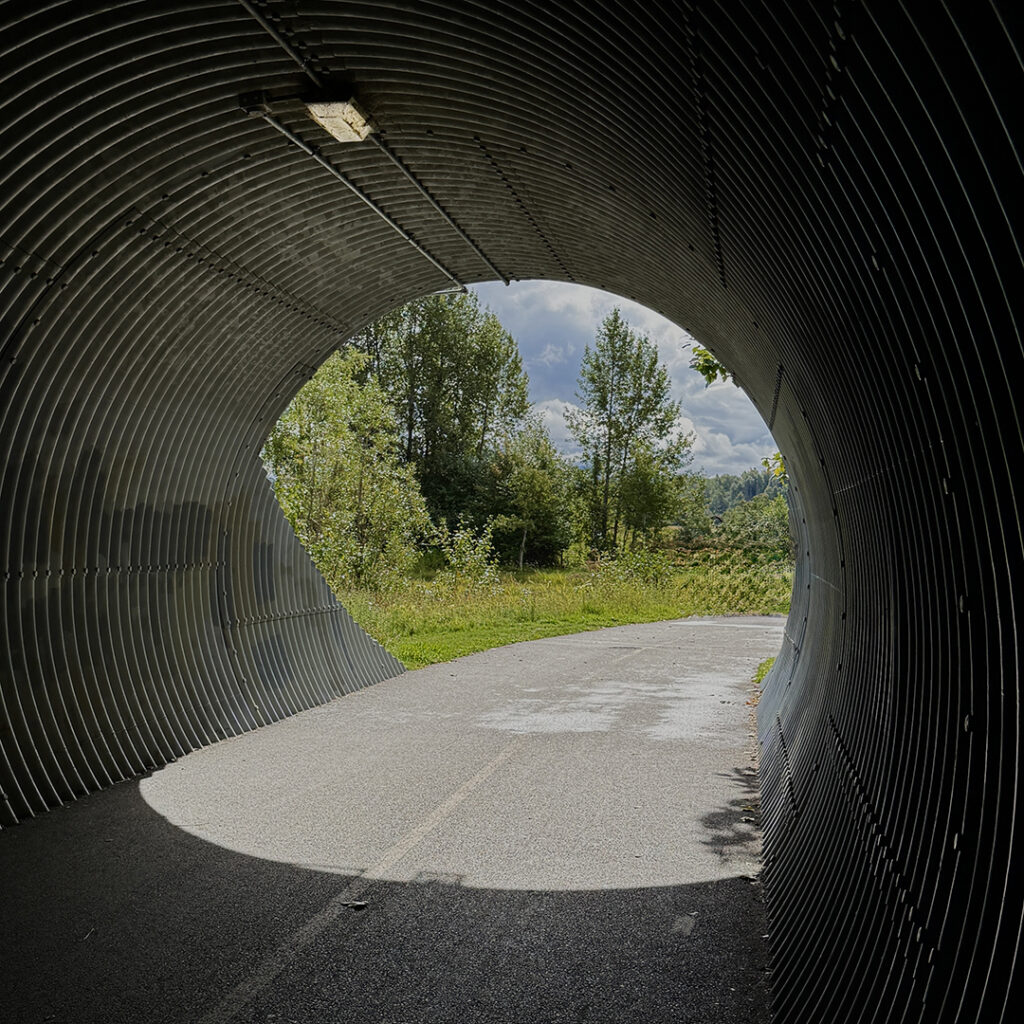
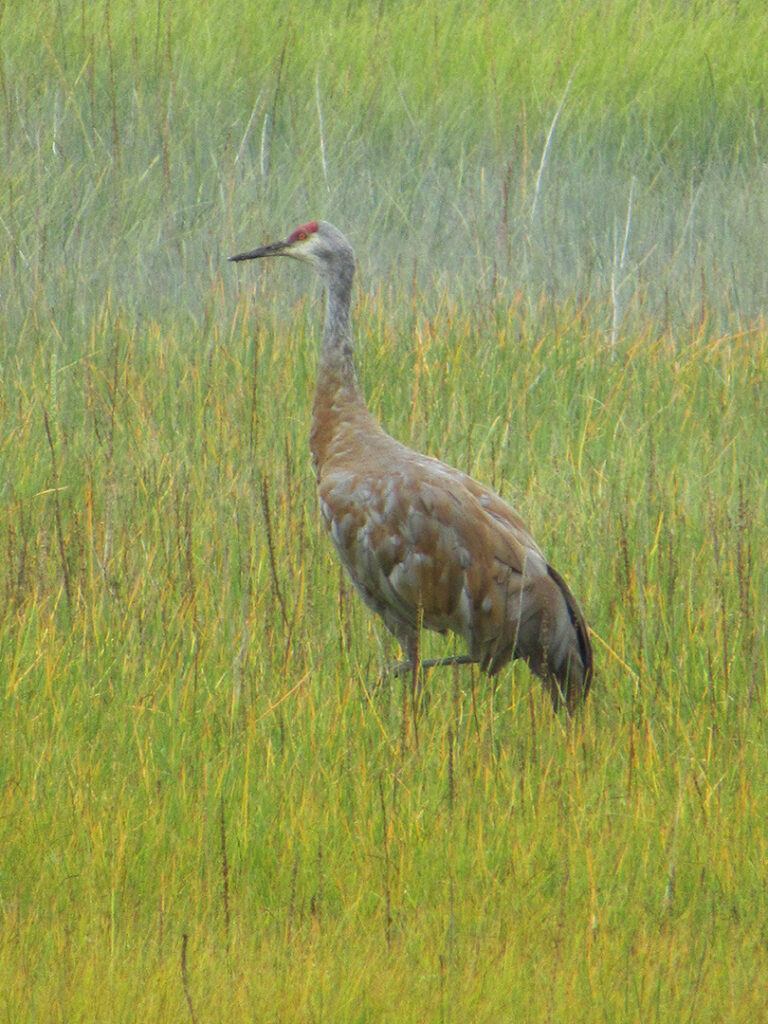
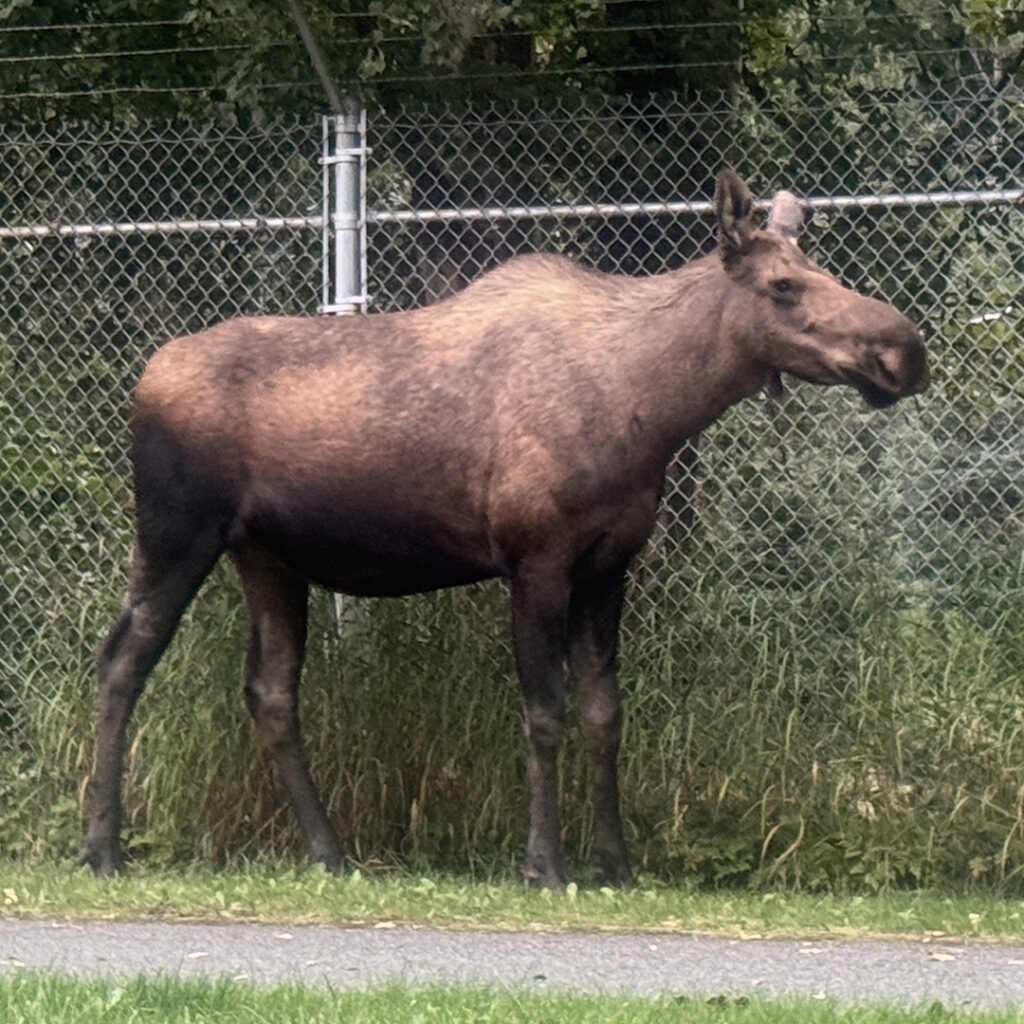
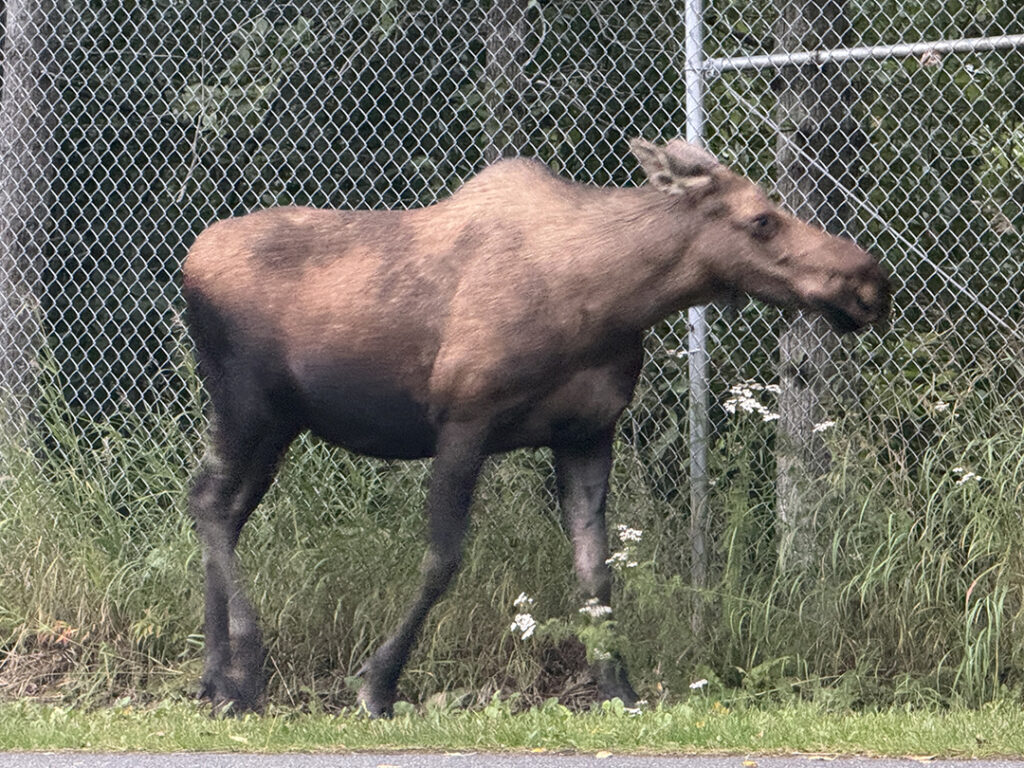
So we finally made it to Anchorage… where we stayed with Theresa’s Uncle Tim. He asked about my trip… and asked if I wanted to see more moose? Of course I said yes… as he said he knows just where to go to see them! I was still doubting Tim’s assurance we would see moose… our moose hunting track-record had been pretty slim so far. However, just a few minutes later we came across this large moose just strolling down the bike path!!! Guess Uncle Tim was right!!!
|
Gary Jackson: Fire When Ready Pottery
Lillstreet Studios ∙ 4401 North Ravenswood, Chicago, Illinois 60640 ∙ 773-307-8664 gary@firewhenreadypottery.com |