Gary Jackson: Fire When Ready Pottery
A Chicago potter’s somewhat slanted view of clay & play
Categories: artists, workshop

Today I went to a presentation by Chicago artist Eric Jensen at the Lillstreet Loft. Eric has been making a living as a functional potter for over forty years. And today’s discussion was about what it takes to be successful while making pottery for a living.

Eric shared many stories about his path to ceramics. How he went to Cranbrook in Michigan for Graduate School back when it was actually affordable. About how he decided early on that retail art fairs were not his thing. Instead, he has done a lot of work with relationships he has built over the years through wholesale fairs & opportunities.

He also made a “joke” early on and said that it definitely helps to have a spouse with a real job, a good paycheck and health insurance. So with that said, I took everything he said with a grain of salt. I don’t have any of those “security blankets”… and maybe that’s why I’m still working & teaching at what seems like three, four, sometimes five part-time jobs!!!

We ended the presentation with a discussion on how he decided how to be “successful” in his own estimation. He did a bit of homework and determined how much “income” he wanted to realistically earn from his pottery business annually. Adding expenses, materials, taxes, etc. on top of that, he had the “big number” that he needed to make each year. He then determined how many days out of the year he wanted to “work.” How many days off. How many days of glazing & firing. How many days of packing, shipping & busy work. How many days of research & development of new concepts. When he finally got to a total number of actual production work days, he used that to divide out the big number. And come up with how many “dollars” he needed to create in the studio during each work day. That daily average number became his goal while making work in thew studio. Logical, but it sounds like a lot of work.

So it looks like I now have a bit of homework.
Which of course I’ve been thinking about for years.
How do you determine if you’re being successful, or just being productive?!

I know I’m PRODUCTIVE… but am I making a real career out of it?!

Of course he brought up how pricing works into the equation. How making work that sells over making the “art” you might want to make. How commissions, special orders and consignments worked better for him than retail art fairs.

Keep in mind, Eric Jensen has been working as a full-time ceramic artist for over 45 years. He has years & years of experience & relationships already in place. Even he was quick to admit that times are different now. He does no marketing, social networking or online sales. He’s pretty “old school”… and it’s working for him.

A lot of great information shared today.
Thank you Eric Jensen for sharing your life’s work with us.

And here’s the real kicker…a joke he shared from his potter friend Les Orenstein…
“What did the potter do when he won the lottery?”

He started doing art fairs until the money ran out!

Save

Save

Save

Save

Categories: classes, kiln firing, workshop

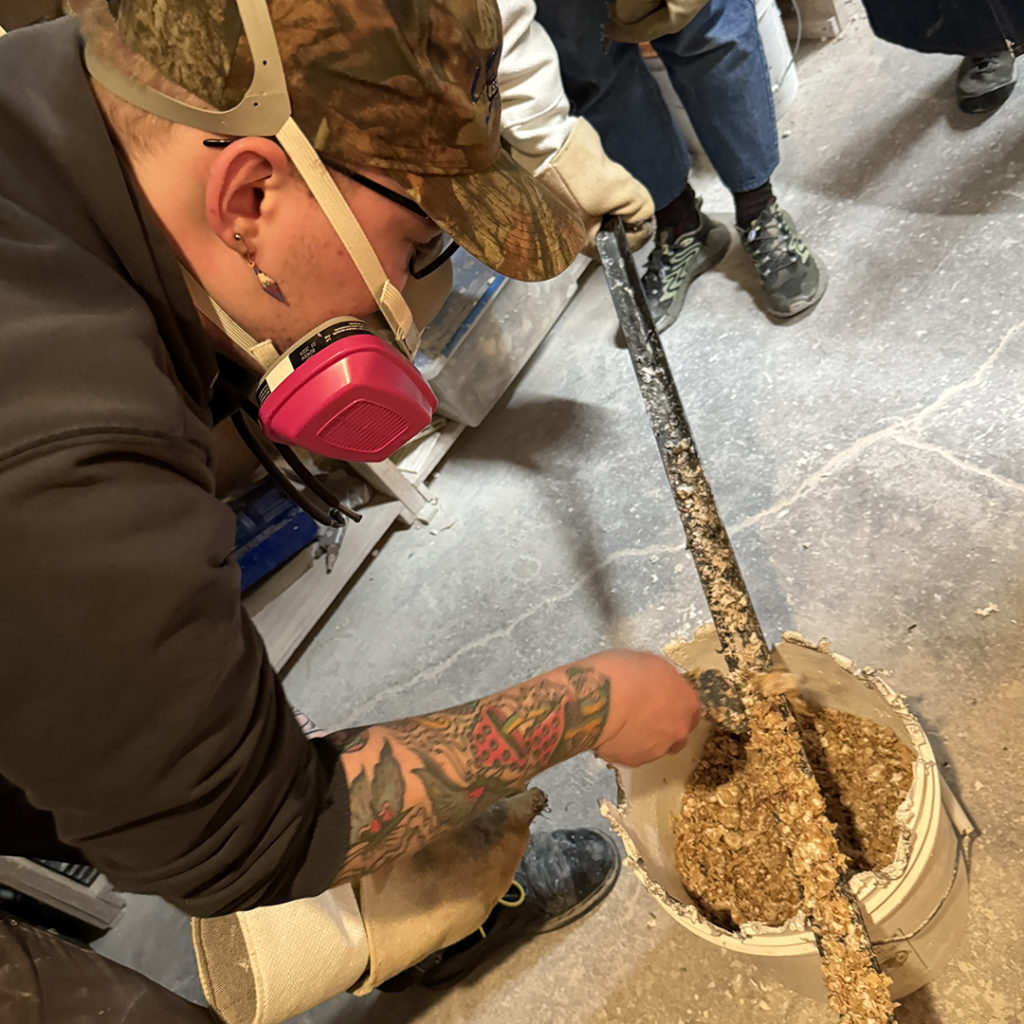
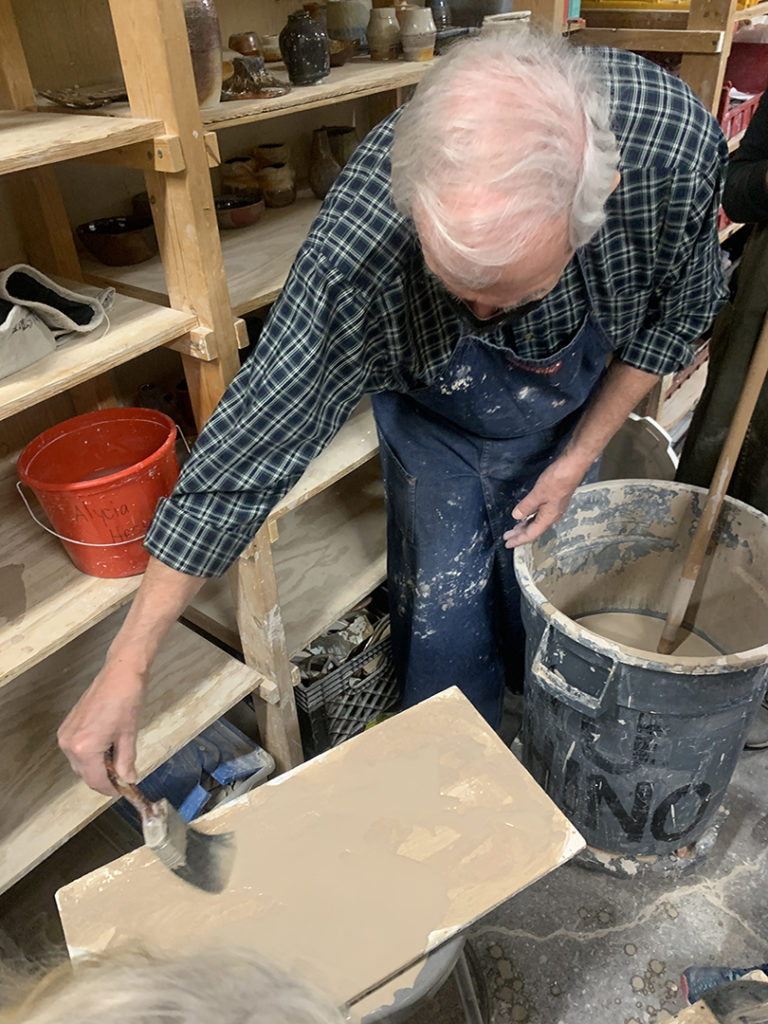
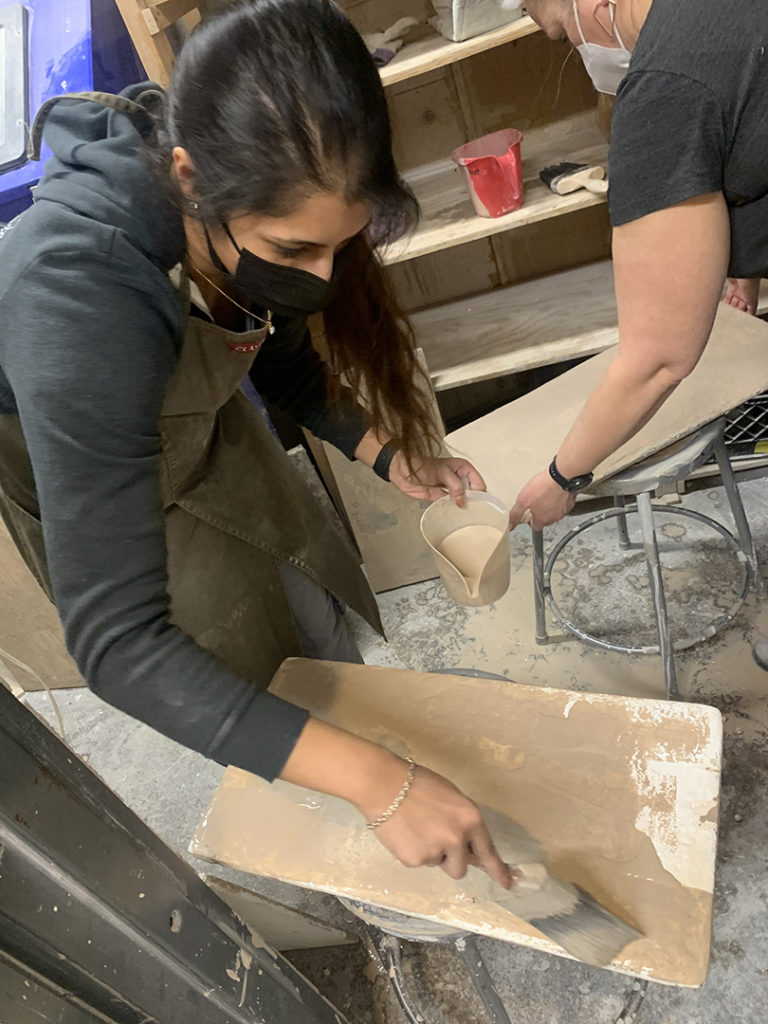
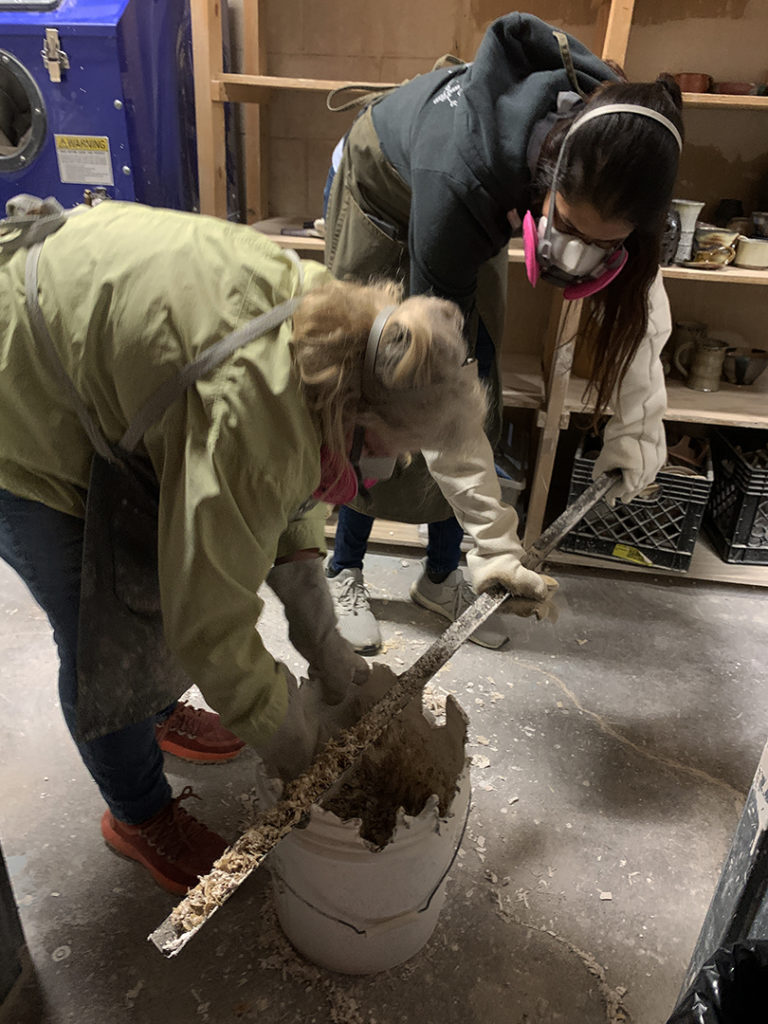
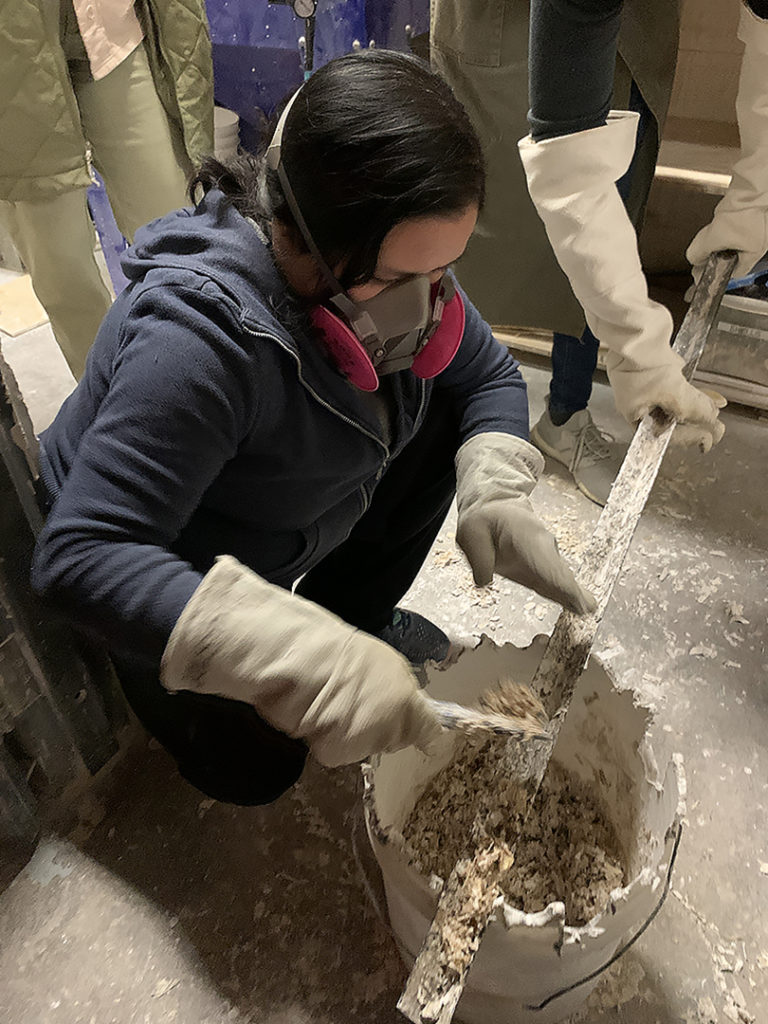
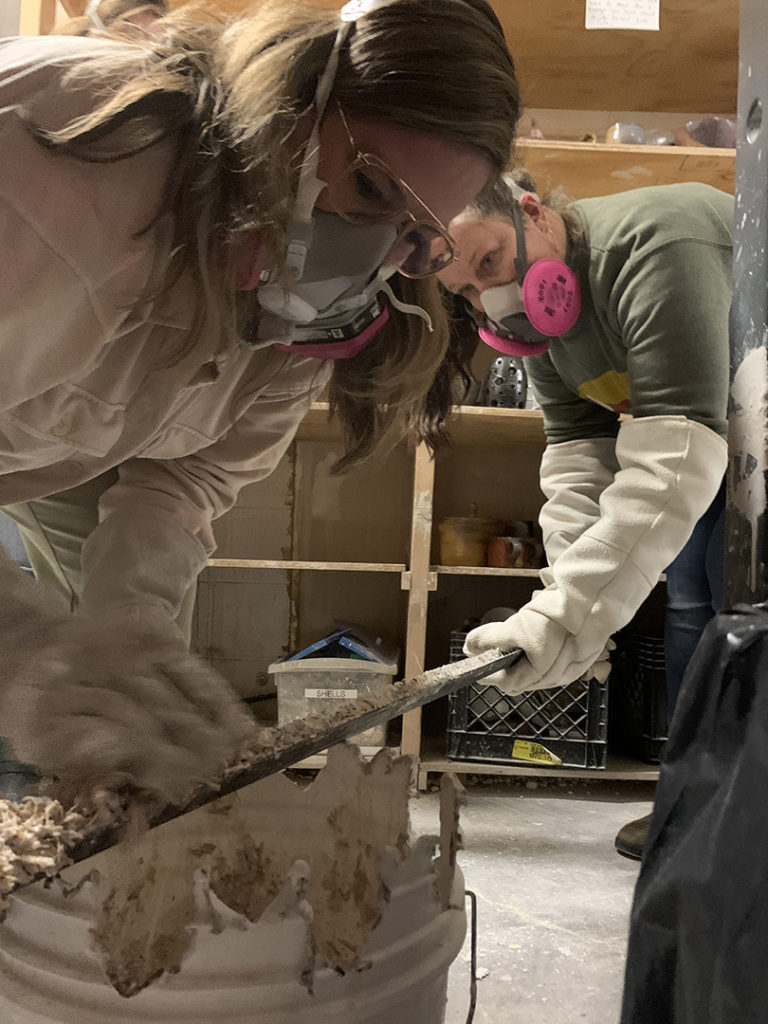
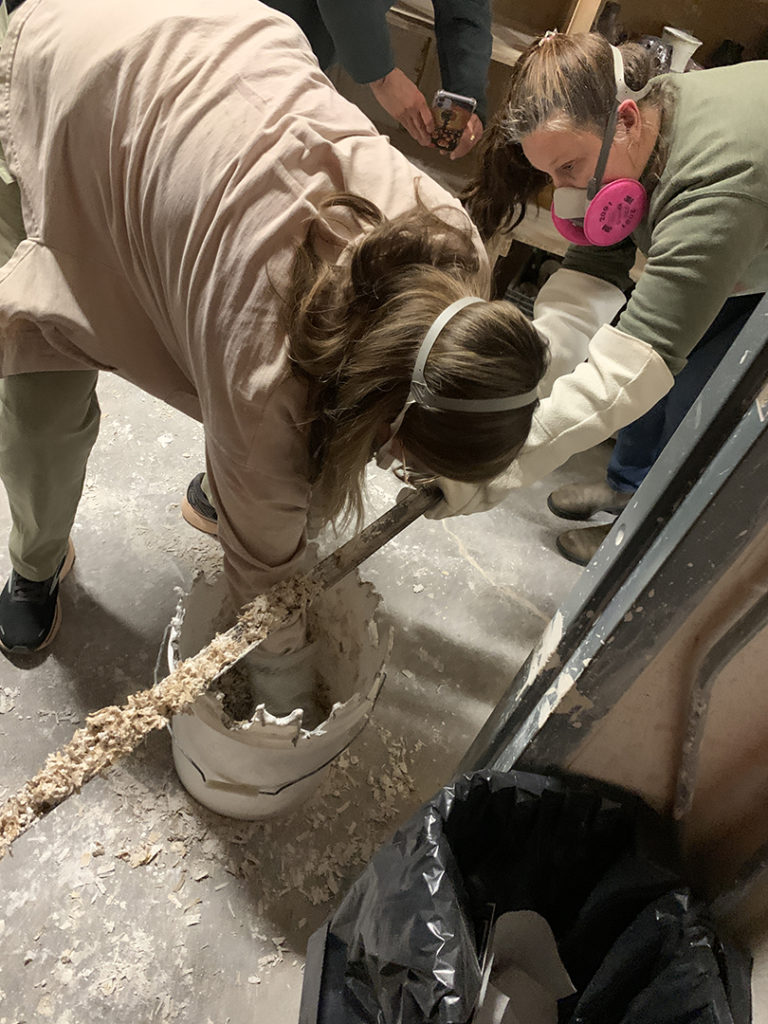
After a very short sleep, I was back in the studio firing the soda kiln. Day Two of the three-day Soda Firing Workshop. My students came back towards the end of the firing in time to help put the soda mixture in. Since this is the very first firing experience for any of them, I thought it was important that they get the full experience. Doing all of the work if possible. Including the oh so glamorous job of mixing the soda mixture…

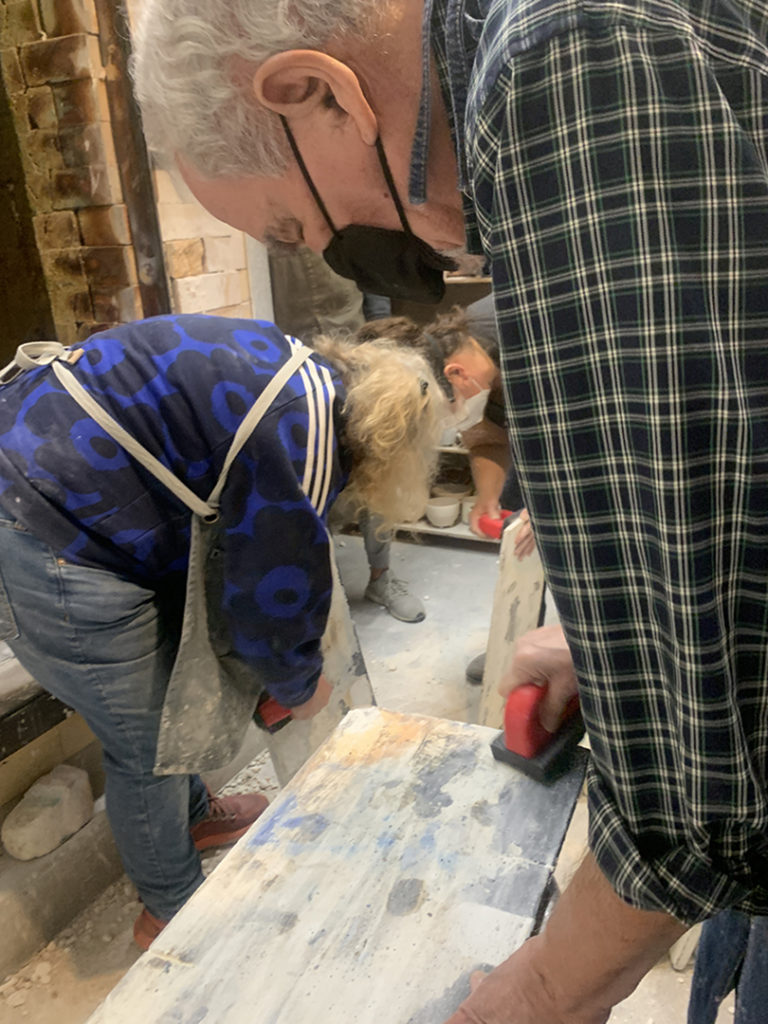
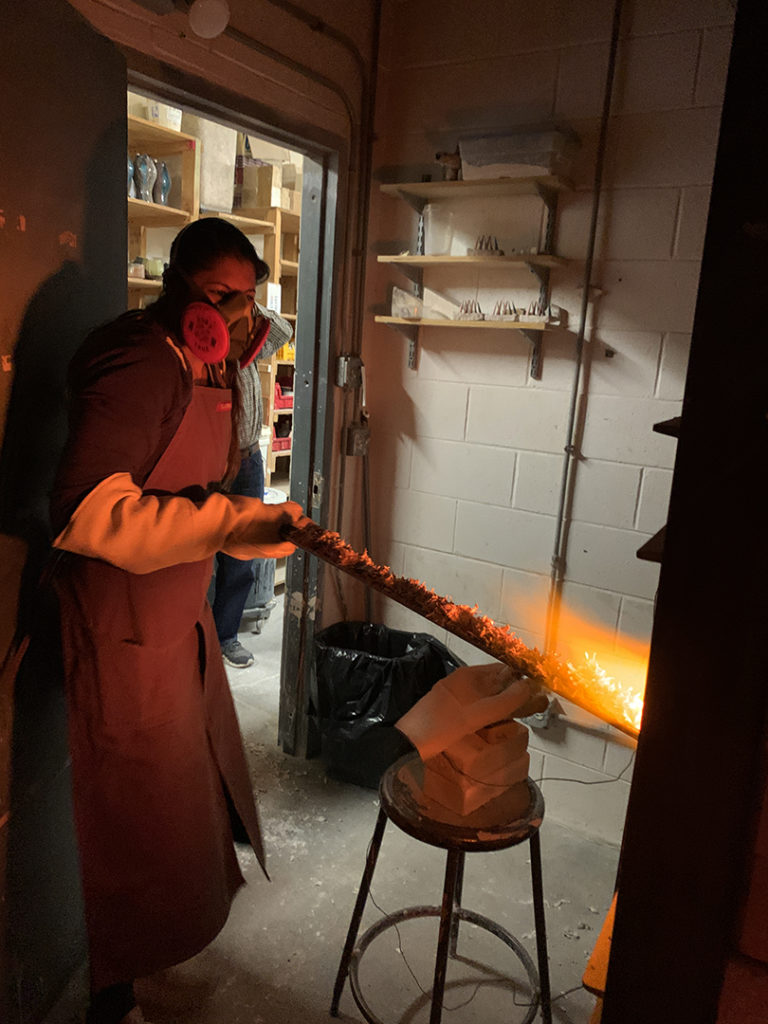
Then when the kiln was ready, we started insert the soda mixture. I like to put it in when cone 8 is mostly down and cone nine is starting to soften. I gathered the group, explained our process and then had them do the soda insertion. Starting with laying the mixture onto an angle iron.

The loaded angle iron is then inserted into the peeps so that it dumps into the side fire boxes. They were a little apprehensive of the flames shooting out at first, but quickly warmed up to it. And found the fun & excitement of playing with fire!!!

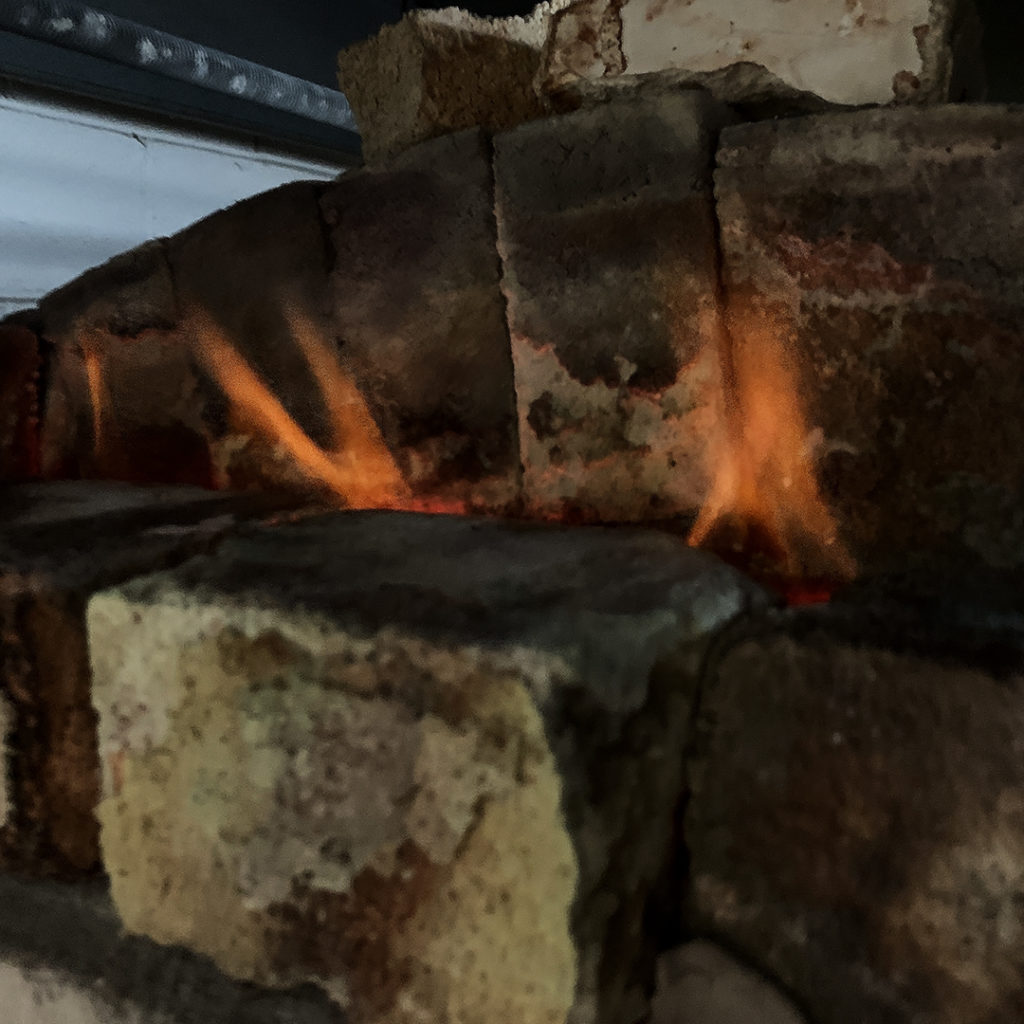
Beautiful flames as the peeps are pulled out to check the cones. Glowing. Orange. Fantastic.

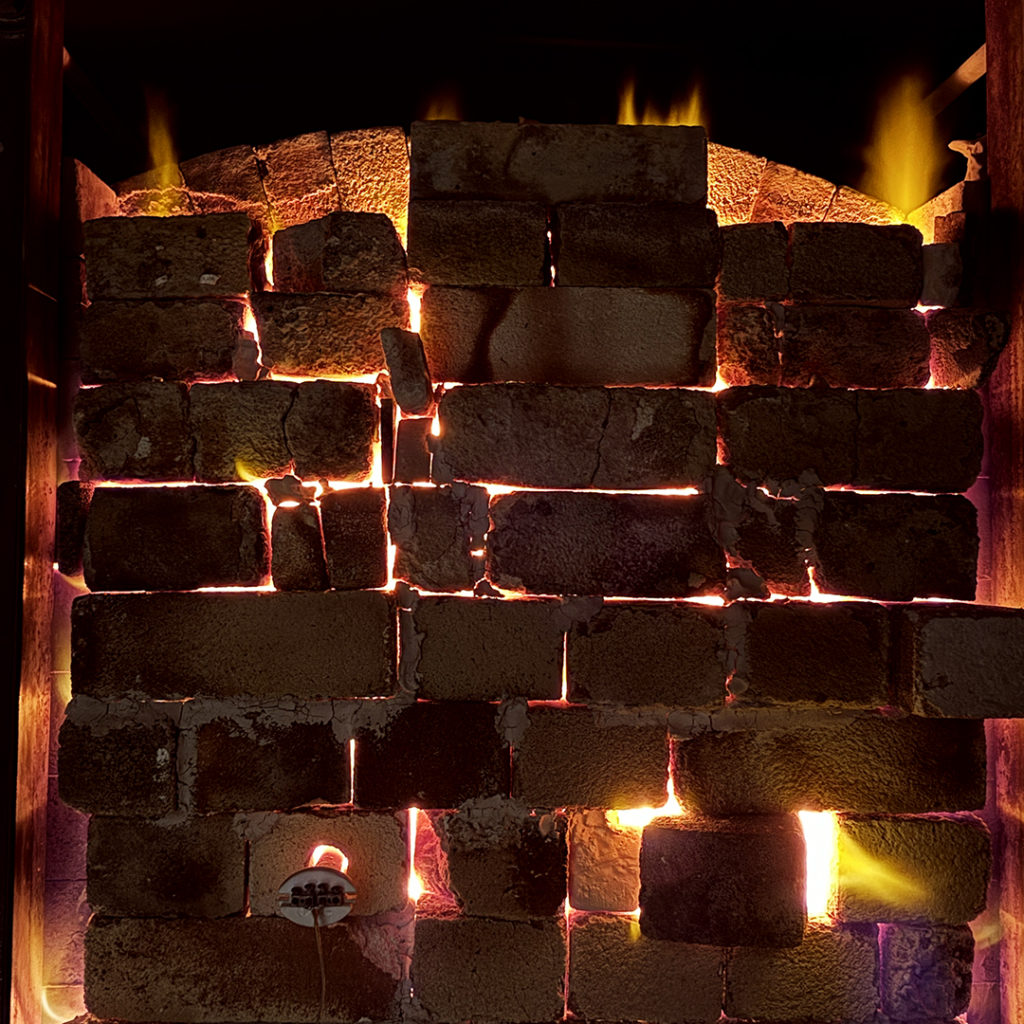
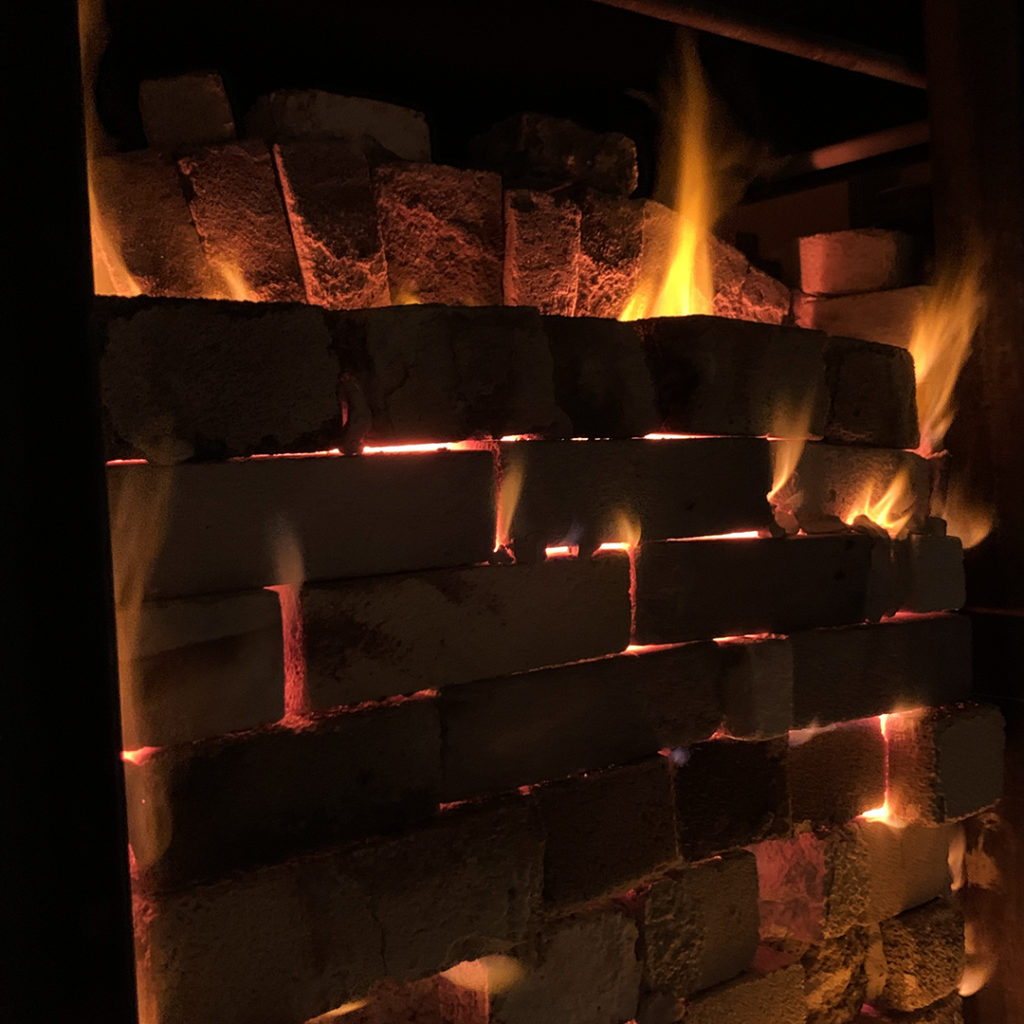
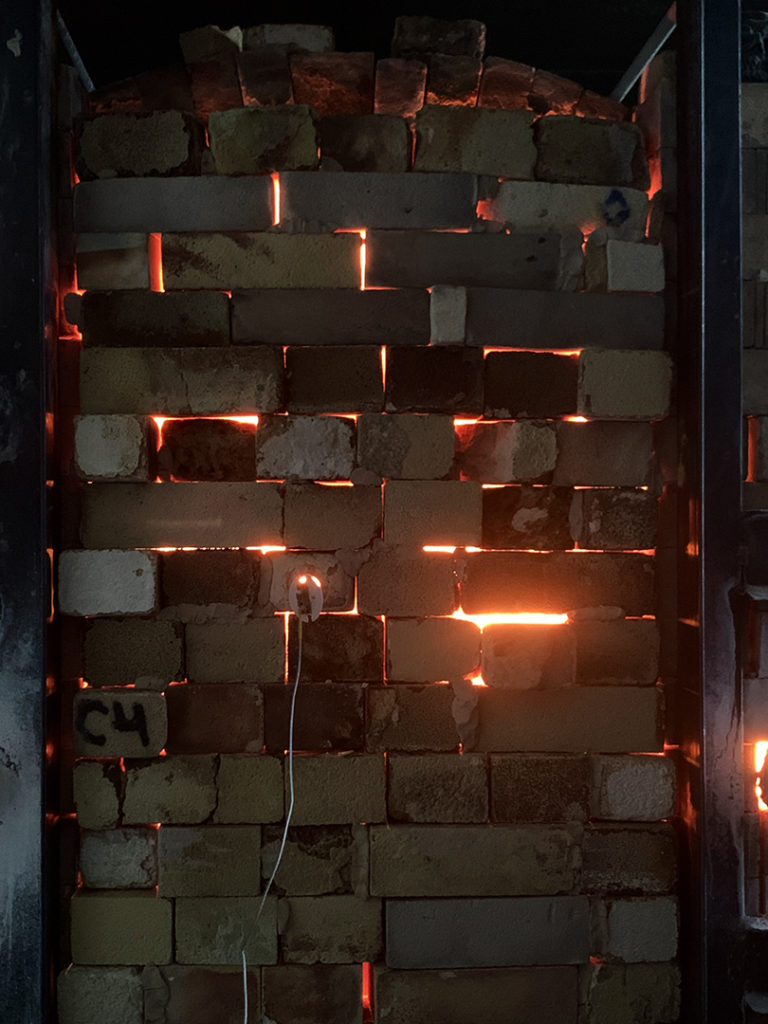
As we’re nearing the end of the firing, it’s always fun to see the flames peeking out between any brick it can.

So now the kiln has been turned off and the cooling has begun. It will cool all day Sunday, as well as most of Monday. My Soda-Firing Workshop students return MOnday evening to unload their kiln, admire their pots and do some kiln shelf cleaning, scraping & maintenance. All part of the process.


Save

Save

Save

Save

Categories: kiln firing, workshop

Soda-Firing Workshop well under way. The kiln is heating up nicely. We’re currently in body reduction… but a few more flames than expected so I’ve got to back it off a bit. Still so much fun to play with fire!!!

Categories: classes, glaze, kiln firing, process, soda-fired, workshop

After much discussion, I finally decided it was time to teach a Three-Day Soda-Firing Workshop. Many of my Tuessday night Advanced Beginners were looking for a little soda-firing experience. So we’re kicking off the Three-Day Workshop.

Day One – Friday : Glazing, wadding & loading.
Day Two – Saturday : Firing & potlucking
Day Three – Monday : Unloading, kiln cleaning & admiring of pots!!!

We started the evening with a discussion about glazing & wadding for the soda kiln. They had all come with a collection of bisqued pots… so they set about to glazing & wading. With LOTS of reminders to take good notes and keep track of what they’re doing so we can discuss the results after the firing.

Once everything was glazed & wadded, we moved pots into the kiln room. More discussions about the soda-firing process, air-flow patterns, reduction/oxidation… and other kiln loading basics like how to stack with shelves & posts.


Back stack done… time to move onto the front stack of two shelves. Lots of discussions amongst the workshop participants. Trying to determine which pots should go where, and figuring out how to get everyone’s pots into the kiln evenly and fairly.

After many-repeated conversations about soda-firing & kiln loading, the workshop participants finally got the kiln loaded.  I think they all have a new realization & appreciation for all the work our Monitors do with loading & firing all of the classroom kilns. For the first time, they had to load kilns themselves… instead of their work just “magically” getting fired. I think it was a LOT more work than they expected… but hopefully they’ll appreciate the process more when they get their finished pieces out of the kiln Monday night.

Excited to have the kiln loaded… and now on to bricking the door.
One-by-one… brick-by-brick…

So now it’s all closed up. Ready to go.
Firing begins early tomorrow morning to kick-off Day Two of the Soda-Firing Workshop.

Save

Save

Save

Save

Save

Save

Save

Save

Save

Categories: classes, mugs, process, stamped, stamps, workshop

A fun day today in the northern suburb of Vernon Hills. I was one of the workshop presenters at the NSC Art Fest. High school students from the northern suburbs all came to Vernon Hills High School for a full day of art, presentations, workshops and inspiration.

I even had my own room…

The focus of the workshops were for the high school art students to learn, participate, make something and go home with whatever they made. So I came in a few hours early to throw some quick cylinders for them to use later in the day.

I let the cylinders set out so they could stiffen up a bit before the students got there. They even spent some time in the breeze by the open door to help speed up the process.

A few minutes before they came in, I smoothed out the bottom edges since they were still far to wet for trimming… but at a good moisture level for stamping. When the kids first came in, we did some quick introductions around the table, followed by my PowerPoint presentation. All about me. My life, My history. My process, My views on life and success.

After the presentation, we sat around the table for awhile and made some stamps. They rolled their coils and carved some patterns. They finally started opening up and talking. I must admit they were a lot more quiet than I expected High School kids to be. It wasn’t until I realized they were each from a different school that it dawned on me. So we did a little “ice-breaking” to warm them up a bit. Okay, so maybe I even had to pull out some of my old go-to jokes. Maybe. Allegedly.

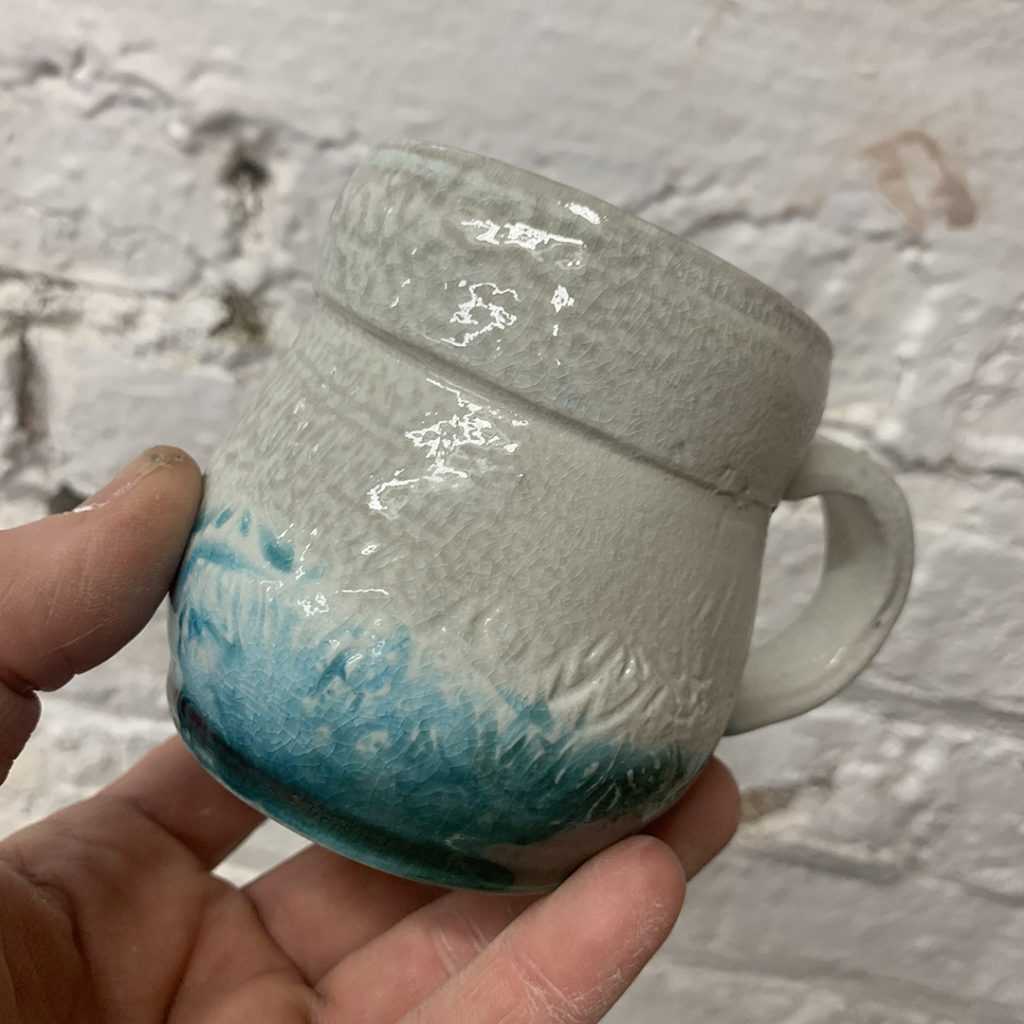
Once their stamps were done, we moved to the other work table where they each got one of the cylinders I had thrown earlier in the day. I has also brought a whole tray of my own stamps for them to use. So after a little demo, they each set-off on stamping their cylinders. As they completed their stamped designs, we then added handles to them so each student would have a finished mug!

“Look Ma… I made a mug today. Whoo-hoo!!!”

My two workshop assistants were great. They were there to help me get settled in… but when they were done, they thought they were free to go. Free to hang out. I of course had other plans… and put them to work. First they got to throw their first pots on the wheel. Very fun. And then later in the workshop when they thought they could just stand around and take pictures… I of course had other plans. So I handed each of them a cylinder and made them start stamping as well. Thanks for playing girls.

And it wasn’t just my assistants… I also had to put Stephanie, one of the VHHS art teachers to work as well. She’s been to my studio in Chicago before… but this was the first time she had the chance to use my stamps to make her own masterpiece!!!

Looks like she was having a good time!!!

Once they were stamped and we had added handles, it was time for a little more detailing with colored slip. The kids had fun accentuating their stamped mugs with some spots of color.

At the end of the workshop, we put the finished mugs outside so they could dry up a little quicker. Not my normal practice, but we had to get them ready to go home right away. The slip had to dry quickly so the kids could carry their mugs home.

Special thanks to my friend Allison who helped set up this entire Arts Festival… and hooked me up as one of the workshop presenters. I had a wonderful time working with some great kids. Hopefully they had some fun making mugs today! They looked great.

Categories: workshop

Kind words from a couple of the people who made it to my pottery workshop
with the Harper College Clay Guild last Saturday…

From Kelly –
Well you “made a good impression” on me. I am looking forward to getting back in the studio on Monday and trying out some of the things I learned from you. Thanks again for making the trip to the ‘burbs.

From Patty –
You were a big hit! Thanks for doing the workshop at Harper.

From Tony –
Great workshop Gary. Many special tricks for throwing and stamping… Very personable and knowledgeable… Information about finger, hand, and body position… Clay movement, timing, amounts… every little detail shared will make a very big difference for me. I found tons of 3-D images from my metalsmithing to make stamps from. I am “fired up” and “ready”.

Thank you to everyone who came out and spent the day with me. I’m just glad that I had plenty to share, and that people enjoyed my incessant ramblings!… or at least that’s how it felt at times!!! Thanks again to the Harper College Clay Guild. I had a great time with all of you… and am more than willing to make a return visit some time soon!!!
Categories: workshop

My morning started early out at Harper College.
I pulled in to the parking lot and followed my directions in search of a Ceramics Department. And after kinda driving down a loading-dock-sidewalk-road-like-driveway-thing, I found the entrance… and Janice was right there waiting for me!!! Her directions were perfect.

After unloading my tools & pots from my car, she gave me a tour of their Ceramics Department. They’ve got a wonderful set-up out there. Lots of space for handbuilding, wheelthrowing, glazing and more. Plus several kilns, both inside & outside.

I wedged up some clay, trying to make mental plan of what I was going to throw, and “labeled” each ball of clay so I would remember my plan. A few mugs, a couple bowls, a vase, an oval (sides & bottom), a platter… and always open for whatever more they might request!!!

After throwing several pieces, we switched rooms for my PowerPoint presentation.
It was a quick slide show about my path to clay, visual influences, my studio, my step-by-step process and discussions about marketing, social networking and pricing strategies. It was a great chance for more questions & answers.

We then took a break for a wonderful potluck lunch.
And those Clay Guild folks sure know how to throw a really GREAT potluck!!!
Far too much food. Far too much fun… and great cookies!!!
After lunch we re-grouped and did one last throwing “demo-on-demand”…
Christmas ornaments off-the-hump.

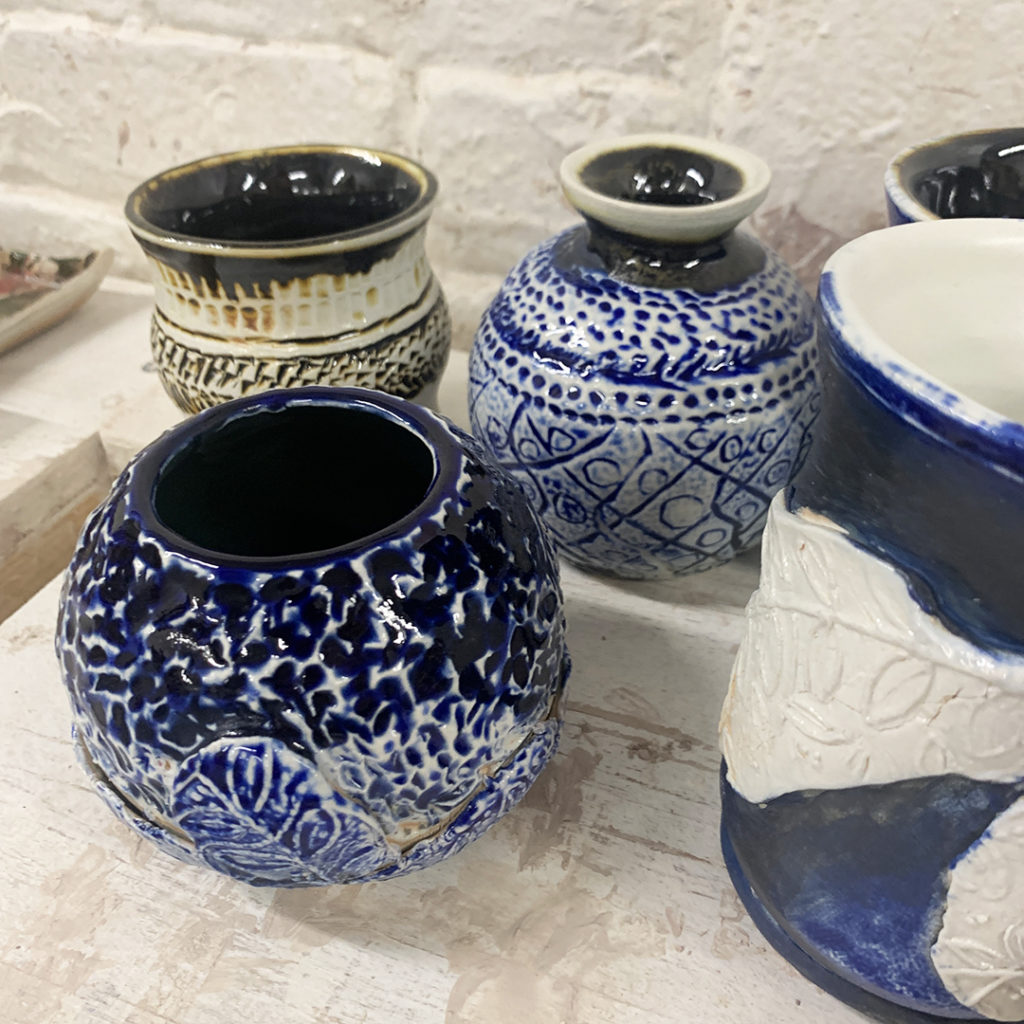
We then switched to some stamp-making fun. I showed them some quick tips on stamp making. They made a few. I made a few. And we talked about some other fun texture & pattern making tools & tricks. Textured rollers made of PVC & hot glue. Lace patterns pressed into clay & coated with colored slip. Plastic trowels as great groove-makers!

Then it was onto my favorite part… STAMPING!!!
So we broke open my tool box filled with stamps and started stamping. The pieces that I had thrown earlier in the day had dried enough to stamp. They were still a little squishier than I would normally like… in some places. Since we had left the unwrapped for the most part, the top rims were drying faster, and the bottoms & sides were still wetter. Typically, I prefer to dry them a little slower under plastic so they stiffen up more evenly. But in a workshop situation… we forged ahead and made the best of it. So I stamped & pressed, as the students continued to ask questions. We worked our way through all of the pieces I had thrown, and were quickly nearing the end of our time.

At the end of the workshop, everyone was so helpful cleaning up. I was amazed how quickly my dirty wheel, bucket, tools, pots, tables, chairs and basically the entire workshop area was cleaned up & back in place. Everyone pitched in. Pretty amazing!!!
A HUGE Thank You to the Harper College Clay Guild.
I had a wonderful time. You were all wonderful “students” for the day.
I only hope that I offered up some information that was helpful. That I may have enlightened something along the way. Maybe showed you a trick or two… or at least made you smile?!

Remember, it’s just clay.
Make something. Make more. Do what you love. Follow your passion.
And if it’s not fun, don’t do it.

Categories: workshop

So tomorrow I’m packing up my stuff and taking it on the road.
I’m teaching a one-day workshop at Harper College for their Clay Guild members.
Let’s hope I can think of “something” to show them?… or at least a good joke?!

Categories: classes, workshop

Okay, so it’s been a “few” years…
but I must admit that I’m a little nervous & excited
about going “back to college” this Saturday!

Categories: artists, creativity, inspiration, pottery, process, workshop

This weekend was a two-day workshop with Julia Galloway.
Let me just say, this was my third two-day workshop with Julia Galloway!

Each time I’ve seen her working, I’ve been at a different stage in my own ceramic career. She was also my first workshop ever – just a few sessions into my wheelthrowing classes. My second workshop with Julia was a few years later when I was addicted to clay, but not really sure where to take it from there. This weekend was another experience – now as a working potter with a whole new perspective. And quite possibly, ready to actually “hear” all of the tips she’s so good at putting out there.

First off, her three word artist statement du jour : domesticity, conversation, beauty. And that’s what she makes. Pots that can be used for nourishment, that create a conversation and are inherently beautiful. Sounds like a good plan to me!

We started with Julia doing some quick throwing. In Julia’s studio, she throws for two days on the weekend & then spends rest of the week decorating those pots. In a condensed workshop like this, she had to make pots quickly to have something to work on later.

As the pieces began to set up, she then started to alter the forms by pressing, billowing & squaring the forms. In her mind, she had a plan for each piece. And she explained to us that many of her “plans” are created by a “predicament.” A conflict that needs to be resolved. A hurdle that needs to jumped. A limitation that needs to be pushed. It wasn’t always clear to us where she was going with the demos… but the exploration & discovery was part of the fun. Many “ah-ha” moments as they came together.

Not only are Julia’s pots very gestural & animated, but so is she. Her ability to be informative & approachable at the same time is refreshing. She has so much information to dispense that it could easily be overwhelming. But instead, she instills so much humor & passion into her presentation. She’s one of those people that I find so endearing & engaging… so much so,
that this is my third workshop with her. Sure, her work is incredible. But I could just listen to her talk. Seriously. Give her a topic and let her go. She’s thoughtful, insightful and giving. Always willing to share. But I digress. Enough gushing. Back to the workshop…

An added bonus… she also showed us a few new, groovy handle making techniques. Handles with textures?!… I loved ’em… and watch for me to be “appropriating” them soon!

Day Two… back for a second day of too much information flying our way…
and she’s still making beautiful things. Even more beautiful as things come together!

As her pieces are now leatherhard, she started attaching, stacking, cutting & combining pieces. Creating some of her signature pieces… also making pieces that will accentuate her surface decorations! And all the while, she’s talking. And talking. Sharing stores. Sharing insights. Sharing her path. Again… I could just listen to Julia talk. And I did. I’m impressed by people who can express themselves verbally & eloquently. And yet never condescending or demeaning. Always willing to answer a question. Always willing to share concepts, tips, secrets & opinions. Everything you want in an educator. Everything I want to be as a teacher.

In between the demonstrations, giving the clay some time to stiffen up, Julia took time to share some art history with us. She brought her PowerPoint collection of pottery through history. To give us a basis of understanding, to offer up historical reference on how pottery had evolved and changed along with the world. How surface decoration is as old as pottery itself. It was somewhat amazing to how pottery has remained the same, and yet so
completely different over the centuries. When I was in college, art history was all about painting & sculpture. We never talked pottery. Who knew how much it was all connected?!

Then, as she started decorating her pots, she also explained how ALL surface decoration can be summarized into four categories. And since we had just seen centuries of surface decoration, it was fairly obvious… yet great to have it pointed out clearly. Here they are…
1. dots.     2. lines.     3. floral representation.     4. pictorial imagery

So, starting her own surface decoration, she wanted to show how “easy” it can be… and that sometimes you just need to dive in and do it. No hesitation. Don’t overthink it. So her pitcher slip demo is just that… dots, then lines, then floral, then object imagery.

And then it was on to some of her signature styles in surface decoration.
With a lot of slip painting, slip trailing, incising, wax resist, slip inlay, shaving, layering and more! All the time talking. Talking about styles. Talking about techniques. Talking about how you need to make a lot of pots. How you need to try a lot of different things. Try, try, try again.
How you need to commit to the techniques when you start. Don’t be timid. Don’t be hesitant. All suggestions I give my own class of beginners… don’t be wishy-washy… commit… it’s just clay!

As the workshop began to draw to a close, we had a much larger vocabulary of techniques, as well as a lot of historical reference to draw from. We looked at some of her pots from the gallery – now understanding exactly how they were made, as she explained some of the steps of how she made them.

As we all found out, so much of Julia’s work is about making beautiful things. Beautiful forms & shapes. Beautiful lines & details. Beautiful layers of patterns & shapes. Her quest for beauty is admirable. Her willingness to share is impressive.

With the workshop encapsulated above, I still feel as though I haven’t covered it all. It’s her dynamic personality, her passion for clay, her willingness to share everything, and her eloquent turn-of-phrase that does it for me. It’s impossible to grasp that in a blog.
And I do think that the third time was the charm. I feel at this point in my ceramic career, I was ready to “hear” what Julia had to say. And now confident enough in my own skills to now stat trying more of her techniques. The trick will be making it happen. I can’t wait to
see what happens, and how I can incorporate her tricks into my own styles. I don’t want to make “Julia Galloway Pots.” But I am looking forward to seeing how she influences my work.

Thank you Julia Galloway for another wonderful workshop.
I know that everyone in the room was as enchanted as I was, and learned a lot along the way. Everyone in there has their own path that they’re on, and I’m sure we all got something different and yet equally important out of the two days we spent with you.

For more information on Julia Galloway, check out her website in my “Links” section. As well as the “Link” to Montana Clay which highlights her surrounding ceramic community.