10.20.2021
Looks like this little green oval vase made it safely to it’s new forever-home! And it looks happy… along with that beautiful table-top surface that I’m totally intrigued by?!!!

Gary Jackson: Fire When Ready Pottery
A Chicago potter’s somewhat slanted view of clay & play |
Looks like this little green oval vase made it safely to it’s new forever-home! And it looks happy… along with that beautiful table-top surface that I’m totally intrigued by?!!!
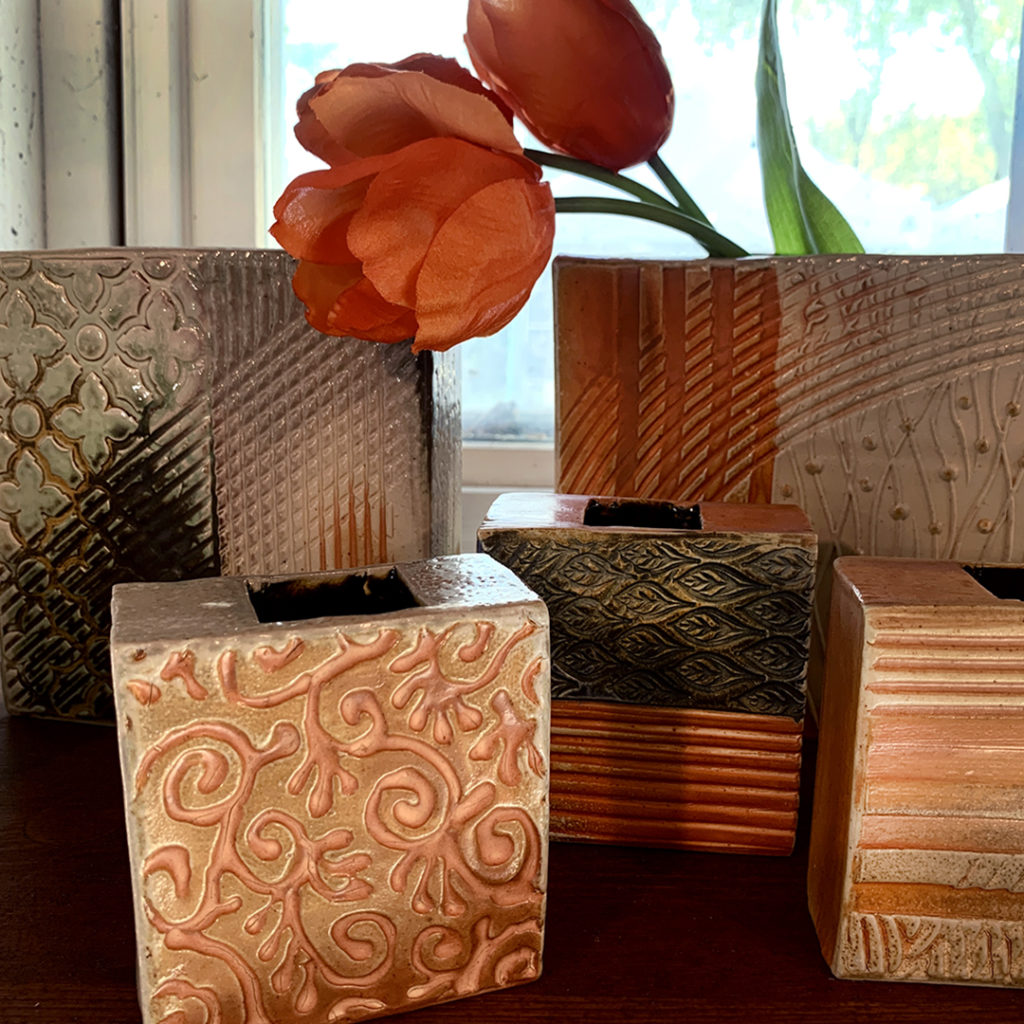
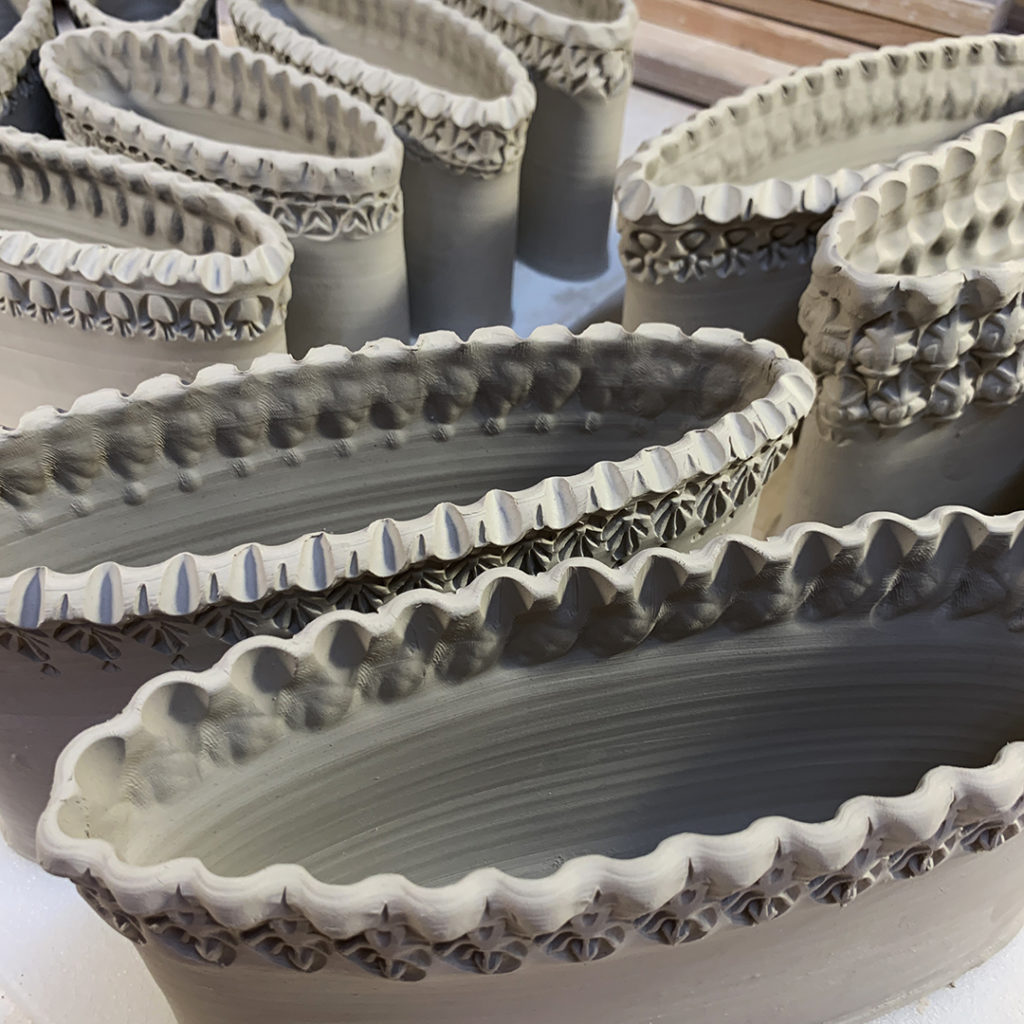
Celebrating another TEXTURE TUESDAY with a collection of my stamped & soda-fired square vases. The textures are fun… especially because there’s a different textured pattern on the other side of each vase!!! Get tired of one side?… just turn it around.
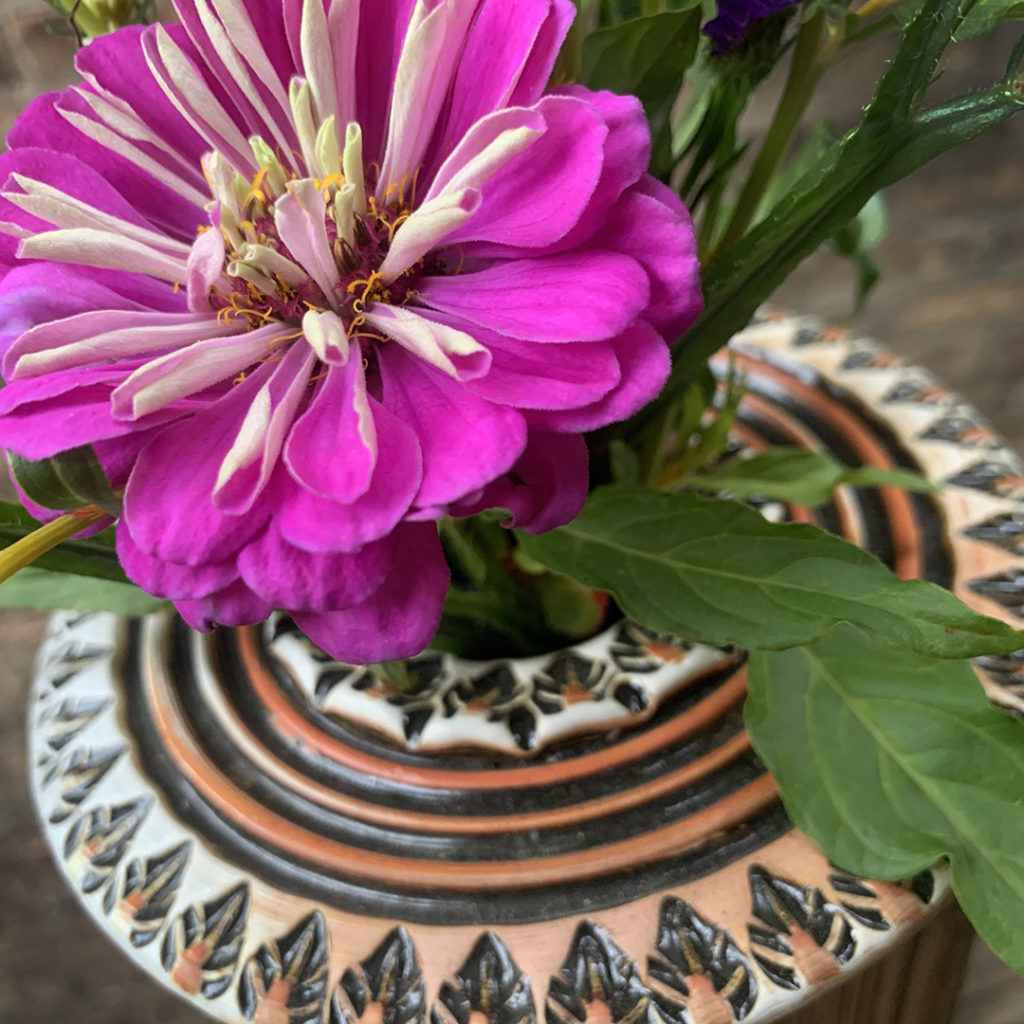
A beautiful bouquet of alstromeria in one of my stamped & glazed vases. Melissa shared the photo with me, along with the memory of when we met several years back at the Hinsdale Art Fair through her friend & stained glass artist Richard. Sadly, Richard is no longer with us, but this vase reminds her of him, as does the stained glass window in my condo!

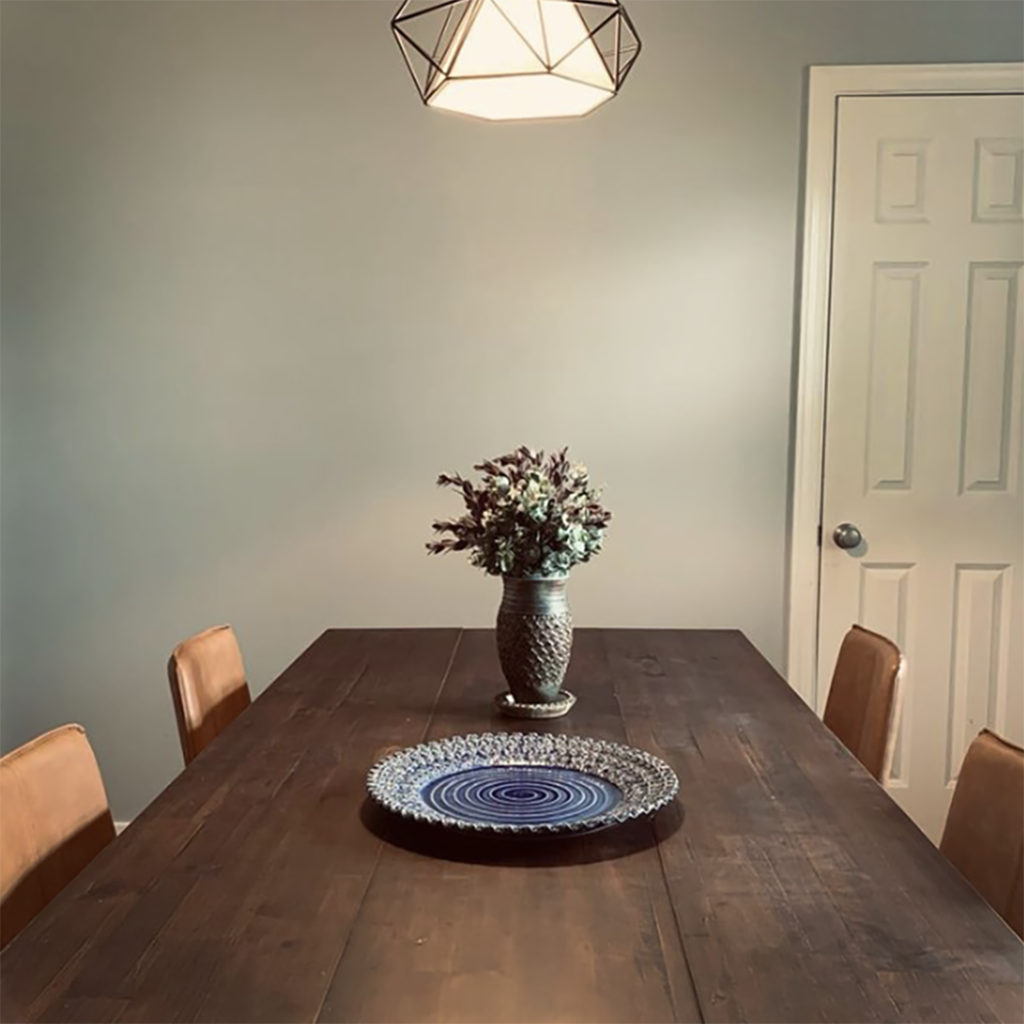
Nothing dresses up an empty dining room table than some handmade pottery! Thanks Erin for sharing the newest additions to your dining room… a nice blue stamped platter and a stamped vase to hold the flowers!


Always fun when your next door neighbors leave you a few flowers on the back porch… because they KNOW you have better things to display them in than the plastic water bottle they’ve been using! Thanks Melanie & Mia… they look so much happier now!
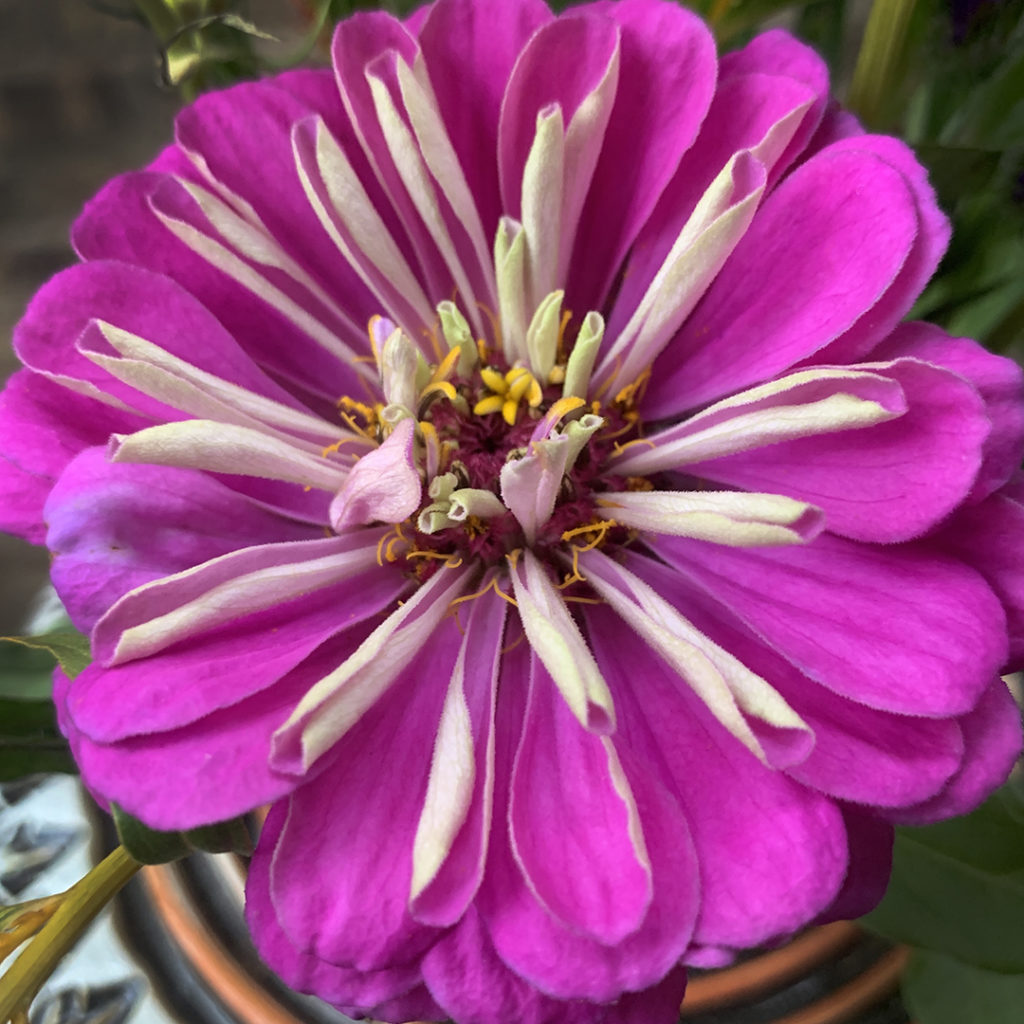
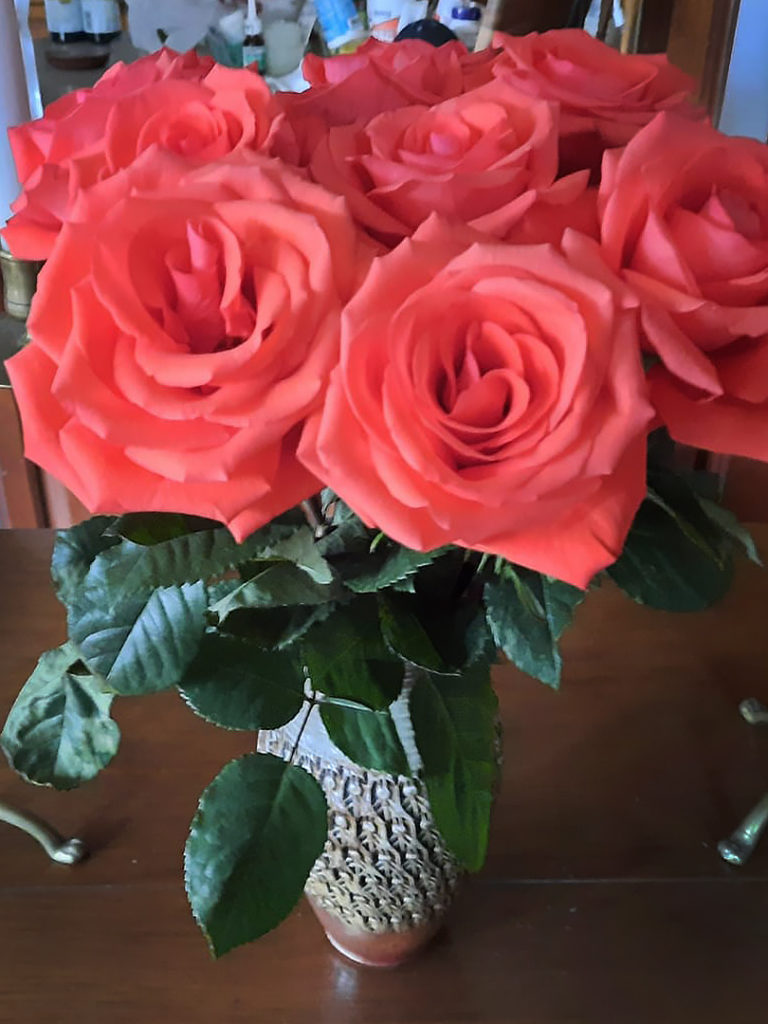
Beautiful roses for a beautiful birthday present for my friend Kelly. Her Mom gave her the stunning flowers… and Kelly put them in one of my stamped & soda-fired vases. Gorgeous roses… but methinks Kelly might need a bigger vase soon???

Just finishing up another batch of stamped oval vases quickly before the Chi Tri tomorrow. Hoping these dry while I’m outside sweating tomorrow so they can make it into my bisque kiln Monday, and my next soda kiln on Friday!!!

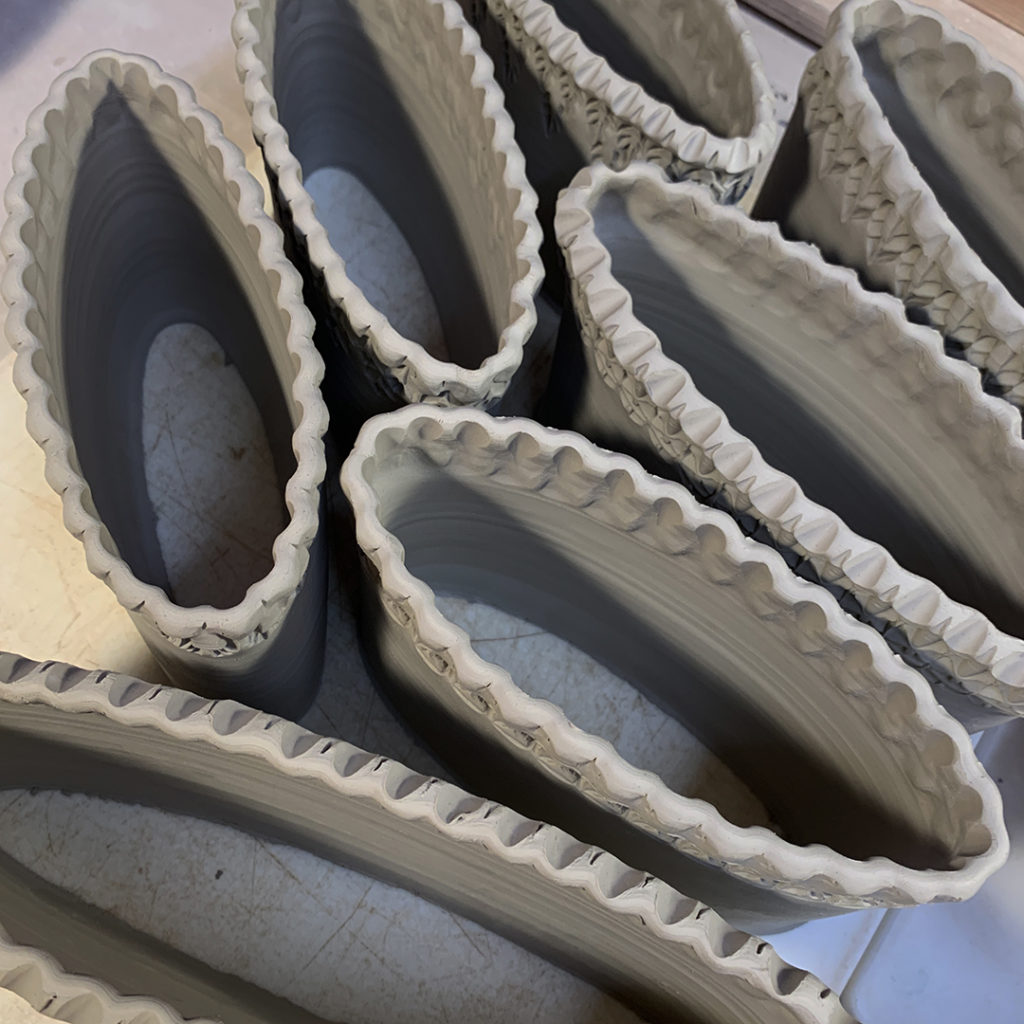

With this being the hottest weekend of the summer, I’m tagged & ready for another Chicago Triathlon tomorrow! It’s going to be a sweaty race… as I’m currently in the studio sweating & racing to finish a new batch of oval vases. We’ve had no air conditioning on the second floor of Lillstreet for over a week now!!! Not good during the heat wave hitting Chicago this week! Just trying to hydrate, hydrate, hydrate…

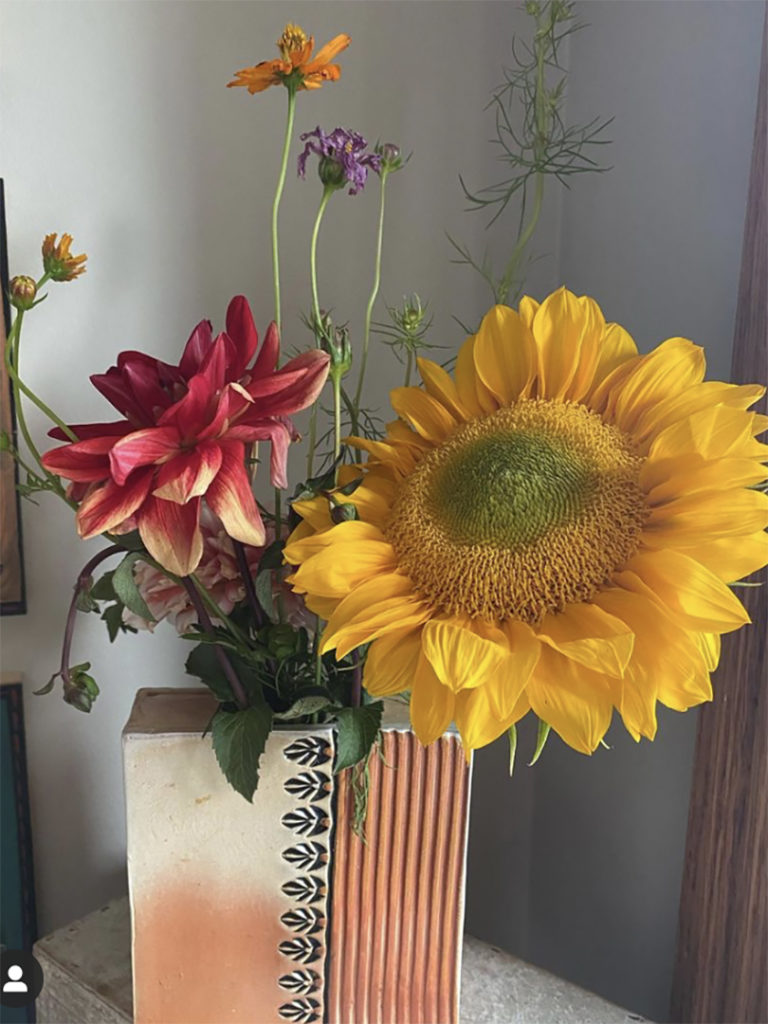
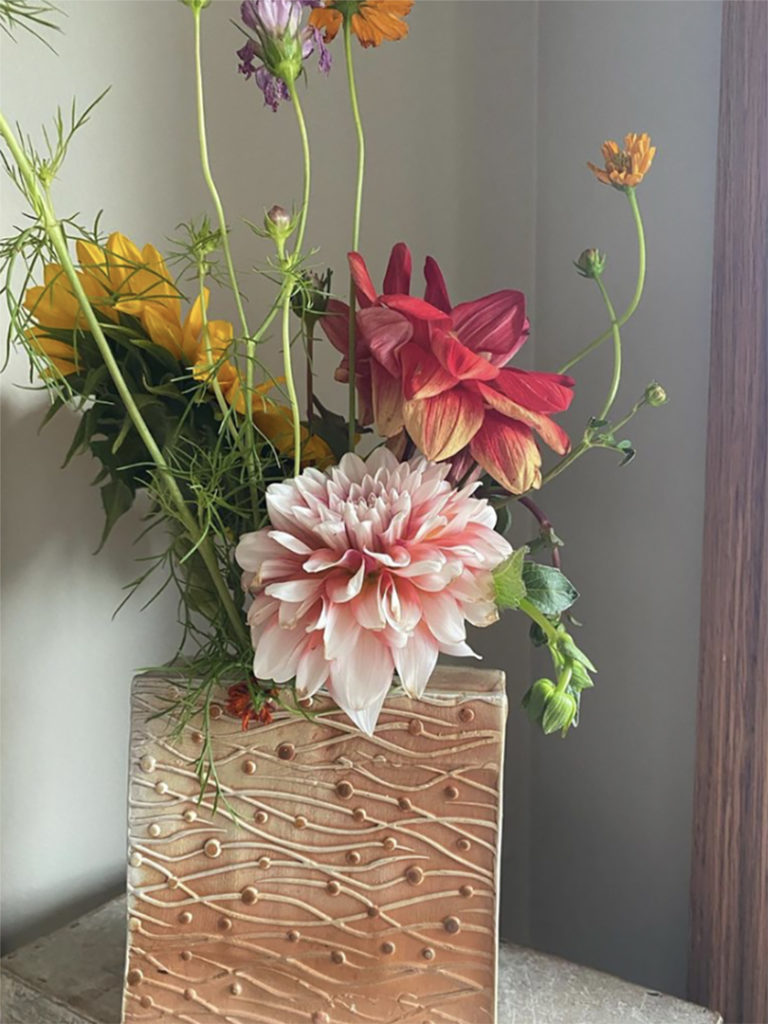
Fresh flowers in one of my stamped & soda-fired square vases. Looks like Rhonda’s latest visit to the Farmer’s Market has helped fulfill the destiny of this two-sided vase! Thanks for sharing Rhonda… and for brightening our day!
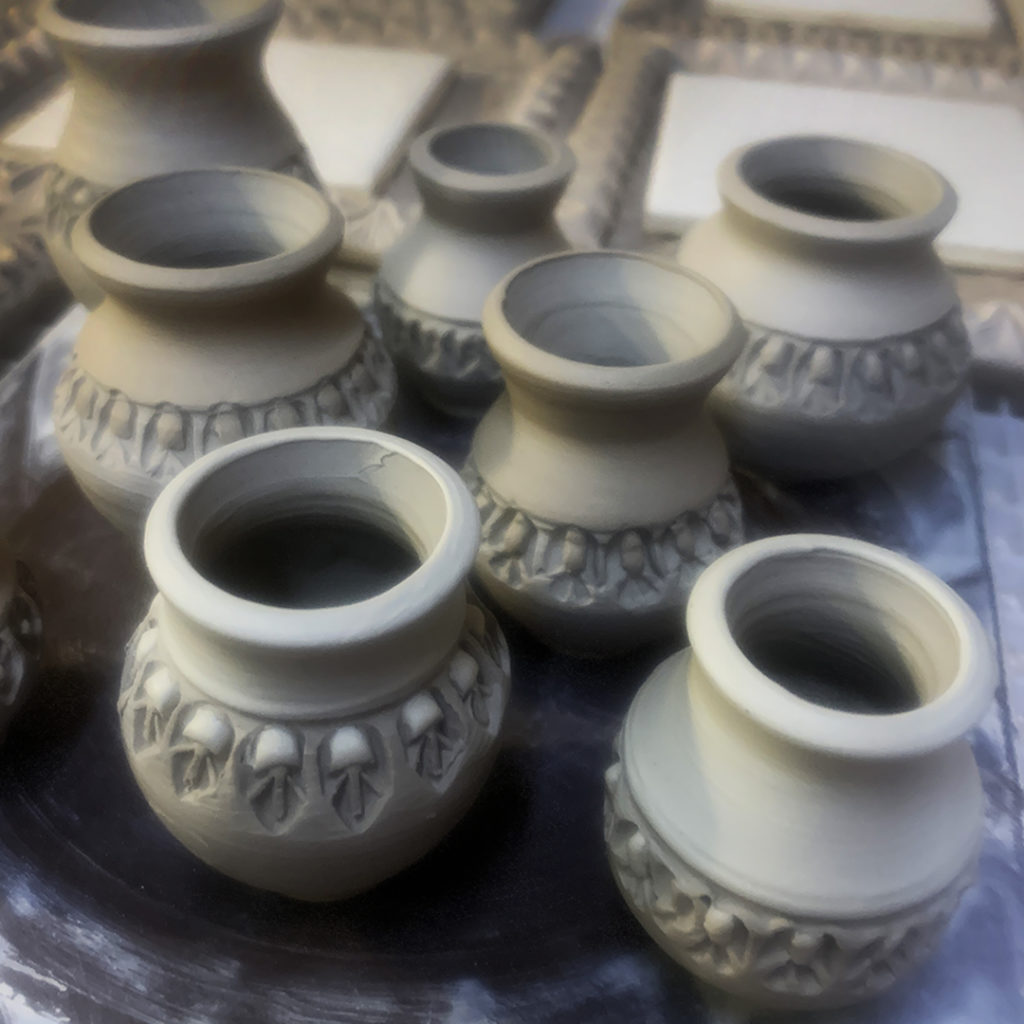
After a little stamping & detailing with colored flashing slips…
these cutie-patooties are going into a kiln soon. Just trying to get them done quickly so they can move along in the process… as there’s a “very good chance” they might just be a part of a collaboration project for ART IN THE GARDEN!
|
Gary Jackson: Fire When Ready Pottery
Lillstreet Studios ∙ 4401 North Ravenswood, Chicago, Illinois 60640 ∙ 773-307-8664 gary@firewhenreadypottery.com |