You know I loves me some fun tie-dye… but this is actually some colored splatters of glaze on the countertop before my Summer Camp kids cleaned it up!!!

Gary Jackson: Fire When Ready Pottery
A Chicago potter’s somewhat slanted view of clay & play |
You know I loves me some fun tie-dye… but this is actually some colored splatters of glaze on the countertop before my Summer Camp kids cleaned it up!!!

After marbling & spinning, we started our final “tie-dye” demo of the night… shockingly with a thin layer of shaving cream on newspaper. I know my students were pretty darn confused at this point.

Then I took some colored underglazes and dribbled drops & squiggles all over it. I thought I could use a large straw to move the underglazes… kinda like a big pipette… using my thumb or pinching off the other end to keep it stuck in the straw. FYI… didn’t work so well.


Once I had the underglaze colors spread out over the shaving cream, I dragged a tool through it to swirl the colors a bit. And yes, my students were still confused & intrigued…

Then I took a straight-sided & smooth vase… pre-bisqued… and literally rolled it over the top of the colorful swirls. The porous bisque piece grabs the underglaze & shaving cream You want the underglaze to touch the pot… more than the shaving cream. You want the color, NOT the aromatic white fluffy stuff!!!

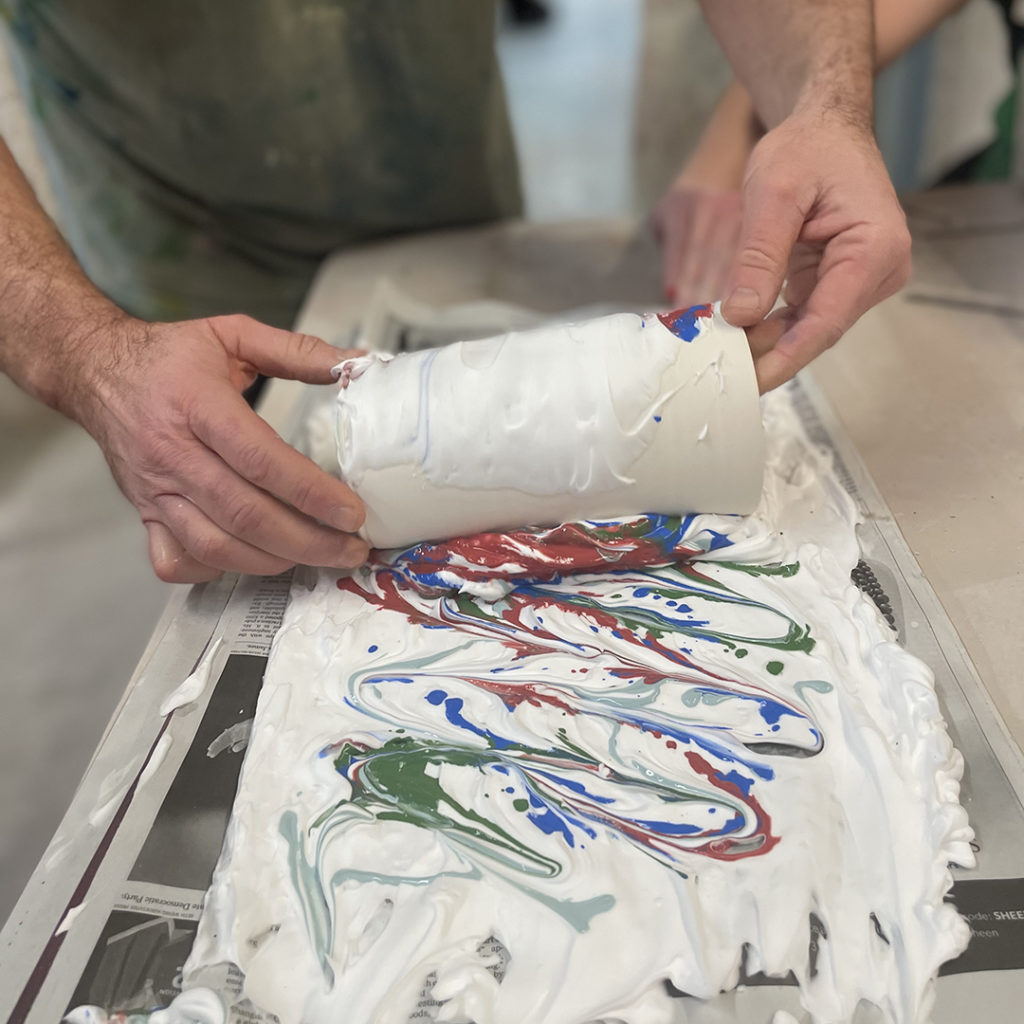
Once I had rolled the whole surface, I let it sit for a few minutes… and everyone was STILL intrigued…


After letting it sit for a bit, we moved to the classroom sinks…
And yes, we LITERALLY just ran the water over the surface!!! It dissolves off the shaving cream, but leaves most of the color “attached” to the pot. The water does most of the work… so don’t scrub it or rub it off.


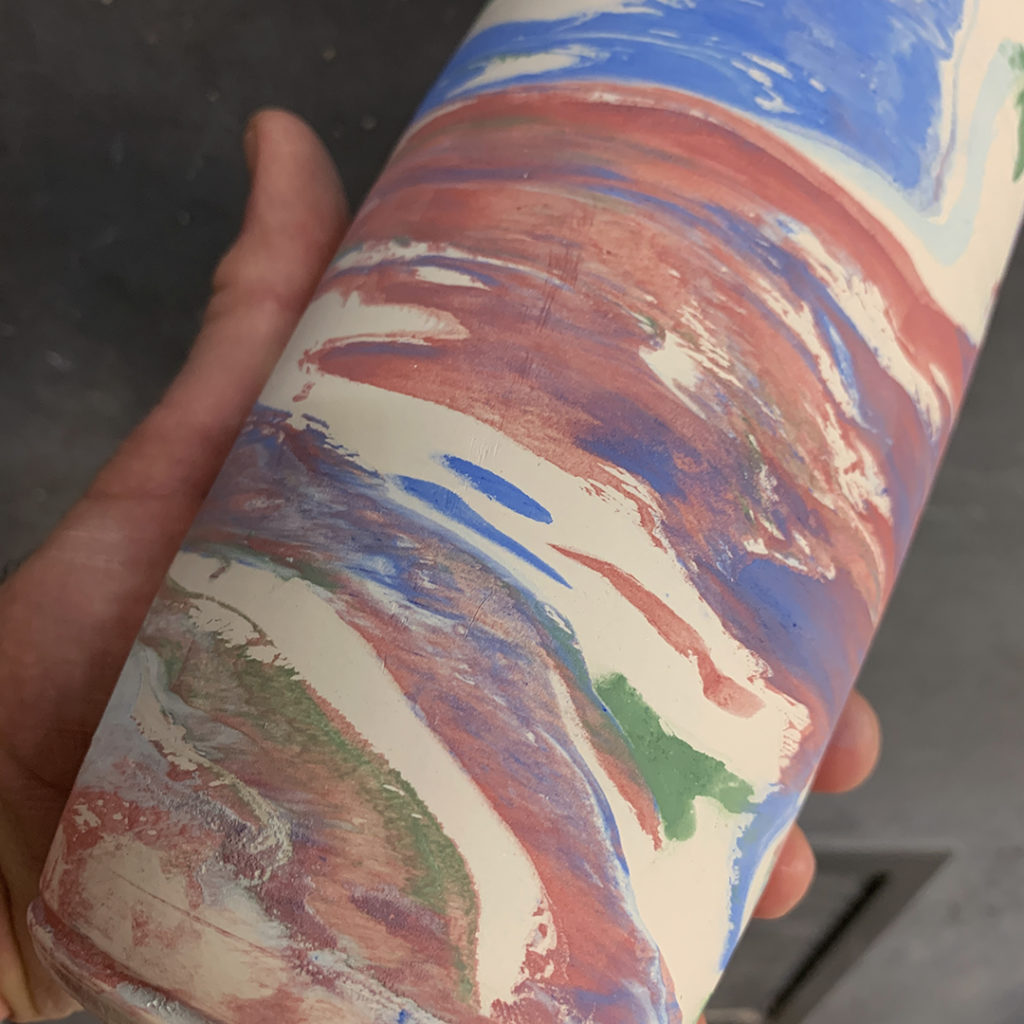
Once the shaving cream is gone… all you have left is colorful “tie-dyed” underglazes!!! You’ll need to let it dry overnight before glazing it. My “plan” is to do a bright color inside… maybe blue… and then a thin coat of spayed clear over the outside to help the colors POP!
Of course, these are underglazes… and we’re firing to cone 10… so there’s really no guarantee that these colors will all “survive” the firing. But we talked about high-fire underglazes in case they really like this technique!


Another colorful t-shirt for TIE-DYE TUESDAY!
I’ve been busy in the kitchen letting the ice melt & the colors spread! This one was just a crumpled shirt covered with ice and then sprinkled with powdered RIT Dyes! The melting does the magic!!!


More fun splashing colors & making spirals… I just can’t stop myself!

This time I scrunched a spiral into the shirt, sprinkled the RIT powdered dye onto the shirt, and then covered the whole thing with ice cubes! Easy-peezy… and so happy that the spiral turned out so well!


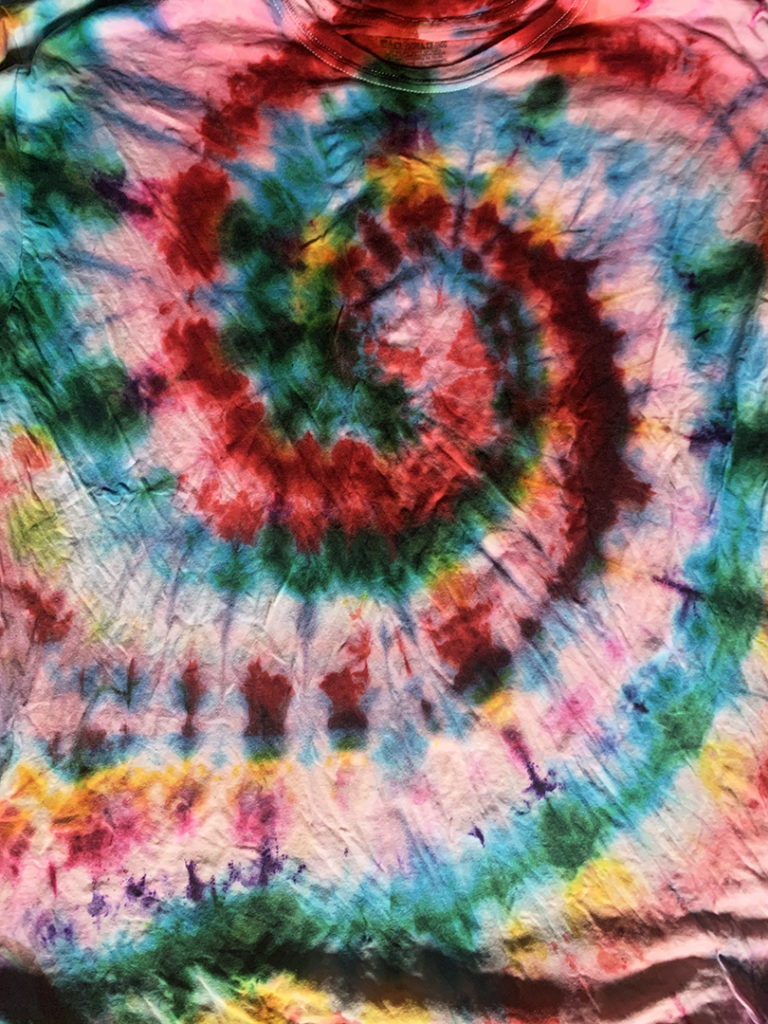

Another fun t-shirt “before & after” the ice pile! A plain white t-shirt folded up, sprinkled with powdered dye and then covered with ice cubes. As the ice melts, the color dissolves and seeps into the shirt. It’s always a surprise to see the final result… usually not what you’re expecting… but frequently better!
So I spent a little time in the kitchen over the weekend… not cooking… but setting up another batch of tie-dyed t-shirts! Summer Camp is coming and I need more shirts!!! Plus, I’m just a tiny bit addicted.

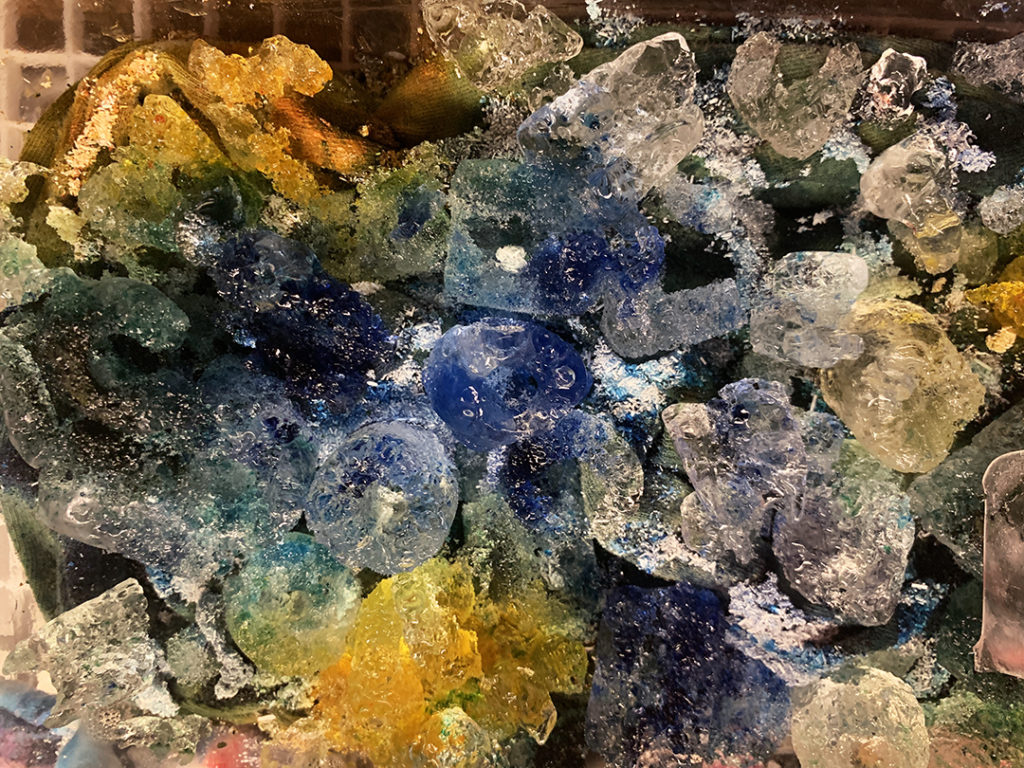

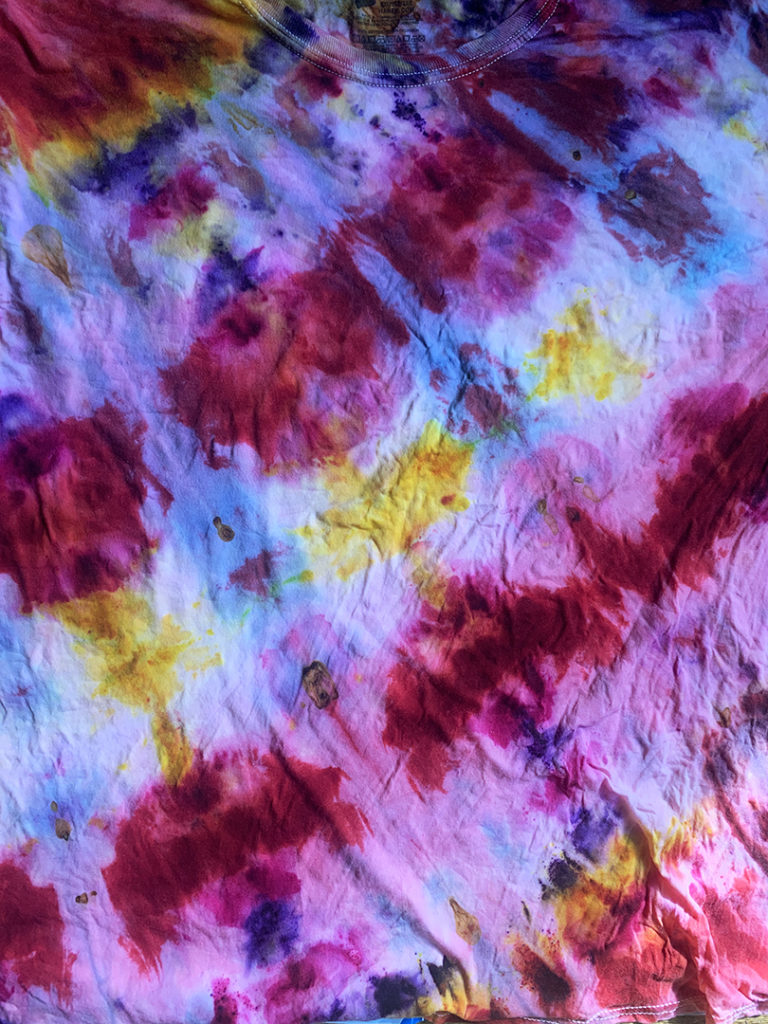
And for those who “noticed” two t-shirts on the first photo with dye powder sprinkled on it… here’s the BIG REVEAL of t-shirt number two!!!
For the record… I’m diggin’ it more than the first one!!!

It’s another TIE-DYE TUESDAY… at least for me!!!
Unfurling another ice-dyed shirt that sat there while the ice melted & the dye seeped in. It’s always fun to see what happened when you get to do the big reveal! Sometimes it’s good… sometimes it’s not… but sometimes it’s GREAT!!! I think this one is somewhere in the middle… but it will look better without all of those wrinkles!!!


It’s sunny outside, but surprisingly cold today! The perfect time to brighten the day by washing out another new tie-dyed shirt. I’ve done a few of these during the shut-down… ice-dyeing in the sink… looking forward to my “new” Summer Camp wardrobe!!!
Okay, who am I kidding… my EVERYday wardrobe!!! HA!!!


|
Gary Jackson: Fire When Ready Pottery
Lillstreet Studios ∙ 4401 North Ravenswood, Chicago, Illinois 60640 ∙ 773-307-8664 gary@firewhenreadypottery.com |