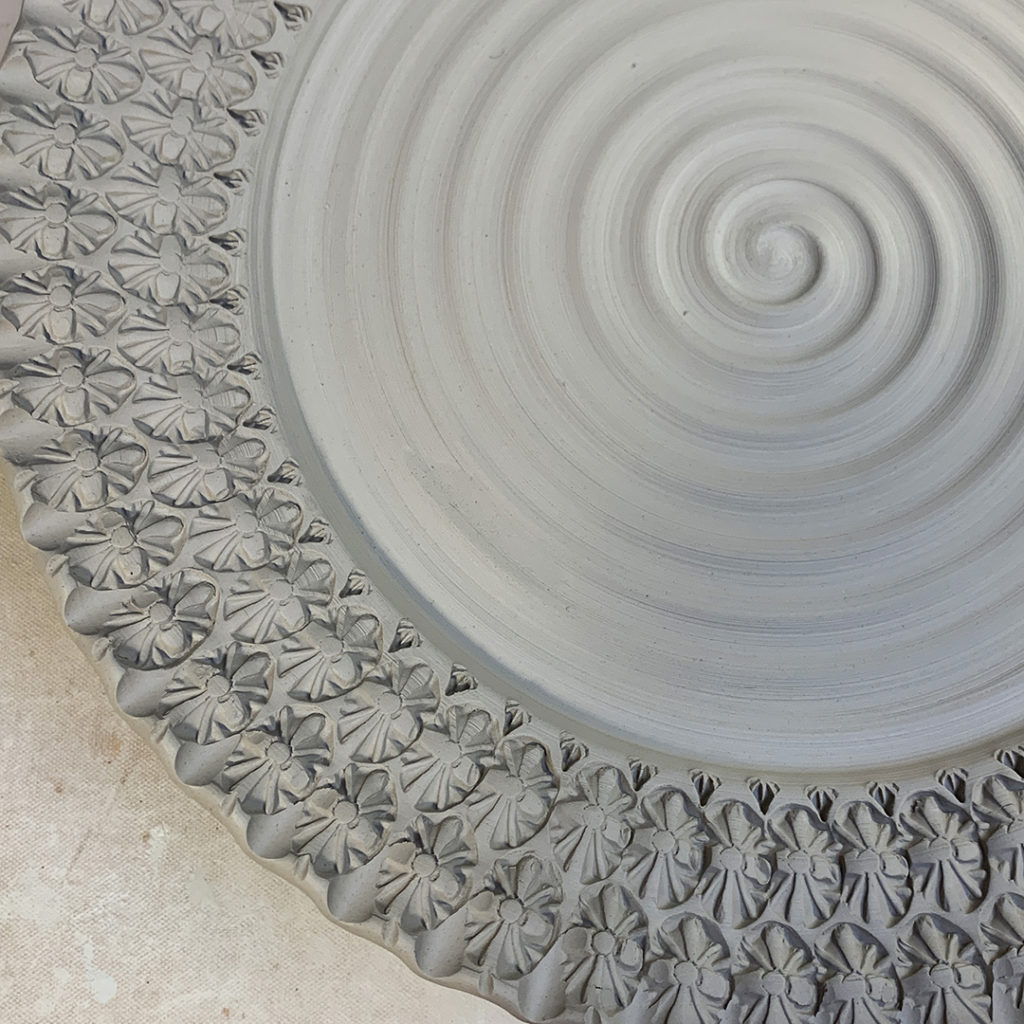
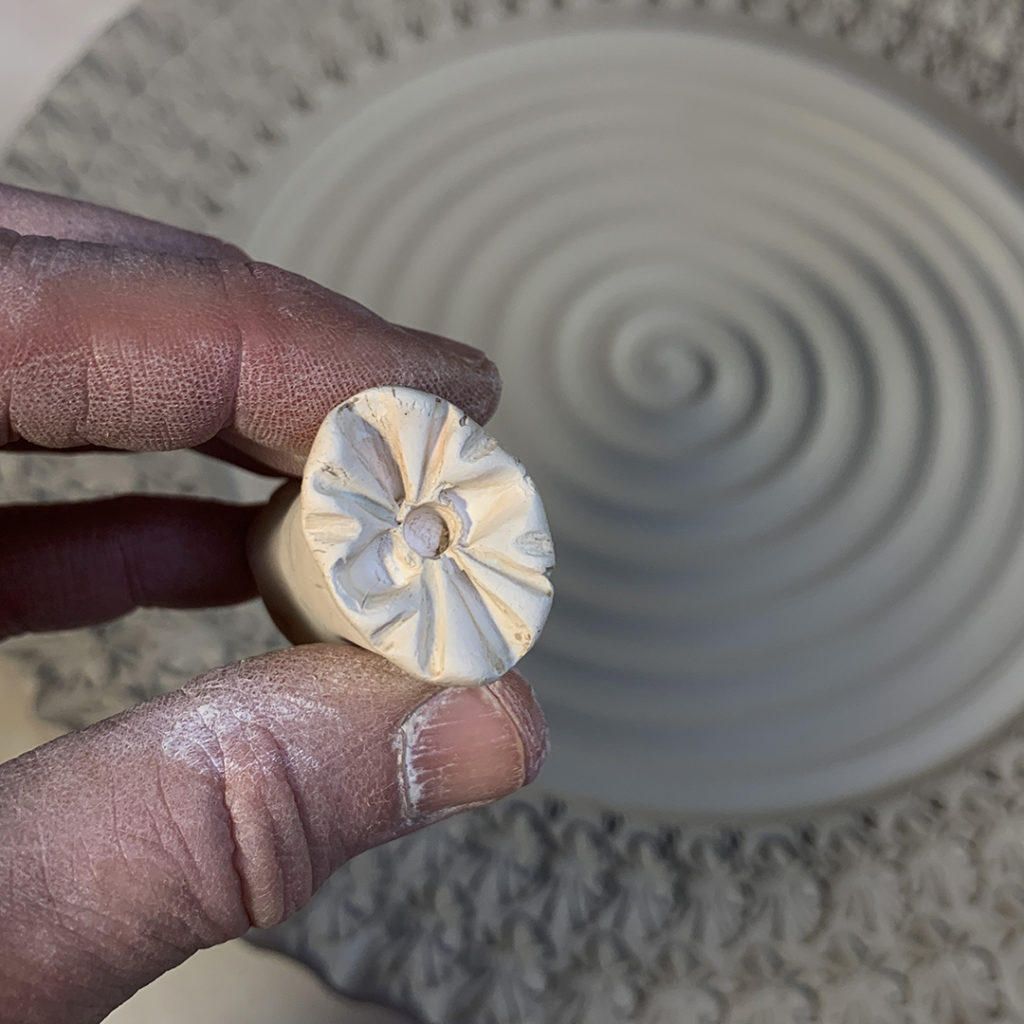
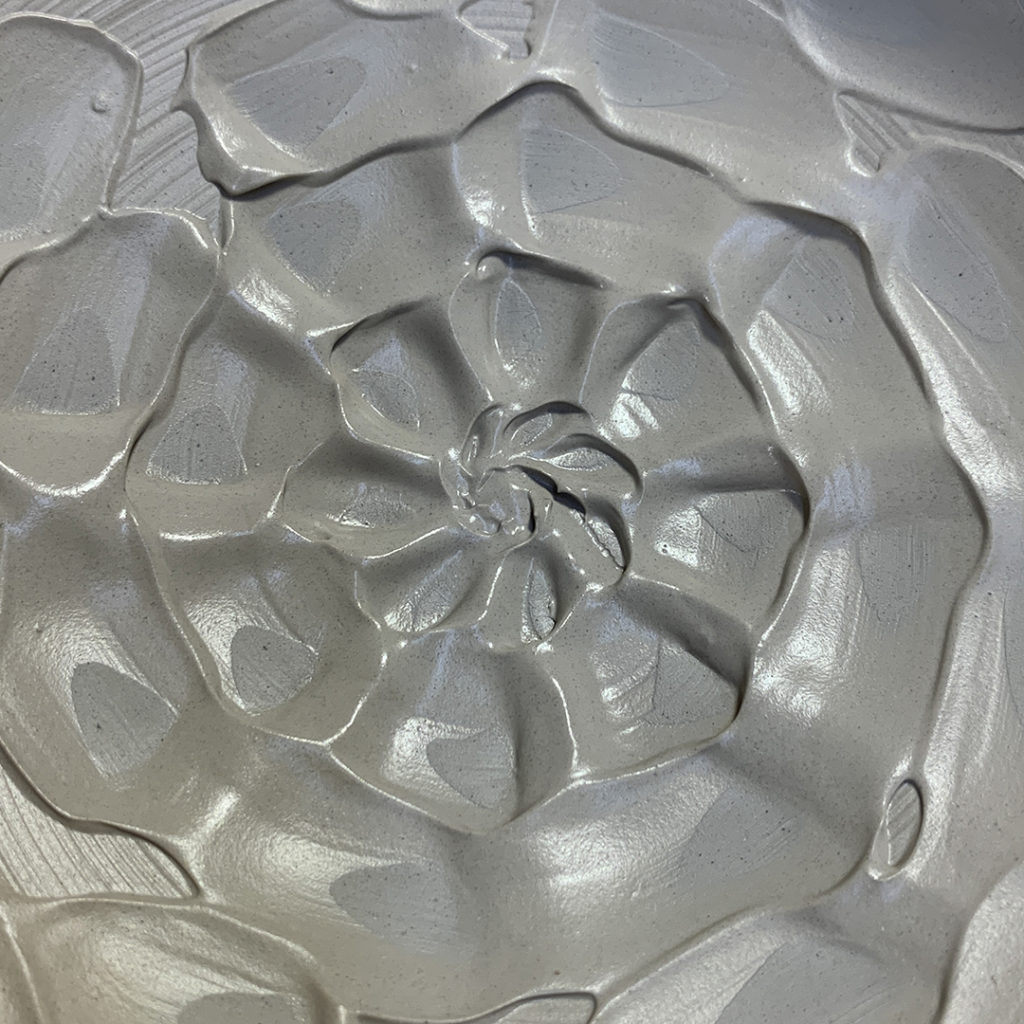
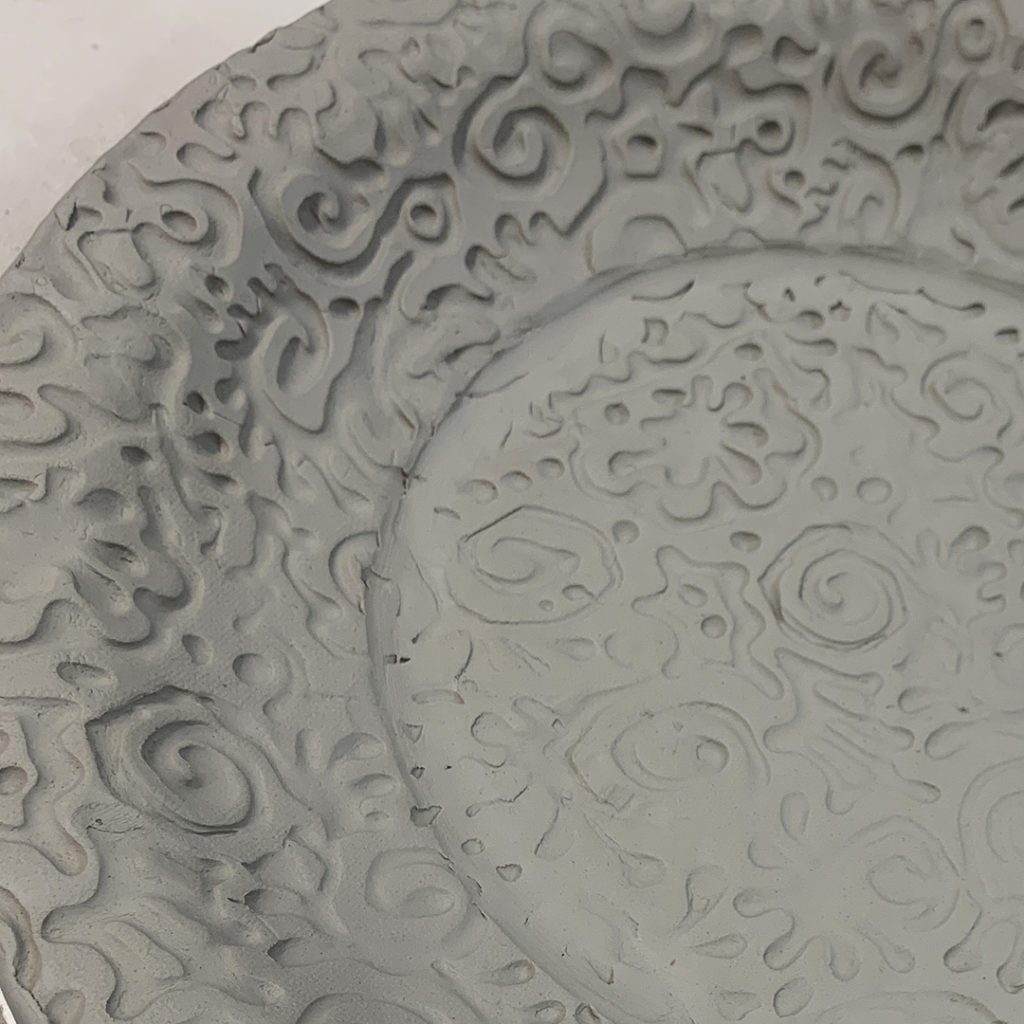
Gary Jackson: Fire When Ready Pottery
A Chicago potter’s somewhat slanted view of clay & play
Categories: bowls, classes, process, surface decoration, textures

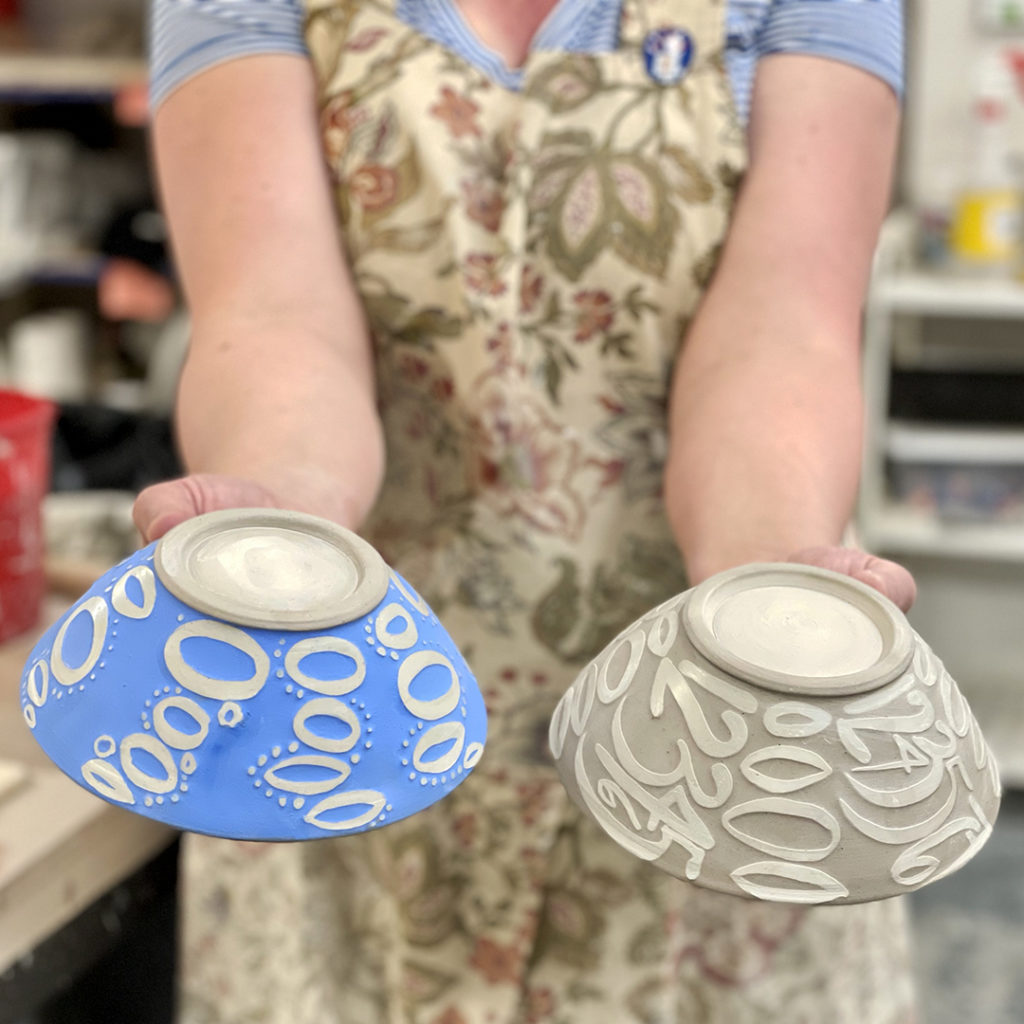
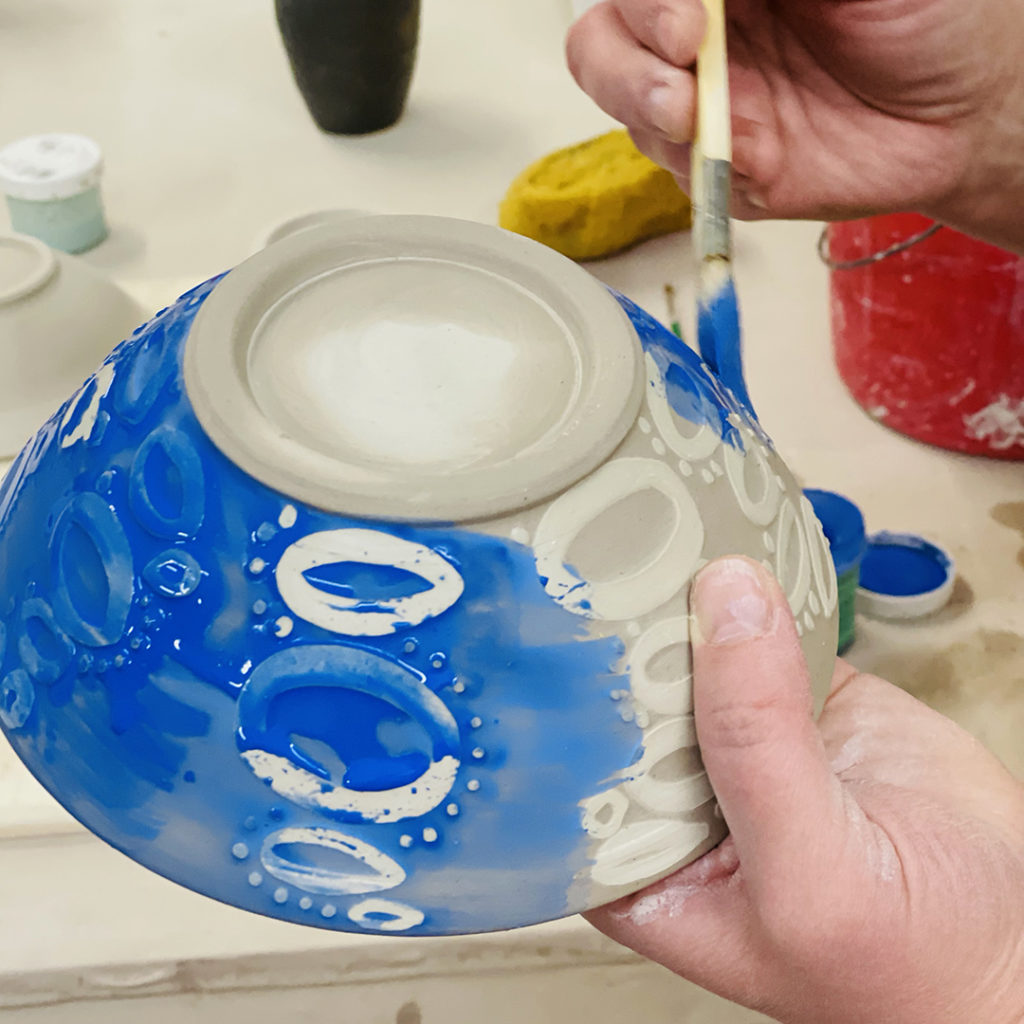
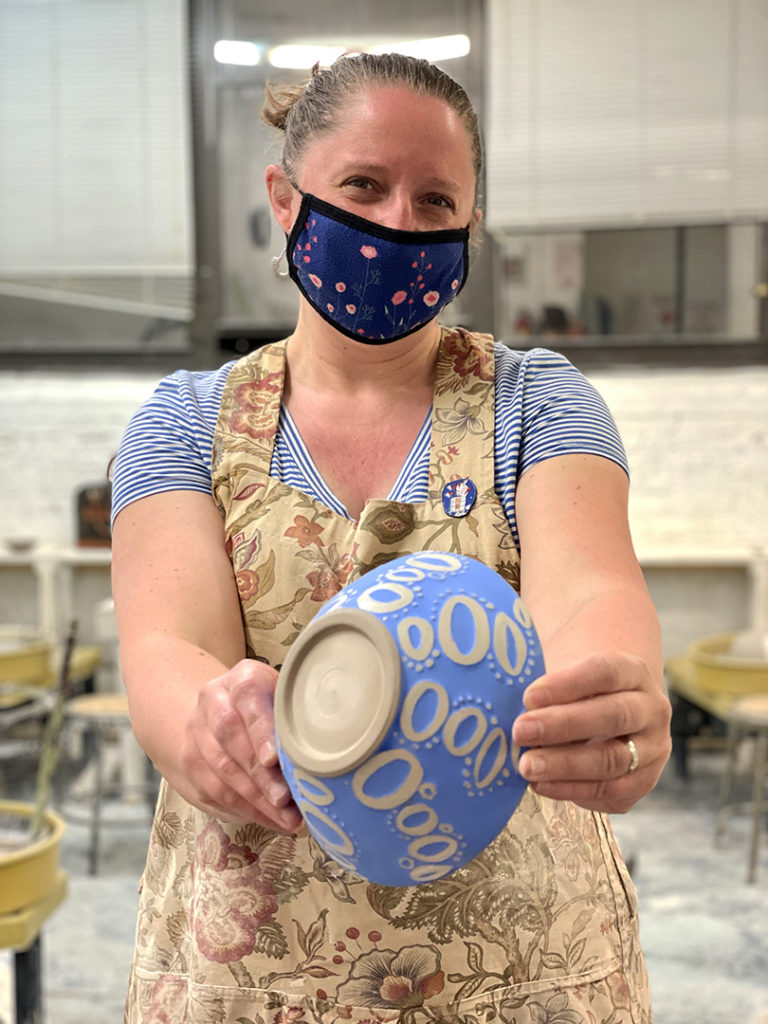
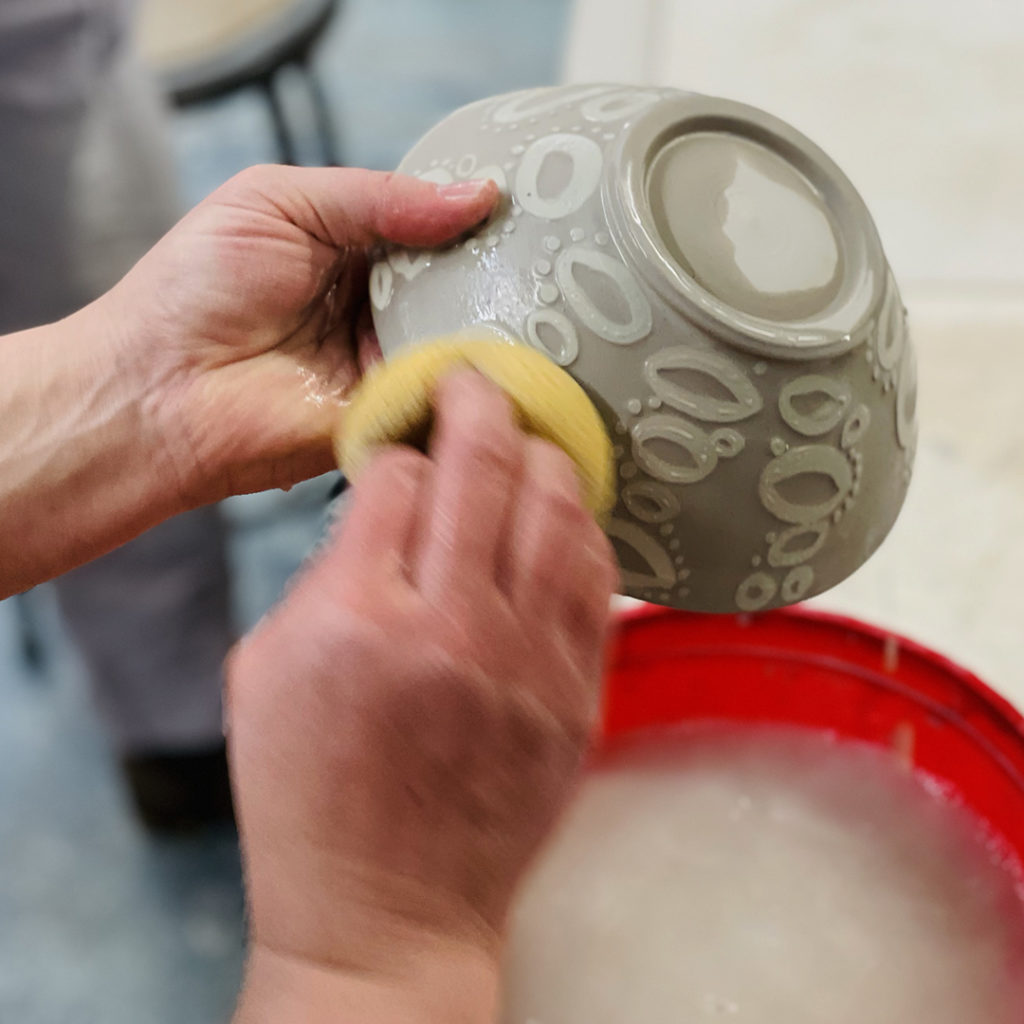
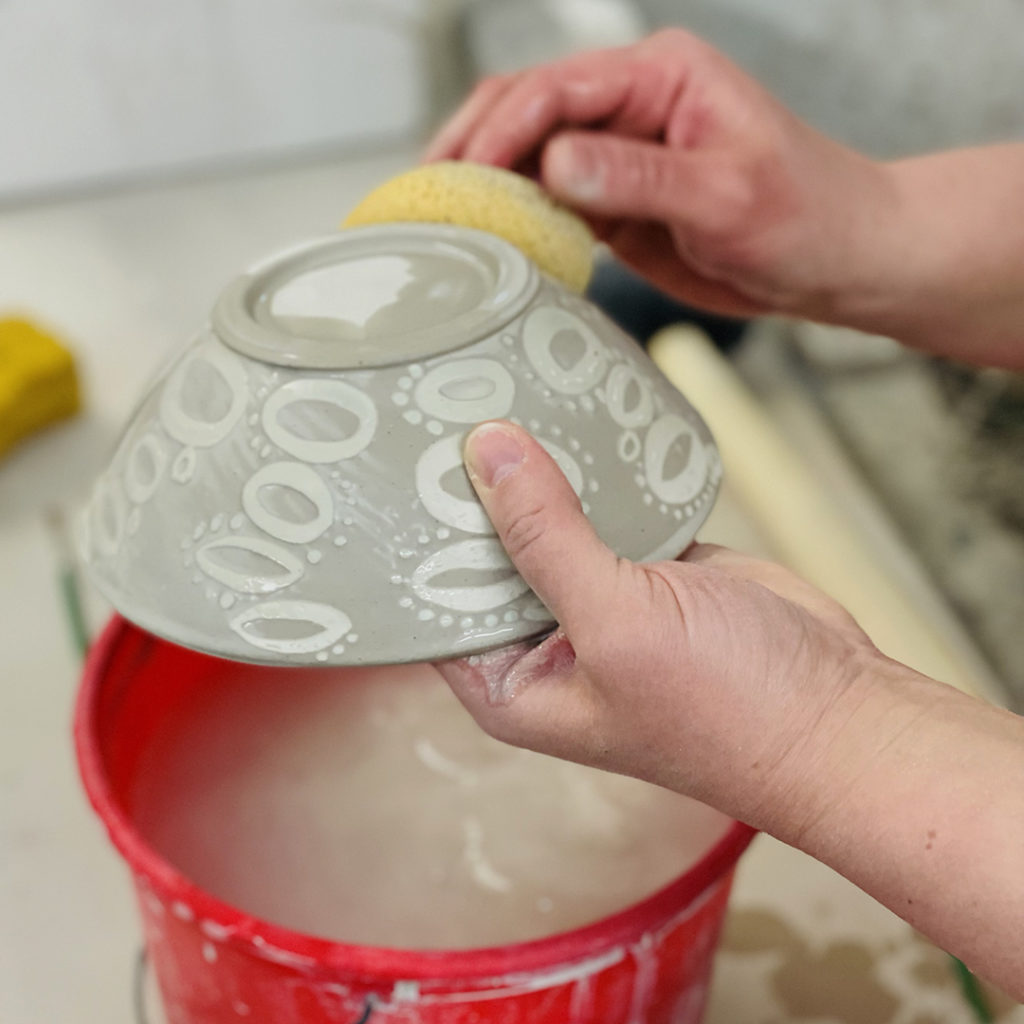
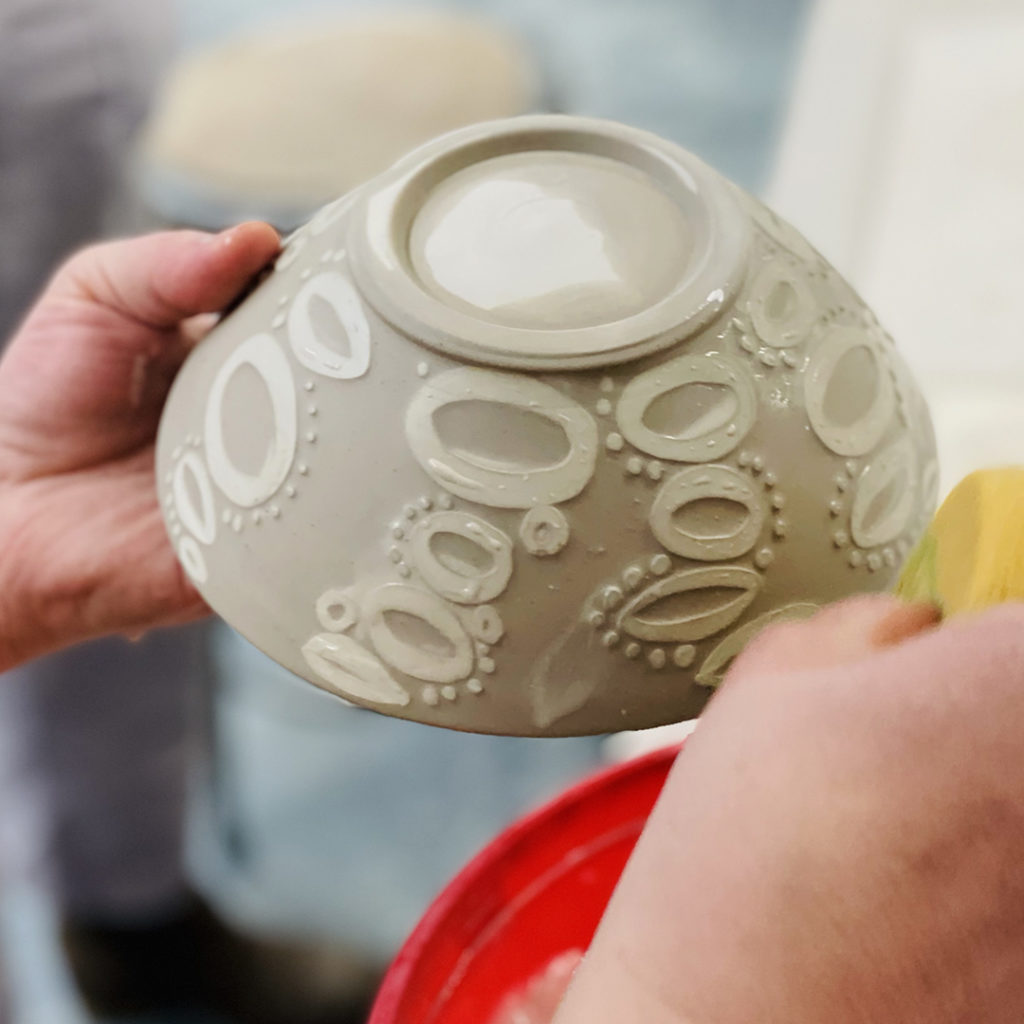
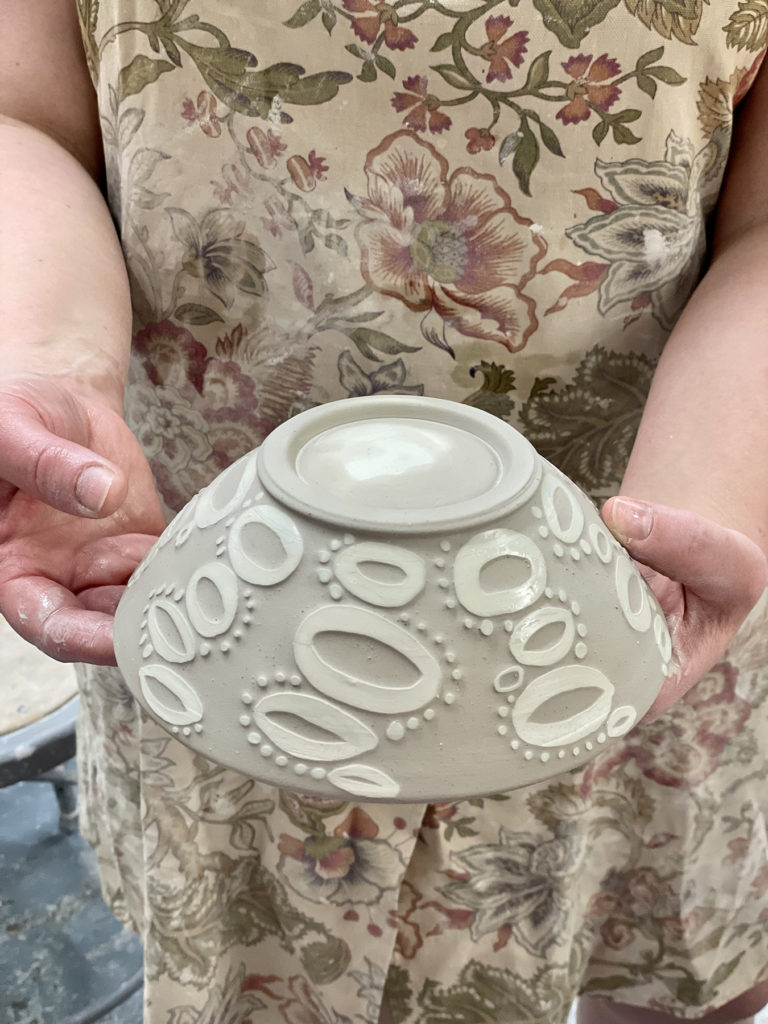
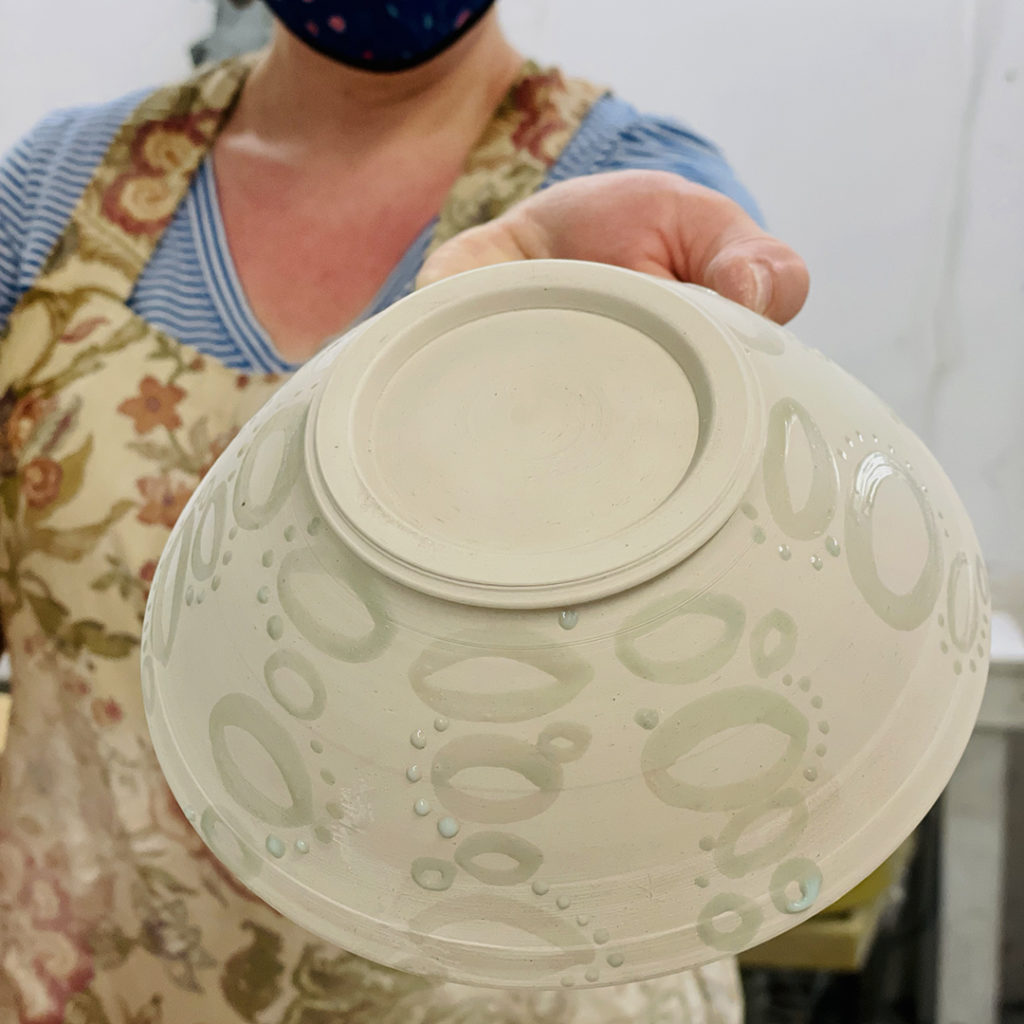
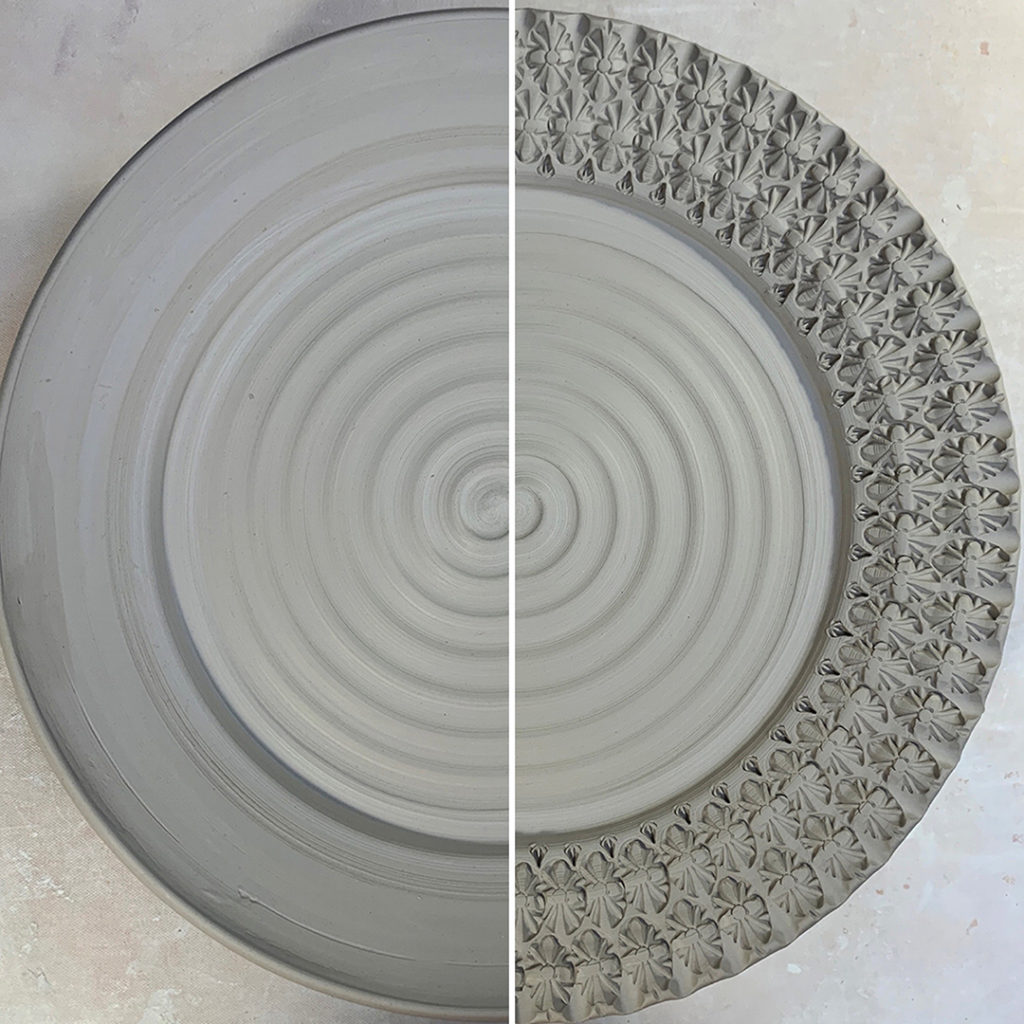
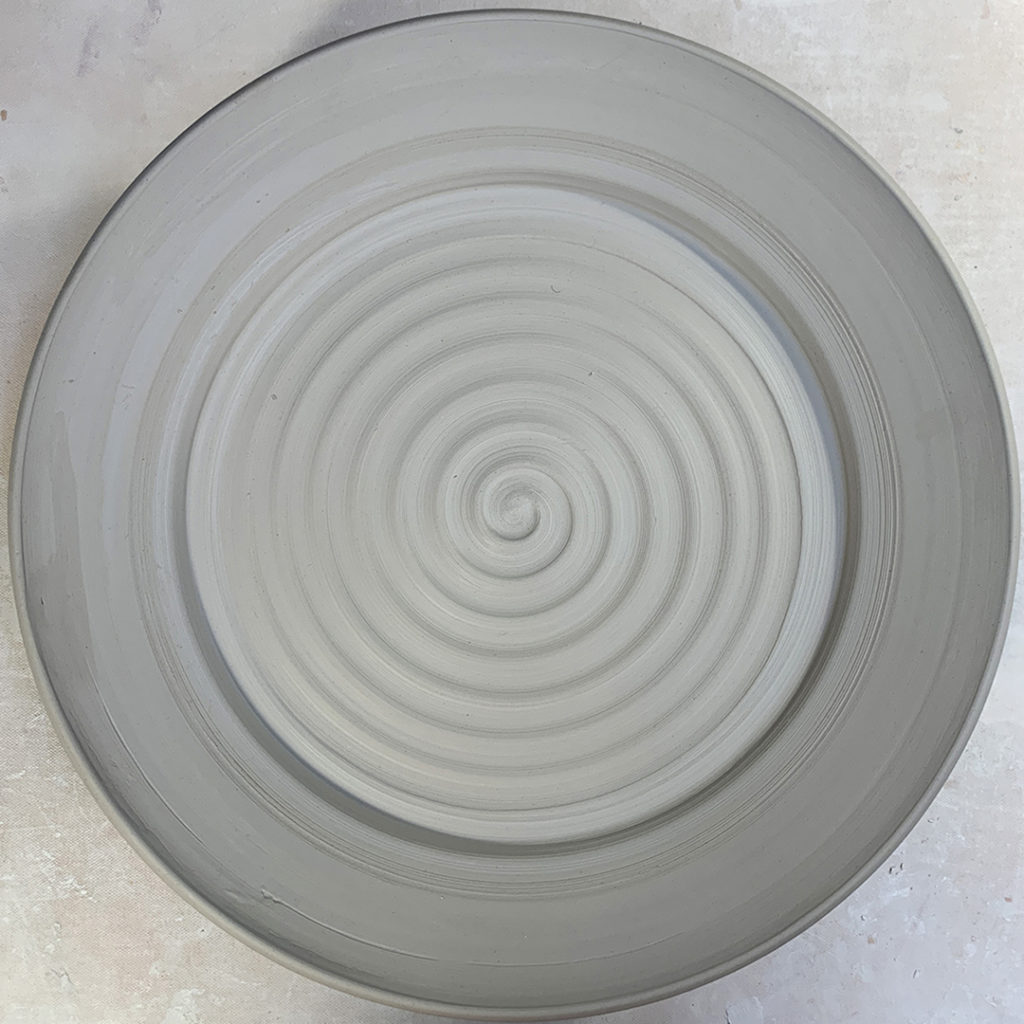
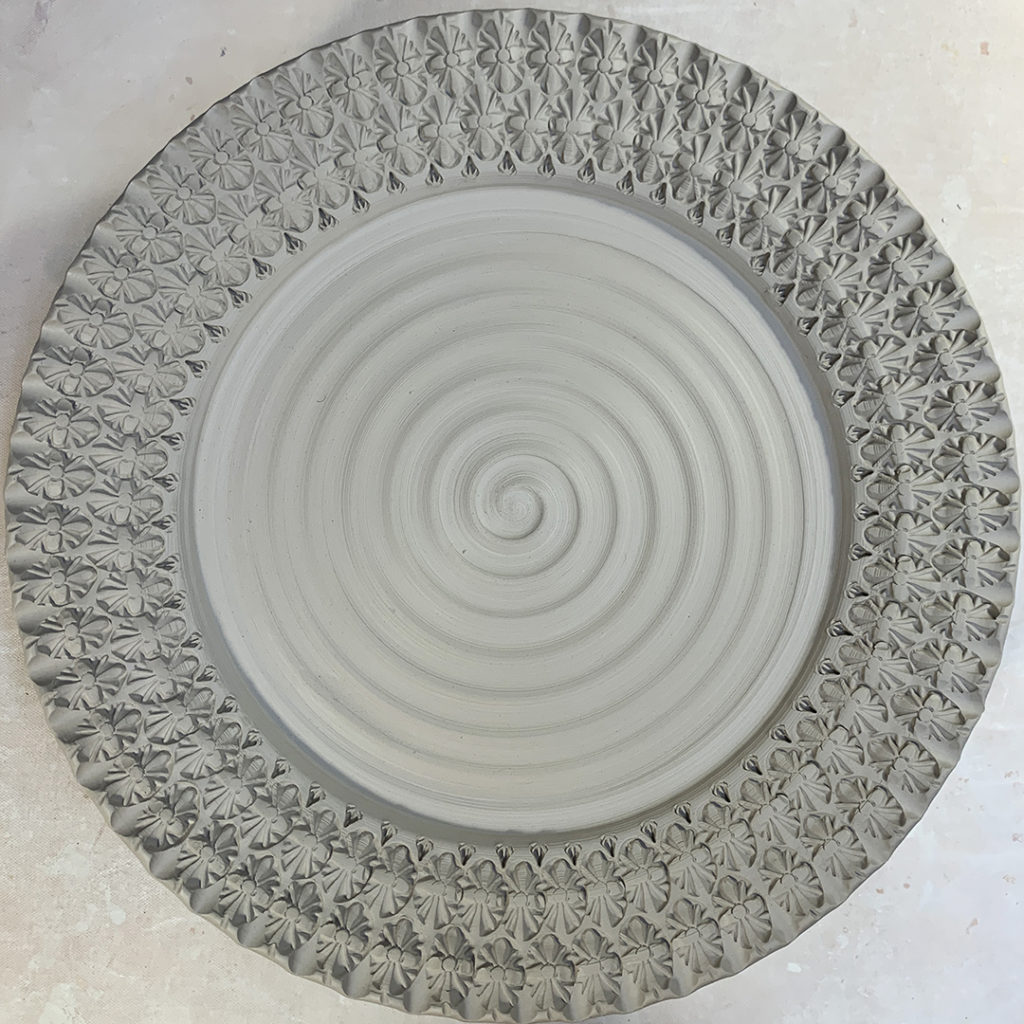
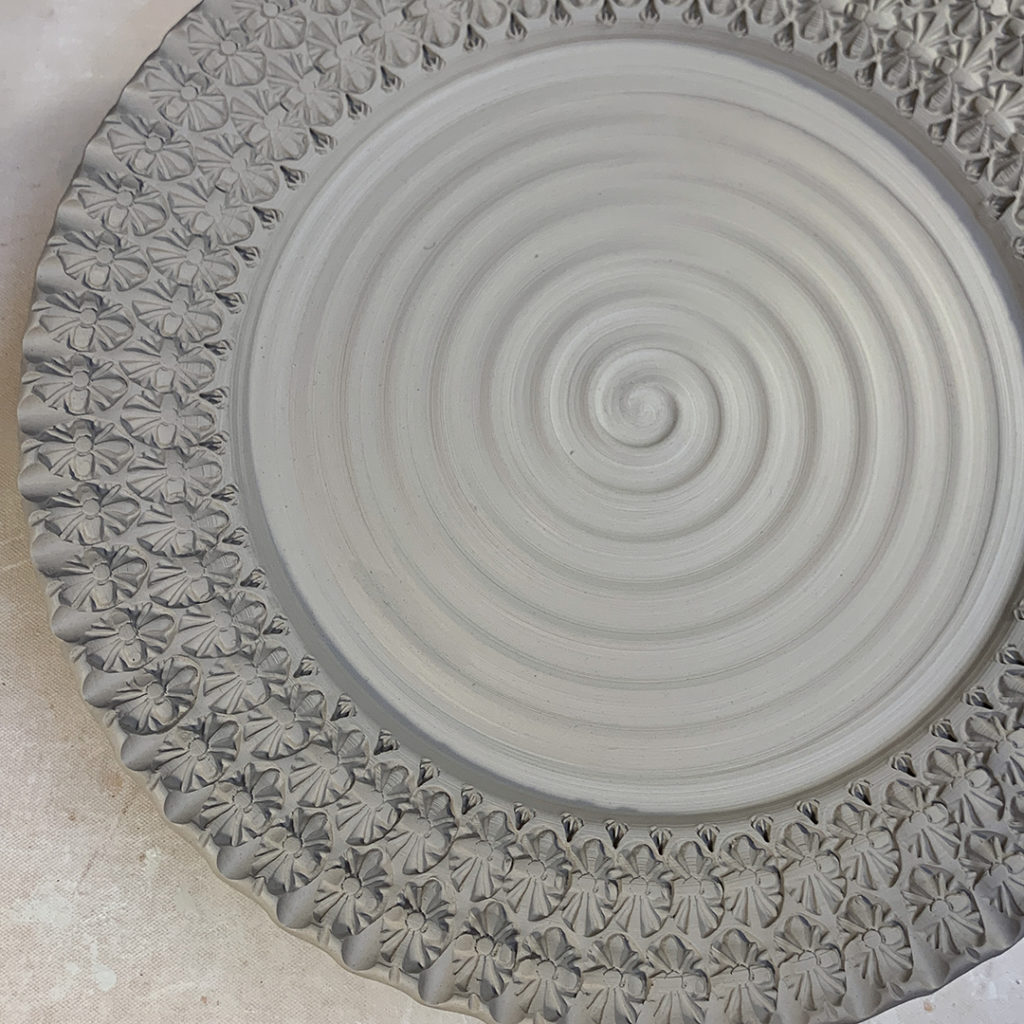
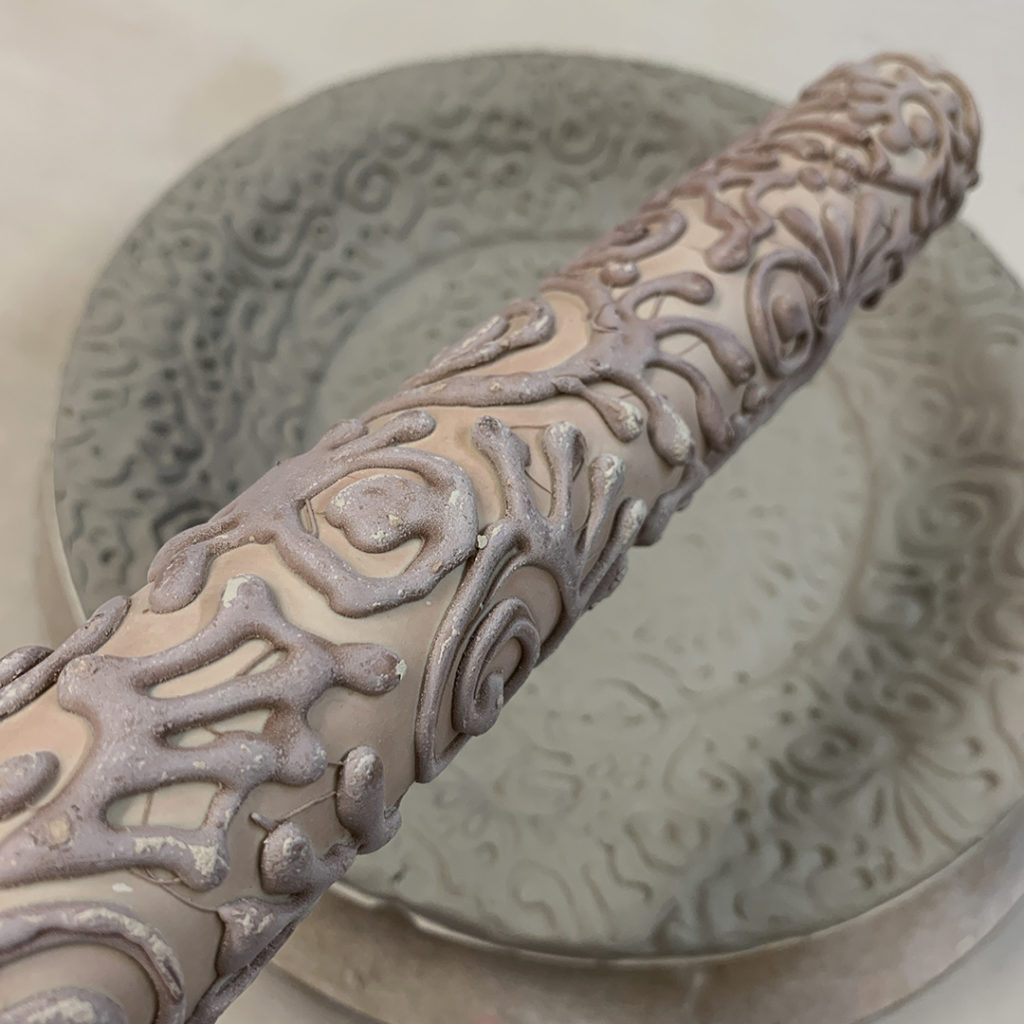
You’re the “Master of Water-Etching”… and I’m sure my students loved your demo! You went above & beyond with that splash of color… but I knew you would. Thanks for being the best sub teacher ever for my SURFACE DECORATIONS class last Thursday!

Categories: bowls, color, process, surface decoration, teaching, textures

After wiping away the background… leaving the wax resist areas intact… Catherine had to get a little showy and added a layer of colored fun to her demo! Letting the wax resist do it’s thing, Catherine painted the bowl with blue underglaze… and the color doesn’t stick on the wax, except for maybe a little touch-up here & there! So now the “protected” pattern areas will be higher & clay colored… whereas the background is lower & blue!!!

Categories: bowls, classes, process, surface decoration, textures

When the wax resist pattern were dry, Catherine Tweedie then demonstrated how to wipe away the “unprotected” background areas with a damp sponge. As you wipe, the background dissolves away, whereas the “wax protected” parts stay where they were. The more you wipe away, the deeper the contrast between the two layers. Be careful not to wipe too hard… or you might wipe away some of the wax!

Categories: bowls, classes, process, surface decoration, teaching, textures

Knowing that I was going to be out-of-town for my SURFACE DECORATIONS class last week, I secured my pal Catherine Tweedie to sub for the class. She’s “the master” of water-etching…. so I knew she would be the perfect person to fill-in for me. She taught them the basics of the process… basically painting a pattern with wax resist or shellac, and then wiping away the “unprotected” background with a wet sponge. Here she is with two of her demo bowls painted with wax – just waiting for it to dry… before the wiping begins!

Categories: flowers, nature, textures

Colorful coleus on my back porch at home… plenty of textures & ruffled edges to celebrate Mother Nature’s TEXTURE TUESDAY. Loving the color contrasts of reds, rusts & chartreuse yellows!

Categories: bowls, classes, stamped, stamps, textures

Last week in my Beginning Wheelthrowing class, we threw larger bowls. And then last night, we did a bit of stamping on the same larger bowl demo piece. My students have already made bowls & made their own stamps… now they just need to put it all together!

Categories: platters, stamped, stamps, textures

Another platter. Another stamp. And what happens when they meet up in the studio. Sure, it could have stayed plain & smooth… but why?! The stamped texture is so much more fun!!!

Perfect for another Texture Tuesday!!!

Categories: classes, surface decoration, textures

Gotta love playing with some thick slip! This was made as a class demo last night, so I guess it kinda still fits under Texture Tuesday… even though today is Wednesday???

Categories: classes, platters, process, production, stamped, textures

Last night in my SURFACE DECORATIONS class, I did a little “Demo-On-Demand” repeat. They saw my post about the handbuilt textured platter from Tuesday night’s class… and they wanted to see it too!!! So I did it again… this time with a commercial roller from a paint store, and a small grooved rolling pin! These are turning out pretty cool… I may need to make more of these???

Categories: handbuilding, textures

In addition to wheelthrowing plates in class tonight… one of my students asked about making handbuilt plates. Sure, it’s a wheelthrowing class, but I’m always up for a good “Demo-On-Demand”!!! So I taught them how to throw a slab, add a little texture and drape it into a slump mold. It was my first time using this mold… kind of excited to see how it turns out. Not bad for an impromptu plate demo!!!