Gary Jackson: Fire When Ready Pottery
A Chicago potter’s somewhat slanted view of clay & play
Categories: family, food, inspiration, Taylor

SO SWEET. SO THOUGHTFUL !!!!
My Mom was known for always having homemade chocolate chip cookies for family functions… and she frequently made them for my art fairs for my “groupies” & shoppers to enjoy. Many people would look for my Mom and that tin of cookies before even noticing the pottery on my display shelves!


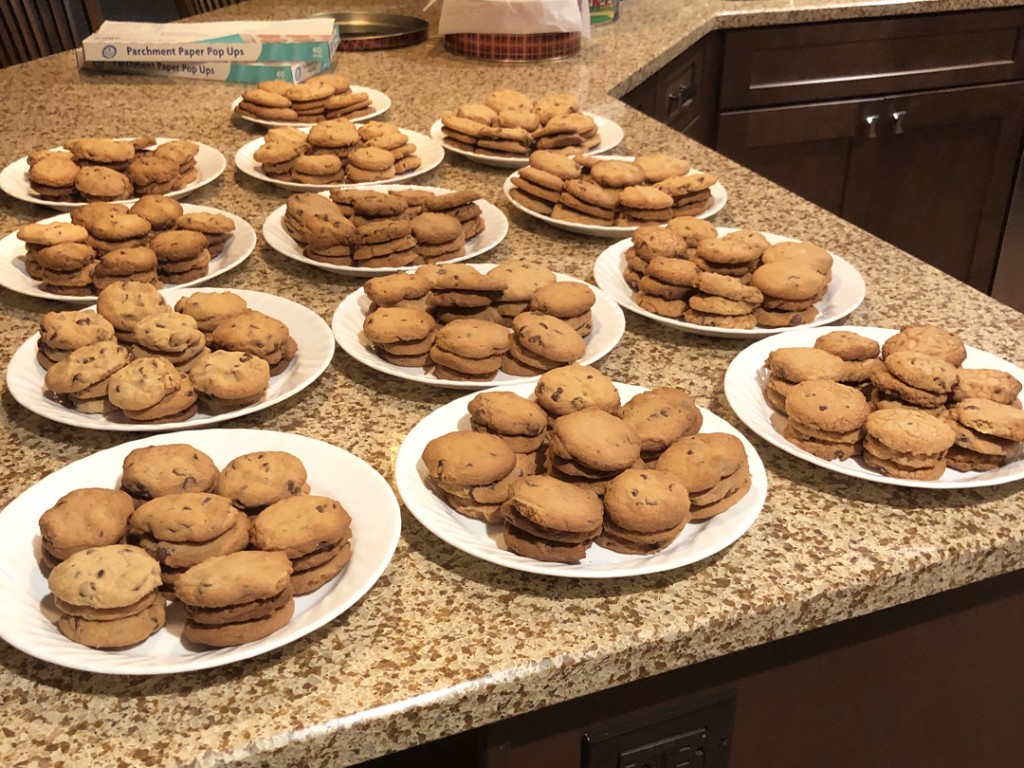
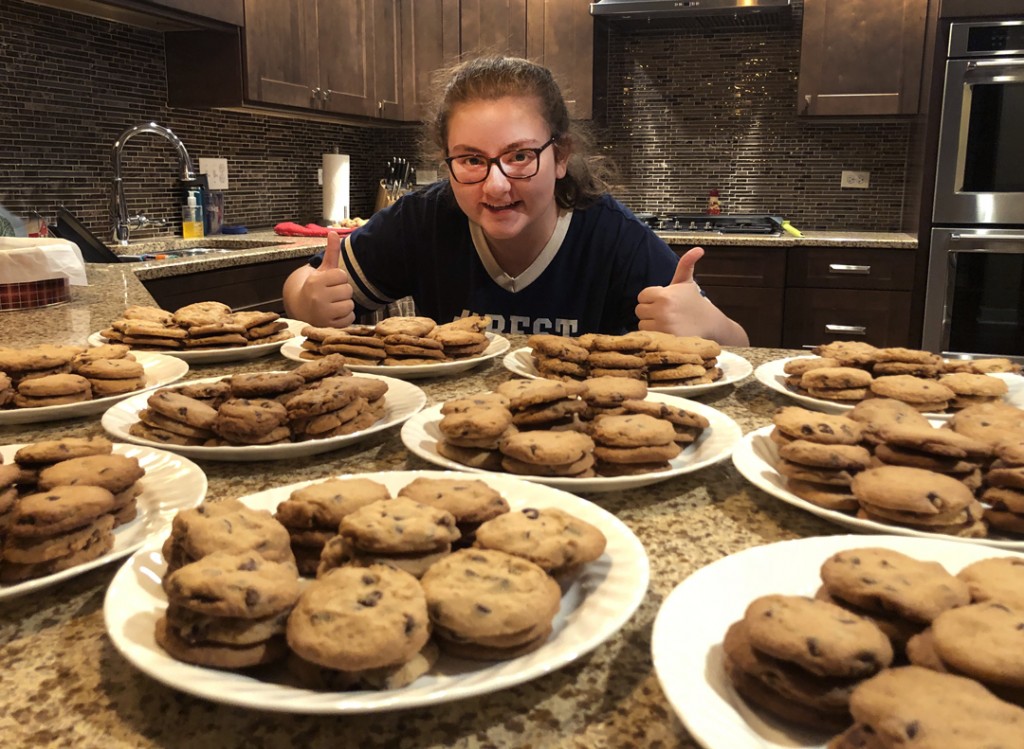
So, my niece Taylor decided that she would honor her Grandma with a tribute by baking the same chocolate chip cookies for tonight’s visitation service. This way all of the guests can enjoy another cookie.

Strange notes… they ended up with 316 cookies. Taylor’s birthday is 3/16.
As well as 3:16 being the most commonly quoted bible verse.
Coincidence or some crazy master plan?!

Save

Save

Categories: family, special events, Taylor

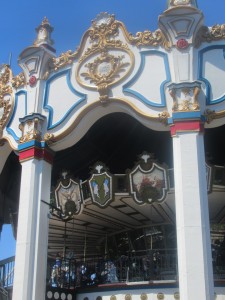
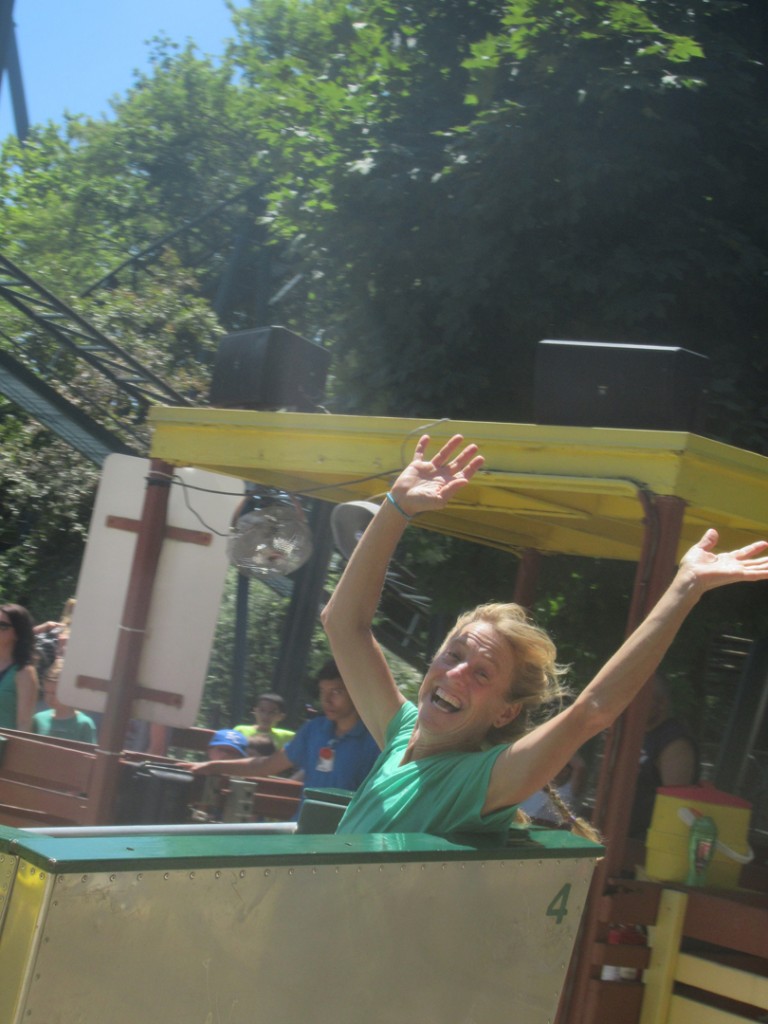
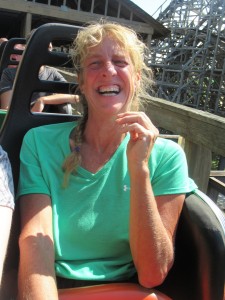
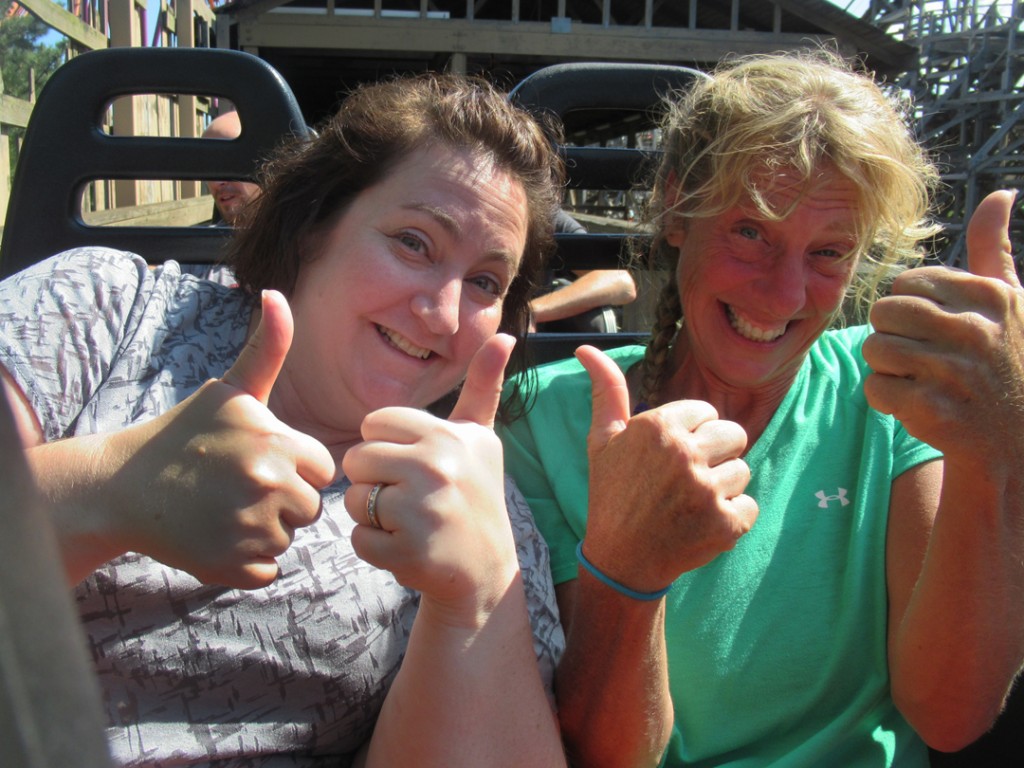
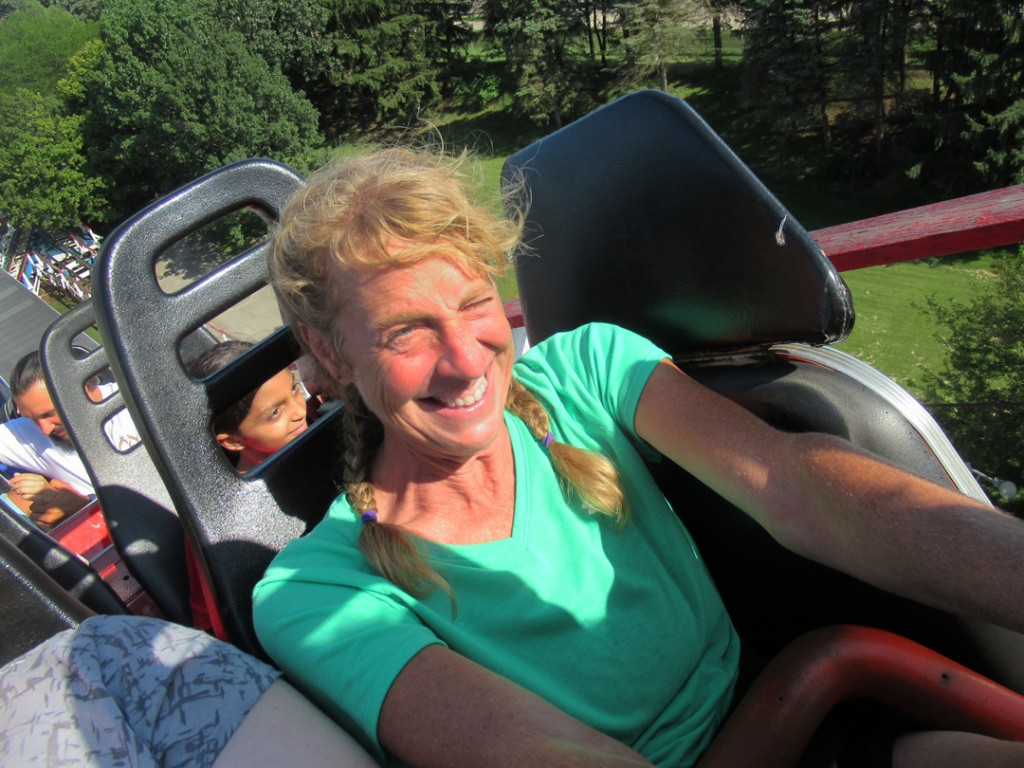
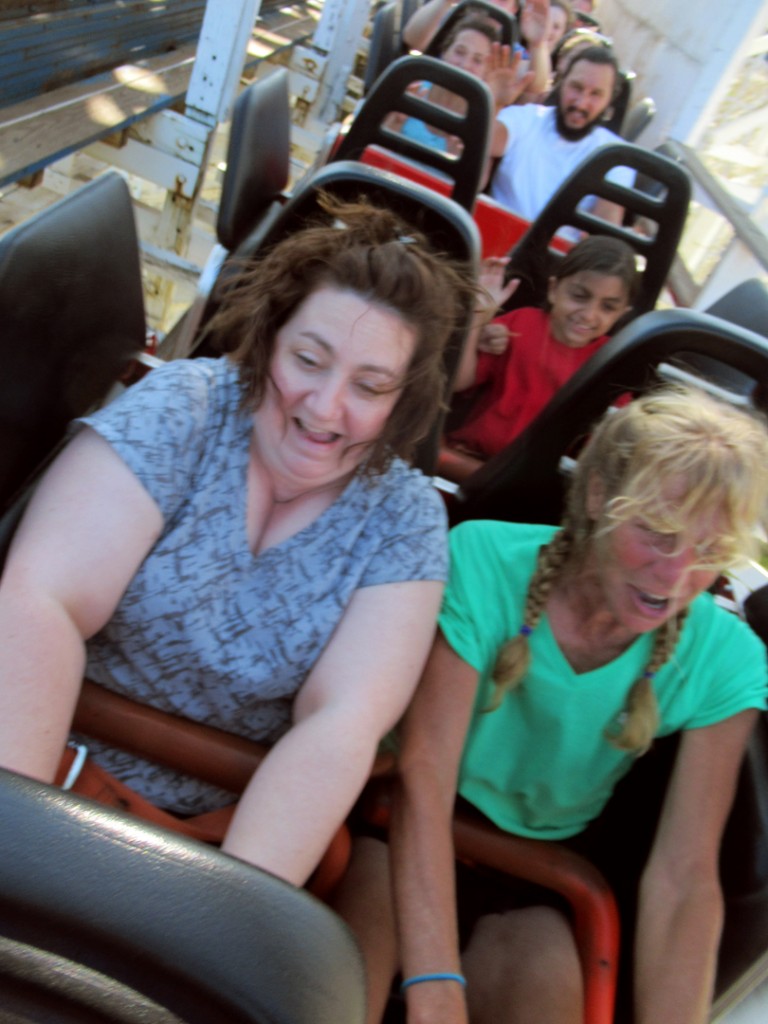
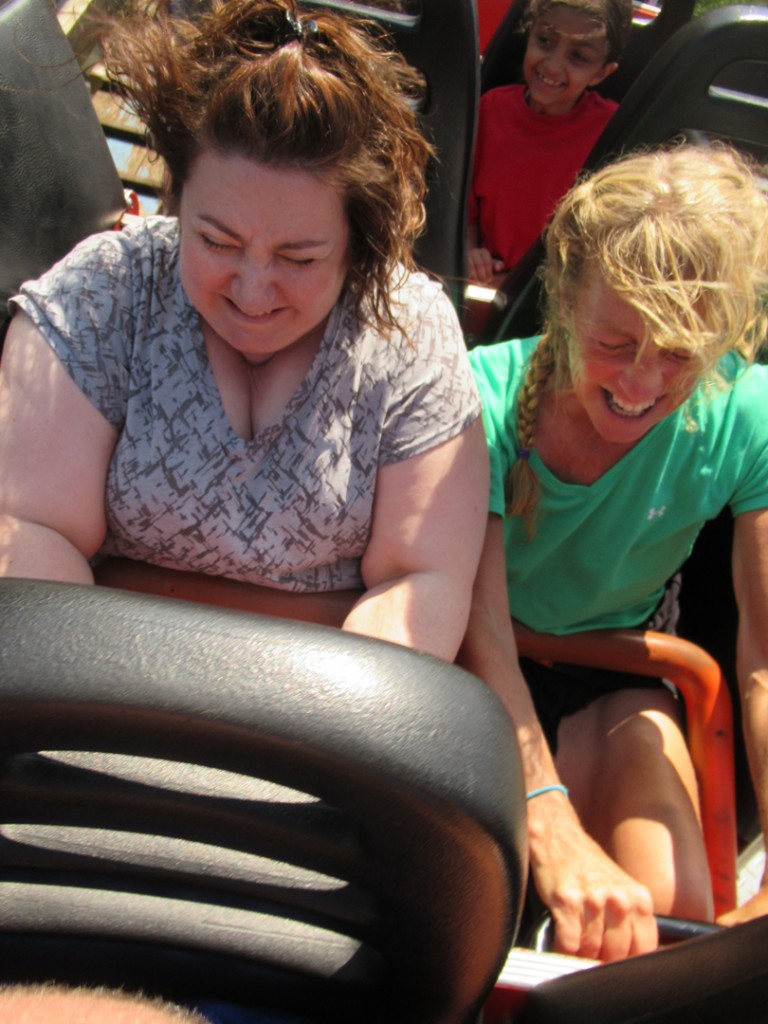
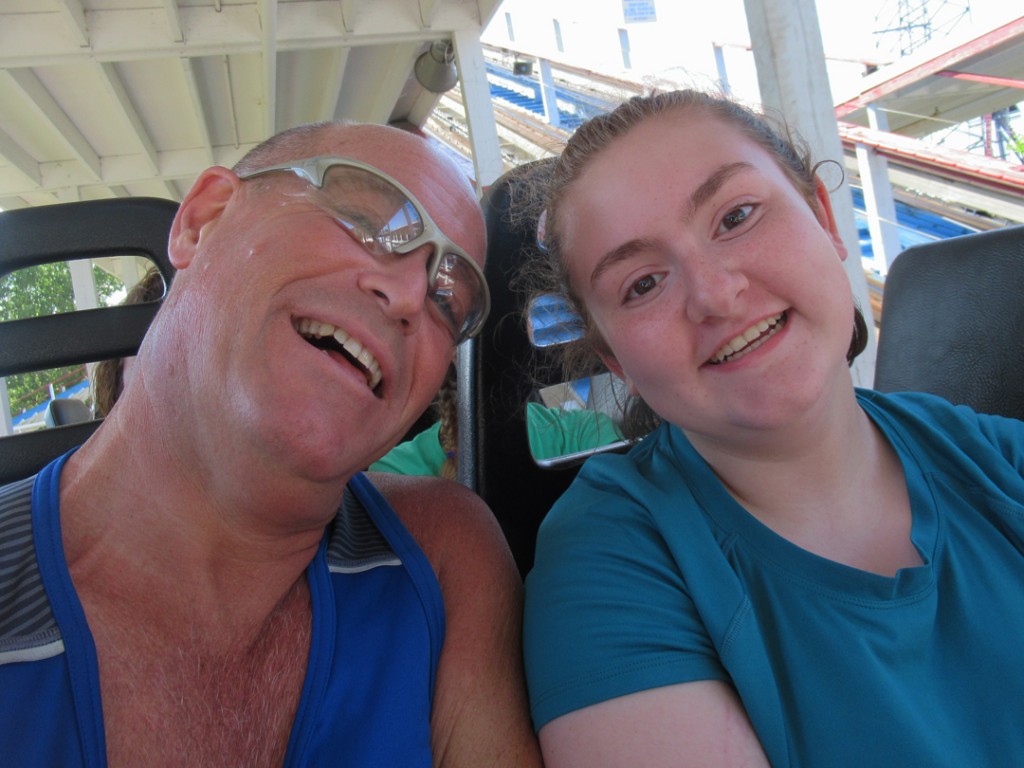
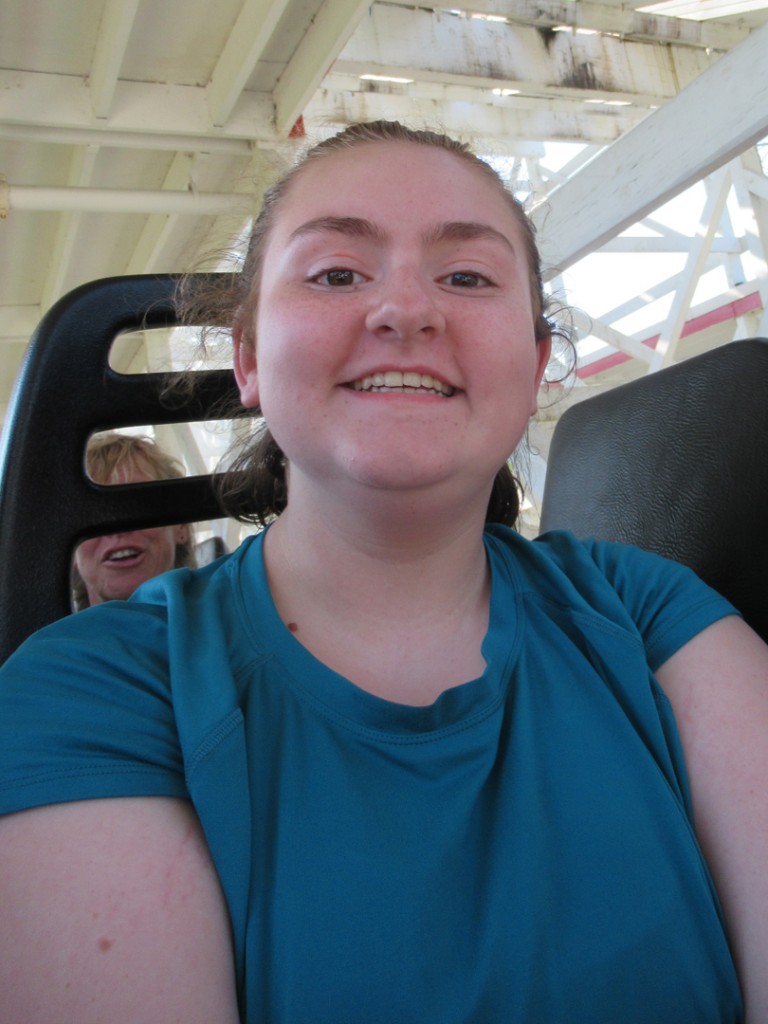
Also last week, while I probably should have been “training or packing”… I spent the day with my own little Great America Gang. So much fun playing with my niece, sister & cousin on all of the roller coasters, eating snacks and focusing on the FUN!!!

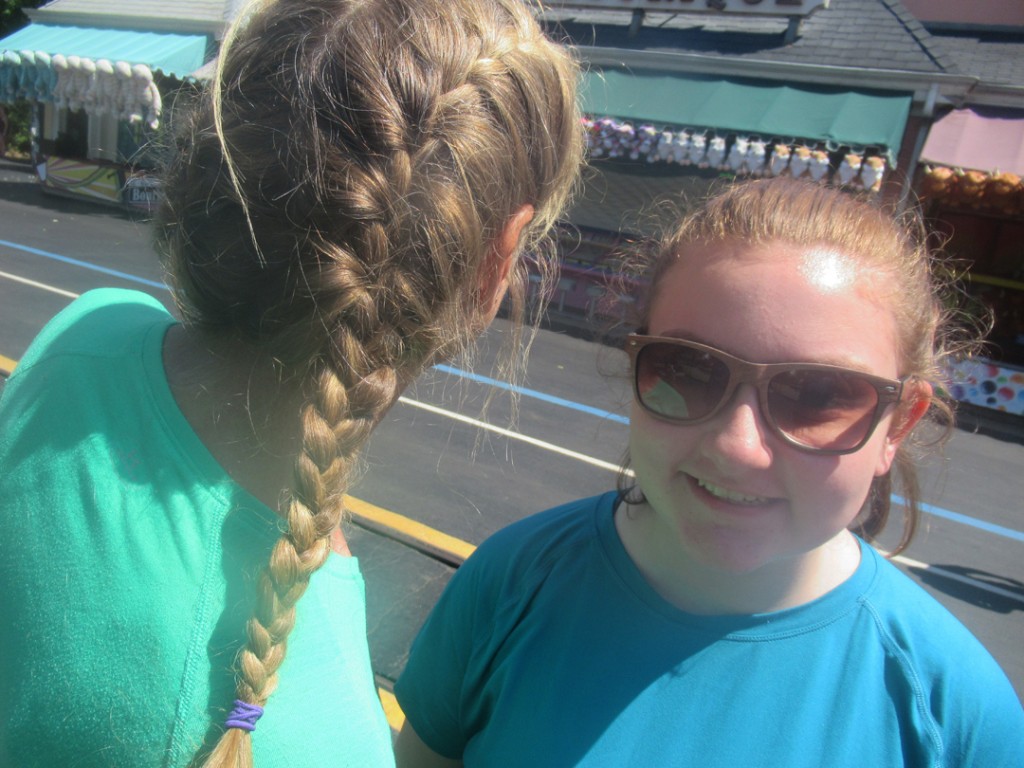
Oh wait, but first… Taylor had to braid Kim’s hair. Sure, we came all this way…
and THEN we braid hair???

And then finally… we got onto some rides!!!

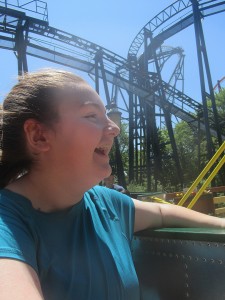
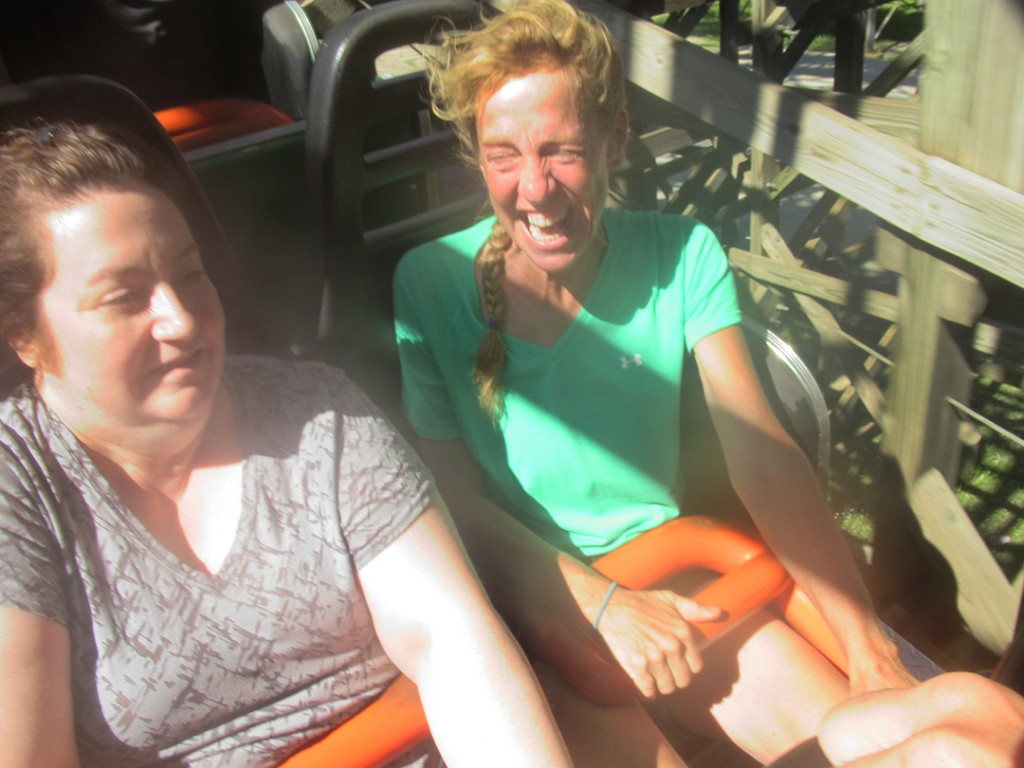
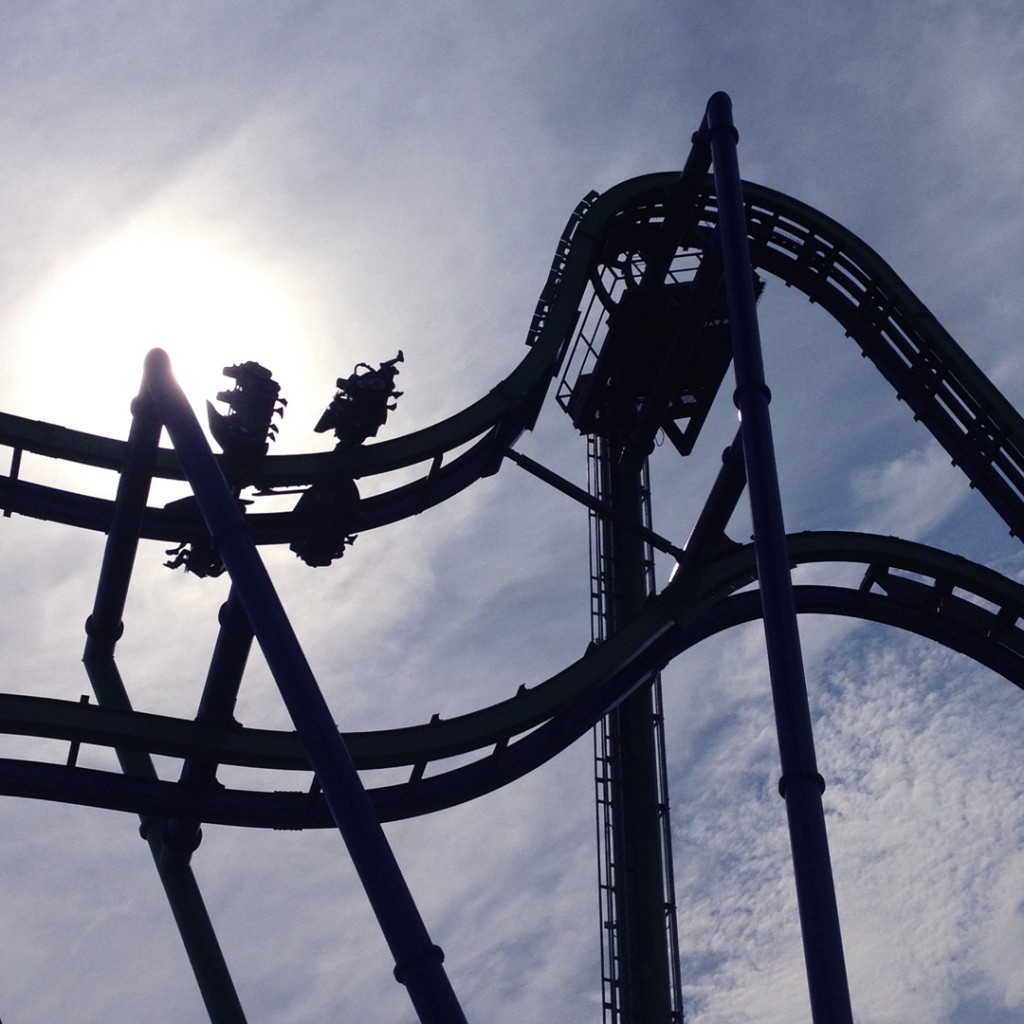
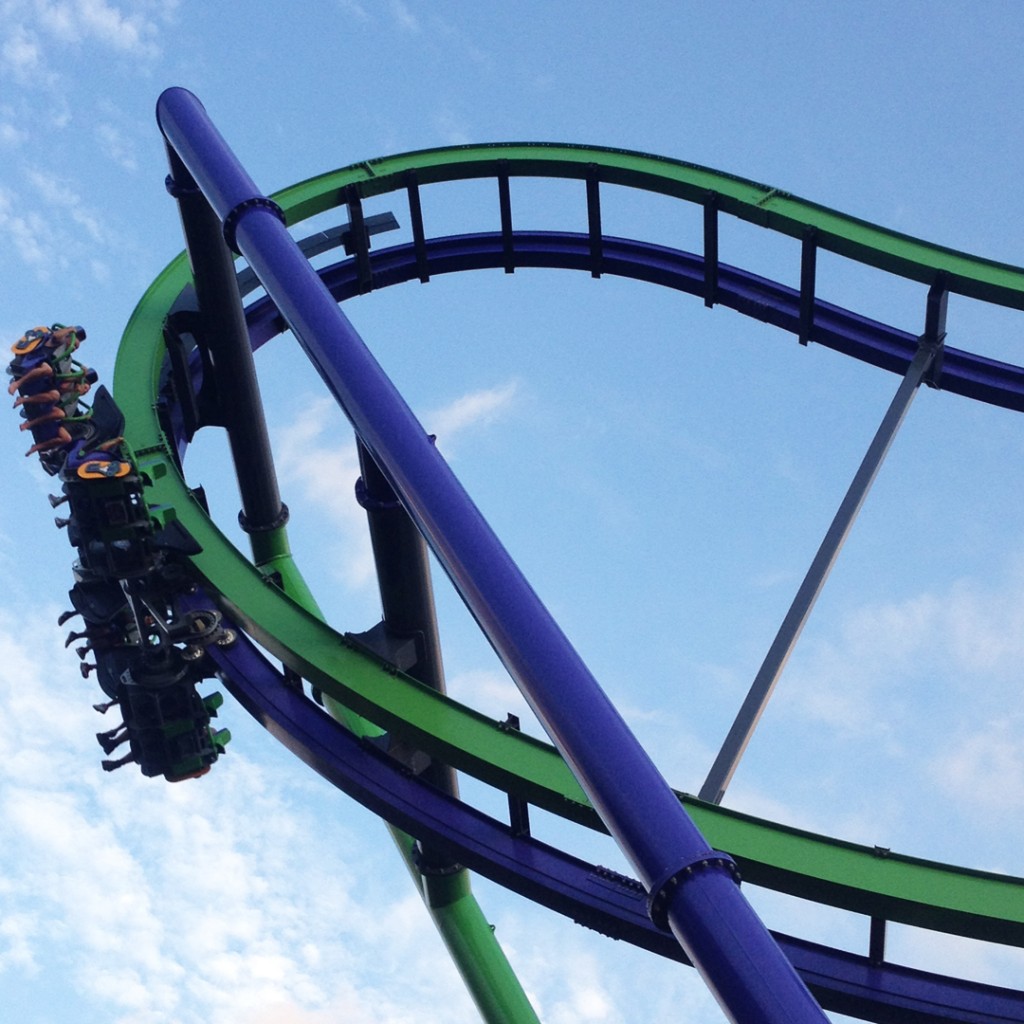
Great fun flying out of our seats” on The Viper!!!
I love that feeling of “weightlessness” when flying over the wooden hills.

Spinning Teacups!!!

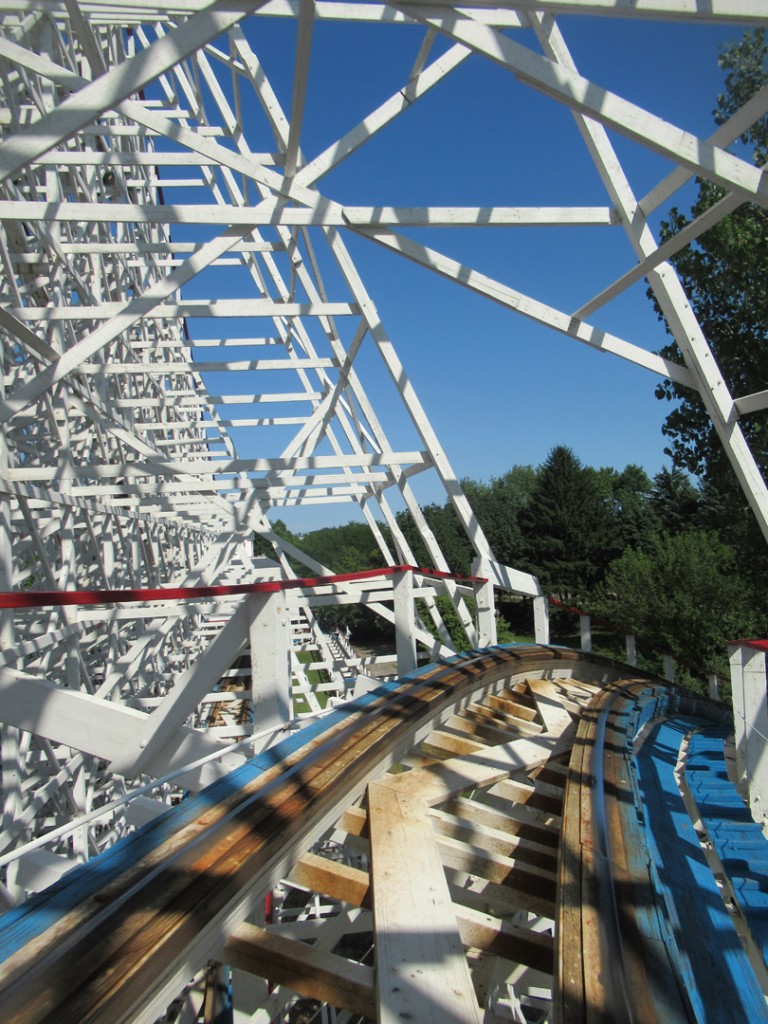
Ready for one of the originals… The American Eagle!!!

A beautiful sunset over The Raging Bull… my favorite roller coaster here at Great America!

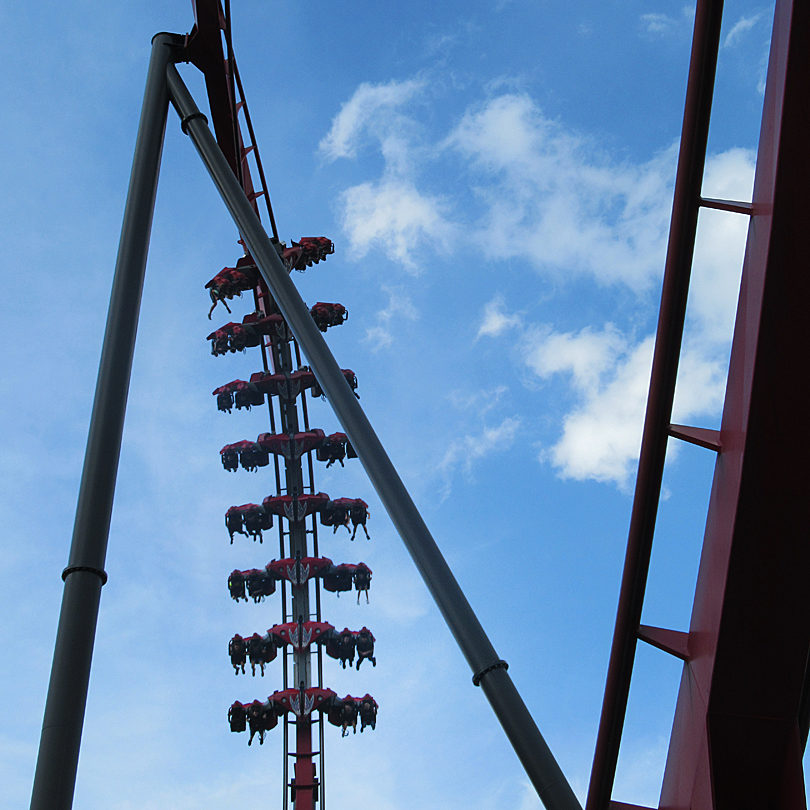
X-Flight… so smooth!

Spinnin’ & flyin’ high on The Revolution… so much better when the lights come on!!!

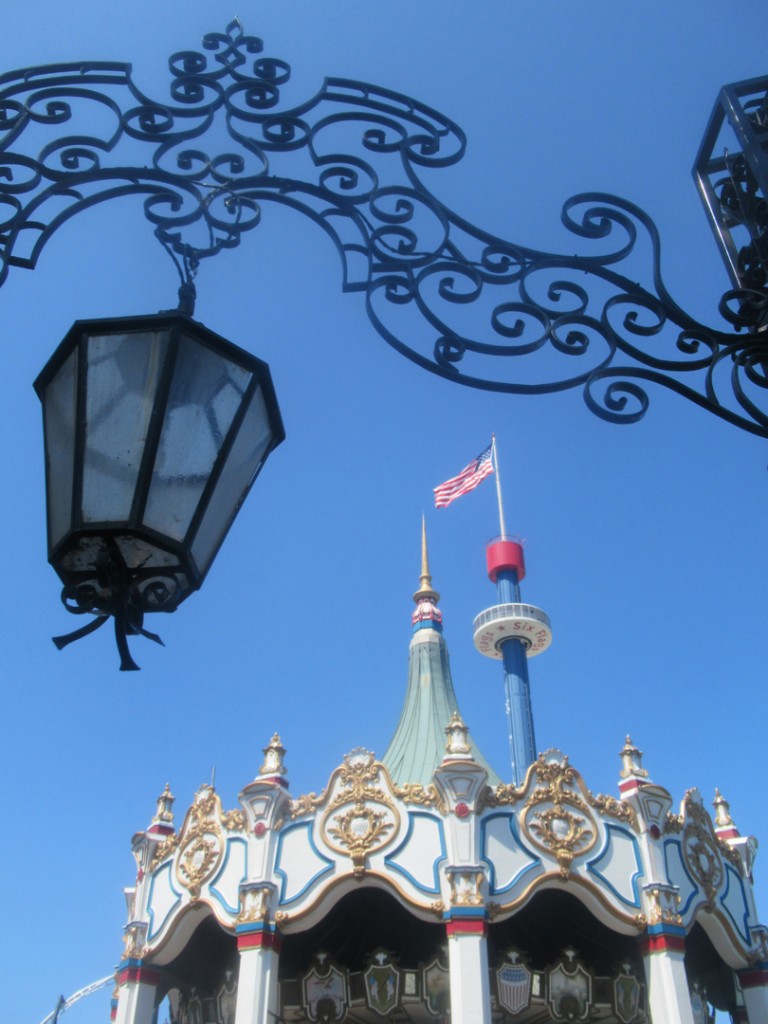
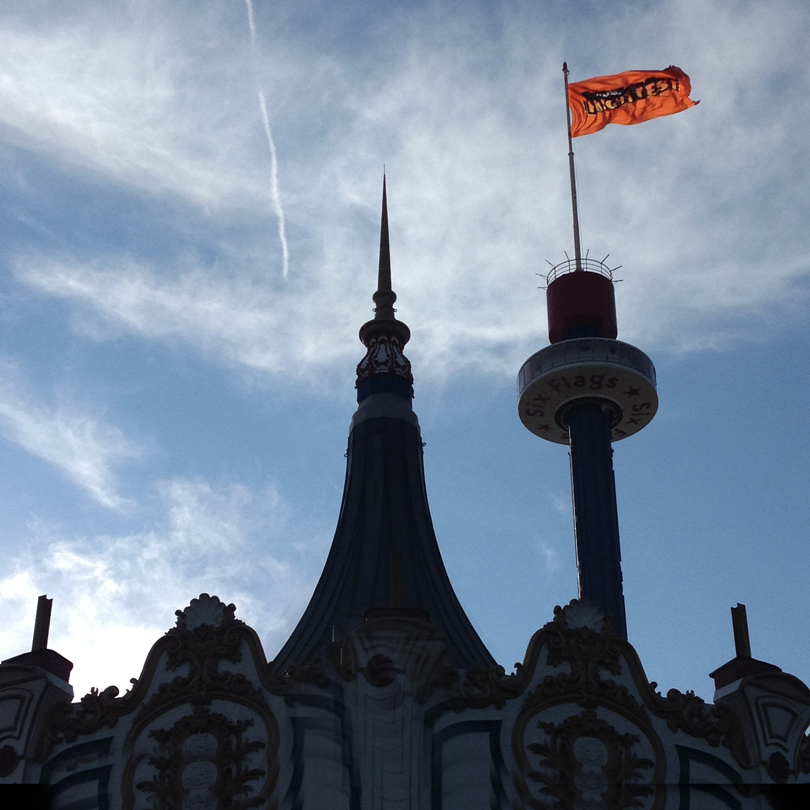
And the end of another fantastic day at Six Flags Great America!

Save

Save

Categories: Taylor, tiles

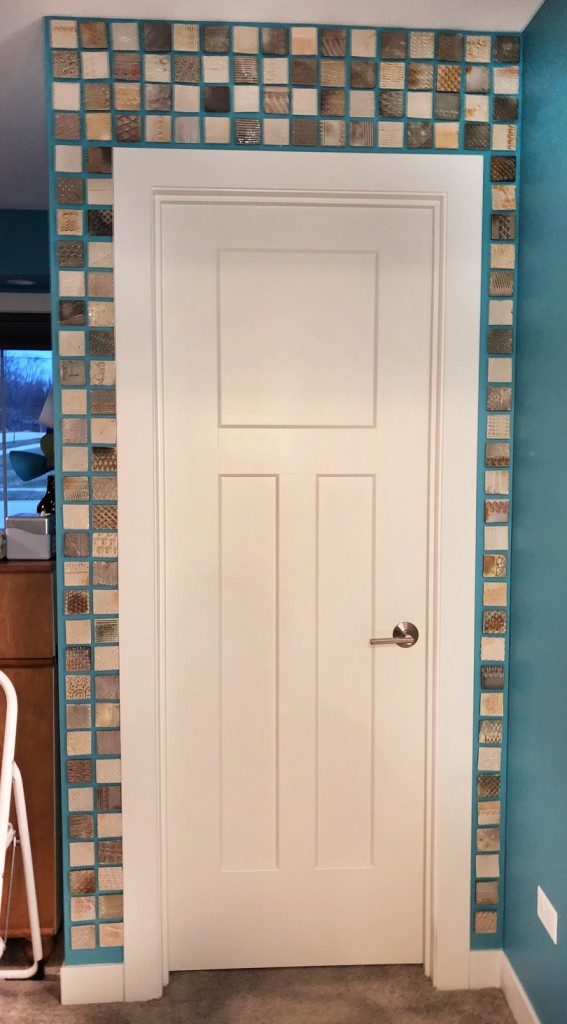
After we finished installing the textured tile wall in the family room… Taylor was emboldened by her skills and decided to install a few tiles in her bedroom! As she’s still a teenager, we wanted to make it “somewhat removable” in case she changes her mind and decides to remodel her bedroom somewhere down the road. We had a partial box full of tiles, so she chose the ones she wanted to use and laid them out in her own design.

We started installing them with Seal & Peel adhesive… but that proved to be too slippery. The tiles kept sliding down the wall, and popping off “of their own free will” whenever they wanted to. We only got a dozen tiles on at the bottom… and they kept falling off. So we stopped to reconsider the options. Scott decided that they could use 3M Command Velcro Tabs to put them up. And so they did…

Save

Categories: family, soda-fired, Taylor, textures, tiles

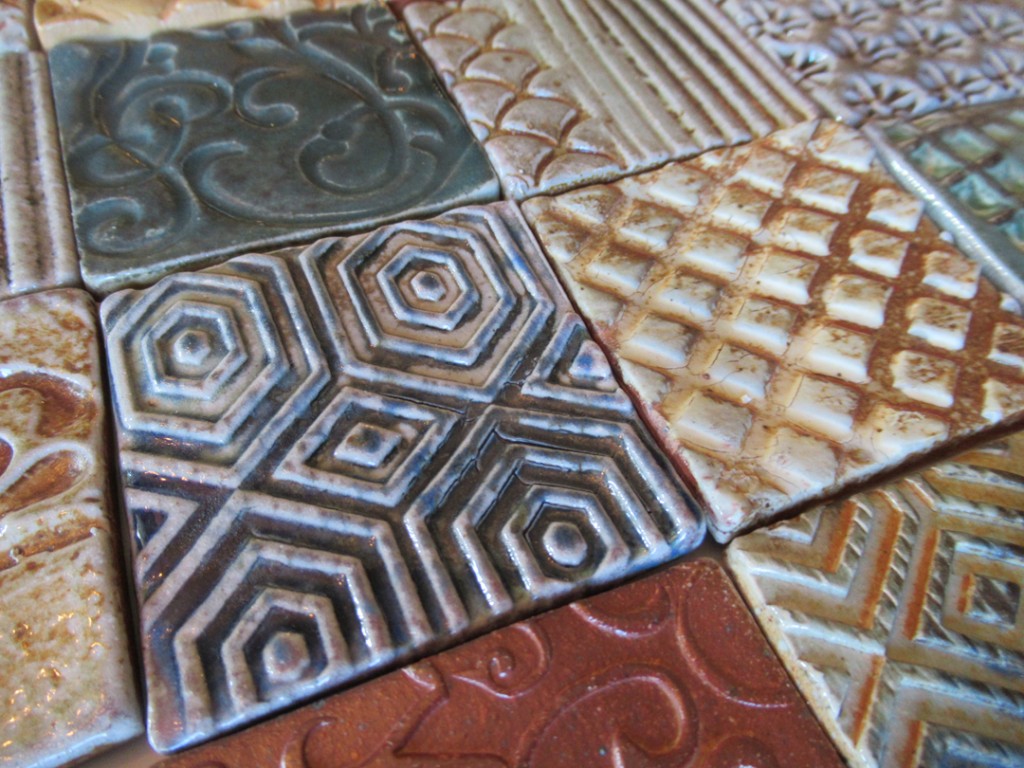
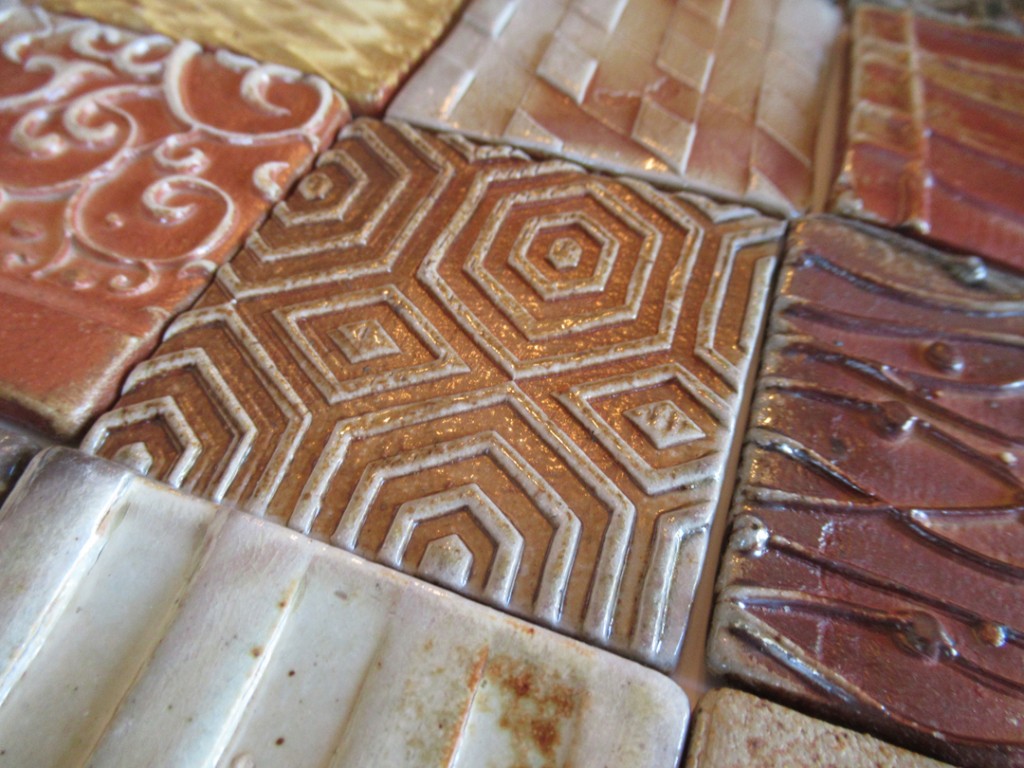
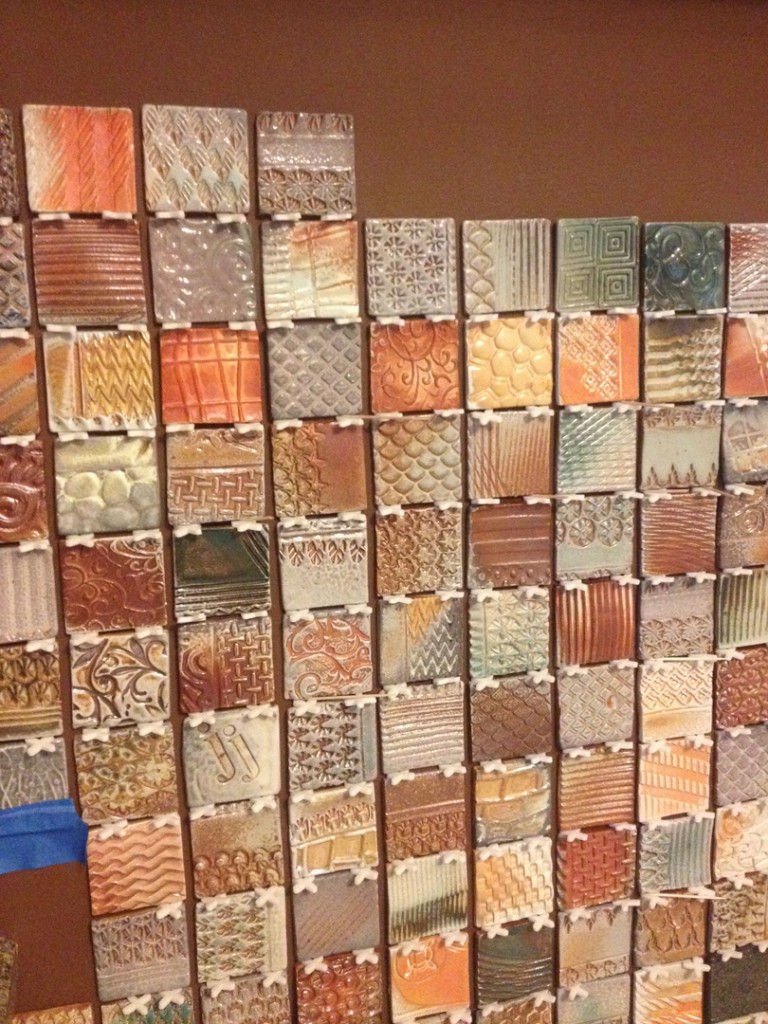
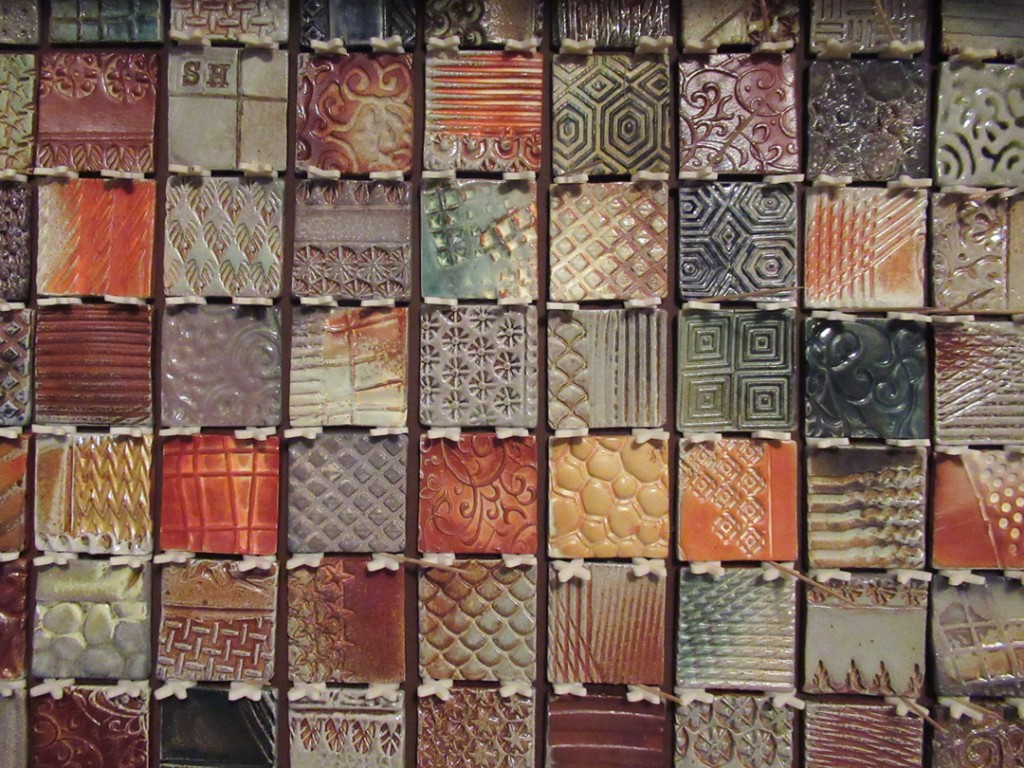
So I’ve been making tiles for quite awhile now…
a slightly larger size for a slightly larger installation!
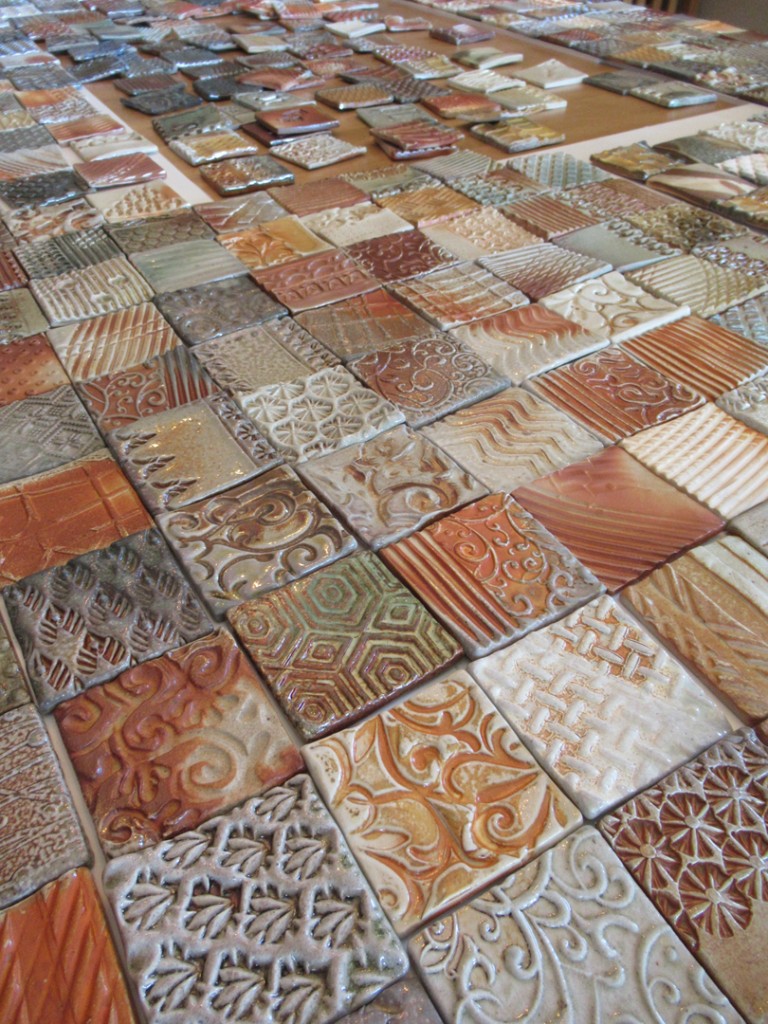
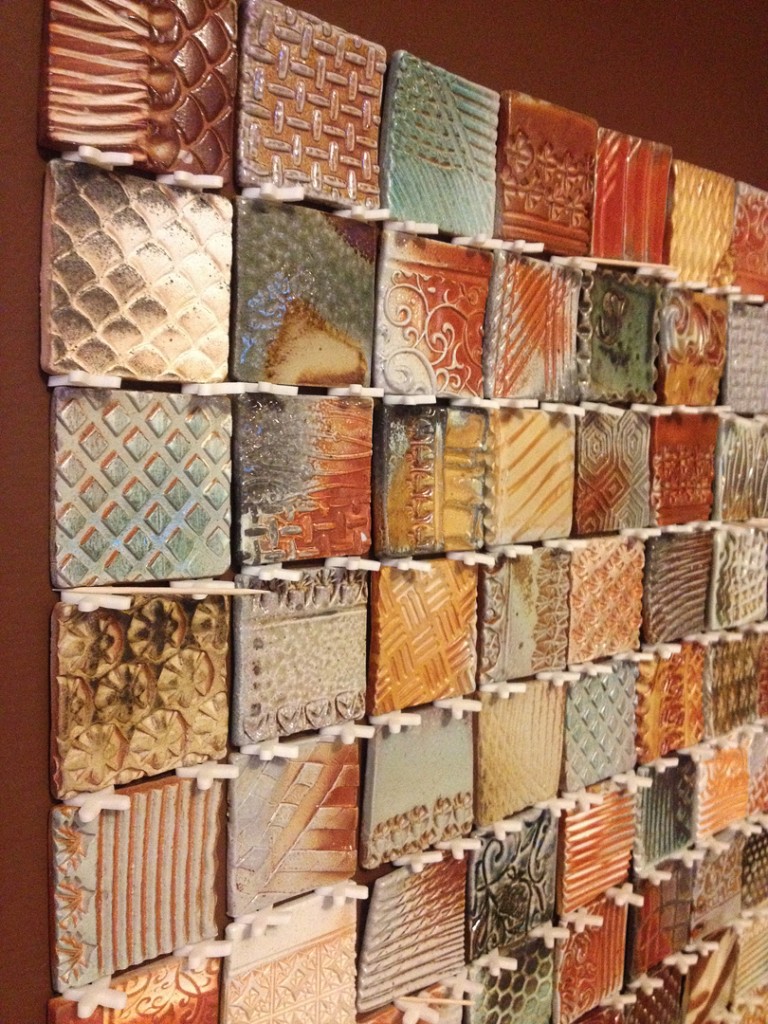
Lots of slabs. Lots of textures. Lots of soda firing!!!

It took me awhile to get them done, but I finally did. The original estimate was about 520 tiles… so I didn’t want to start until I had more than that. As we got closer, my brother-in-law did a bit more math and decided that 380 tiles should be enough for the installation. WHEW!!!… I had plenty!

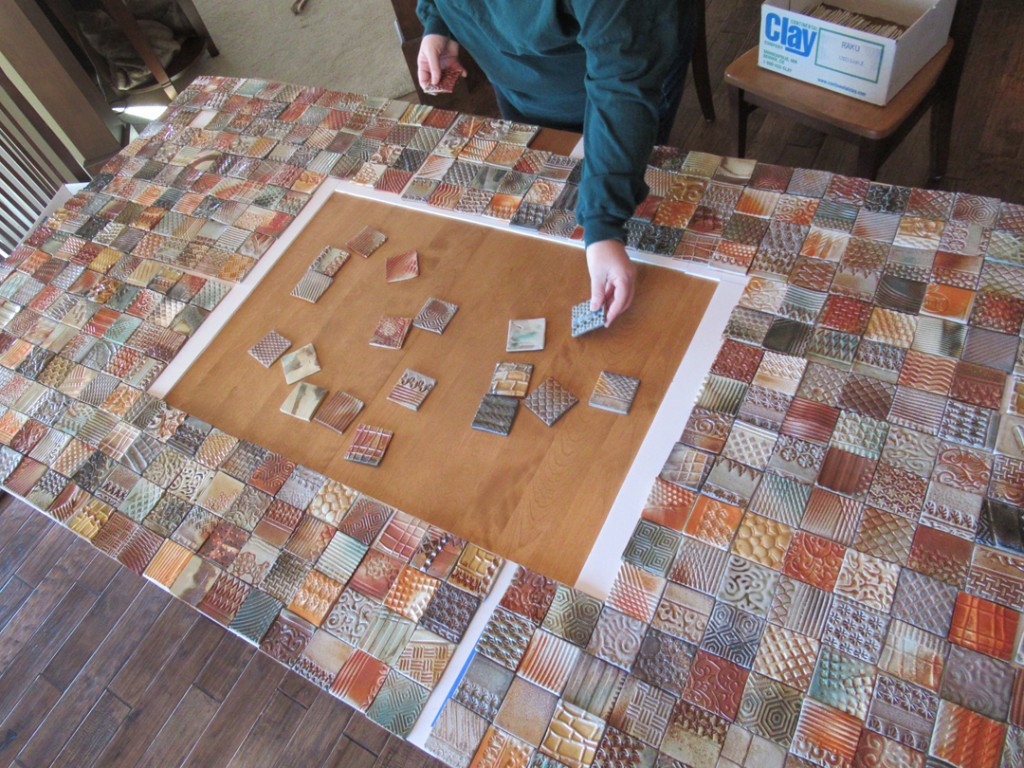
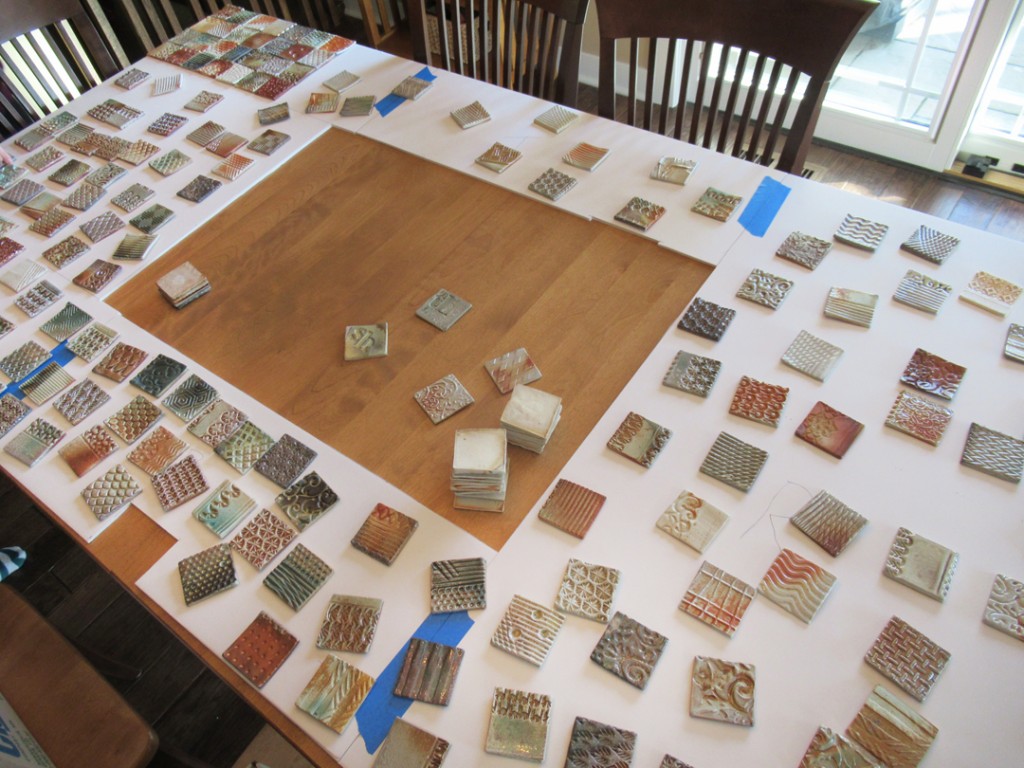
We started with a template. Scott made a piece of foam core that fit into the space perfectly. The tiles were going to fit into the space within their built-in bookcase and surround the television. So he made a template – and then popped it out so we could layout all of the tiles on the dining room table to fit.
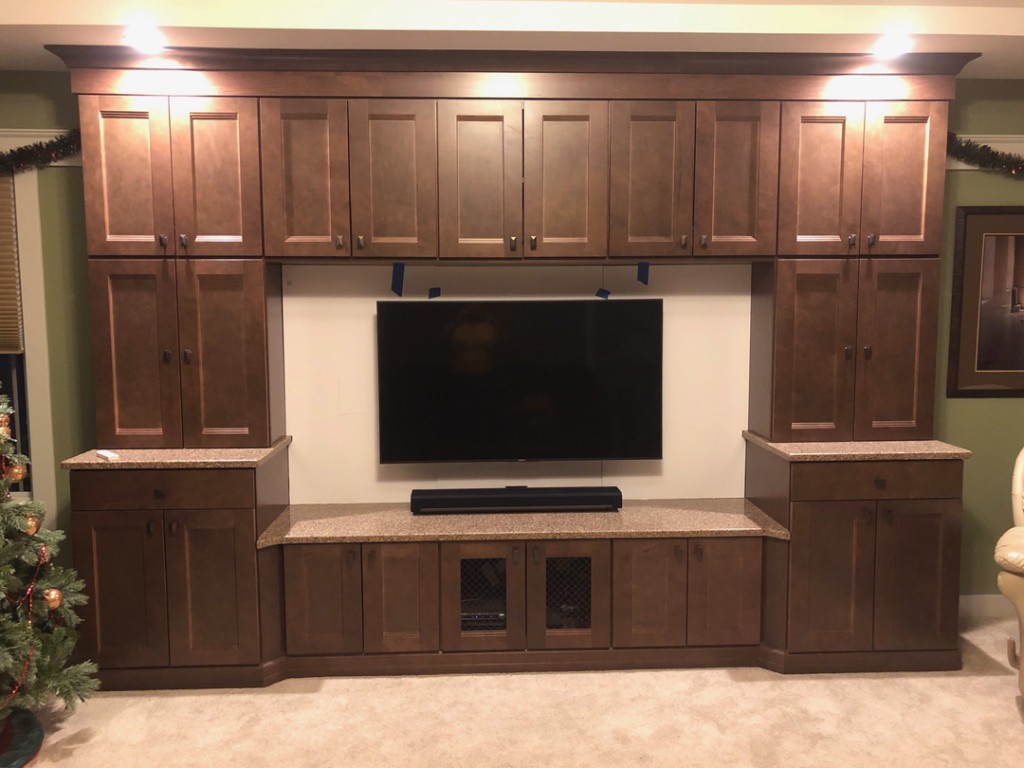
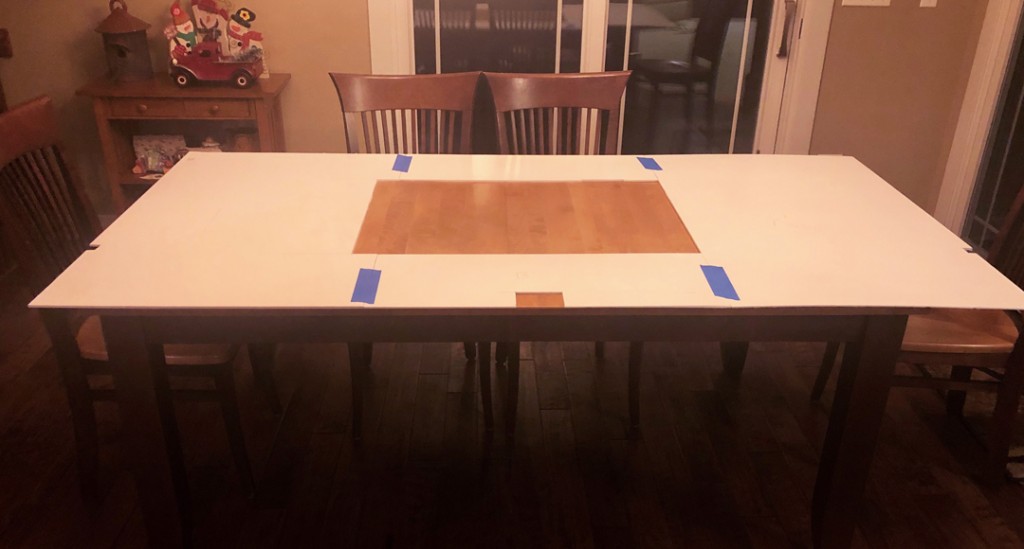
And then we started to fill in the template. Tile by tile. Square by square.
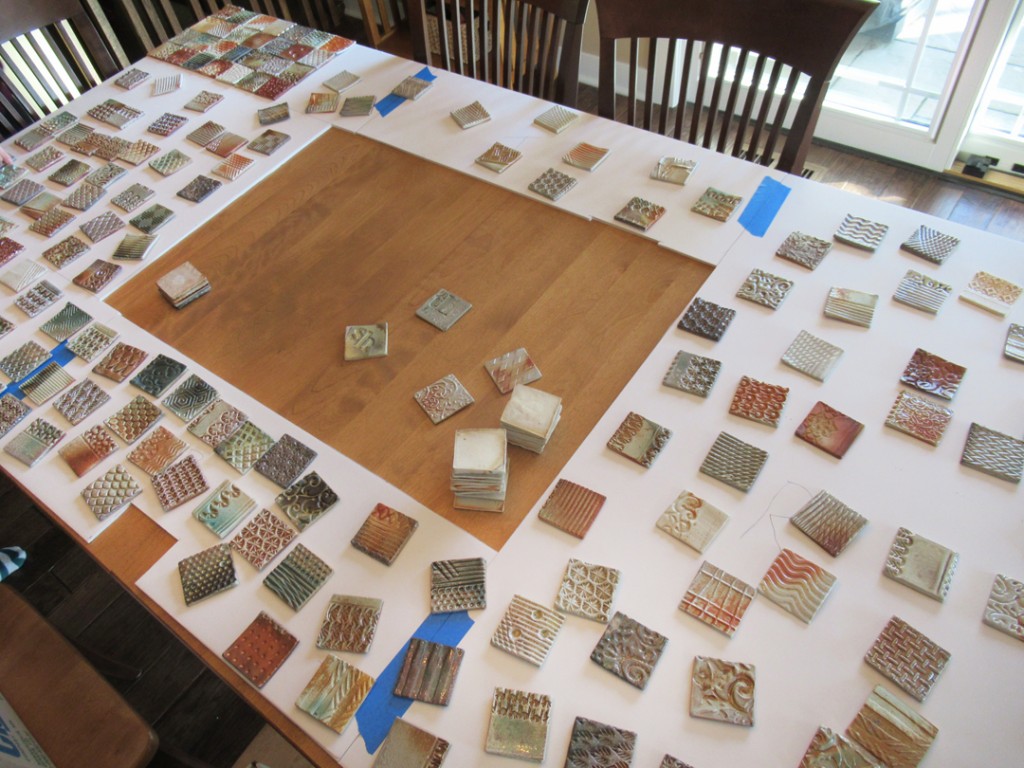
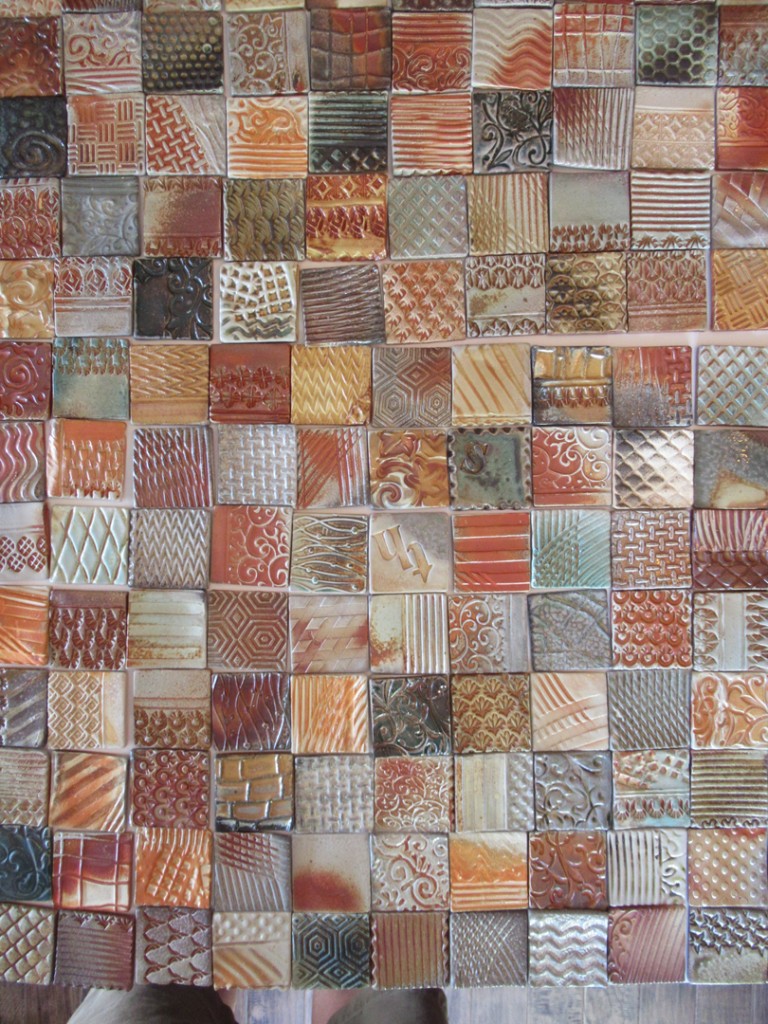
Placing them all onto the template to fill the foam core. Trying to place them all so that they “appear” to be random. So it’s a jigsaw puzzle of sorts putting them together so the textures are spread out, the colors are not too close to each other… and so on. I like to call it “forced random.”
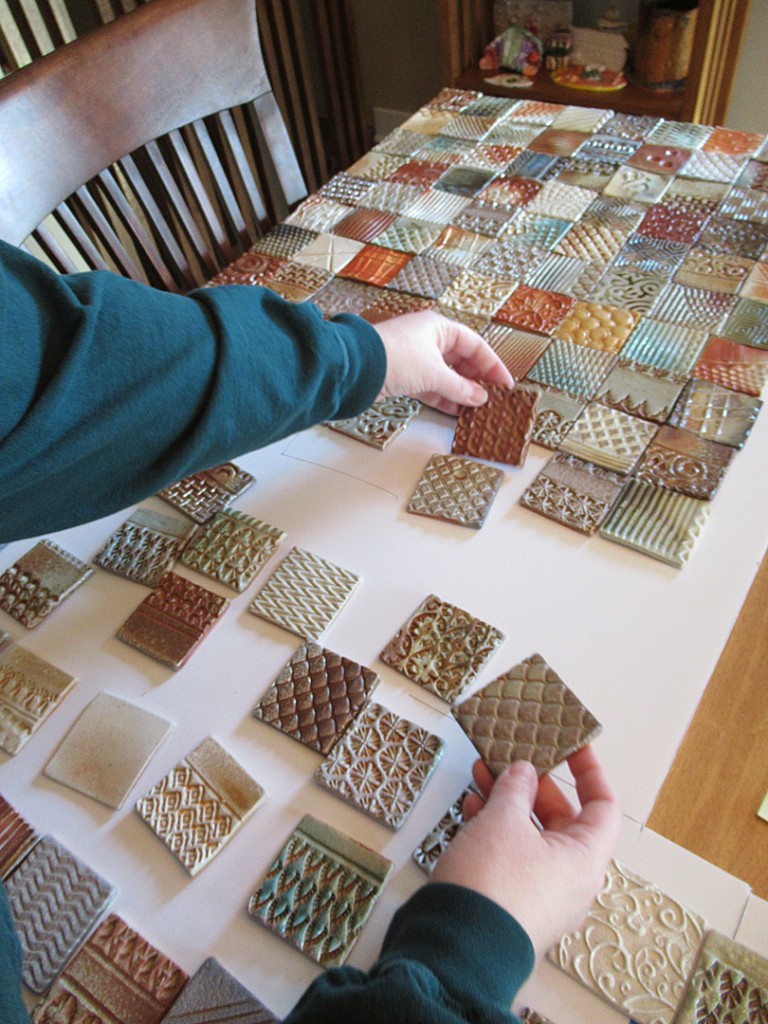
And it looks like we have a good start… in the top right corner at least!!!
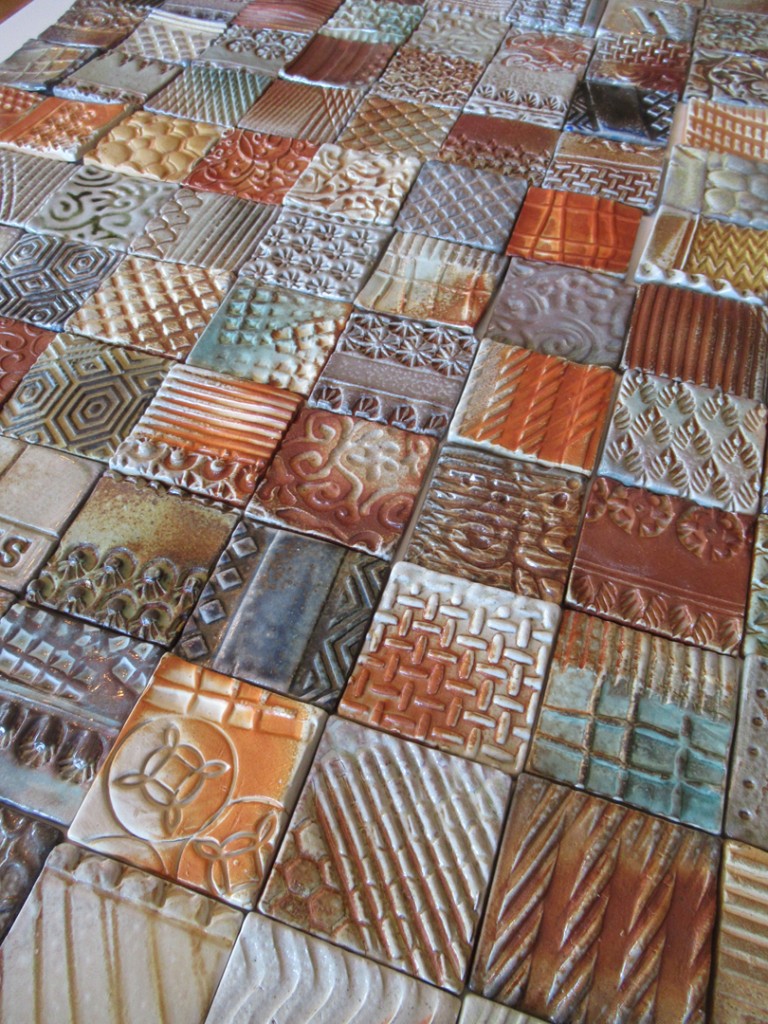
With the top corner “done”… we still have a lot of surface to cover!!!
And then once the template was “full”… it was time to start finalizing it. Trying to “force” the random look.
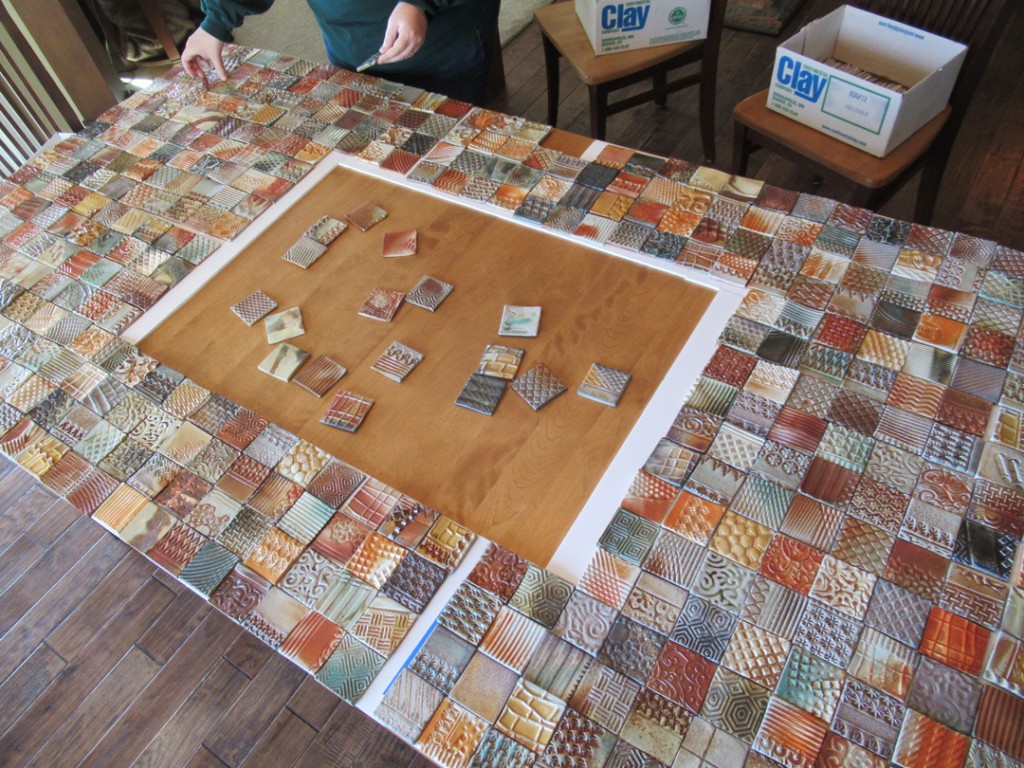
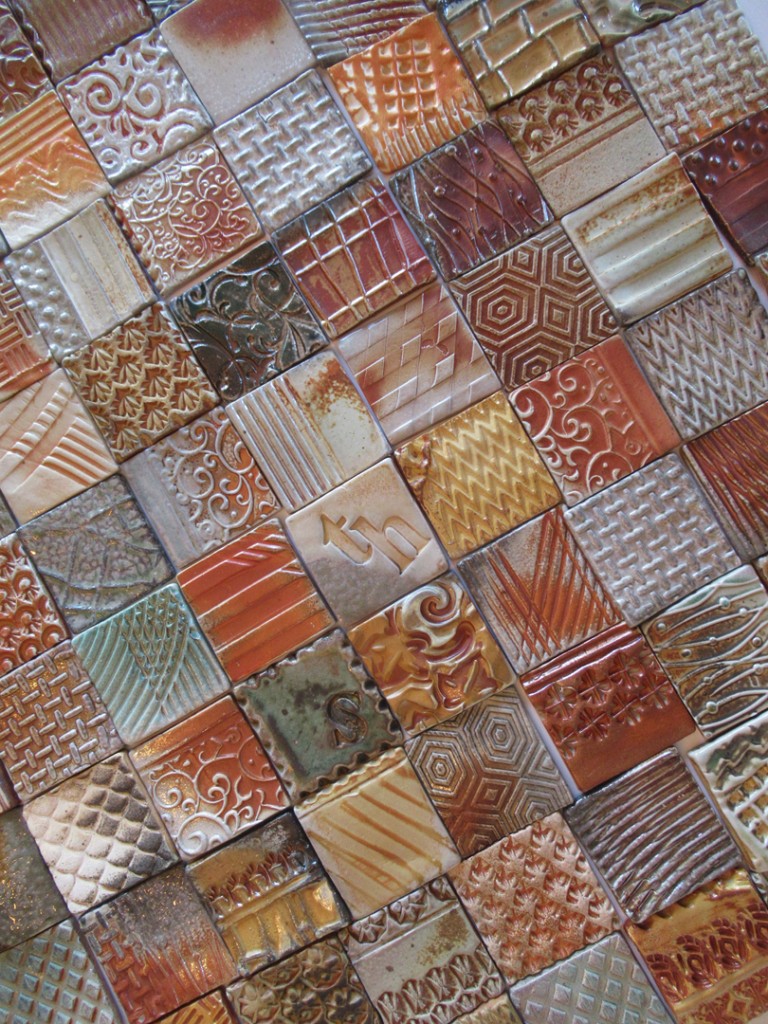
And let me just say… it’s kind of a slippery slope that could last forever!
Every time you move & switch-out one tile… then another tile looks out of place…
and then another.. and then another…

At some point you just need to call it DONE!… and apparently, we’re not there yet?!
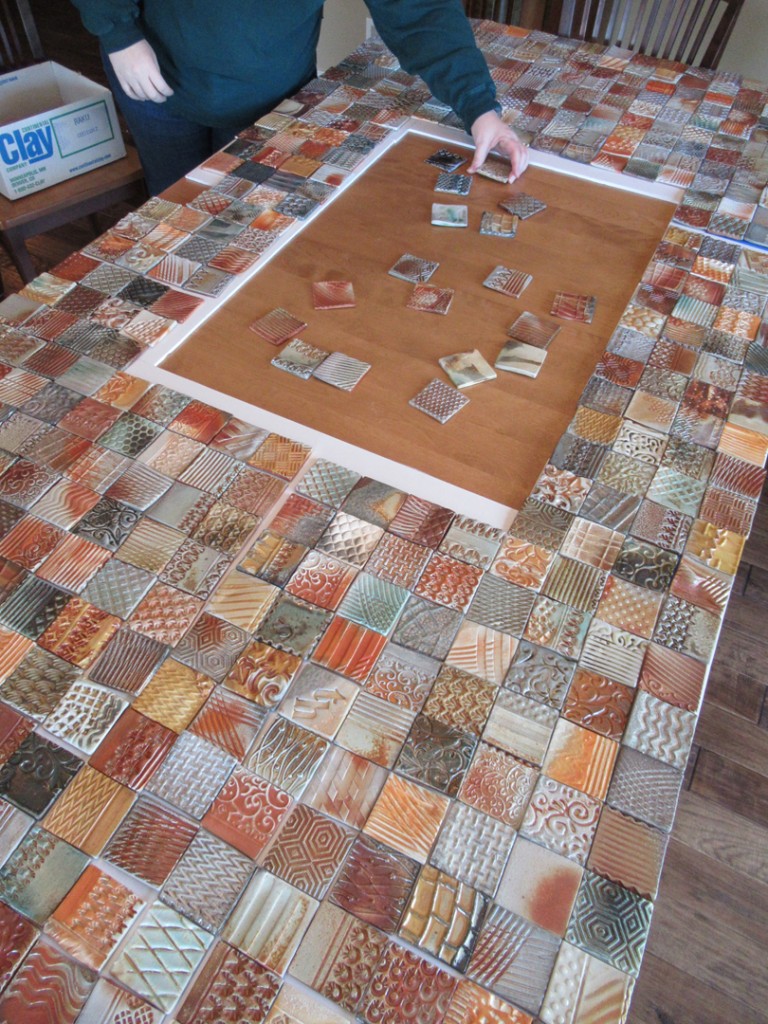
Yep… still switching them out… like I said… SLIPPERY SLOPE!
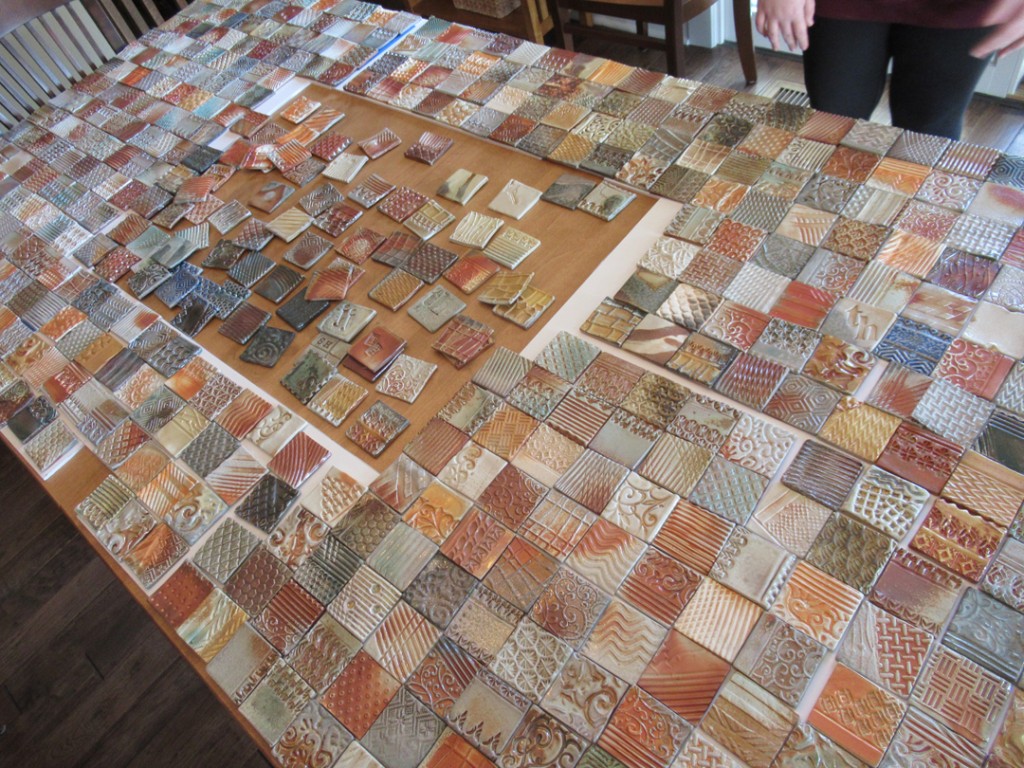
Finally calling the template done… and ready to start installation.
So here’s the bookcase… and our work table all set-up and ready to go!

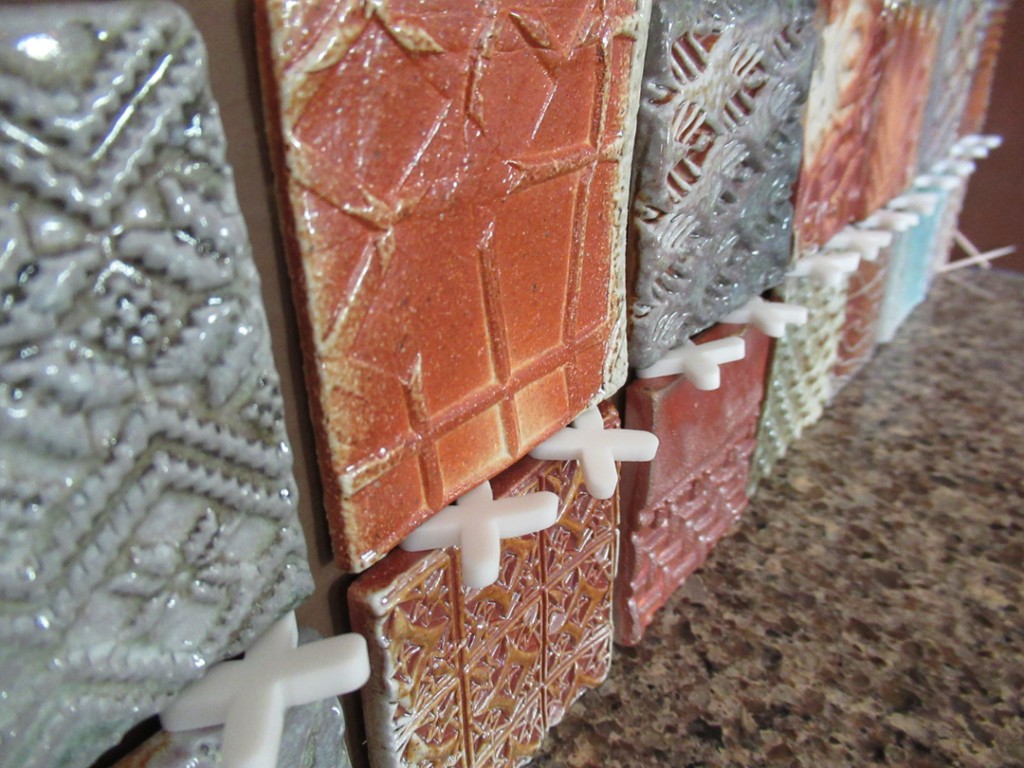
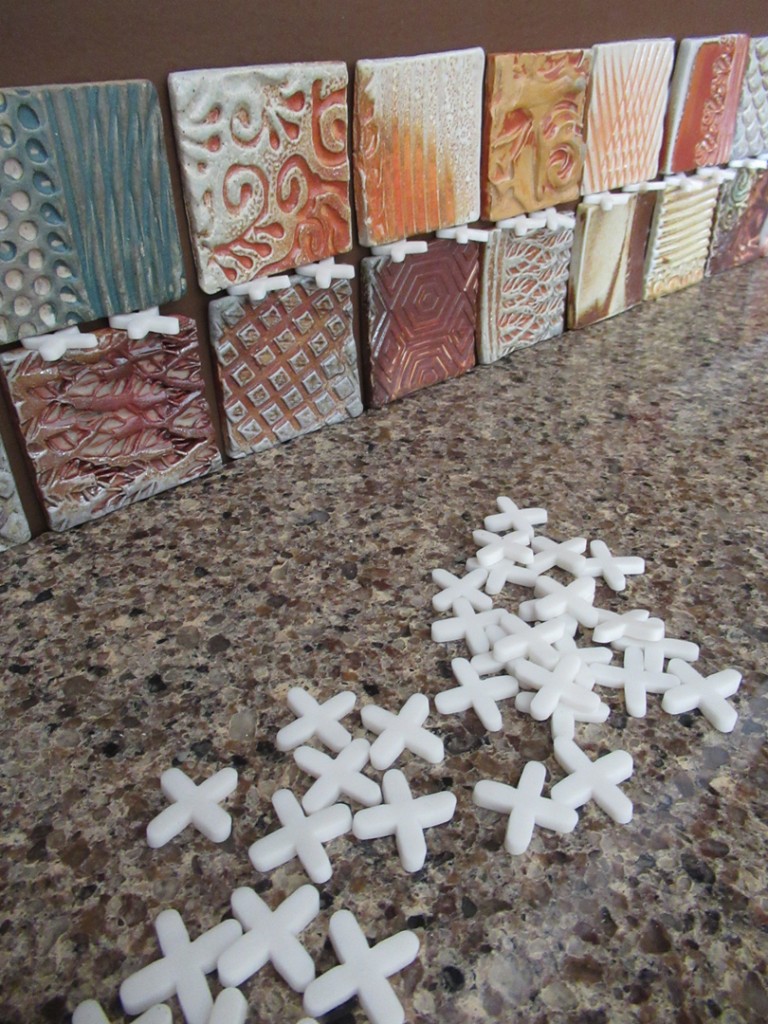
So we started at the bottom, using tile spacers from the hardware store!
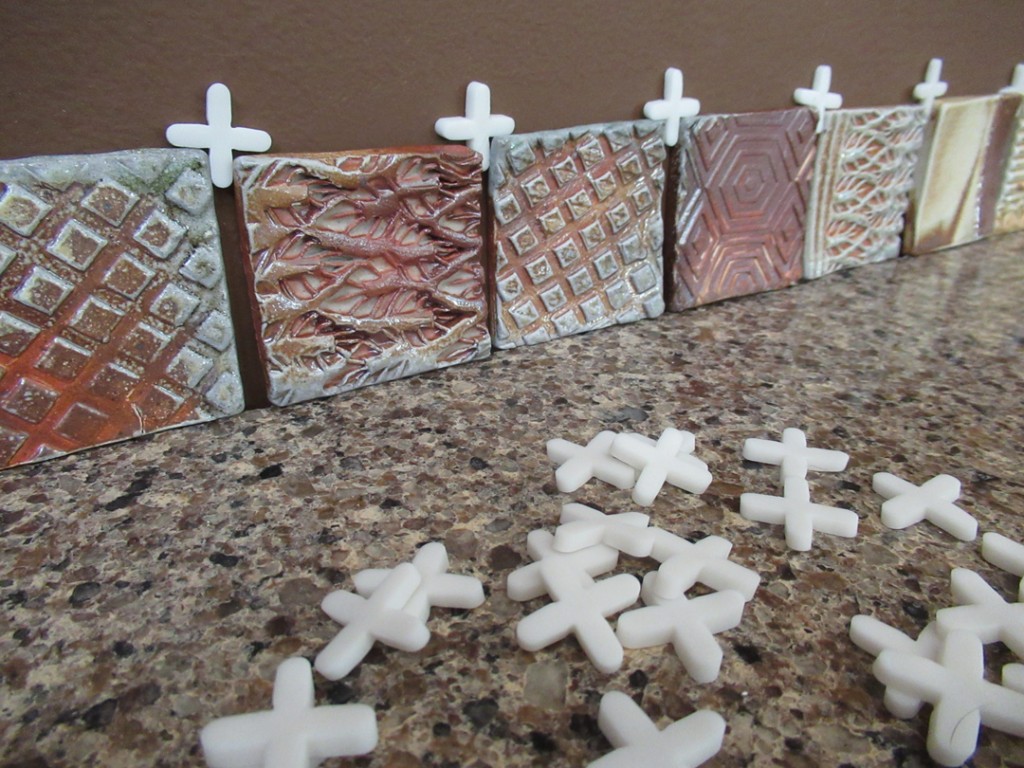
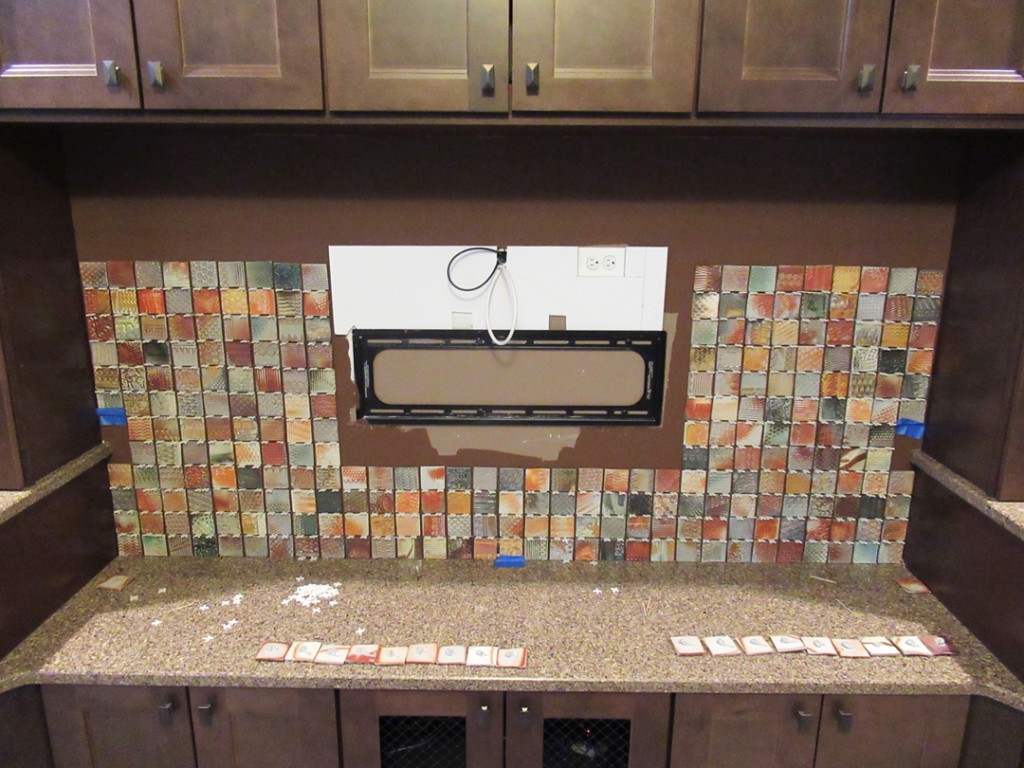
We followed the picture on the bag, as well as our own gut-intuition, using the spacers flat against the wall. But soon realized that THAT wasn’t going to work. After two rows, it appeared that it was going to get tough to pick-out the spacers as the tiles dried to the wall. So we quickly switched to sticking them in between the tiles parallel to the countertop.

Squirt-by-squirt… gluing them directly onto the wall. We found that it helped if we let the adhesive stiffen up for a few minutes before we squished them to the wall. If we did it too soon they seemed to be a lot slippery-ER.
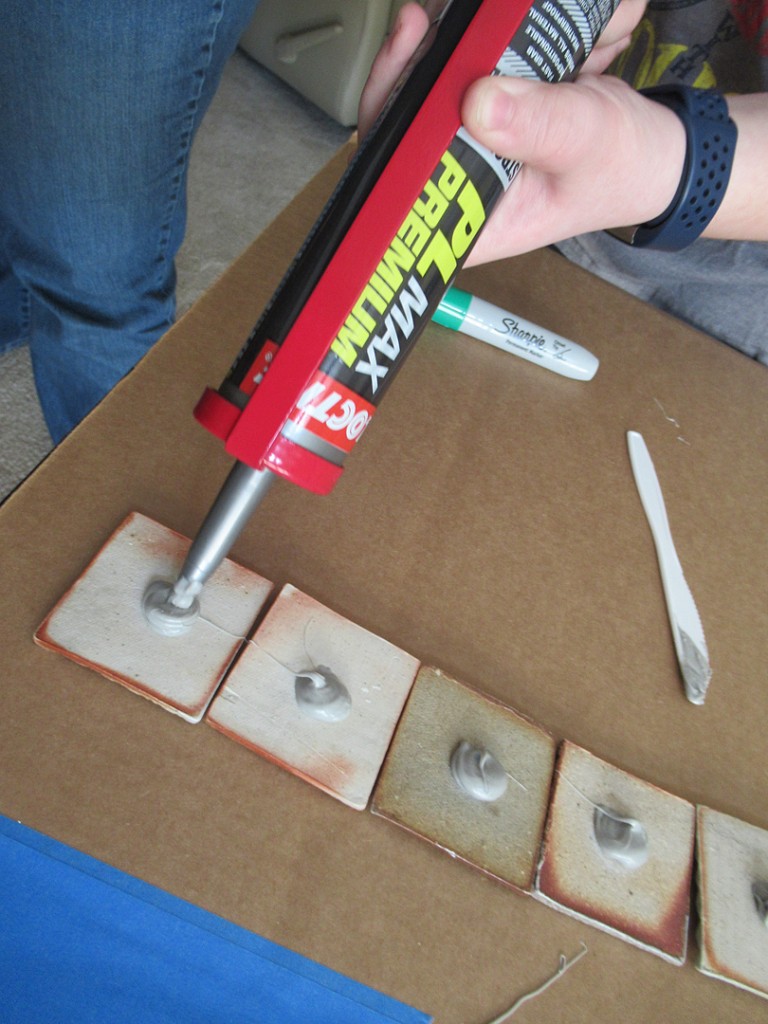
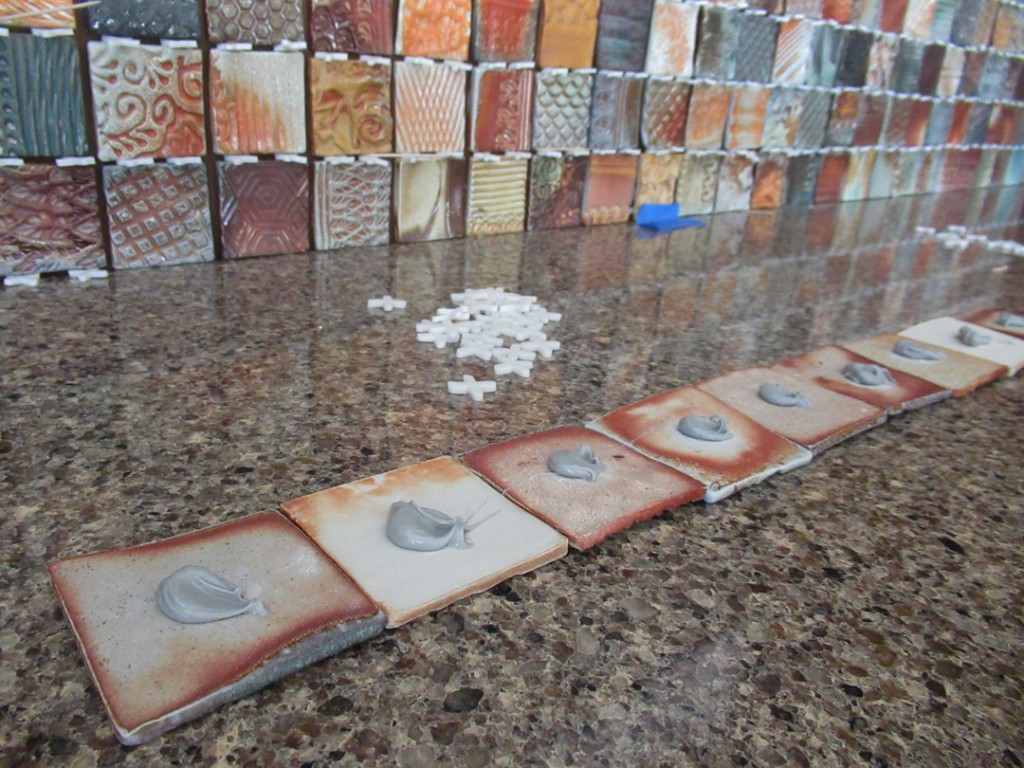
So then we continued… row after row… until we had three done. We decided to take a little “break” to let them set up a bit before the stacked more tiles on these bottom rows. Long ways still to go…
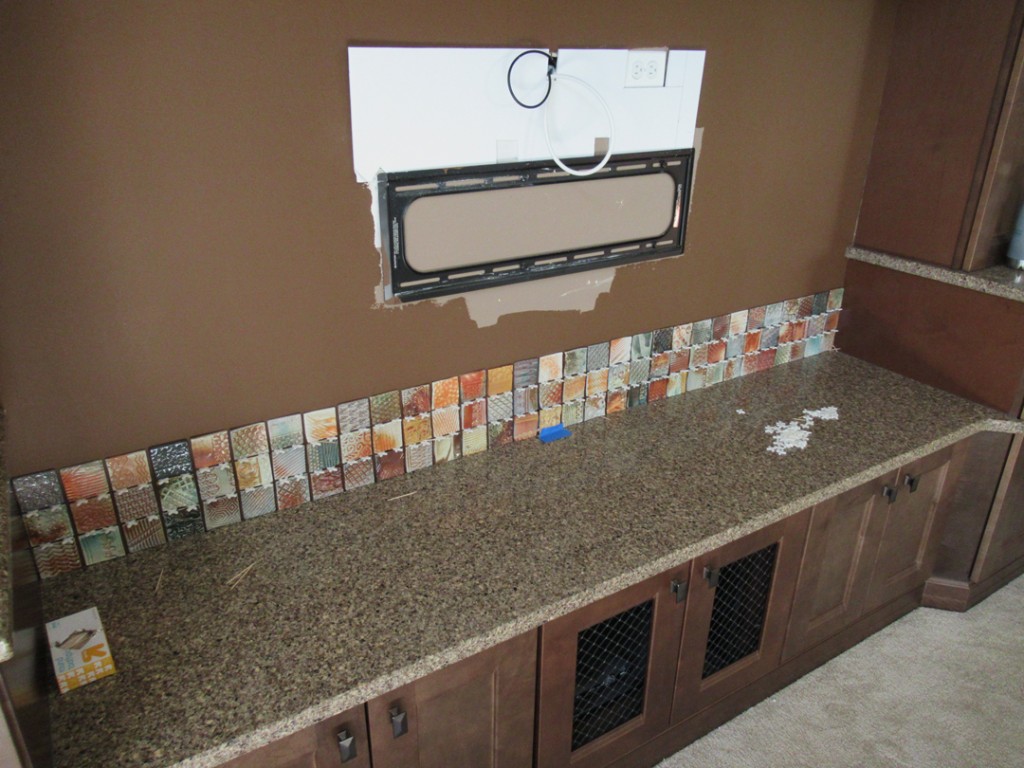
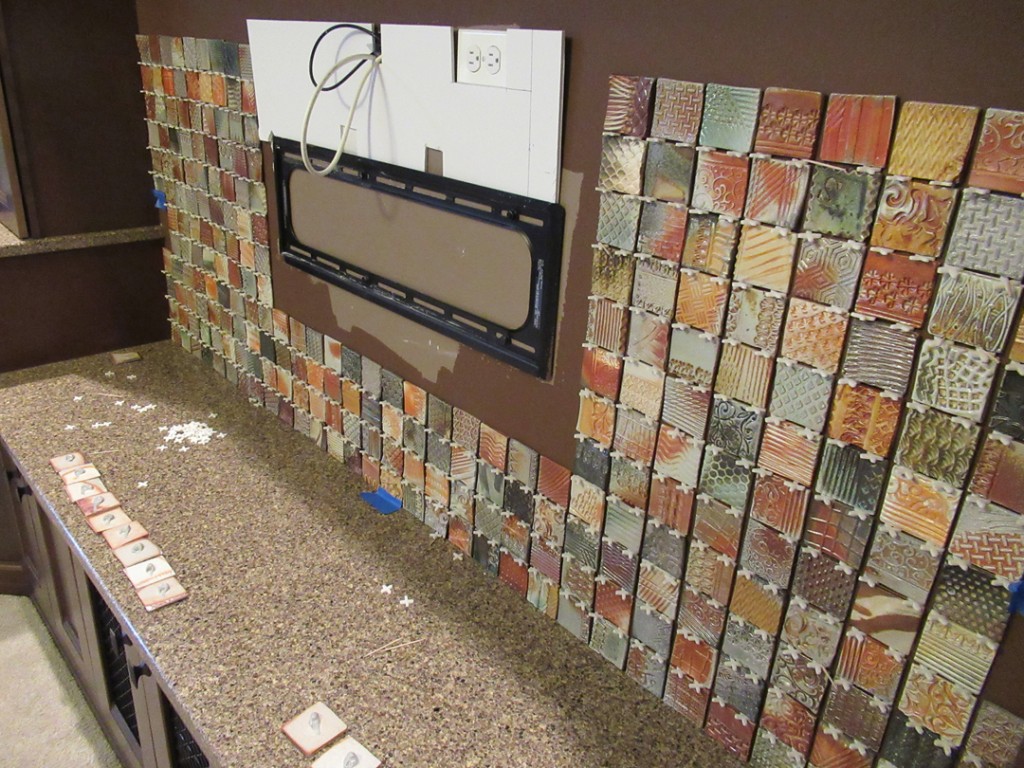
A few more rows and we were up to ten rows! Leaving a space in the middle… space that will be covered by the television when it’s put back onto the wall.

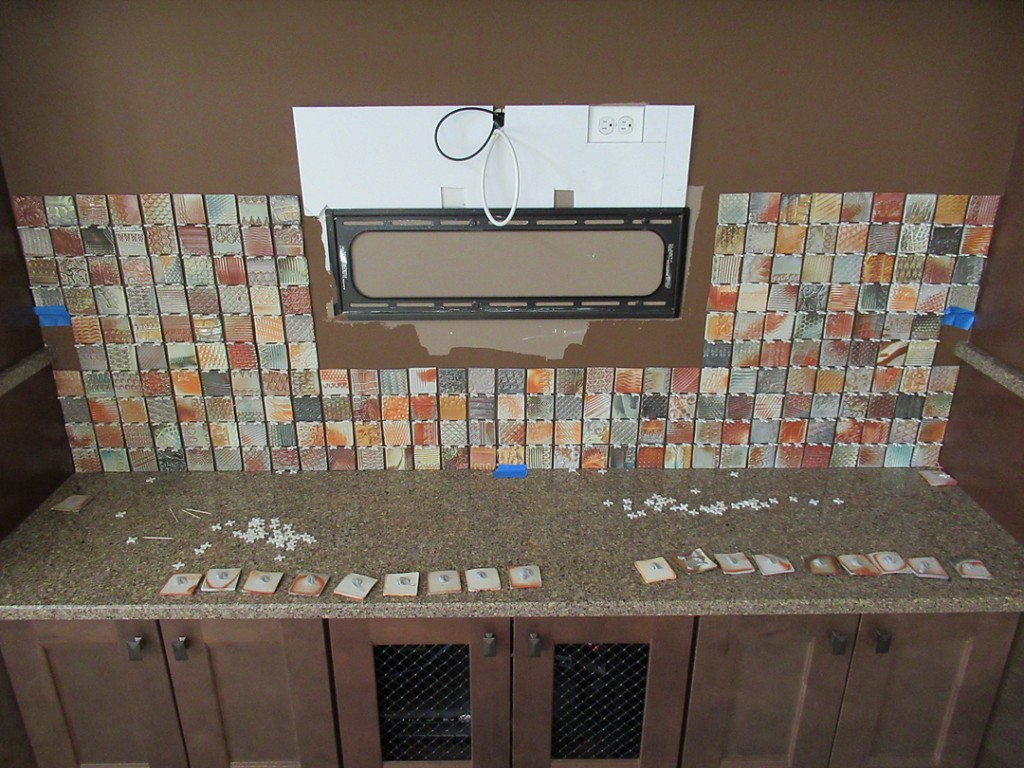
And then we made it to twelve rows! Glue, squish, stick, repeat…
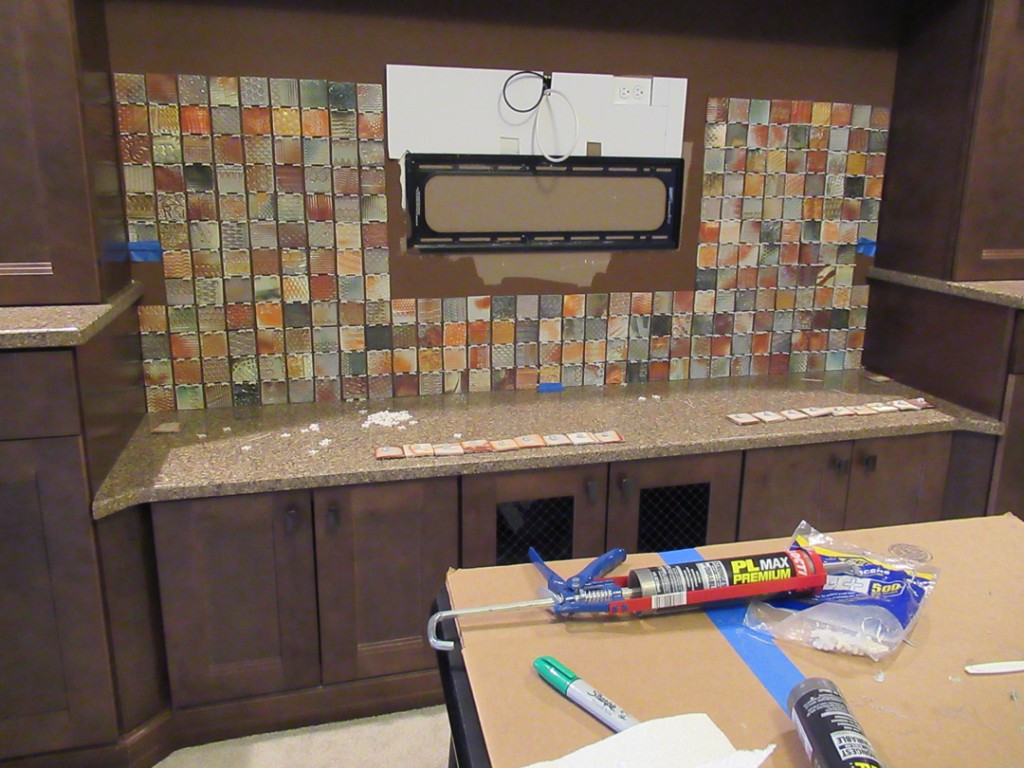
Luckily, I had my niece Taylor there as my more-than-able-bodied-assistant!
She did a wonderful job all say with the installation!

After crossing the span above the “TV” space… with the help of a well-spaced strip of foam core… we finally made it to the top. Well, “close” to the top of the wall. However… not close enough to leave as is… not big enough to squeeze in another tile…

So we ended up cutting a few tiles… some with a Dremel, some with an actual tile cutter!
Let’s just say it wasn’t as easy as I had hoped it might be! We had to do a full row for the top edge, as well as two cut to fit around the granite countertop part way down.
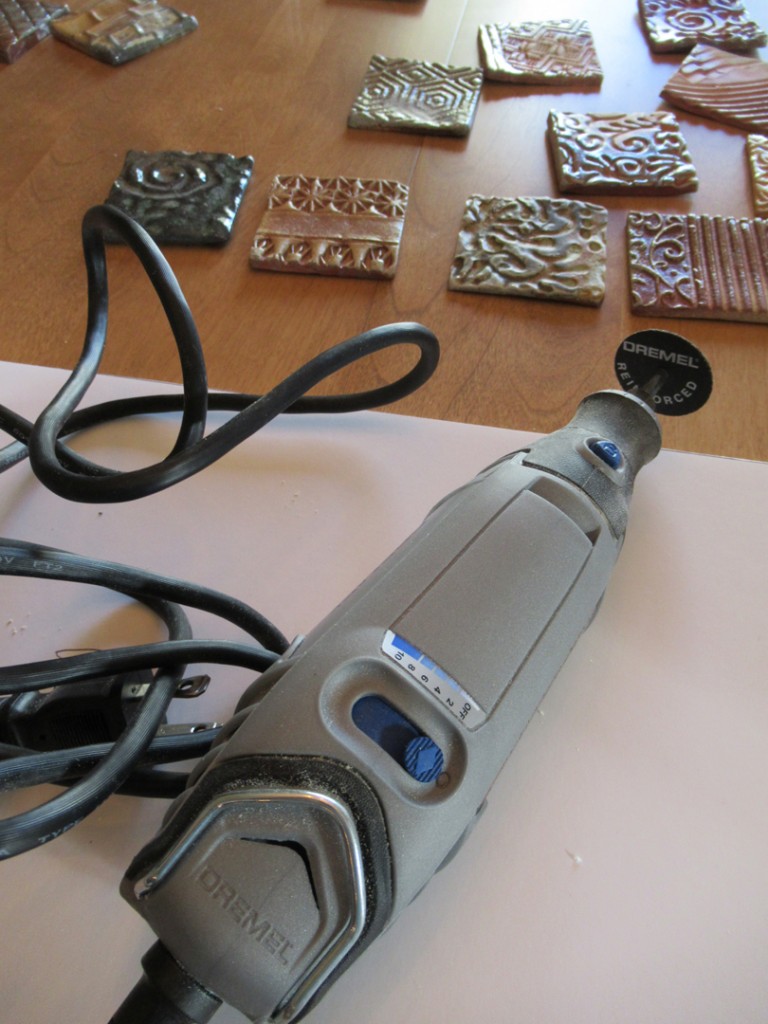
Taylor did a great job putting the finishing touches on the top row,
while I fudged the two to go around the granite counters.
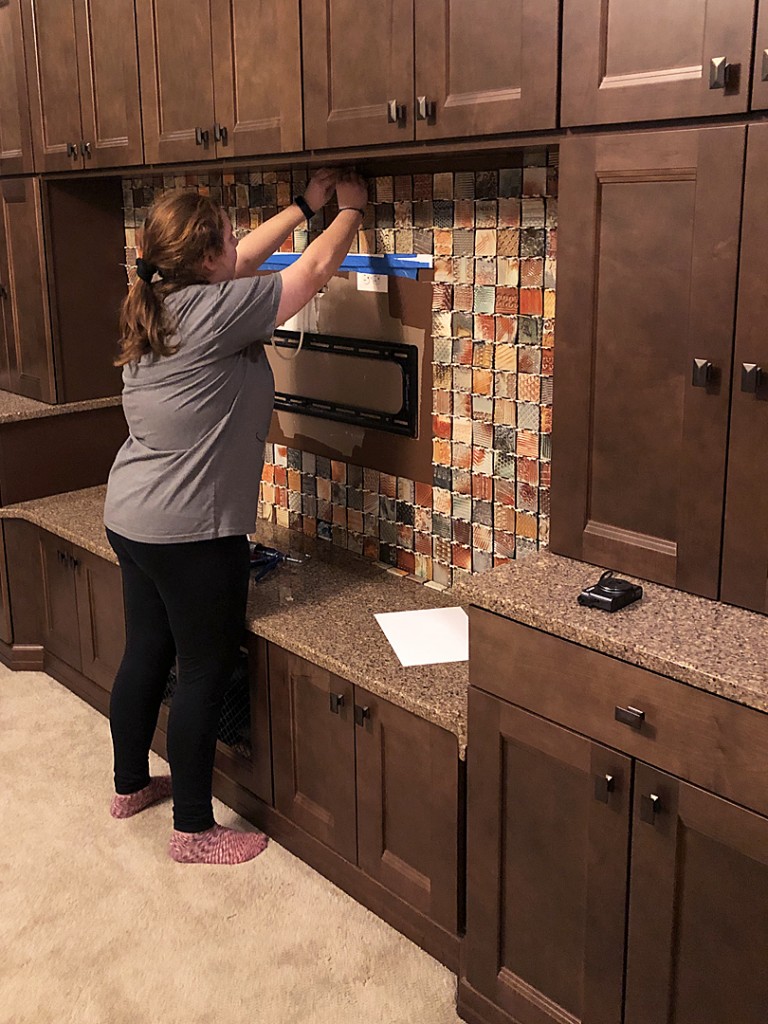
So finally the tiles were up… spacers keeping everything in place. Since all of the tiles aren’t quite “perfect”… we also employed a few toothpicks to help even out the horizontal lines. Look closely…
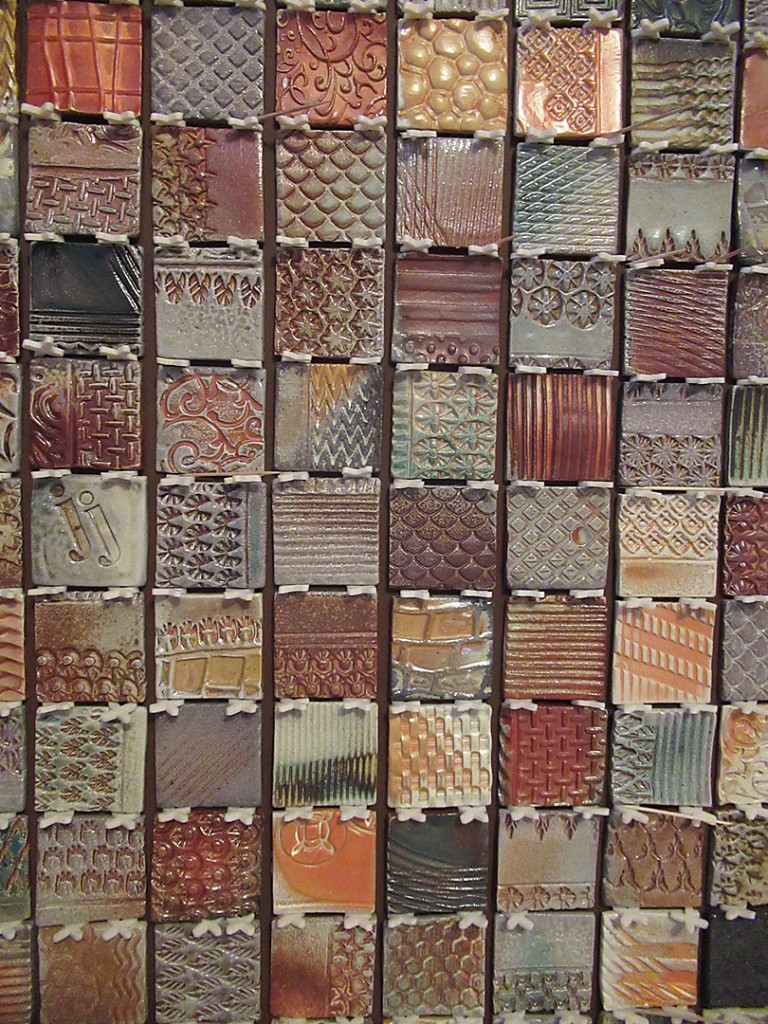
As well as a couple custom-made tiles with initials on them!

After the tile adhesive cured, it was finally time to pull out the tile spacers & toothpicks.

What a difference it makes when all of that “support material” comes out.
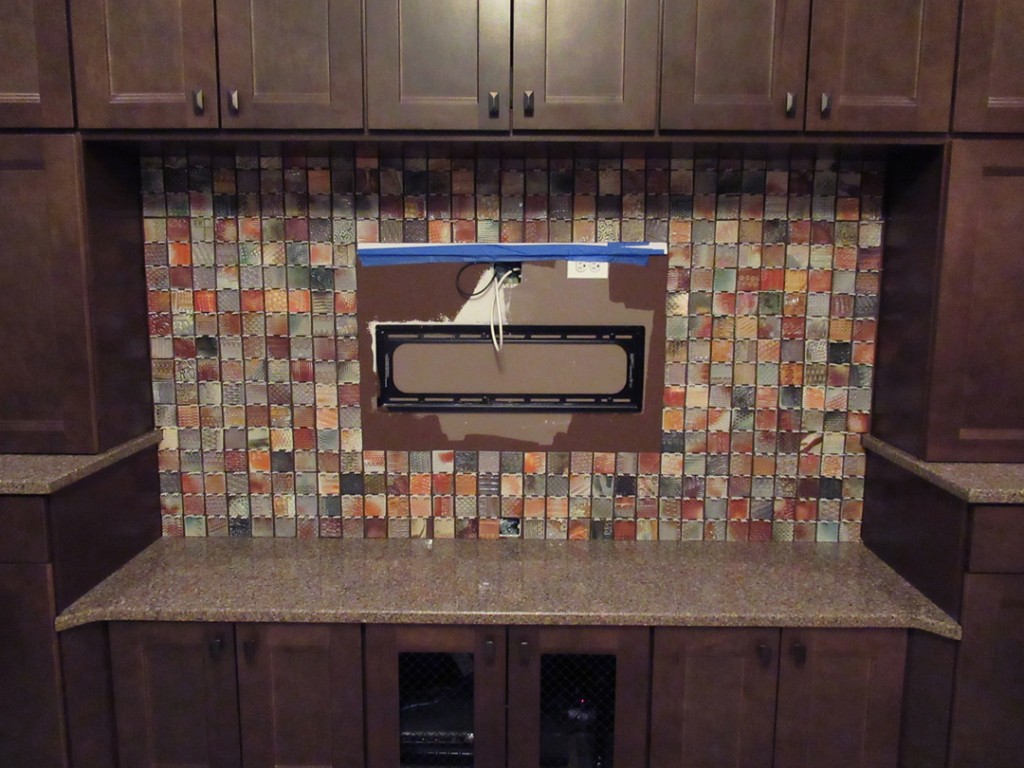
So here’s the finished look… the dark lines between the tiles is merely the painted wall color. There will be no grout… just the “floating” illusion from the paint.
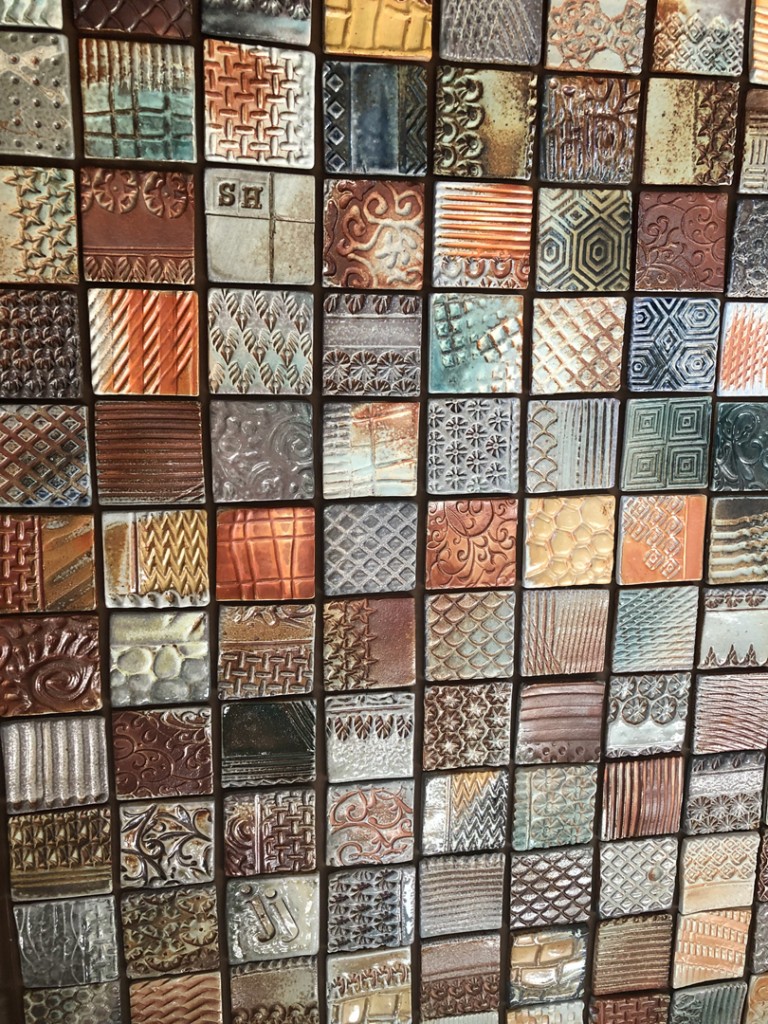
After re-installing the television and speakers along the bottom, the whole project is finally completed. It’s been a long time coming… lots of tiles, lots of textures, lots of soda-firing… and lots of wadding as every tile needed to be wadded before going into the soda kiln!

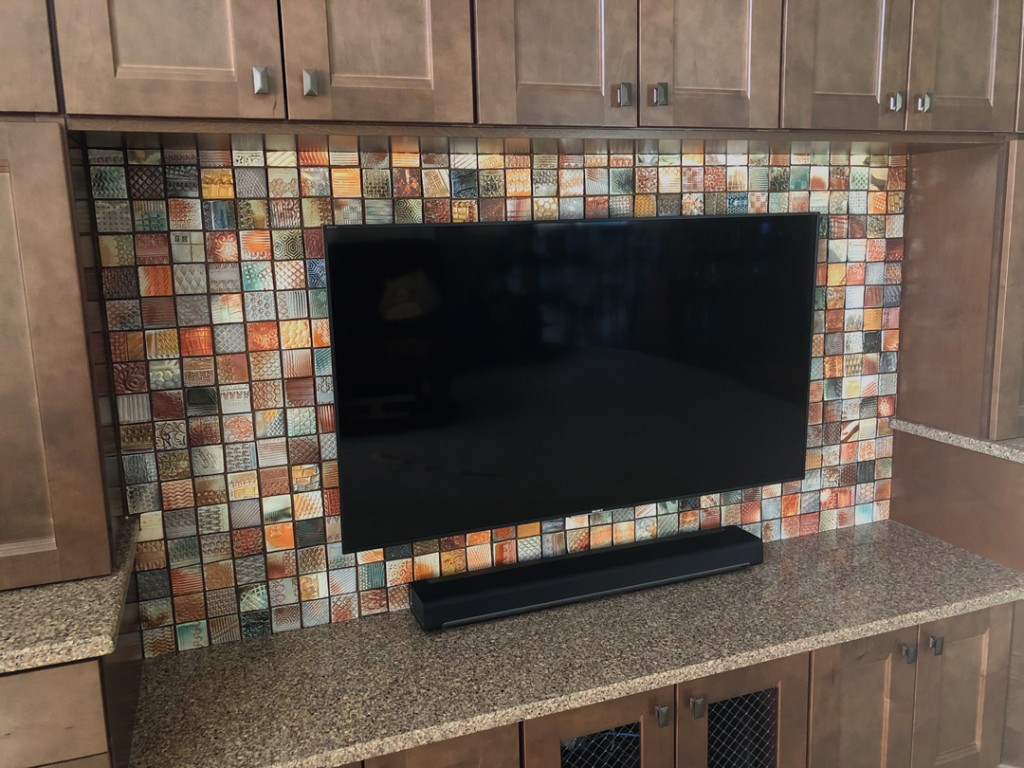
Thanks to my sister Jen, brother-in-law Scott and niece Taylor for their patience in waiting for the tiles… as well as all of their assistance & patience while we were installing this masterpiece. I hope they will LOVE it for many years to come!!!

Save

Save

Save
Categories: family, holiday, special events, Taylor

We had a wonderful day Saturday at Six Flags Great America for their first-ever
“Holiday In The Park.”

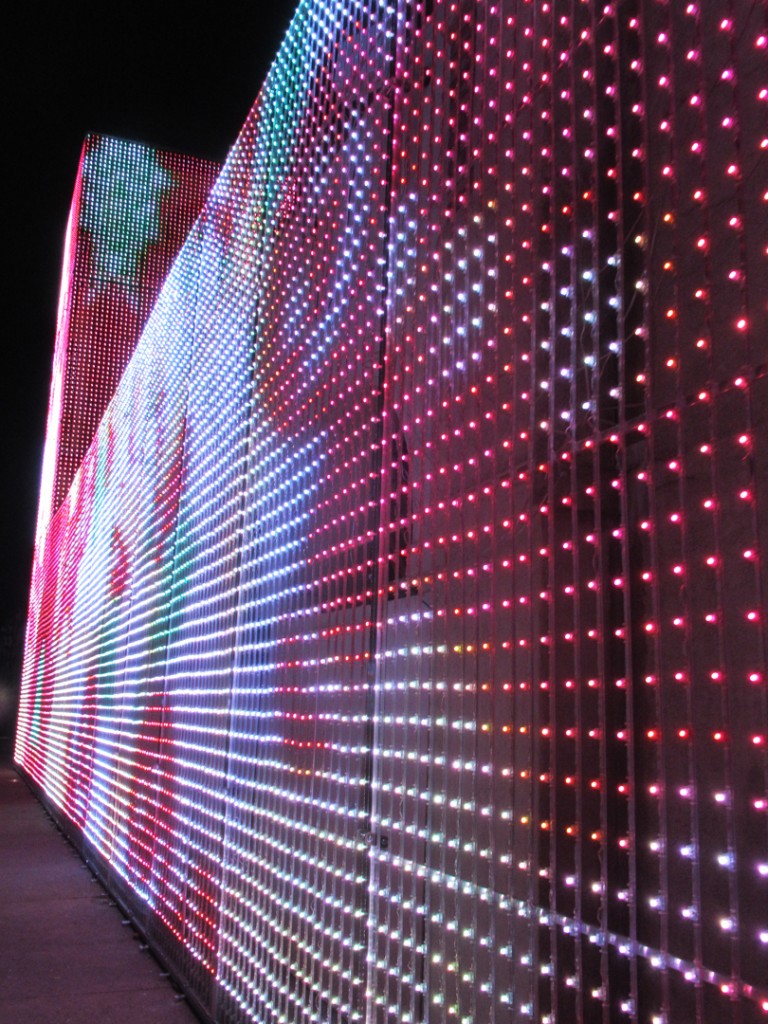
Sure, it might have been a bit chilly when flying on the high-speed roller coasters, but great with enough layers & freshly-toasted s’mores!!! It was remarkably empty during the daytime hours so there were no lines for any rides! Plus a beautiful sunset. It wasn’t until the sun went down and the place lit up with crazy cool Christmas lights everywhere – many LED displays synchronized to the music!!! Such a great way to kick-off the holiday weekend!!!

Save

Categories: Taylor

So while I was racing, my niece Taylor was tracking me on the IRONMAN app. And sending me encouraging texts throughout the day. Unfortunately, you can’t race with your phone see I didn’t see these until I got back to the hotel. But it was great knowing that I had so many friends & family out there tracking me and cheering me on… from the comfort of their own dry & cushy sofa!!!

Save

Save

Categories: family, special events, Taylor

BIRTHDAY WEEK… Day Three!!!

After pedaling a hundred miles of hills this past weekend… it was great fun to take on a bunch of “different” hills Monday at Six Flags Great America!!! So much fun playing at Fright Fest with my “Cohorts In Coasters”… my sister Jen & niece Taylor!

Save
Categories: family, Taylor

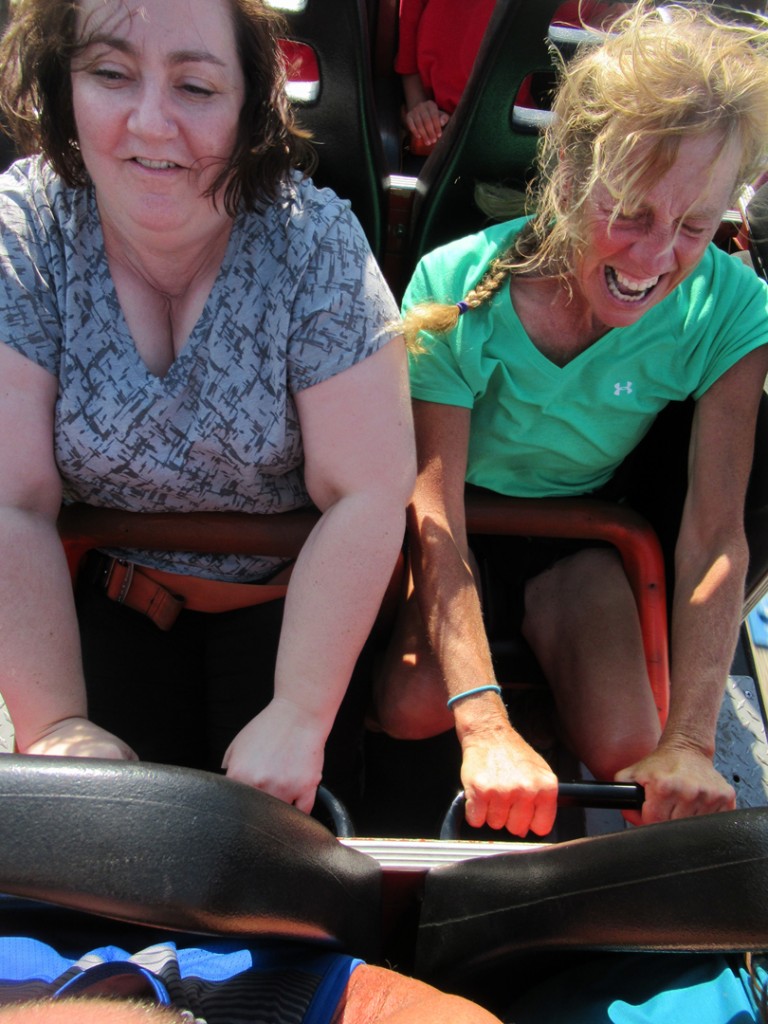
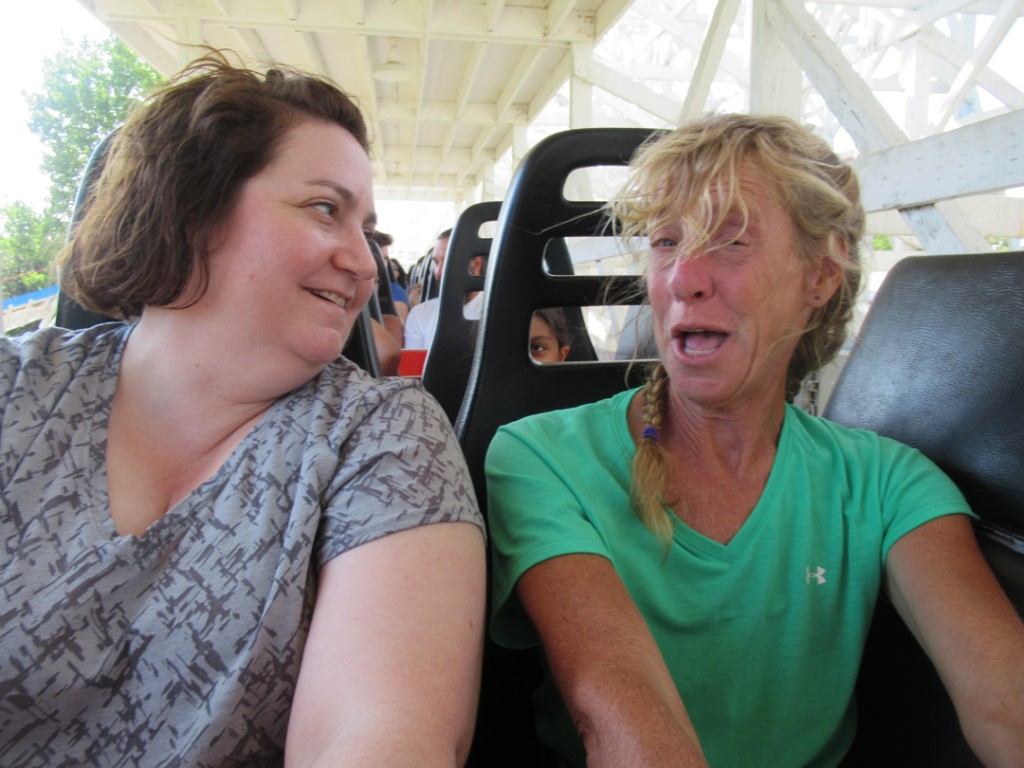
A wonderful day at Six Flags Great America on Thursday. A great way to “keep the holiday going”… especially as there were surprisingly short lines for every ride?!!! Some rides we rode four or five times in a row with no wait!!!

Fun as always with my sister Jen, niece Taylor and Cousin Kim who is always ready to “show her true colors” after some blue cotton candy!!!

And sure, this may just look like a circle…
but it’s actually the newest rollercoaster at Six Flags!!! THE MARDI GRAS HANGOVER.
You sit down in the car, rock back & forth a bit… and then they speed you all the way around inside the circle in both directions. But the crazy part is when they stop you upside-down at the top… and let you dangle!!! Brilliant!!!!

Categories: animals, family, Taylor

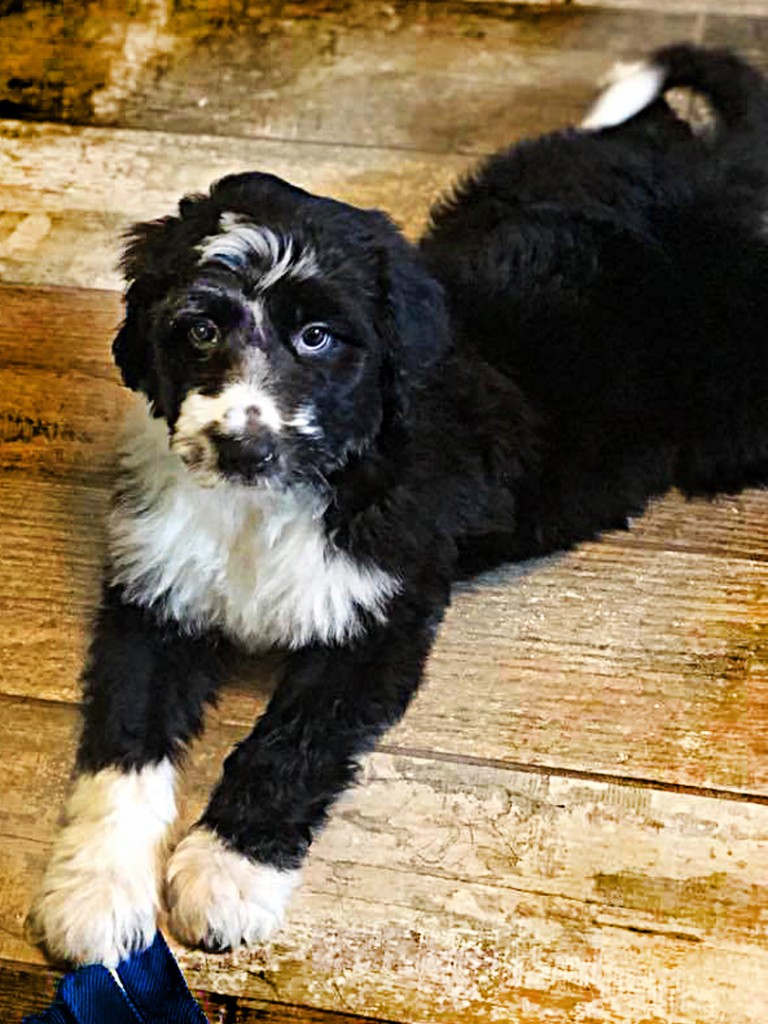
Thanks to everyone who offered up some adorable names for my niece Taylor’s new puppy. And after my “lobbying” for the obvious choice… OREO… she decided to go with one of her original three names… RILEY.

Still cute nonetheless!

Save

Categories: family, Taylor

Looks like there’s a new puppy in the family!
My niece Taylor adopted a new puppy this morning. A new friend for her
and their dog Shadow. Now we’re just looking for a good name… any suggestions???