So this week was “bowls on purpose, instead of cylinders gone bad” demonstration night for my Tuesday night Beginning & Advanced Beginning Wheelthrowing class. So we started by discussing what makes a good bowl… a nicely rounded interior, no beginner’s ledge, intentional rim, and all of the other things to watch out for!
So then I did a throwing demo for my students, and showed them how to make a nice bowl INTENTIONALLY, instead of a cylinder gone bad! After the demo session, my students all went back to their wheels to start practicing & making bowls of their own.
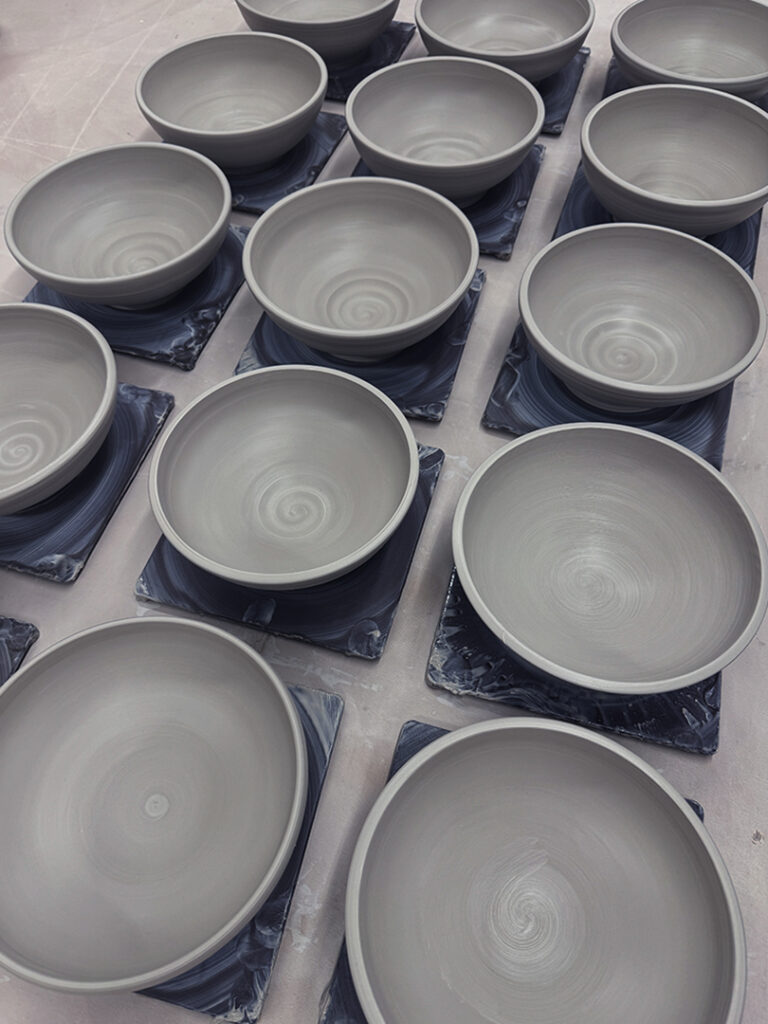
Meanwhile, I threw a bunch of bowls so that we could “play” with them later in class!!!
After my class had some time to throw their bowls, and I finished with mine…
we re-grouped at my demo wheel so that I could show them a few quick tricks & techniques to make their bowls “not-so-basic.” My feeling is pretty much that the wheel kinda makes a round bowl for you… but it’s up to each person to make it their own!!! So I just wanted to add a few “possibilities” to their arsenal of tricks to play with. So here they are…
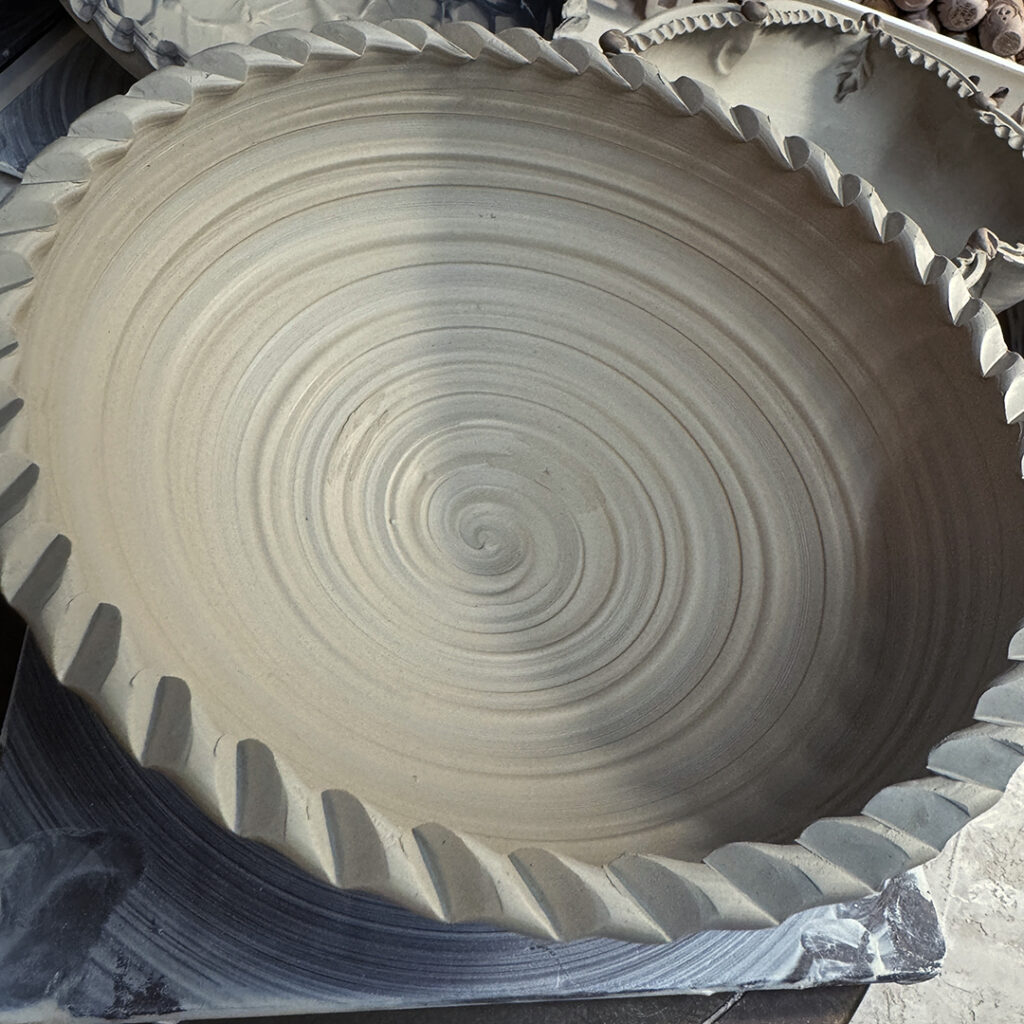
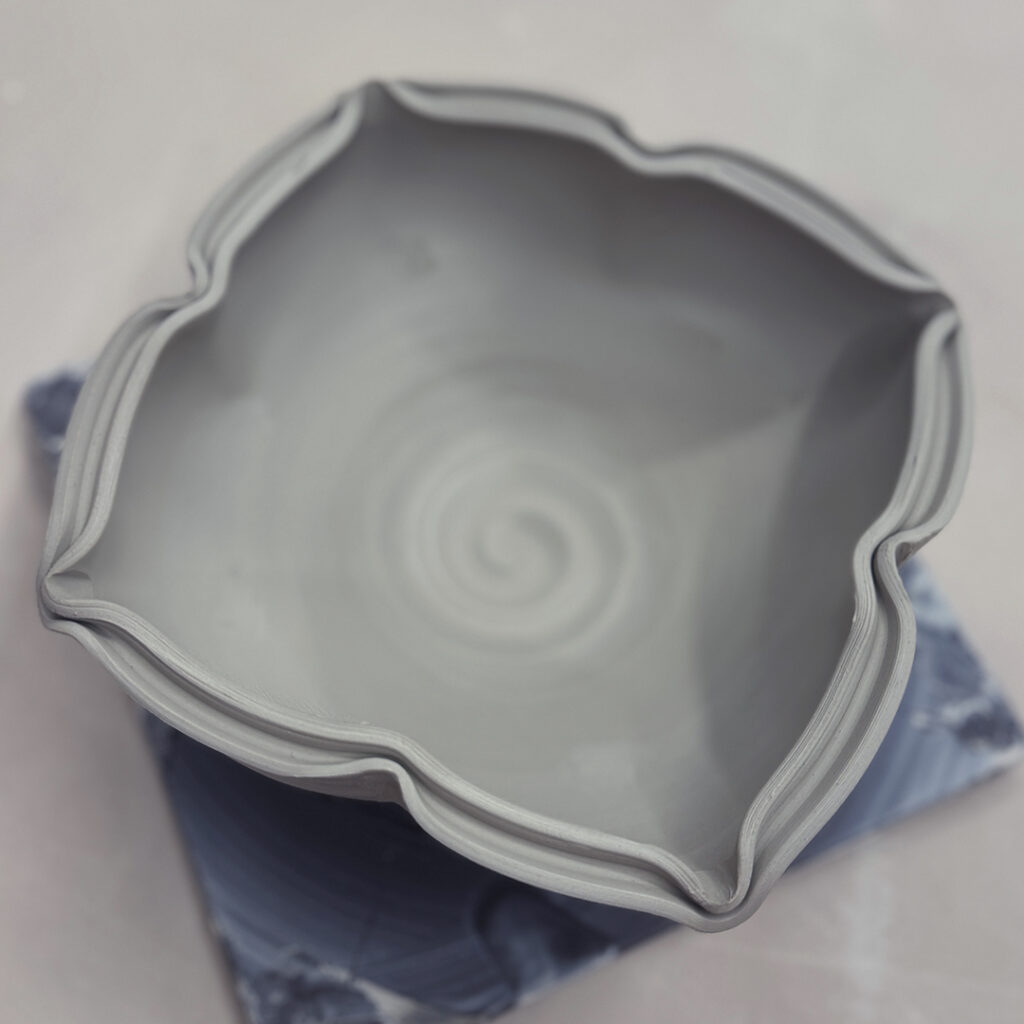
Bowl #1 – Four fluted edges… and a nice spiral.
Bowl #2 – and if four fluted edges are good, maybe EIGHT are even better?!
Bowl #3 – A flared out flange… bent out over the edge to create a “wider” rim.
Bowl #4 – And if a one-inch flared flange is nice, maybe a larger one is even better?
Bowl #5 – Then I combined the flared flange with some fluted accents.
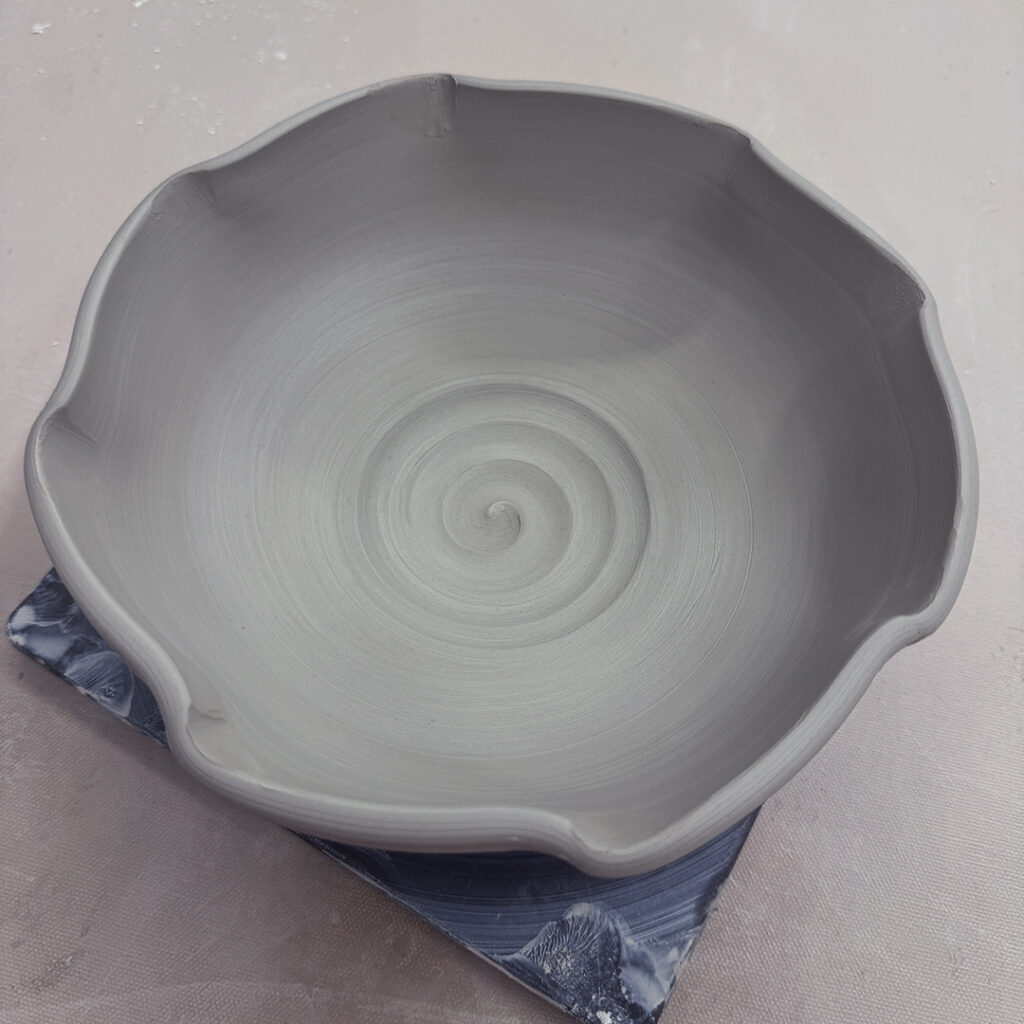
Bowl #6 – A split-rim pinched back together in eight places!
Bowl #7 – Another split-rim pressed-in on two sides. There’s “a very good chance” that there might be a handle up & over from pinched part to pinched part to make it a “basket” bowl.
Bowl #8 – Another split rim – pressed in on four sides to create a kind of quatrefoil effect.
Bowl #9 – Another split rim pressed in at four points, and pressed out at four points! Kind of a lotus pattern.
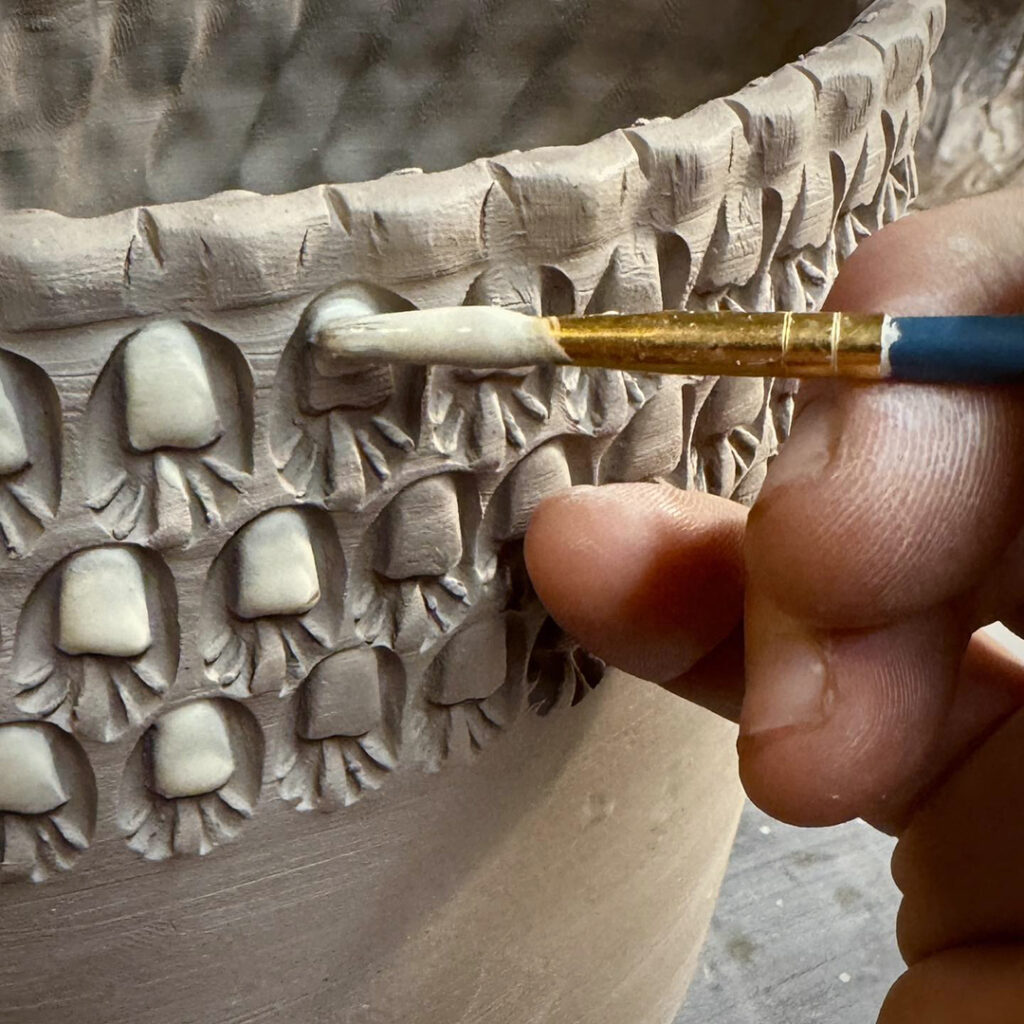
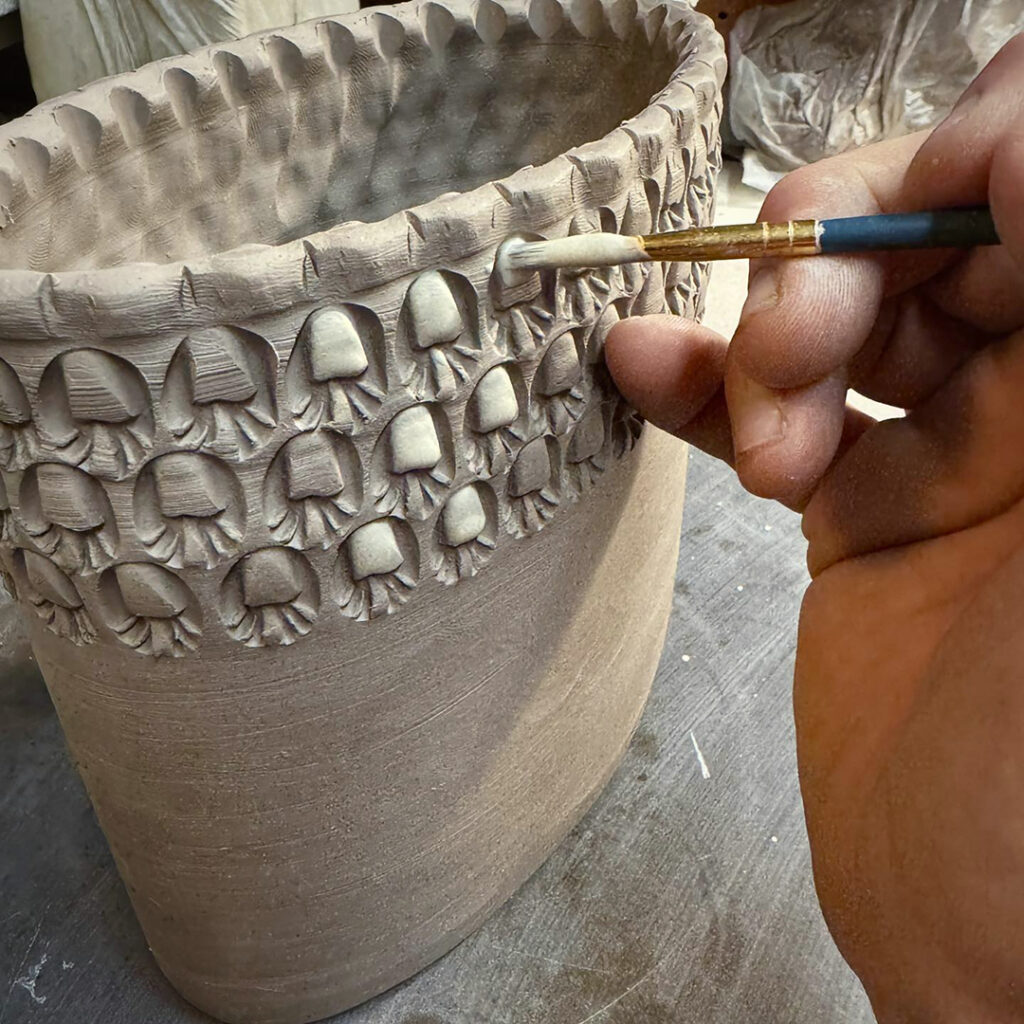
So after doing a bunch of altered rims, I introduced them to colored slip. And how they can use some “thick” slip to add some details & textures to their bowls.
Bowl #10 – A layer of thick white slip with a spiral dragged through from the center up & out.
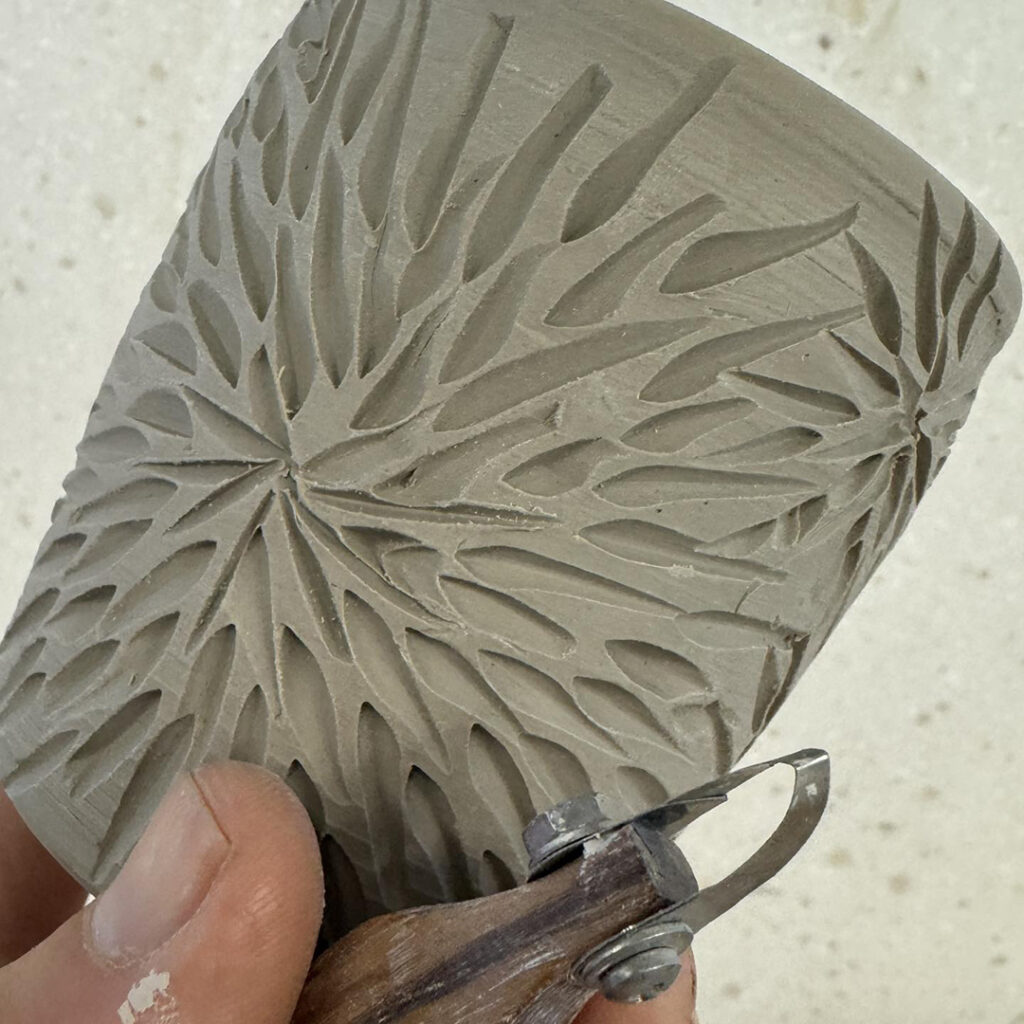
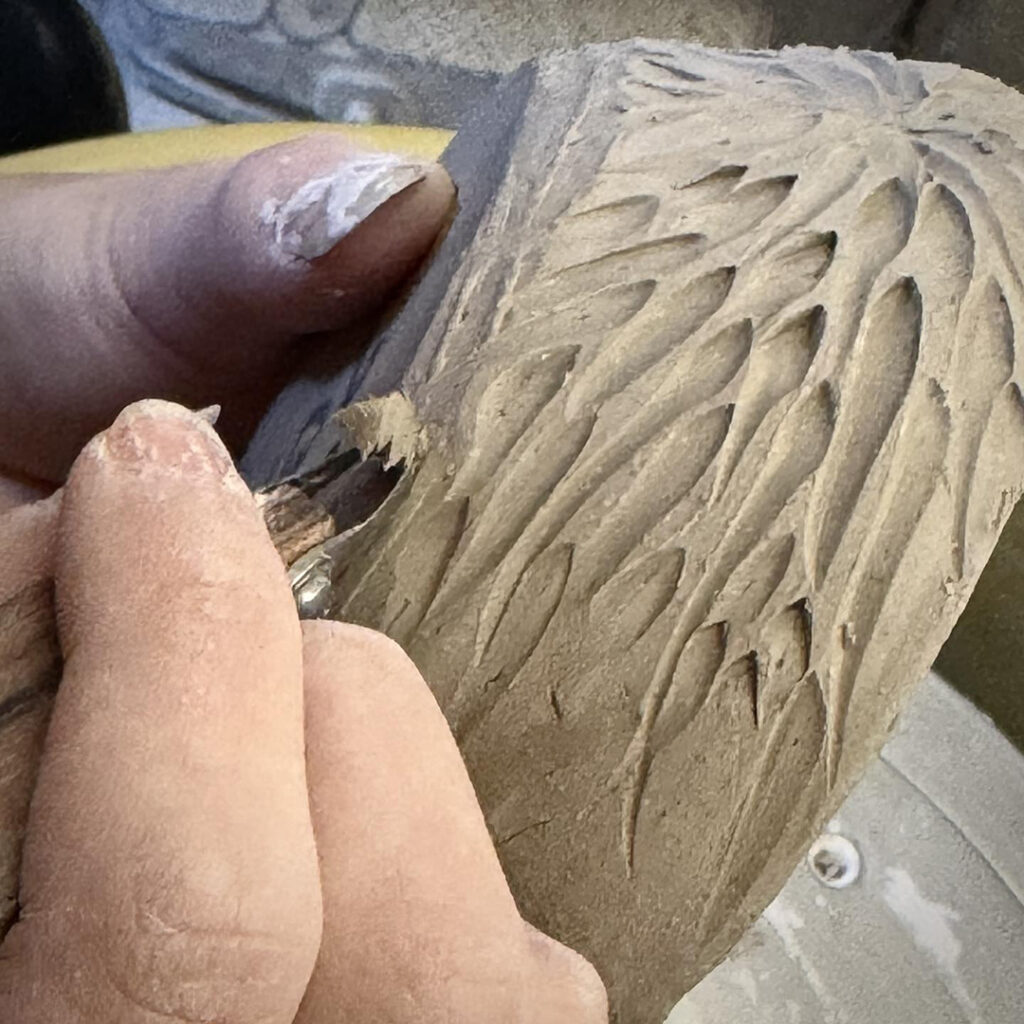
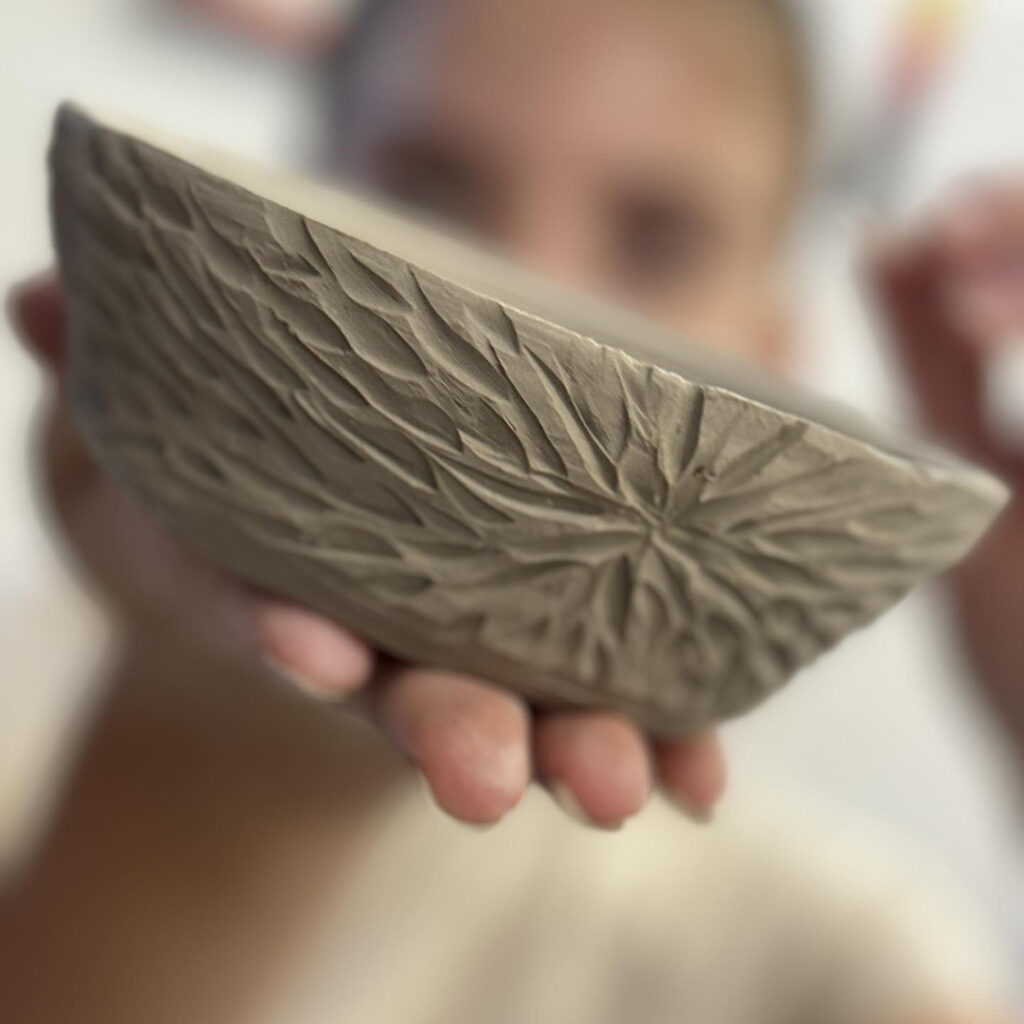
Bowl #11 – Another layer of thick white slip with banded drag-throughs… and a good chance that there “might be” some carving to be done through the thicker bands.
Bowl #12 – Thick white slip with some finger painting… just some squiggles from my index finger.
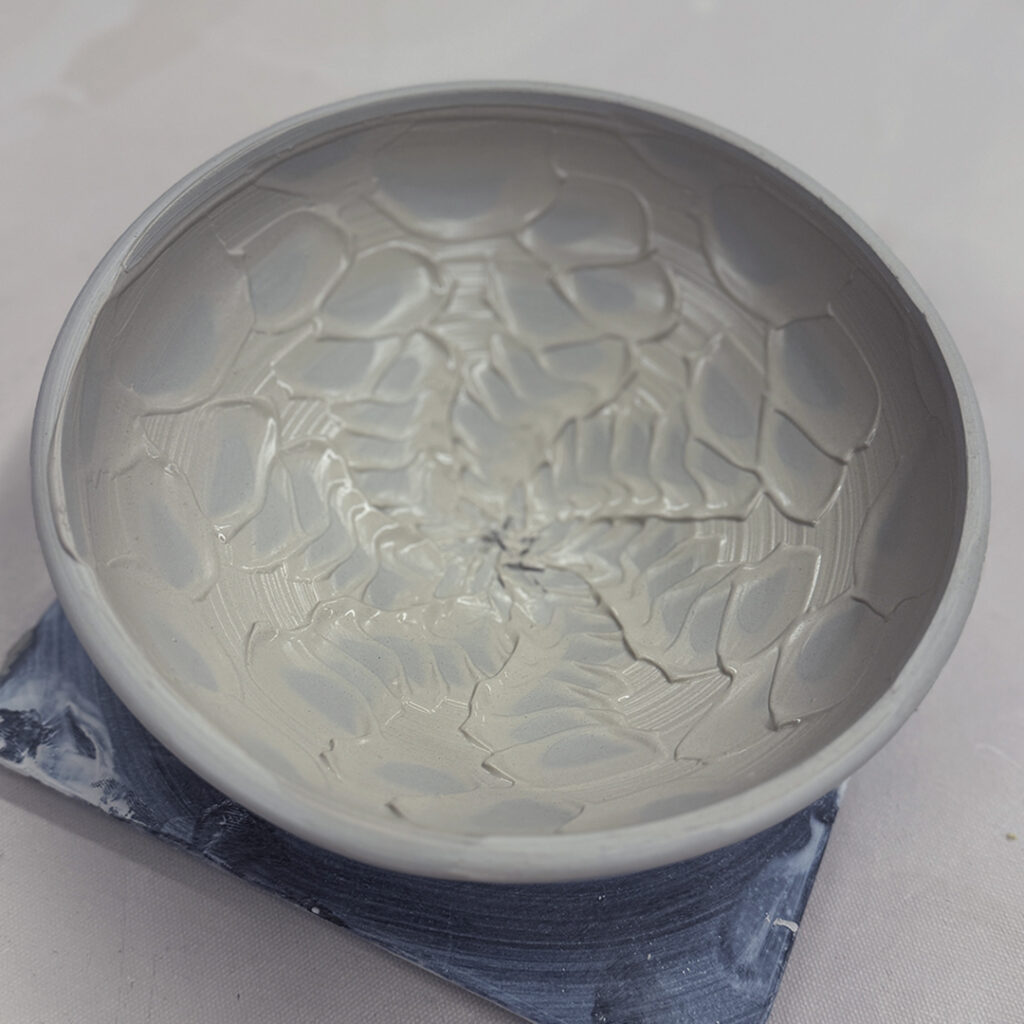
Bowl #13 – Thick white slip with some fun chattered texture & patterns… rhythmic tapping with a rubber rib… up & down, round & round, from center to rim.
Bowl #14 – An ombre’ blend of white slip to black slip… and again, a “good chance” there might be some carving coming soon!
Bowl #15 – And ombre’ blend of thick white & black slips… and a finger squiggled through.
Bowl #16 – Thick black & white ombre’ blend– and then chattered through the slip.
And for now they’re all “resting” safely in my studio under a bunch of plastic. Like I said, there might still some additional work don on these to make them EVEN MORE “not-so-basic”!!! Maybe a little stamping, carving & detailing… possibly?… allegedly?…