
Stamping a large platter… adding a textured border around the edge using just two stamps! Each one pressed in one-at-a-time! Making single impressions that add-up to a beautiful textured surface. Perfect for another Texture Tuesday!


Gary Jackson: Fire When Ready Pottery
A Chicago potter’s somewhat slanted view of clay & play |

Stamping a large platter… adding a textured border around the edge using just two stamps! Each one pressed in one-at-a-time! Making single impressions that add-up to a beautiful textured surface. Perfect for another Texture Tuesday!


Last week during my Tuesday night pottery class, my teaching assistant Susan did a little sgrafftio demo for the class. We made “bowls on purpose” the week before and introduced colored slips as a decorating option. This was one of those bowls… continuing the week a week later! So Susan explained what sgraffito is… basically decorative carving through a colored slip to “reveal” a design using the base clay color as a contrast. She showed our students how to do it, and then continued during class to make this beautiful “rose” pattern around the interior rim of the bowl.
To see more of Susan’s sgraffito work, follow her on Instagram! – @susanslogoff


Finishing off another batch of mugs to celebrate another MUGSHOT MONDAY!!! Stamped, handled & accented with colored slips for soda firing!!


I mean, who doesn’t like a quick snack of spinach dip & crackers???… but it looks so much more impressive when served on a green sgraffito plate! So fancy for a quick appetizer Julie… thanks for upgrading your dip!!!

After a night of slip painting, there’s now another batch of mugs drying in my studio. Just getting ready for my upcoming September art fairs… ART IN THE GARDEN and ART IN THE BARN. Two favorite shows… and a lot of new mugs coming soon!


Did a bit of detailing tonight with colored flashing slips on a new batch of mugs! A layer of slip around the top rim & some stamp highlights. The colored flashing slips will react to the soda-firing atmosphere in my next kiln load… hopefully creating some great colored details.


All stamped & detailed… and the bowls are all back under plastic until they dry-up a bit more for trimming. Good thing I love trimming too… almost as much as stamping!!!
Almost.


After Tuesday’s “not-so-basic” basic bowl demo… I did a bit of detailing today with some stamps & textures. You know I subscribe to the school of MORE IS MORE.
So this afternoon I did a little bit MORE to the bowls!


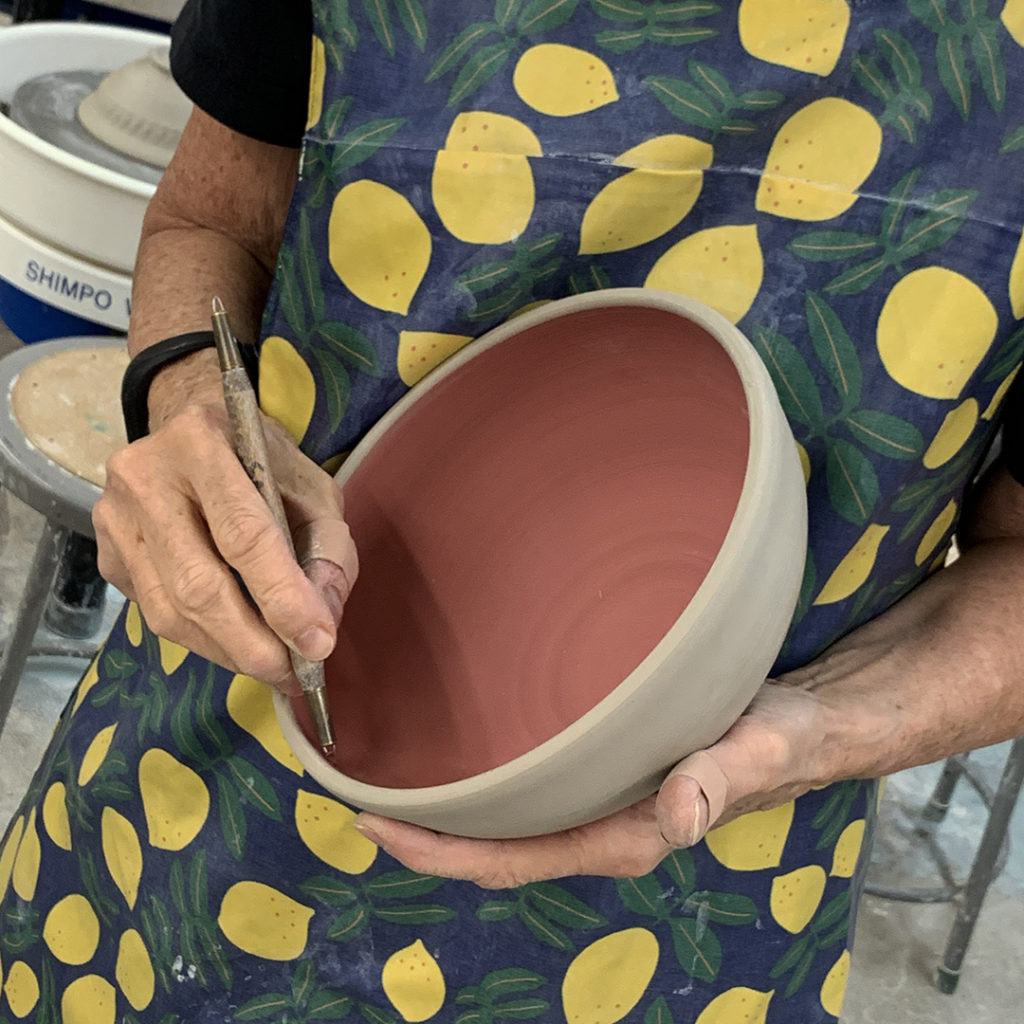
Last night during my Beginning & Advanced Beginning Wheelthrowing class, we tackled making a bowl on purpose… instead of a cylinder gone bad. We discussed the differences… and how I can see if it started out as a cylinder… tsk-tsk!
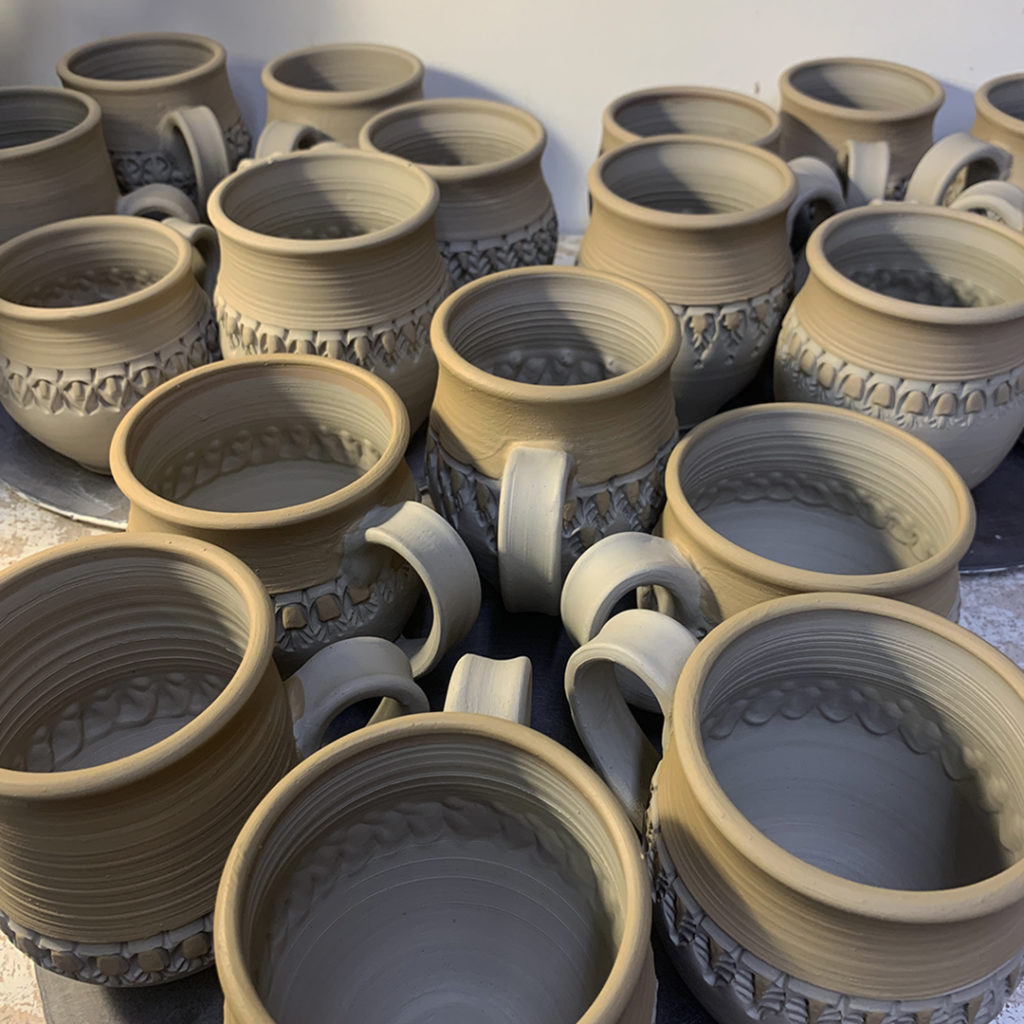
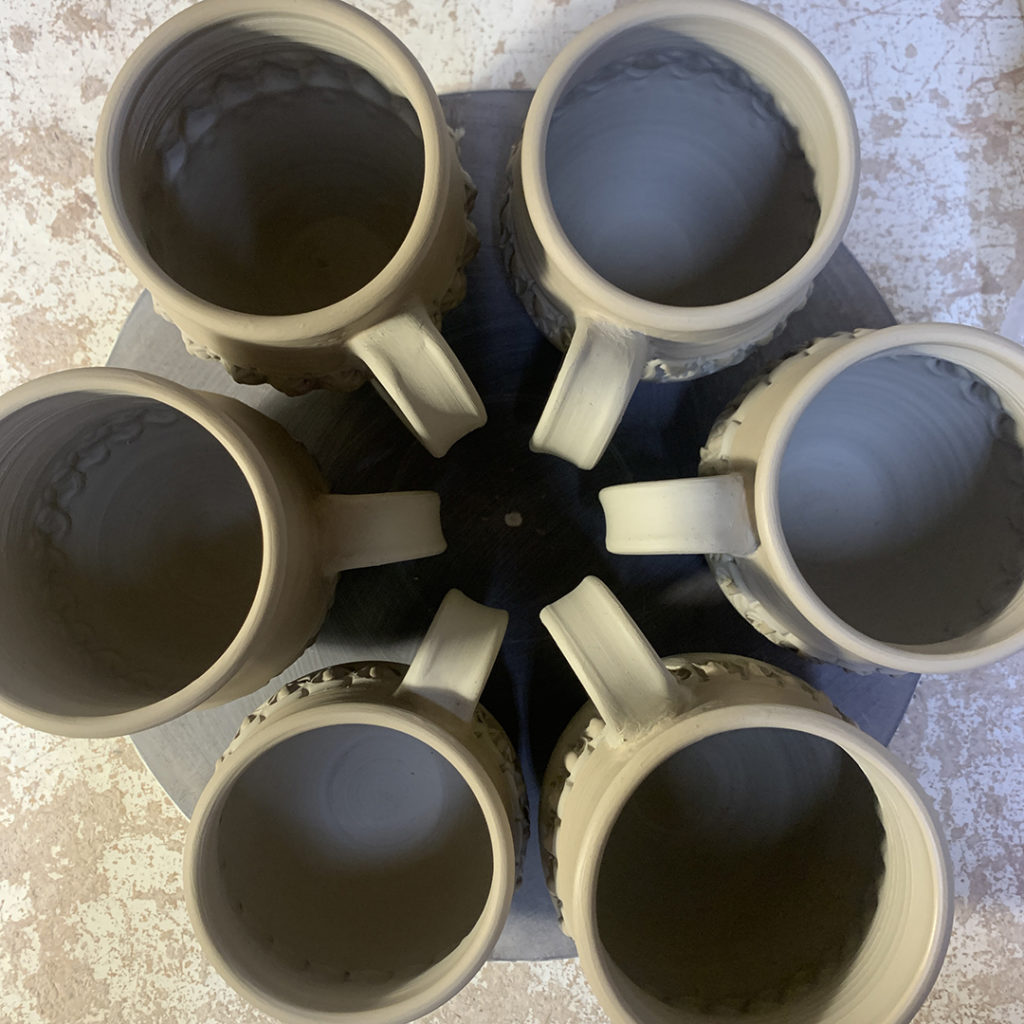
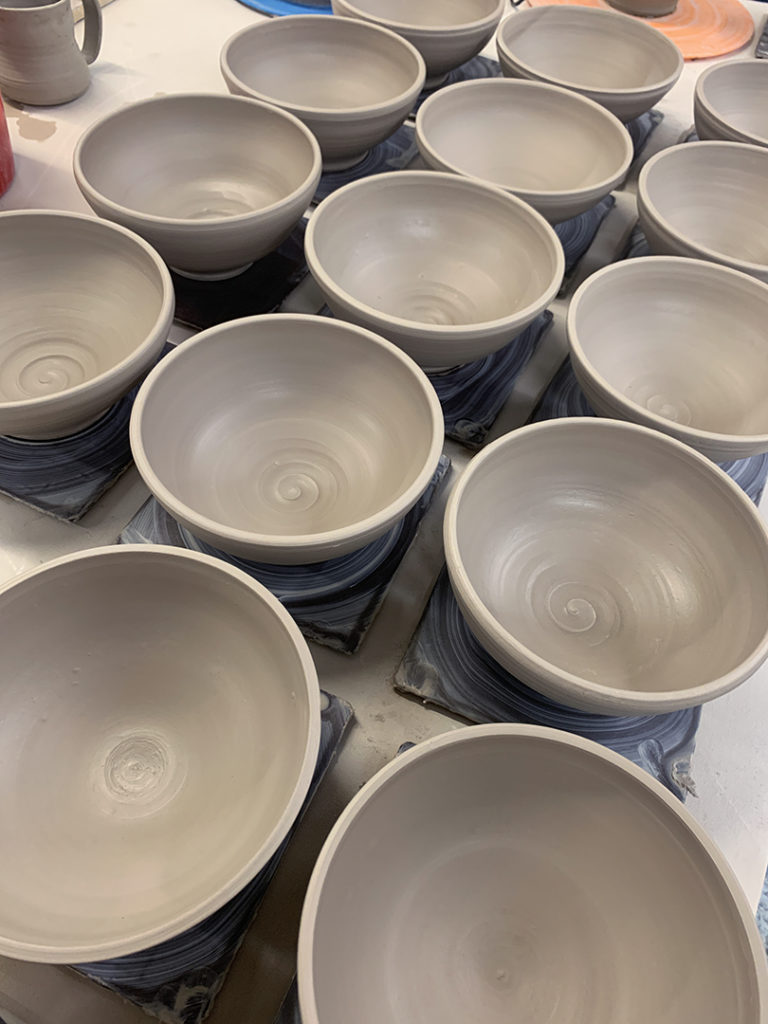
After doing a demo on a basic bowl, I explained how the wheel pretty much makes the plain bowl for you… but it’s up to YOU to decorate it and make it your own! So I threw a bunch of basic bowls during class for us to “play with” later!

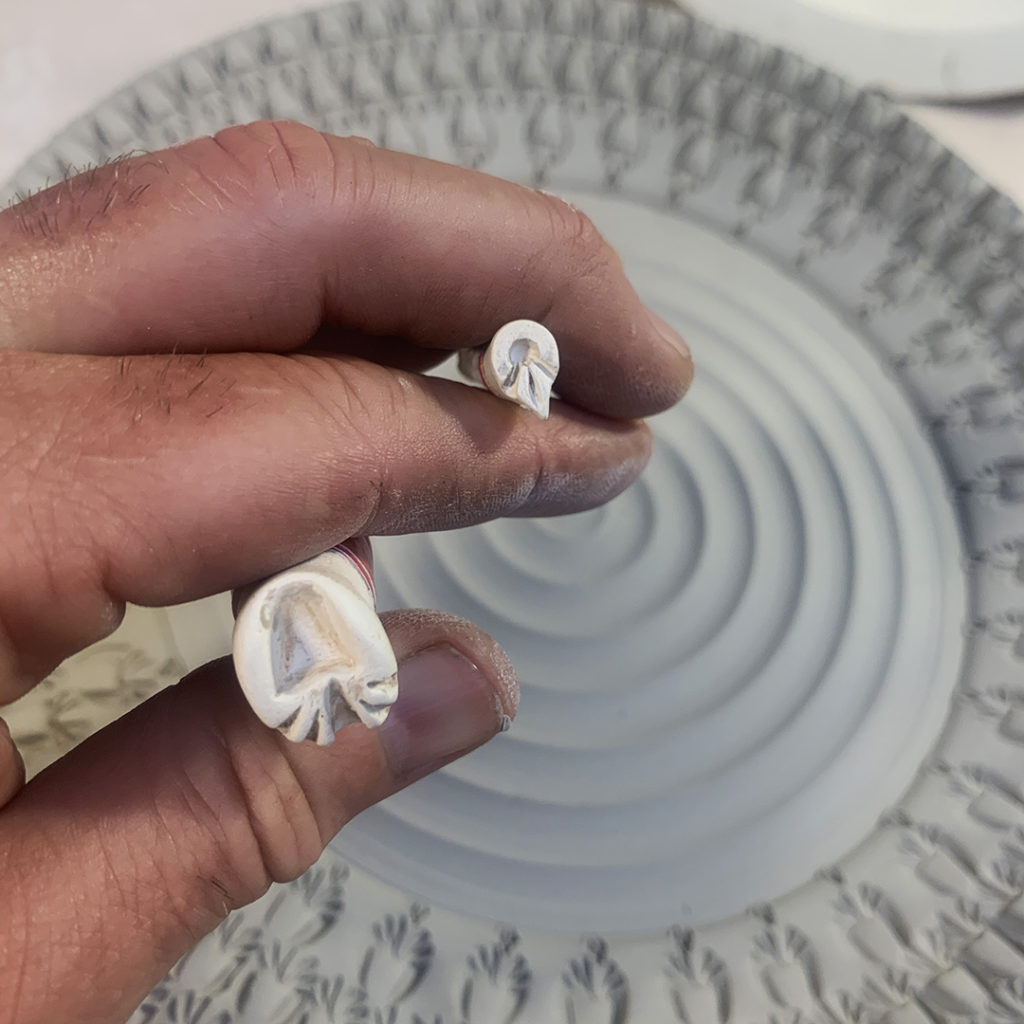
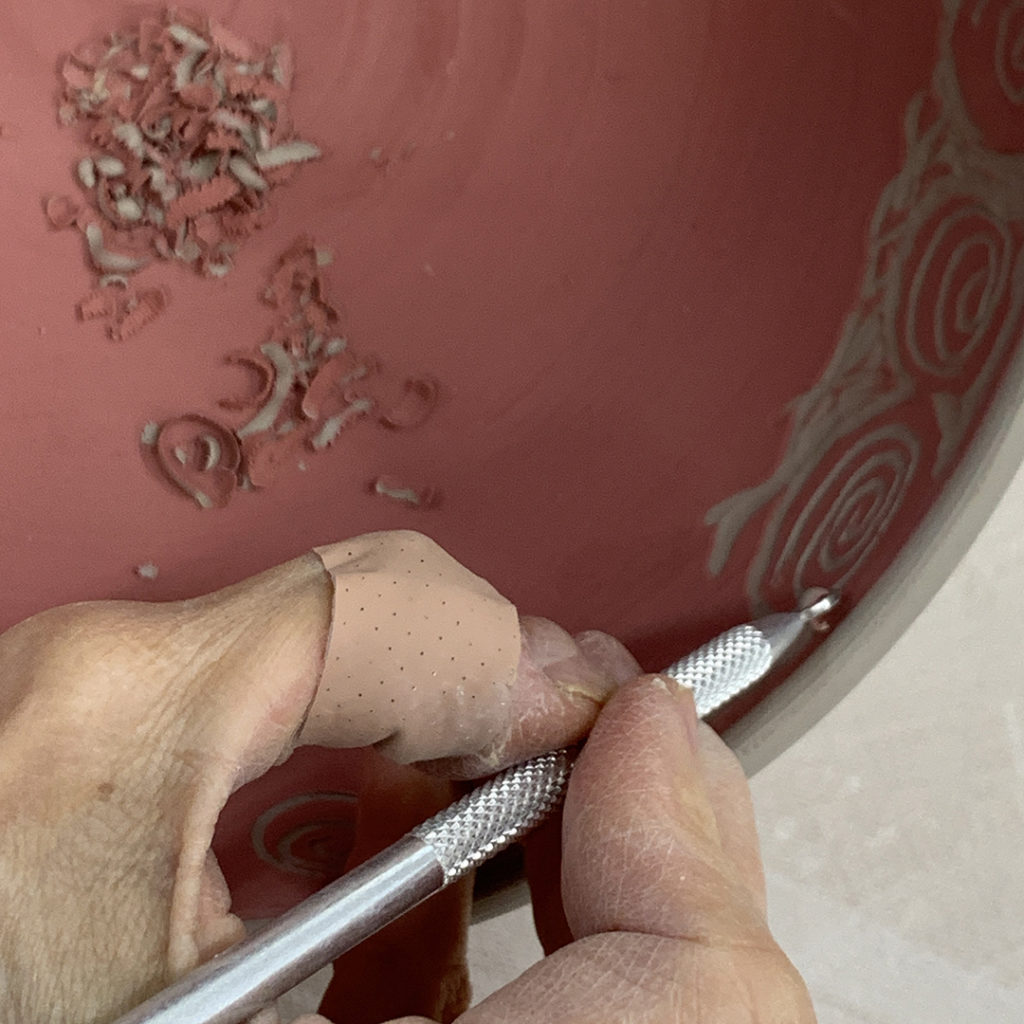
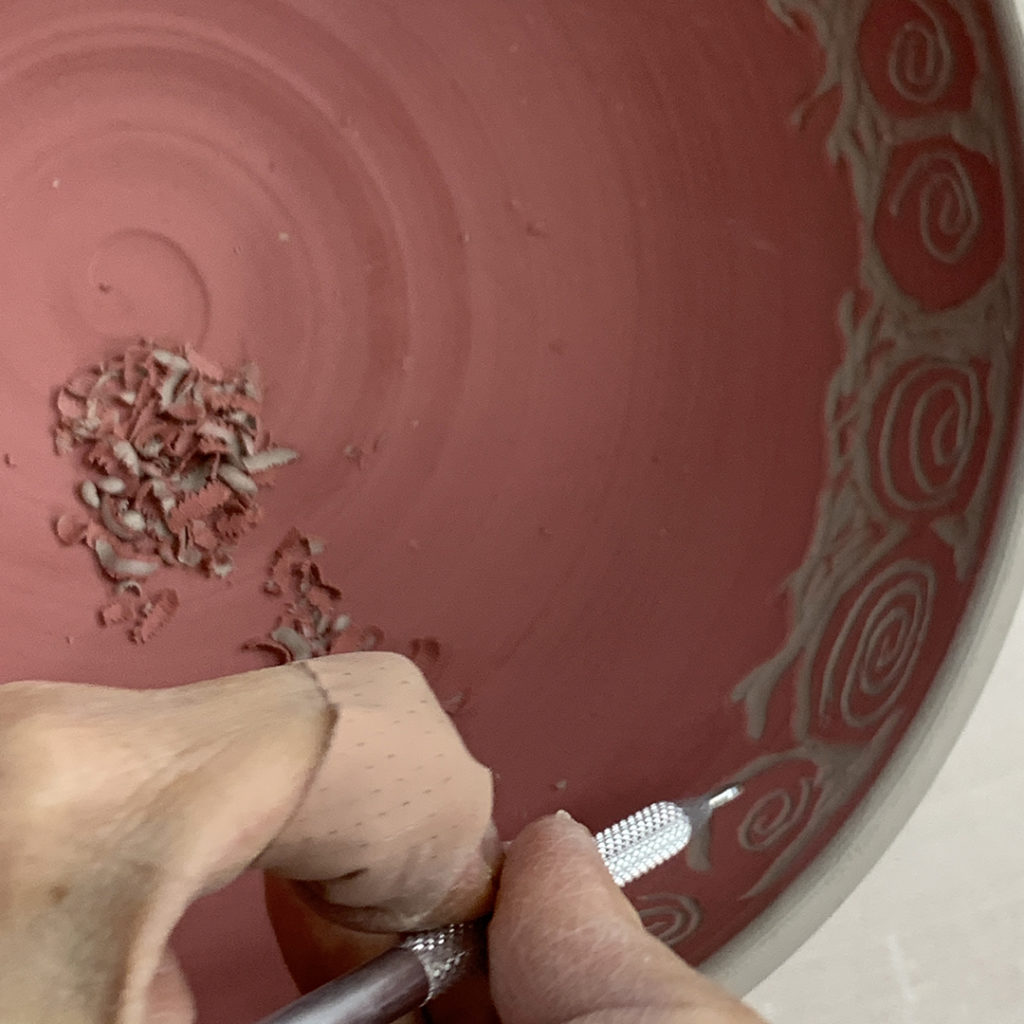
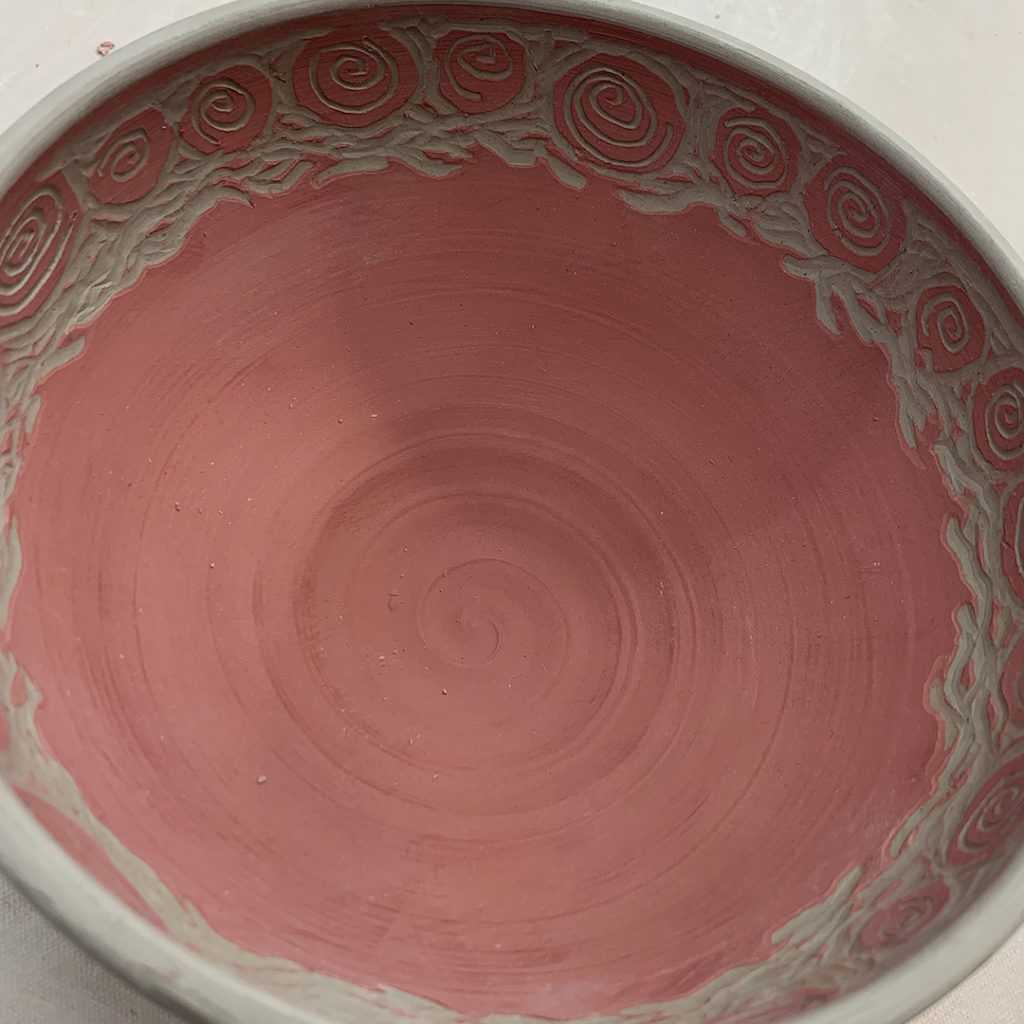
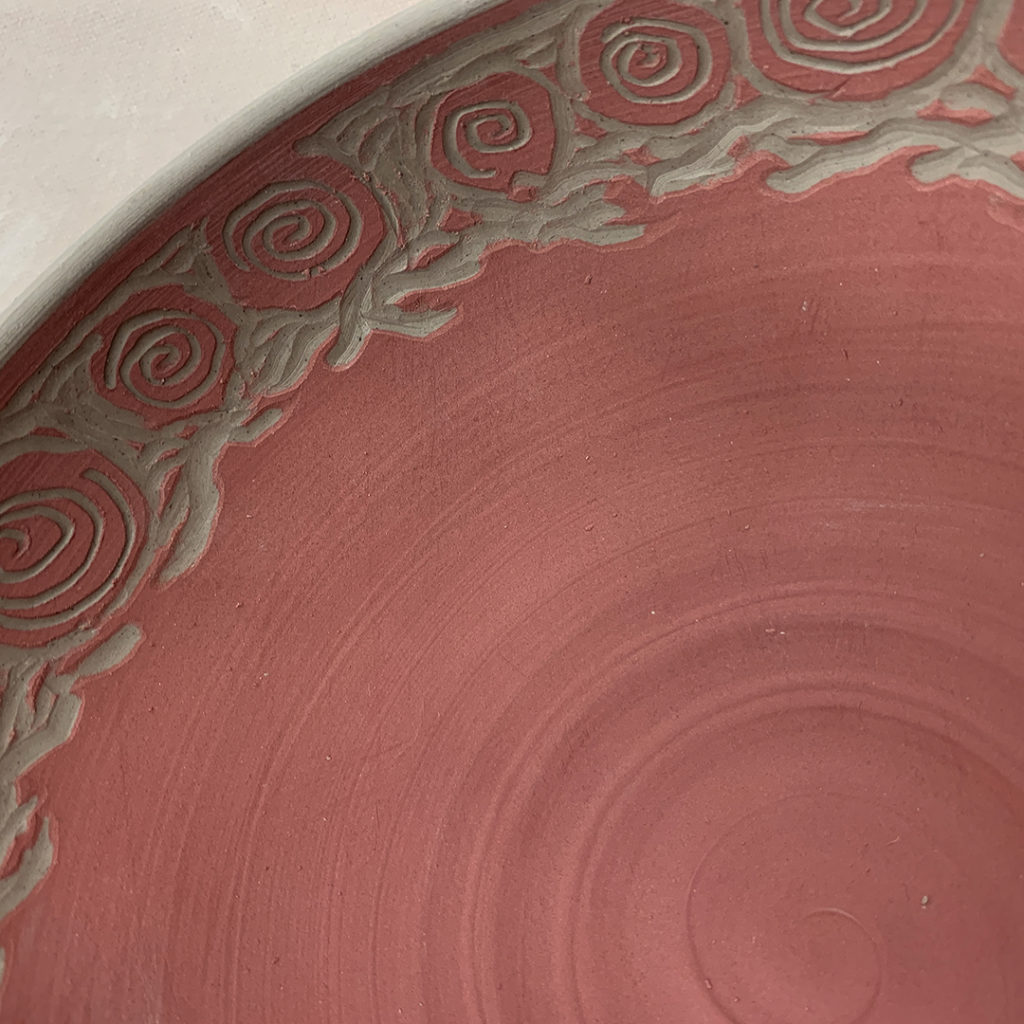
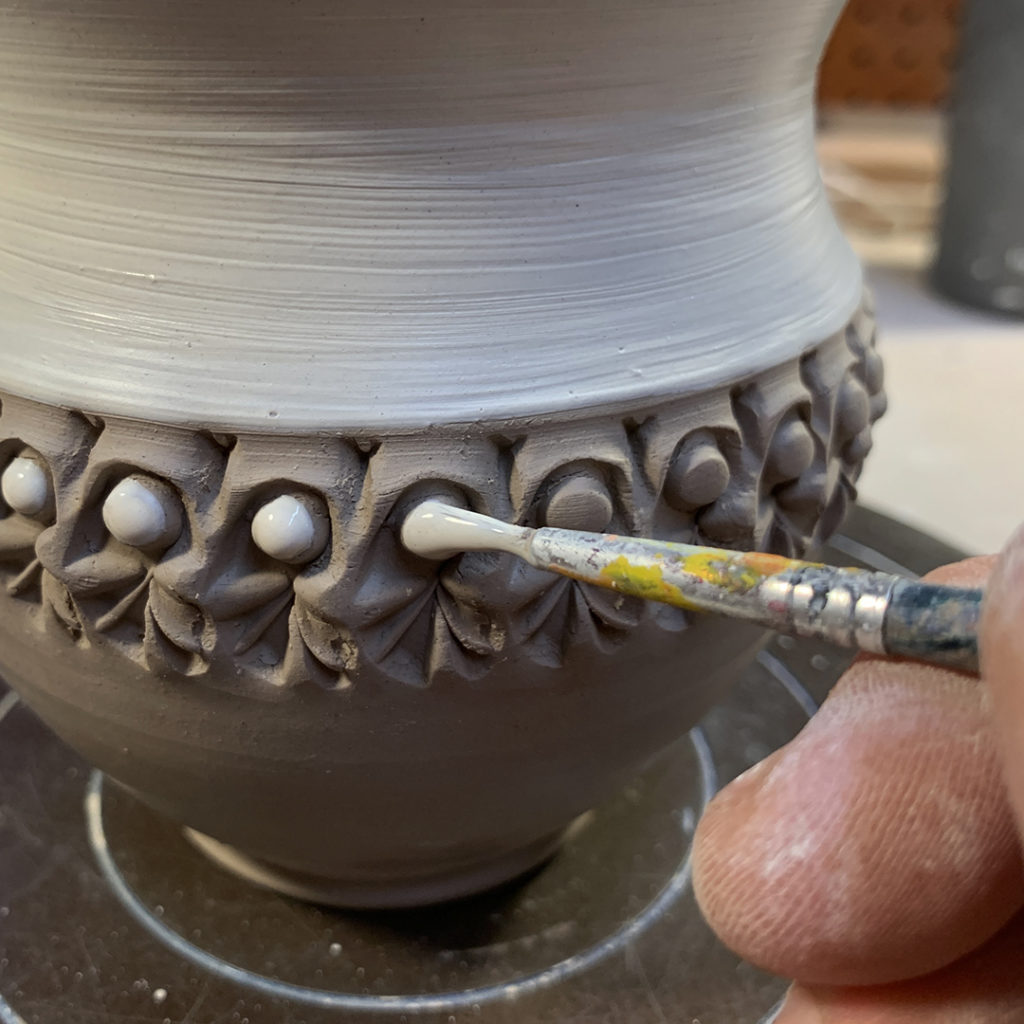
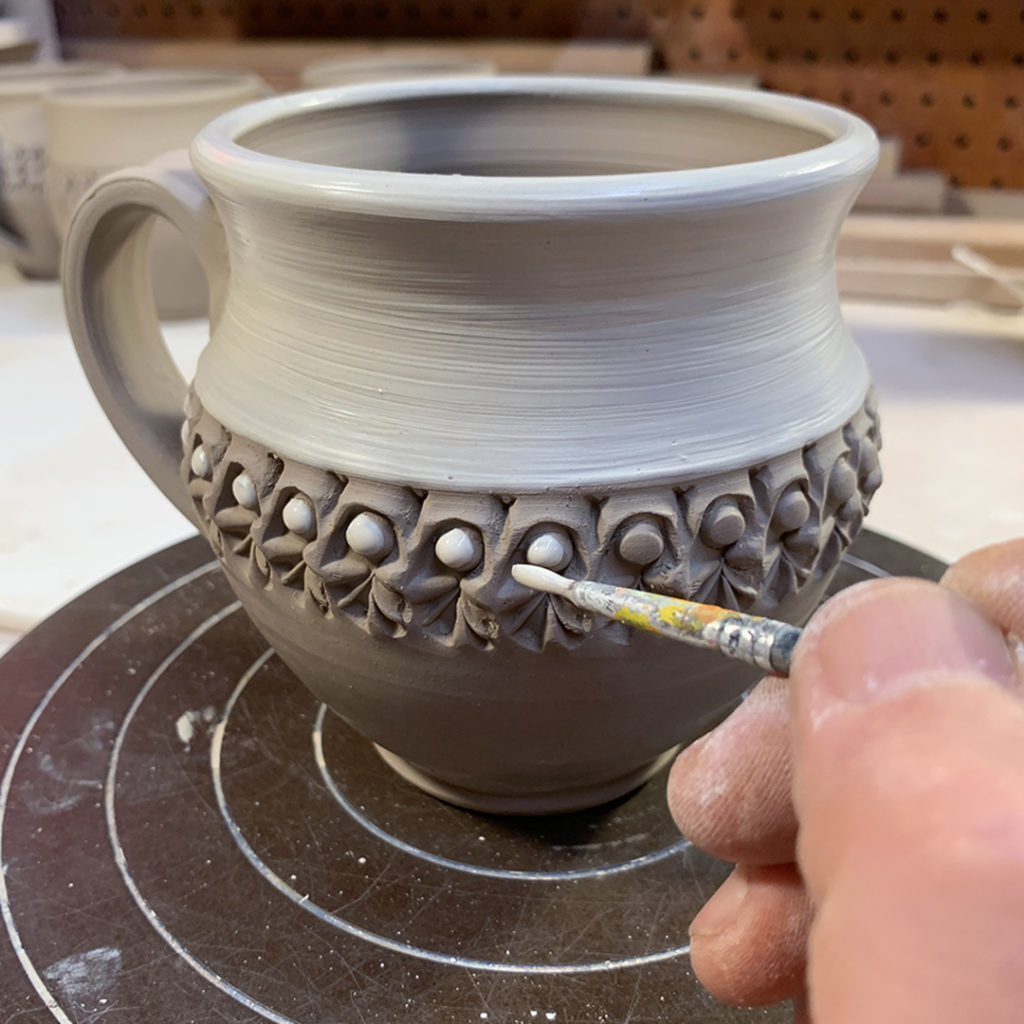
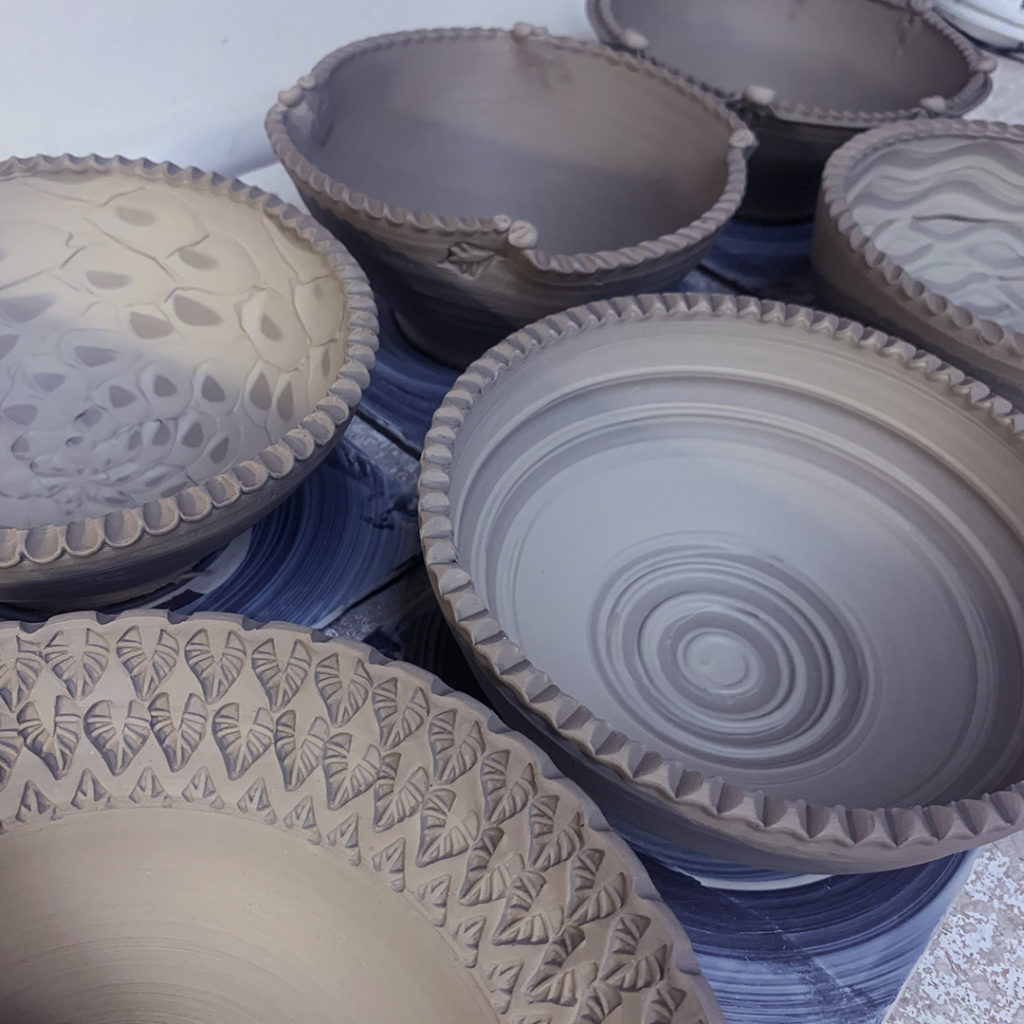
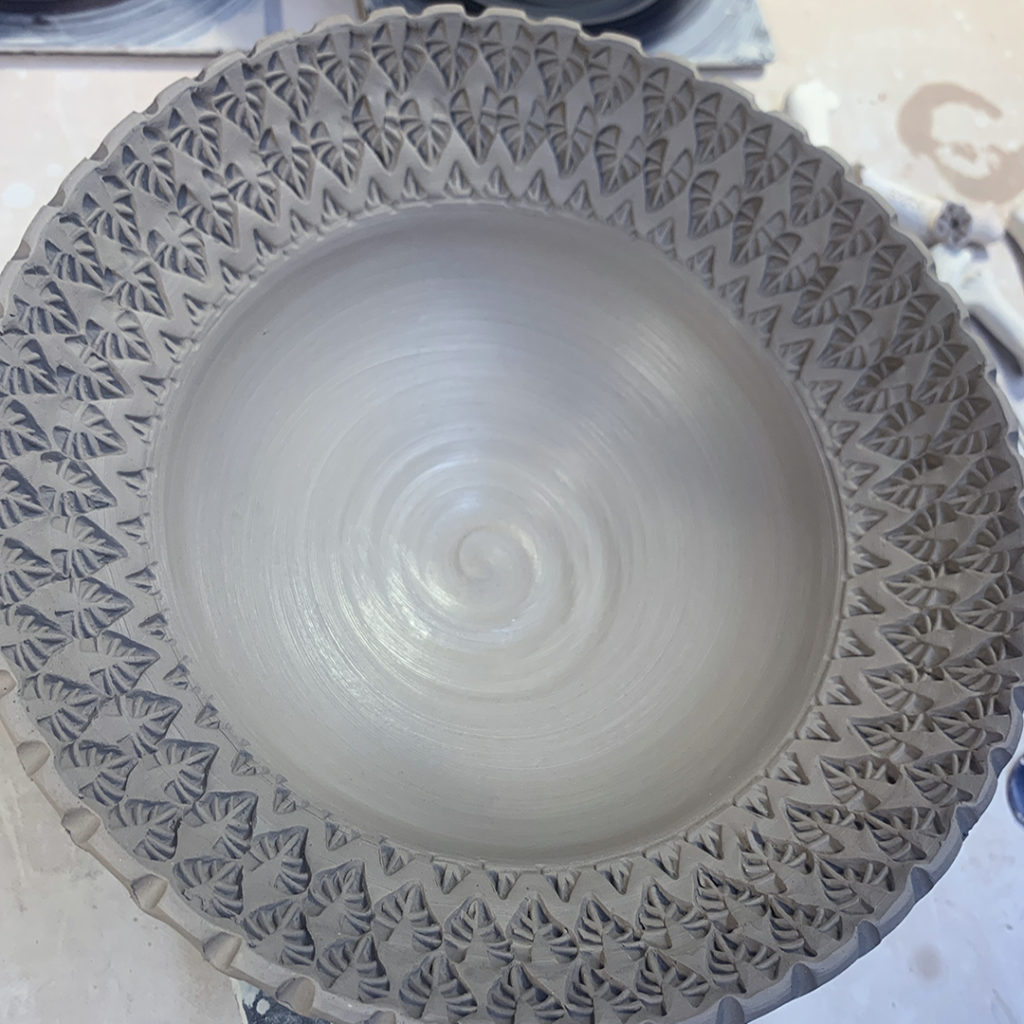
And then we re-grouped when I was done throwing all of the bowls. We then went through a quick barrage of tricks & techniques for doing some surface decorations to their bowls. None of them are too difficult. It’s more about encouraging them to give it a try, commit to something, having fun… and i fit doesn’t work, we can always squish it up, re-wedge it and try again. IT’S JUST CLAY!!!
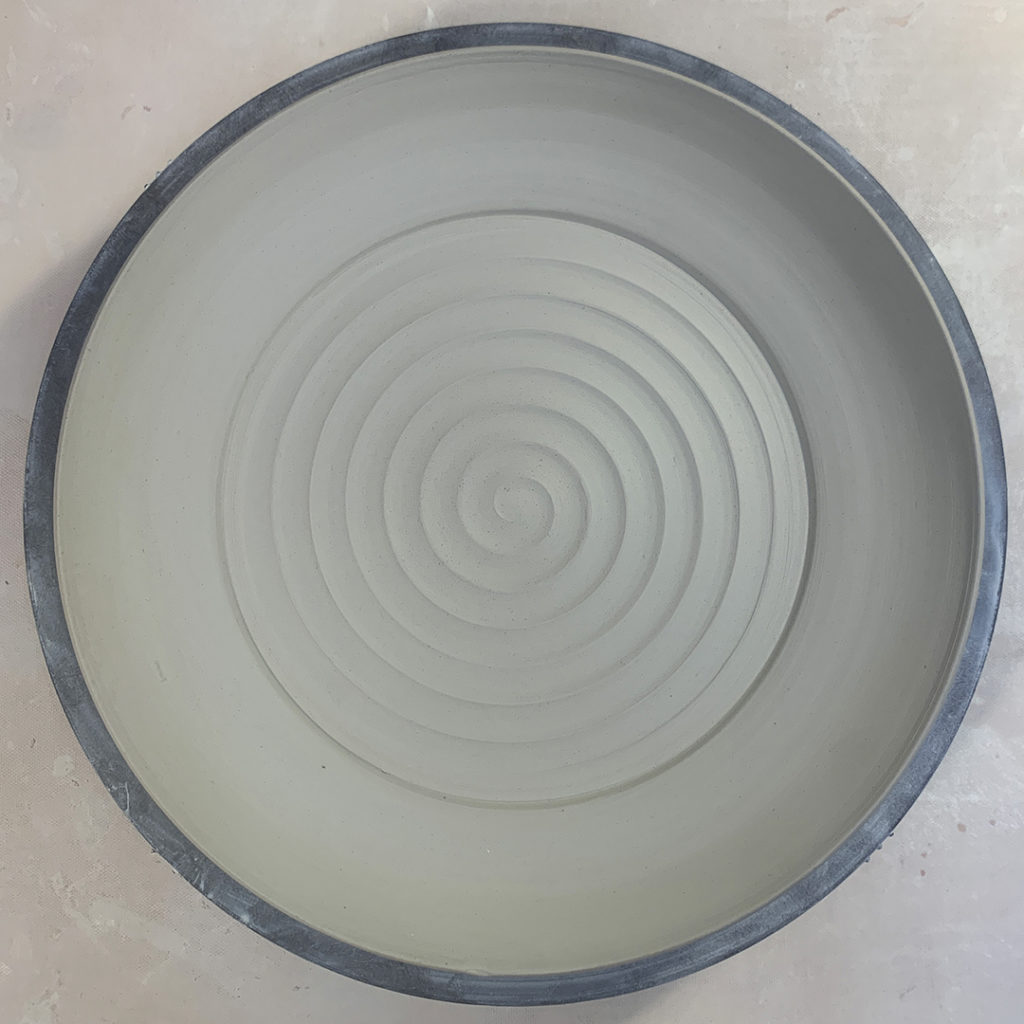
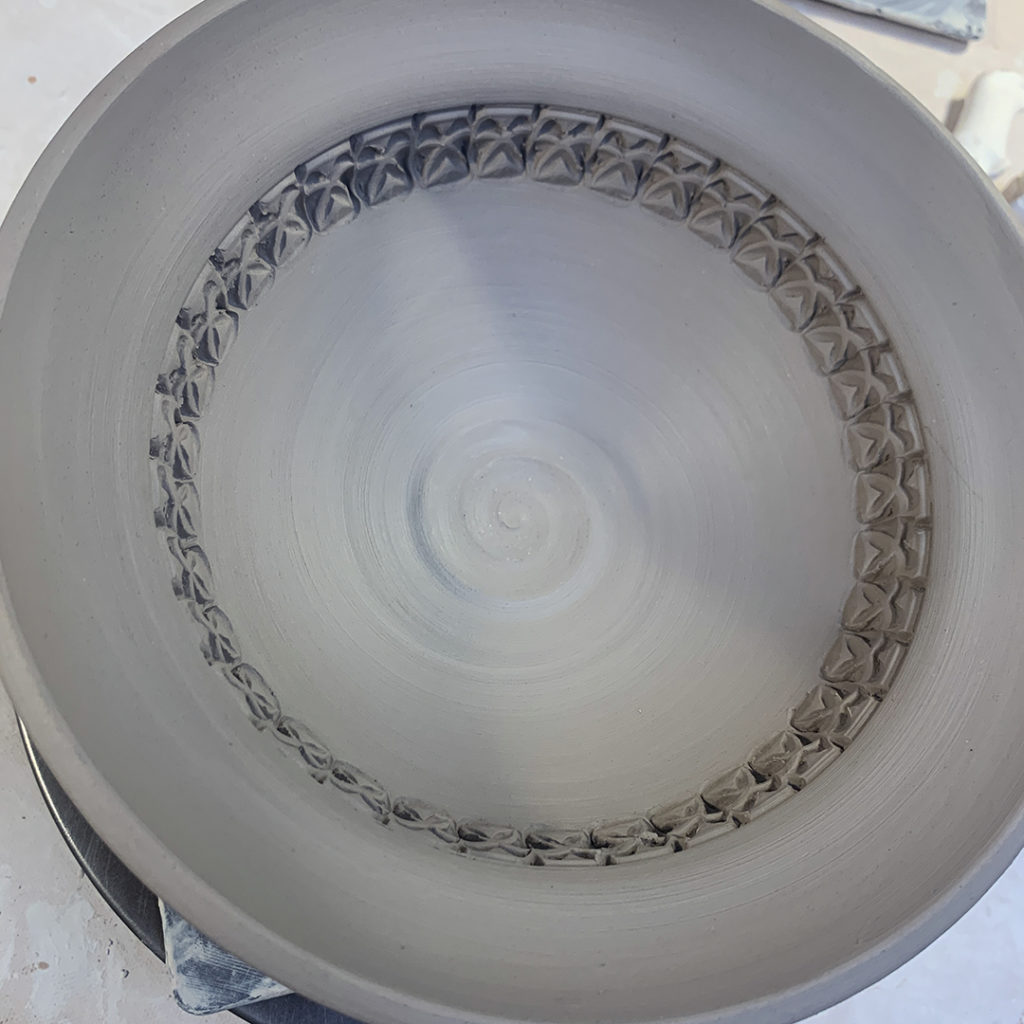
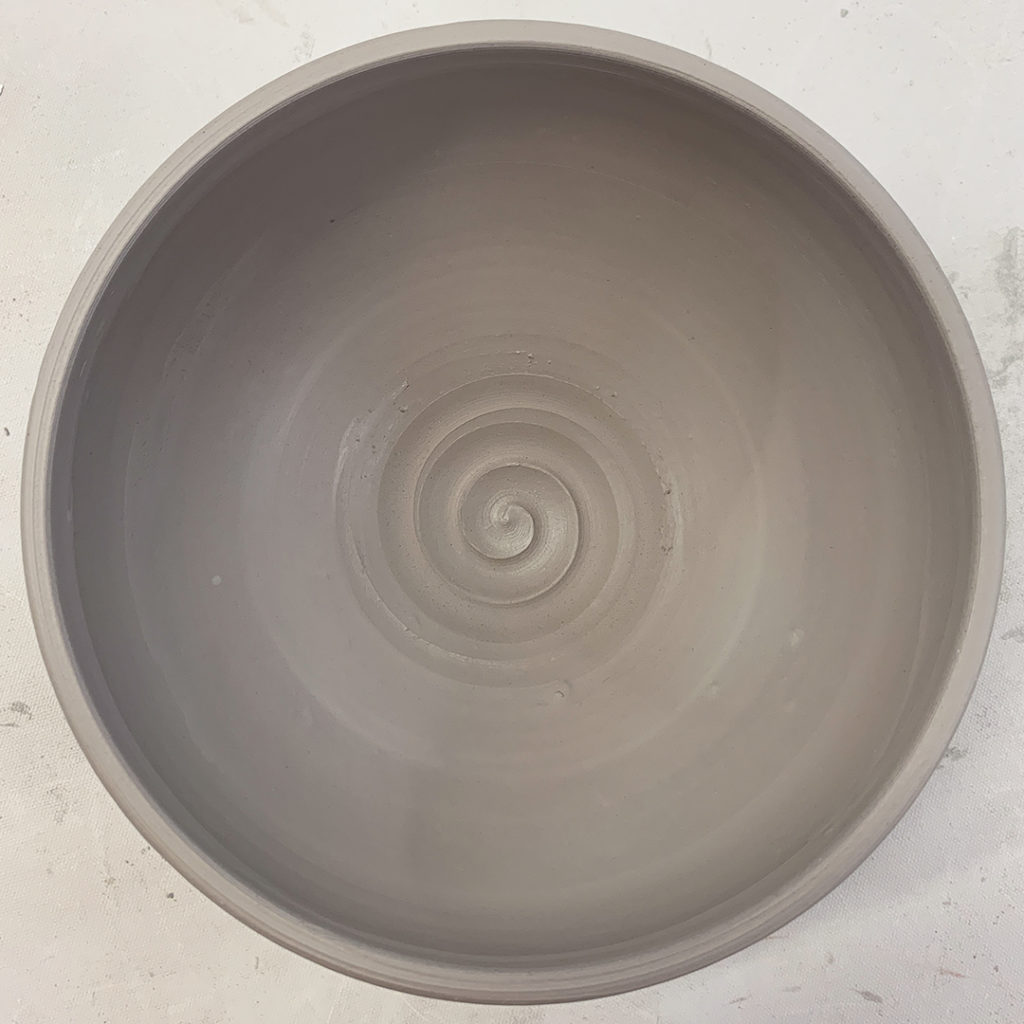
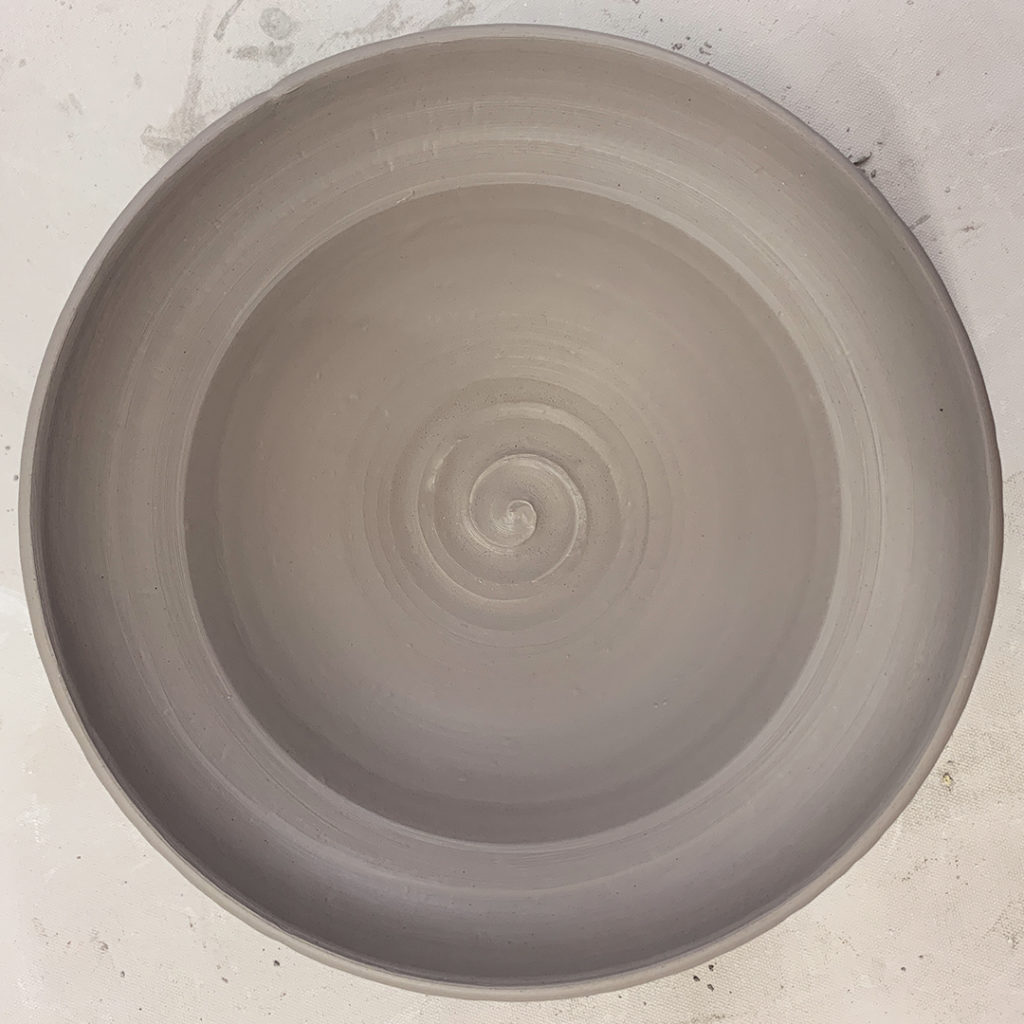
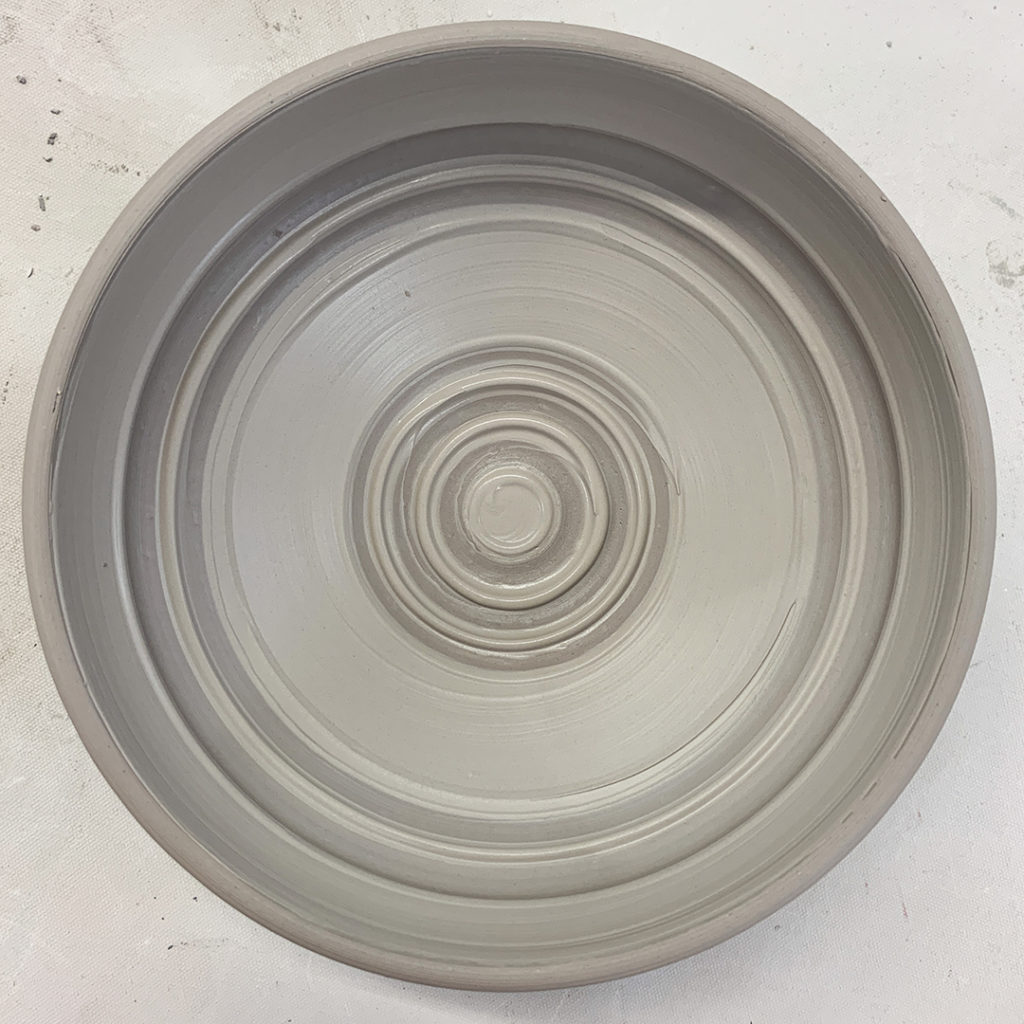
Bowl #1 – The “Control” Sample… this is what they all started out like…

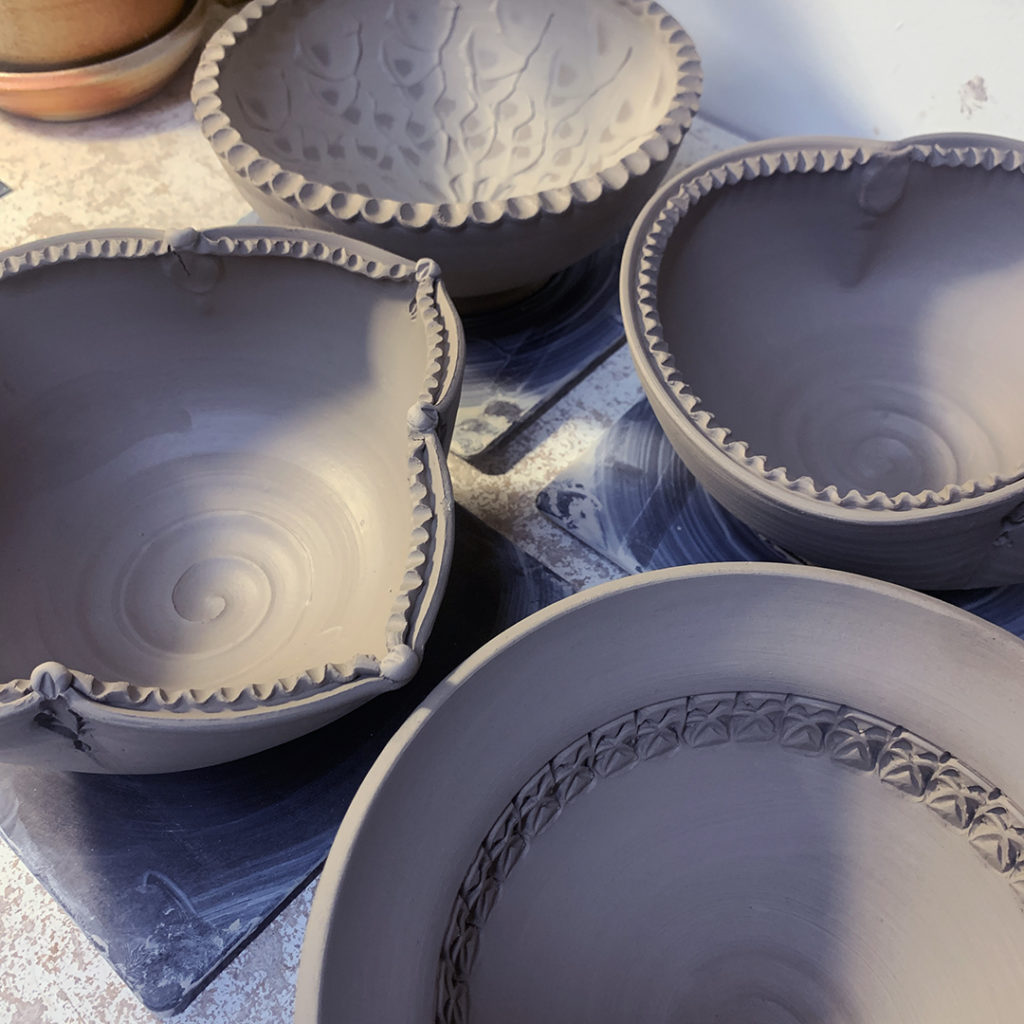
Bowl #2 – a simple fluted edge in four places


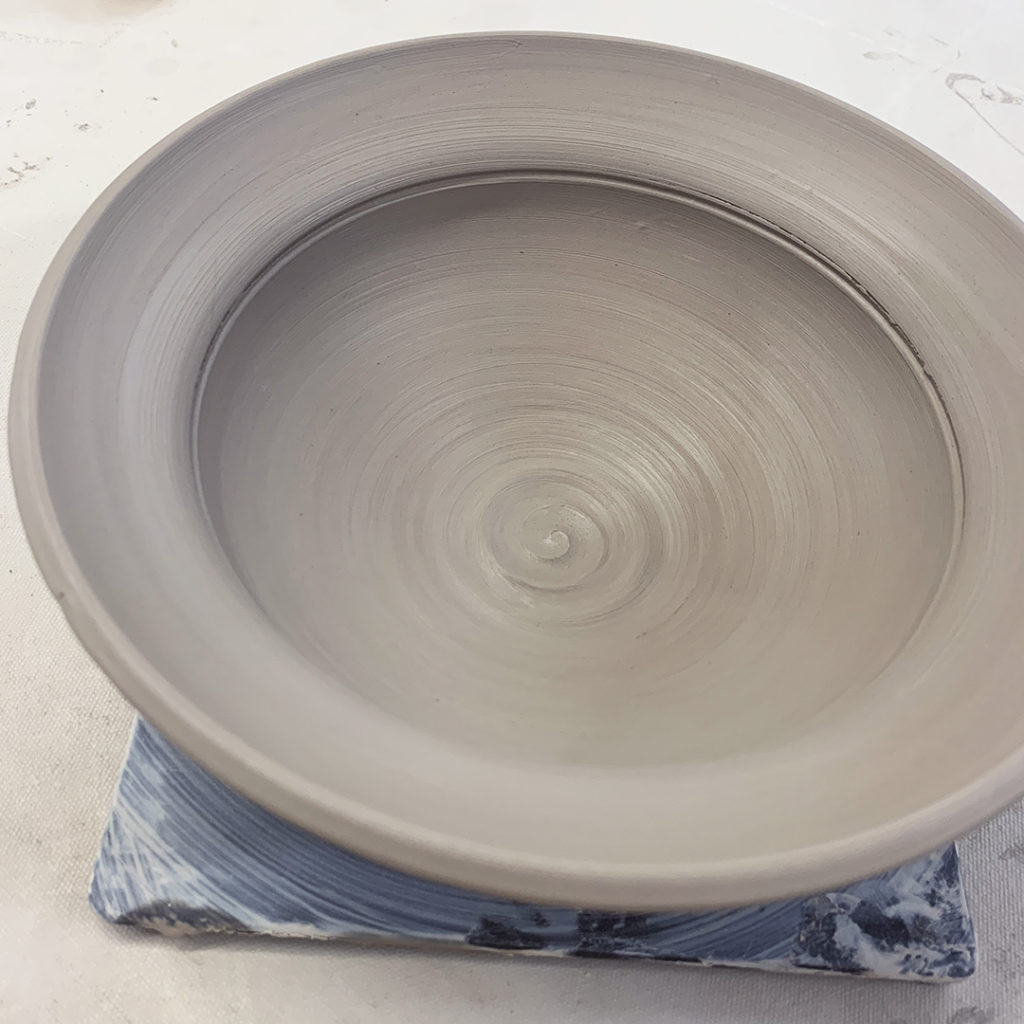
Bowl #3 – a simple flared-out flange


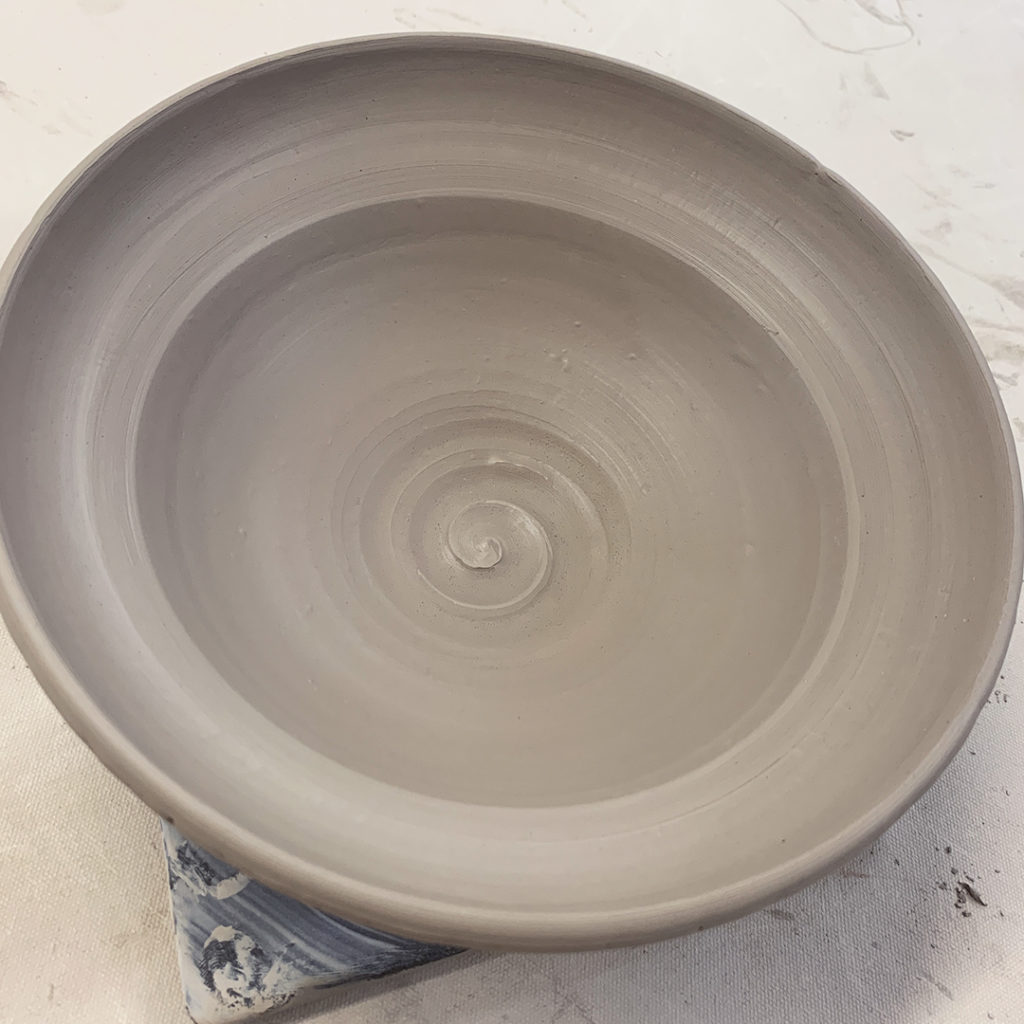
Bowl #4 – A wider flared flange… more “canvas” for decorating!


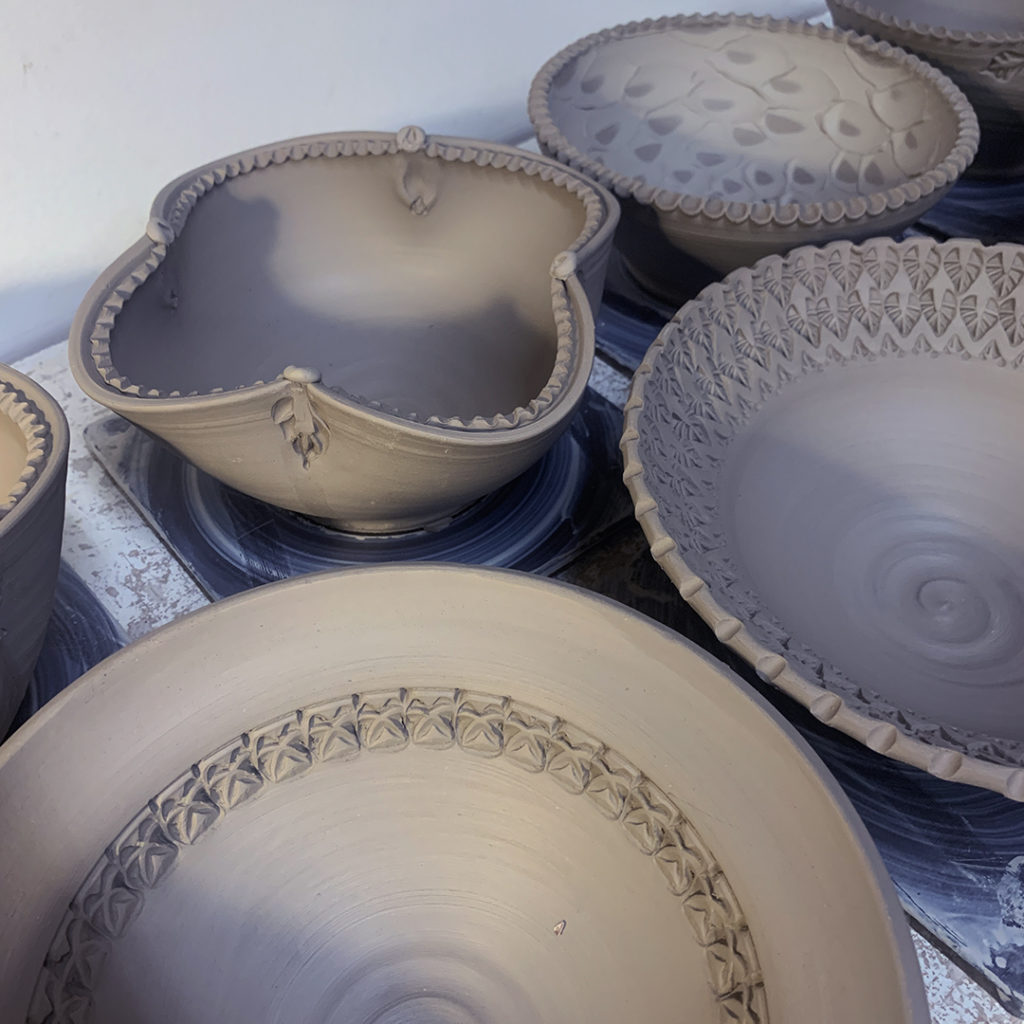
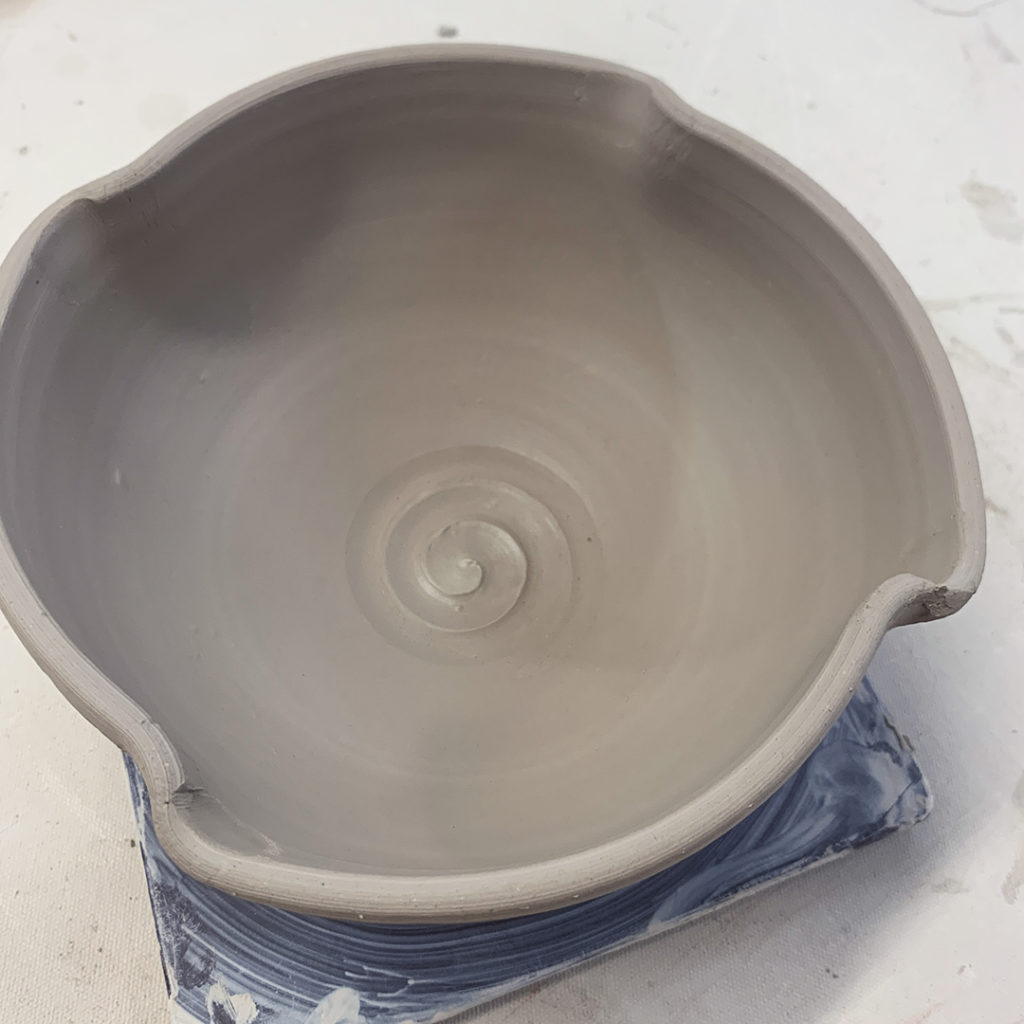
Bowl #5 – a split rim with two side dents…
good potential for a basket handle to go up & over the top


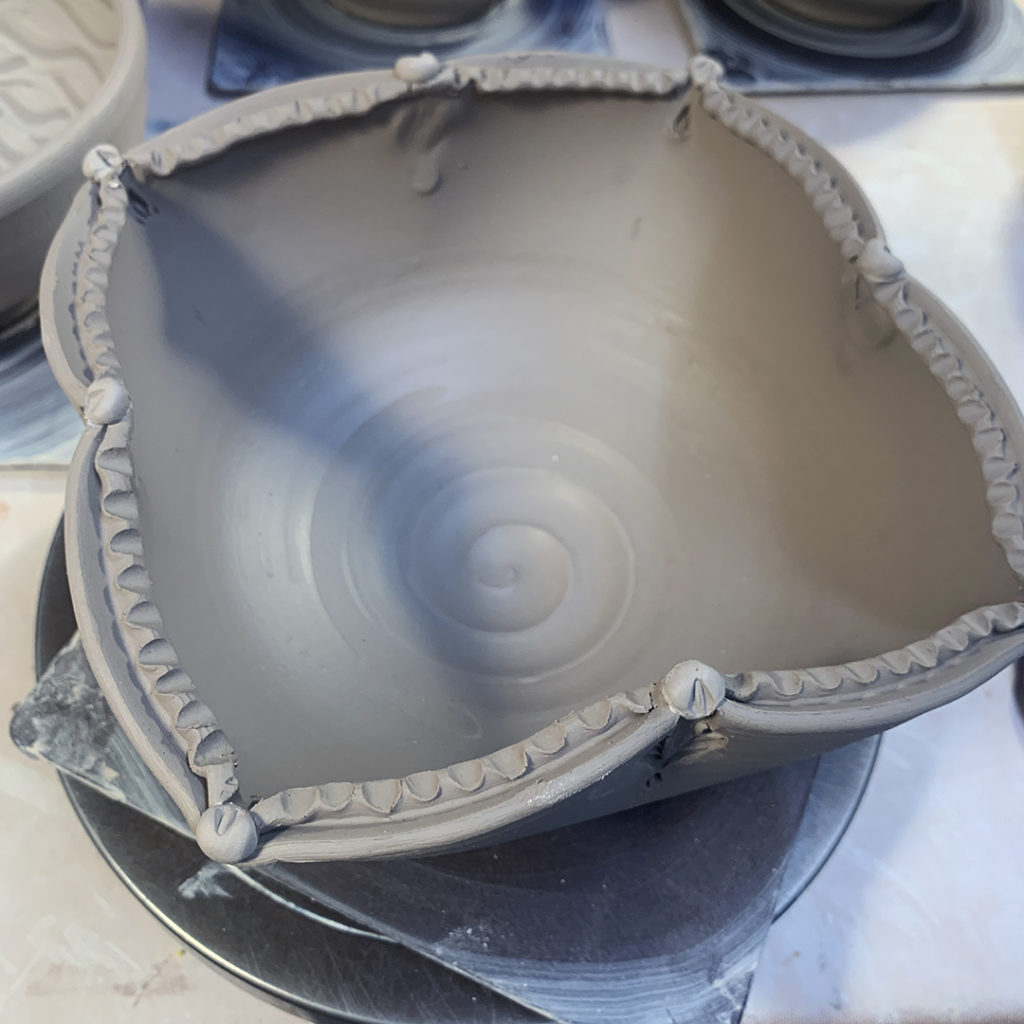
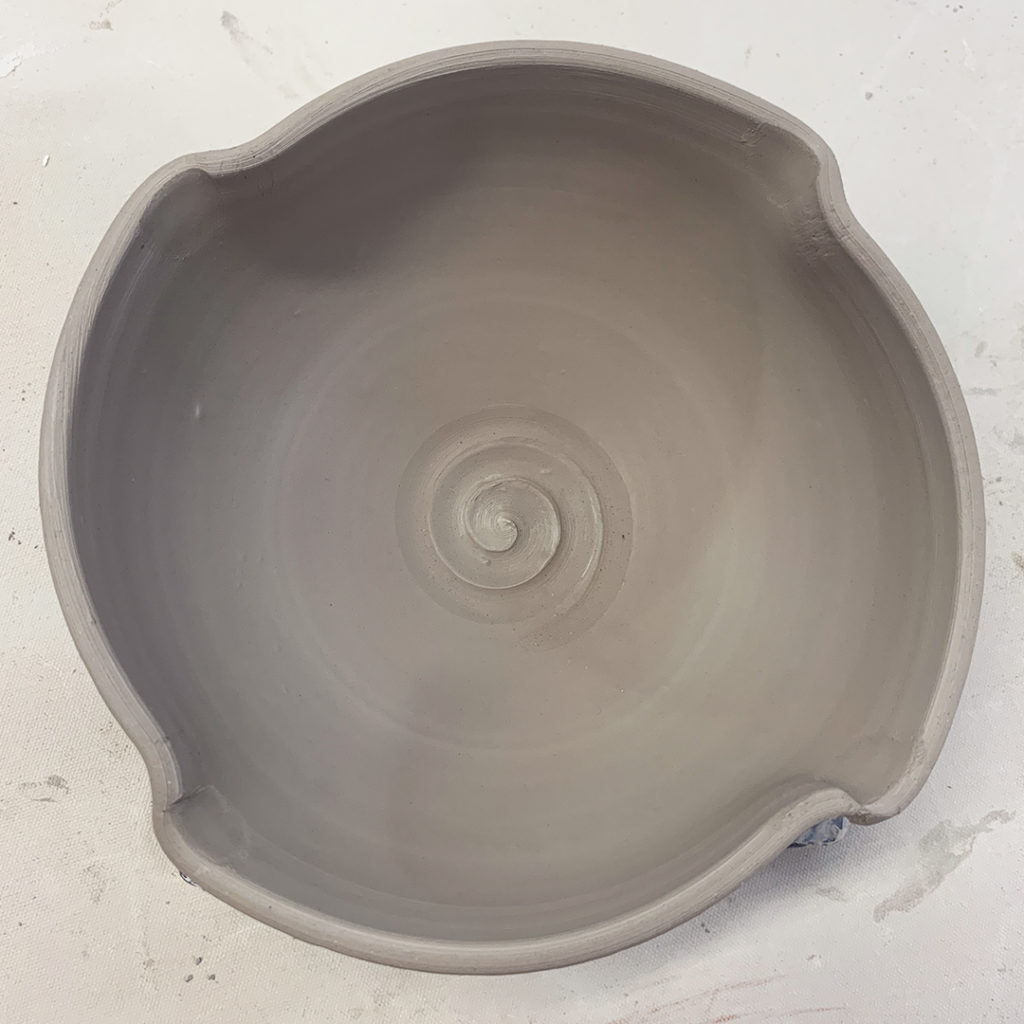
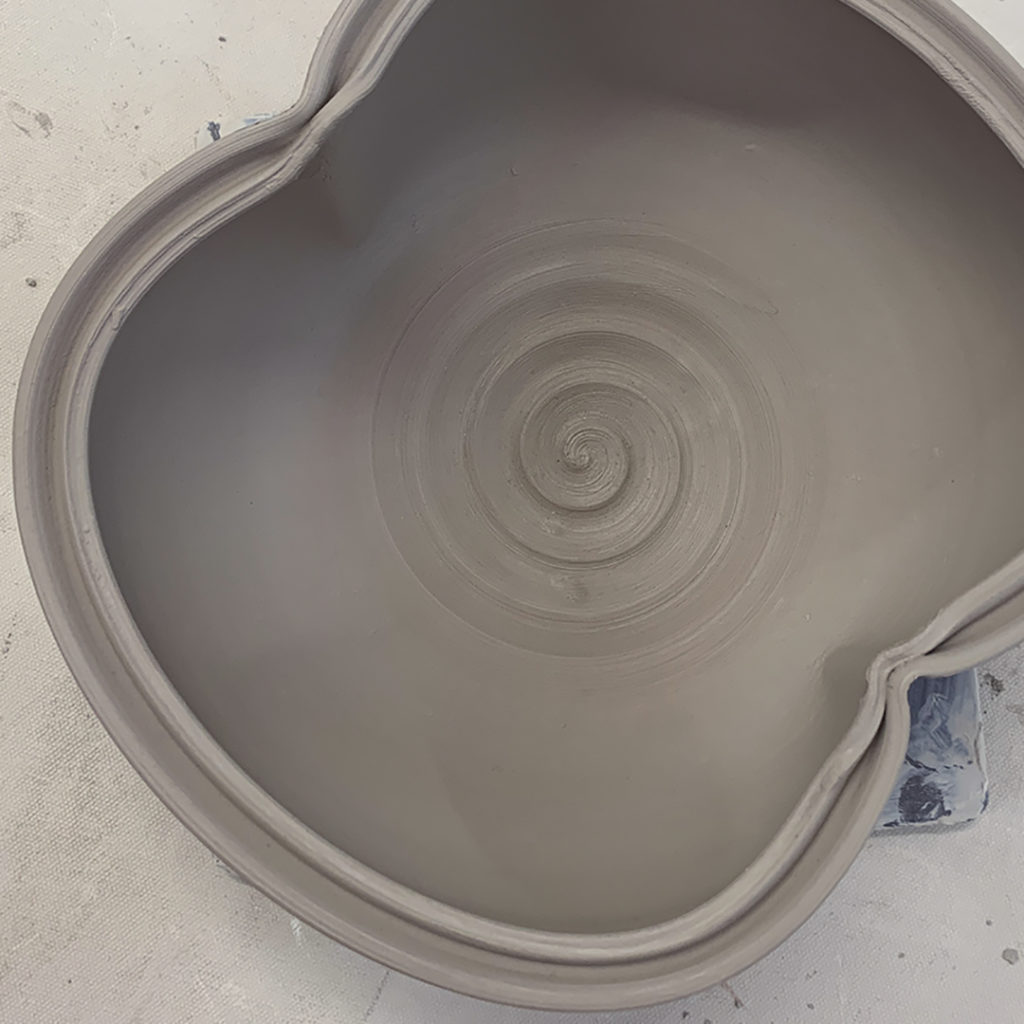
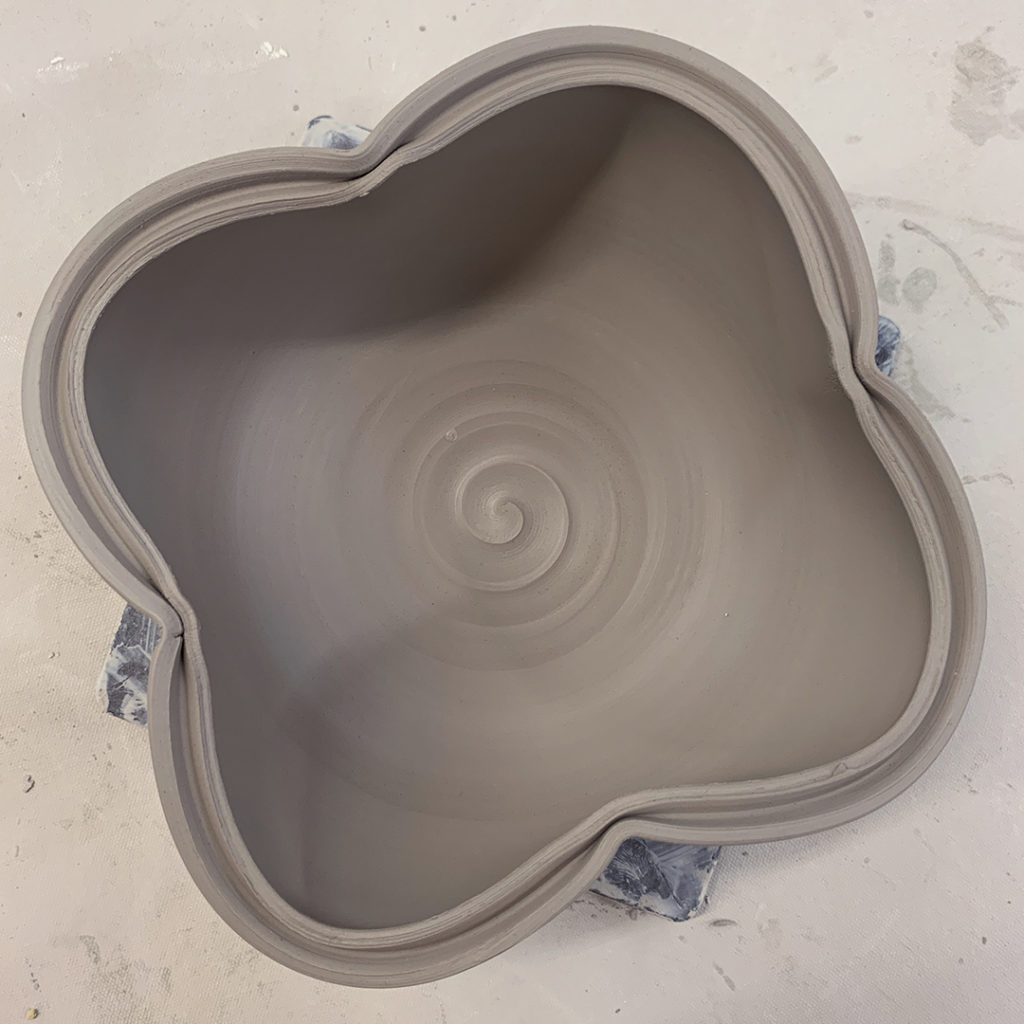
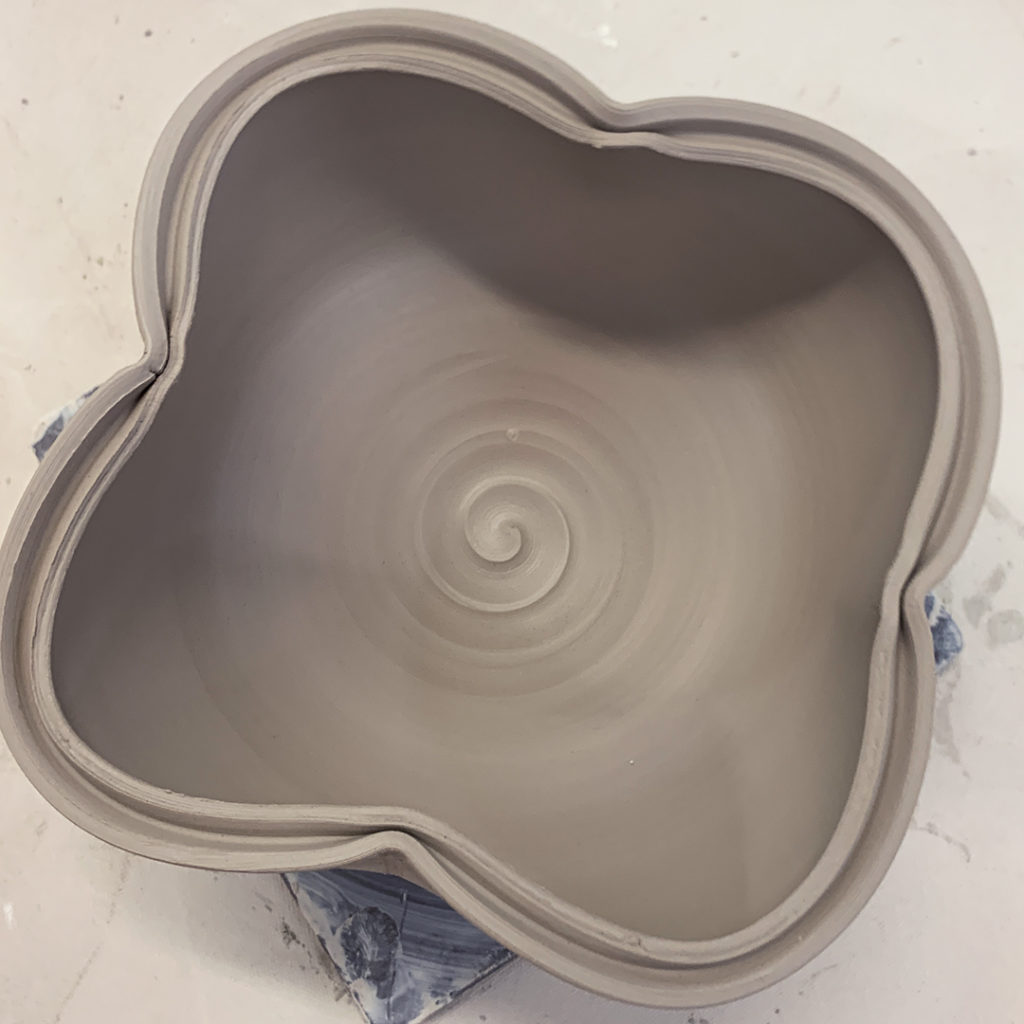
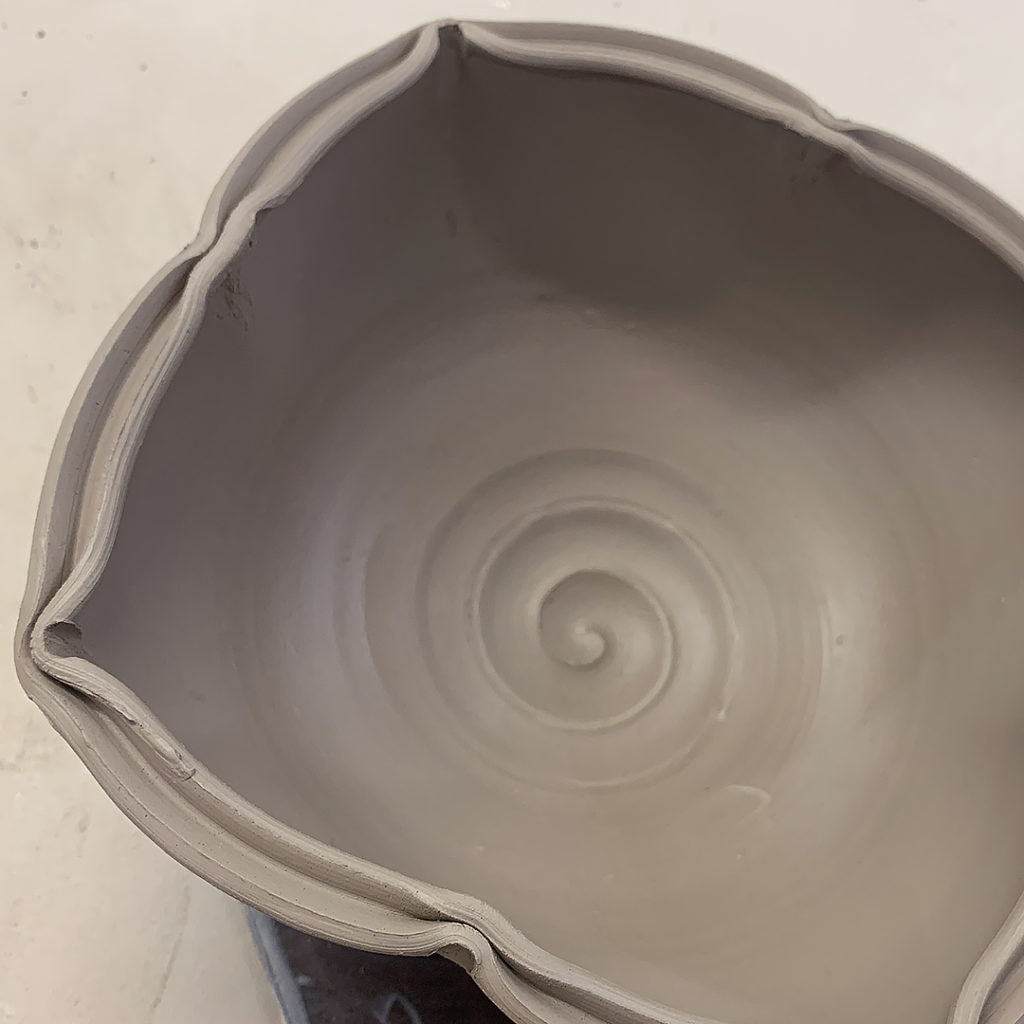
Bowl #6 – Another split rim – this time with four dents making kind of a quatrefoil squared-off effect


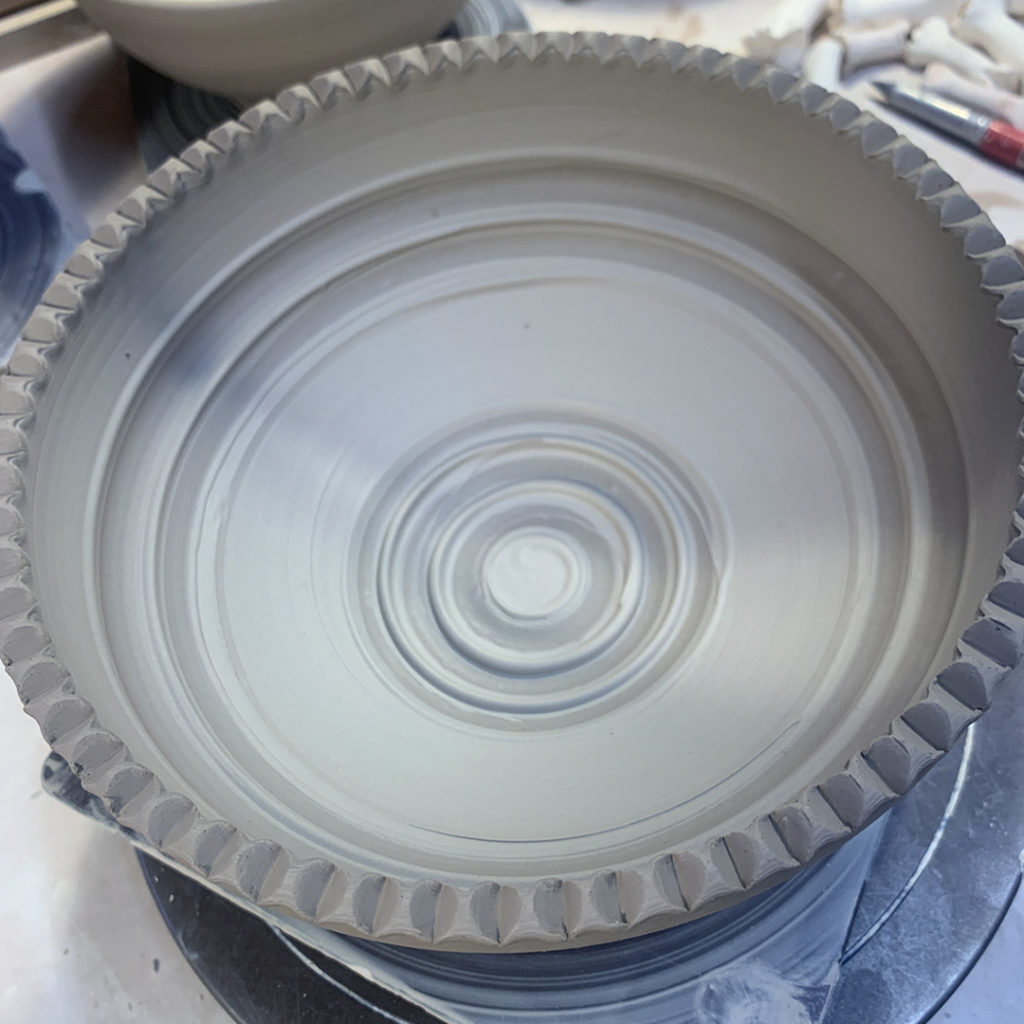
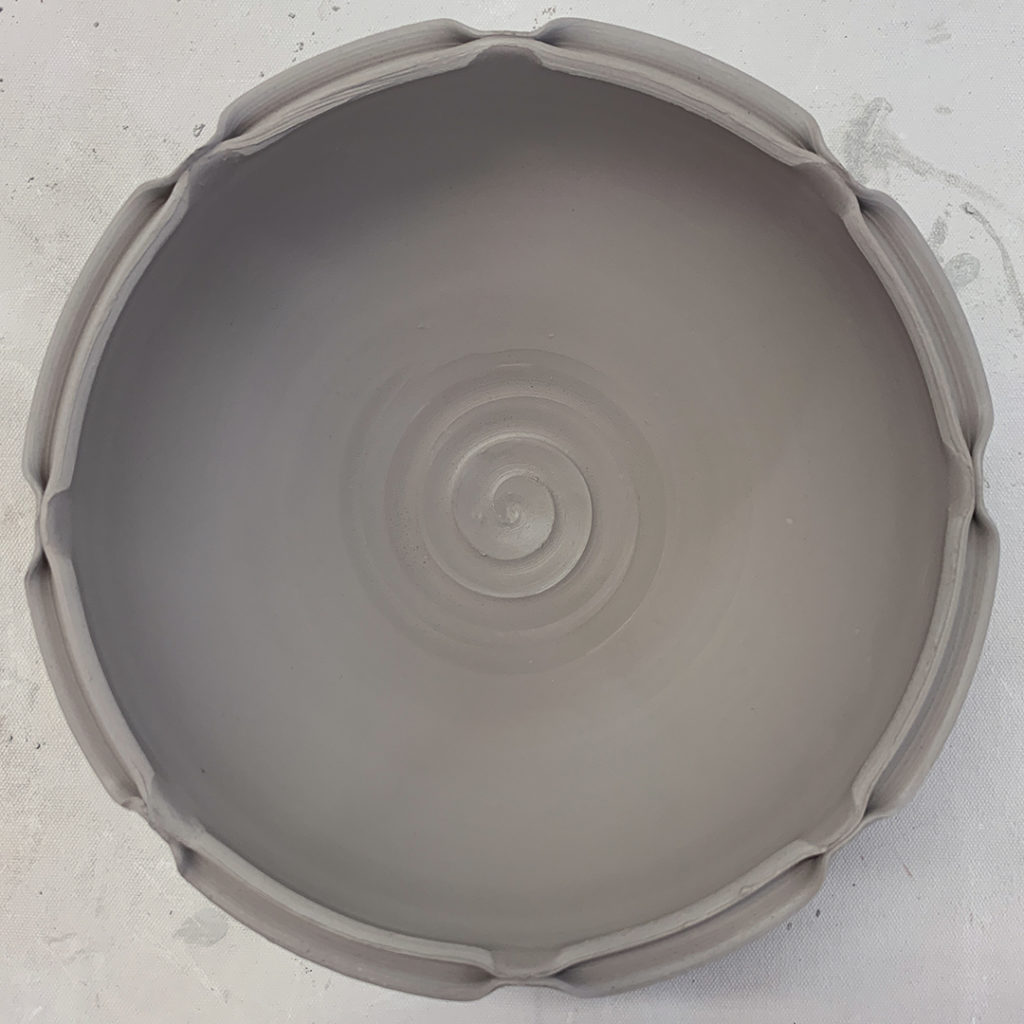
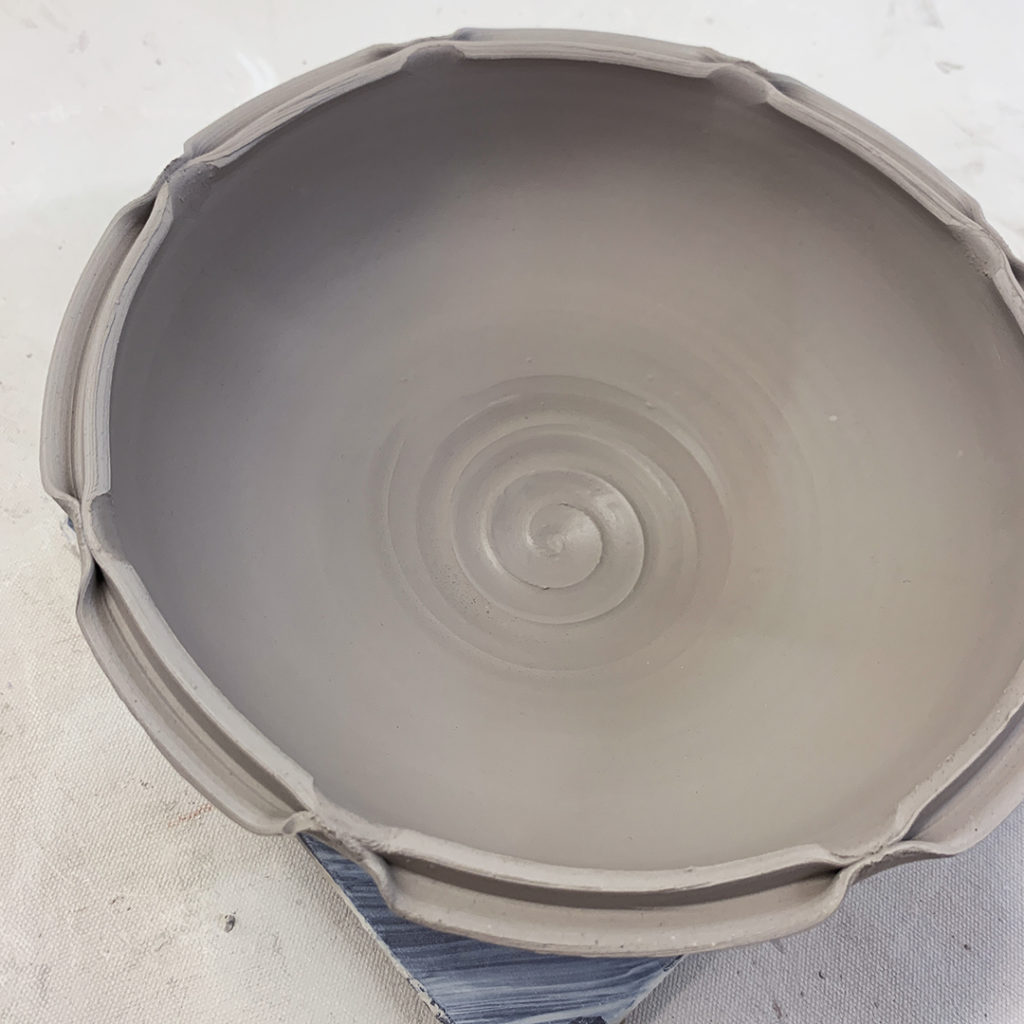
Bowl #7 – Another split rim… this time with eight finger-pinched sections


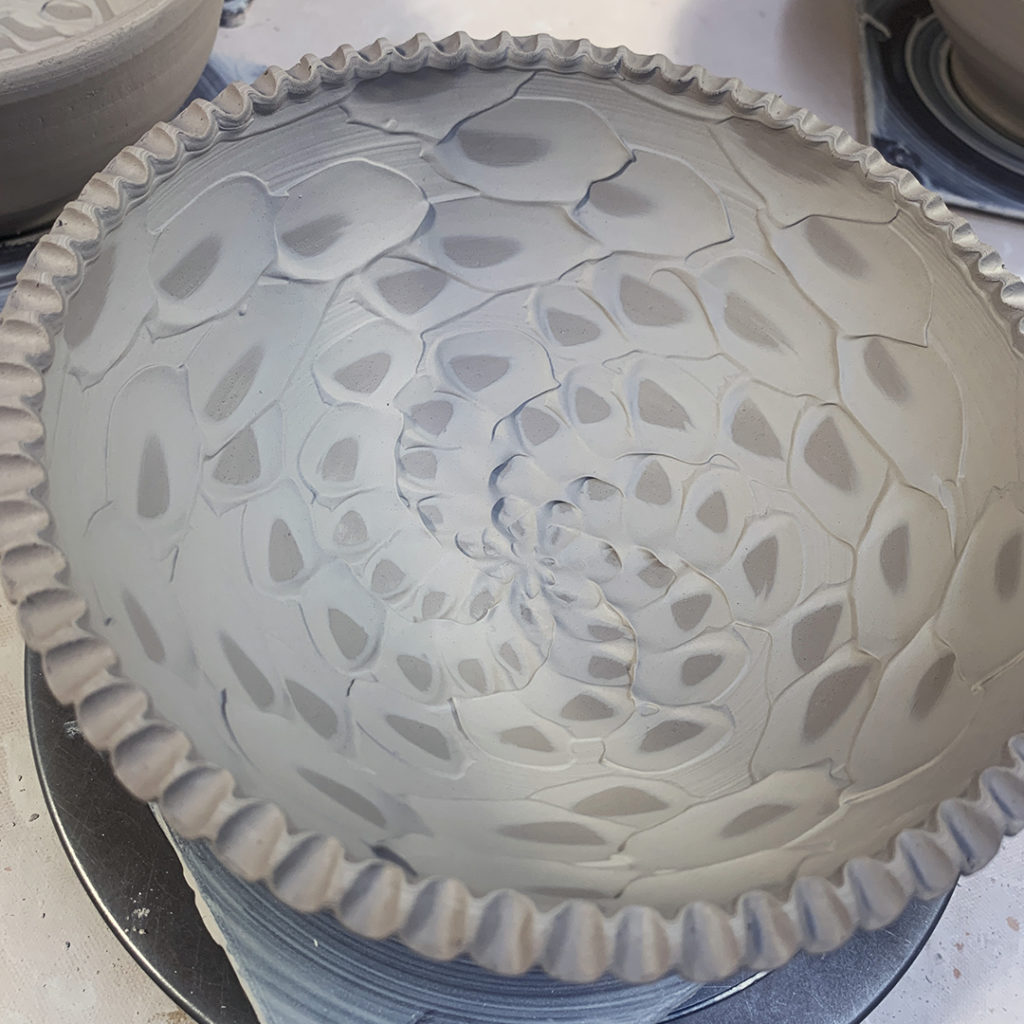
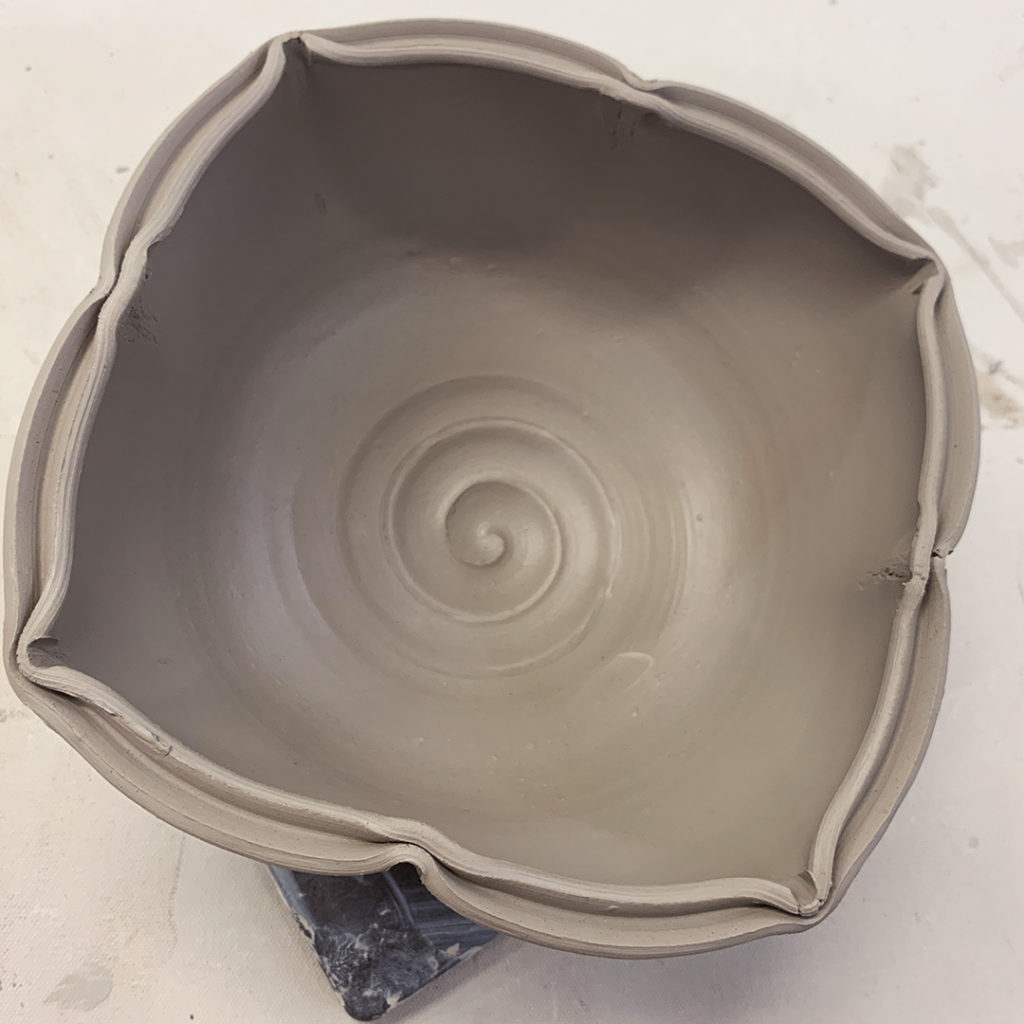
Bowl #8 – another split rim with eight dented sections… four inwards & four outwards – creating a bit of a lotus effect


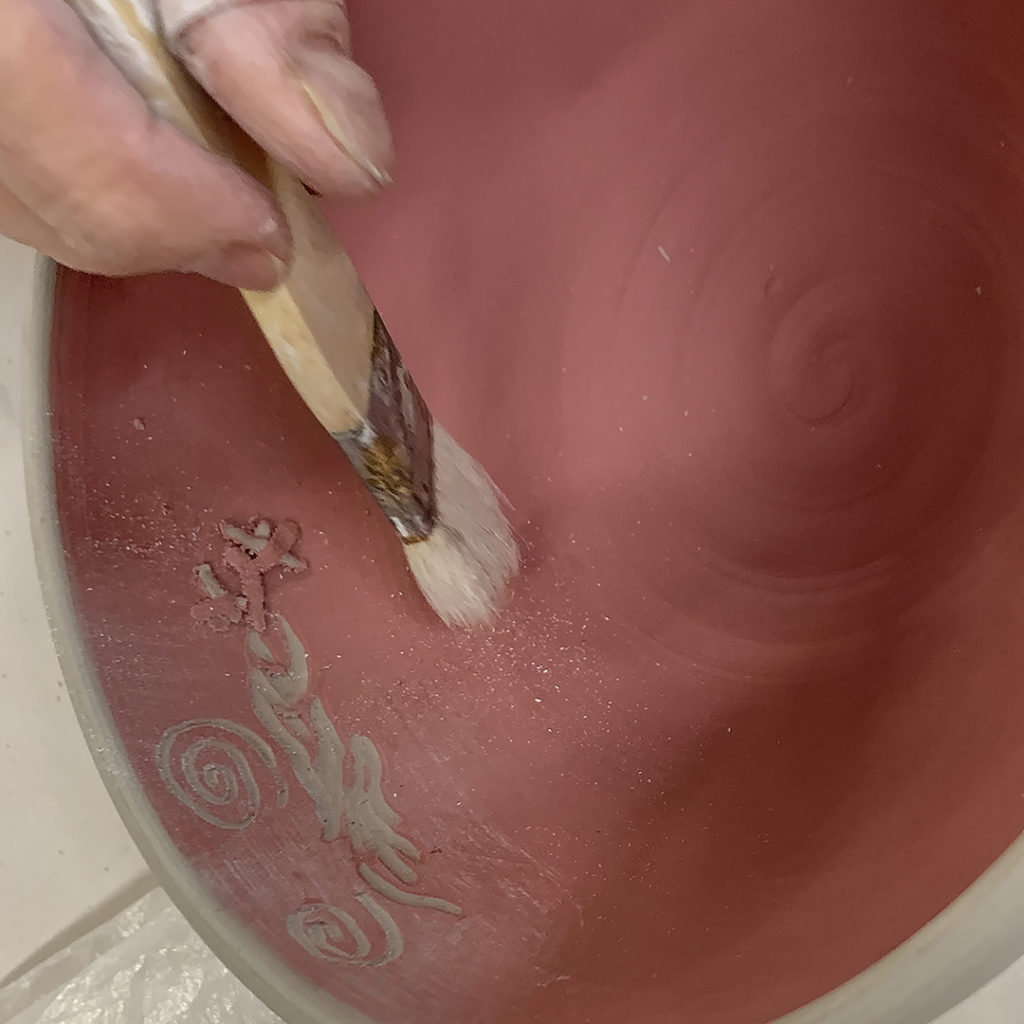
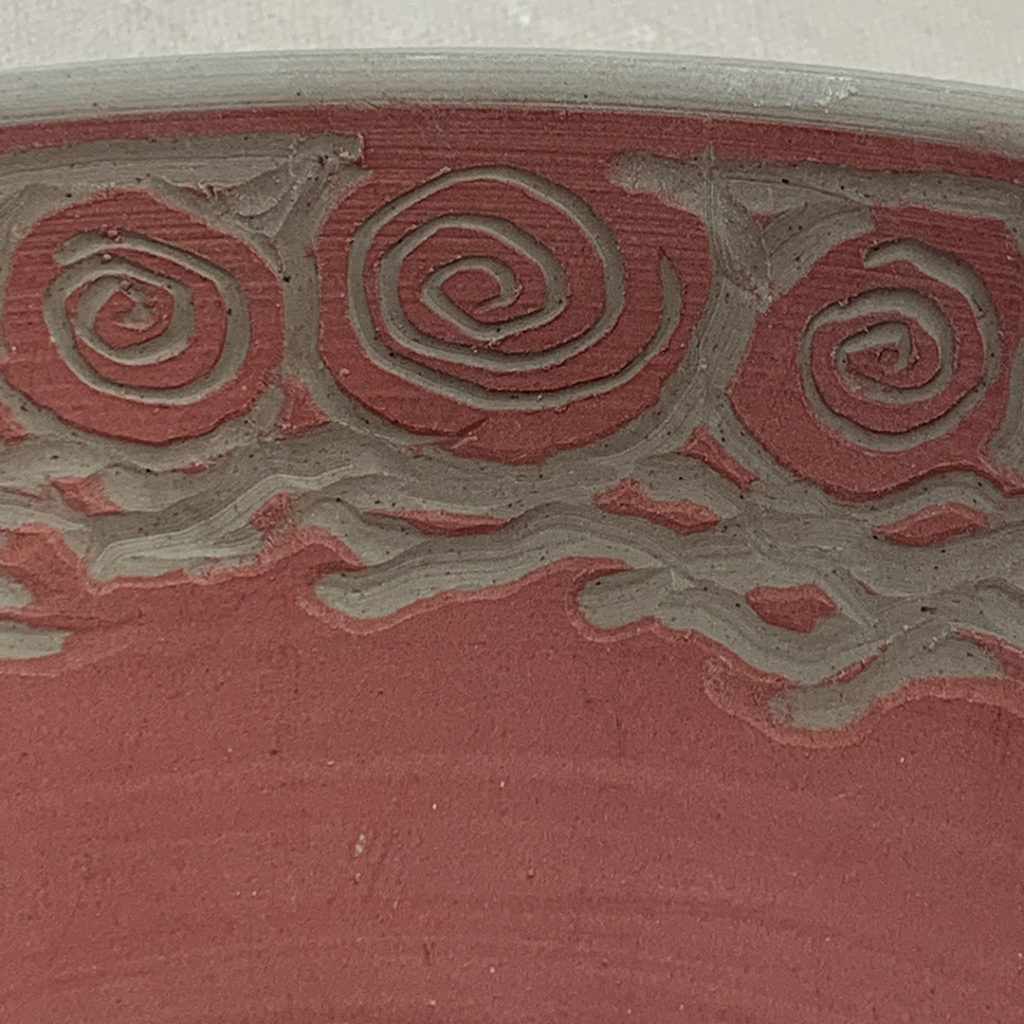
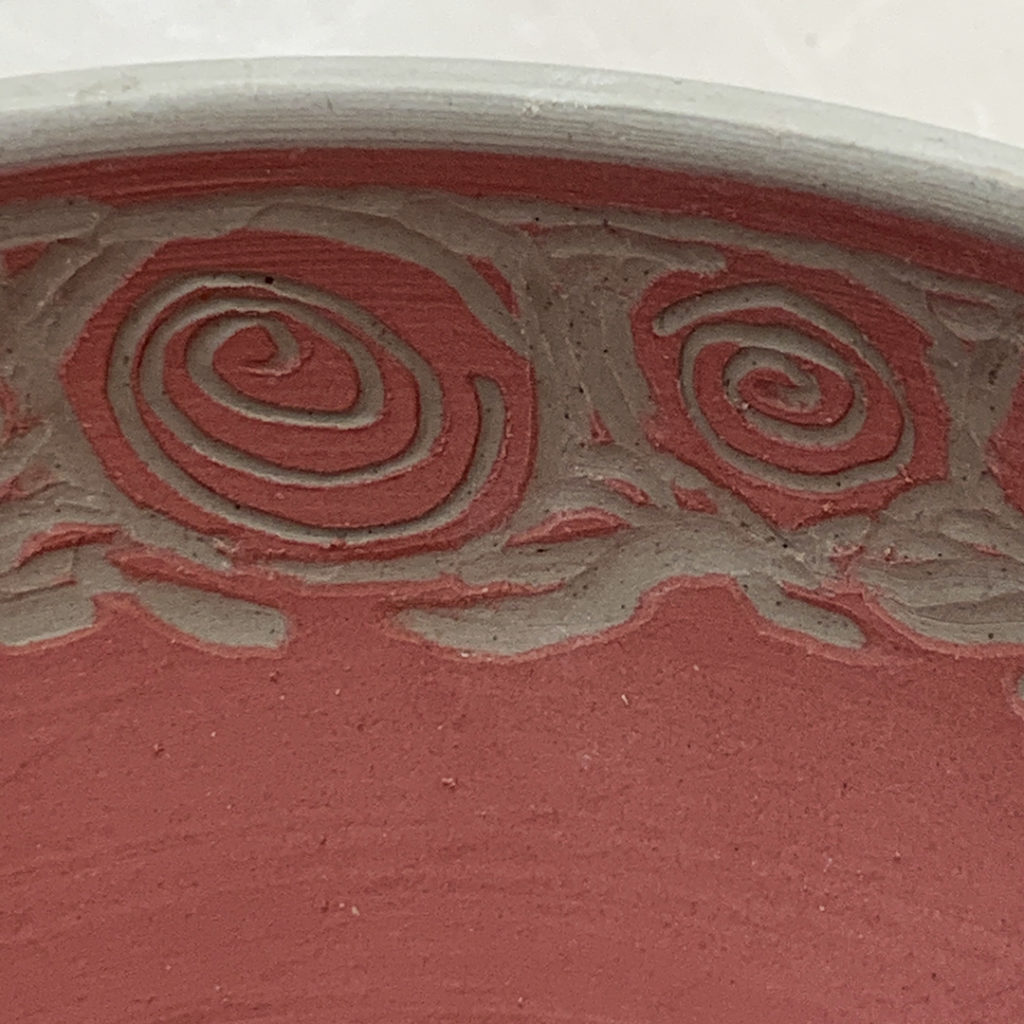
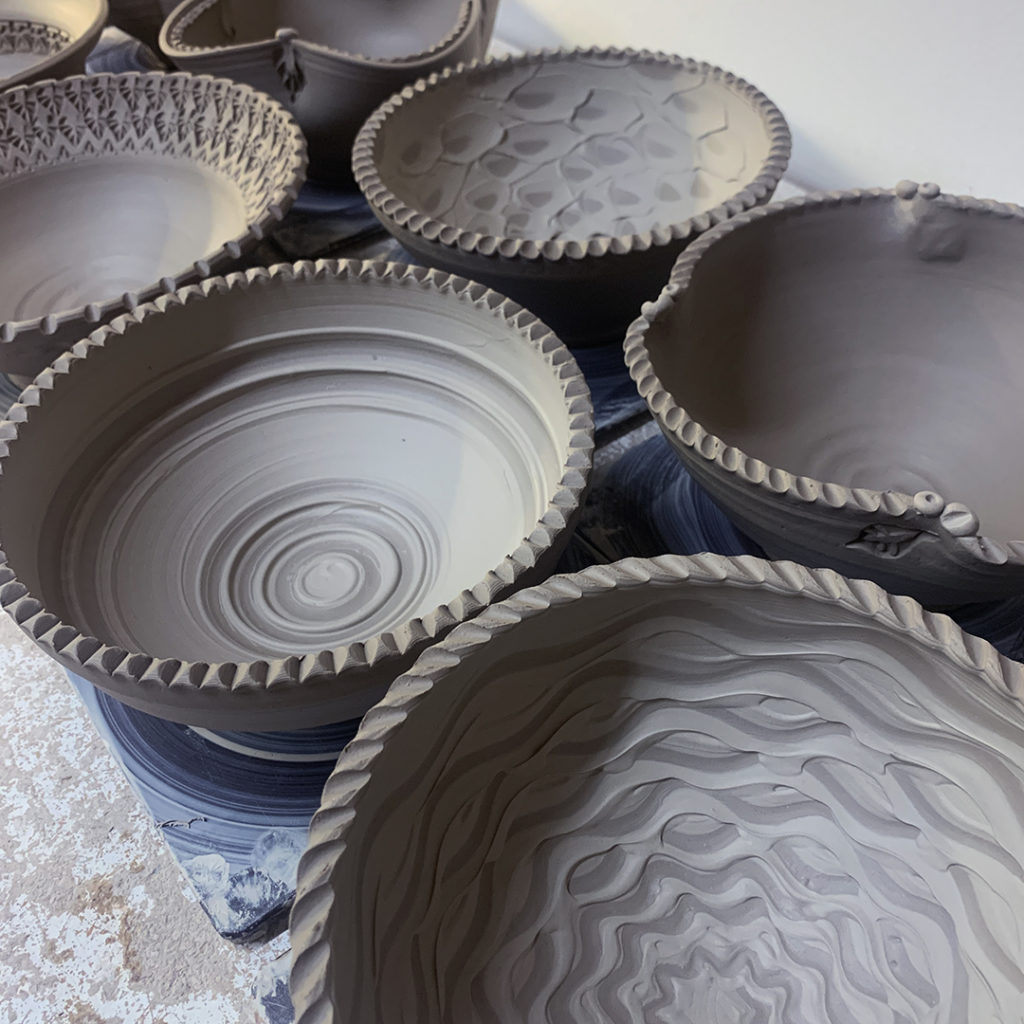
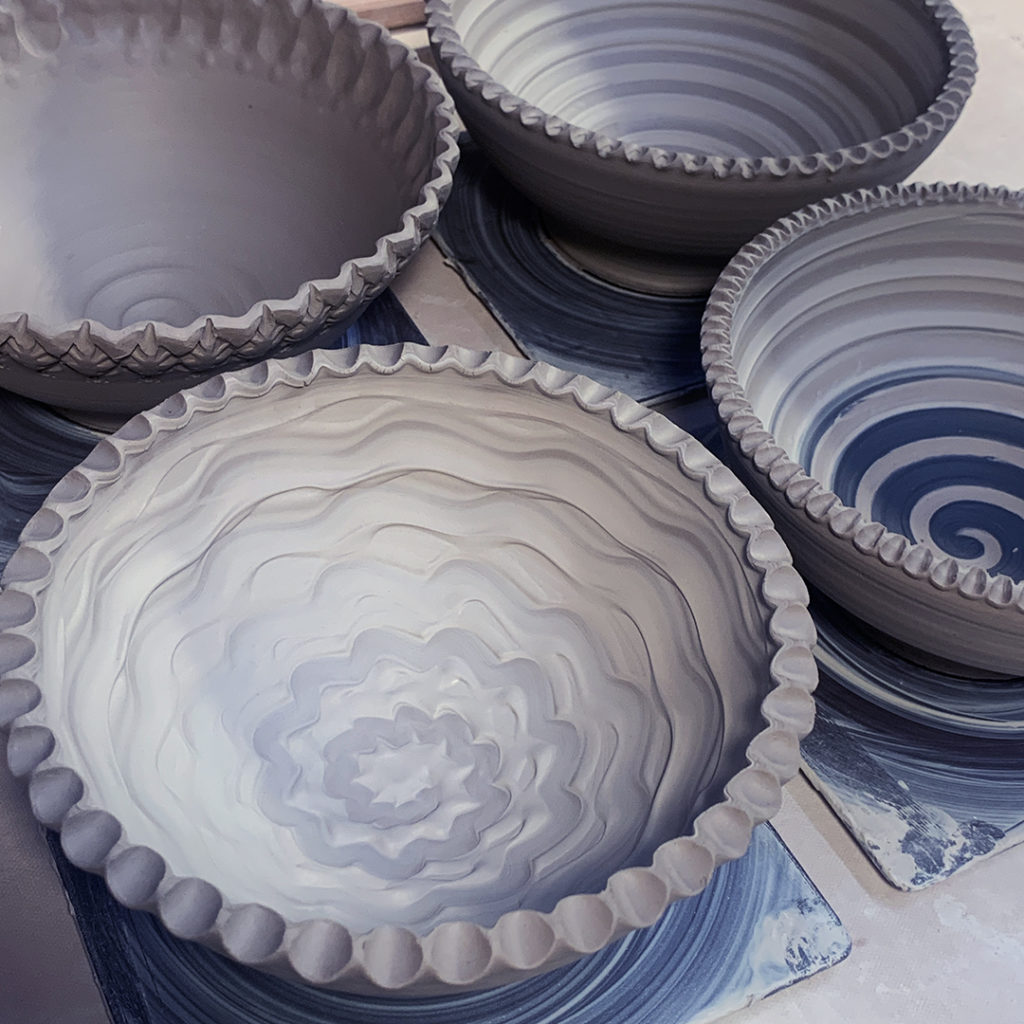
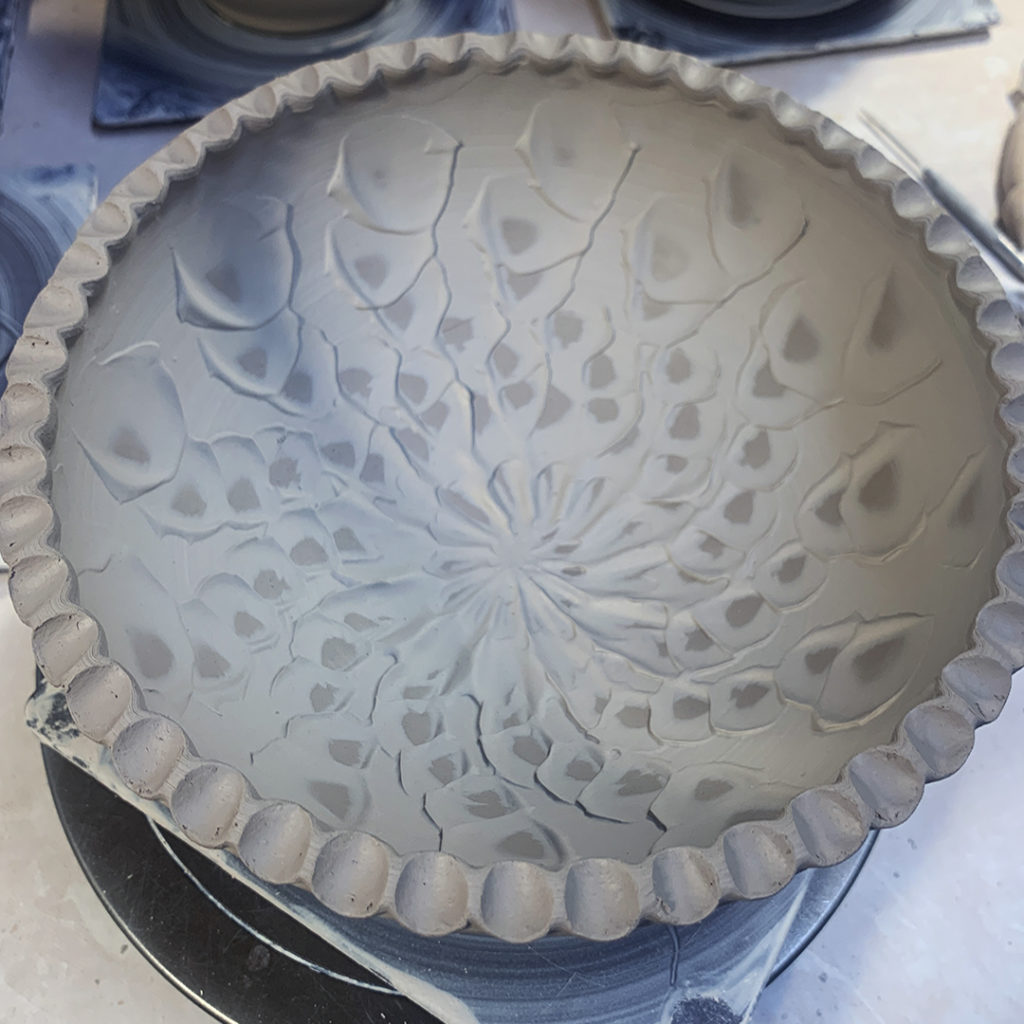
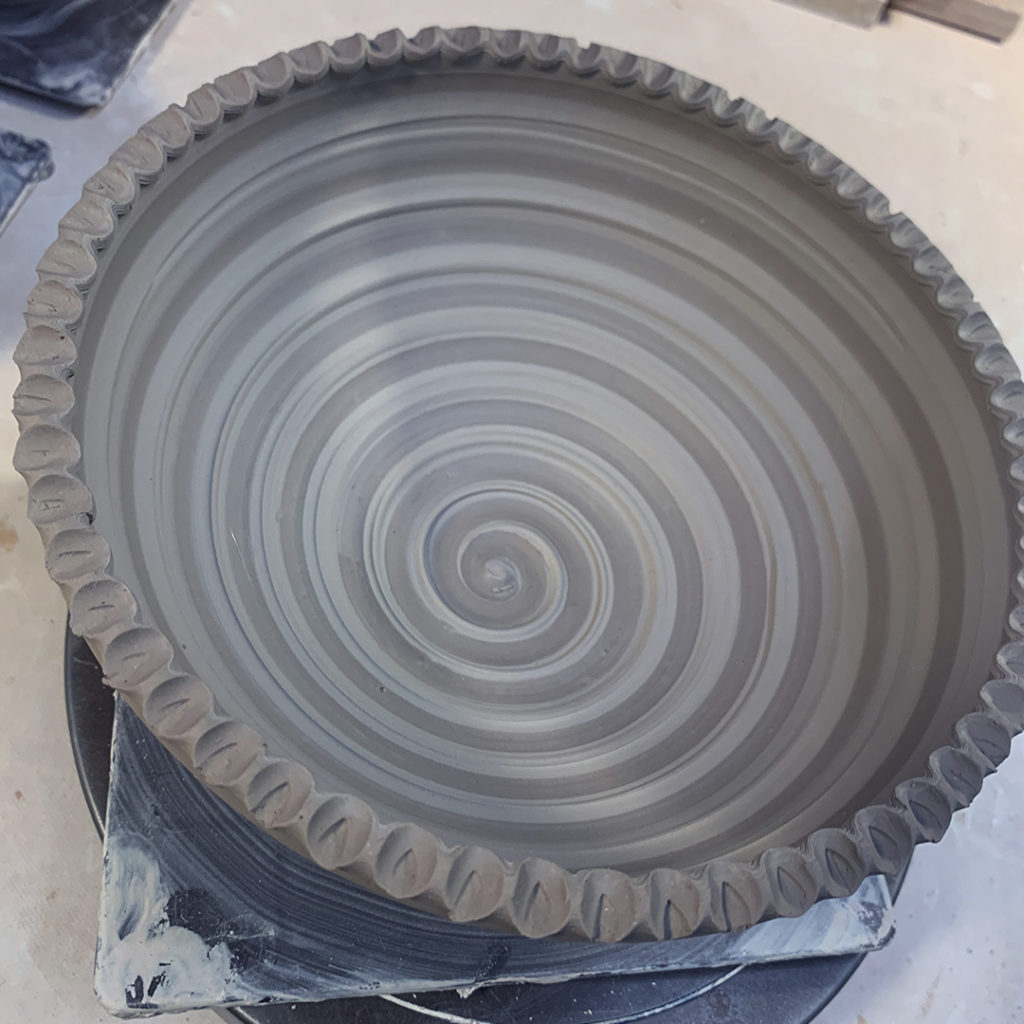
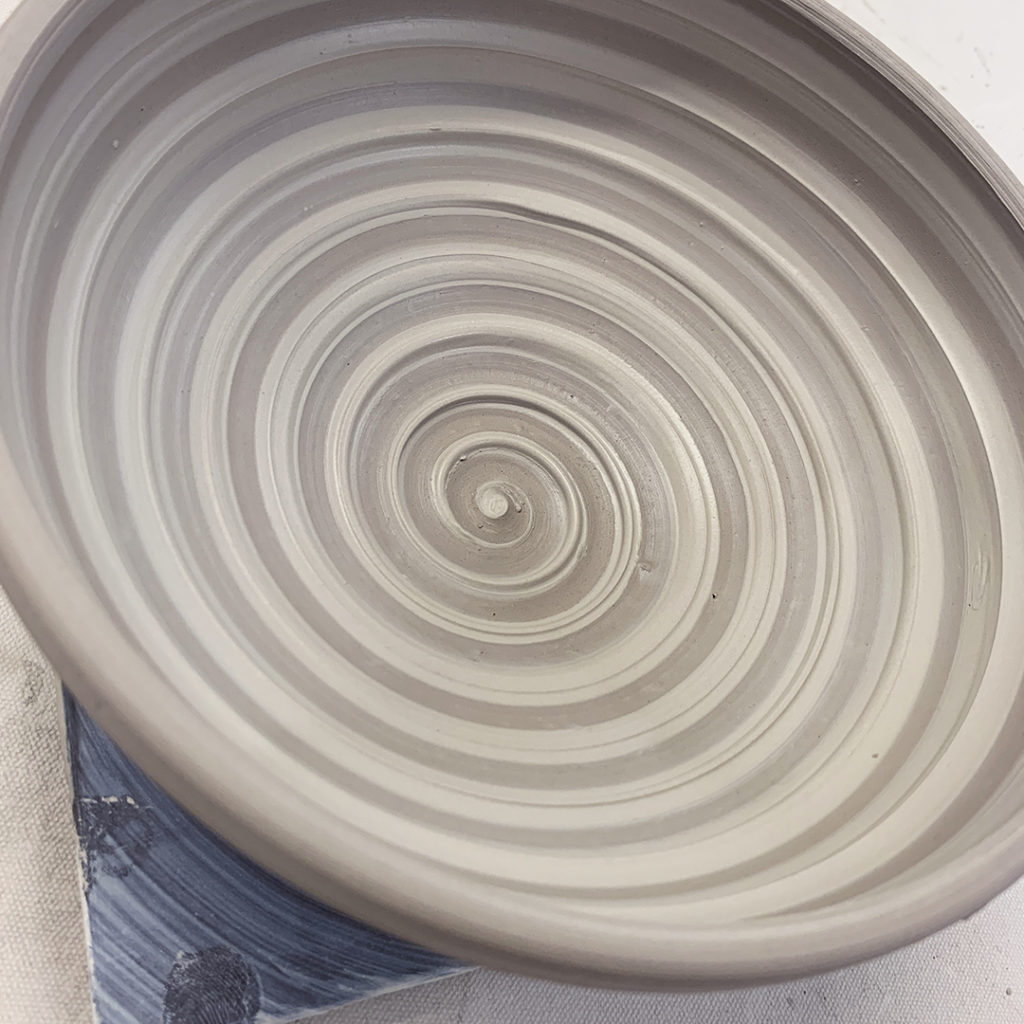
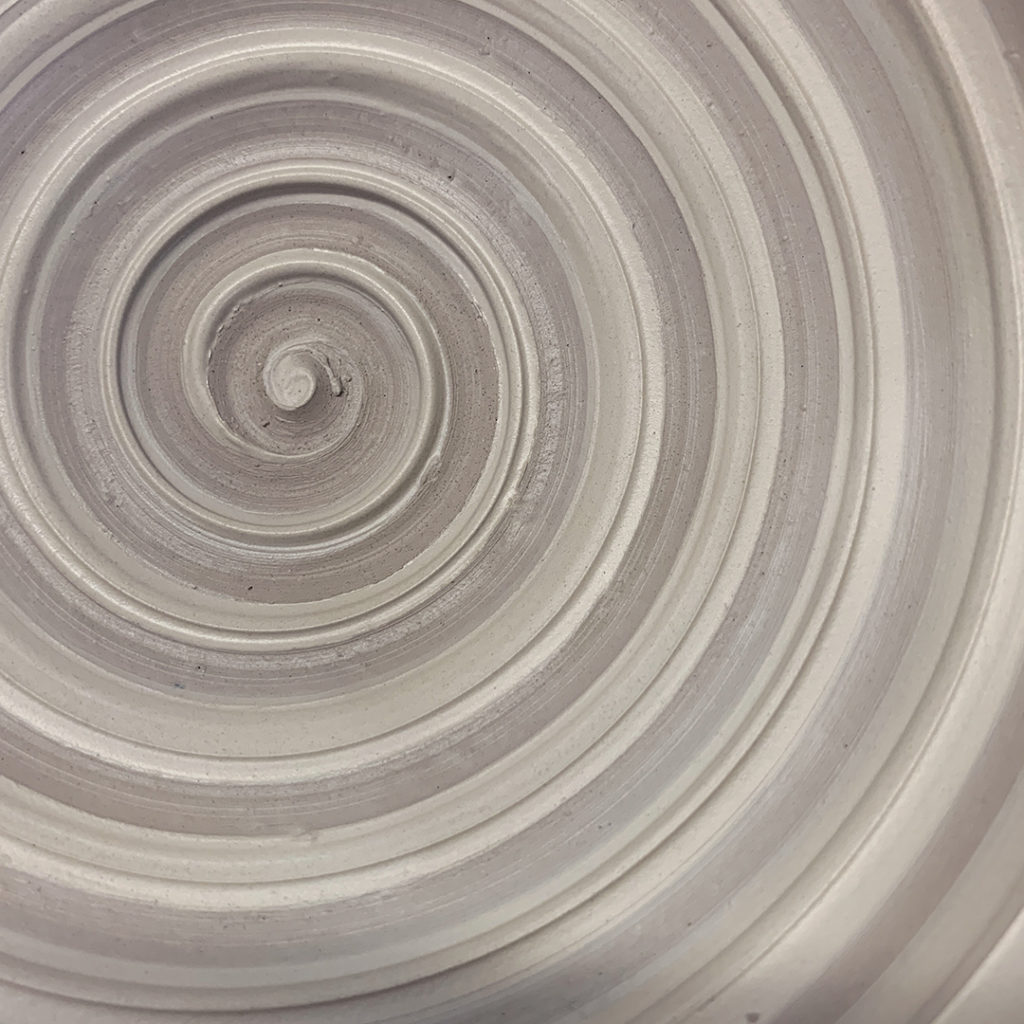
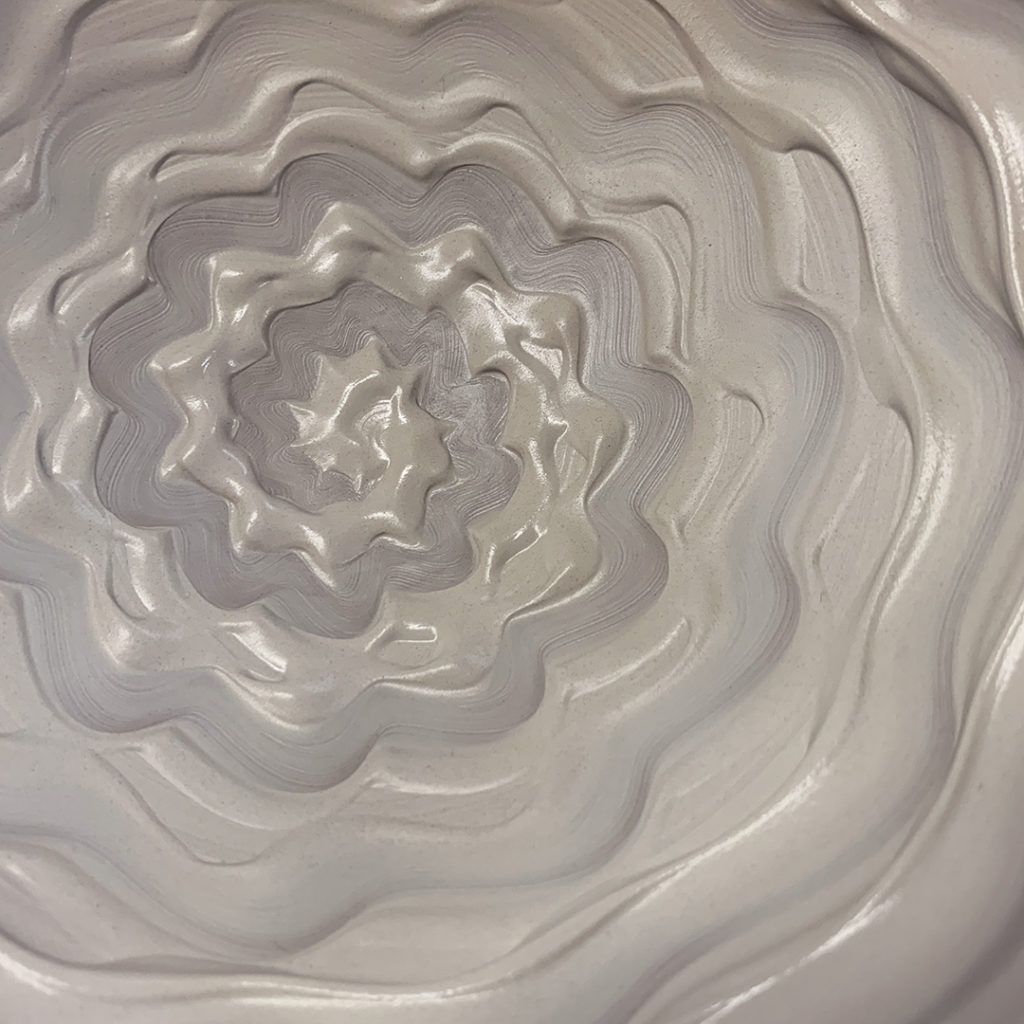
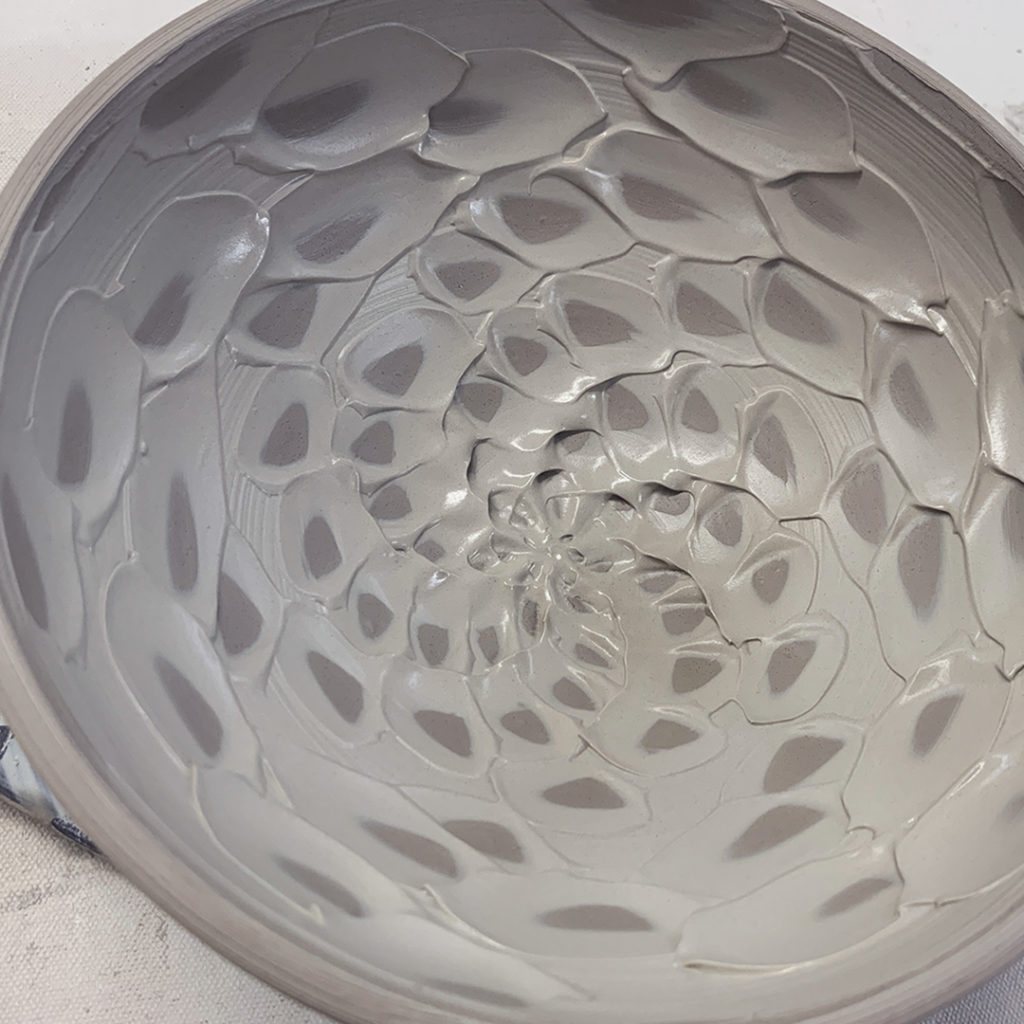
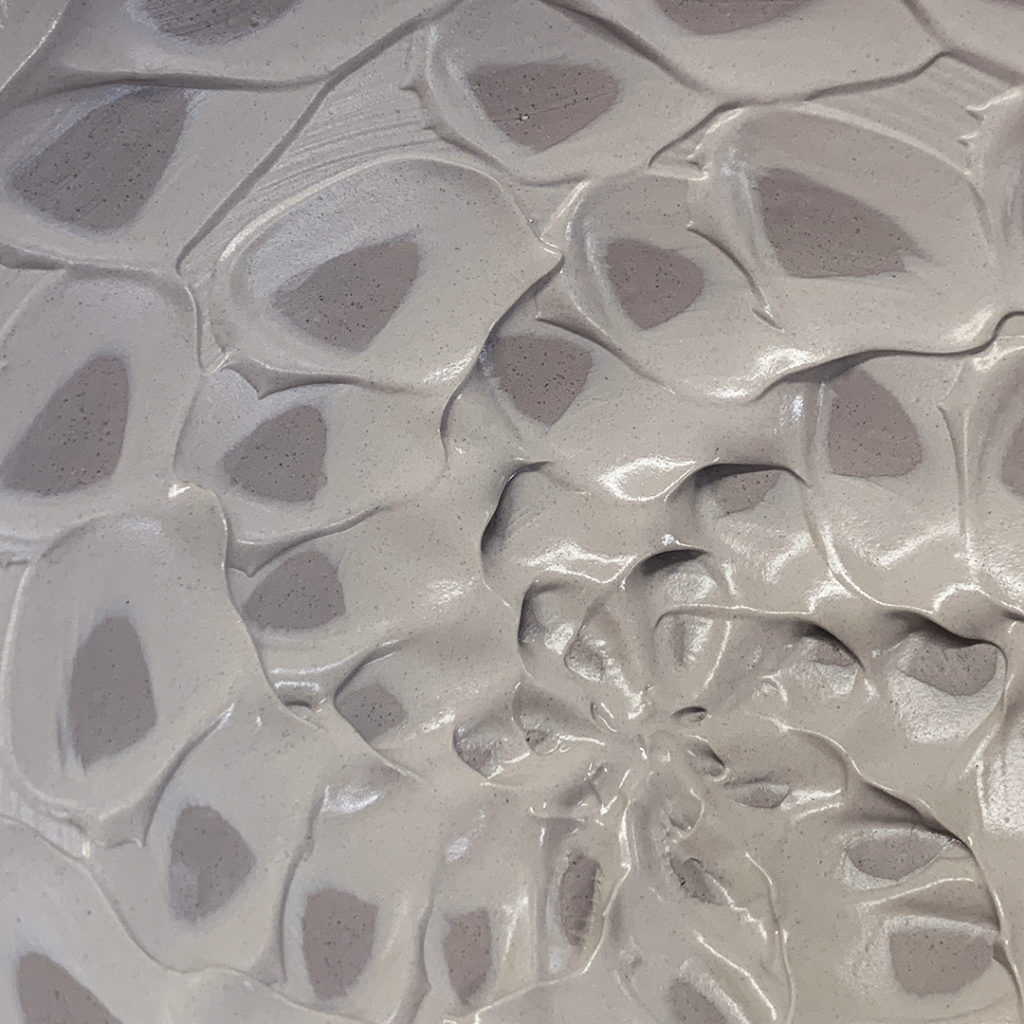
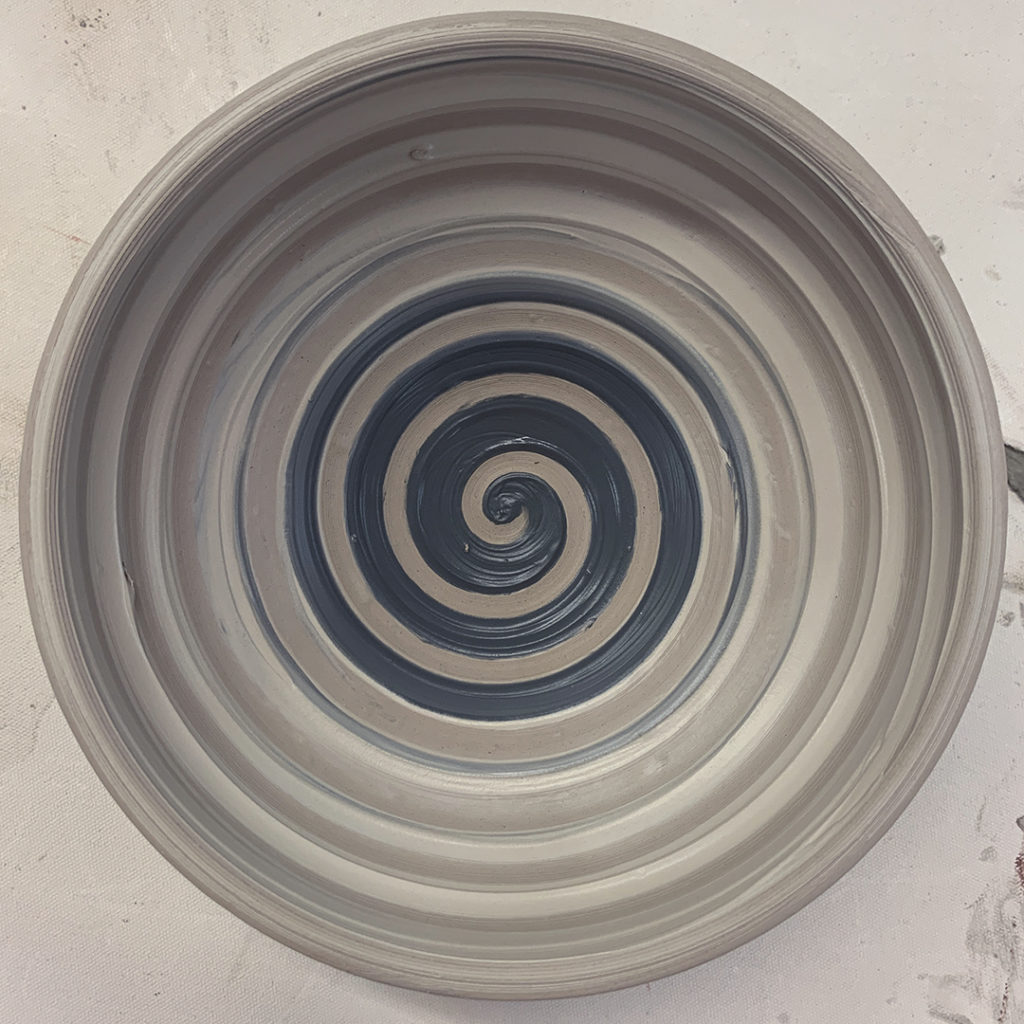
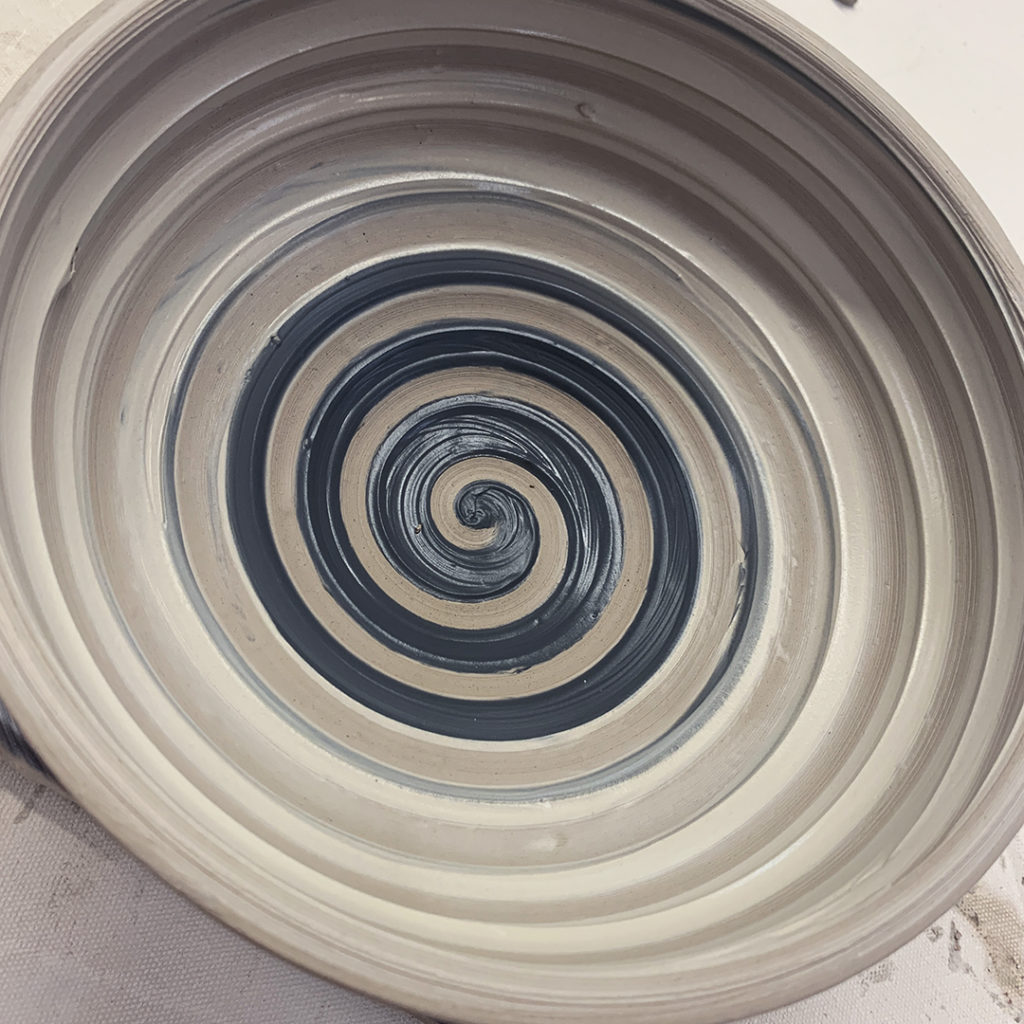
Bowl #9 – Thick white slip with a tight spiral dragged through using the rounded end of my wooden knife.


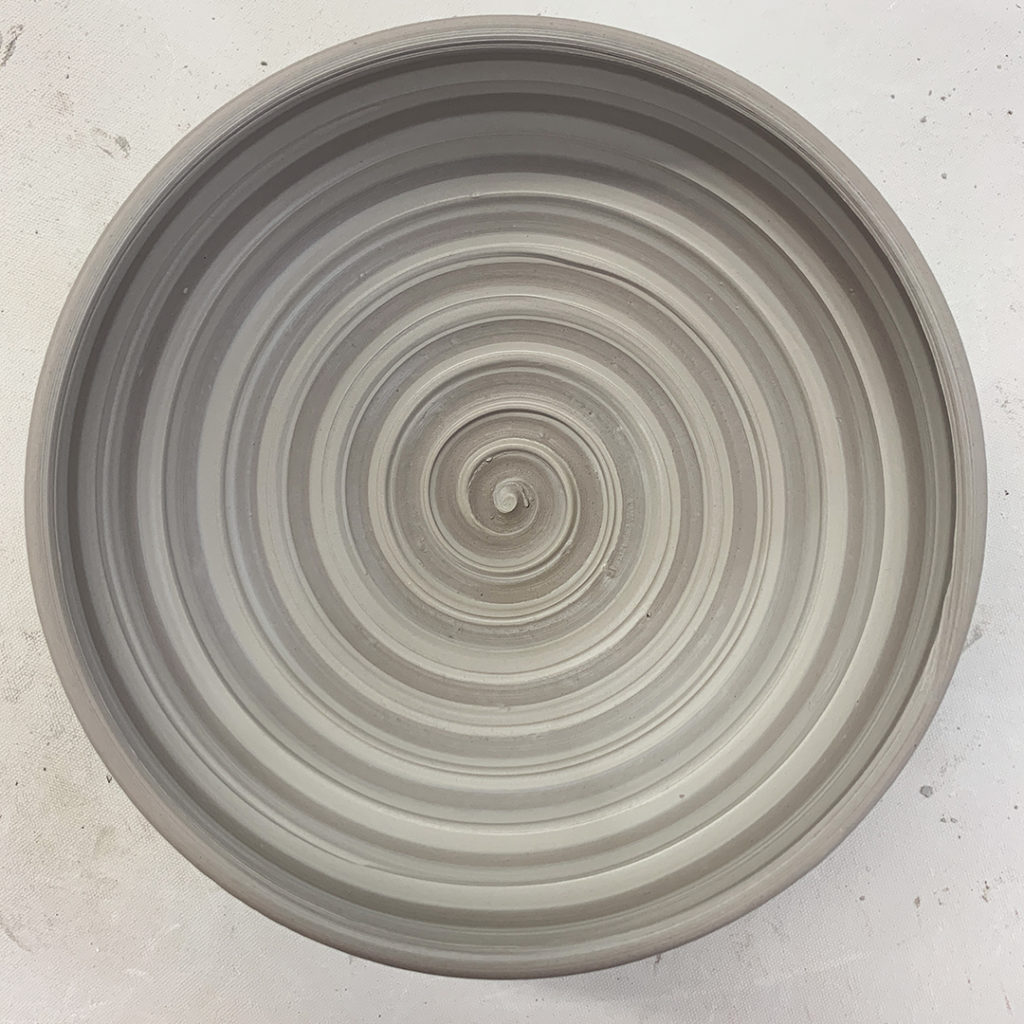
Bowl #10 – Thick white slip with some concentric banding.


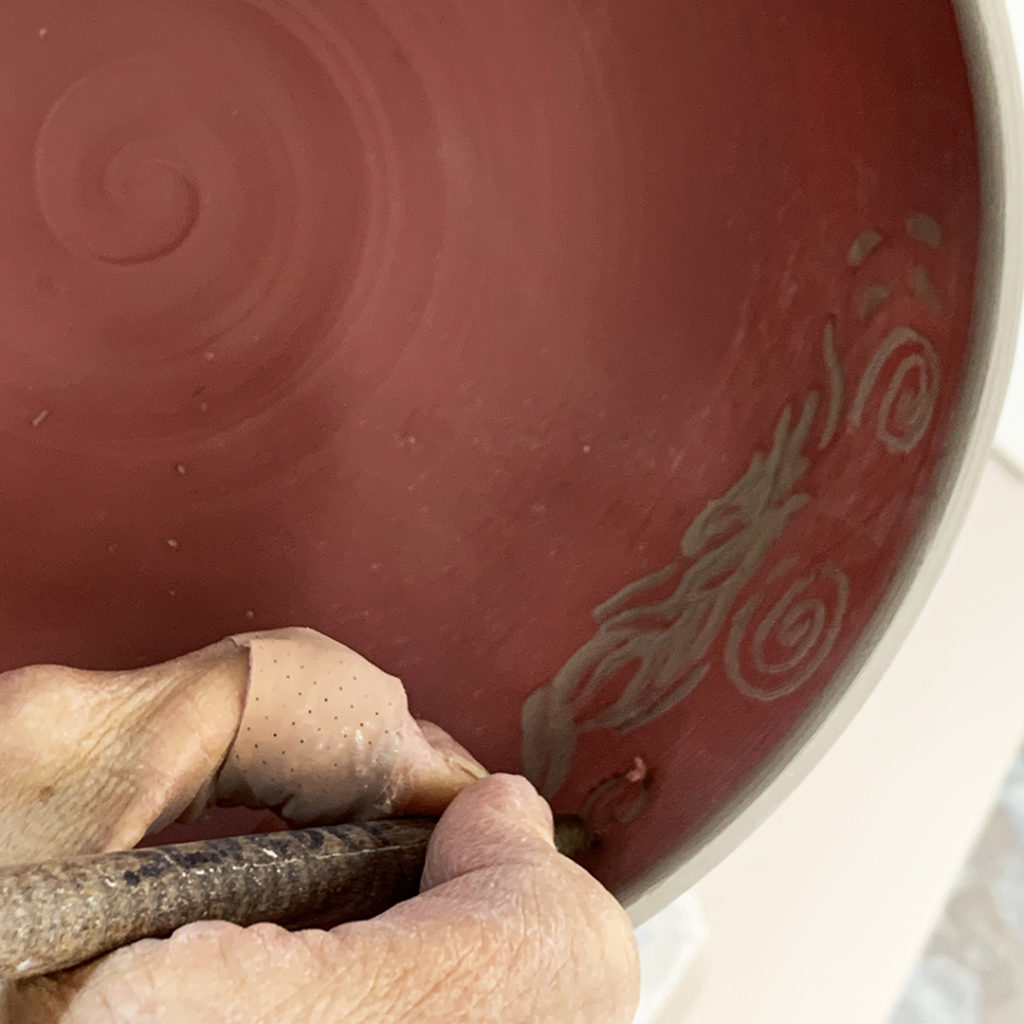
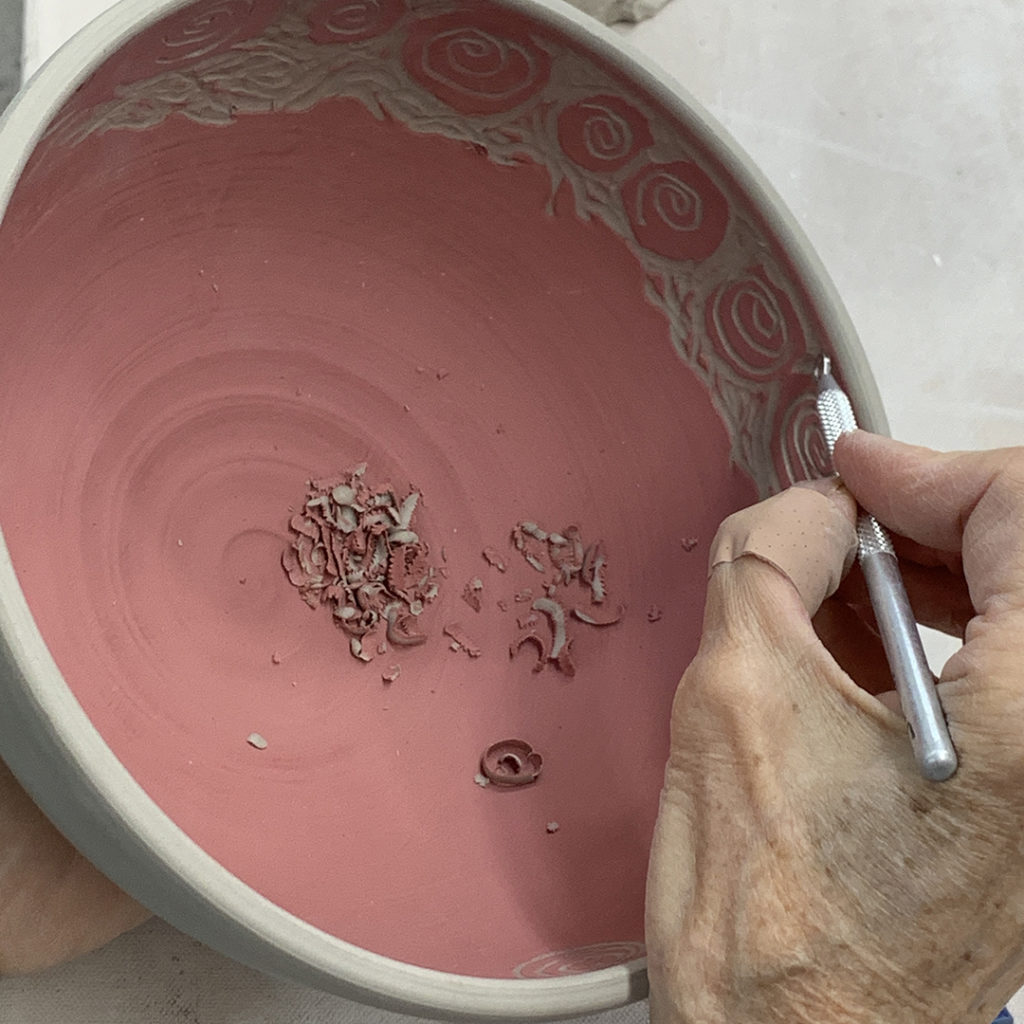
Bowl #11 – Thick white slip with loose fingsr-painting squiggles.


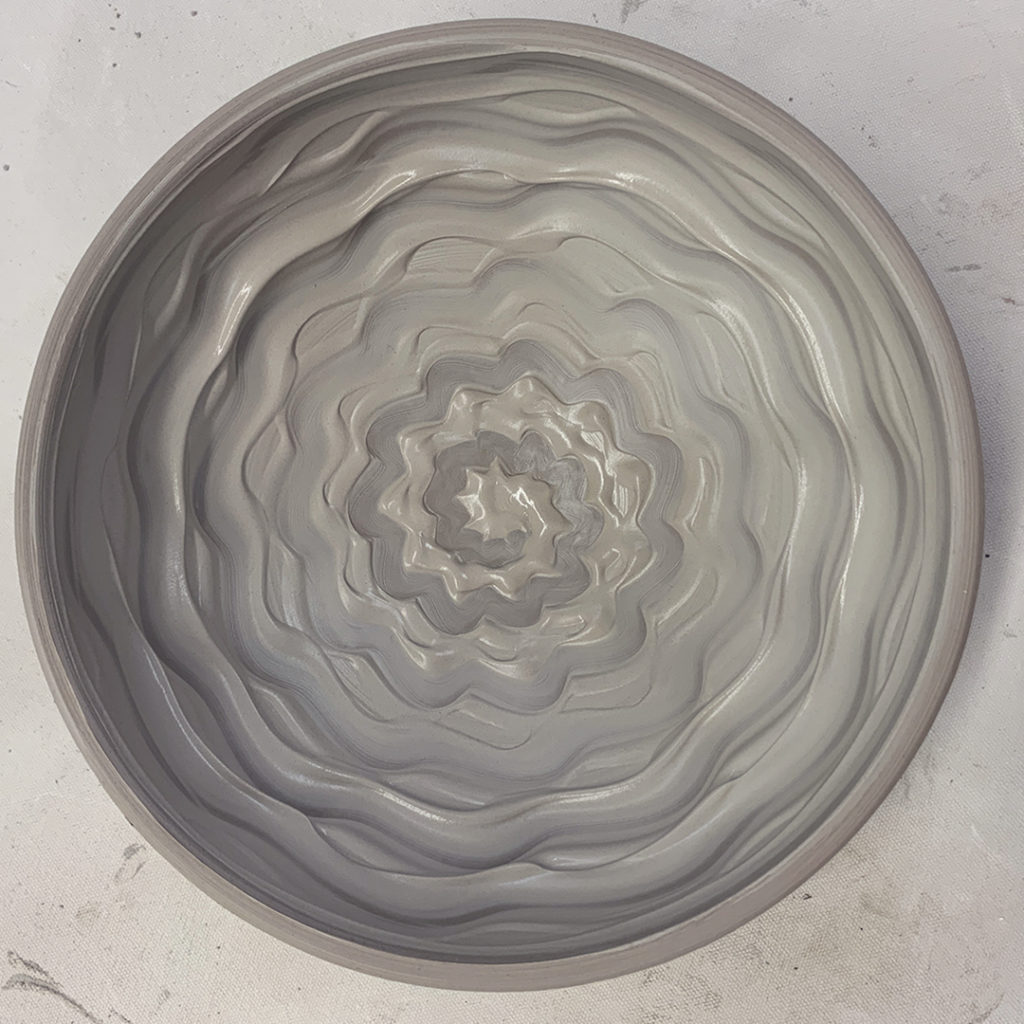
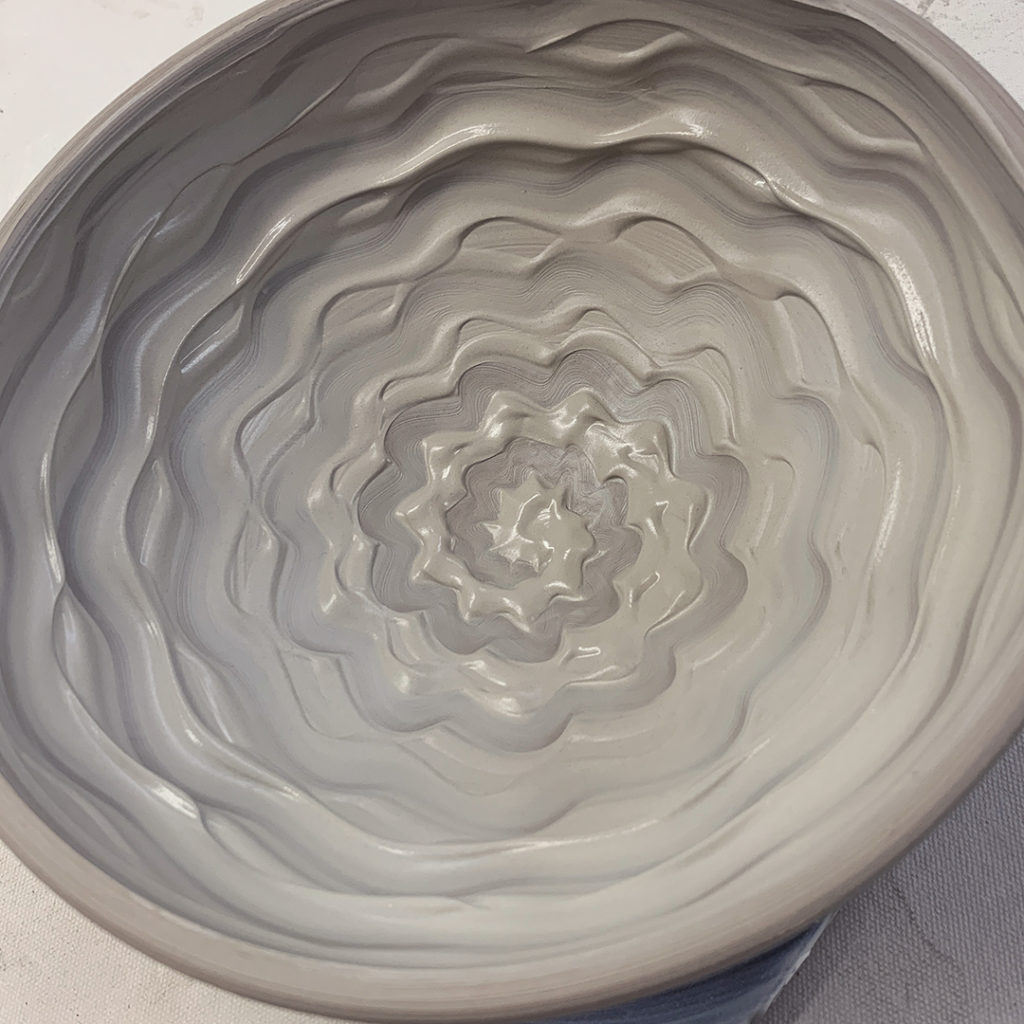
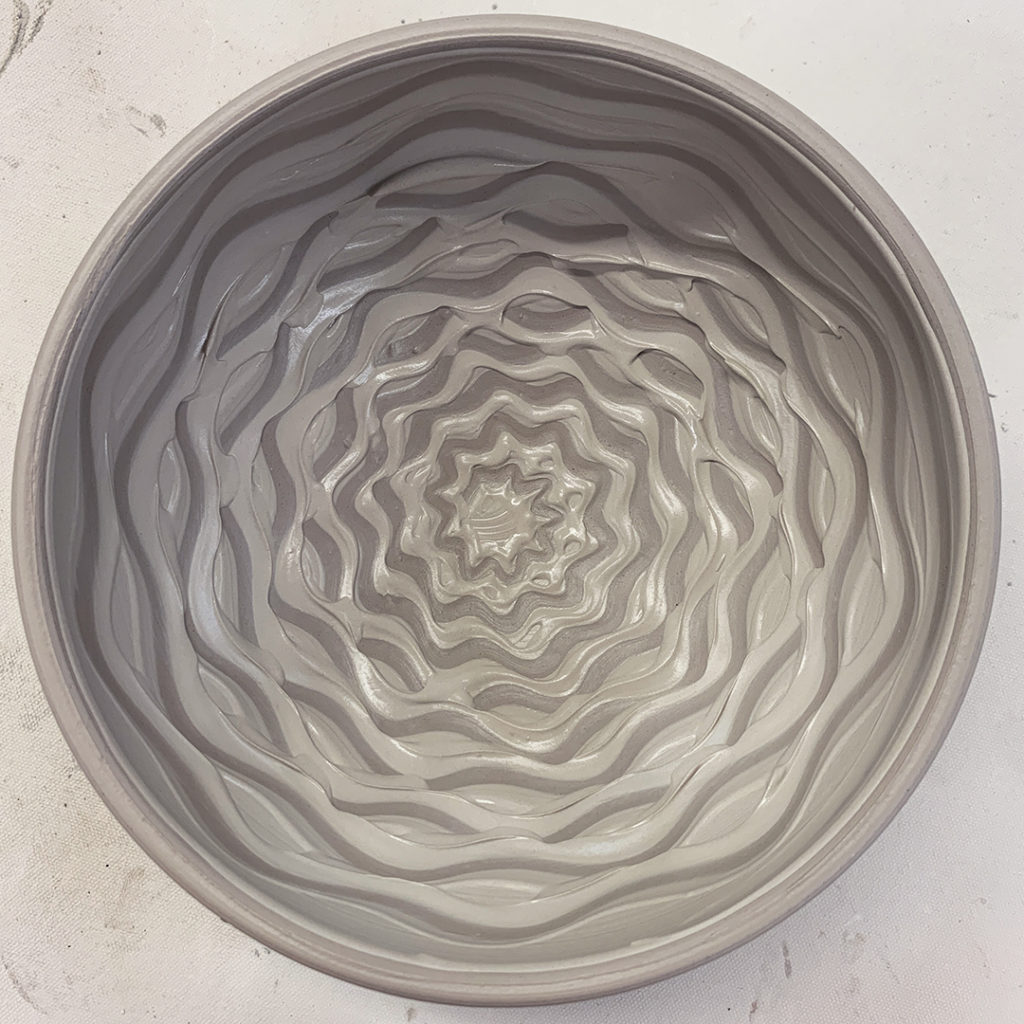
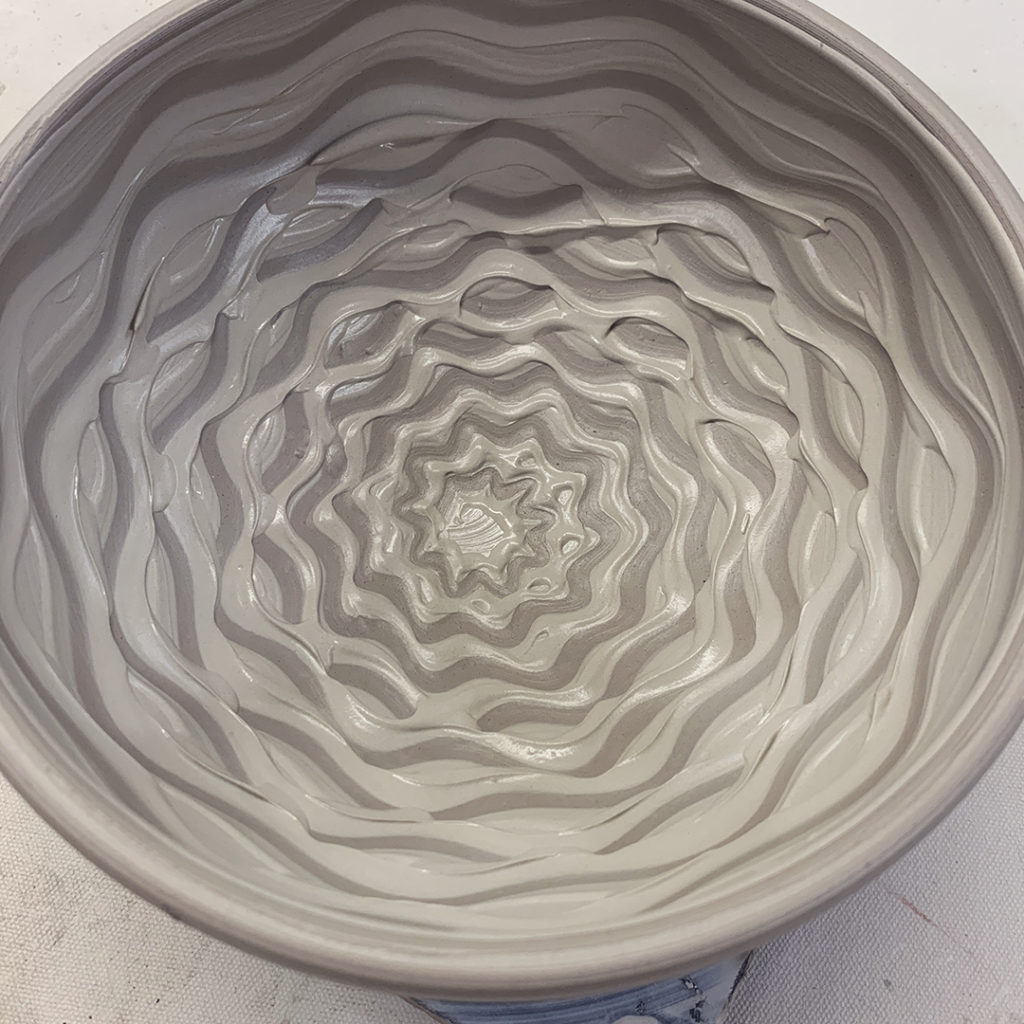
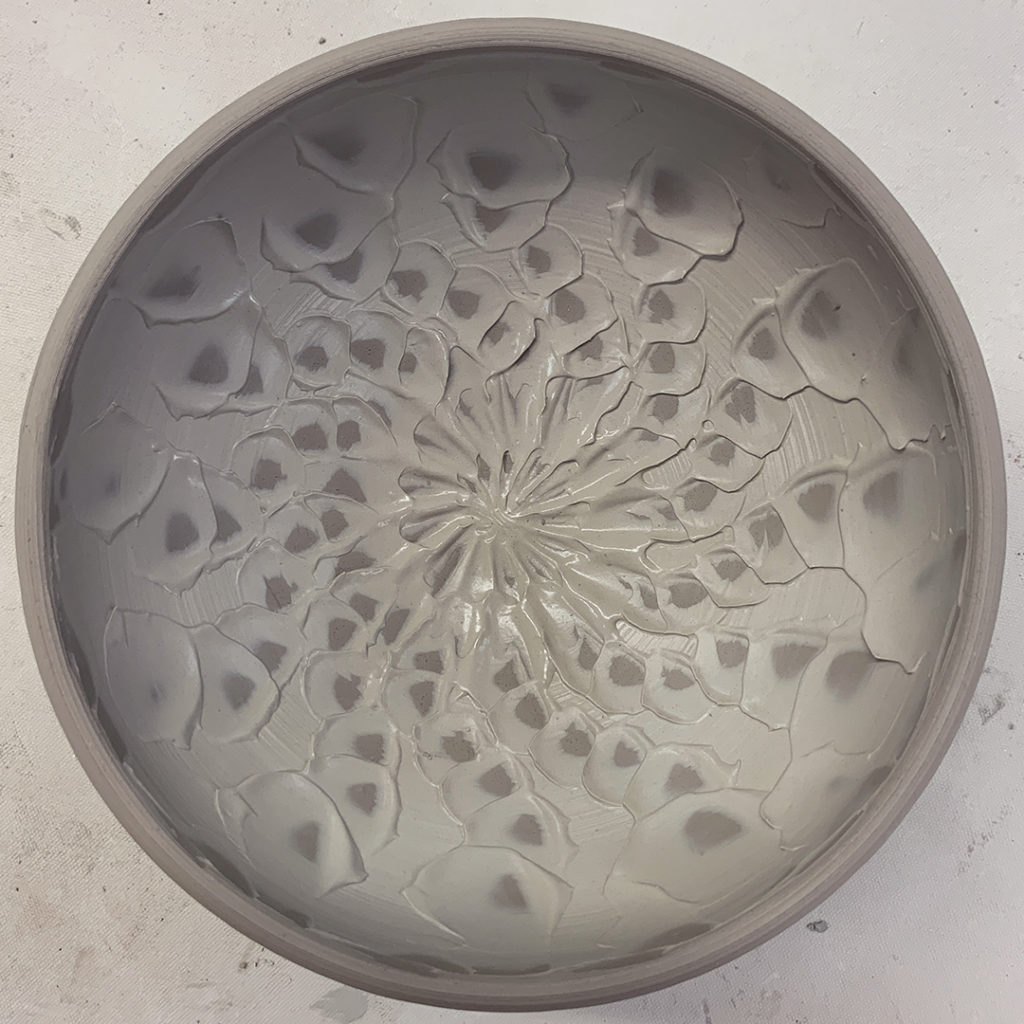
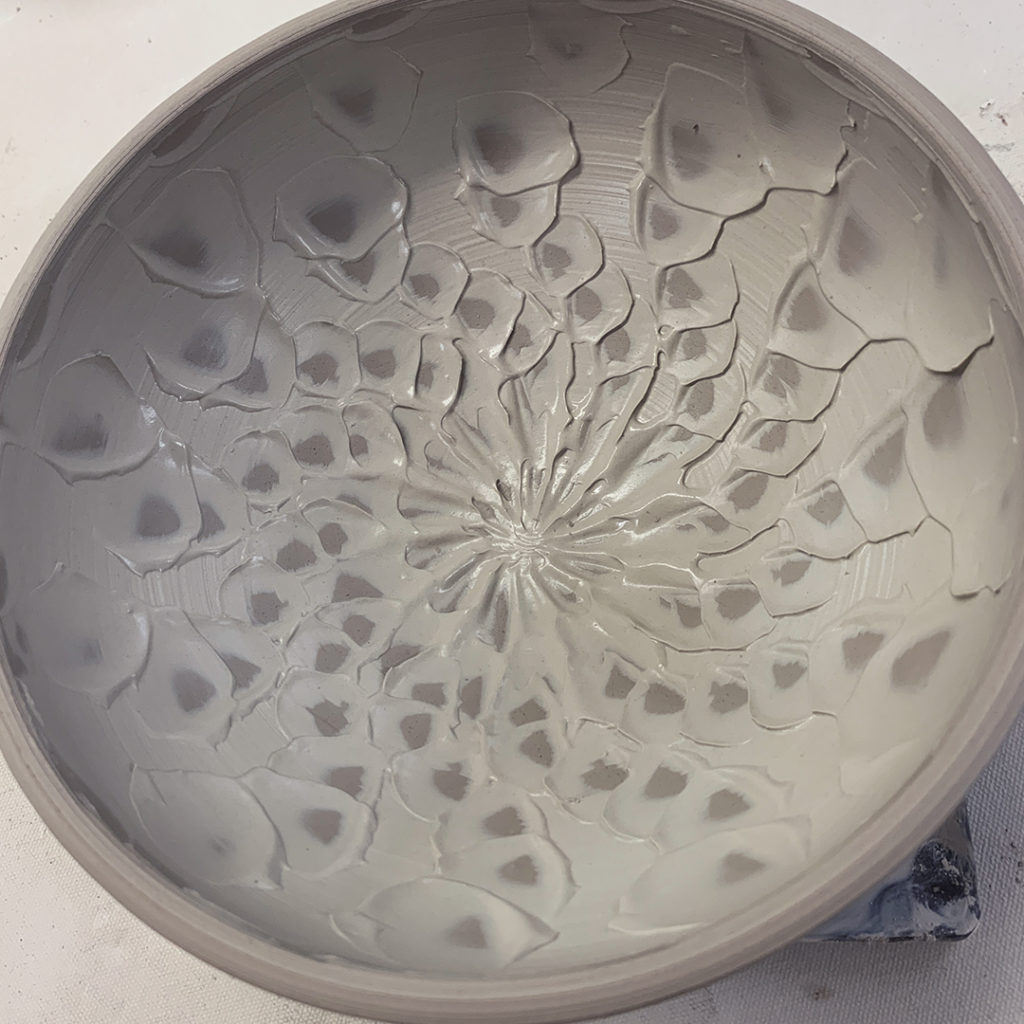
Bow #12 – Thick white slip with groovy squiggle pattern using the rounded end of my wooden knife.


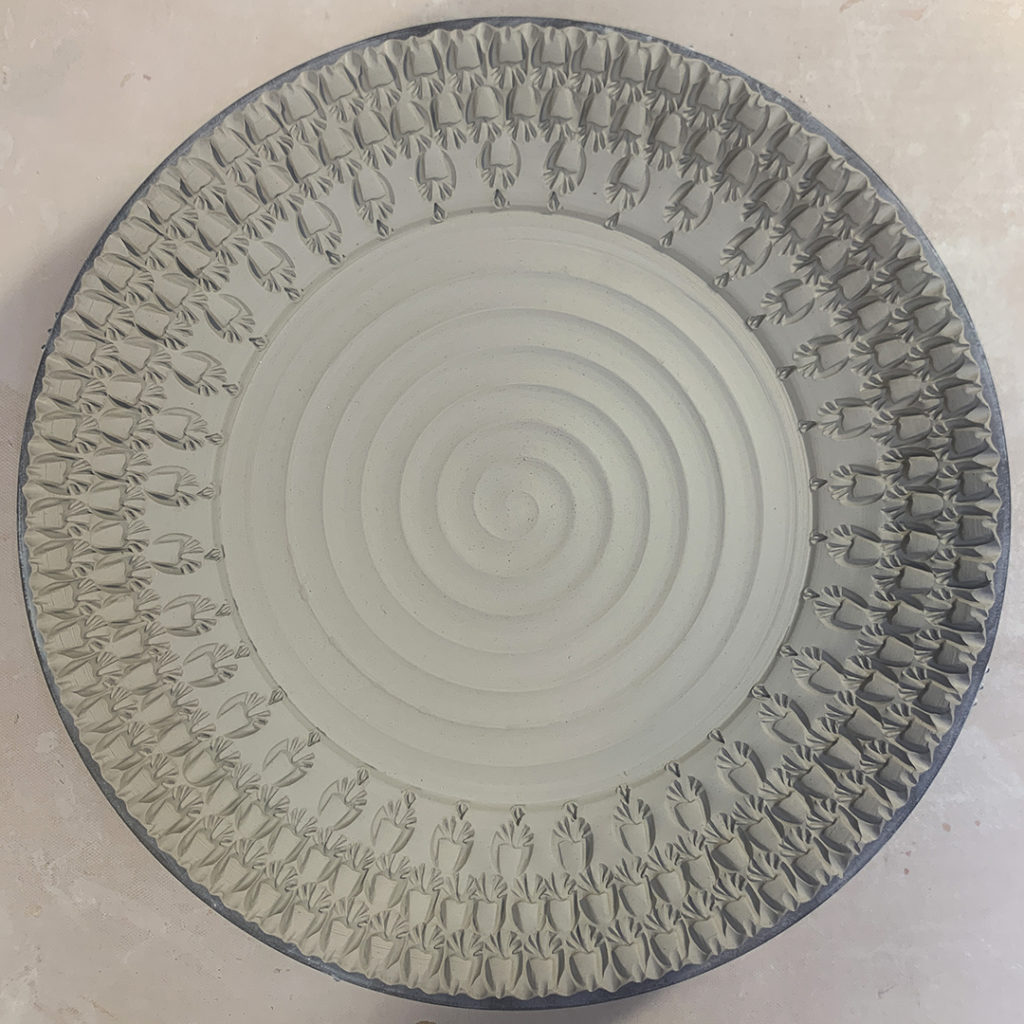
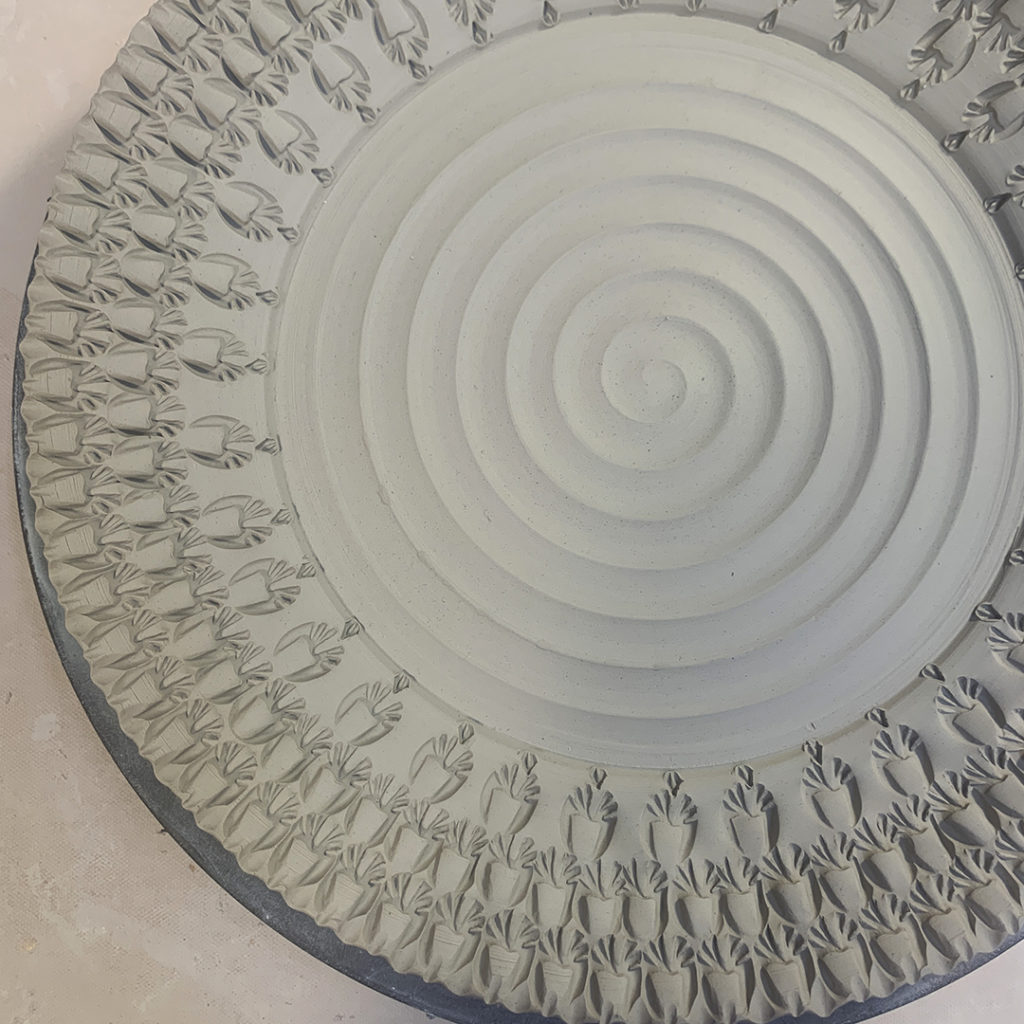
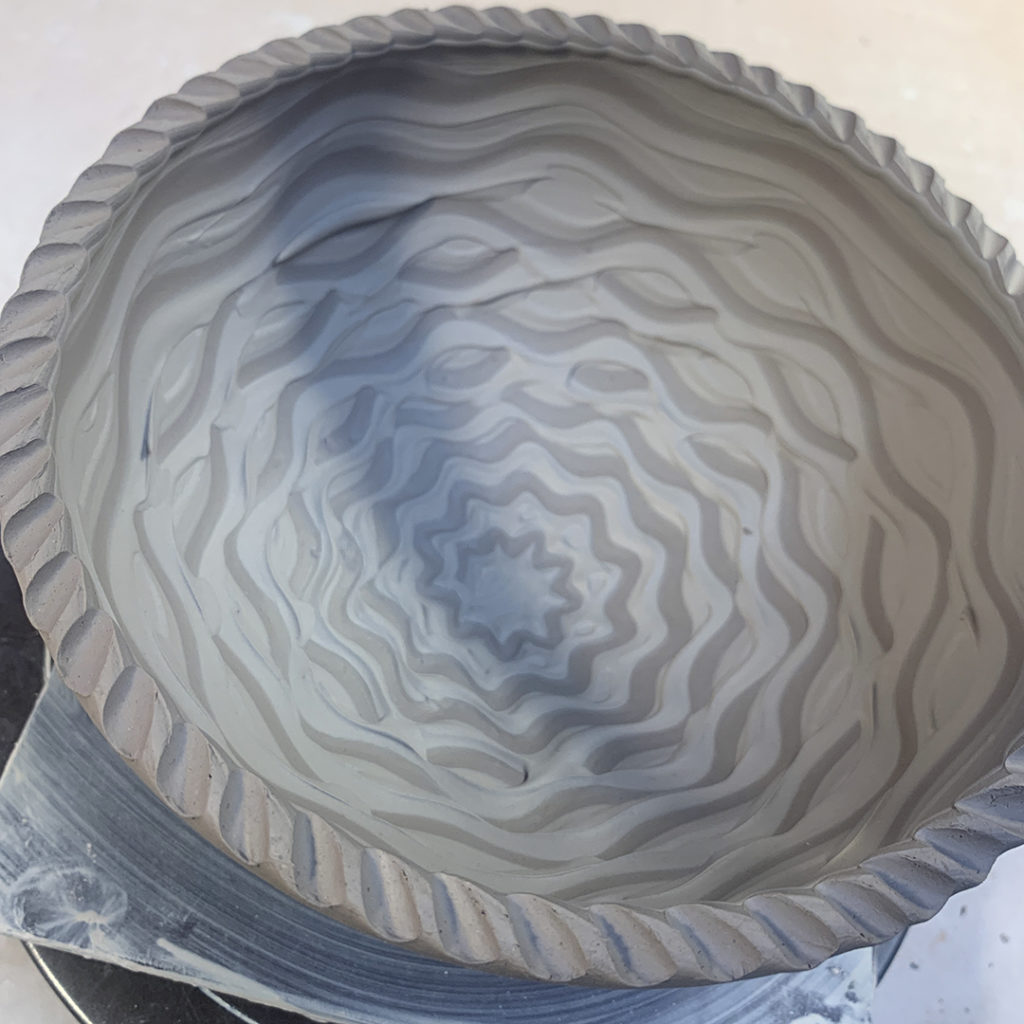
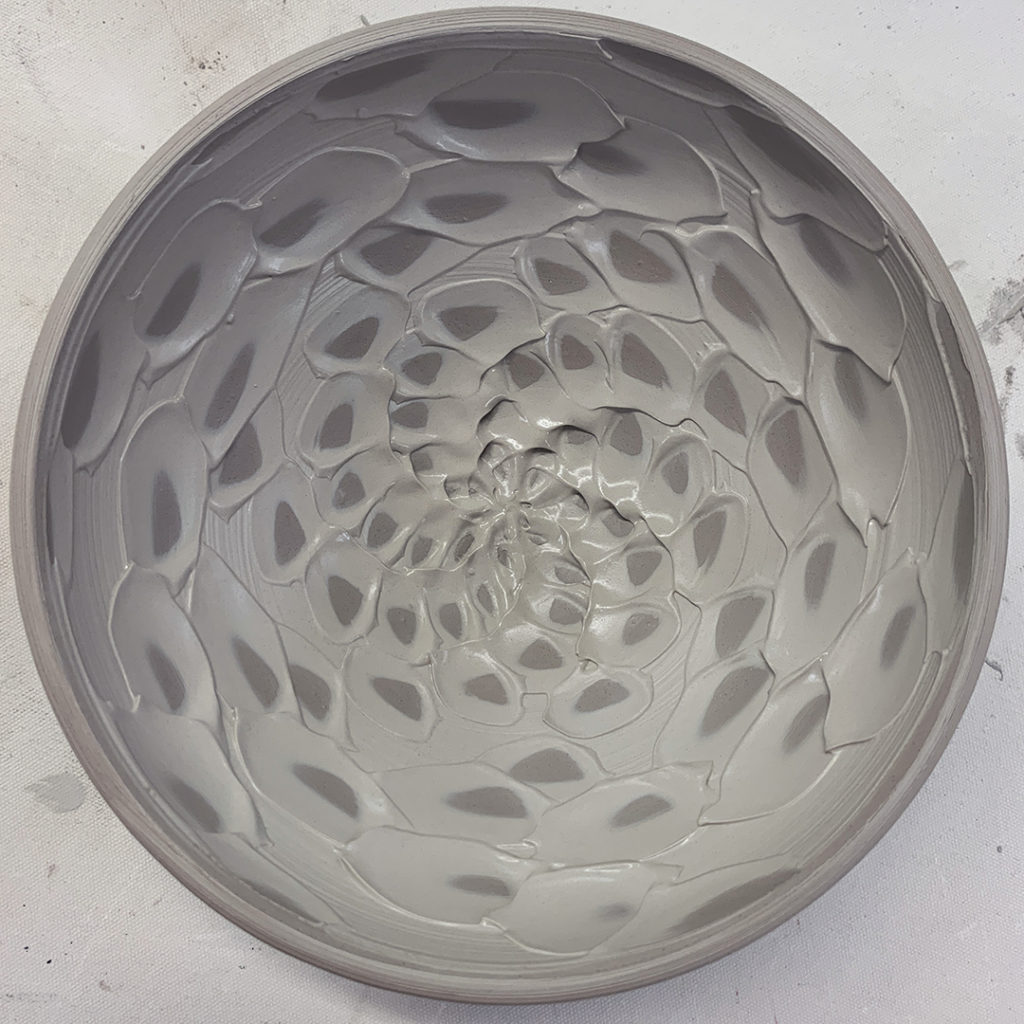
Bowl #13 – Chattering…. rhythmic tapping of a rubber rib through the thick white slip while the bowl was spinning on the wheel.


Bowl #14 – Another bowl with chattering….
this time a bit more angular & linear in the center… by request.


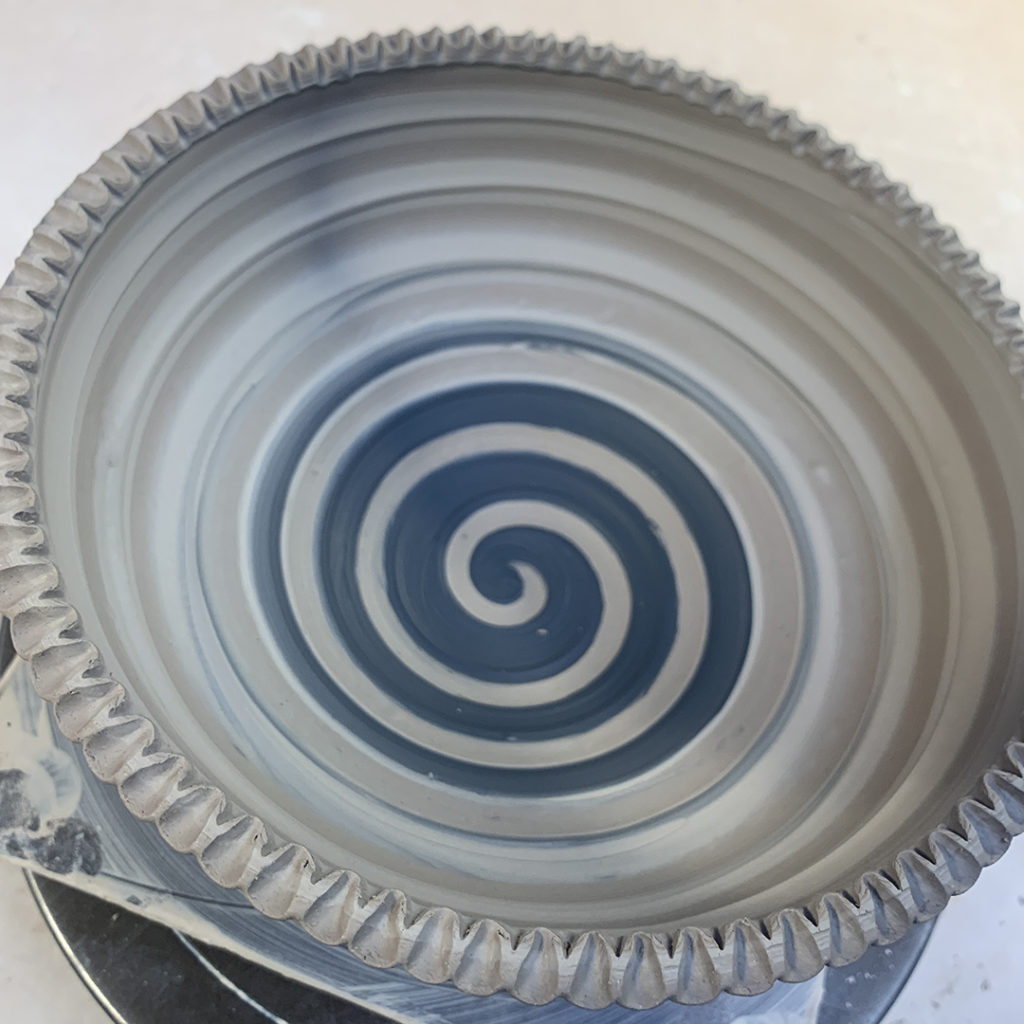
Bowl #15 – An ombre blended gradation of black & white slips… then a fun spiral dragged through both.


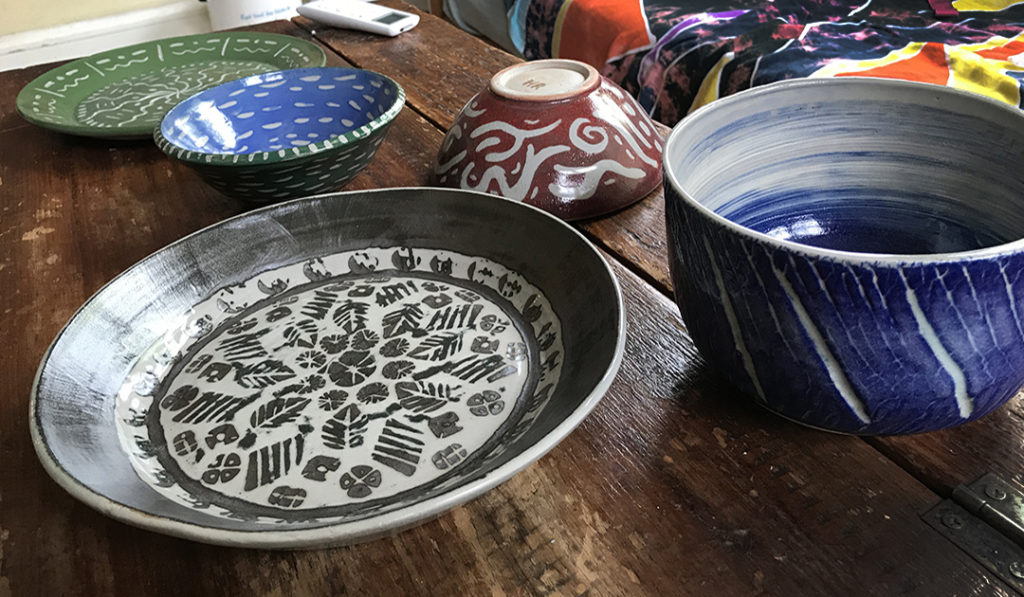
So for now they’re all under plastic up in my studio. The class demo was a lot of fun for everyone… just trying to show off some tricks & techniques for decorating basic bowls! I will continue to “detail” them… and possibly do a little stamping in the days to come!
Well, it’s been a few weeks since we finished our SURFACE DECORATIONS class at Lillstreet. And things have been glazed & coming out of the kiln. Here’s an assortment of Helen’s pieces she made during class… including crackled slip, water etching, sanggam, colored slips, carving, sgraffito, piercing & more! Well done Helen… thanks for sharing your pieces with us!


|
Gary Jackson: Fire When Ready Pottery
Lillstreet Studios ∙ 4401 North Ravenswood, Chicago, Illinois 60640 ∙ 773-307-8664 gary@firewhenreadypottery.com |