07.01.2021
Categories: sculpture, summer camp

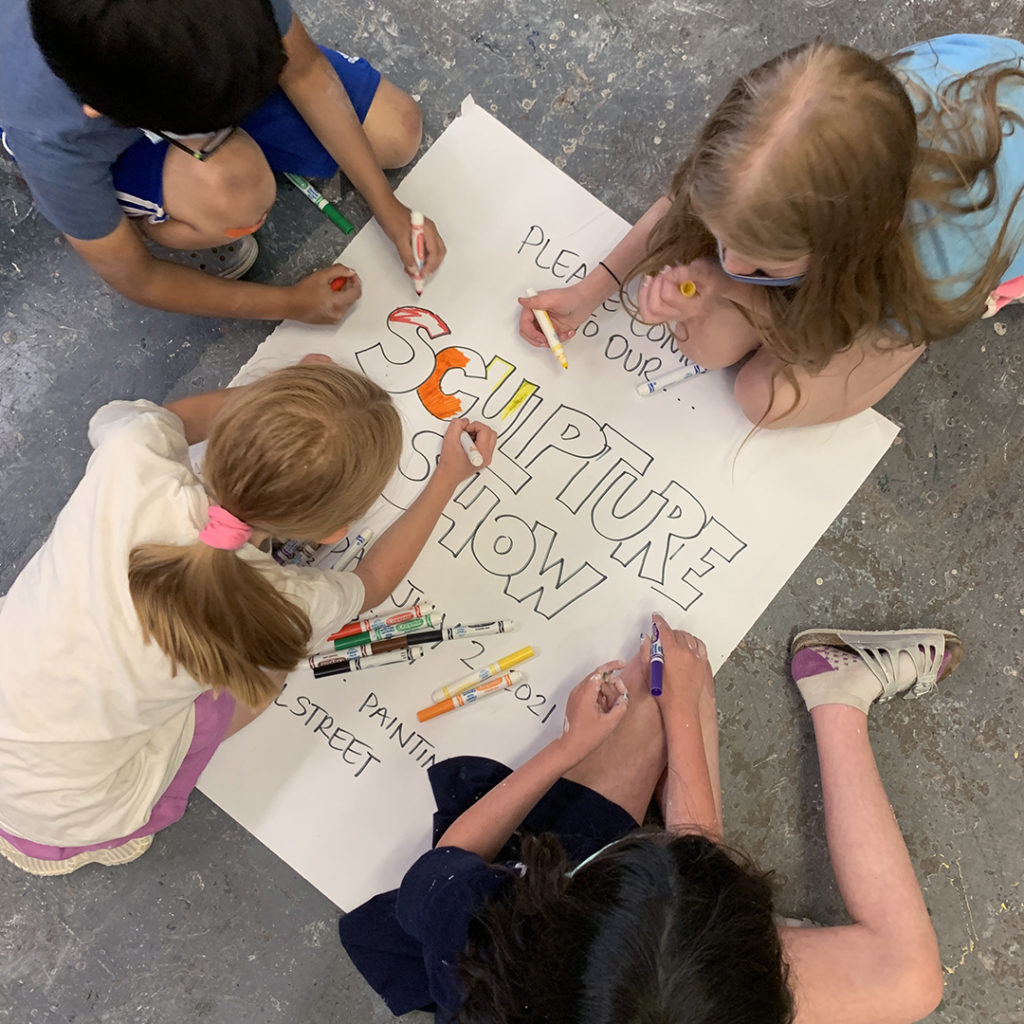
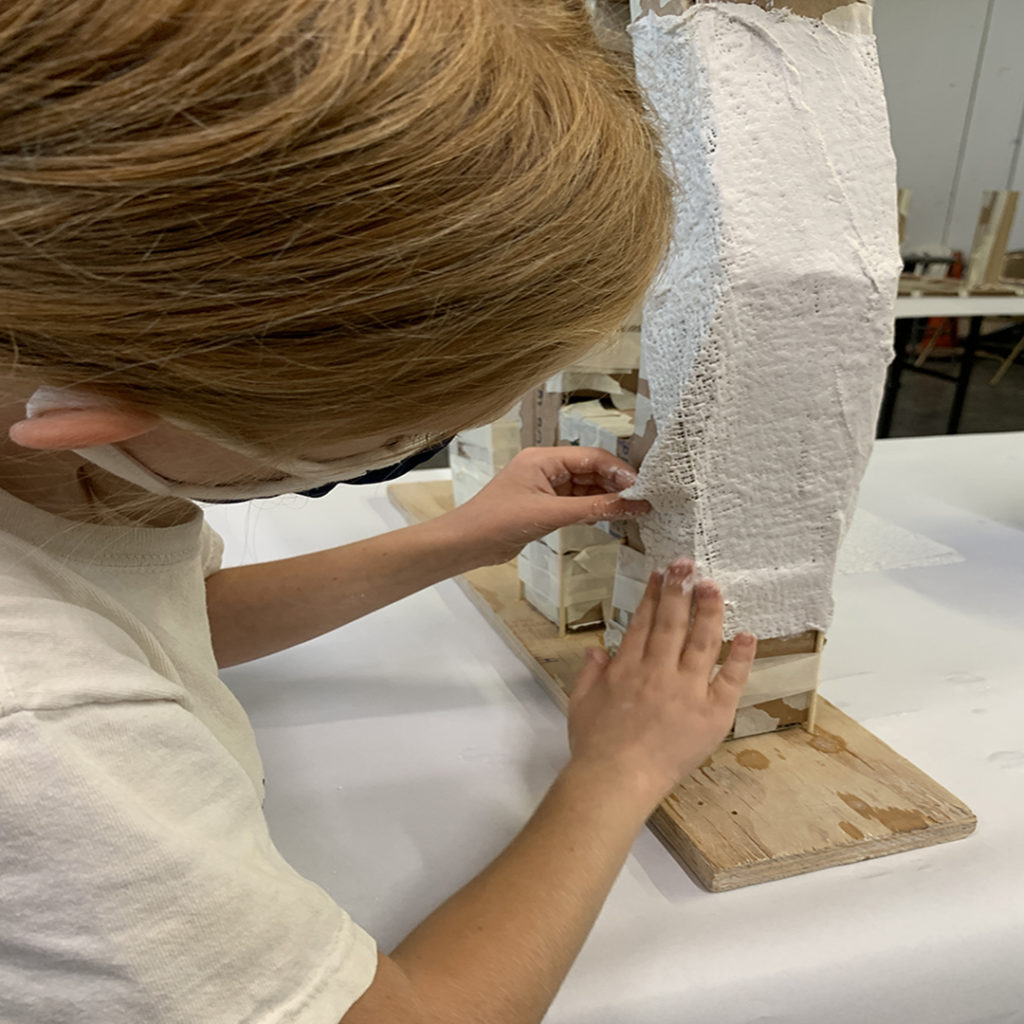
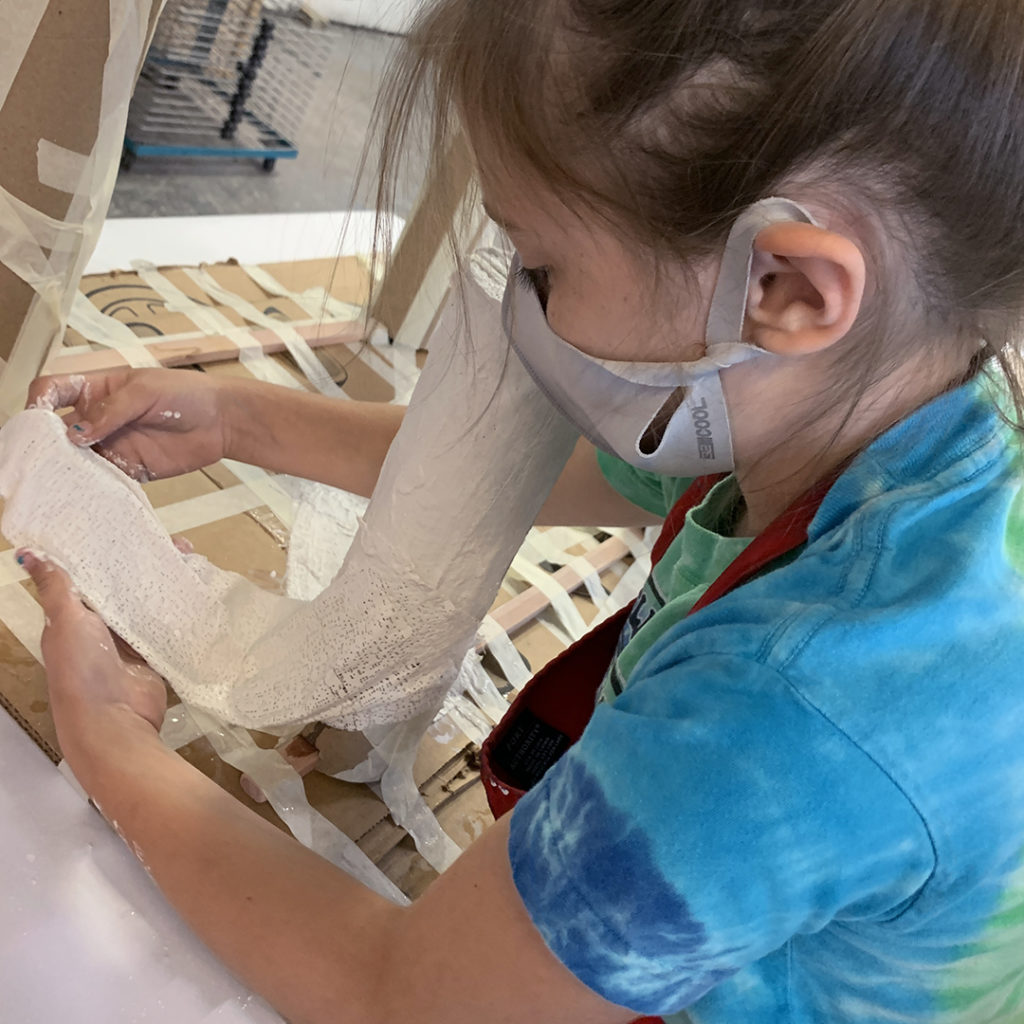
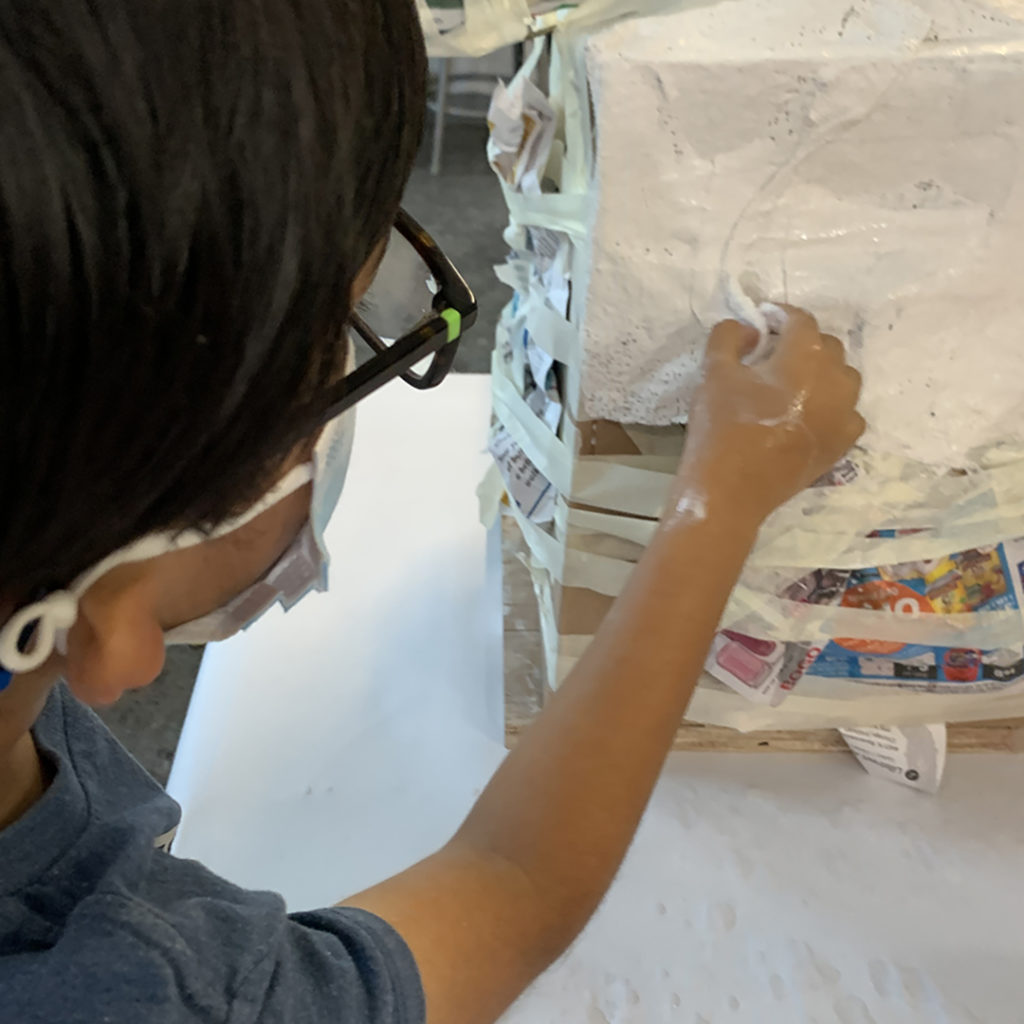
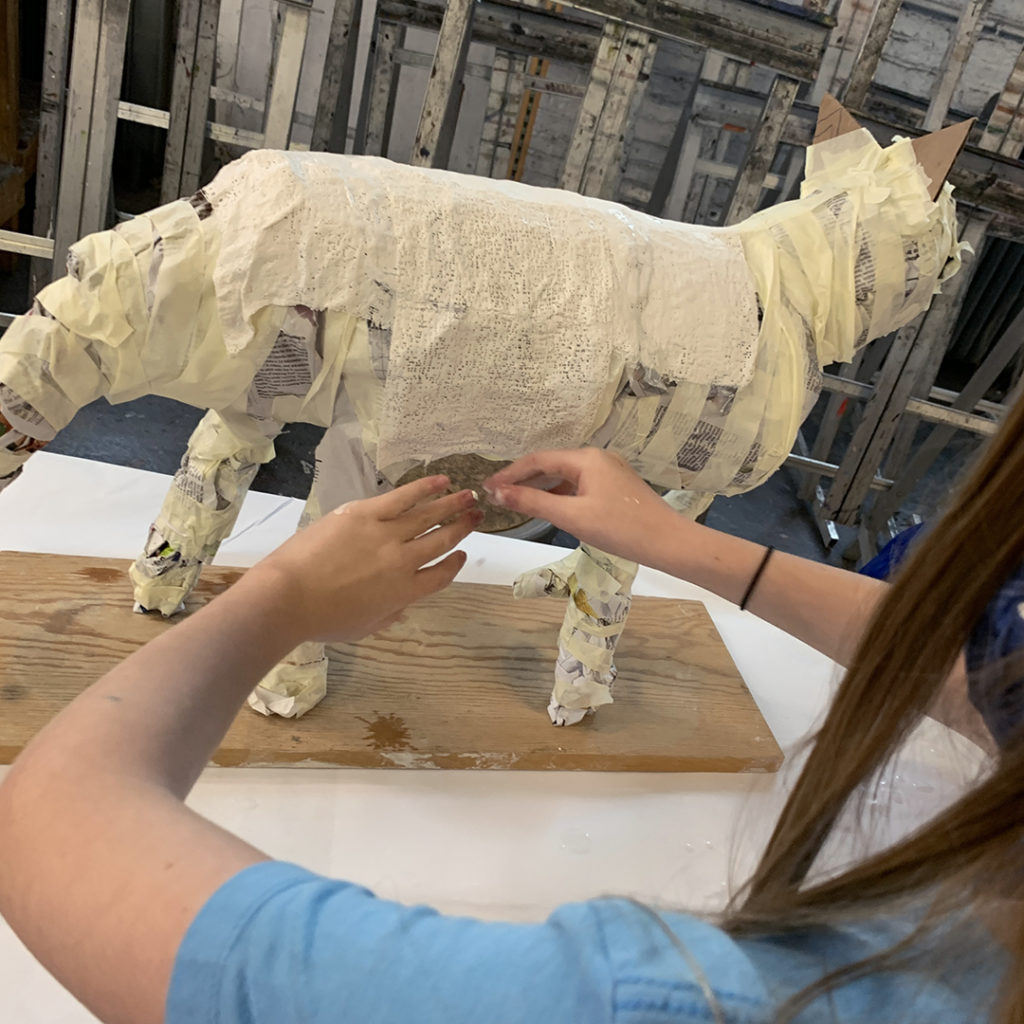
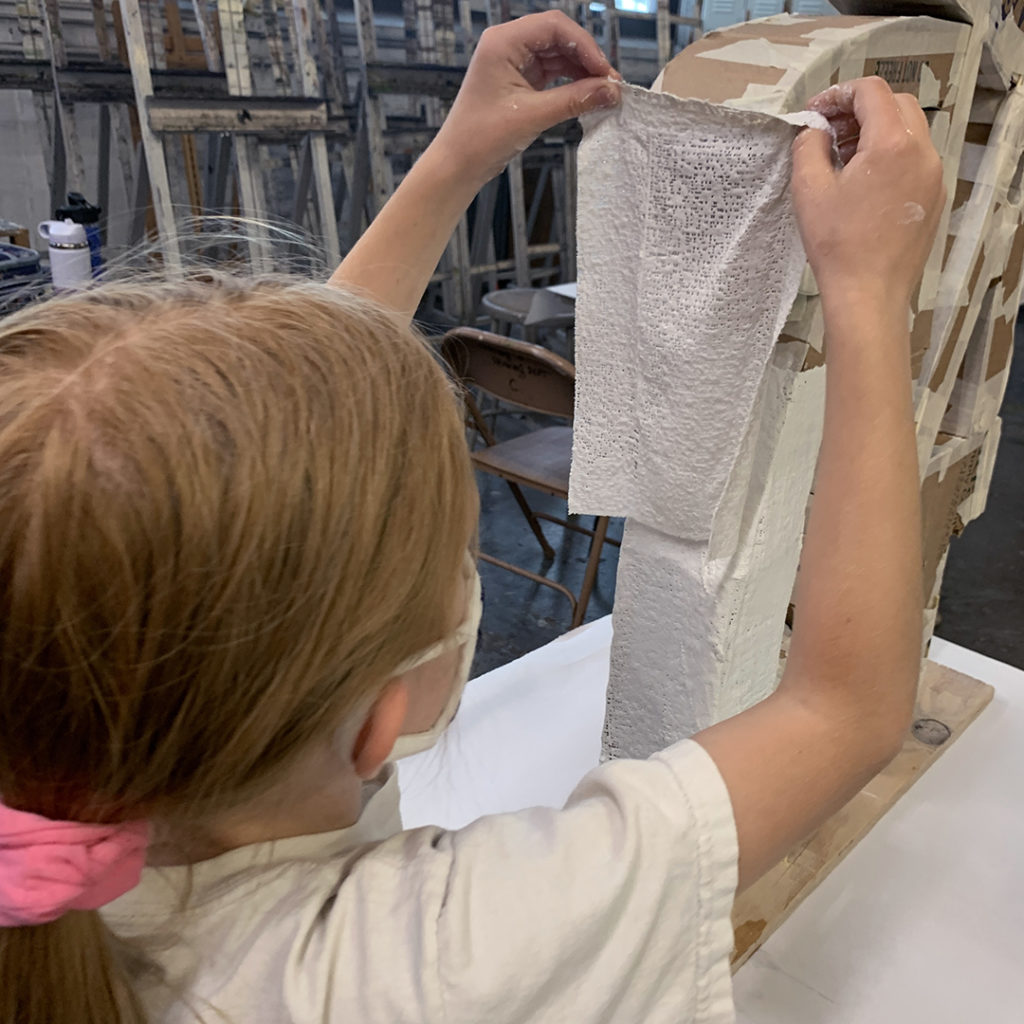
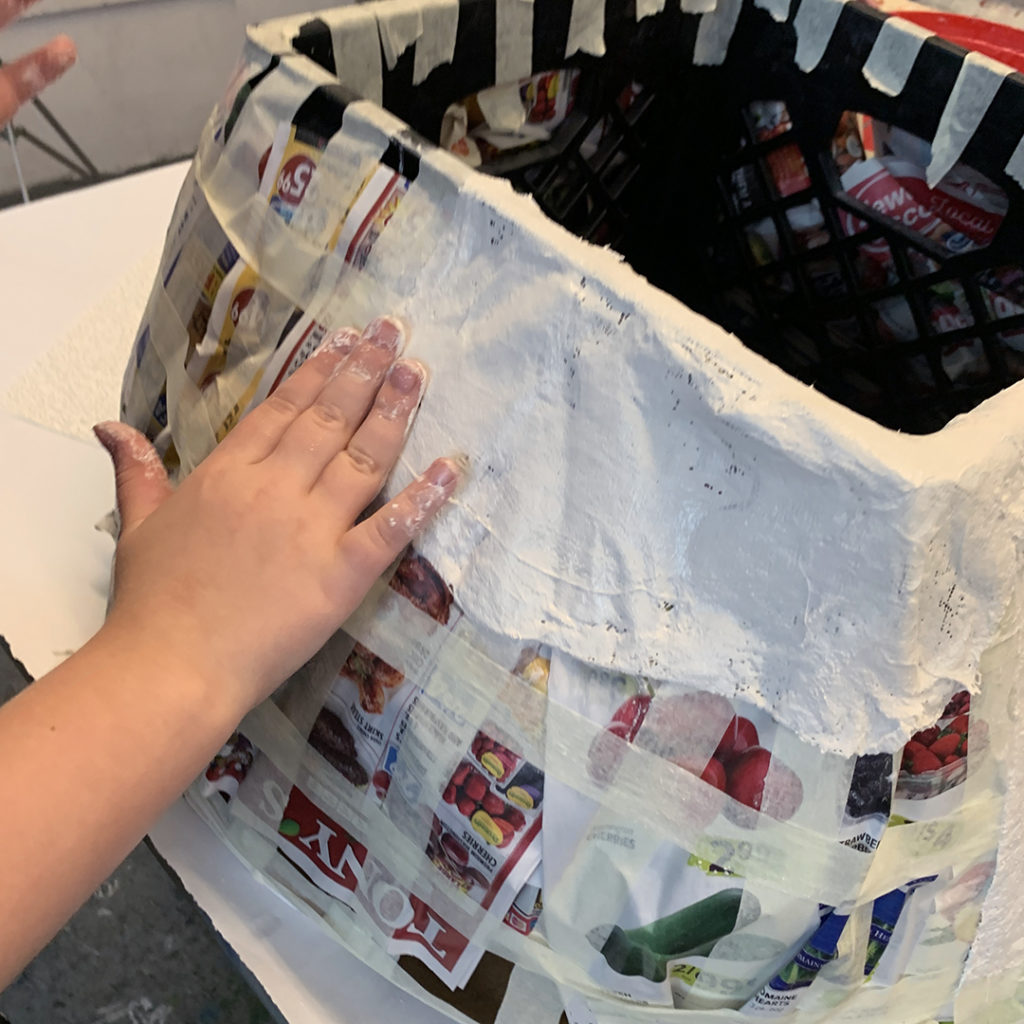
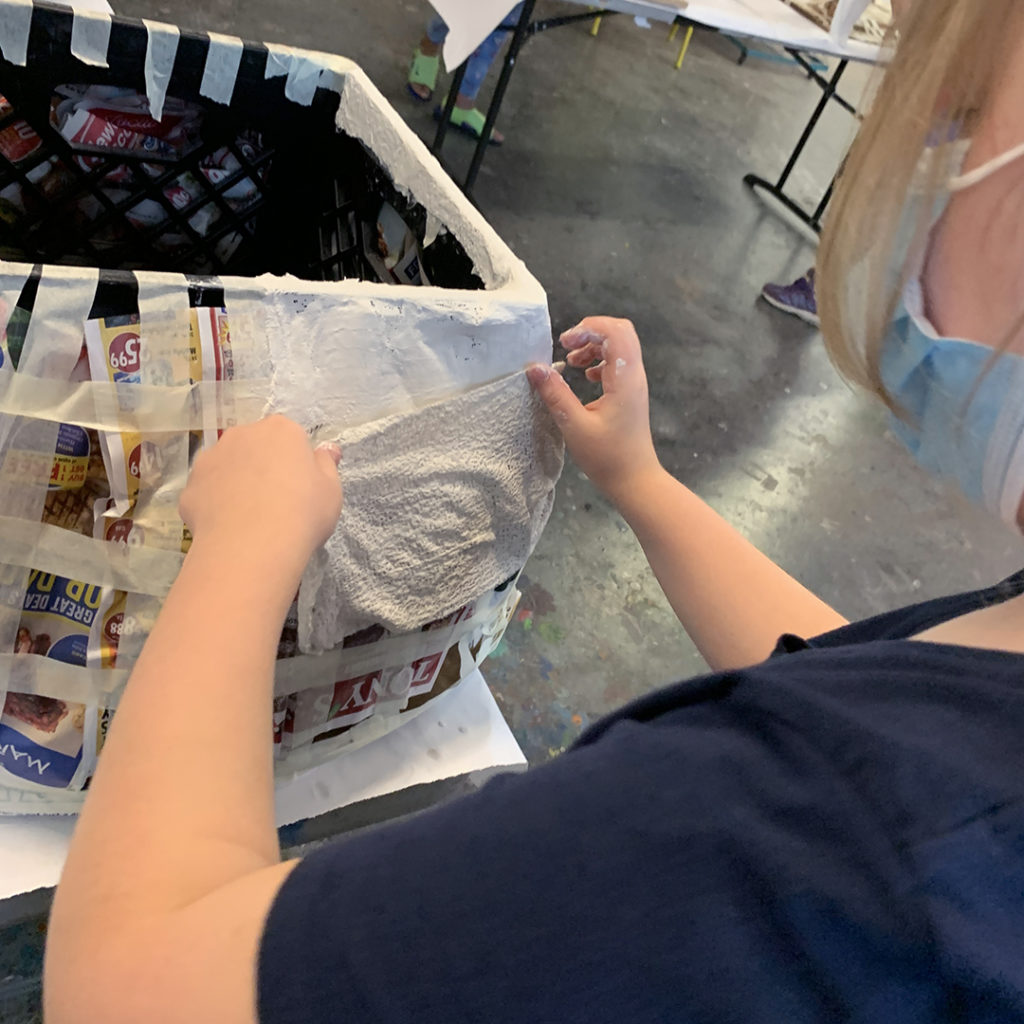
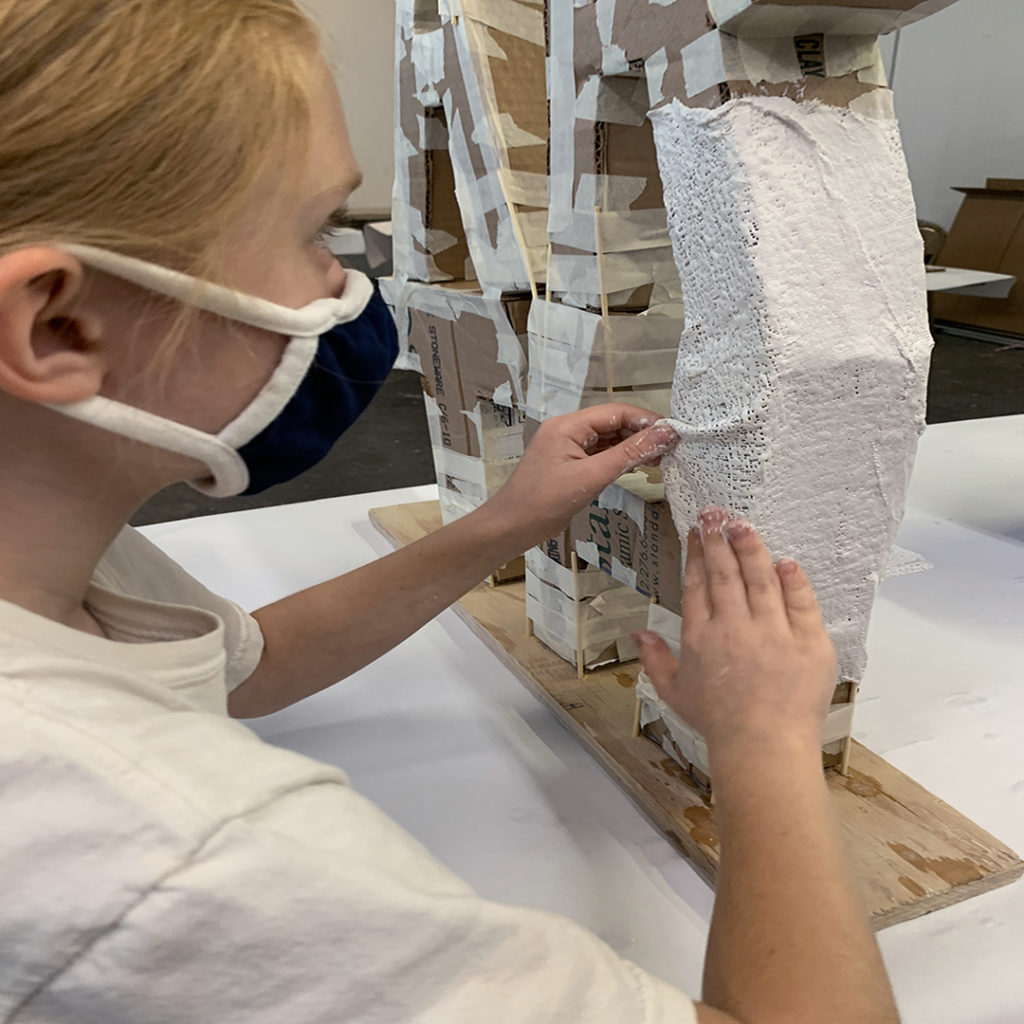
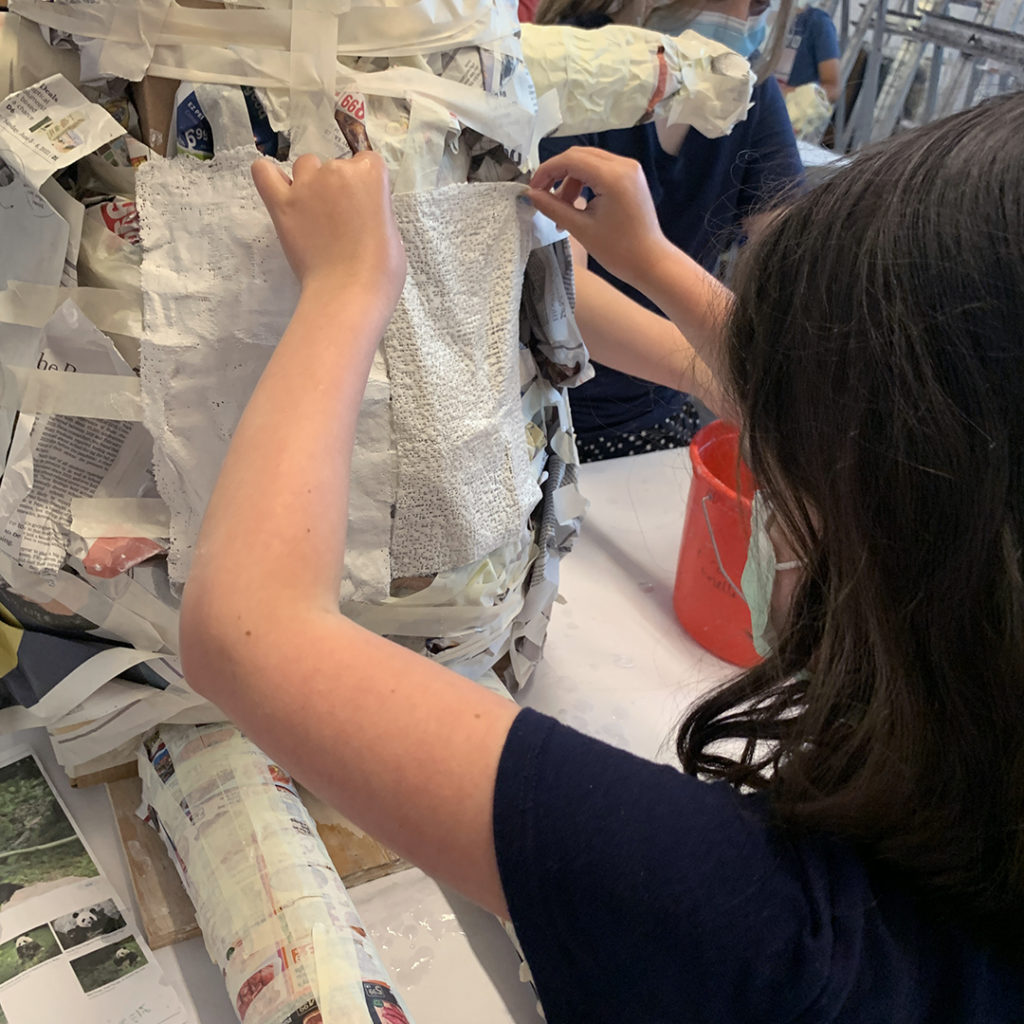
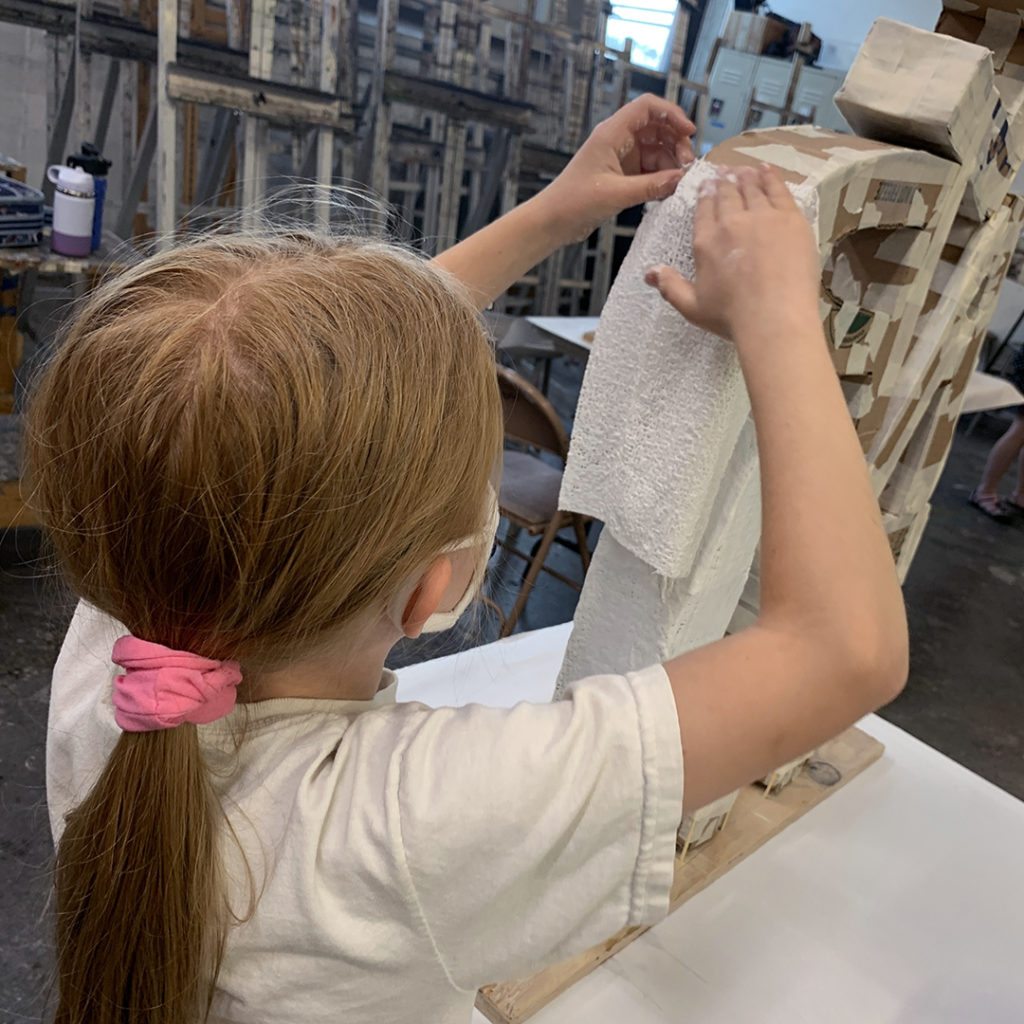
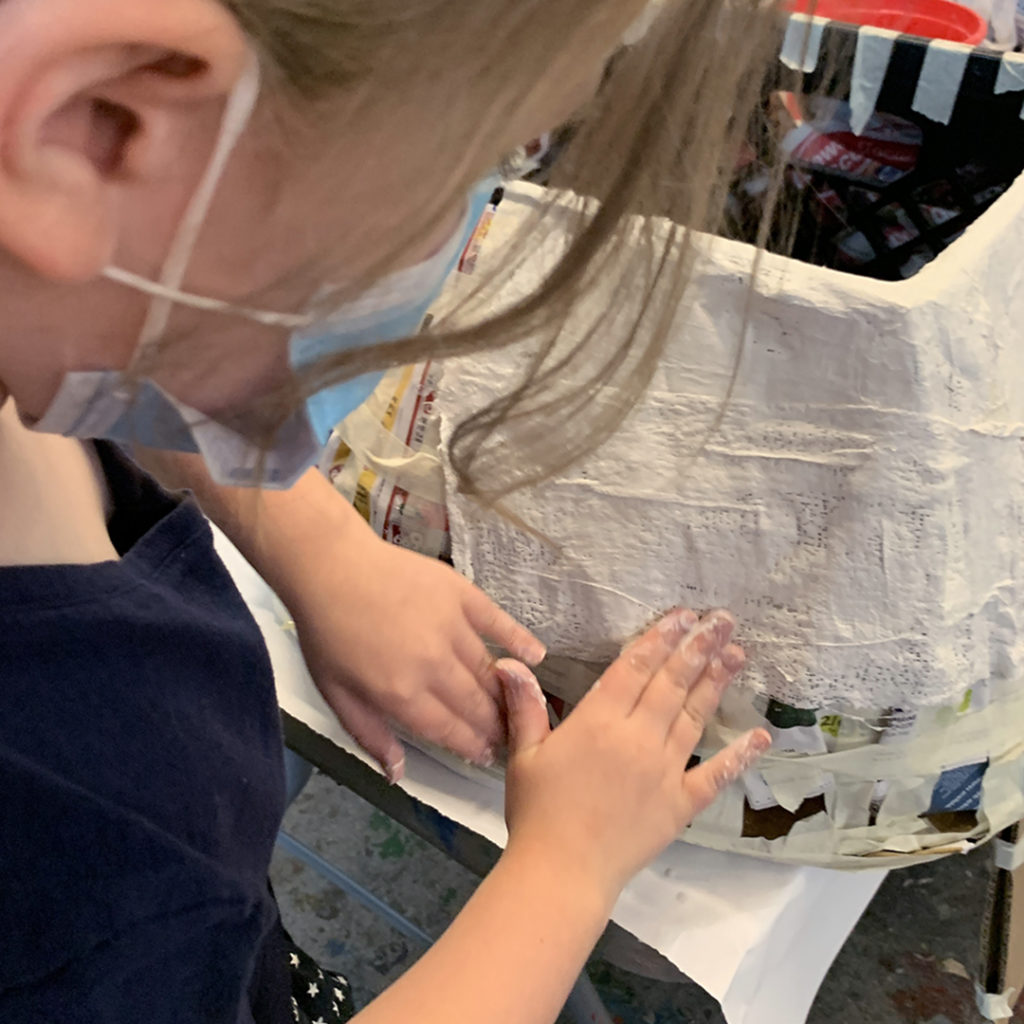
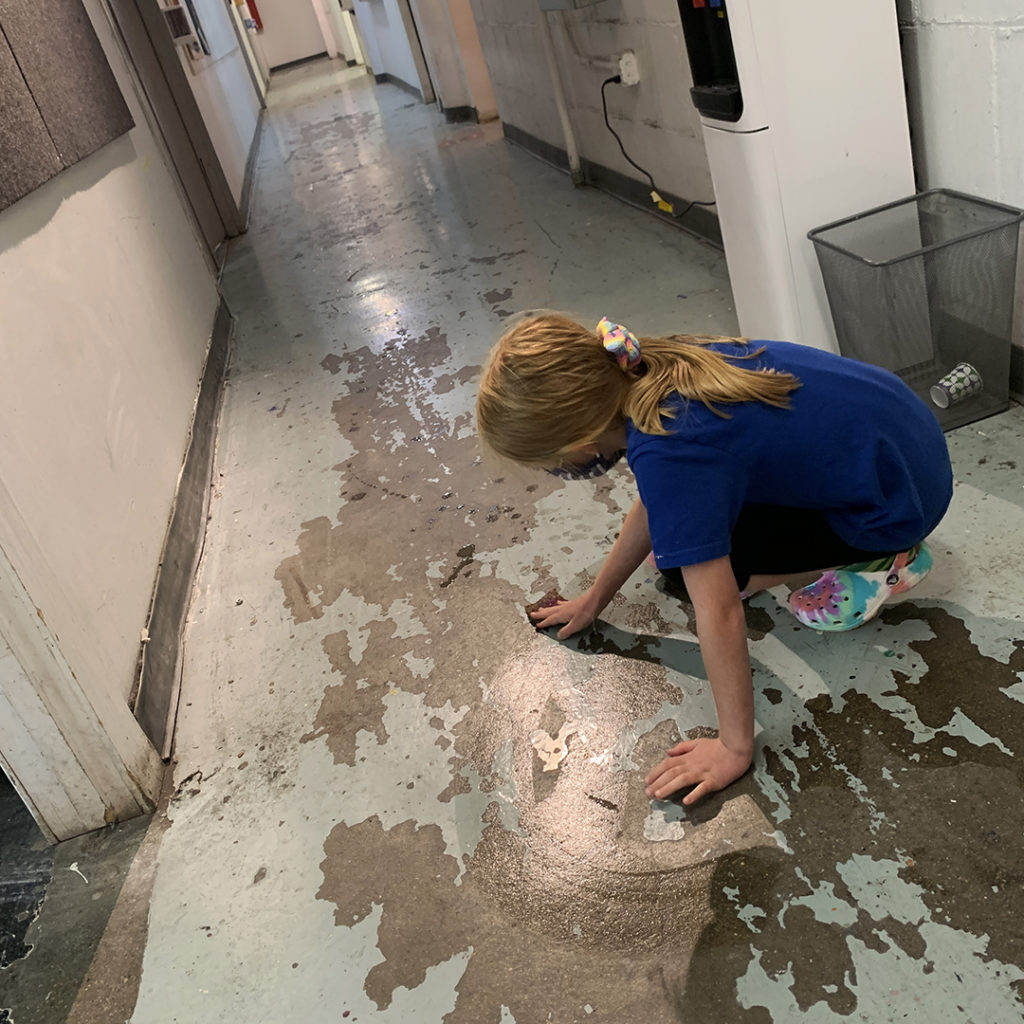
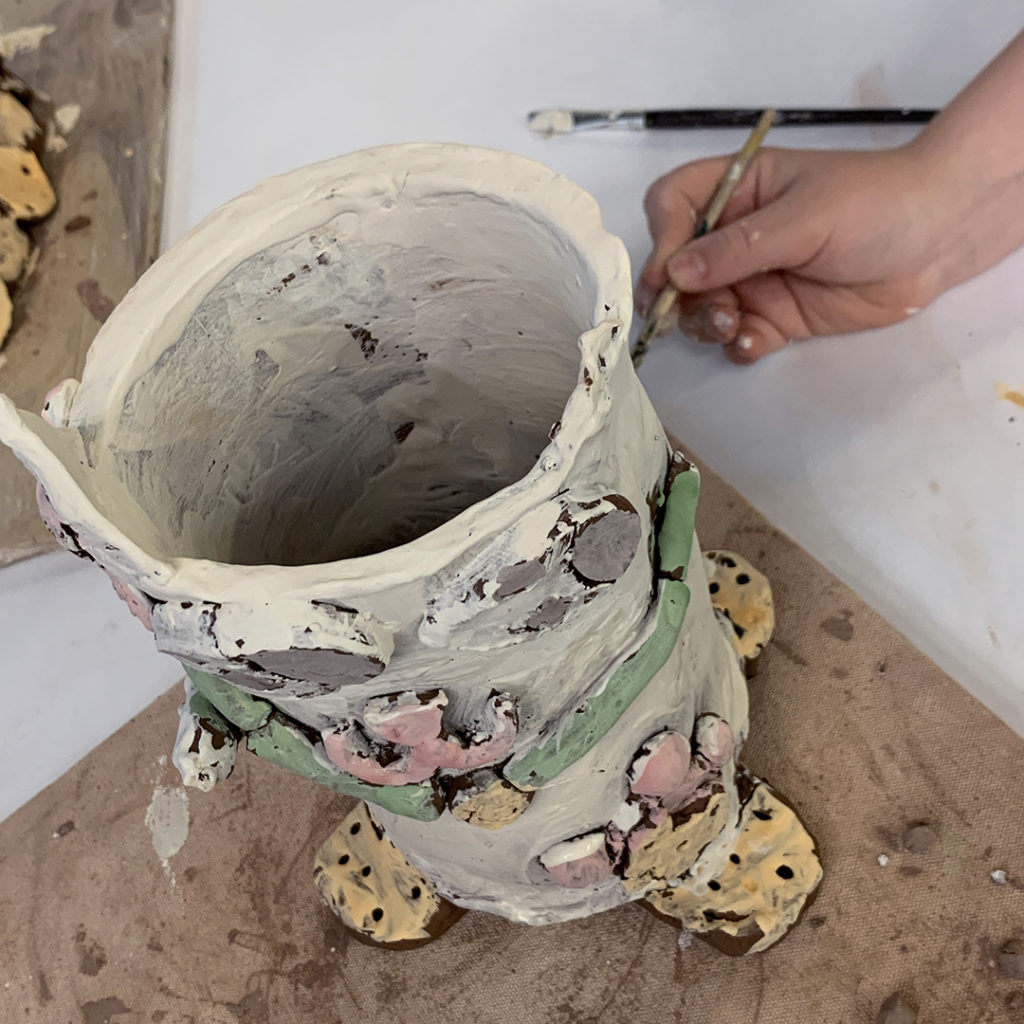
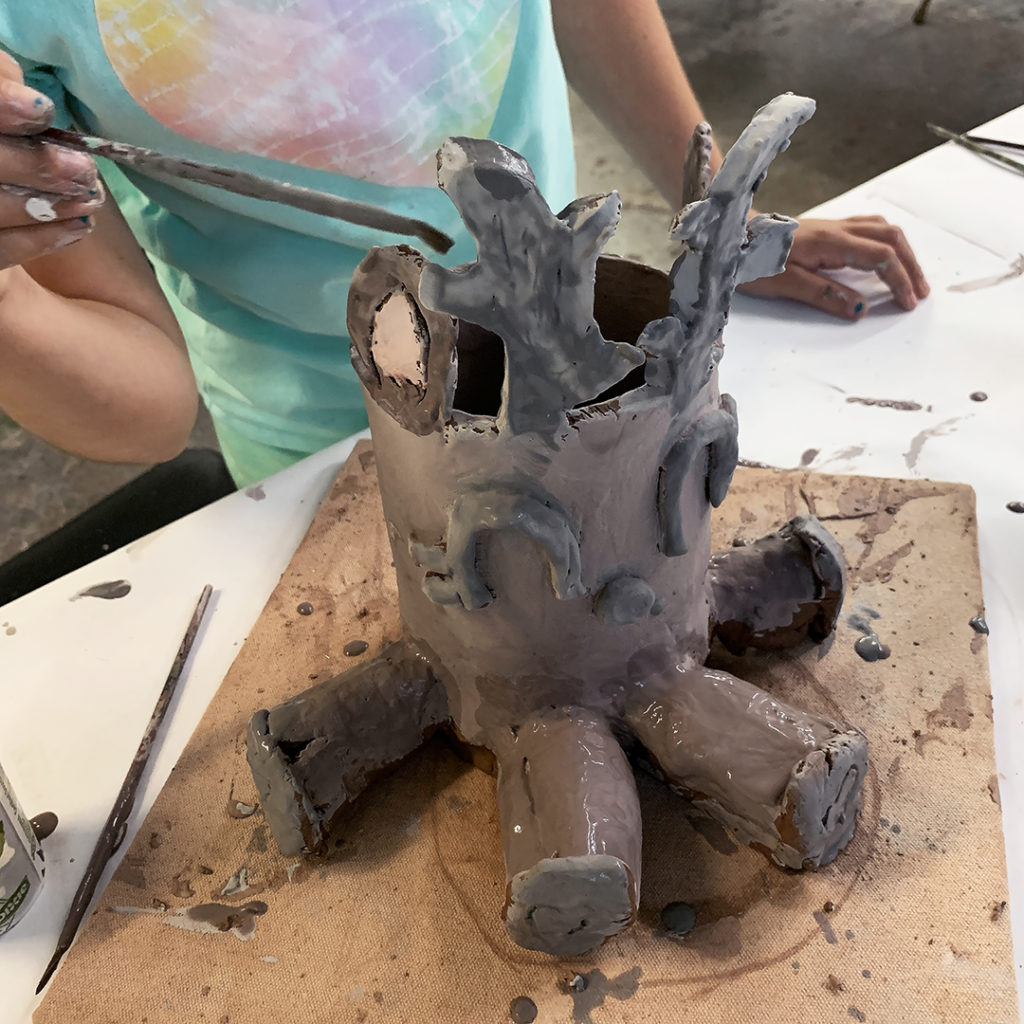
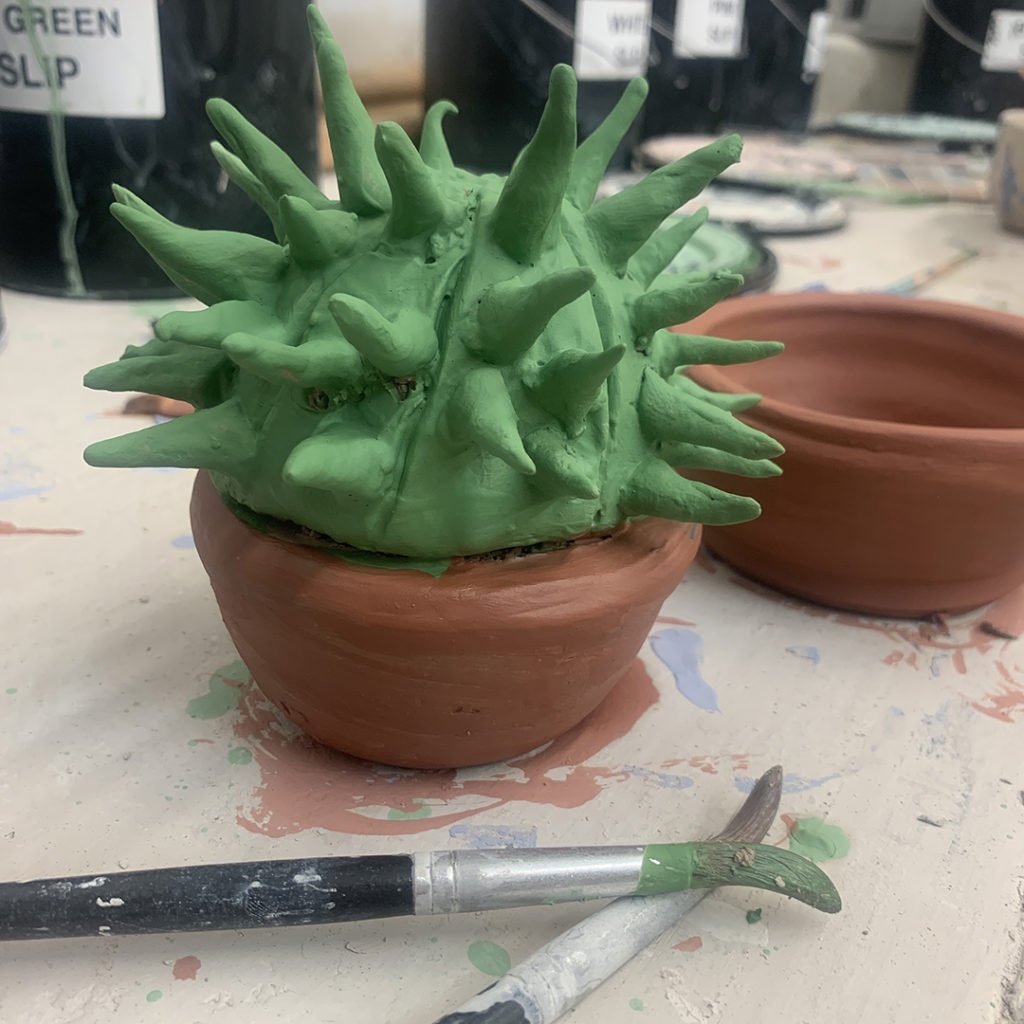
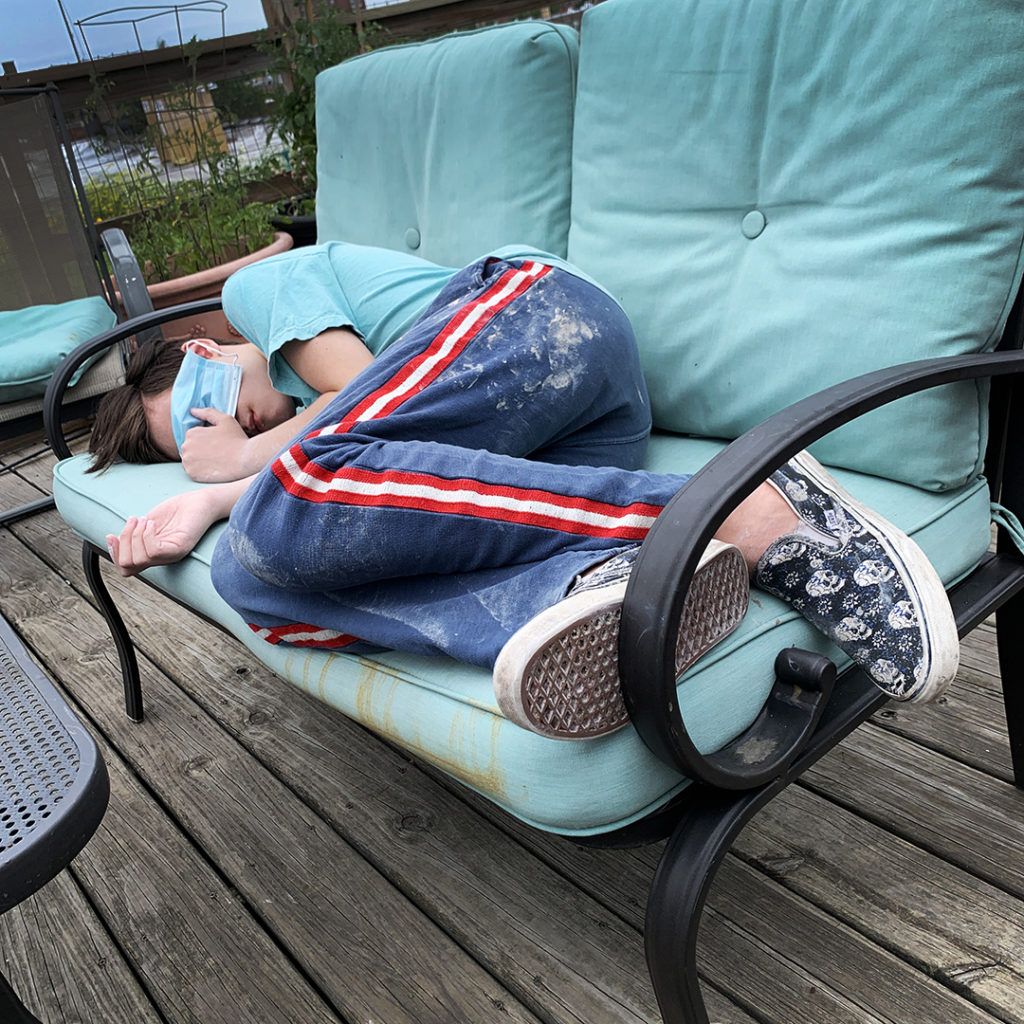
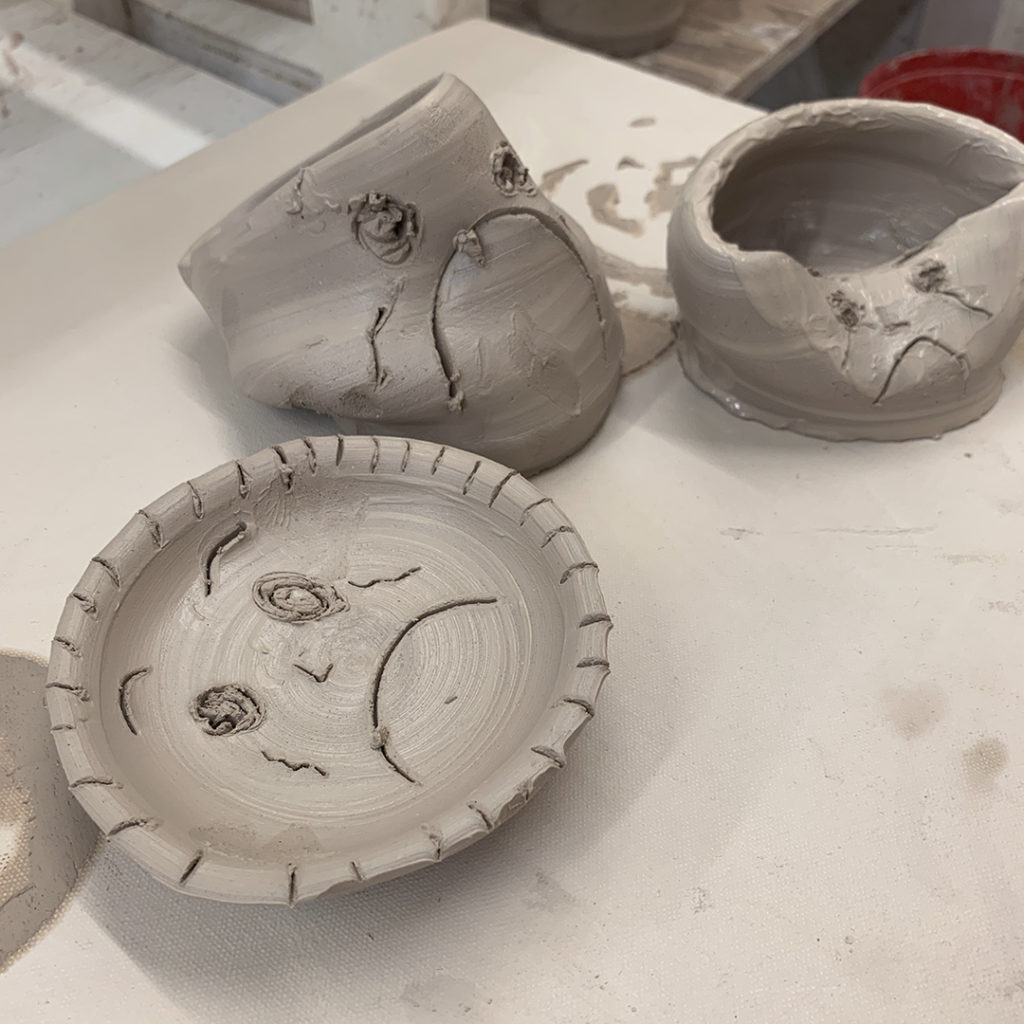
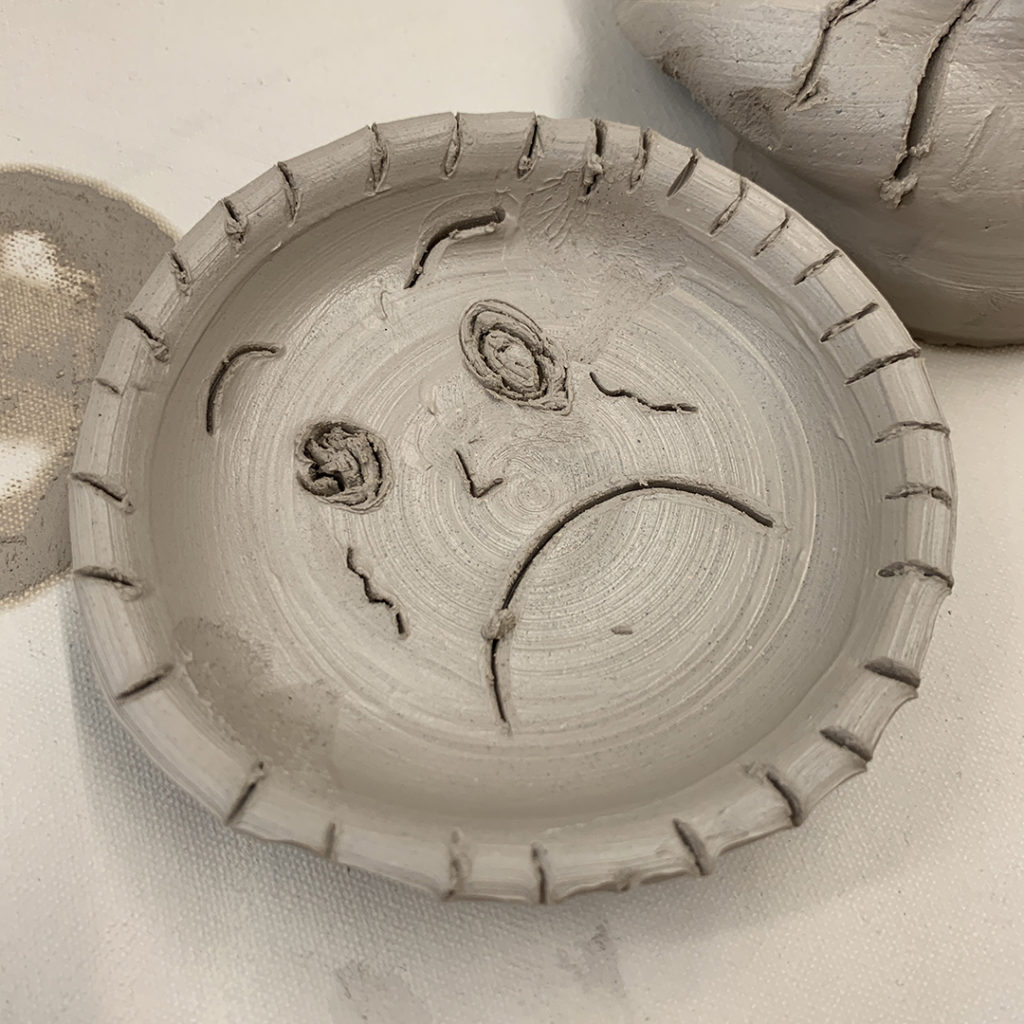
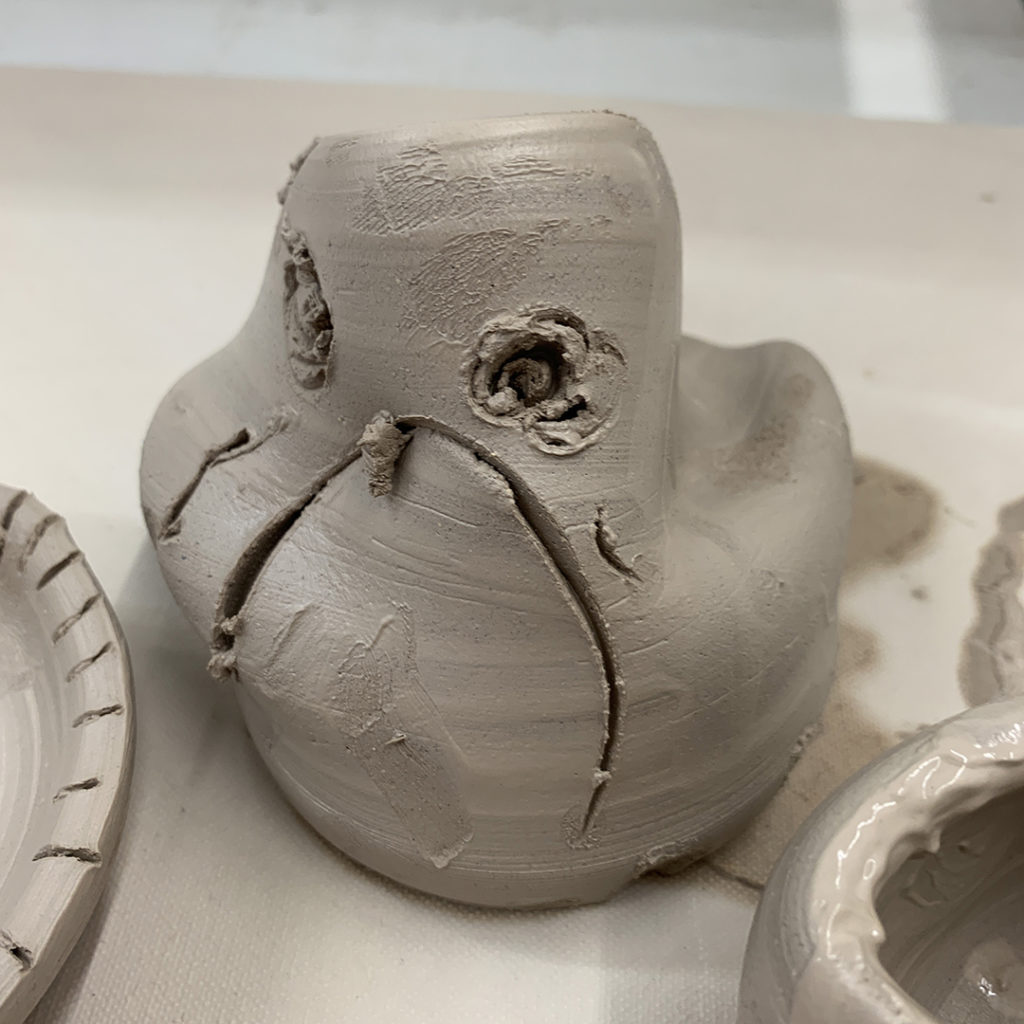
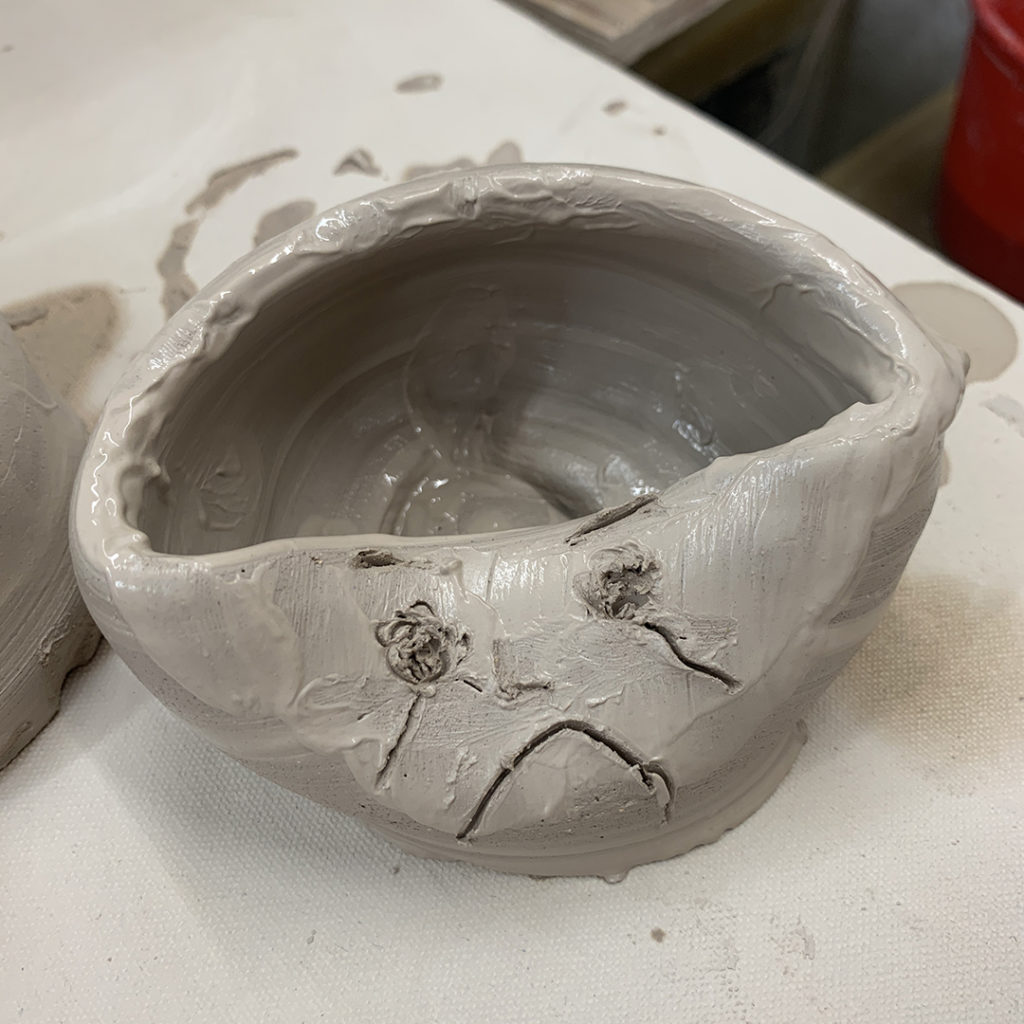
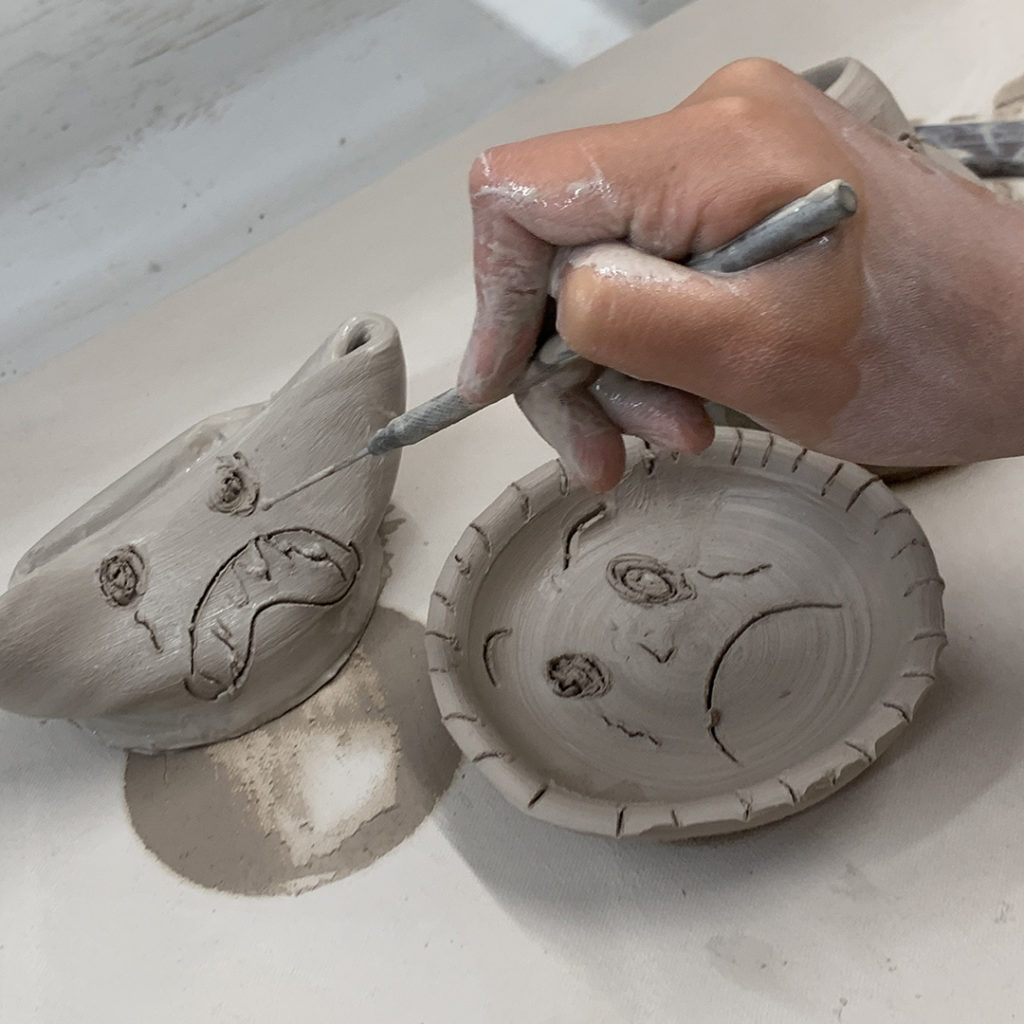
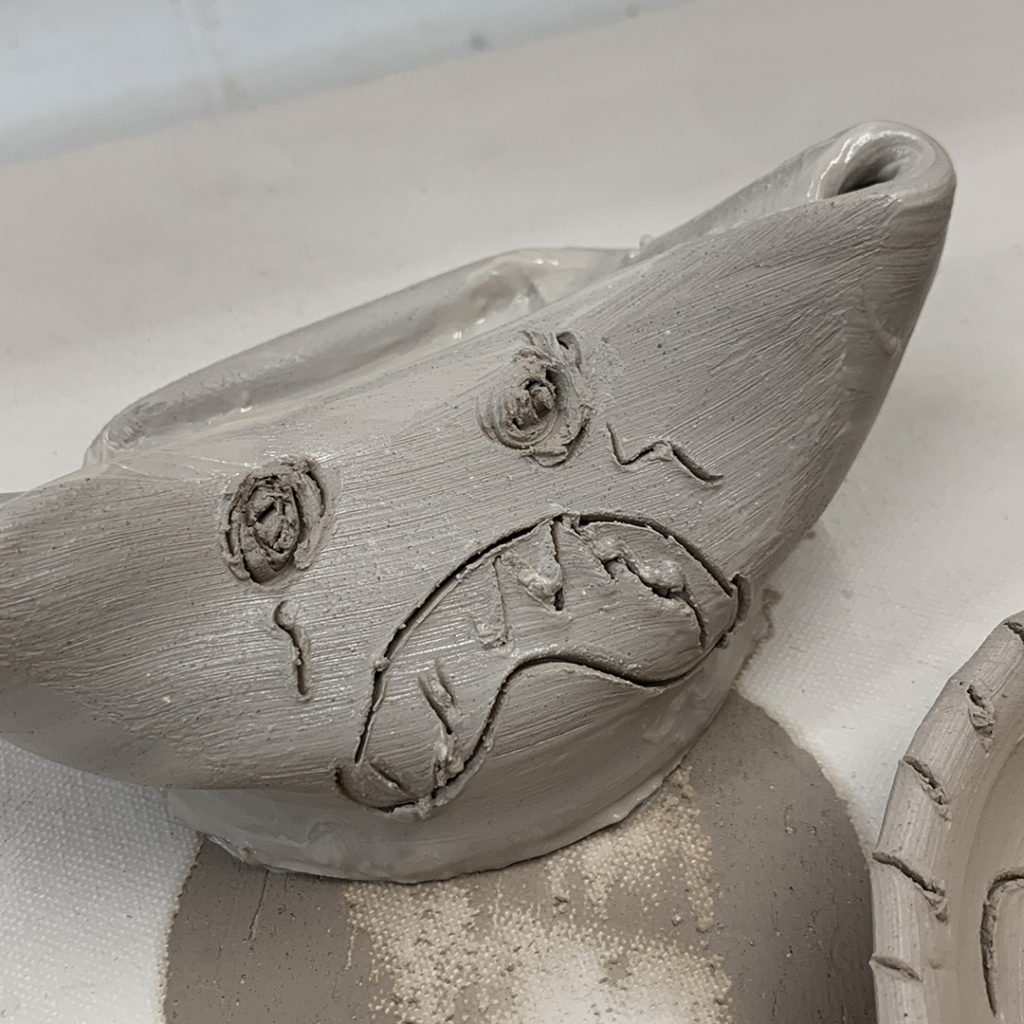
So if anyone is around Lillstreet this Friday at 3:00pm, my summer campers would like to invite you to their SCULPTURE SHOW. We’re going to turn our classroom into a gallery space to show-off their sculptures & flower pots. They will be setting up the show with proper gallery displays & signage, and work the show as docents to explain their work to the guests (parents) who stop by! They’ve worked hard this week… and they would love to show it off!