Gary Jackson: Fire When Ready Pottery
A Chicago potter’s somewhat slanted view of clay & play
Categories: glaze, mugs, process, studio

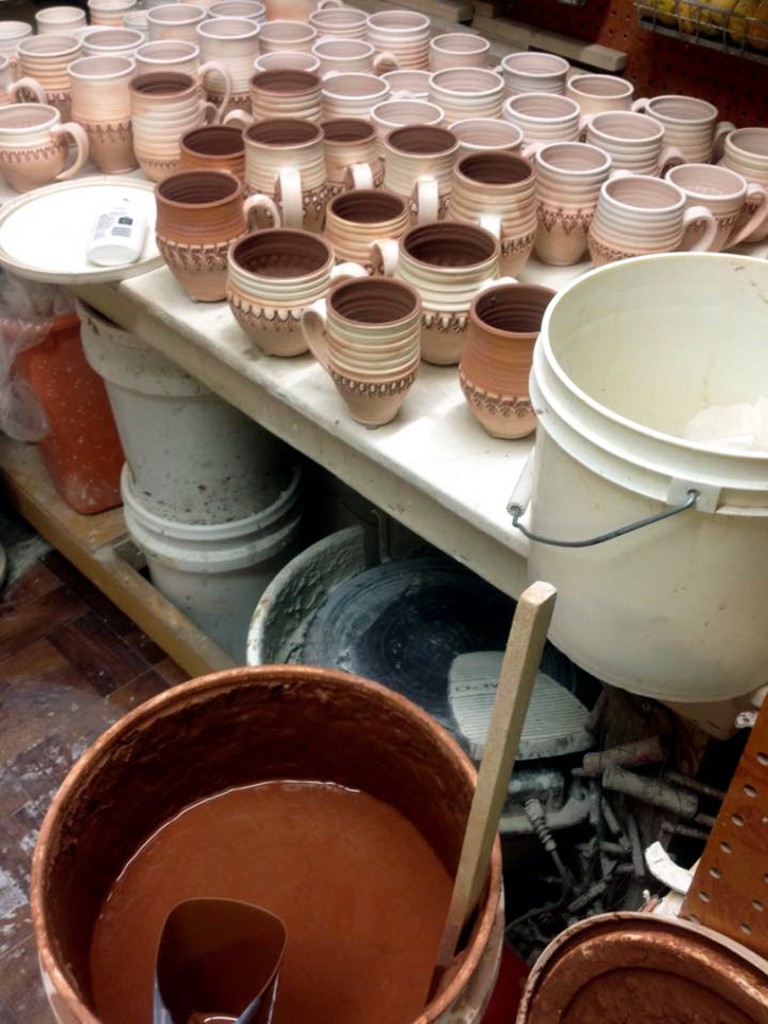
Got an early start in the studio this morning… as it’s going to be a LONG day of glazing!!!

Categories: glaze, mugs, process, production, studio

As my latest bisque kiln continues to cool…
I thought I would get a start on all of the glazing that I need to get done!
And why not start with my favorite?… MUGS!!! Okay, so there’s a few.

Categories: porcelain, stamped, studio

Spent some time in the studio “detailing” this evening.

Categories: porcelain, process, studio

After this morning’s race, I went to the Bucktown Arts Festival to see some of My Talented Friends. A goo dchance to say hello, see some art and walk off a little stiffness. Then to the studio for some more “porcelain therapy.” Gotta wrap ’em up so I can get home early to pack my gear, eat well & go to bed early for tomorrow’s big adventure!

Categories: mugs, process, production, studio

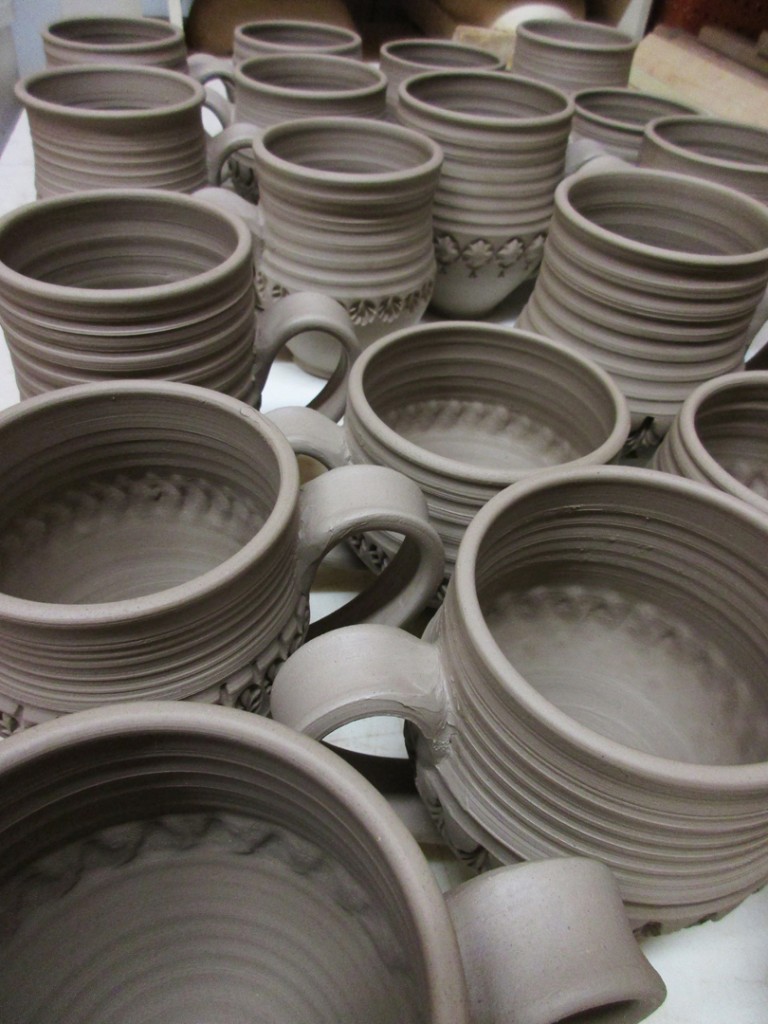
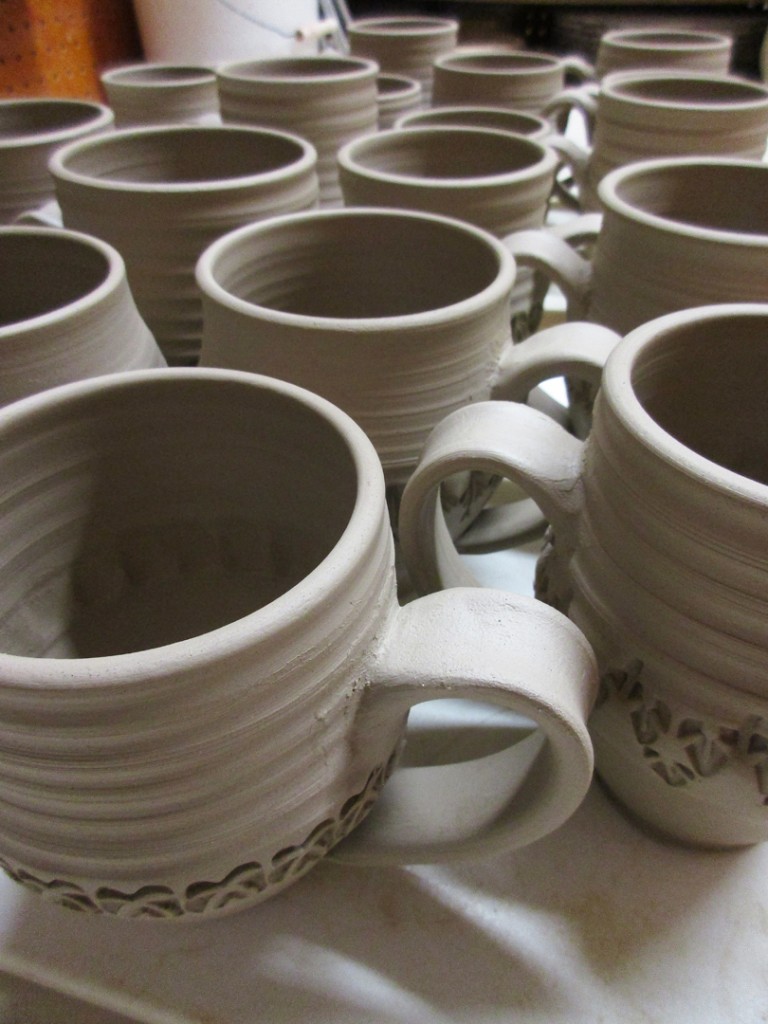
Today I added handles onto my latest batch of cylinders-to-be-mugs. They’ve been under wraps for a couple days, waiting for my schedule to calm down a bit. But tonight I bit the bullet and tackled the mugs! I start by making “carrot-shaped” wedges of clay.
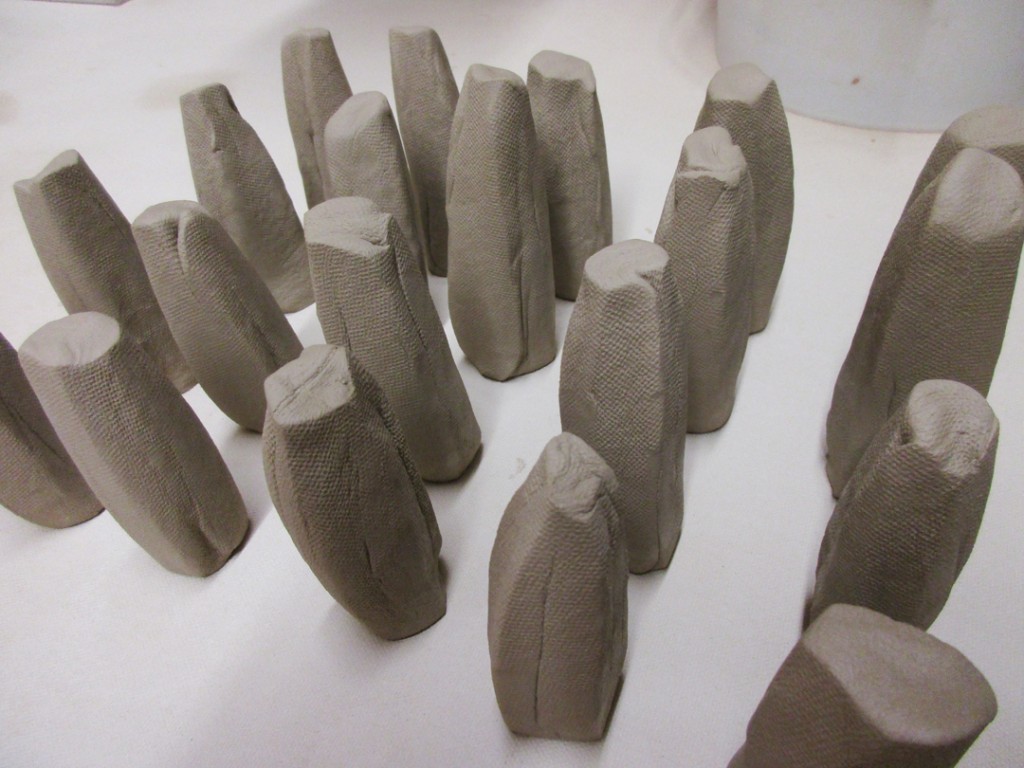
I then hold them by the fat end and pull a traditional handle. When I get the strap to the right width & thickness, I do a quick flip-over to establish the curve of the handle. I let them set-up like that for a few minutes before I start attaching them to the cylinders.
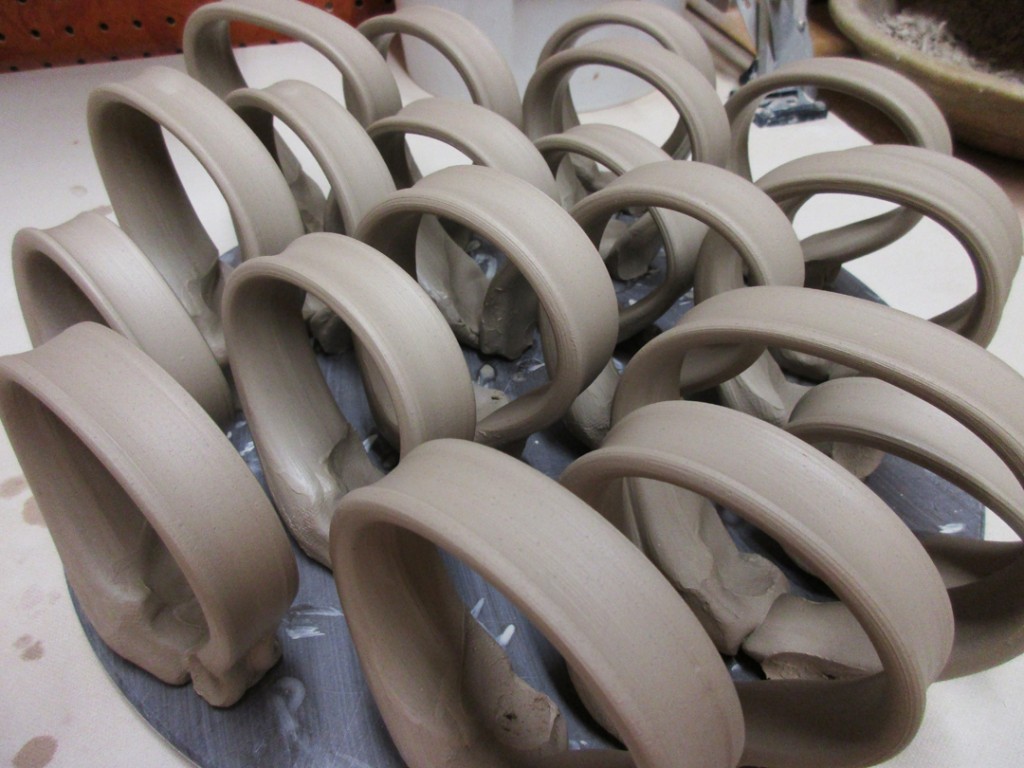
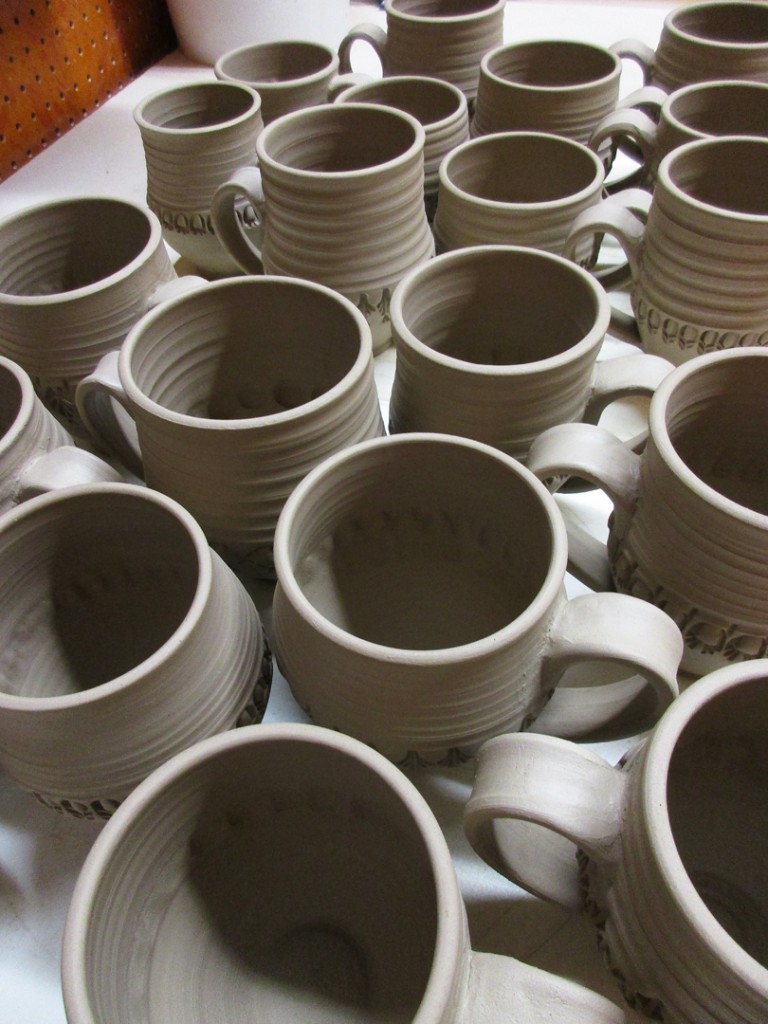
After a lot of scoring, slipping & attaching… the cylinders are now officially MUGS!!!
So now that they’re attached, I’m keeping them under wraps so that the moisture levels can settle down and even out a bit. I will add some colored flashing slip accents to them before I leave them out to dry.
Categories: clay, process, studio

So I’ve collected another batch of clay scraps & trimmings.
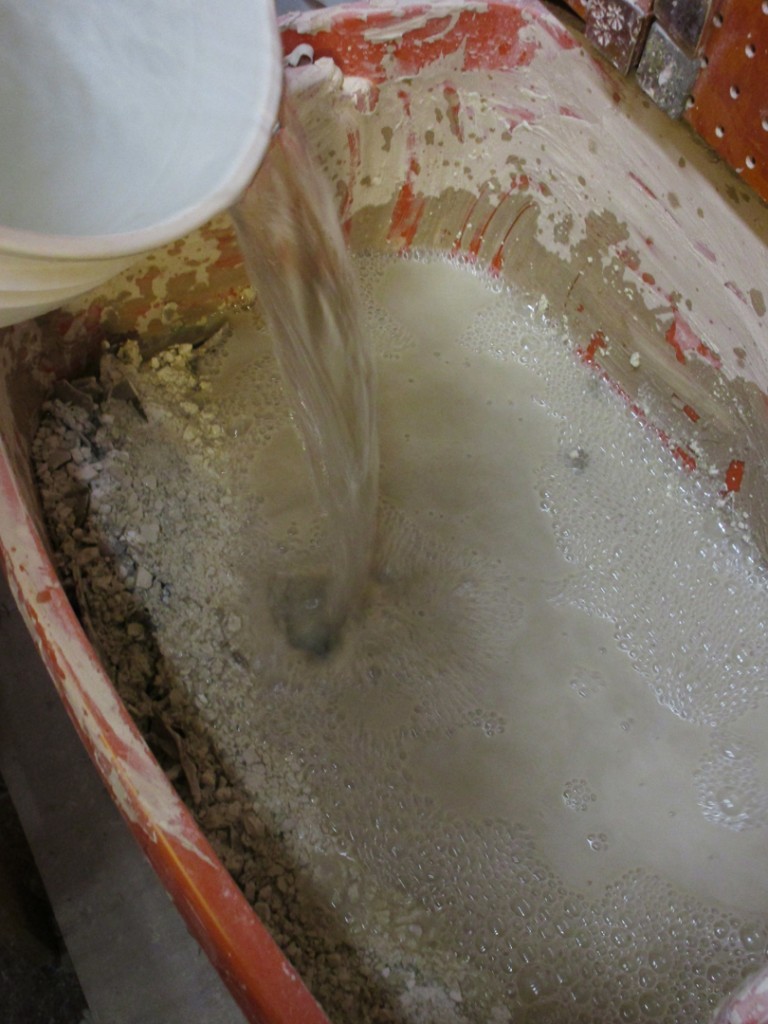
I’ve dried them and smashed them as small as possible. Time to add some water so that the dried clay can slake down. I’ll leave it sit for a week or so and then turn it out onto a plaster bat so it can stiffen back up into “new” and usable clay!

Categories: process, stamped, studio, textures

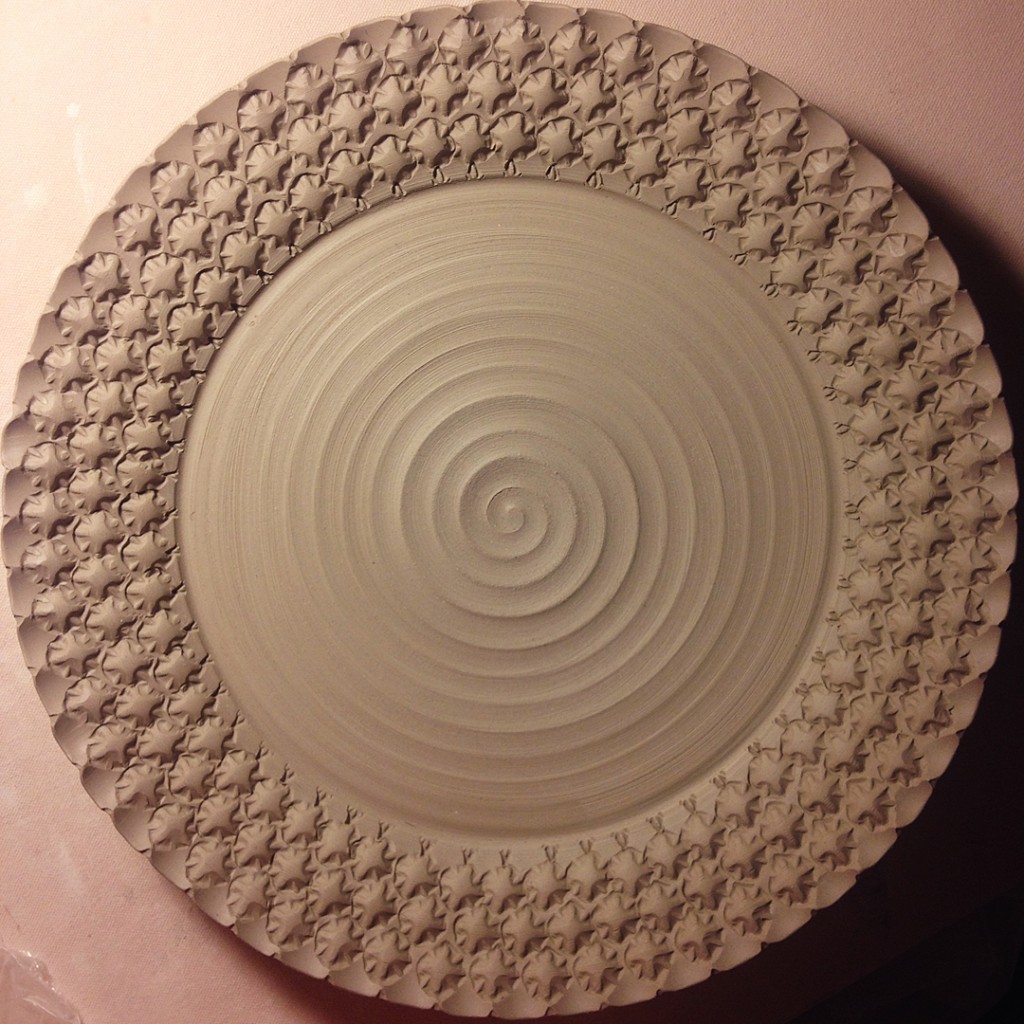
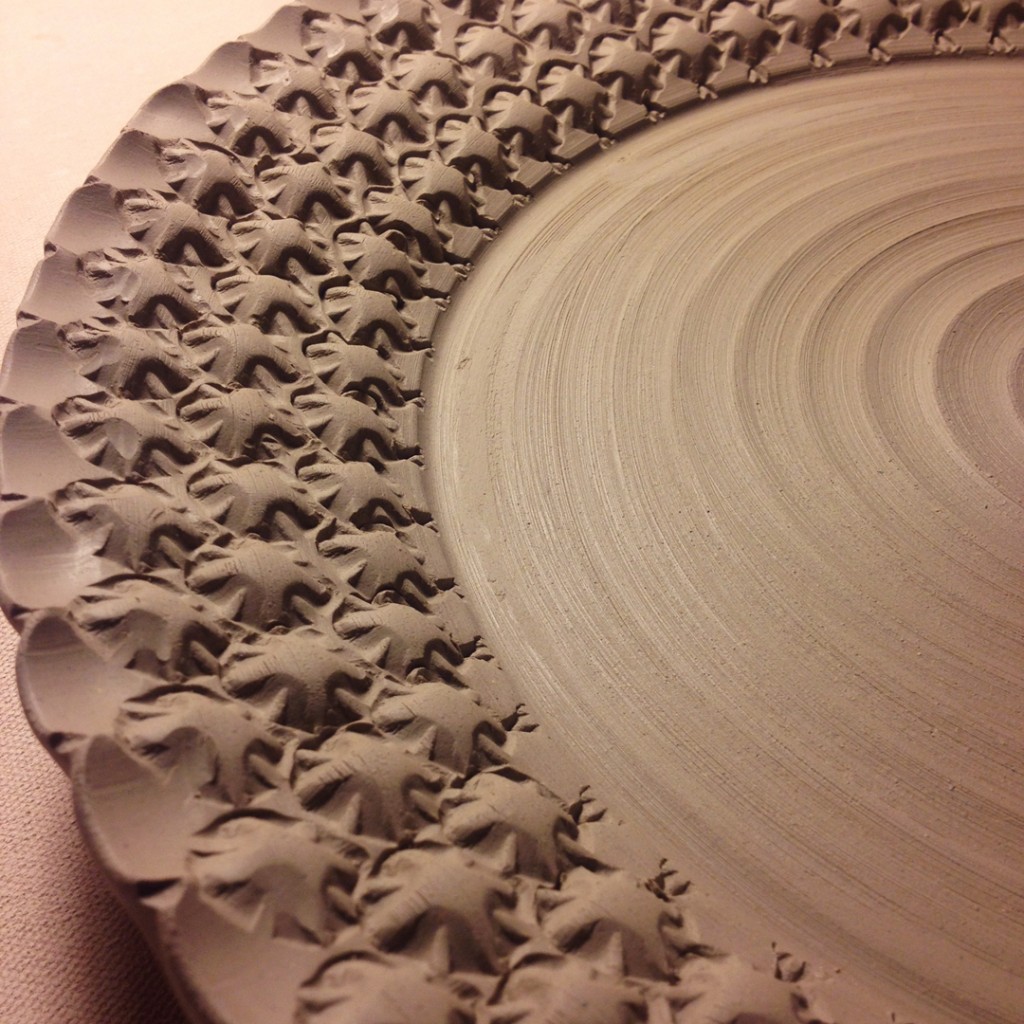
Here’s my stamped demo platter again from tonight’s class.
Amazing how a little different lighting can make a world of difference.

So much more dramatic, huh?! And this is just from the compact fluorescent bulb in the task lighting on my wedging table. I like the dramatic shadows it provides, but not a huge fan of the yellow tint it gives everything?! But for a cheap IKEA task lamp, it’s not too bad!!!

Categories: studio

And speaking of colored slips…
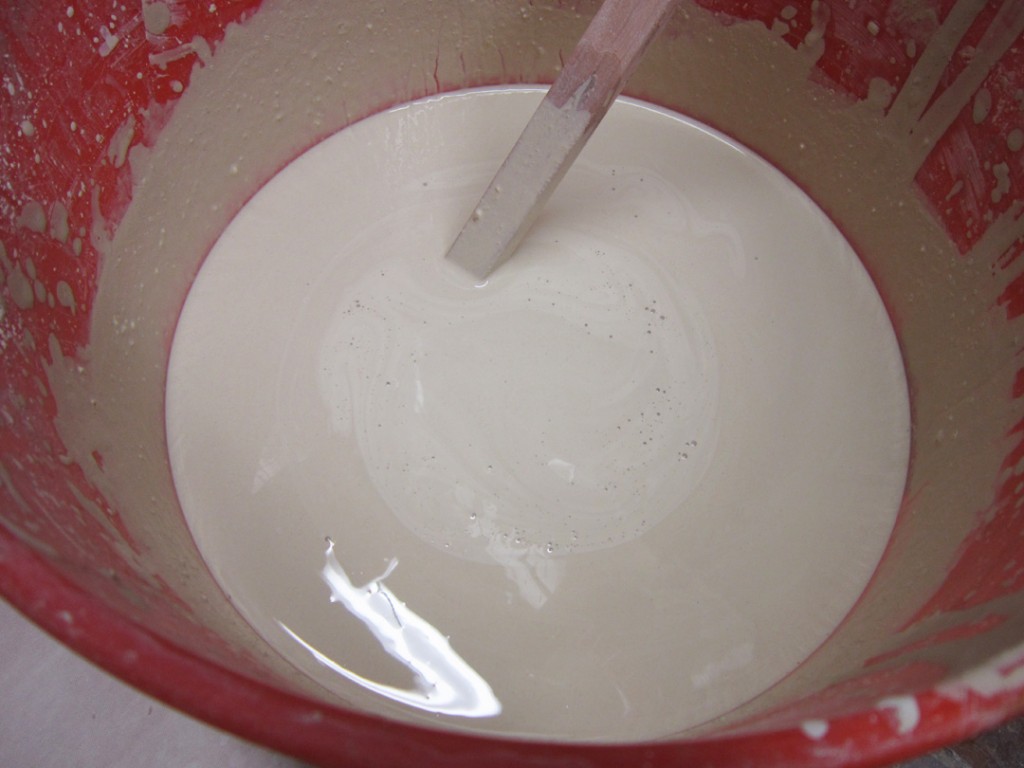
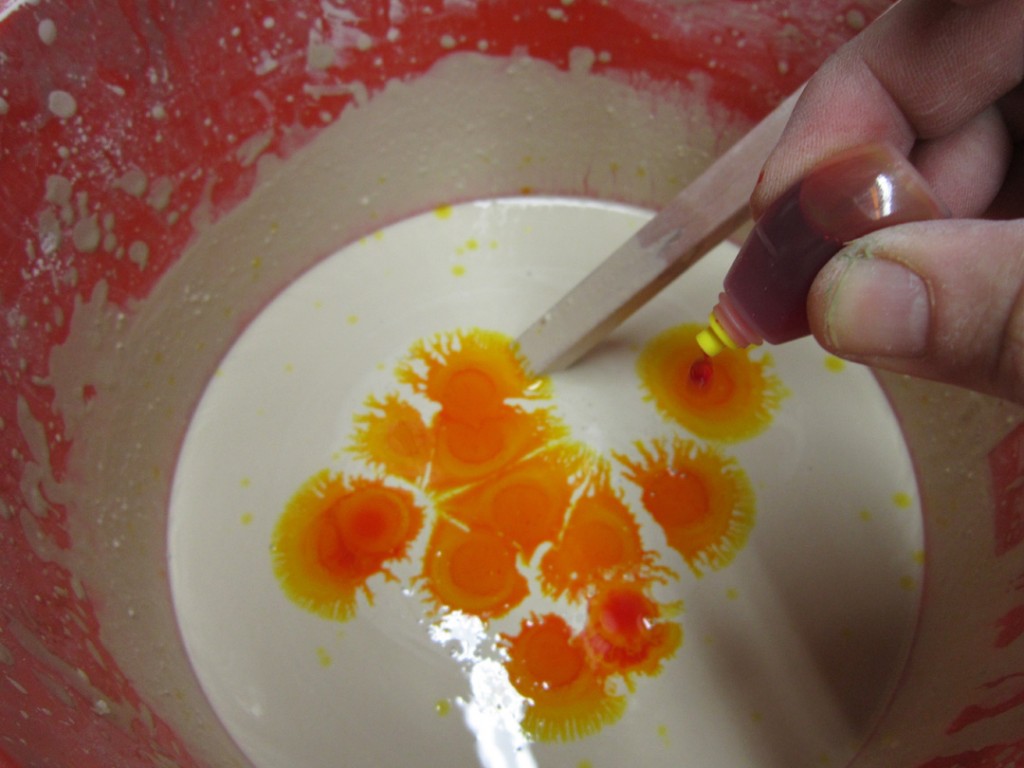
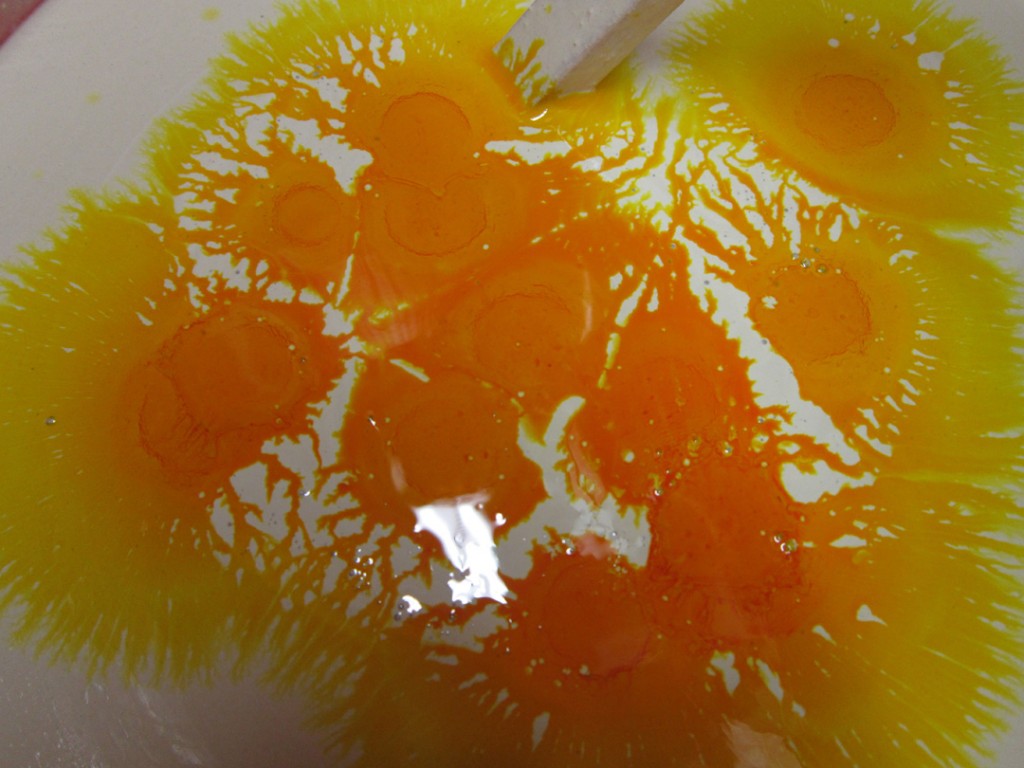
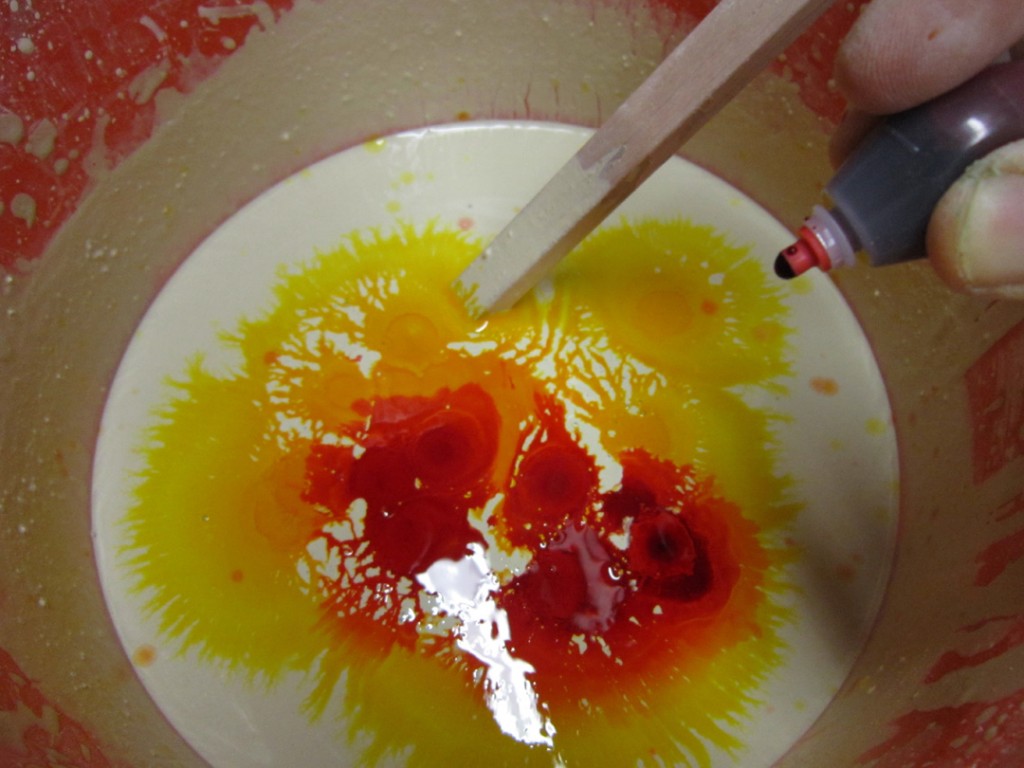
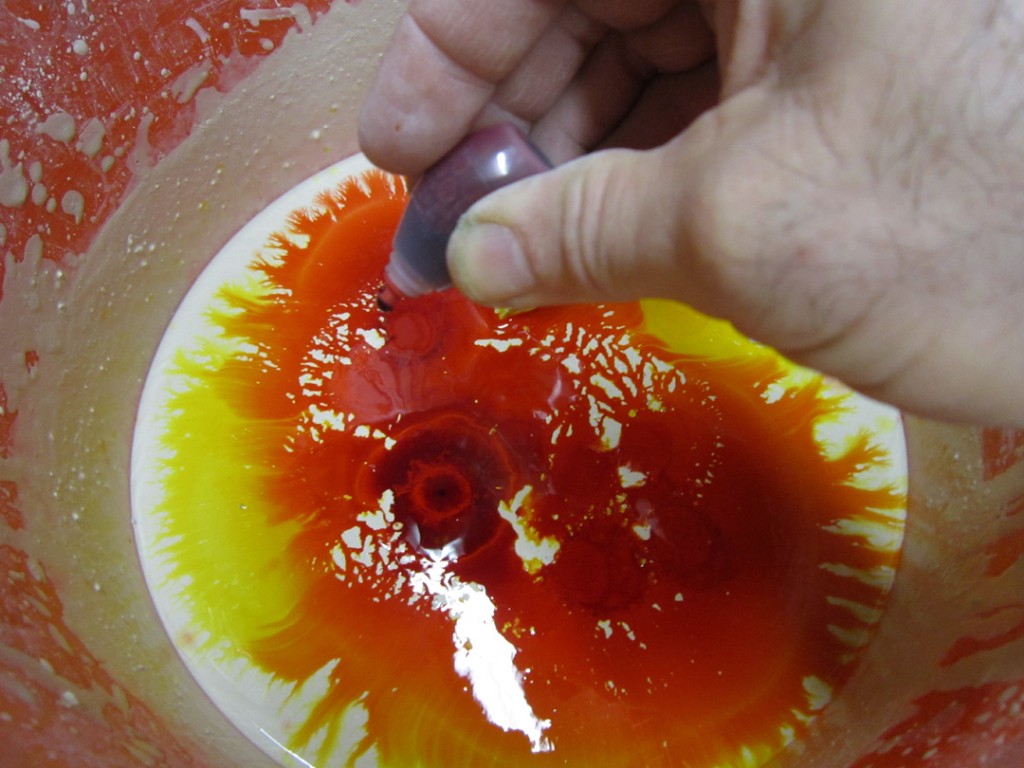
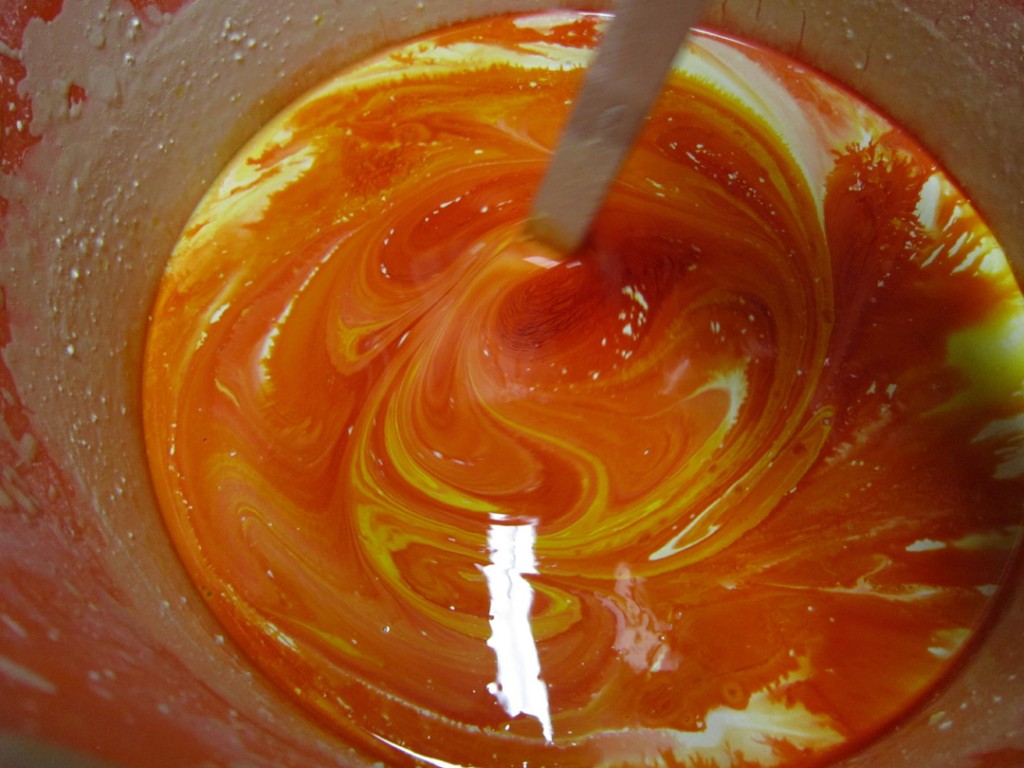
one of mine was too close to the same color as my clay. I “tinted” it with some food coloring so it would be a lot easier to see as I was painting it on. The food coloring will “disappear” during the firing process… leaving the colored slip exactly where I want it.

Of course my slip is NOT quite this colorful. I kinda wish it was…
But the photo shows it in mid-mixing. And I unfortunately did not remember to take
an “after” photo of the final tinted slip.                     My bad.


Categories: production, stamped, studio

Tonight I finally got around to finishing up some wall pocket vases.
Trimmed, stamped and accented with some colored slip.

Categories: studio, tools