Gary Jackson: Fire When Ready Pottery
A Chicago potter’s somewhat slanted view of clay & play
Categories: process, production, stamps

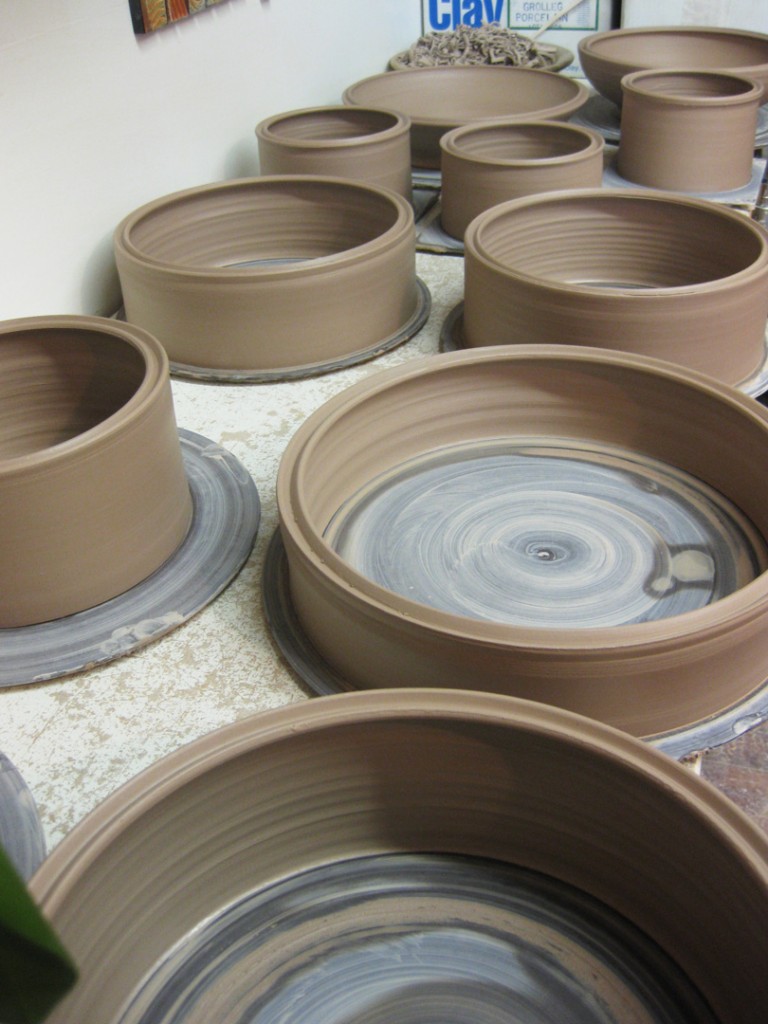
Well, Tuesday night one of my students requested another plate throwing demo.
Who am I to disagree?… so I threw them a 7-pound platter demo for them.
And what’s a good platter without some fun stamping?! So here we go…

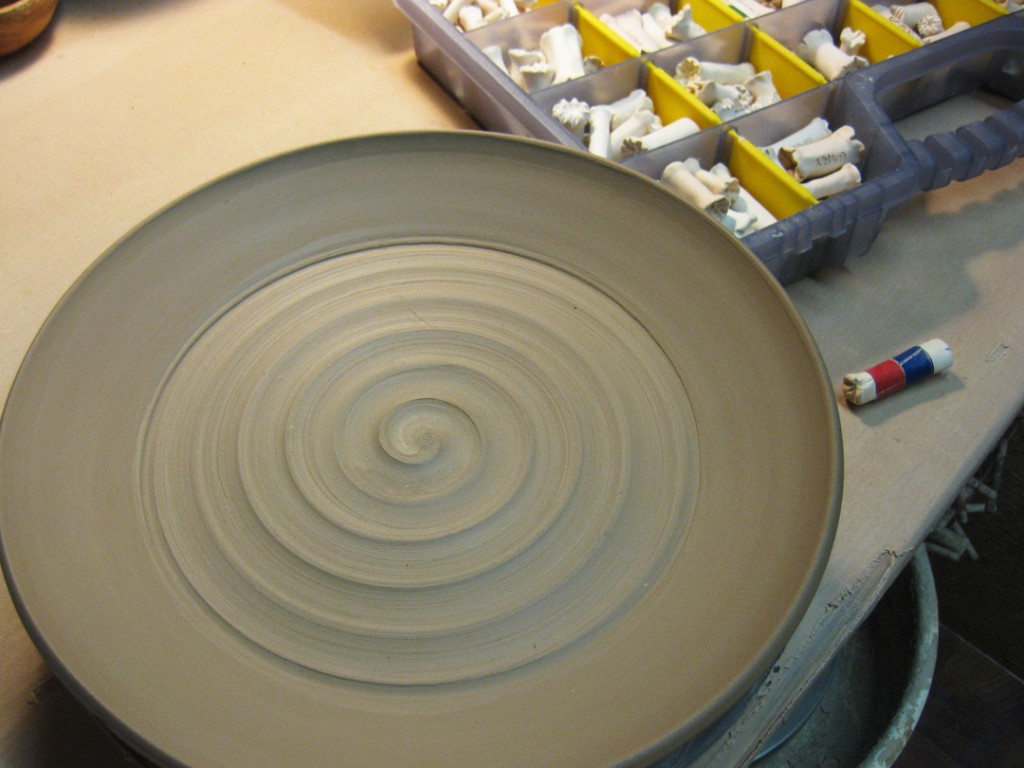
We always start with a plain platter and a smooth flange waiting for texture!
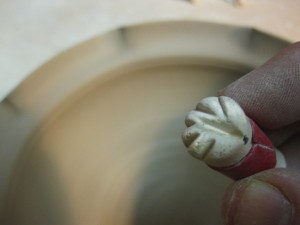
Then I root through my tool boxes full of stamps to find the one I want to use.

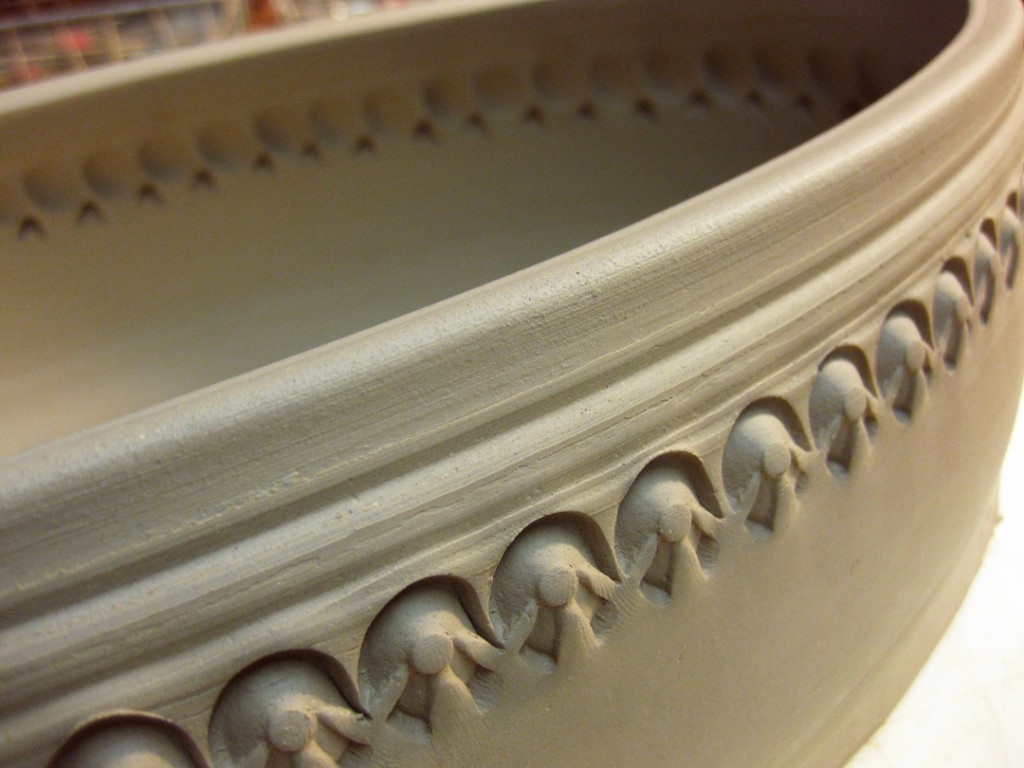
Some simple repetitive stamping with the same stamp creates a nice border.

And if one row of stamps is good, would more stamps be even better?!

And then, to accentuate the pointed design, I used a smaller stamp to make a tiny
indentation at the bottom of each point.

All the way around to make a nice repetitive pattern. A little fluting around the edge
and the platter is done for now. Now it needs to stiffen up a bit and dry enough to be
considered leatherhard – ready to trim! And there’s another platter done!


Categories: process, production, stamps

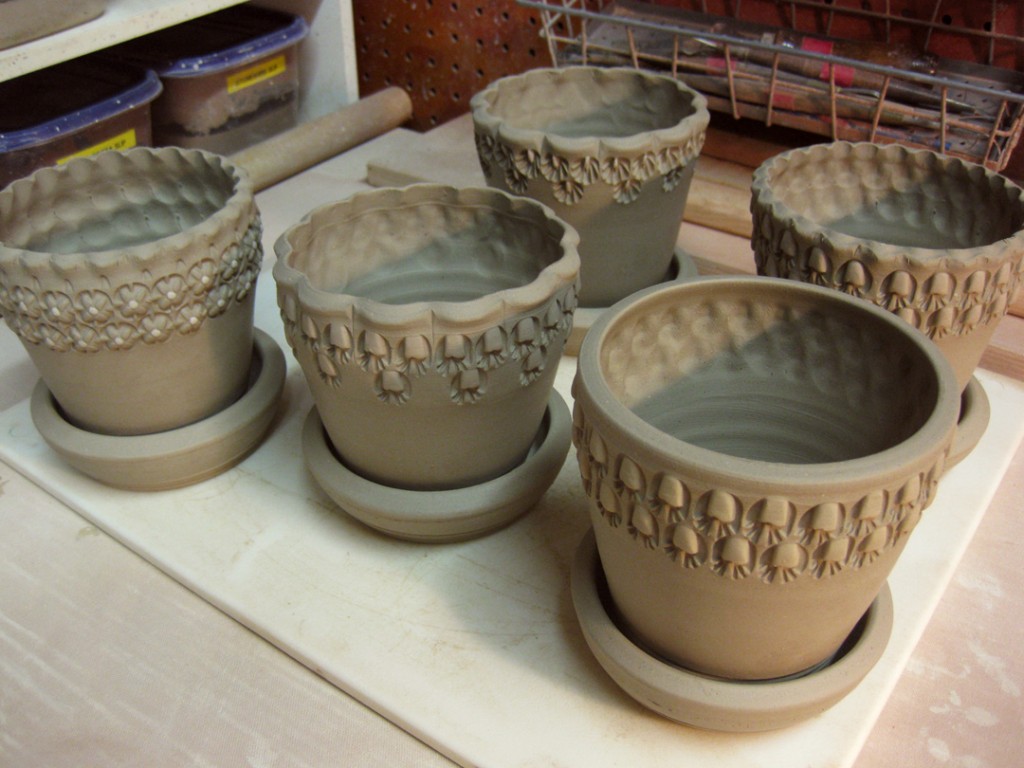
I think that the small flower pots I threw yesterday are going to be the perfect little pot
for window herb gardens! For some reason, they look a little larger than life in the photo?!
So the pots I threw yesterday before my bike ride are now all stamped, slipped, trimmed
and sitting on my rolling cart ready to dry.

Which was all part of my master plan… and time crunch.
I knew I had to make something that I could finish fairly quickly so that I could
get everything onto my rolling cart – and out of the way!

My friend & fellow potter Amy Higgason is coming in tomorrow to set up her work
for her Trunk Show in my studio. It was questionable for awhile whether she was
even going to make it to Chicago?! She was snowed in with over 3-feet of snow and
couldn’t even get out of her driveway. But she shoveled and drove south!!!
Can’t wait to see her and her new pots fresh from her kiln!!!

Categories: process, production, stamps

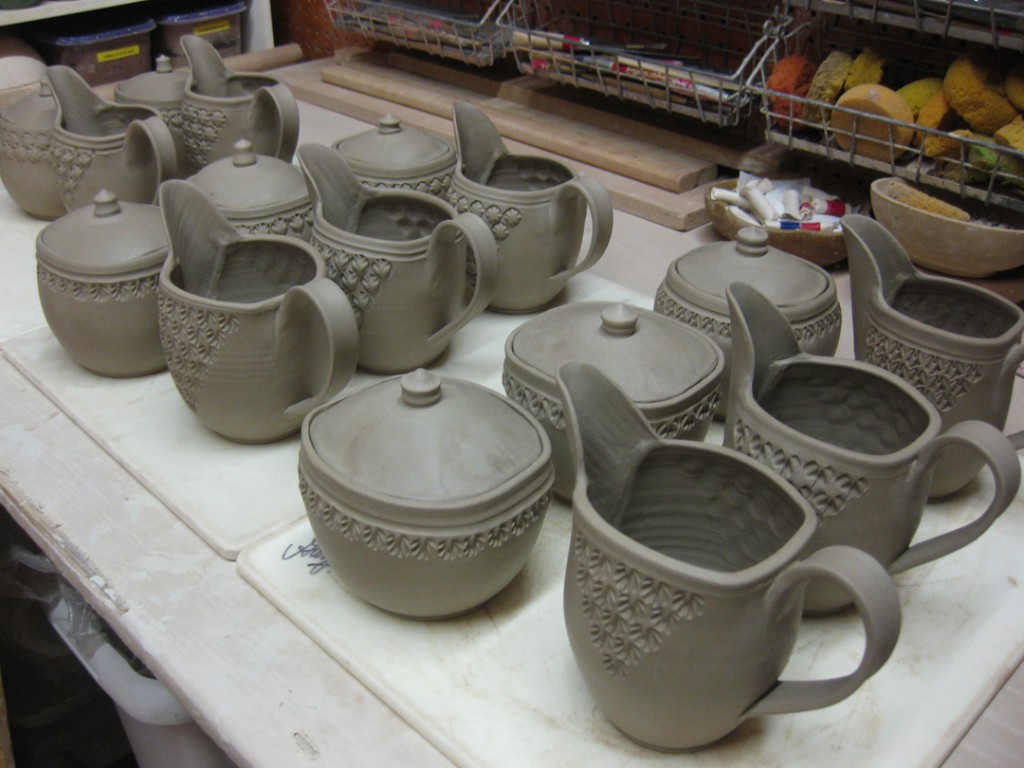
After my bike ride break… I was back in the studio trying to finish up some new pieces
I’ve been working on. After the Julia Galloway workshop, I realized that I have never
really made sugar & creamer sets. So why not give it a try… and use her inspiration
to make them with my own twist. So far so good… now they’re drying and waiting
for some flashing fun in the soda kiln. I’m pretty pleased… but a lot can still happen to them?!

Categories: classes, process, stamps

While Tuesday may have been the sweetest evening for many… I spent the night with my
beginning wheelthrowing students. Who let me just say are moving along quite nicely!!!
We’re now more than halfway through the session and tonight we tackled ovals.
Some of my returning students have enjoyed making ovals, so they asked for them again!
And I am always more than willing to make more ovals!!!

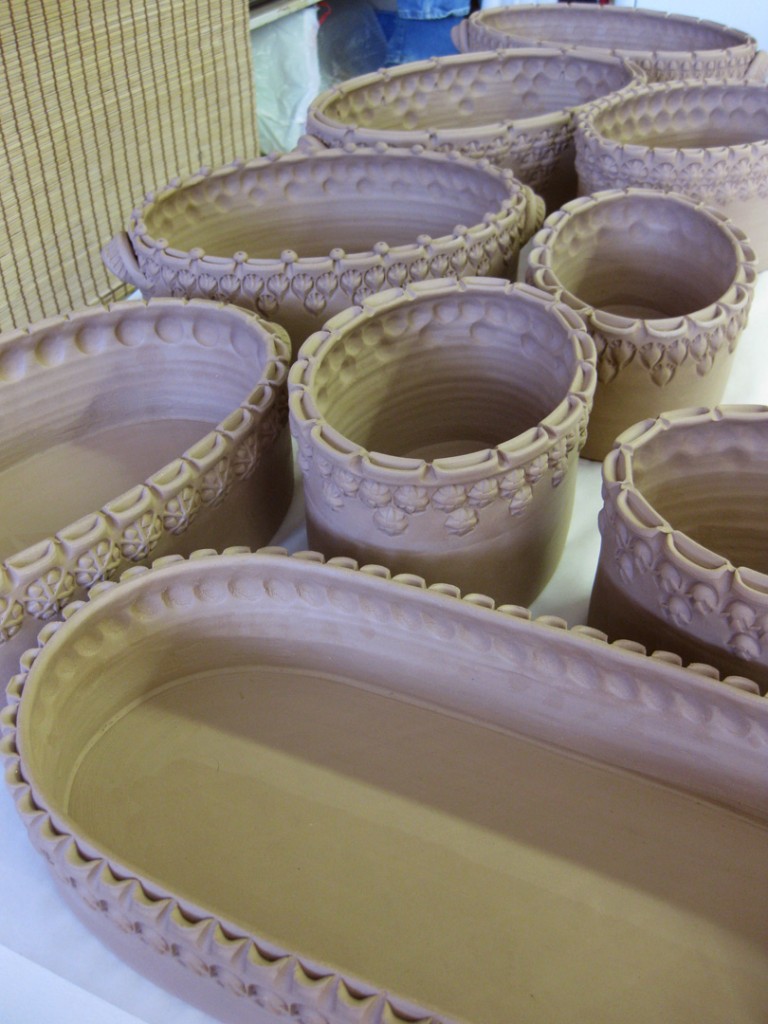
So here’s the first oval demo. Yes, it’s basically just a straight-sided cylinder with no bottom.
Then, once it stiffens up a bit, I remove it from the bat, move it onto a ware board and
shape it into the final oval shape. And this is where we start the photos…

Then, it’s time to pick the “perfect” stamp from my toolboxes of hundreds!

Carefully pressing one stamp at a time, all the way around the cylinder.

Then I felt that the rim was a little bit heavy and “chunky” looking. I felt that it needed
a little splash of fun too. So I pulled out a square-ended chopstick and started
“denting” the rim.

Then, from the inside of the rim pressing outwards, I used a round dowel rod to add
some curve divots to counter-act the sharp edges of the dents on the outer edge.

And here it is… the “now-stamped-and-decorated”  cylinder walls. Next up, it’s time
to add the bottom to the cylinder so it appears seamless as though it has always been
part of the pot. Then, handles will be added and the drying can commence!

Then here’s the second oval in the works!
It started as a bottomless cylinder just like the first one. This time I used more clay
for this demo – so the cylinder is a bit larger and taller, plus we added some voluminous
curve to the walls. Next, I slice it off the bat and move it onto a ware board while
stretching it into the oval shape!

Again, it’s time to choose a stamp trying to picture the how the final texture will turn out.

Then it’s systematically stamped one-by-one all the way around the pot.

And here it is… the oval cylinder with finished stamping. Both inside and out!
Yes, I’m a bit obsessive-compulsive and can’t help myself from using the smaller stamps
to add tiny little textures and details even inside the oval dish!!!
This one is now in the same place as the first.
Ready for the bottom to be attached, then handles!
Still working on them both… step by step. Unfortunately, my students don’t always
get to see the steps every step of the way. We discuss the steps… and I hope they get it.
If not, they know they can check here for photos & details.

Also on Tuesday, one of my students said she had missed the plate demo… of course
I was more than willing to do the demo again. She appreciated it… and made her first plate!
Here’s my demo platter… and the stamping that followed!

Again, it’s just one stamp pressed in over & over & over again… all the way around!

When the stamping was complete, I felt it need a little bit more… so I fluted the rim
with gentle curves all the way around to accentuate the stamped design.

Here’s the second oval demo… a little larger, with a little curve to the sides.
 

Categories: process, production, stamps, textures

So the plates that I threw last week as part of my class demo were finally at the right
leatherhard stage for stamping. It’s always tricky… can’t be too dry, can’t be too wet.
Got to get them right when they’re wet enough for good impressions, but not too wet
as to be sticky or squishy. Tonight they were ready for stamping!

So here goes… The first plate is a large dinner plate. Thrown with about four pounds of clay.
When I’m ready to start, one of the toughest decisions is “which stamp”??? I have hundreds
to choose from. So the possibilities are endless. I try not to dwell on it… just grab a favorite!

So here’s the lucky stamp chosen to tackle the rim of this plate…

Then, that one stamp rhythmically pressed in over & over & over again…

And the rim suddenly has a whole new texture. So much more fun than the plain,
old smooth flange that the plate started with!

Now plate #2 is a bit larger. Thrown with about six pounds of clay. The rim is plain,
but the center “food area” has a dramatic, concentric circle design created on the wheel
as I was finishing the throwing demo.

So again, which stamp gets to come out to play?… this one apparently!!!

Around & around, this time developing a nice scalloped pattern around the edge.
This pattern is also quite conducive to a fluted edge. So I did…

And there it is… a scalloped pattern of stamps with another small detail stamp
at the points, as well as on the tips of the fluted edge “high points.”

So now, both plants are back under plastic drying some more. I’ve got to wait for them
to dry to the right stage for trimming. I always tell my students that throwing plates is easy.
It’s the drying & trimming that is difficult. So now I wait… for the difficult part!


Categories: classes, stamps, textures

Tonight I made it back into the studio to do a little more work on the “basic” bowls
I made last night as part my class demo. A big part of my demo is trying to convince
my students to “make their own mark” and do something to their pots to make them
their own. Don’t settle for a simple, plain round bowl… when you can take time to add
a little design & style! So we’ve already made stamps in class… gently pushing my
“addiction” onto my students! As part of my mission, I had some work to do to add some
of my own “style” to a few of the “plainer” bowls from last night’s class demo.

Bowl #1 – A simple flanged rim quickly becomes far less “simple” with some repetitive
stamped impressions and a fun little pattern!

Bowl #2 – An extra wide flange gives me “extra wide space” to stamp. What fun!!!

Bowl #3 – What started with a simple fluted flange…
suddenly a lot more fun with a single row of stamps just below the flange!
oops… forgot to take a photo of the “in process stamping” stage… sorry!

Categories: classes, process, stamps

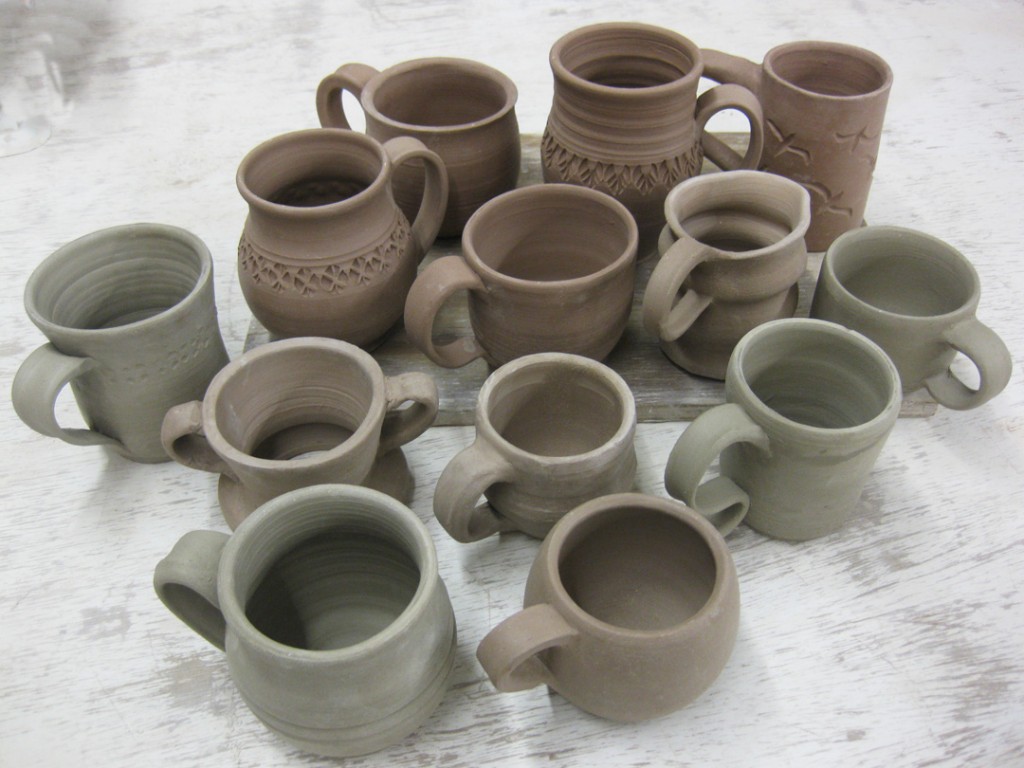
Two of my favorites!… Mugs & Stamps!
Tonight my Beginning Wheelthrowing students finished their first mugs!
They trimmed their cylinders, pulled traditional handles and attached them.
Not bad for their third week of class, huh?!

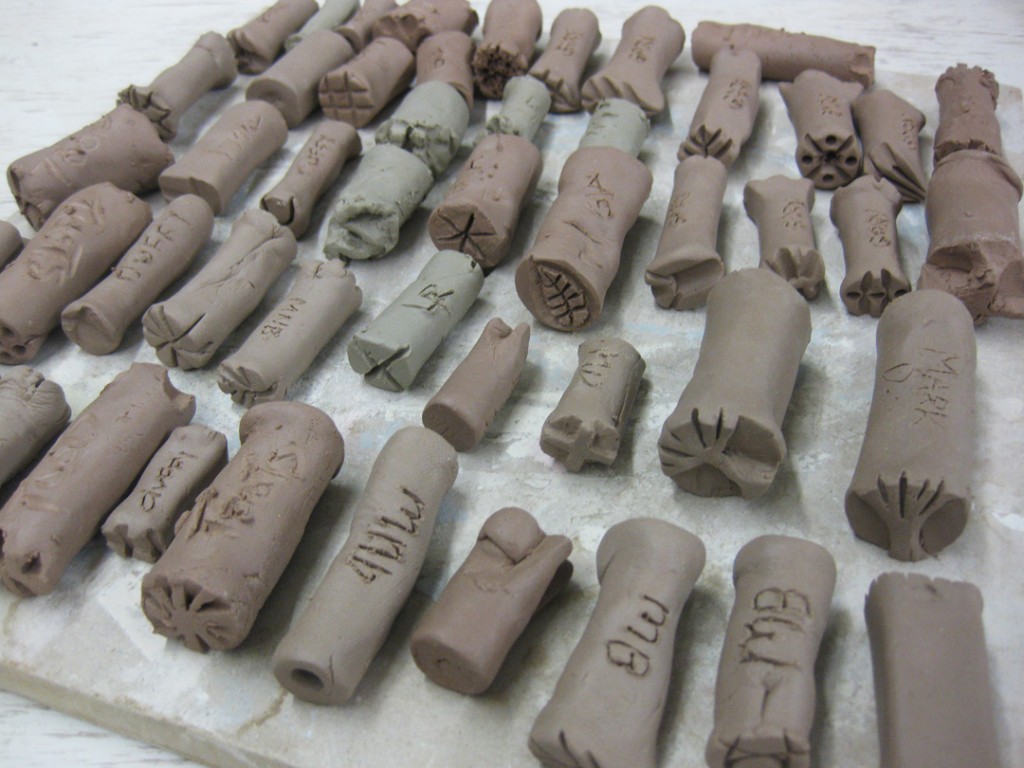
After finishing their mugs, we then switched over to making stamps!
We always do it early in the session so that they can get them bisqued quickly. Then they
can start using them for the rest of the session. Tonight they made their first stamps…
let their texturing begin!!!

Categories: glaze, stamps, textures

Tonight I made it into the studio to pick up some new pots that had just come out
of the cone 10 studio kiln. I don’t know what Corinne did “special” while she was
firing the kiln, but everything turned out beautifully!. With all of my glazes
“breaking” in all the right places! Thank you Corinne… I’ll be your “kiln filler” any time!

Categories: process, production, stamps, studio

After throwing some basic shapes last night in the studio, I came back tonight
to start the stamping. It feels good to have things “happening” in the studio again.
The holidays are finally over and things are getting back to normal.

So I pulled out some stamps and started pressing them in. Making the first “impressions”
of the New Year. Sadly, the newest batch of stamps has not been bisqued yet, so I’m still
using last year’s stamps… picking from the “thousands” of stamps in my studio arsenal.

Next up… trimming the mug cylinders, adding bottoms to the ovals…
and handles to the mugs! Otherwise, they’d just be cylinders, right?!

Categories: process, production, stamps

After spending some time “de-Christmasing” my studio tonight
and packing away all of my decorations, I had time left to play with some clay
and make a few new stamps. It’s kind of become an annual tradition…
New Stamps for the New Year!

And yes, I do put my name on every stamp… you never know who’s going to
borrow something, where they may “travel” on their own, and I frequently
let my class students borrow a few to decorate their pots!