Gary Jackson: Fire When Ready Pottery
A Chicago potter’s somewhat slanted view of clay & play
Categories: stamped, stamps

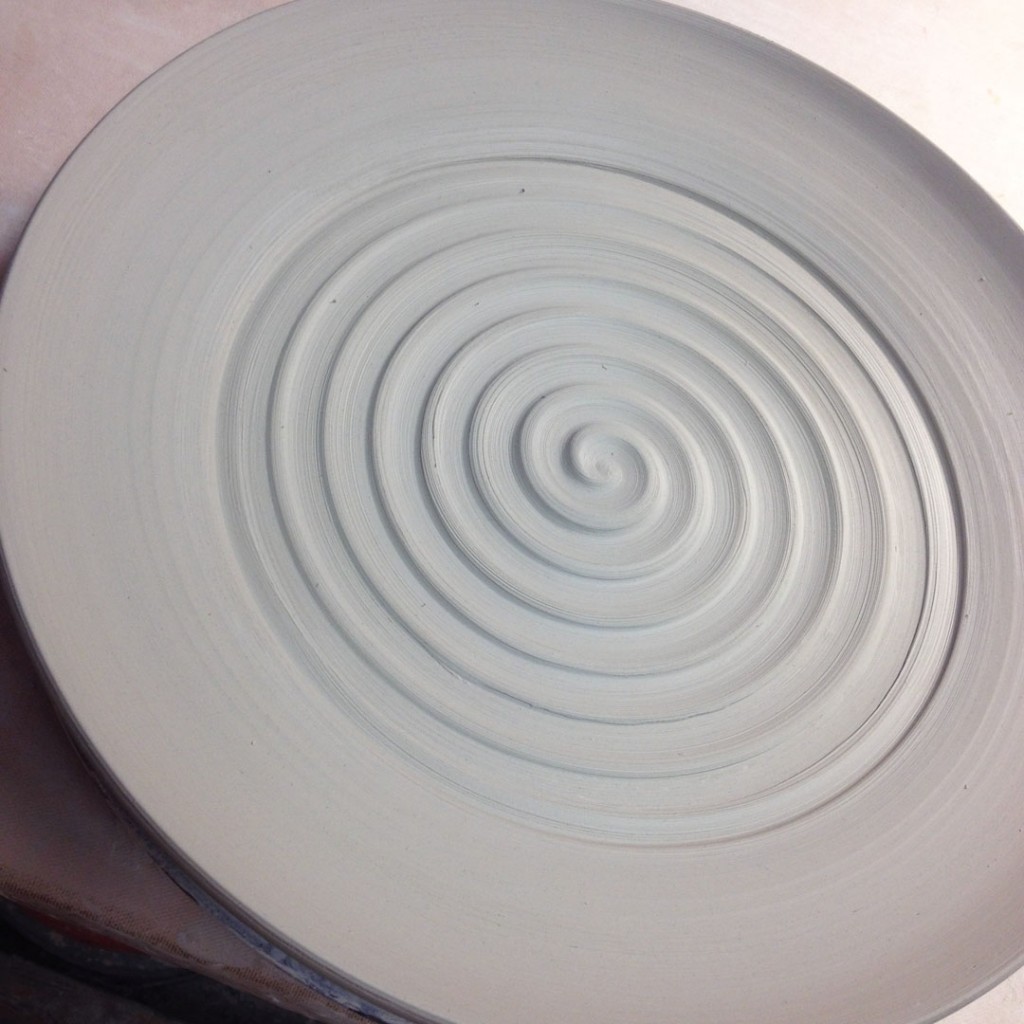
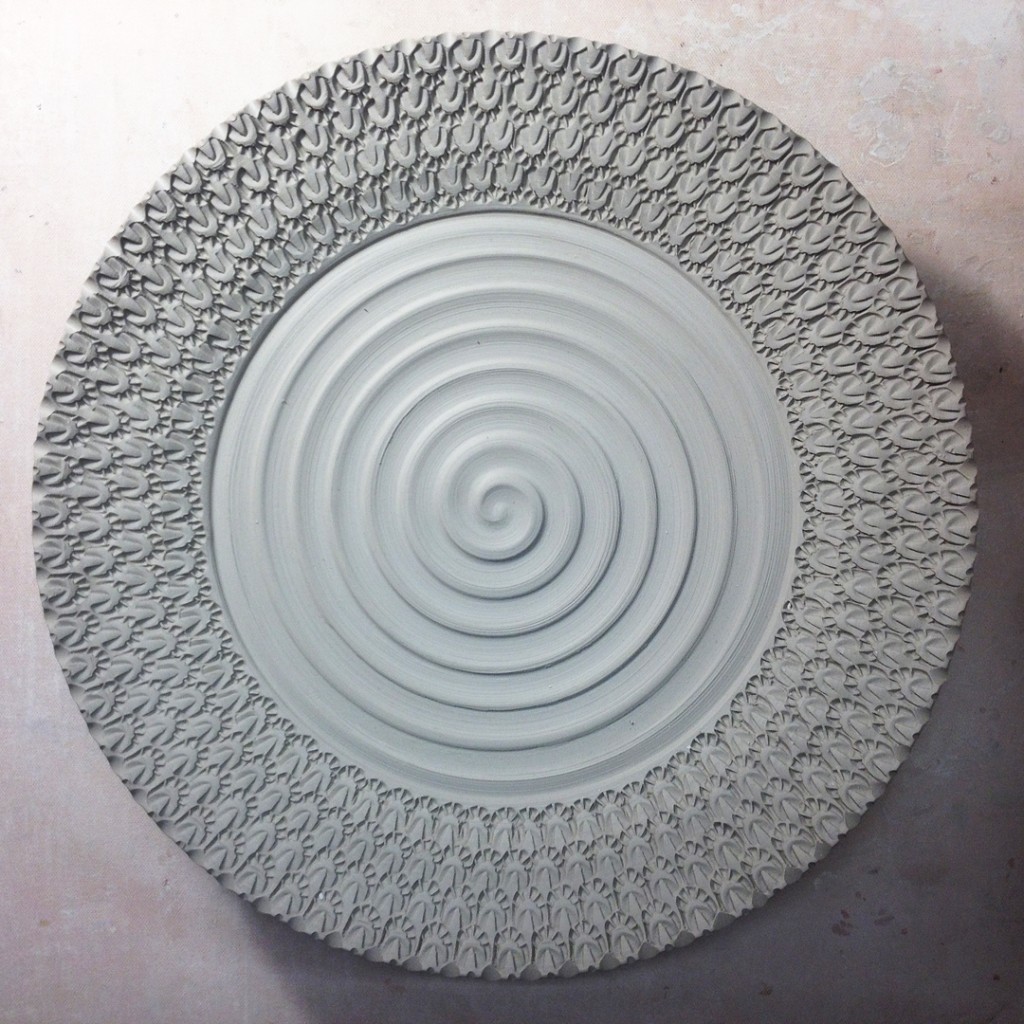
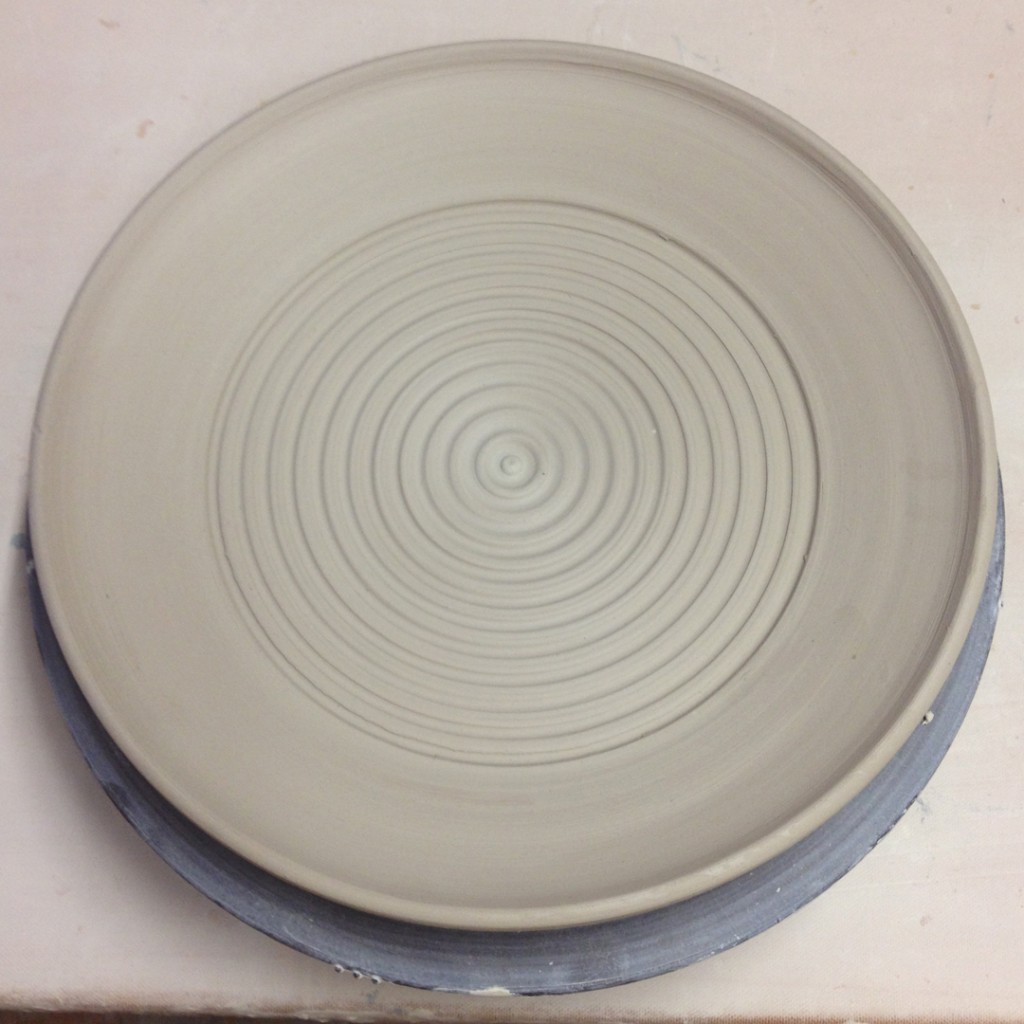
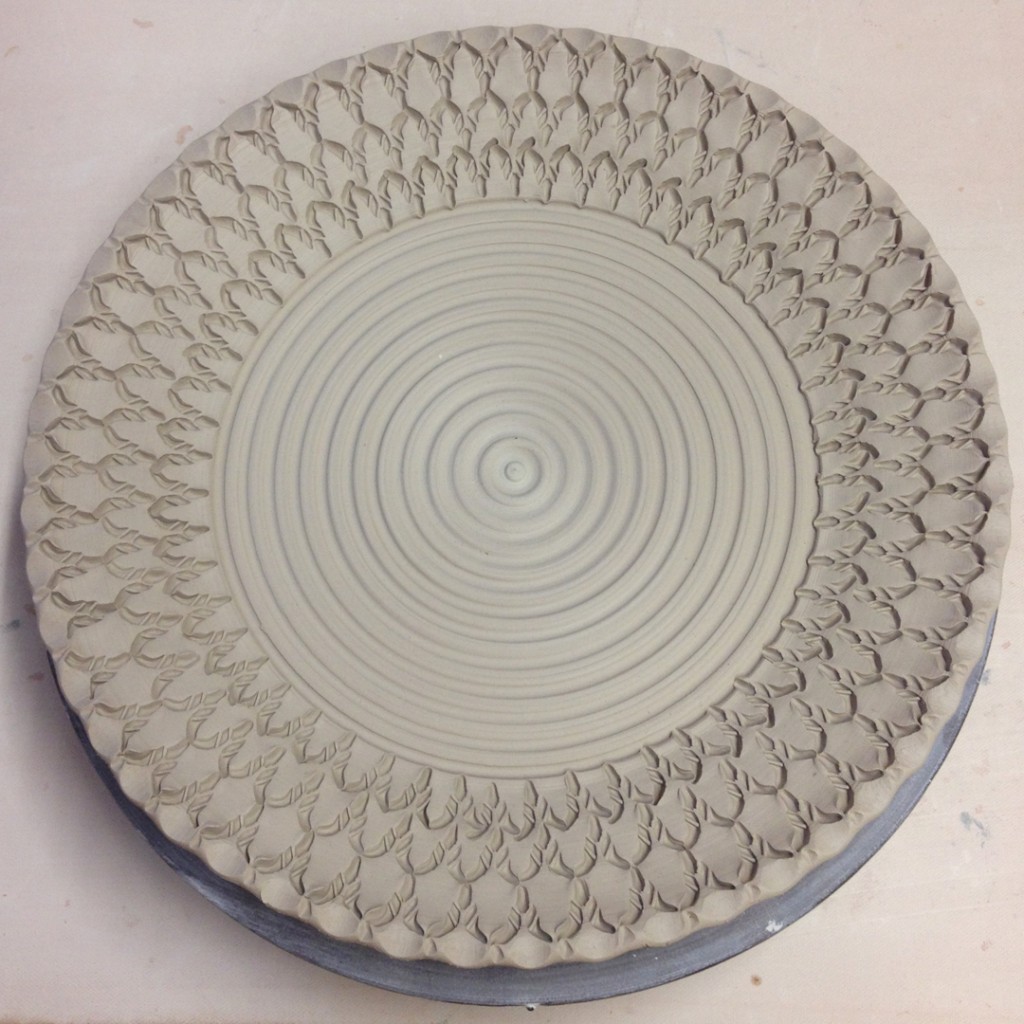
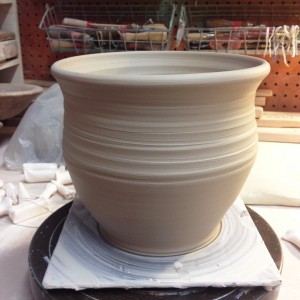
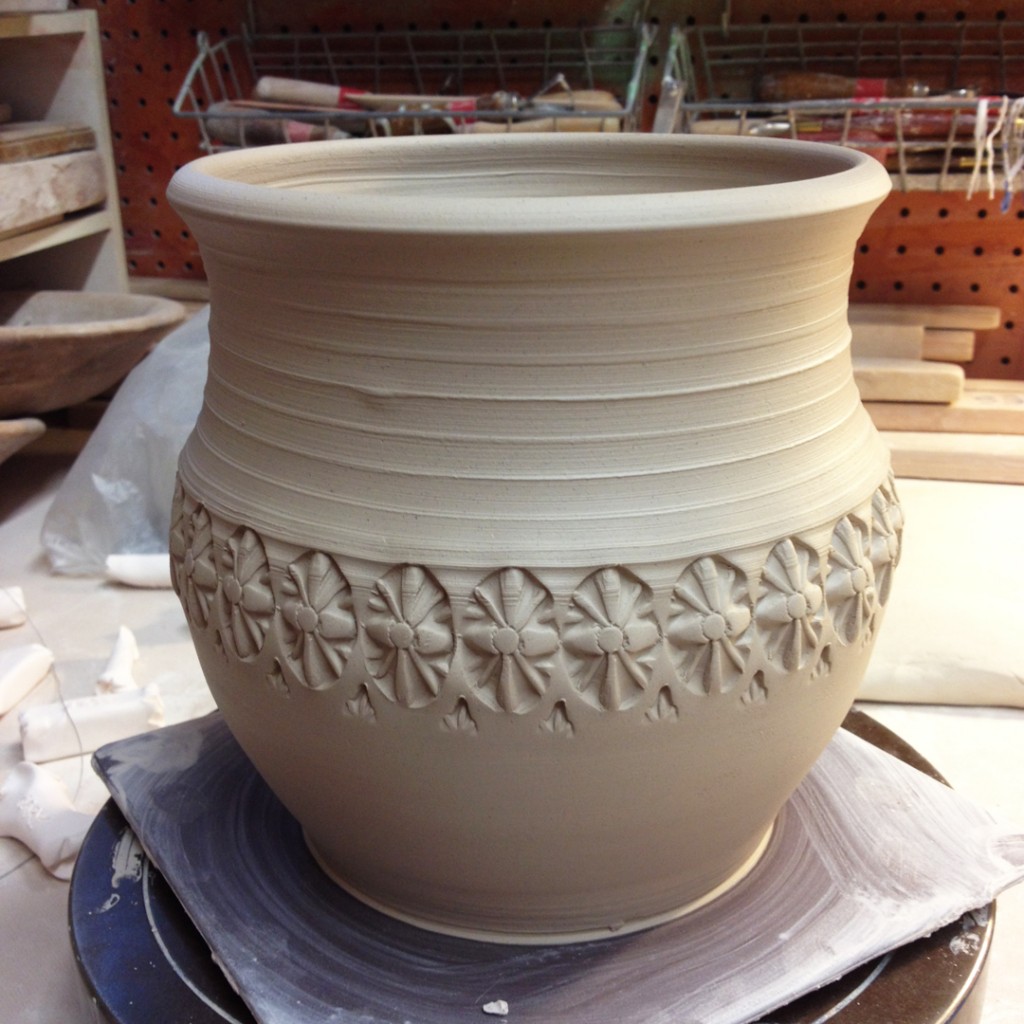
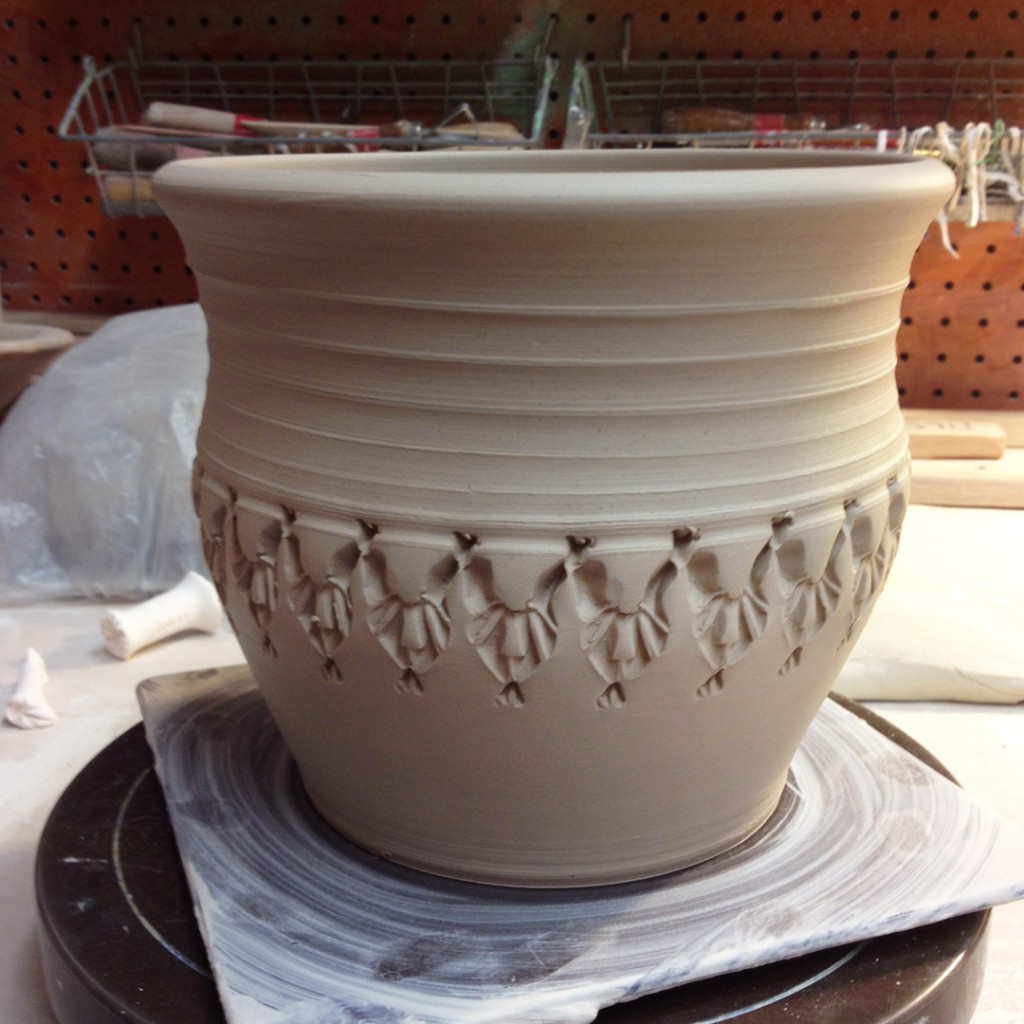
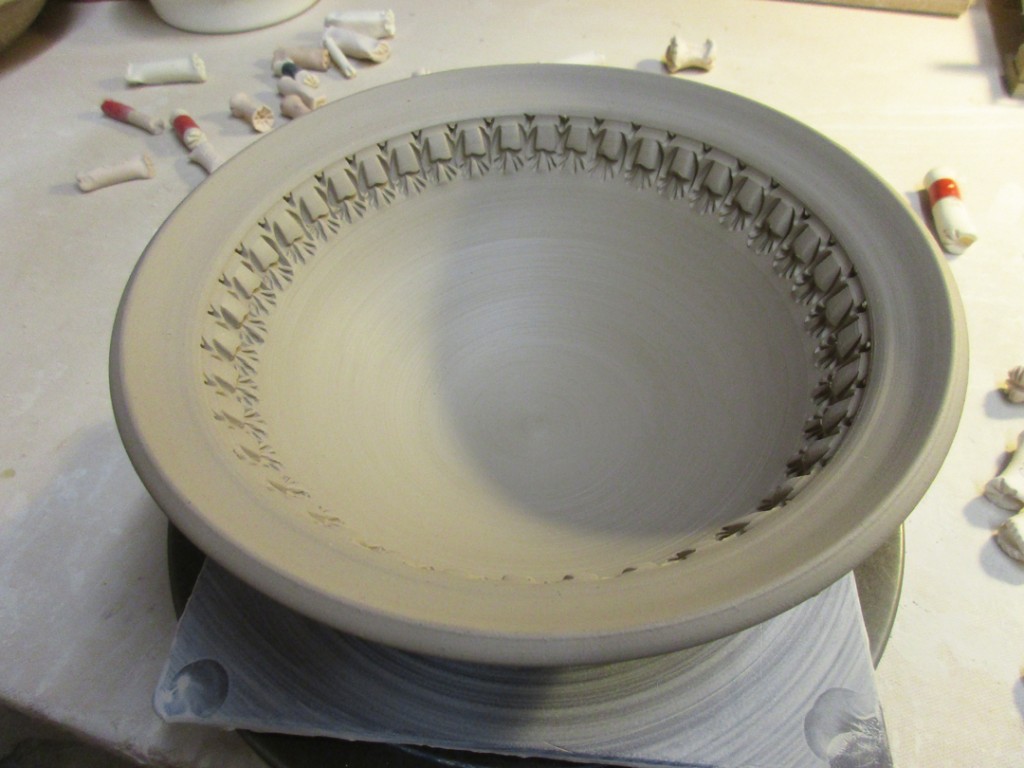
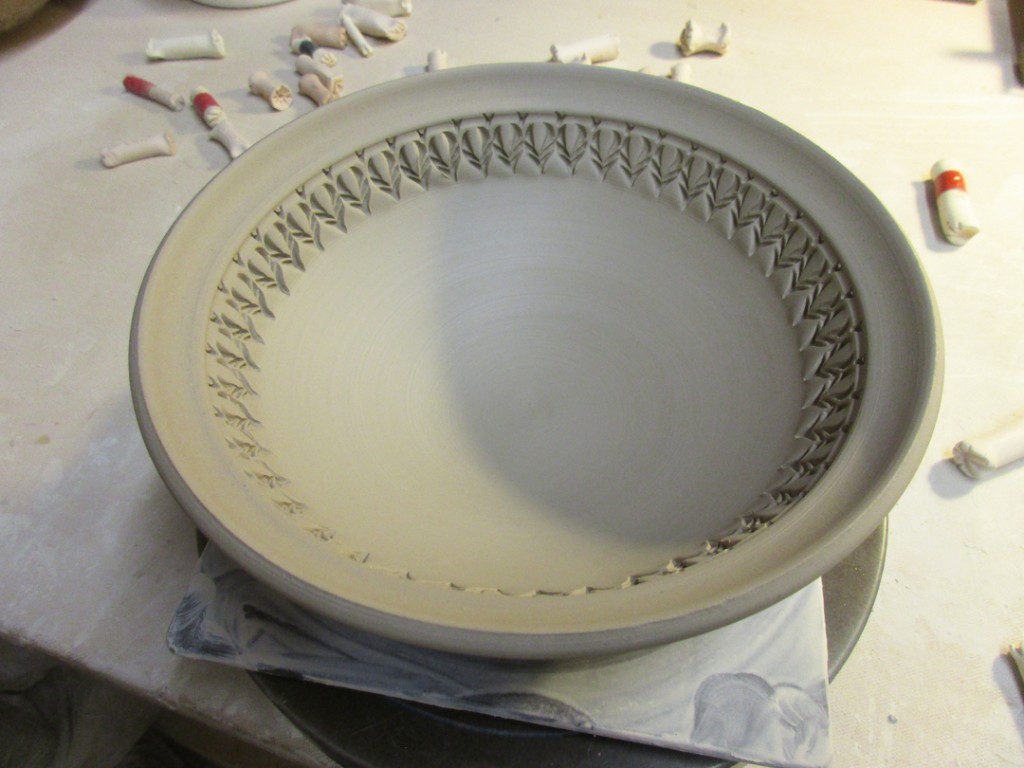
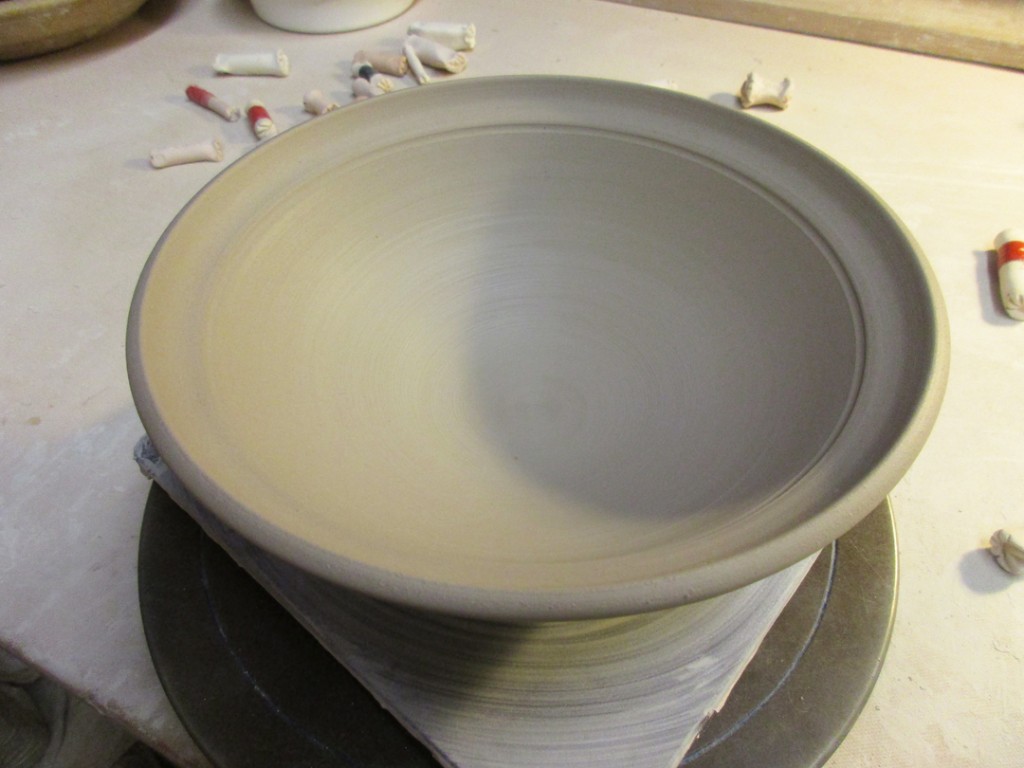
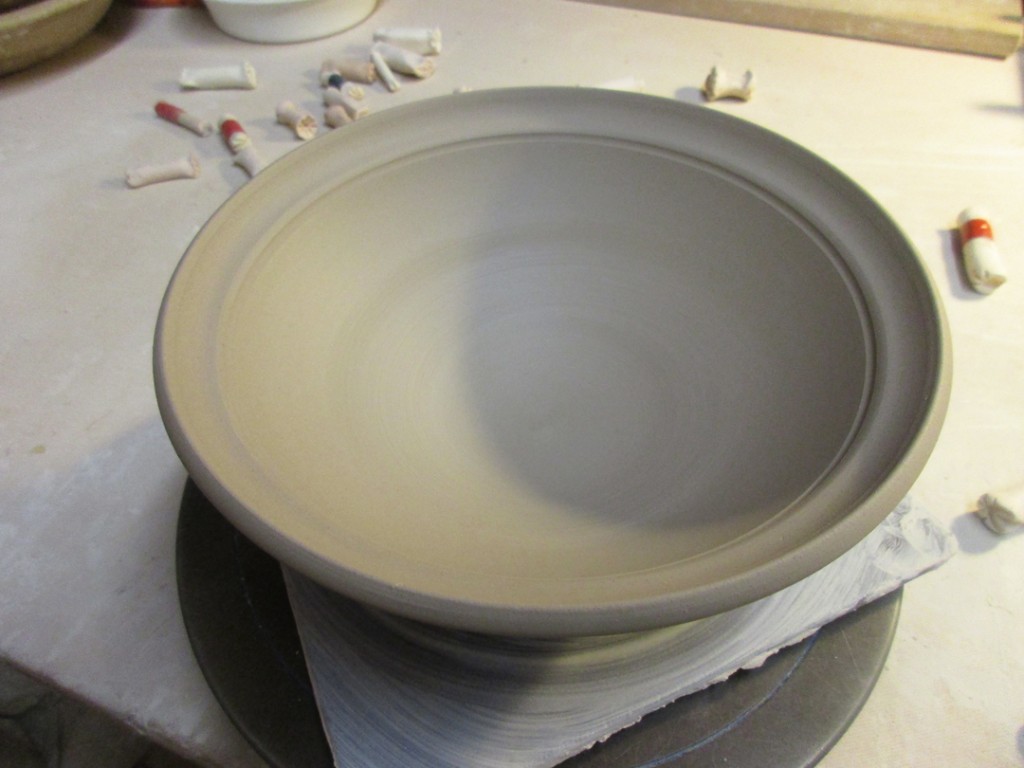
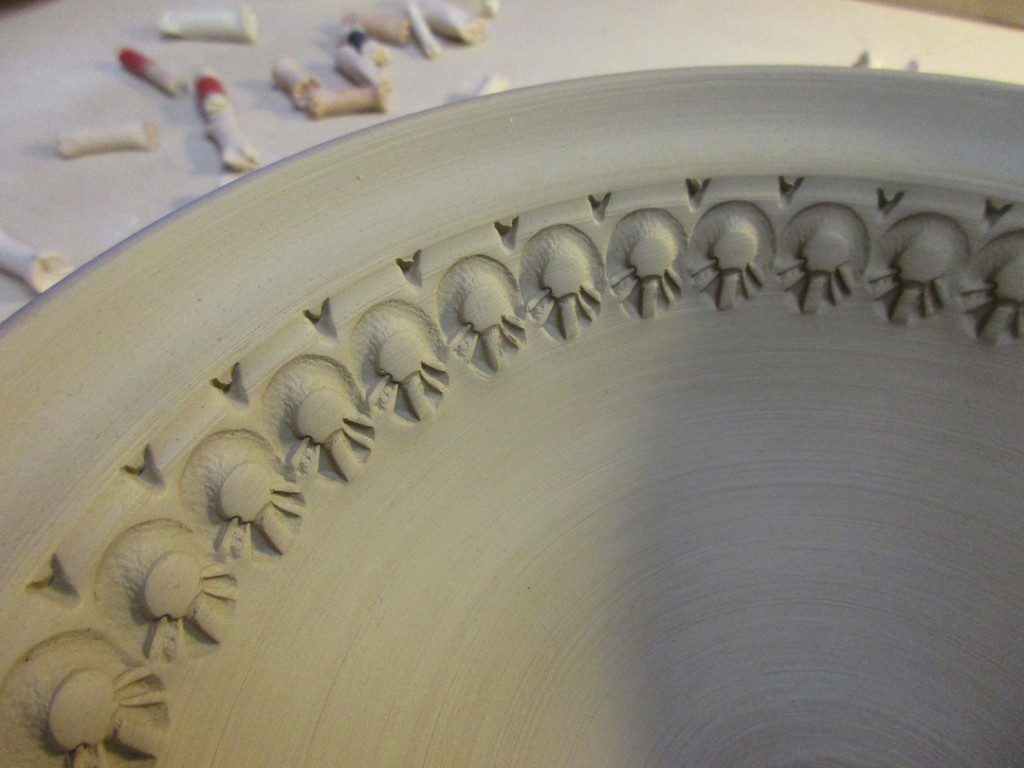
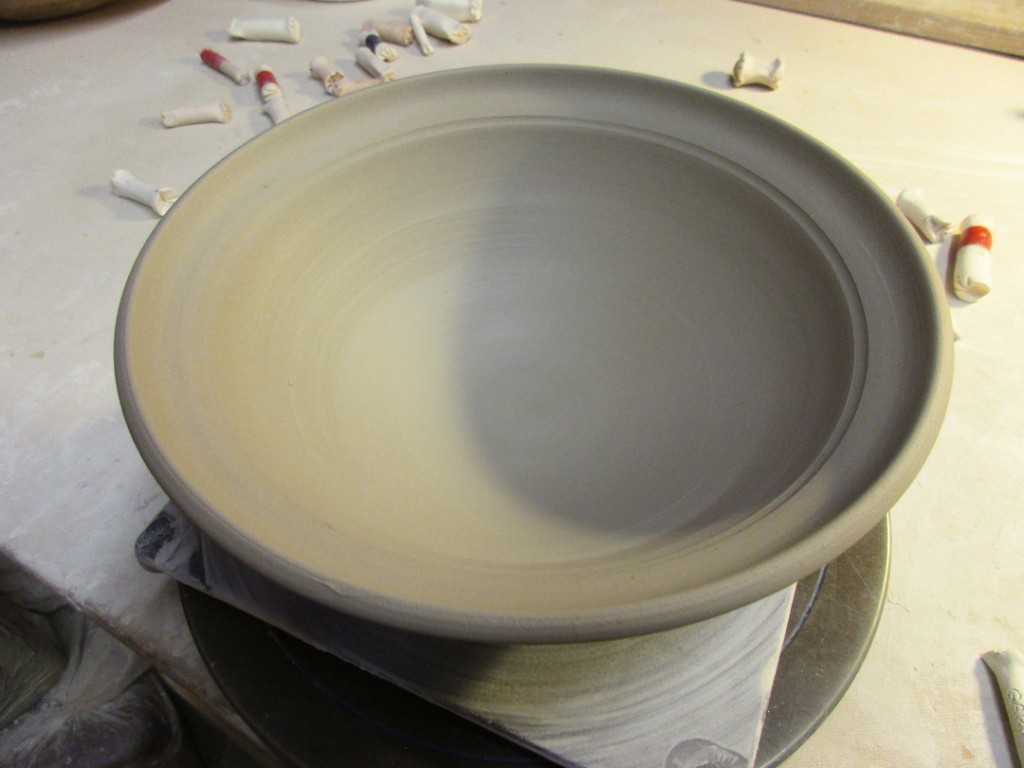
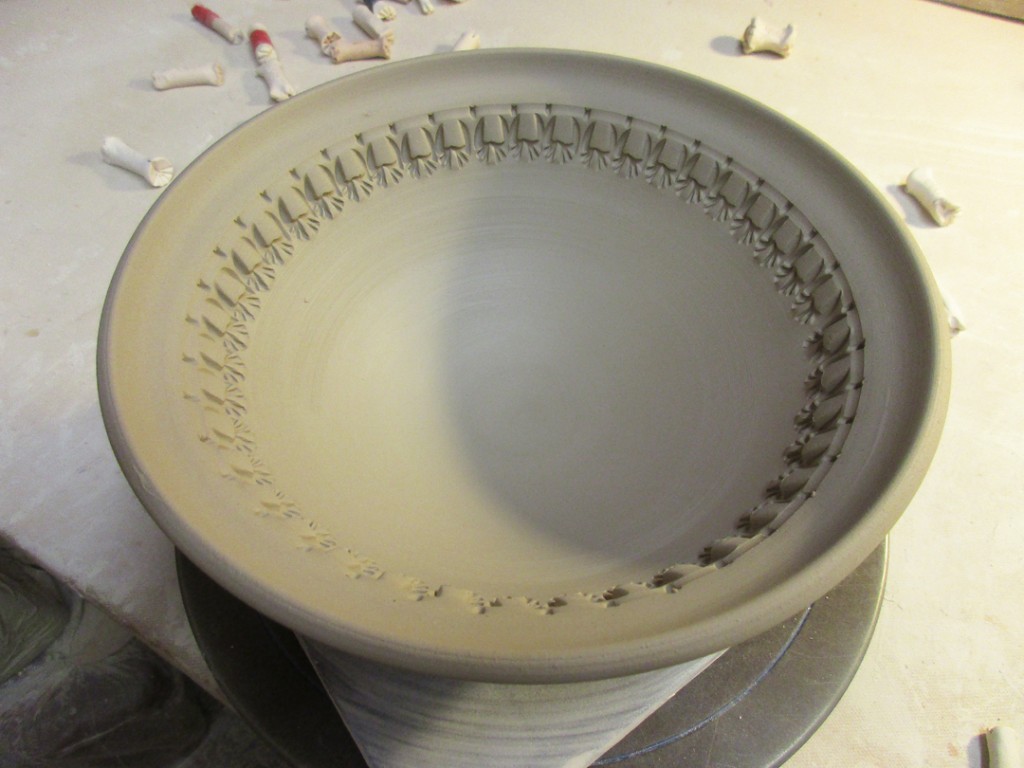
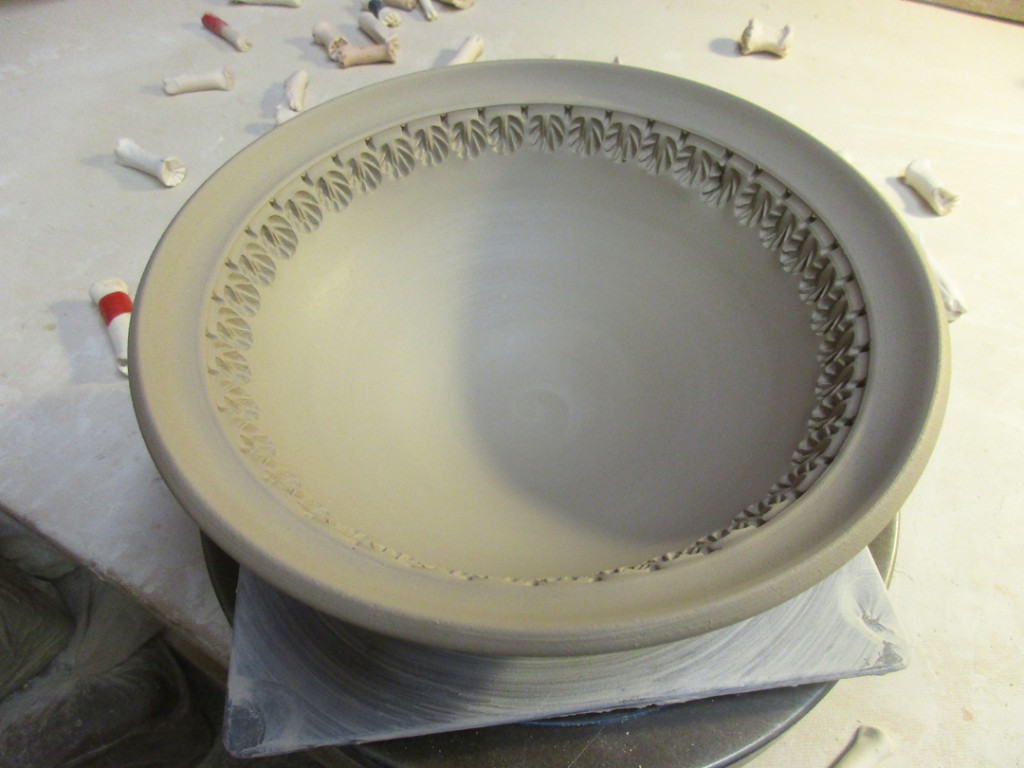
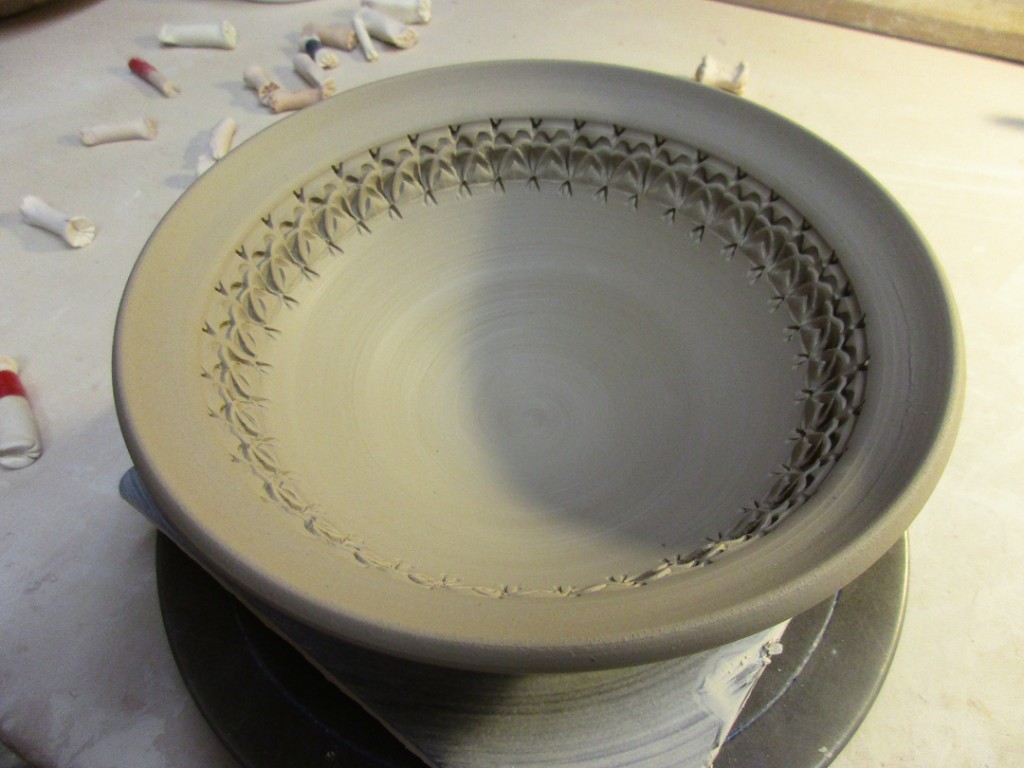
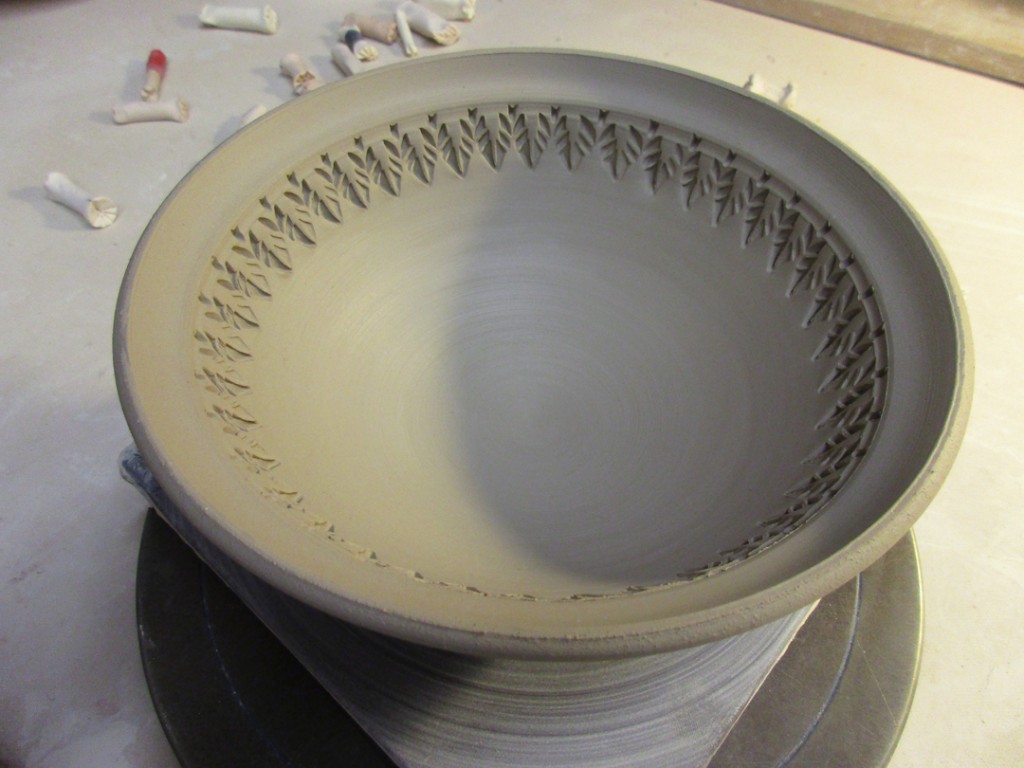
After weeks & weeks of spritzing, spraying & re-hydrating, I finally found tine to do some stamping. Yes, this platter has been under-wraps for about three weeks (maybe four?) since I did a wheelthrowing demo fro my class. So I’ve been a little busy… so maybe a bit of procrastination… but I finally did it tonight!

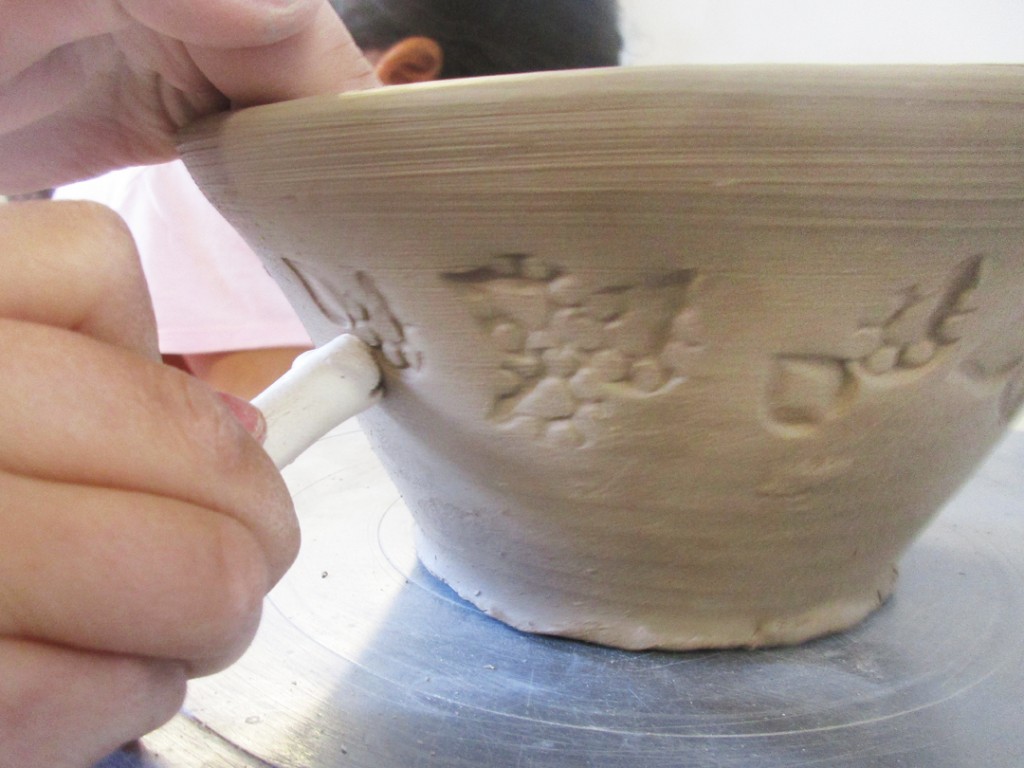
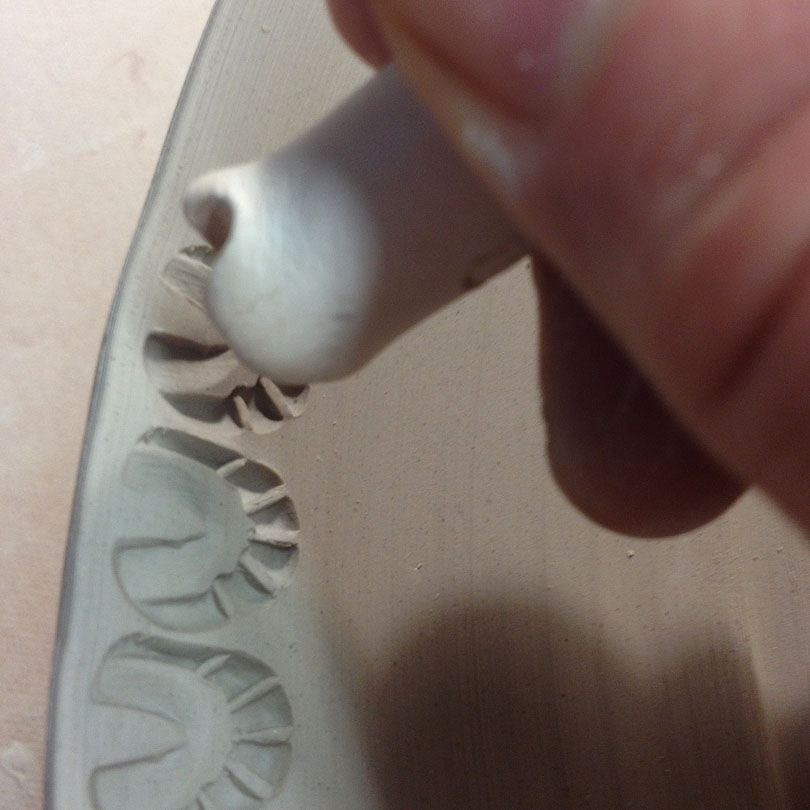
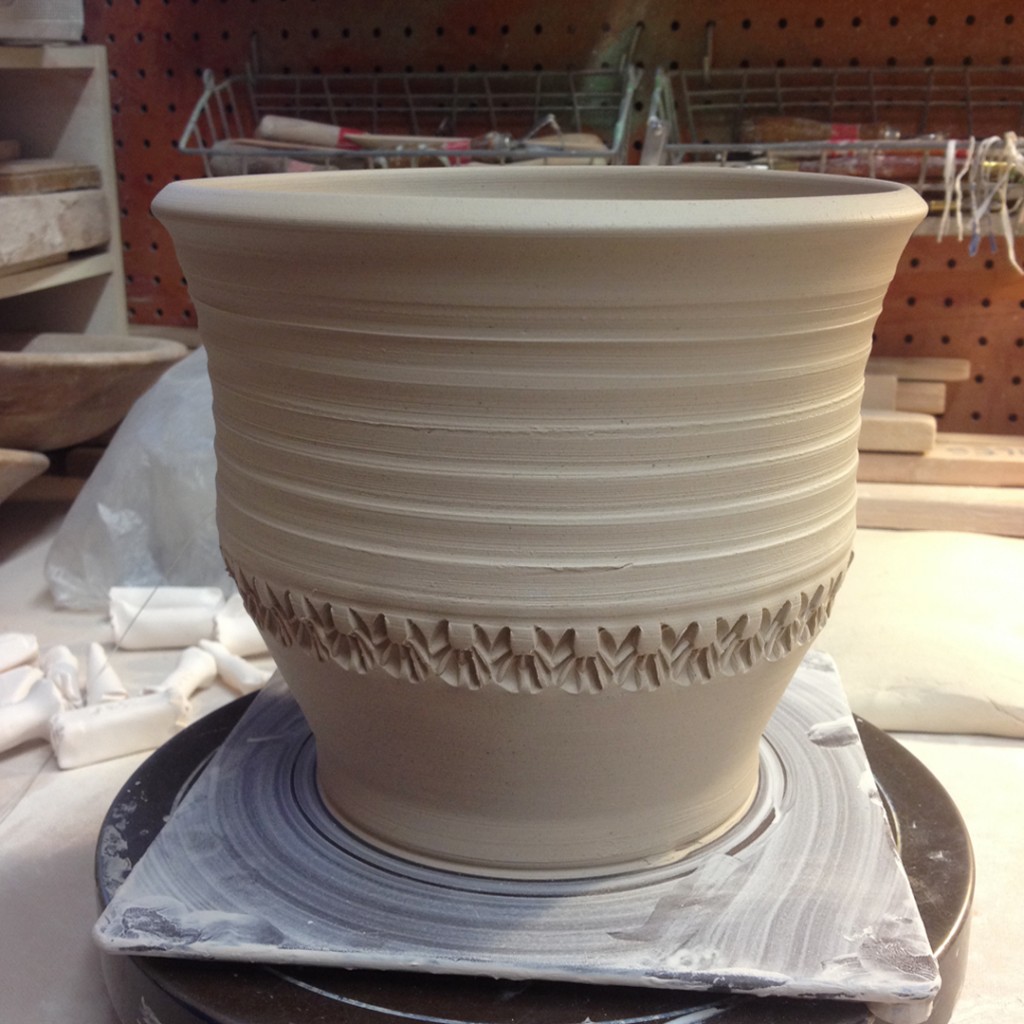
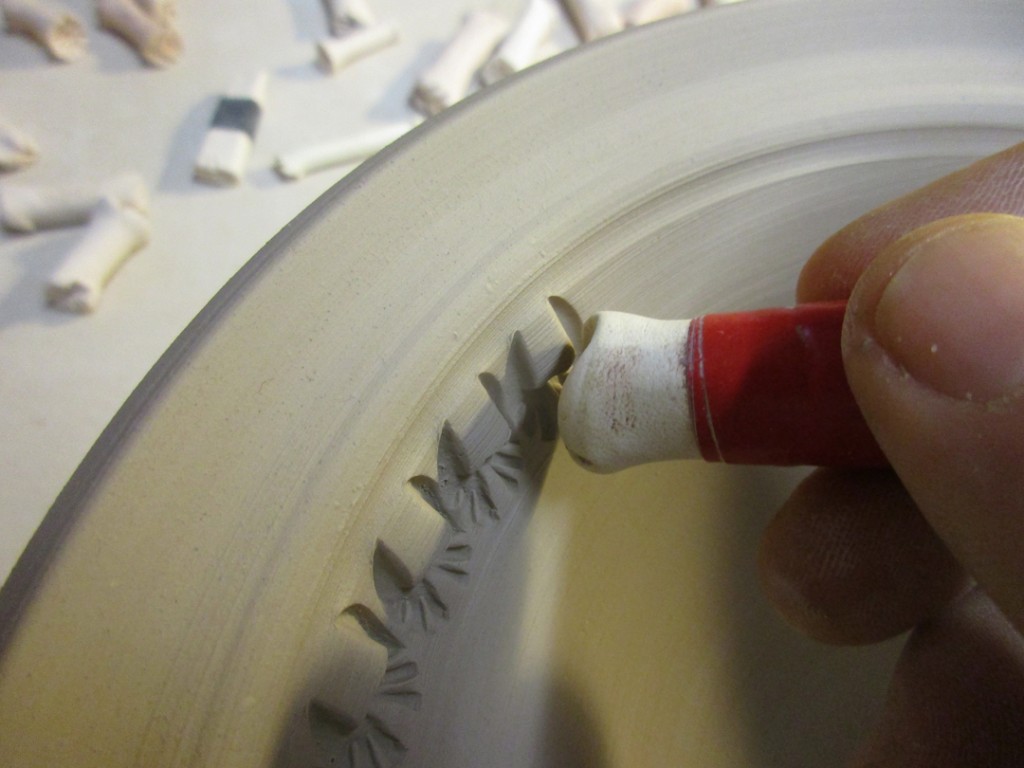
So I pulled out one of my MANY stamps… and started stamping around the rim of the platter.

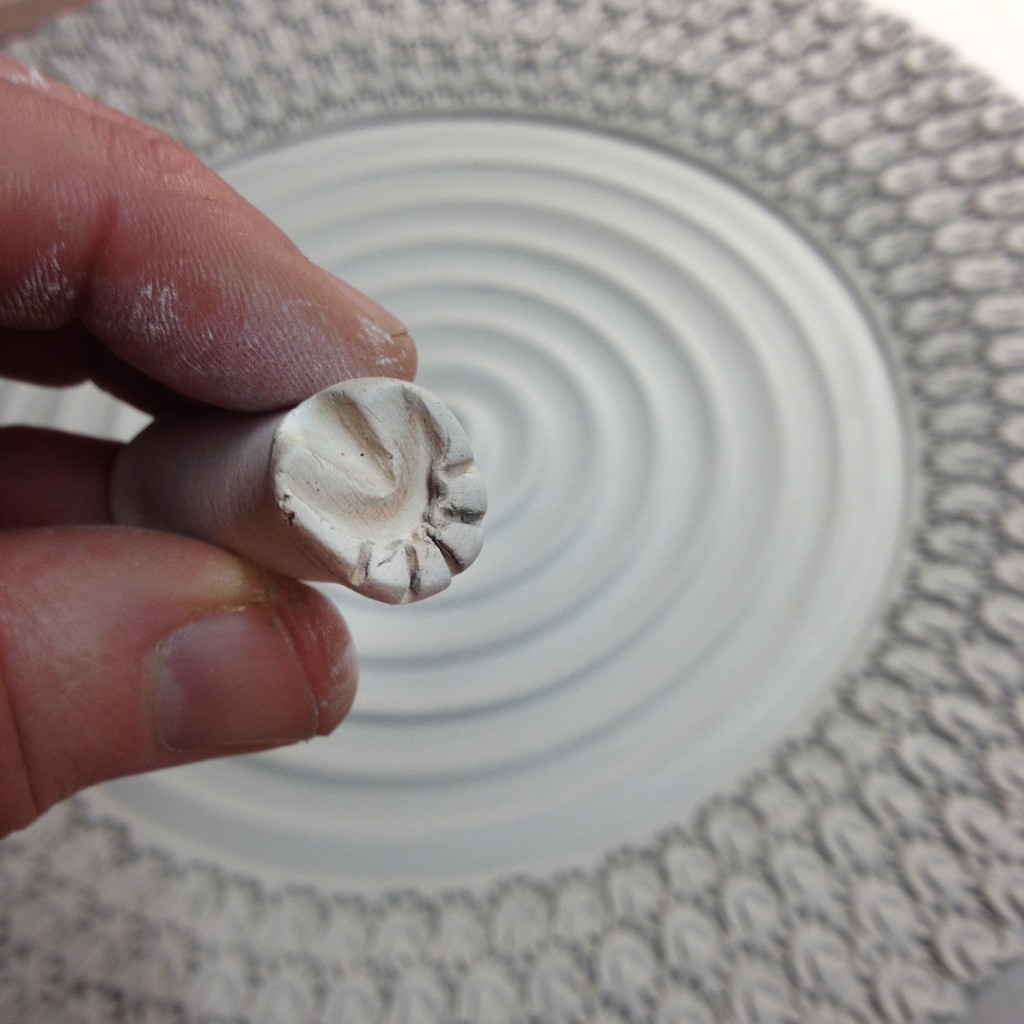
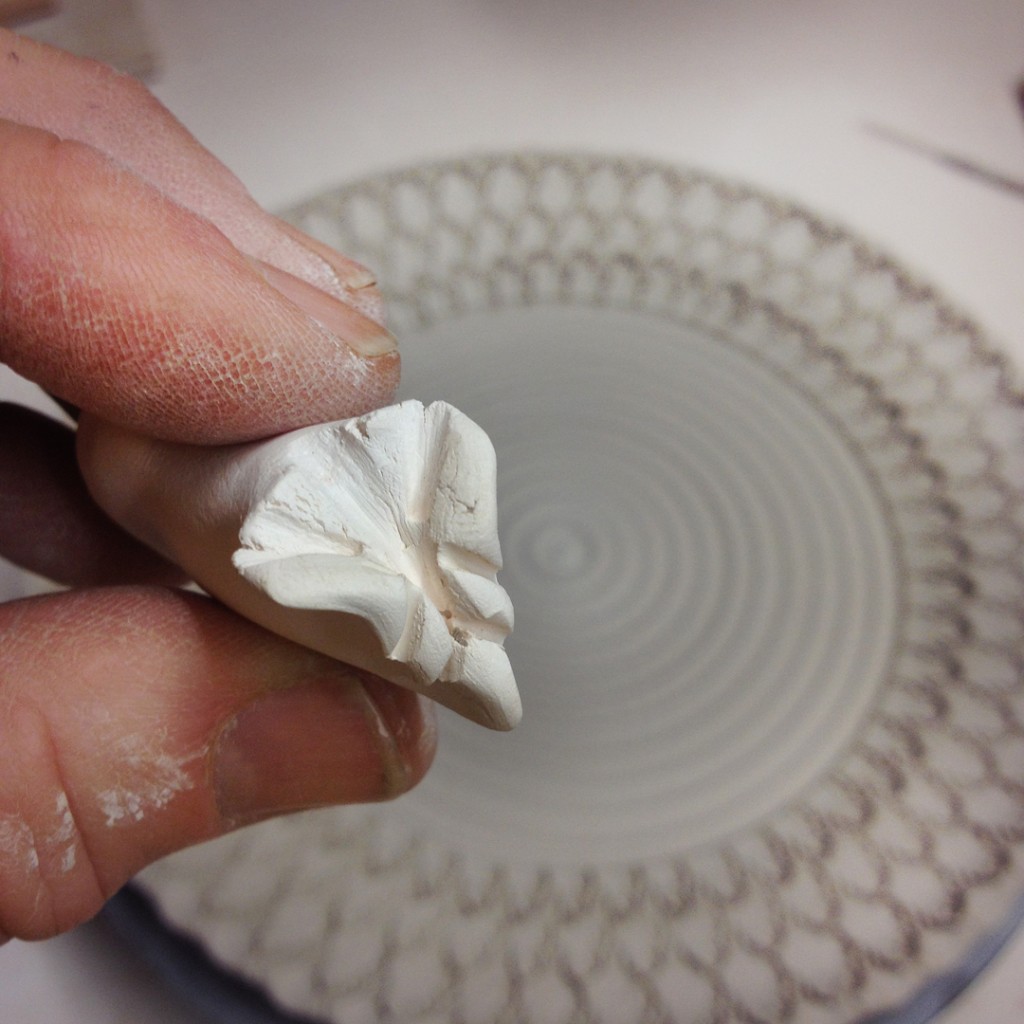
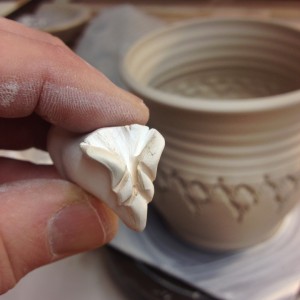
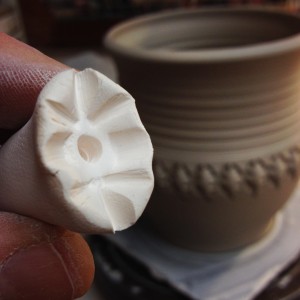
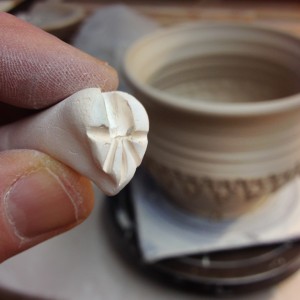
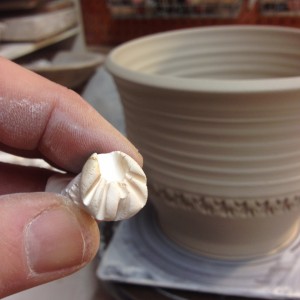
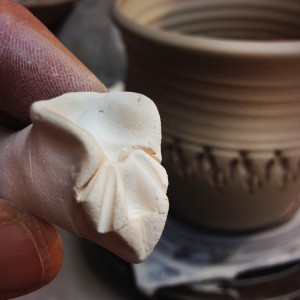
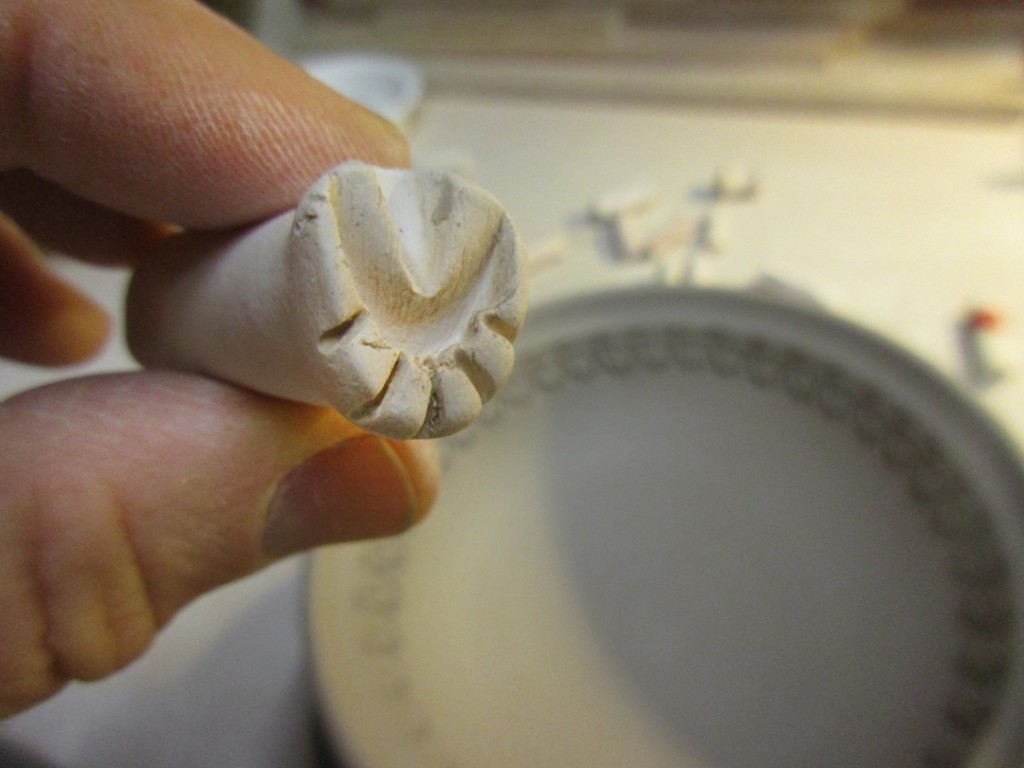
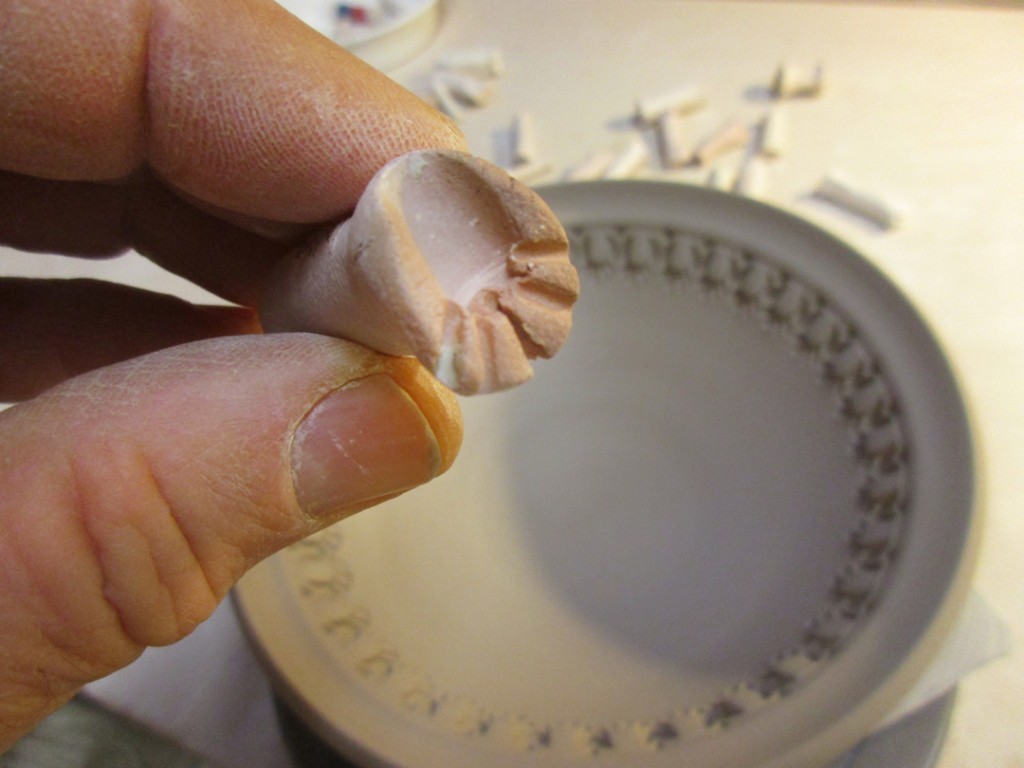
And the stamp that was doing all of the magic!

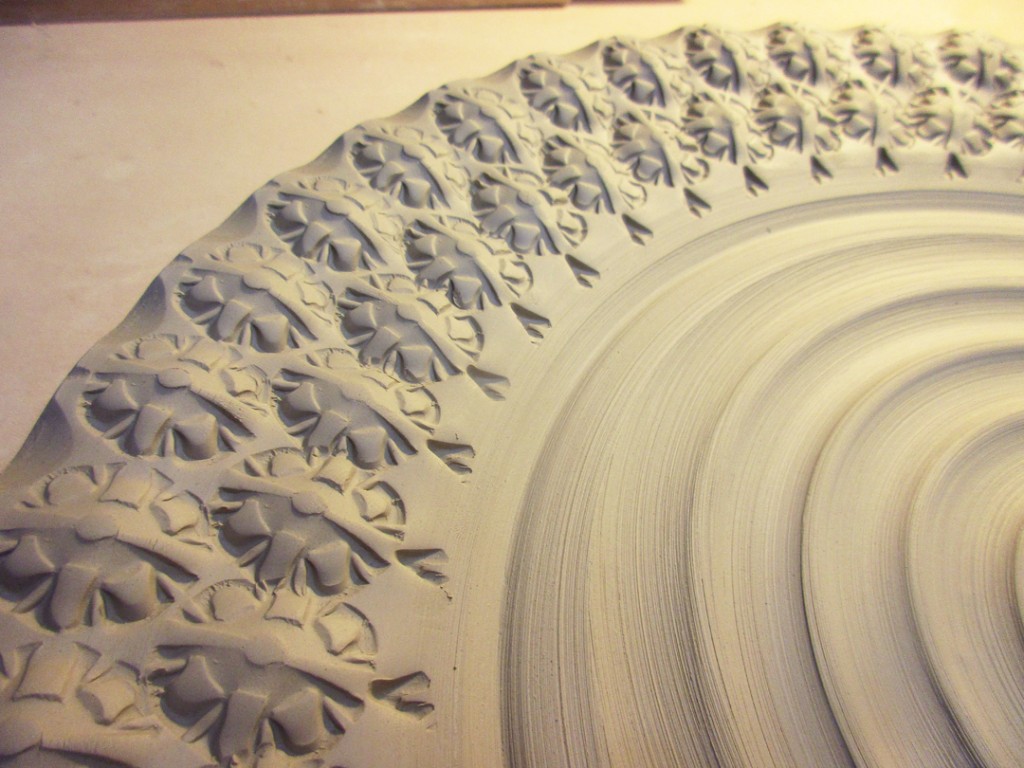
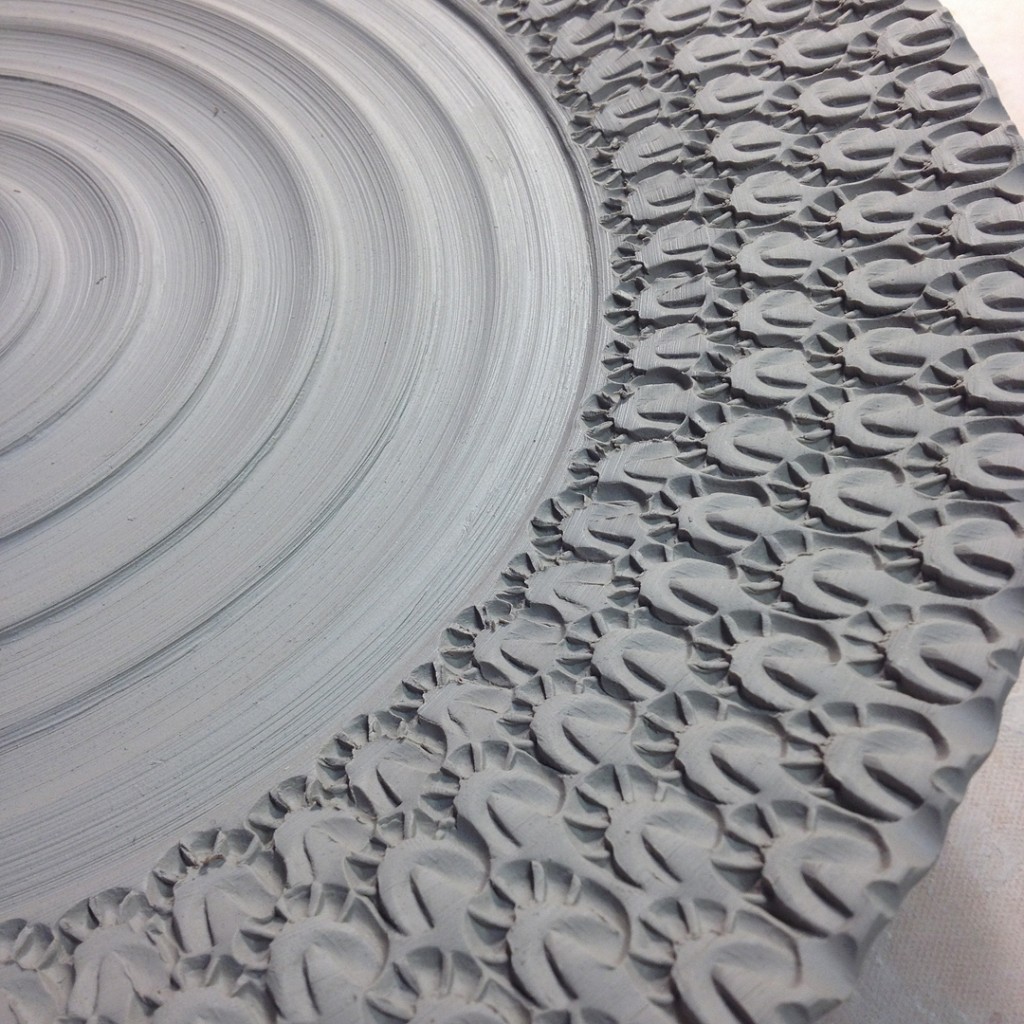
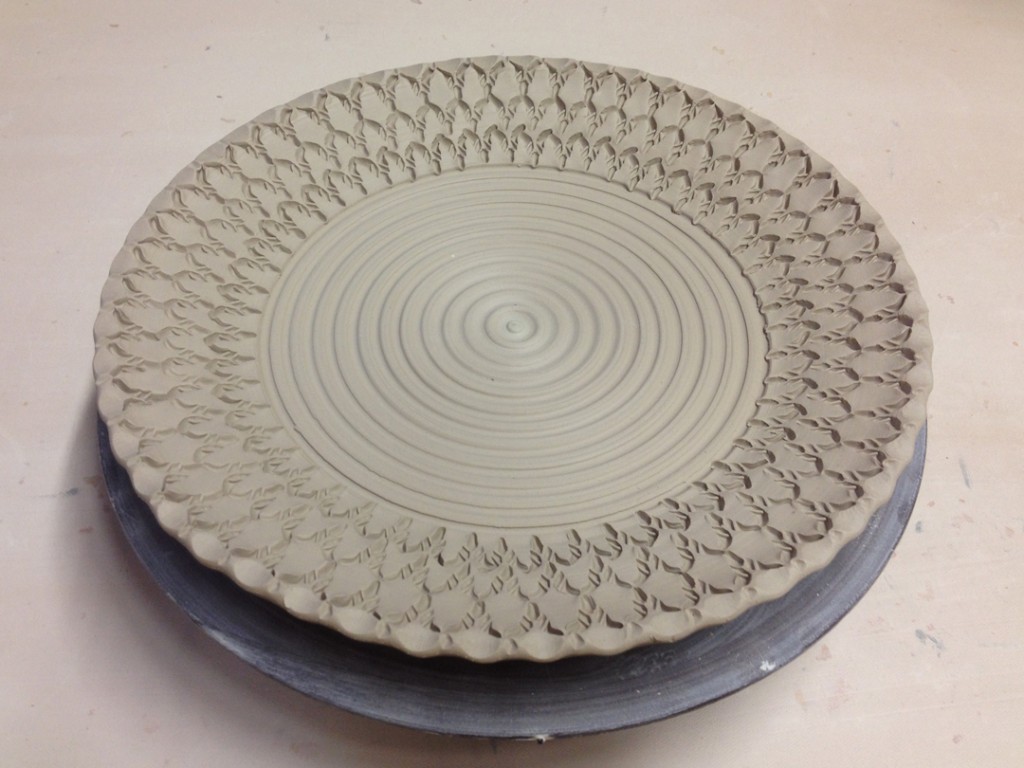
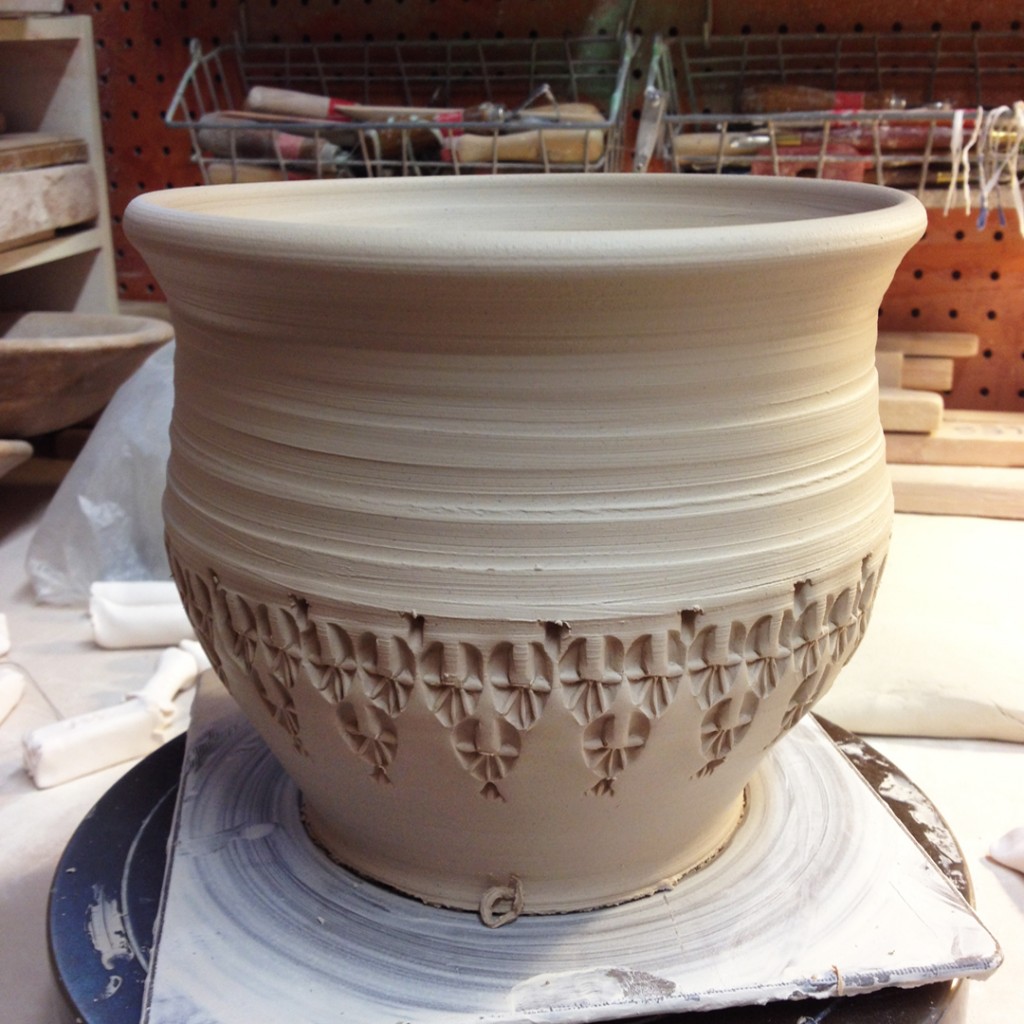
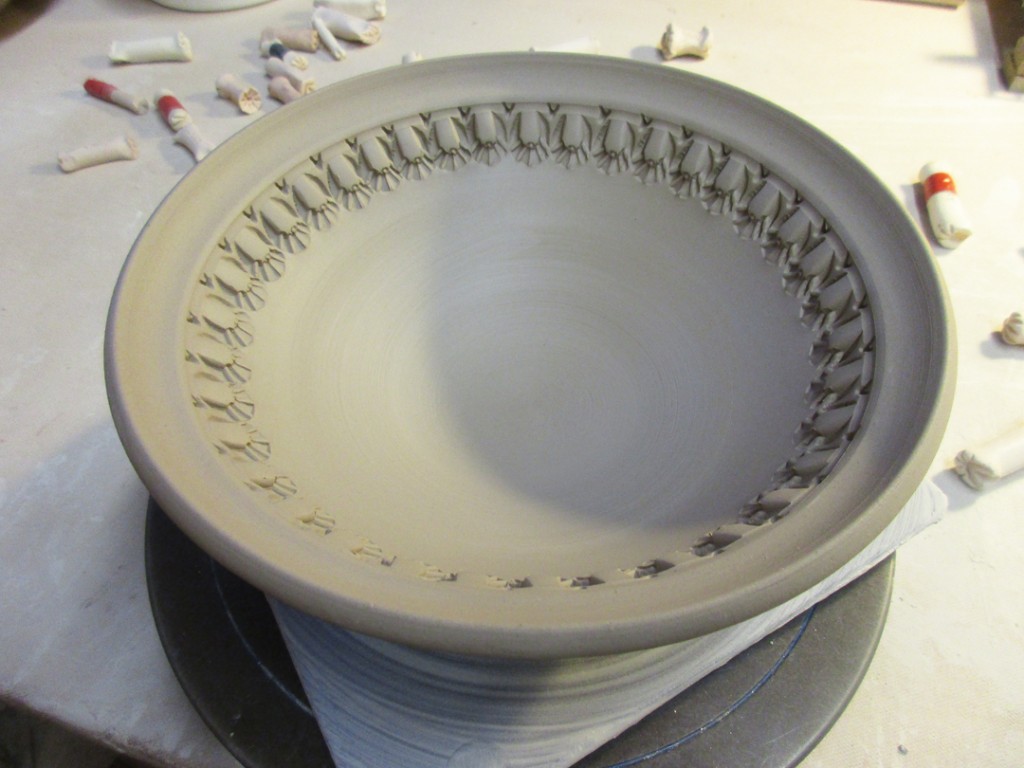
Soon enough, after a few revolutions around the platter… it was all stamped and done!

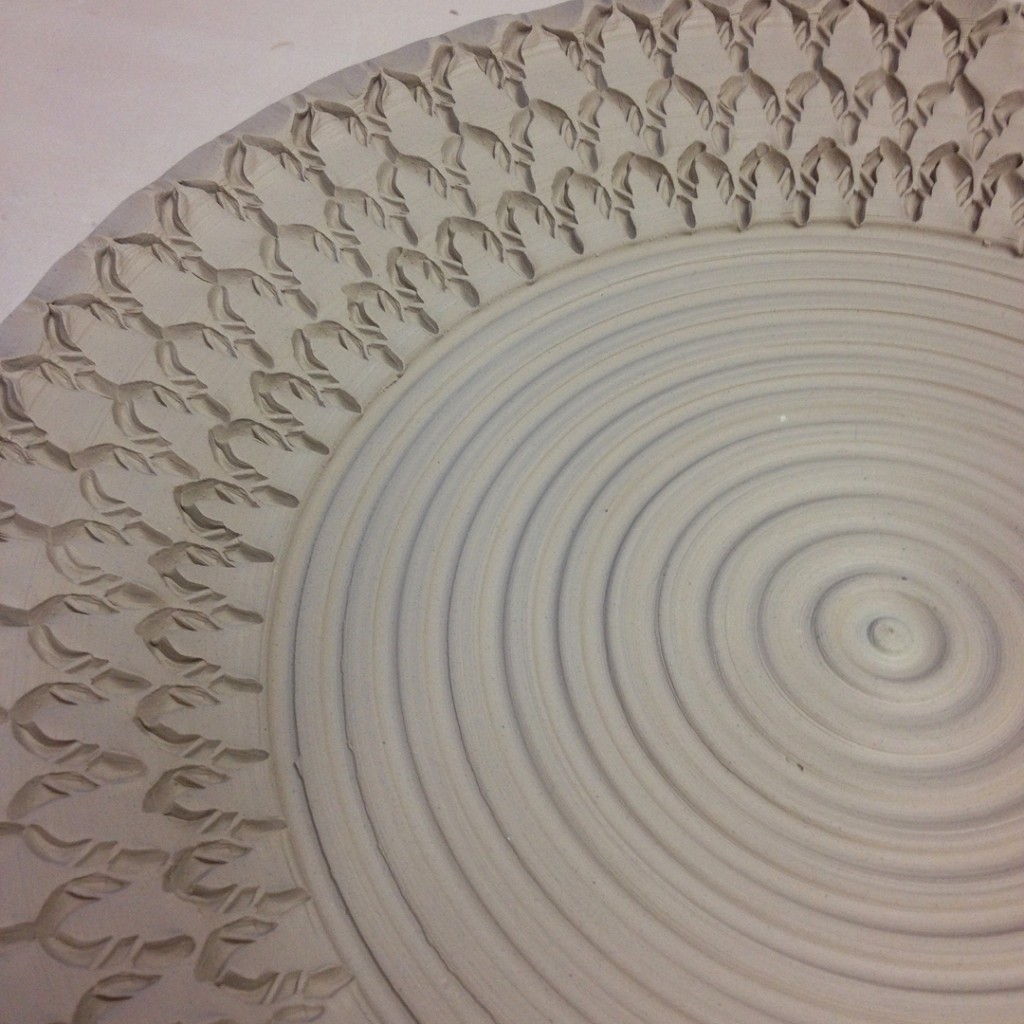
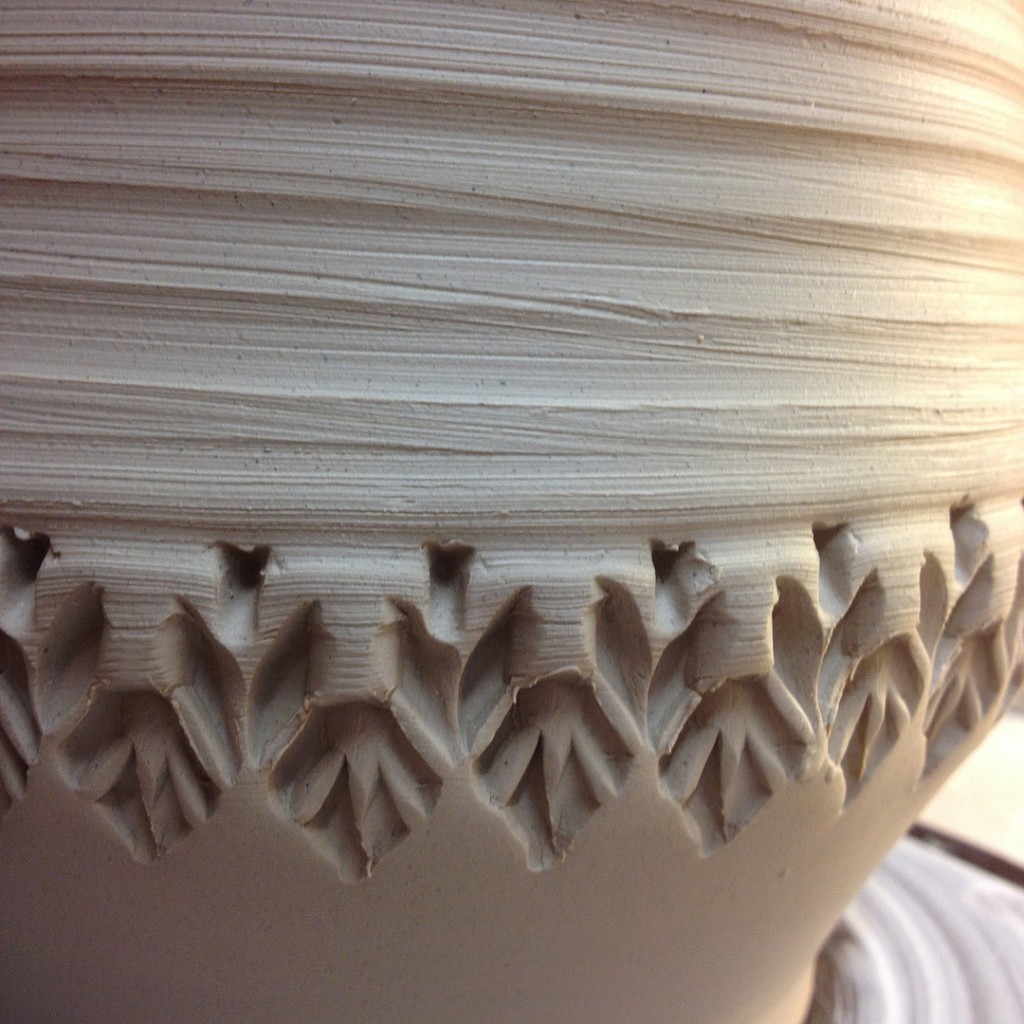
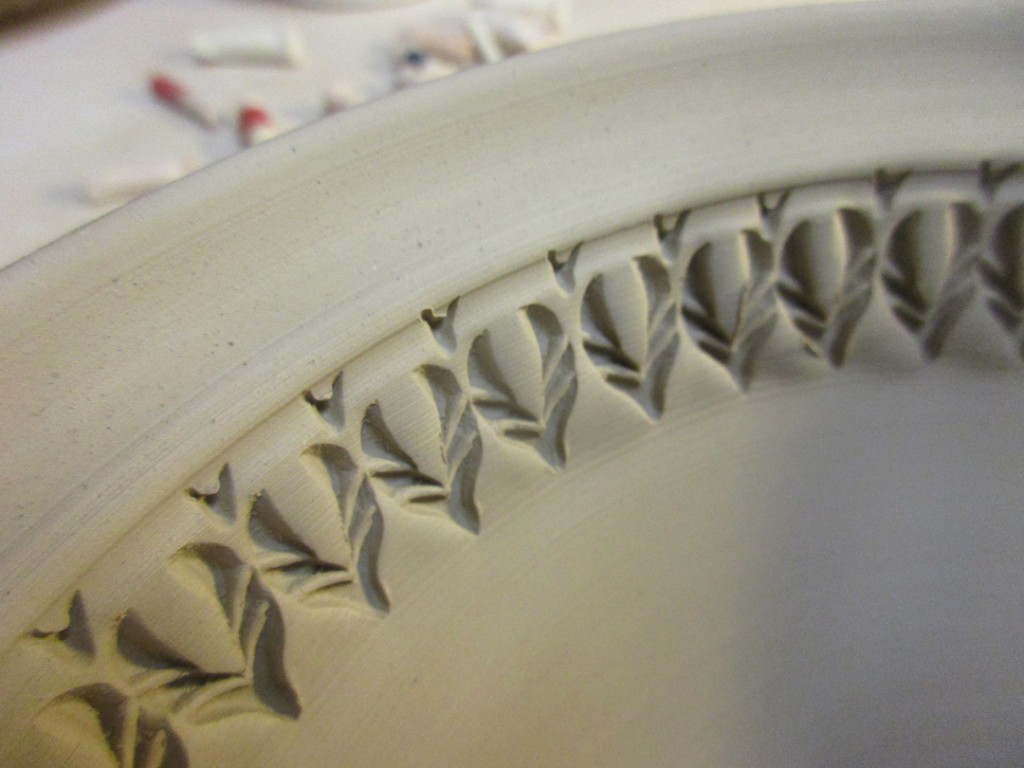
A few impressions… each stamp pressed in one at a time… one by one… by one… by one…

Categories: mugs, porcelain, process, production, stamped, stamps

Another batch of mugs. Another round of stamping.
I had a customer request a certain color glazed mug the other day… and when I checked my mug inventory, I was a little surprised to NOT have any on the color she wanted. So I’m back making more of my favorites… thanks to Rosene for a little mug motivation!

So here’s the latest batch of mugs-in-the-making. Porcelain cylinders thrown and then stamped… and the stamps that did the magic!!!

Mug A

Mug B

Mug C

Mug D

Mug E

Mug F

Mug G

Mug H

Mug I

Mug J

Mug K

So for now they’re all under plastic for the evening. Plan is to get them all trimmed tomorrow, make some more things… and then if all goes as planned, maybe even get handles on these tomorrow as well. Hard to work when your fingers are crossed.

Save

Save

Categories: classes, process, stamps, textures

I began my Tuesday evening by throwing a lot of cylinders in my studio. I had a plan…
I was on a mission… and my wheelthrowing class was going to be starting soon!

So I received a package of few carving tools in the mail awhile back… so exciting!!!
And I’m always telling my students to experiment, to try new things, to break out of their shells. To remember that it’s JUST CLAY!!! But I get it… my Beginners are working so hard to make each and every cylinder. It’s a lot of work. A lot of centering & focus. So much so that each piece is somehow considered “too precious” to experiment with. So tonight I plan to test them… to push them a bit… to show them that it’s NOT so precious. I figured if I provide them with already thrown cylinders, all of the “hard part” is done, right?

So I threw a bunch of cylinders and brought the down to class with me. I explained my “not-so-precious” texture & surface decoration challenge to them. I encouraged them each to do anything they wanted to the surface of their cylinder. To carve, slip, stamp, whatever!!! Just have fun… and see what happens with their new-found “freebie” not-so-precious cylinder!!! And here they go…

After class, I did a little “photo shoot” in my studio before they started to dry.

SO HERE”S YOUR CHALLENGE : Can you guess which ones are mine?!

Special thanks to Robert at C.I. Products for sending me a little “care package” of tools to try out. I’ve been kind of busy through the holidays… and finally found some time to try them out. And why not share my new tools with my students?! These Zebra Trimming Tools are pretty darn amazing. They took us a little while to get used to them. The blades are at a different angle than Kemper Tools…. and adjustable!!! The wood is so lightweight… and the foam grip pretty sweet too. But it’s really the extra-sharp blades that cut such a smooth clean line with nice line definition. I definitely look forward to using them more in my own work. Seeing what kinds of great textures & patterns I can come up with using these great new Zebra Tools!!! Thanks again Robert… your tools are GREAT!

Click here to see the wide assortment of tools from C.I. Products.
Or here to go straight to the Zebra Trimming Tools.
You’ll be glad you did… especially those of you who are carving crazy cool patterns, making cool textures and doing a lot of sgraffito or mishima.


Save

Save

Save

Save

Save

Categories: mugs, process, production, stamped, stamps

Another batch of mugs in the making. More B-Clay thrown yesterday, underwraps over night and ready for stamping today. They were all on the “wetter-side” of leatherheard… but no longer sticky, squishy or shiny. So today I did some stamping… and here are the photos to show for it… and the stamp that did most of the work on each mug!!!

Mug A

Mug B

Mug C

Mug D

Mug E

Mug F

Mug G

Mug H

Mug I

Mug J

Mug K

Mug L – okay, so I did so good at taking all of the photos… until this one…
when I somehow forgot to take the photo of the PLAIN cylinder before stamping…
but you get it, right?!

So now they are underwraps again for the evening.
For tomorrow… they each get a trimmed foot & a freshly pulled handle!!!!

Save

Save

Categories: process, production, stamped, stamps

Another platter going from plain to stamped.
I also tried a “new” more-open spiral on this one… kinda liking it so far.

And the stamp that did all of the work…

Categories: process, production, stamps, vases

Throwing off the hump making some mini vases.
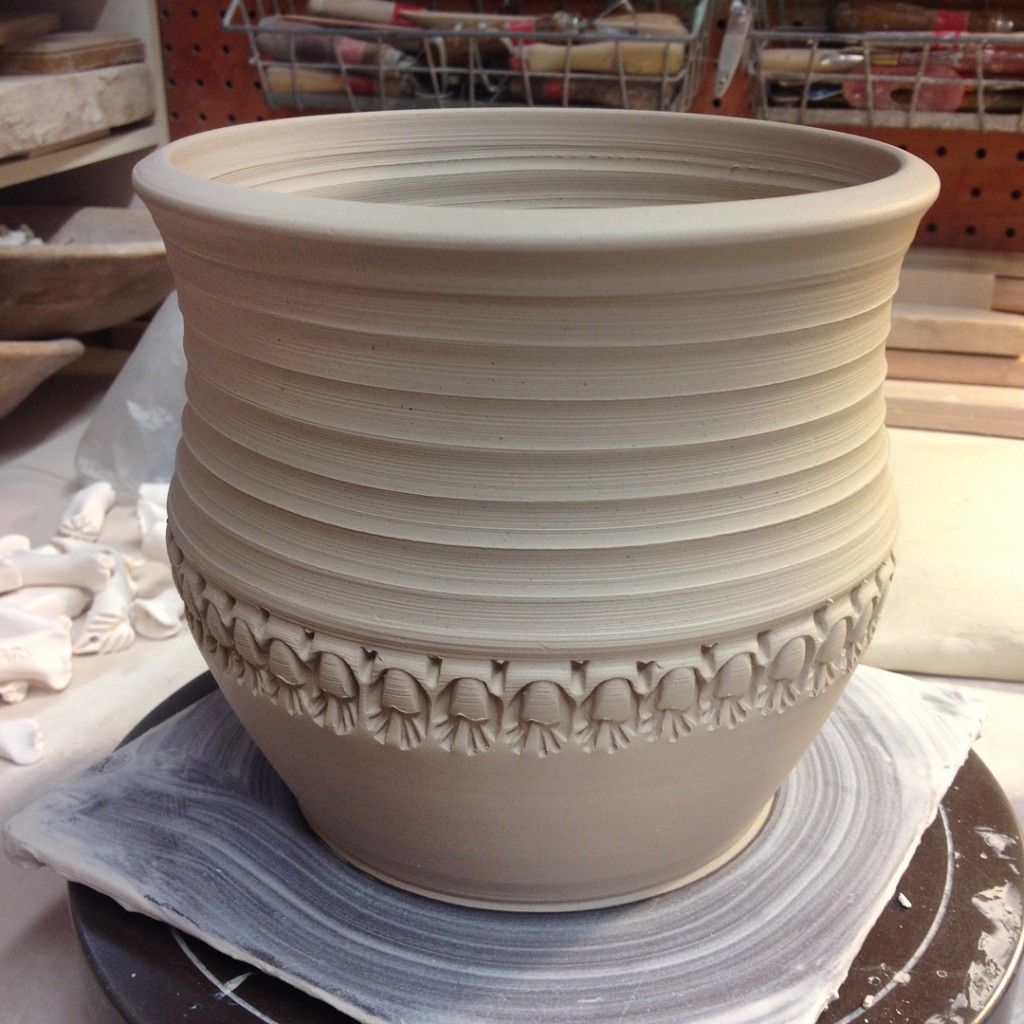
And yes, smaller vases need smaller stamps!!! Go figure.

Categories: mugs, process, production, stamped, stamps

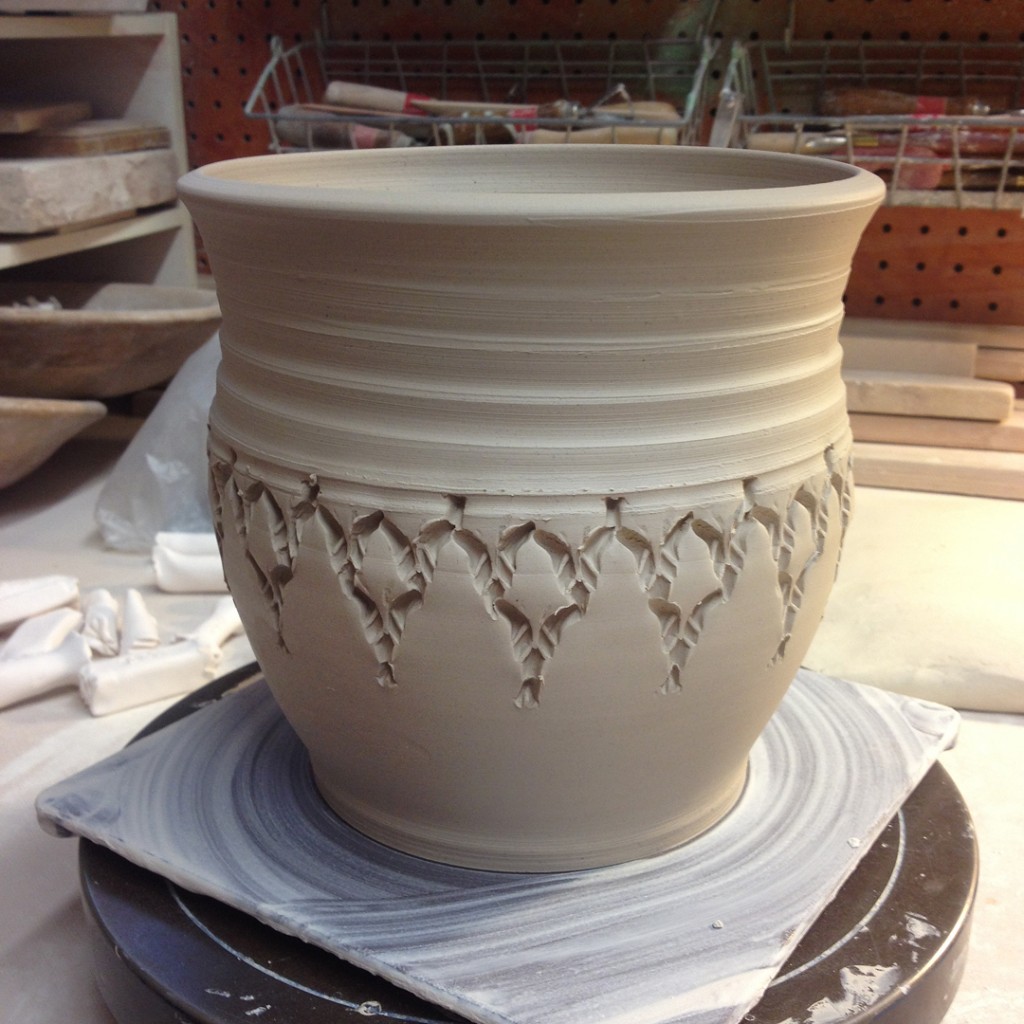
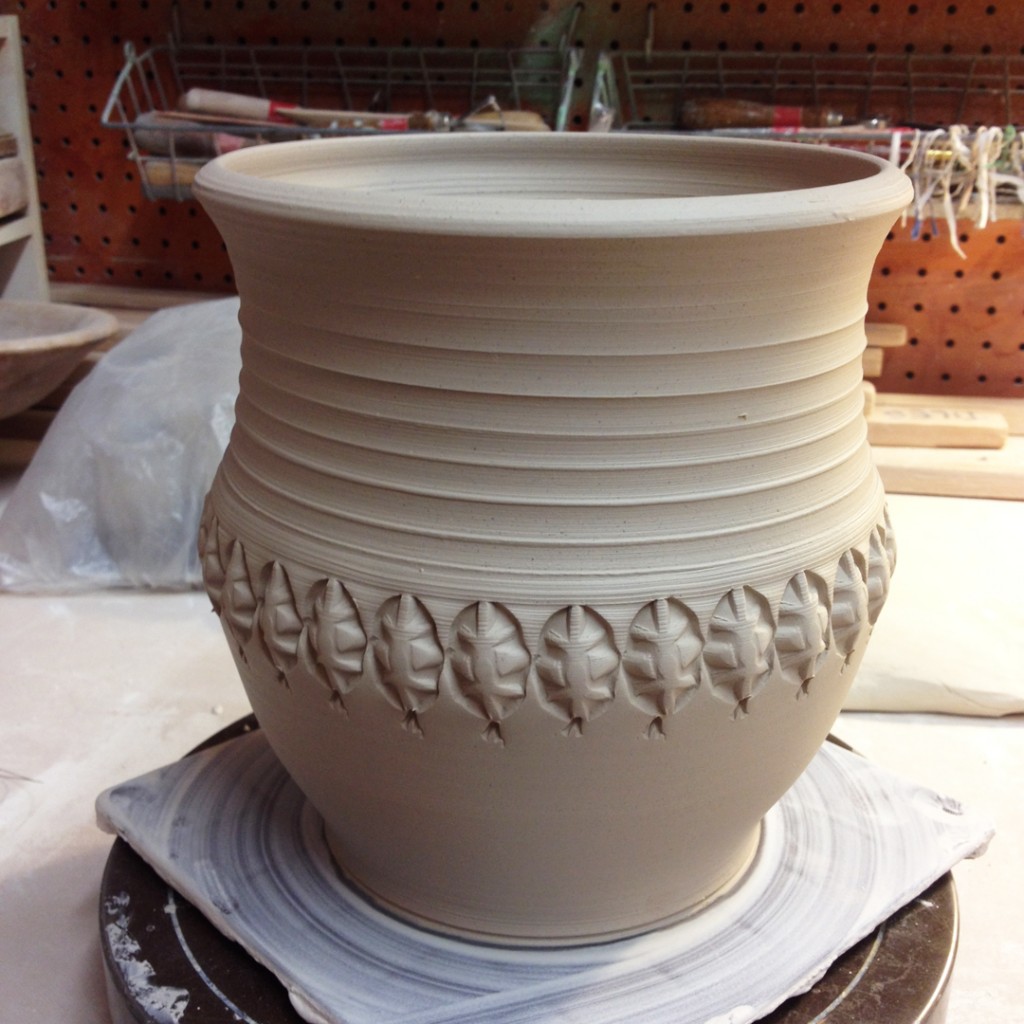
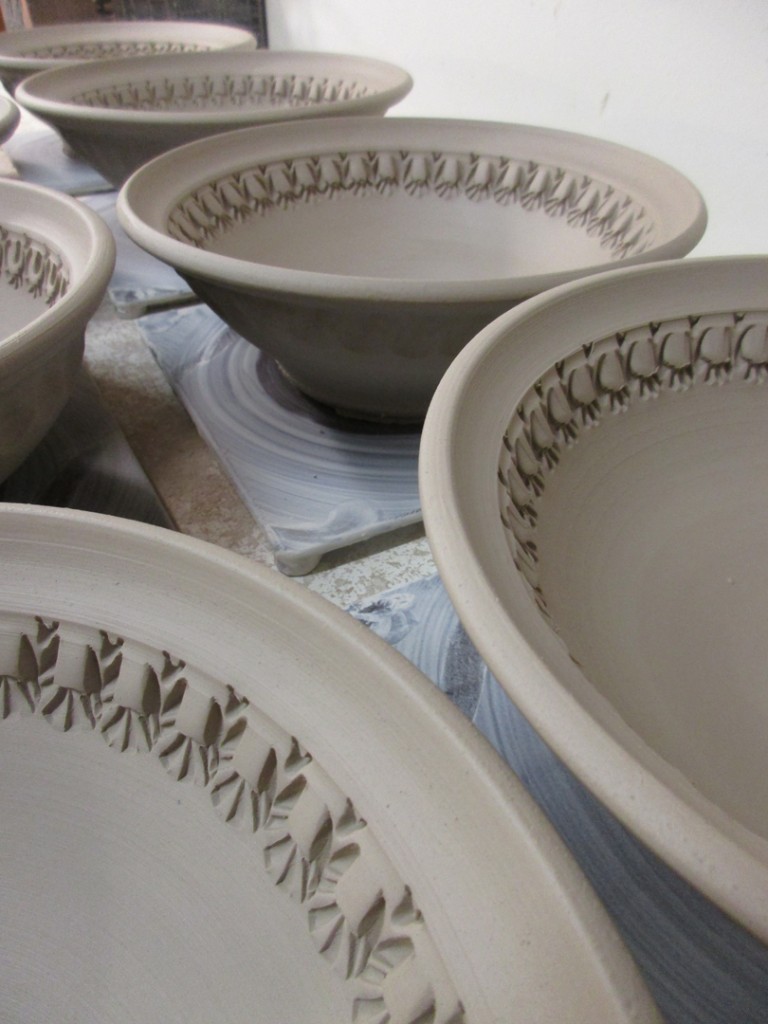
It’s been a long morning of stamping cylinders. One step closer to making another batch of mugs. This time I made a few different shapes of cylinders… kinda hoping to find a new one that intrigues me. I also “forced” myself to do all the stamping with the new batch of stamps I made a couple weeks ago. So here are a few new mug shown before & after stamping… as well as the stamp that I used to make the pattern.

Mug A

Mug B

Mug C

Mug D

Mug E

Mug F

Mug G

Mug H

Mug I

Mug J

Mug K

Mug L

Mug M

Mug N

Mug O

Mug P

Mug Q

Mug R

Mug S

So now all of the cylinders are stamped and under plastic.
Next up will be trimming the bottoms and adding handles.


Categories: mugs, process, production, stamped, stamps

I started the evening with a bunch of cylinders… thirty-six to be exact.
They were way too plain… begging for a bit of textured fun.

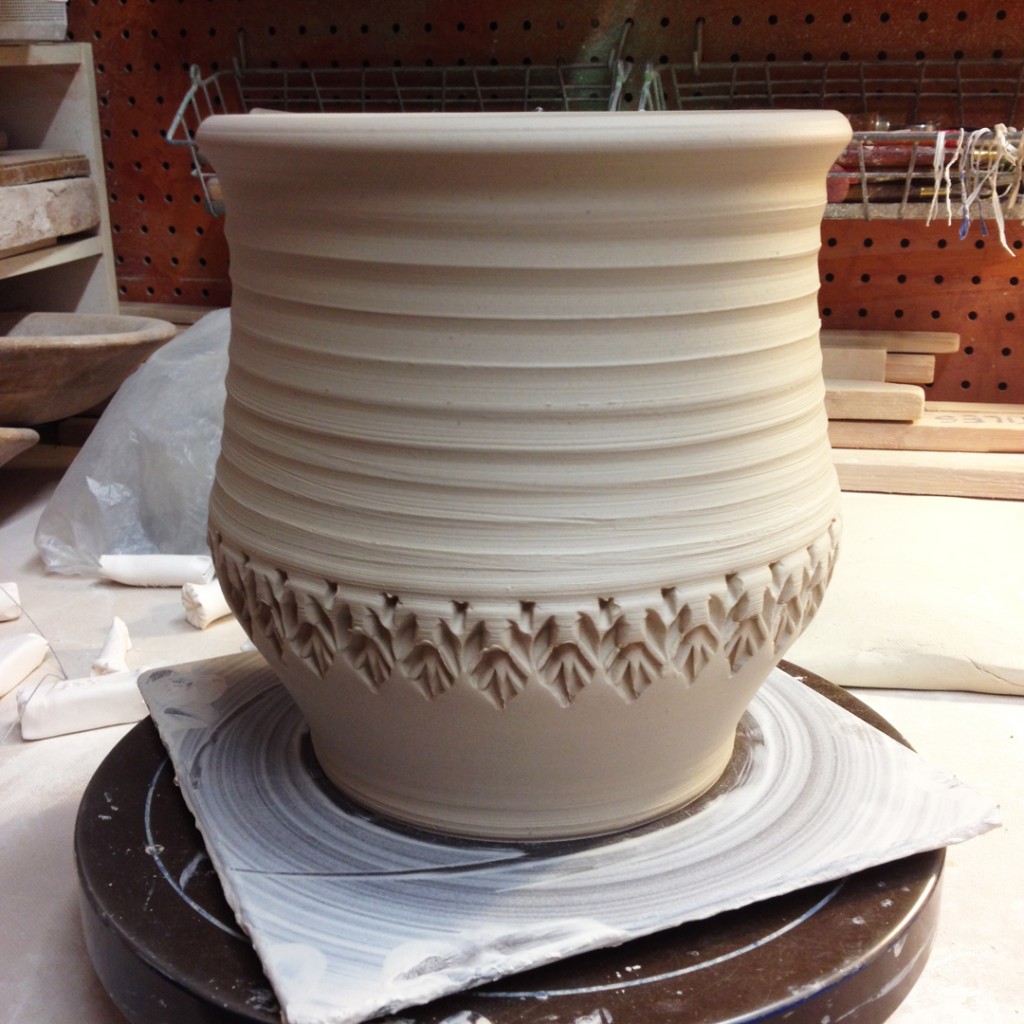
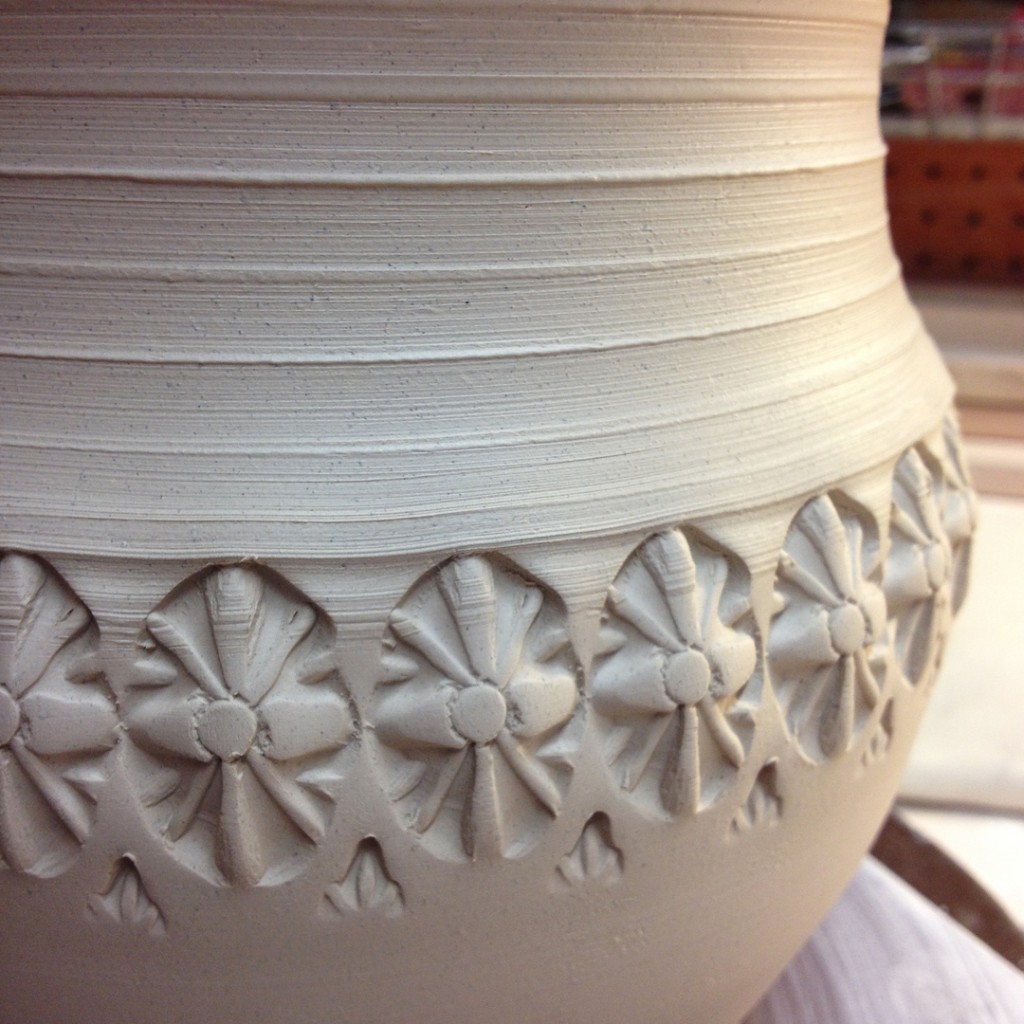
So I grabbed two stamps and set forth… first, a single row of lager stamps along the indentation. Which by the way, is the perfect “trick” to help keep your stamps straight.

Then a little “detailing” inside of the indentation to break it up and make it look a bit les obvious.

And then the same small stamp turned and tapped under the original larger stamp.

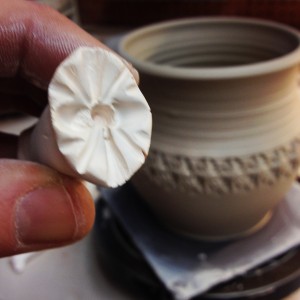
And here are the two stamps that did all of the work…

One done… thirty-five more to go!!!

Done… ready to be wrapped for the night. Trimming & handles still to come…

Save

Save

Categories: stamps, studio

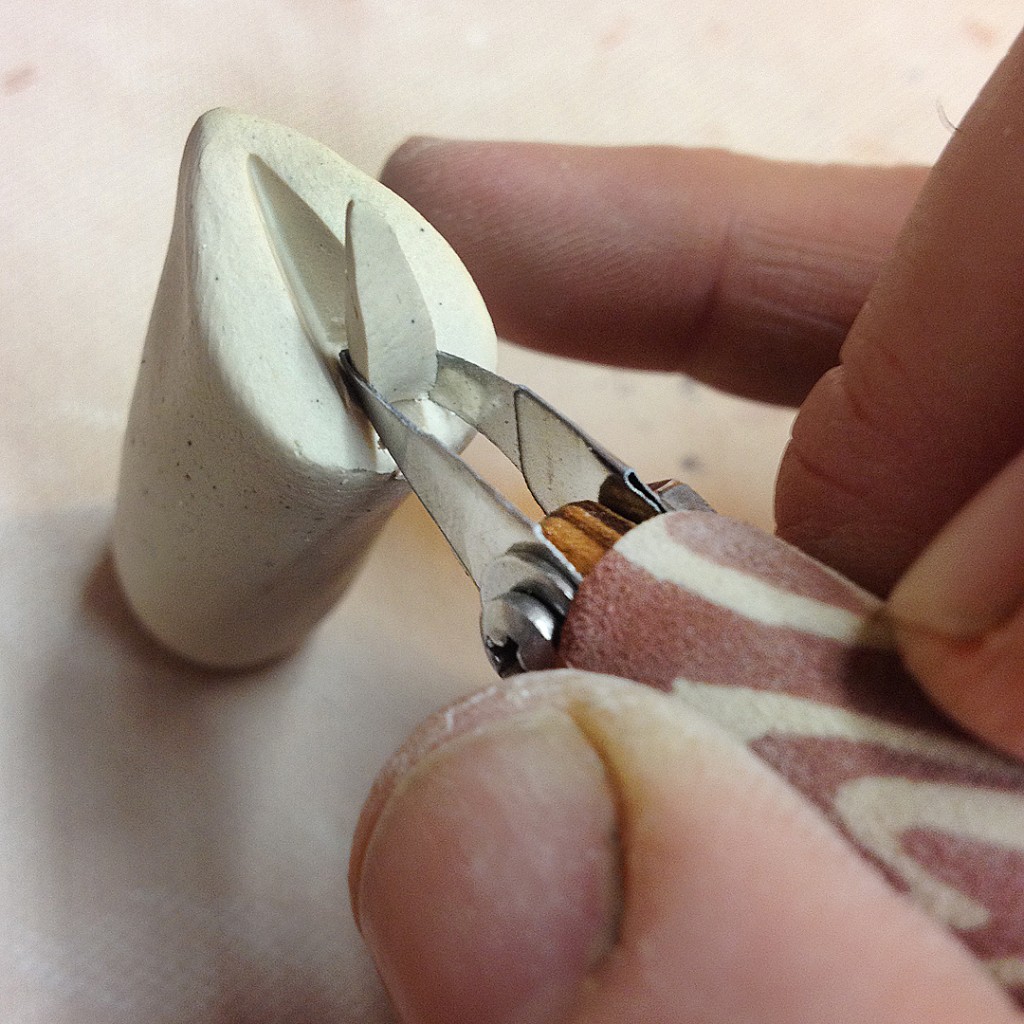
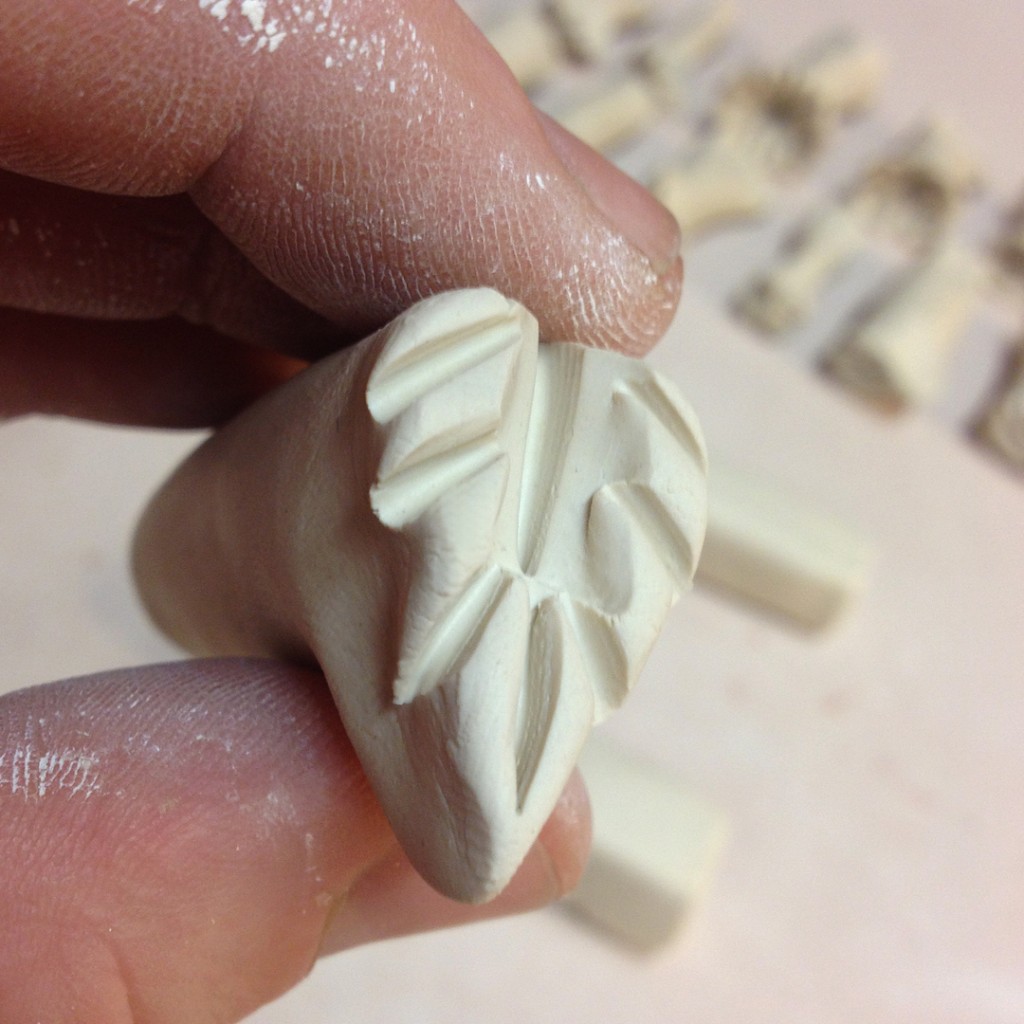
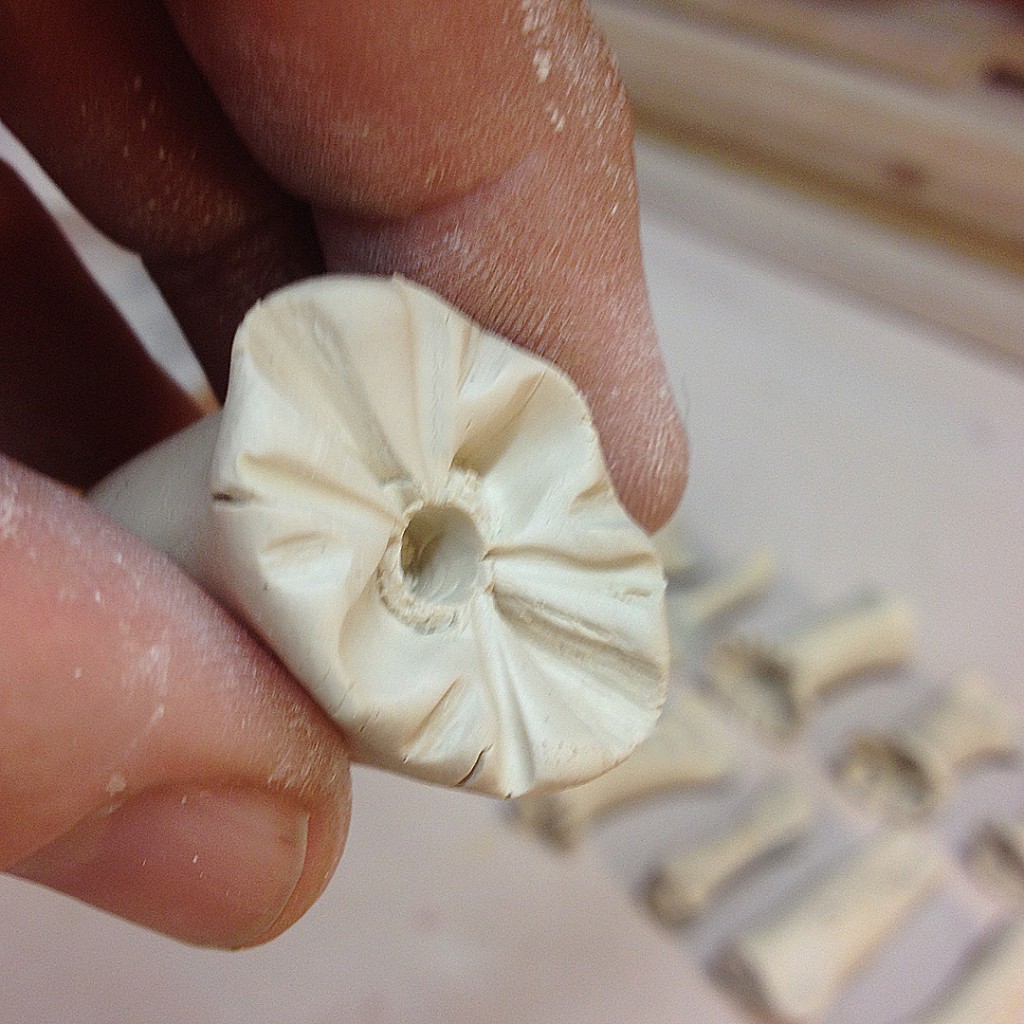
Kicking off the New Year with a new batch of stamps! Just some rolled clay coils with carved patterns on both ends.. A quick bisque firing and then they’ll be good to go! Can’t wait to see what kinds of patterns these will make?! I hope they’re good ones!!!


Categories: organization, stamps, studio

Look, I’ve got another new tray to fill with new stamps!!!
Guess I’ve got to start making MORE.

Because the six full trays I have already just are not enough apparently?!