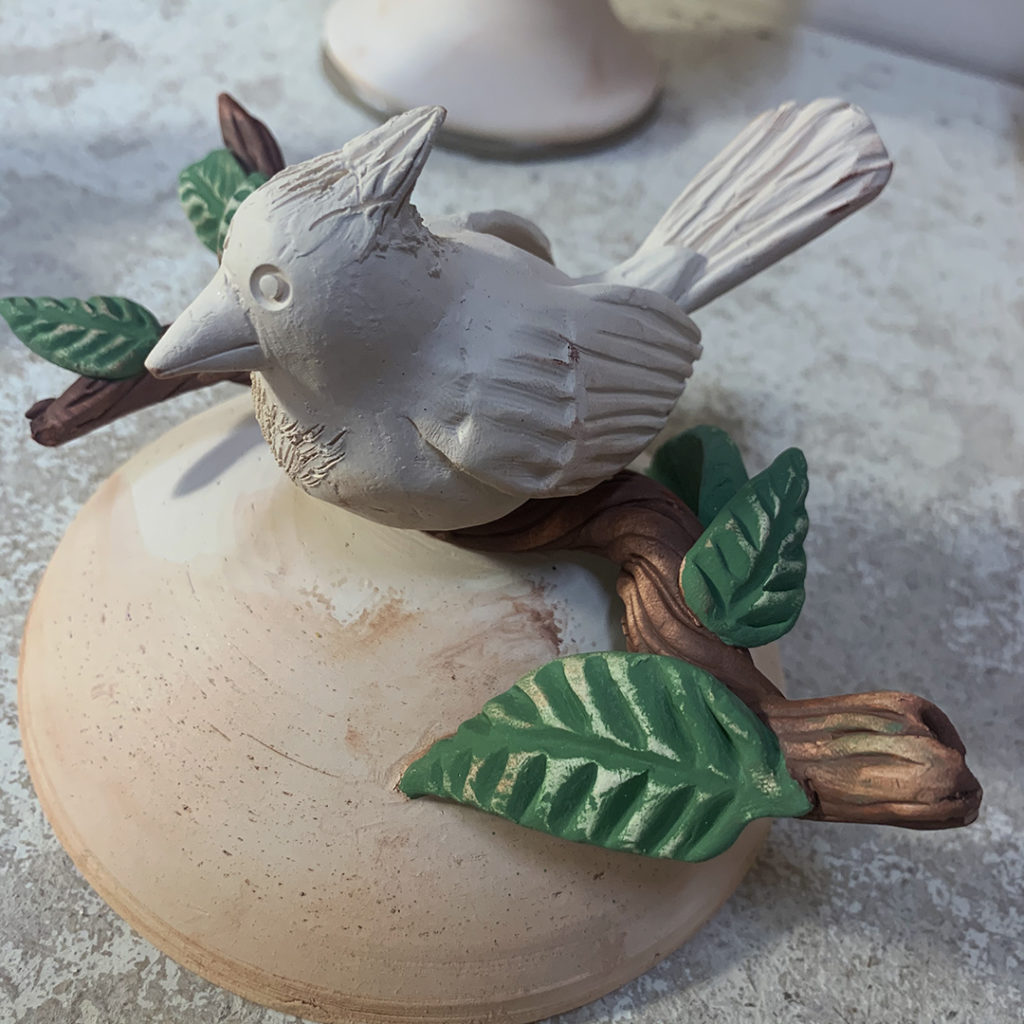
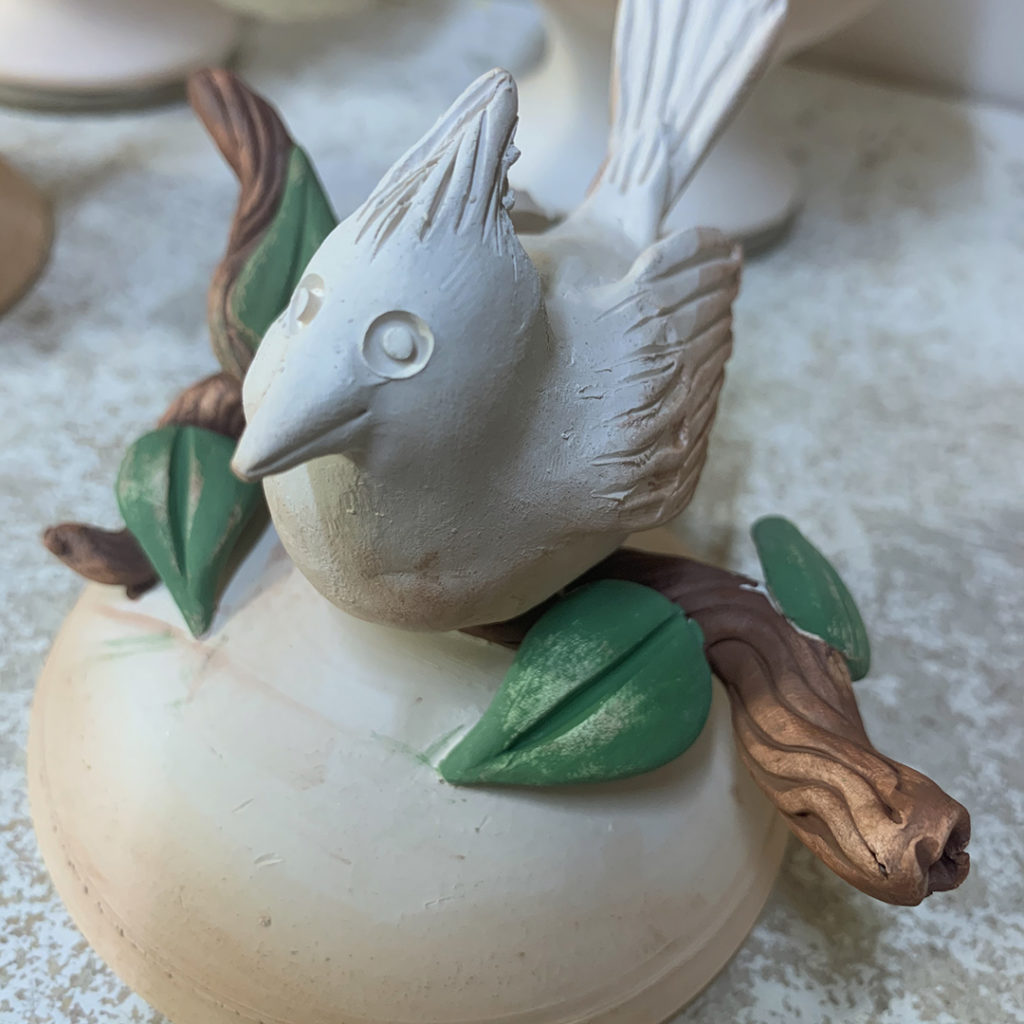
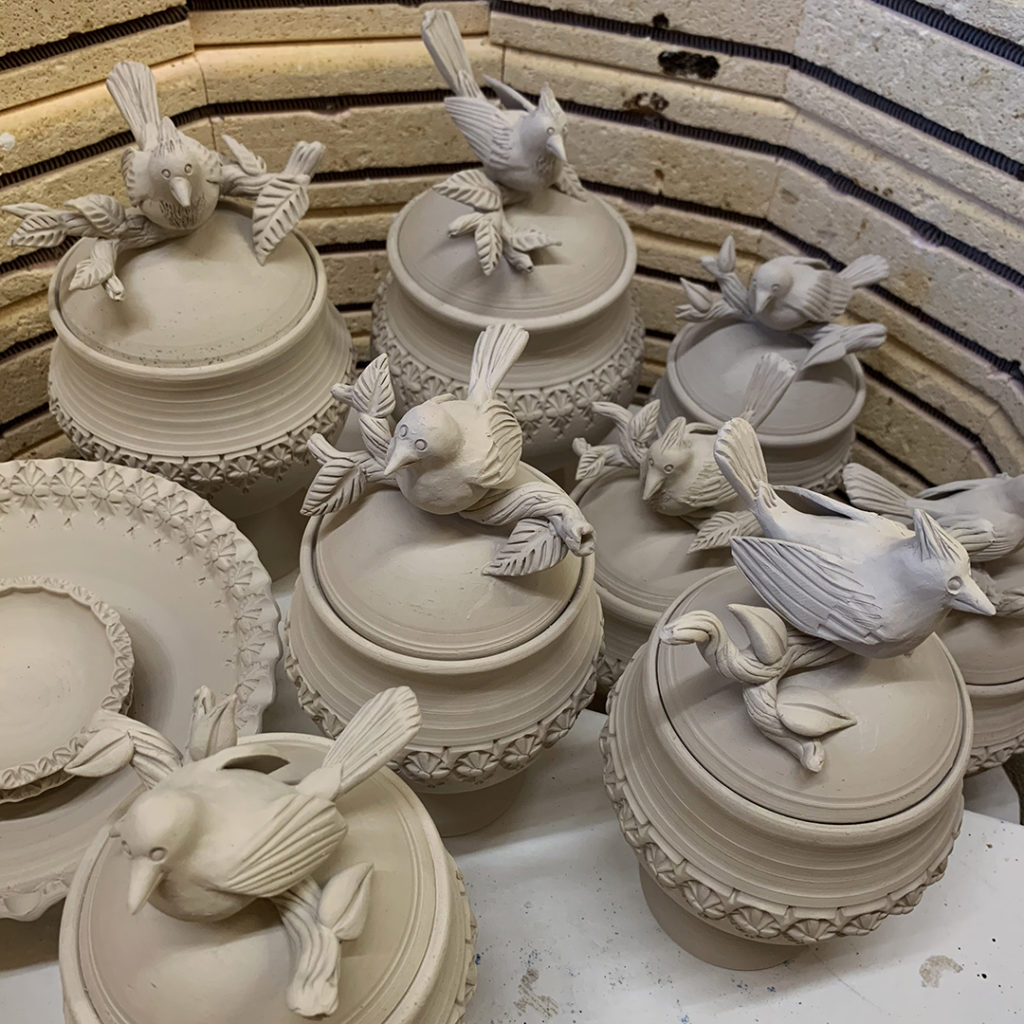
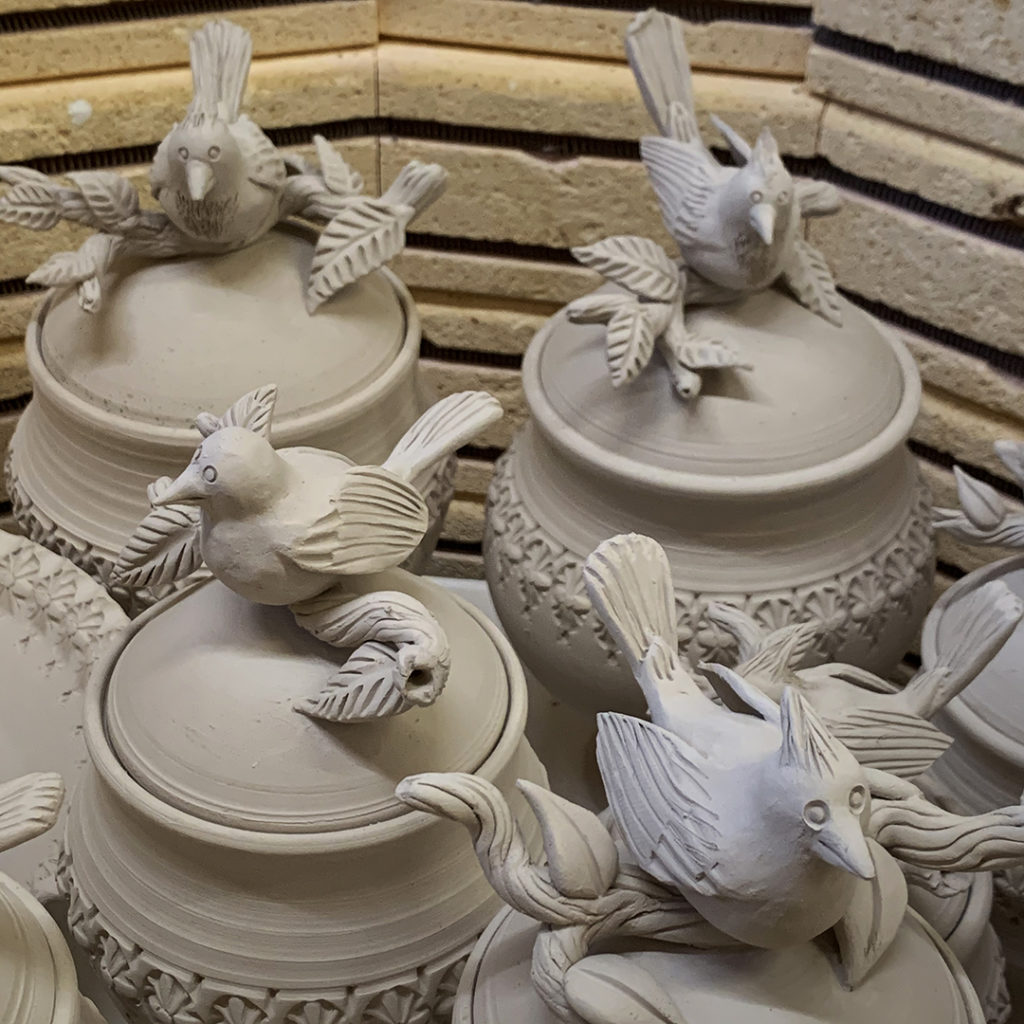
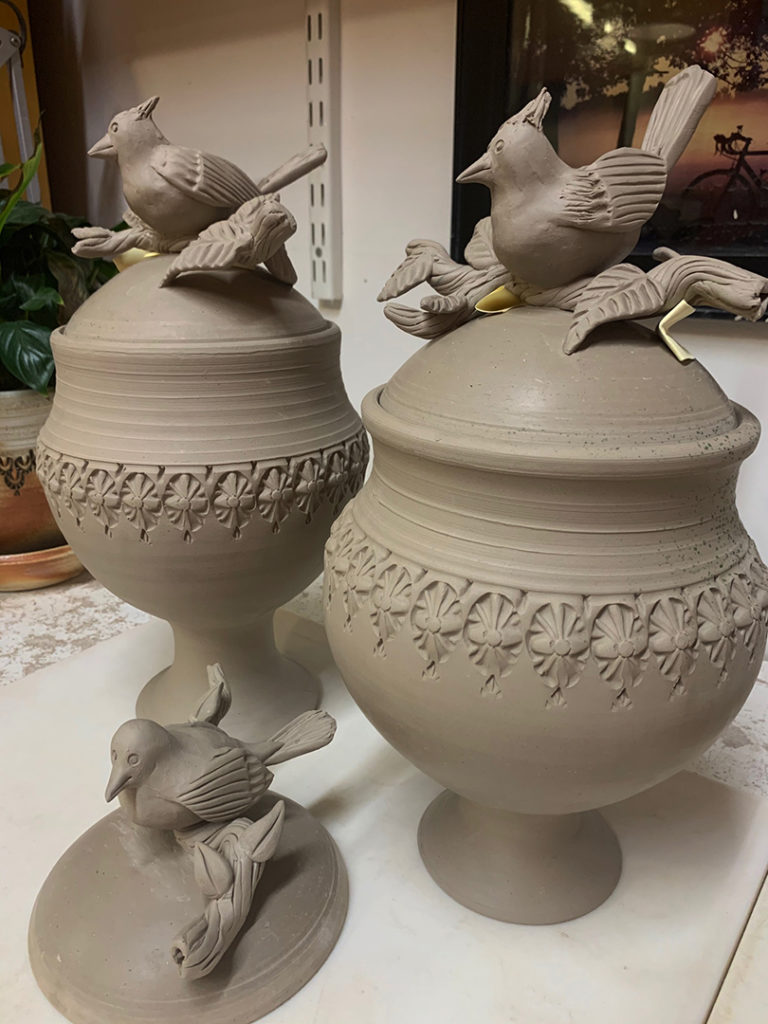
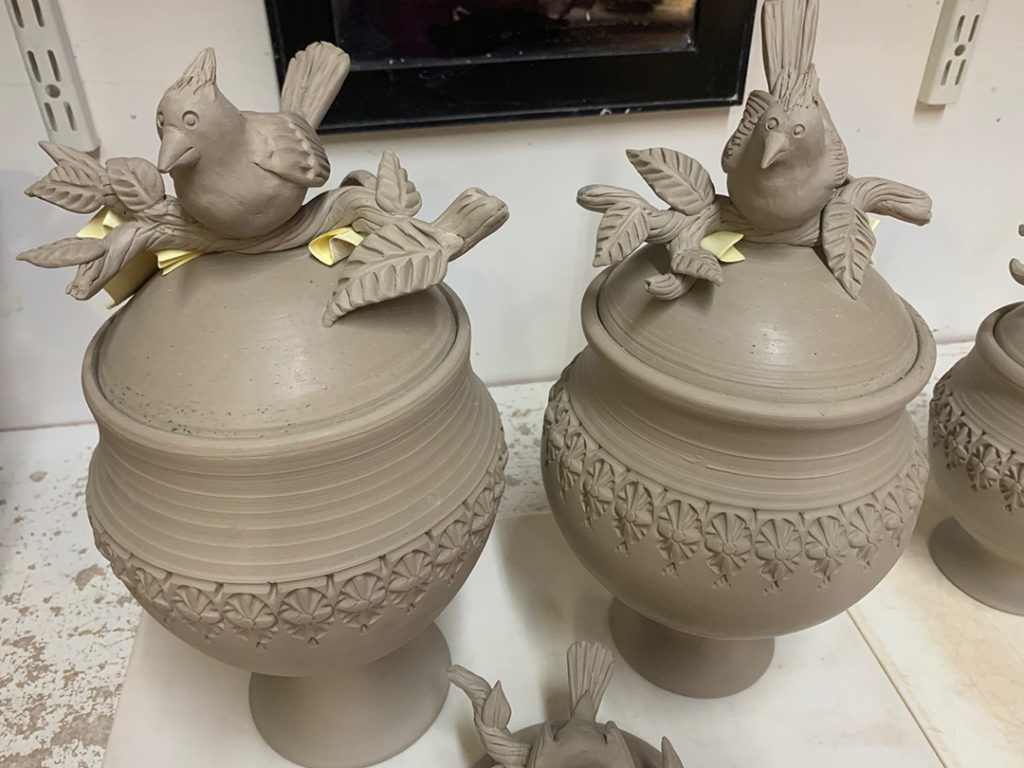
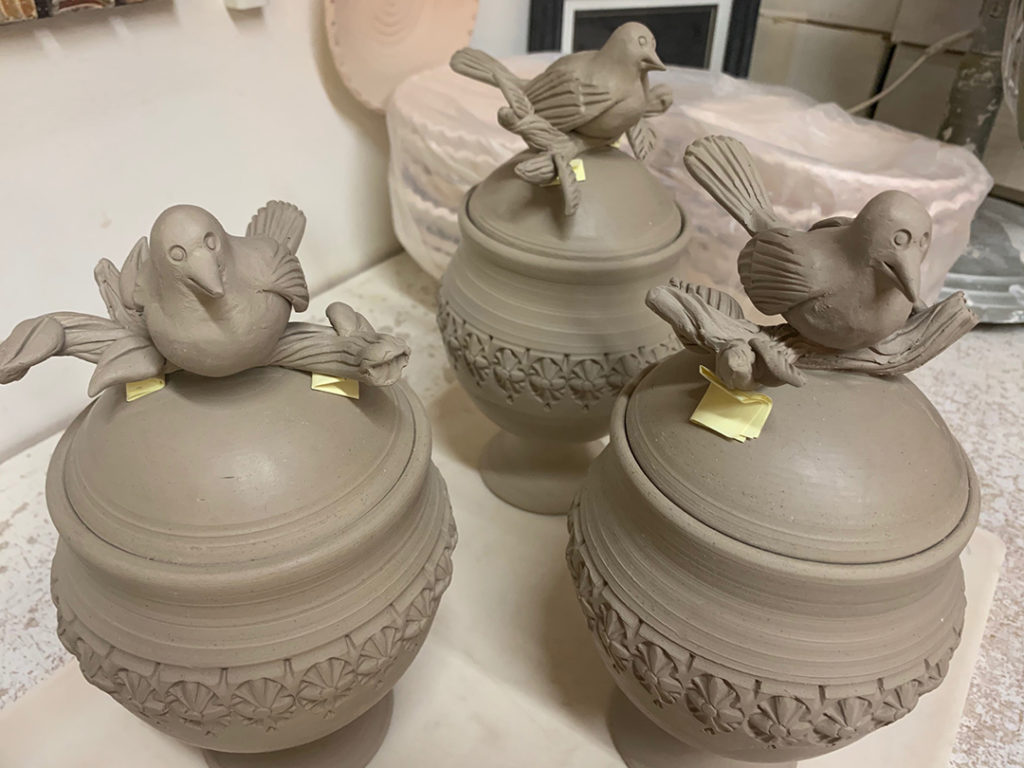
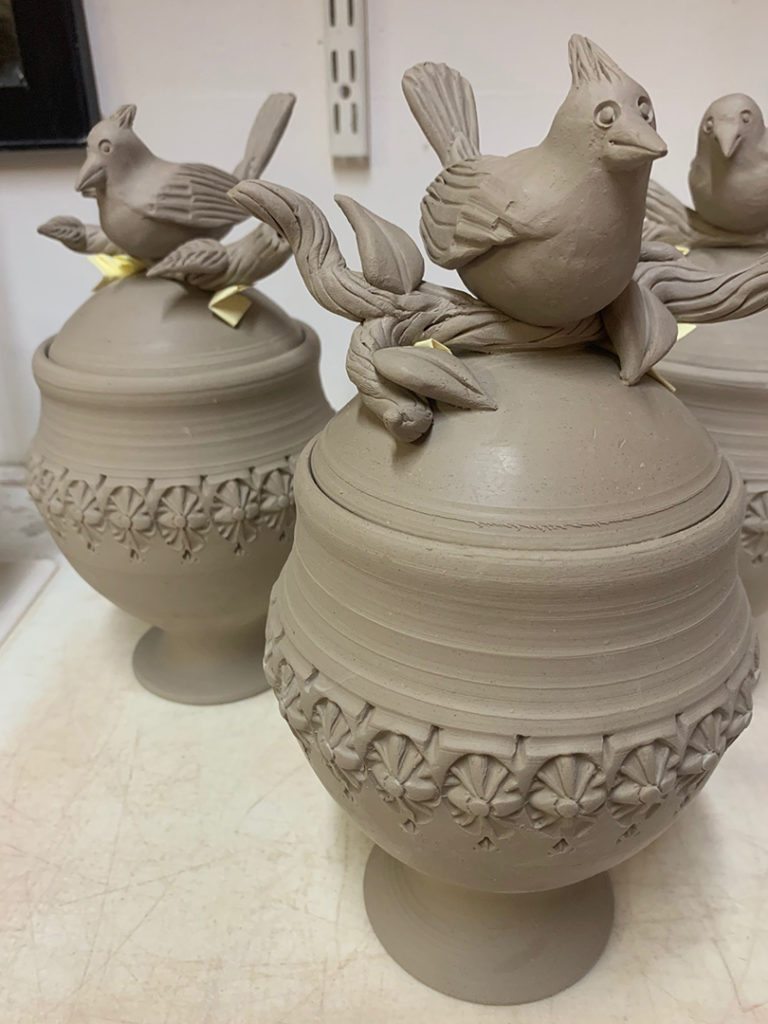
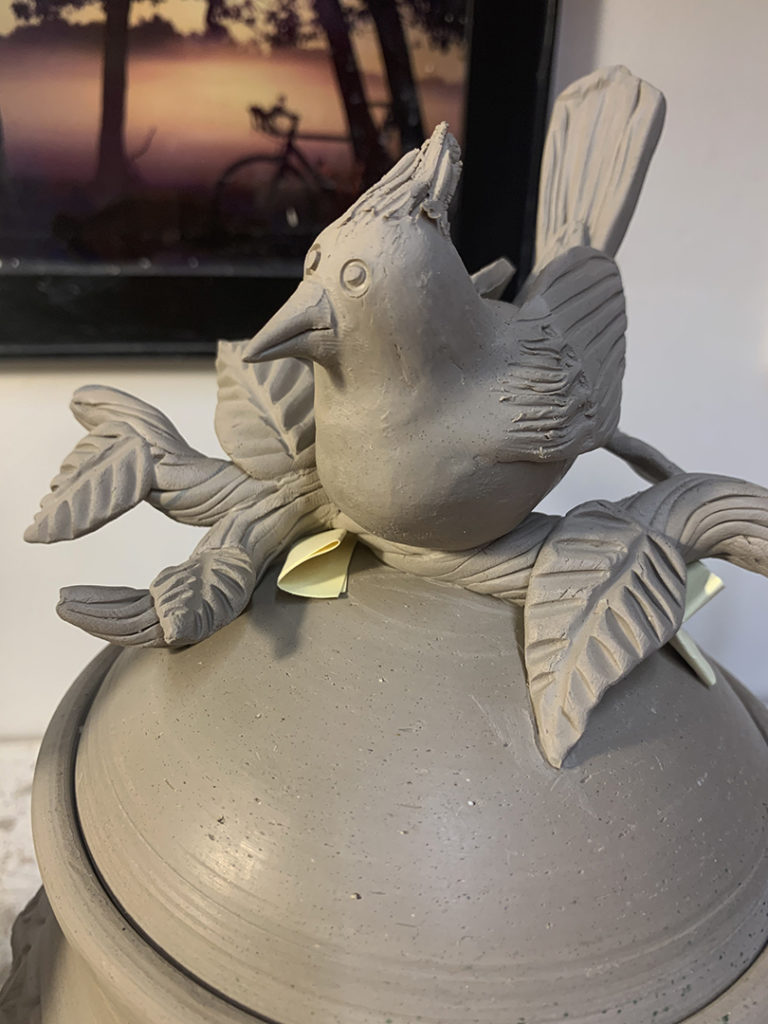
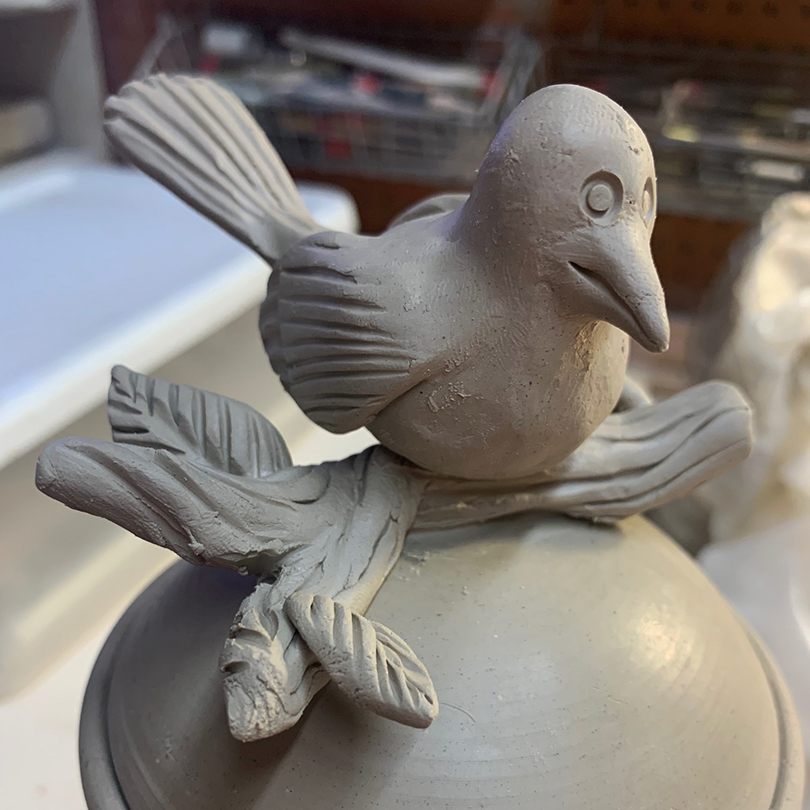
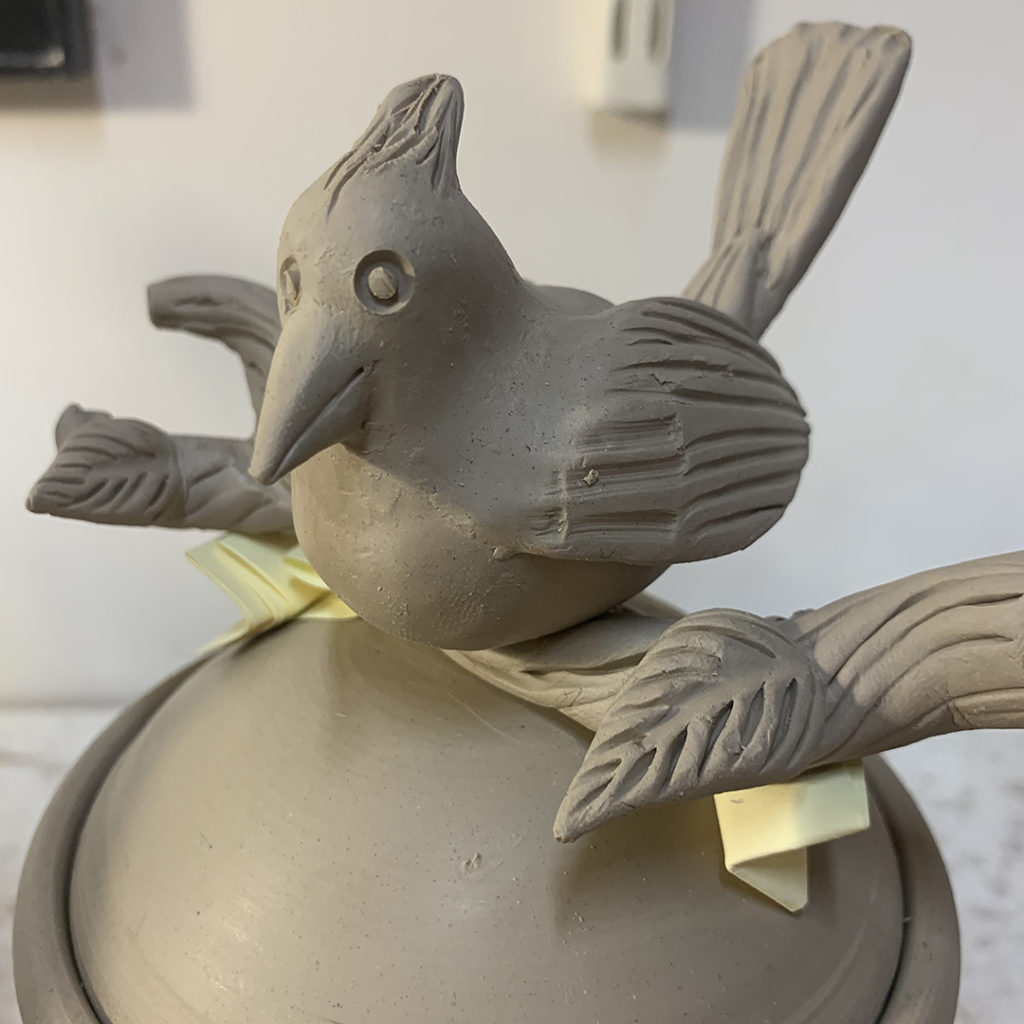
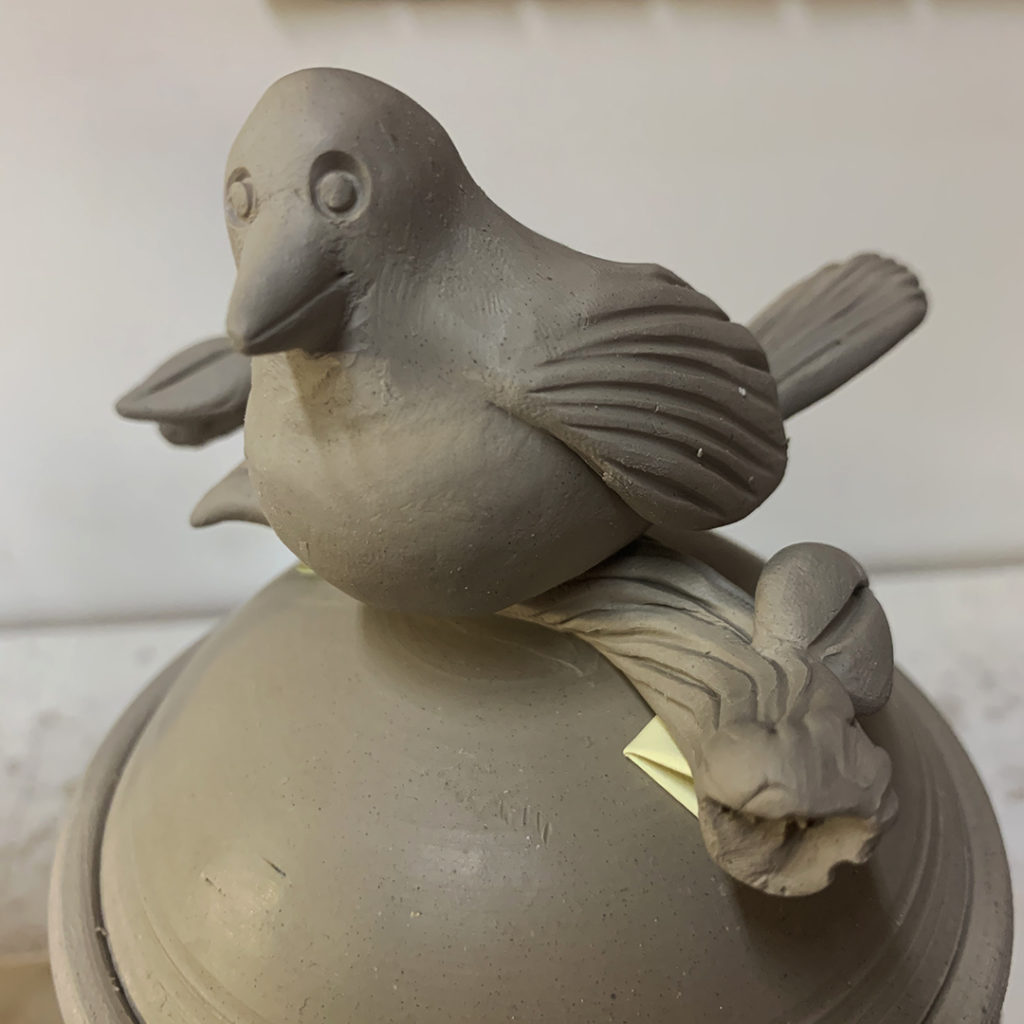
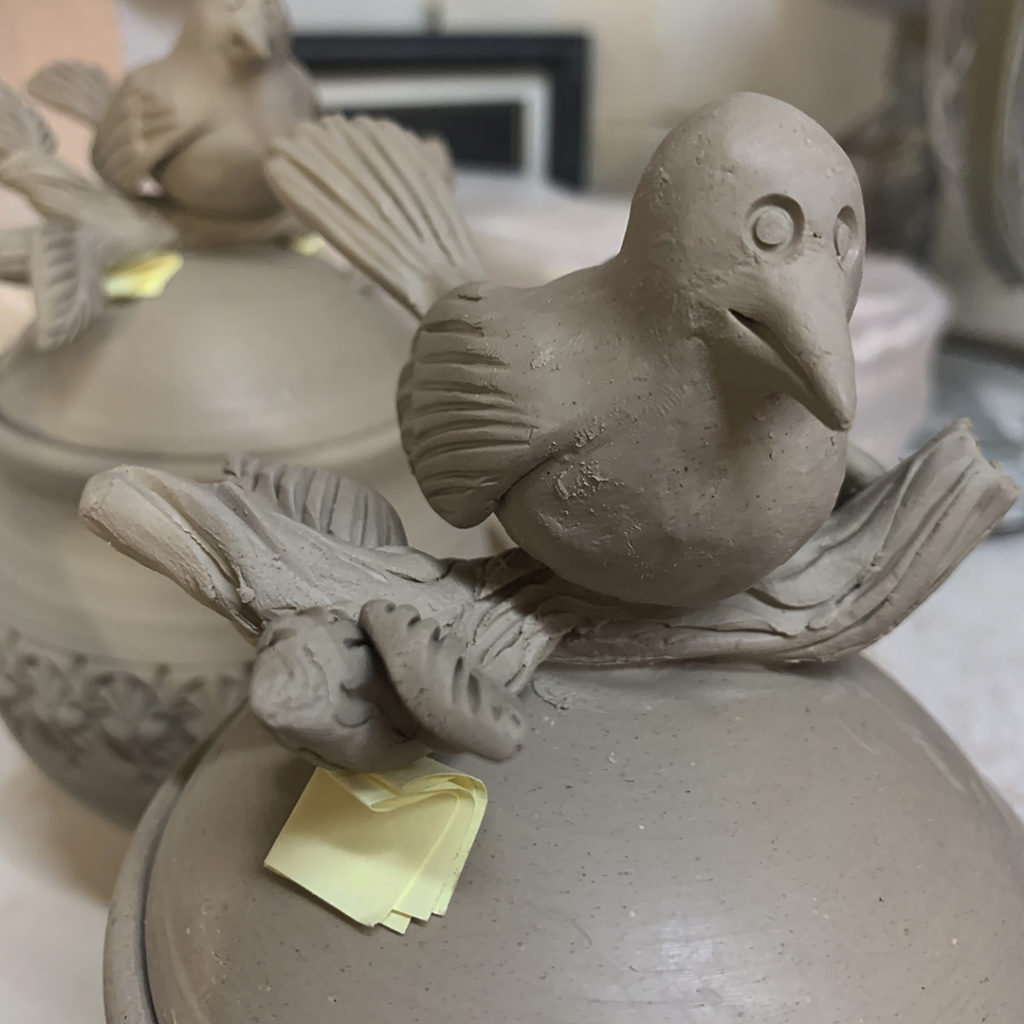
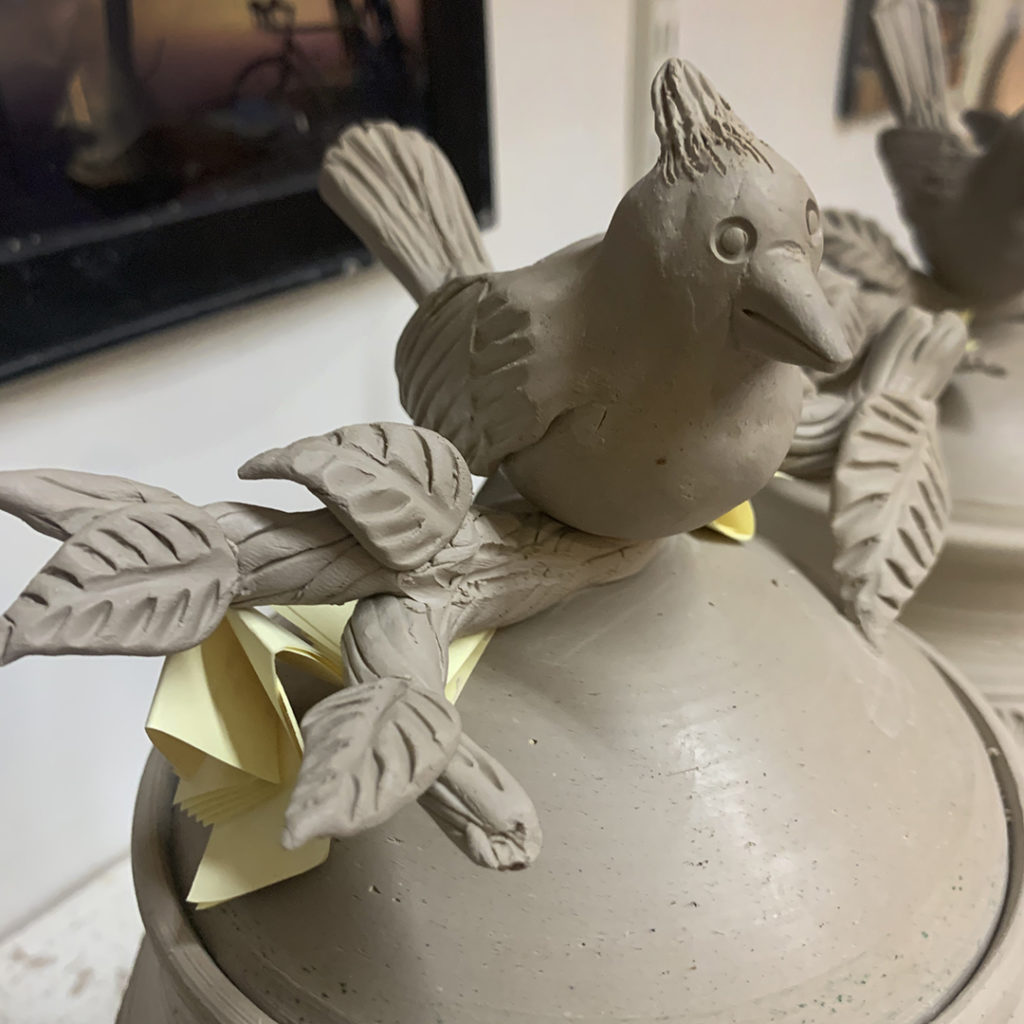
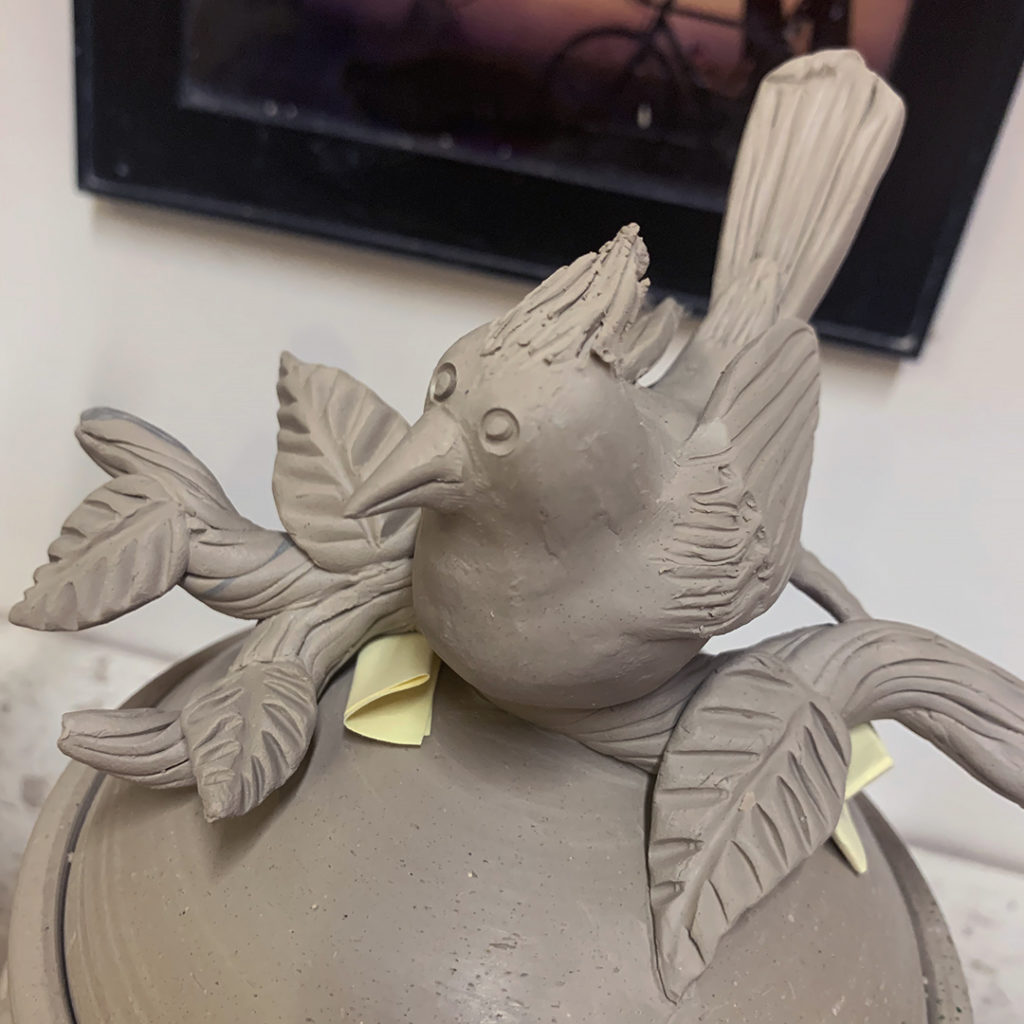
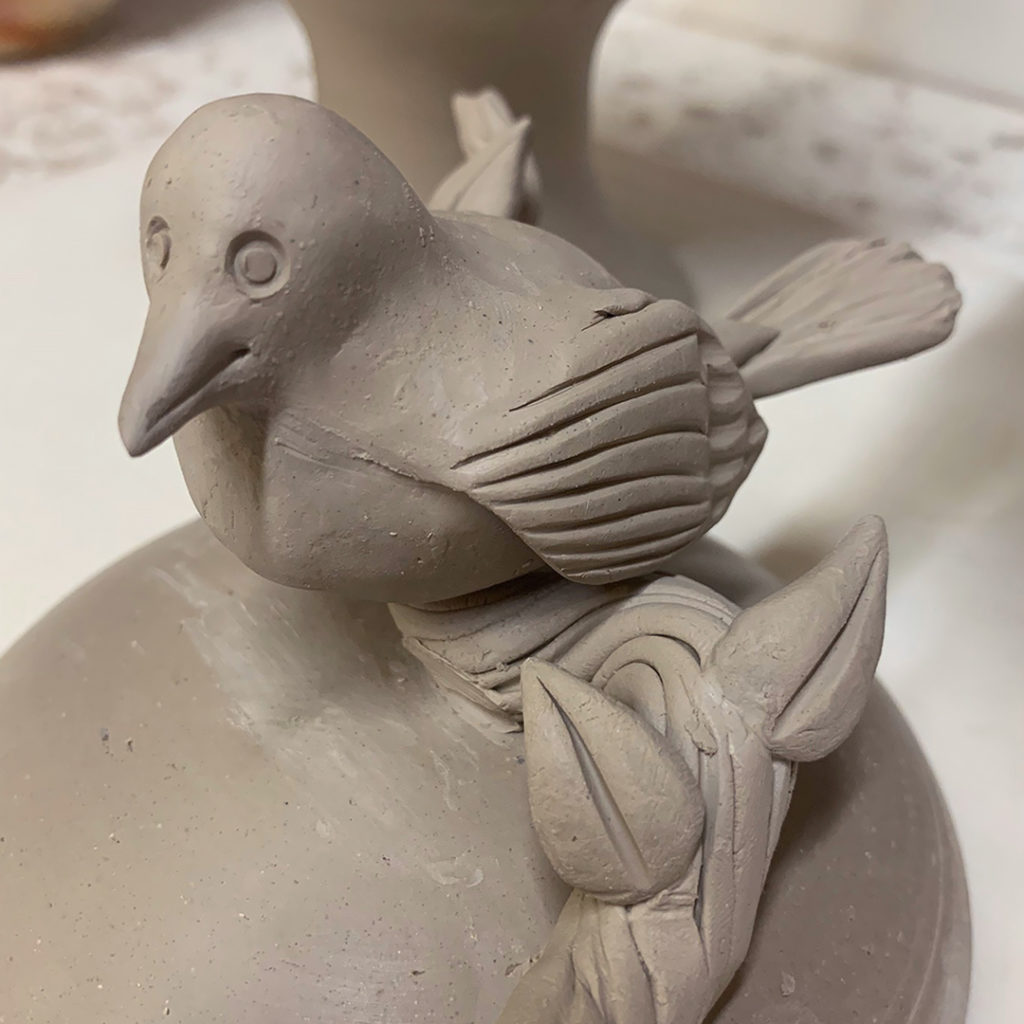
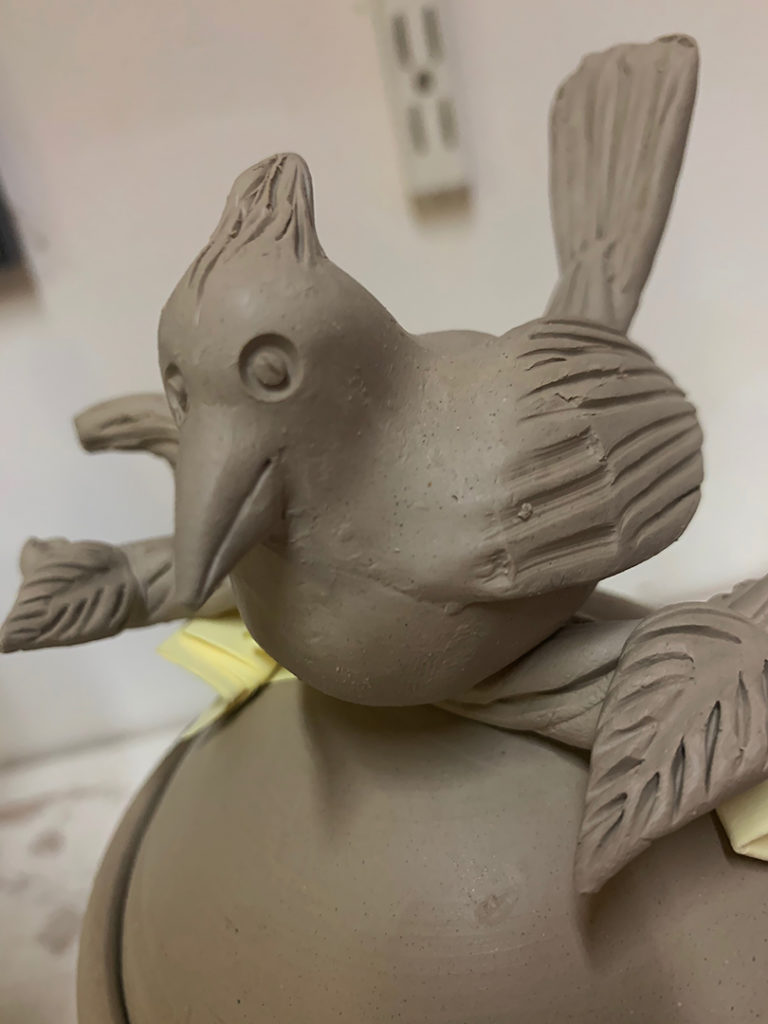
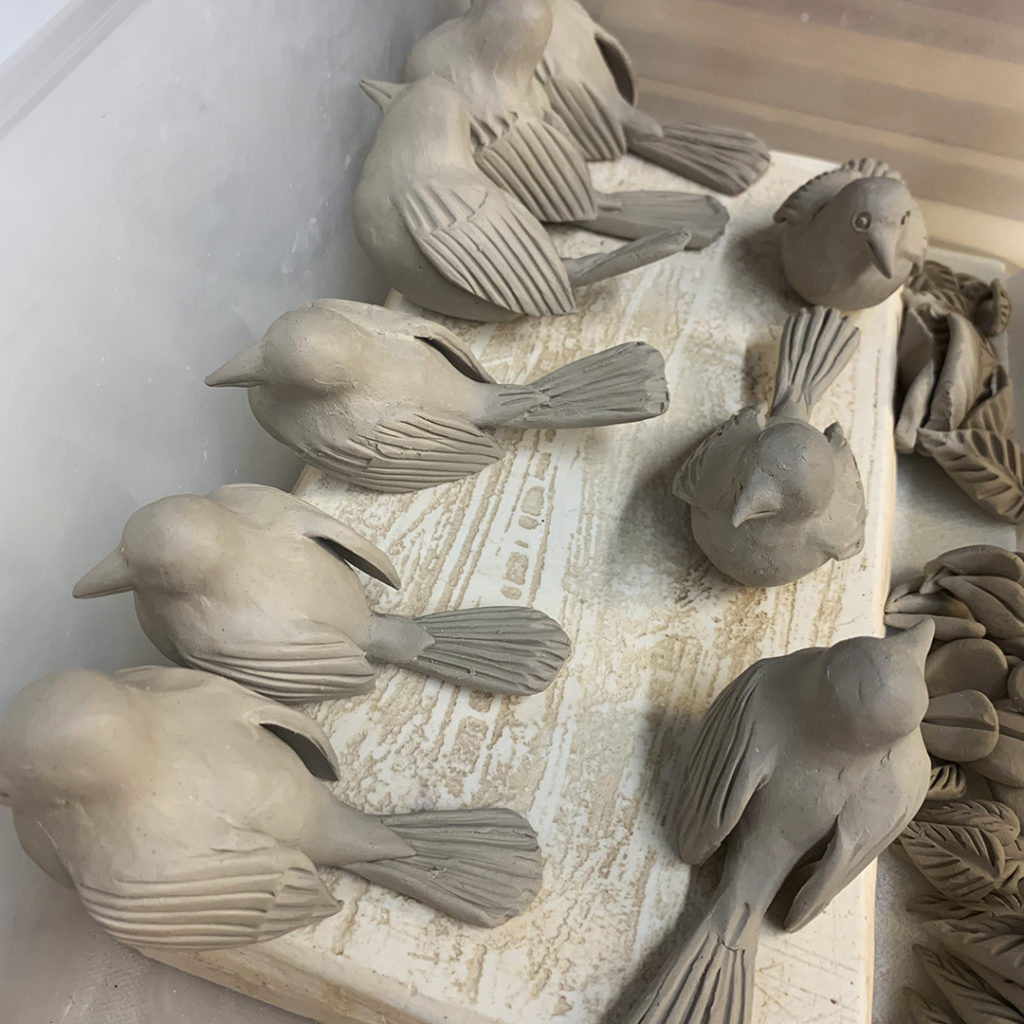
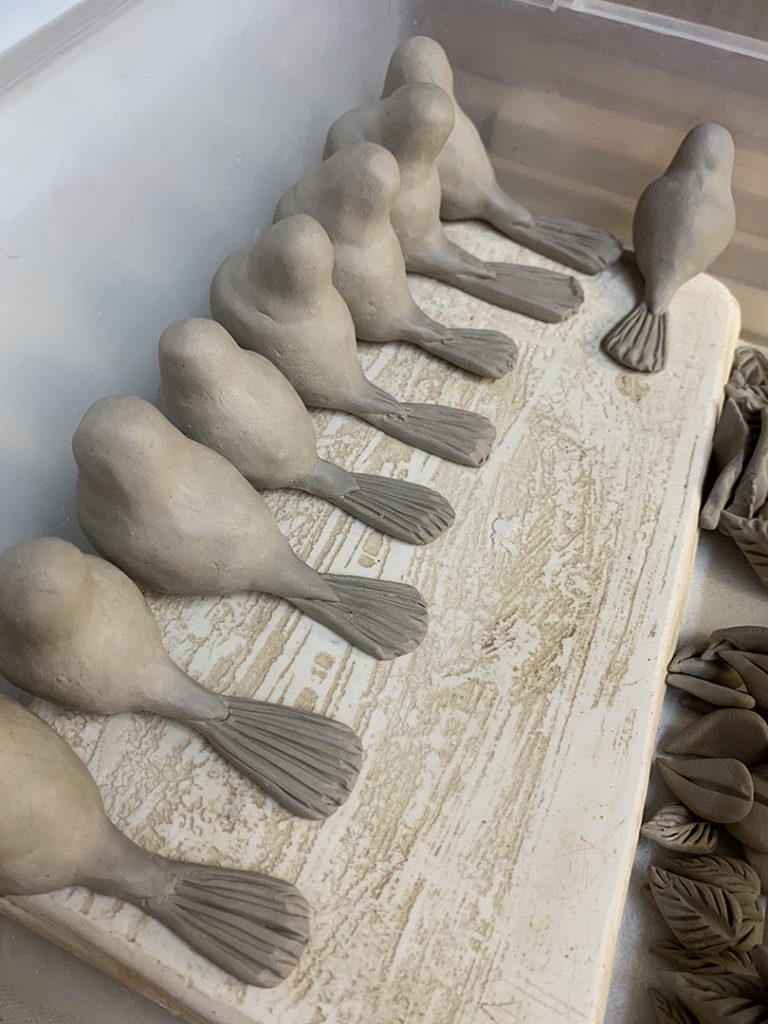
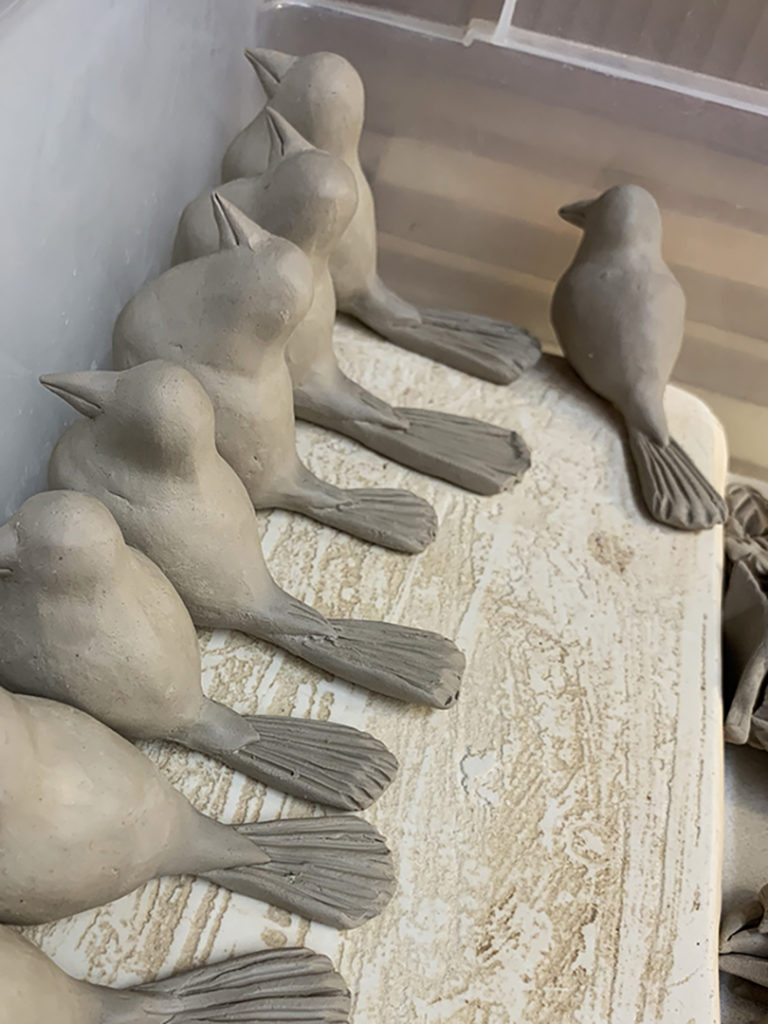
Another night of trimming. Spinning fast in the studio. Enjoying my new trimming tools from DiamondCore Tools. Nice & sharp, making wonderful ribbons just peel right off!


Gary Jackson: Fire When Ready Pottery
A Chicago potter’s somewhat slanted view of clay & play |
Another night of trimming. Spinning fast in the studio. Enjoying my new trimming tools from DiamondCore Tools. Nice & sharp, making wonderful ribbons just peel right off!


Just like something out of “The Wizard Of Oz”…
a bucket of water takes down the Wicked Witch of the West!!!
Well, it didn’t take a bucket… and there wasn’t a witch…
but there was a lot of MELTING!!!
So when I was loading my bisque kiln, I was loading boards full of pieces into the kiln. Many of the boards had been stored in the kiln room for a couple weeks… to dry out… as well as to get them out of my small studio space! Some of them have been there for a couple days… some for a couple weeks.
To my surprise… when I took down a board of twelve mugs from the top shelf… and found that “something” had happened to a few of them. They looked weird, and it took some time for me to process what had occured.


Apparently, there was some sort of water dripping down onto them over time. That’s the best solution I’ve come up with. There’s a electrical pipe running along the ceiling about an inch from the corner. Which I think would lineup with the drip marks on the mugs. Yes… if you look closely… I believe this is “erosion” from repeated water drips falling on them!


It had to be happening for awhile… as you can also see drips on the wall! And the amount of “melting” is kinda crazy… I think this must have been going on for quite some time! And since it was on the top shelf and out of eye-sight… who knew?!


You can actually see where there’s an actual hole all the way RIGHT THRU the bottom of the mug!!!… drip… drip… drip… kinda like Chinese Water Torture during the War!!!


Luckily, the mugs can just be broken up and reclaimed again… IT’S JUST CLAY, right?! And I’ve learned a valuable lesson… no more greenware storage on the top shelf… at least not pushed all the way back… until we find out why water might be dripping from an electrical pipe?! Now THAT doesn’t sound good either, right?!

I’m so used to cranking out as much pottery as I can usually this time of year. You know, getting ready for all of the summer art fairs. Racing to meet deadlines. Scheduling and working towards kiln dates… work, work, work. But this whole Coronavirus thing is really screwing up my mojo! With all of the summer art fairs being cancelled one after another, it’s weird to NOT have that kind of pressure & incentive to keep busy in the studio. Plus, the fact that there is NO ONE around in the studio… there’s no excitement or “energy” there either! It’s just WEIRD.
But, I have been working in the studio… trying to keep busy… trying to maintain some sort of “normalcy” in my life. Trying to find it anywhere I can! So I finally made enough work to fill a bisque kiln. So here it is… layer-by=layer. Not my tightest packed kiln… but it did feel good loading & closing the lid!
Bisque Layer #1 – mugs, oval vases, bowls & ornaments

Bisque Layer #2 – more oval vases, bowls, square vases, berry bowls and more ornaments!

Bisque Layer #3 – sgraffito platters, platters, spoon rests, tiny bowls and a square vase!

Bisque Layer #4 – more berry bowls, mugs, bowls and couple square vases

Bisque Layer #5 – small plates for berry bowls stacked to fit.

i didn’t think I even had quite enough work to fill the kiln. Turns out that I did… as there were still a few pieces that didn’t quite fit into this load. Luckily, the top shelf worked out pretty well… loading pretty much right to the top. Not a lot of extra space there!

Just another fun night of making mini vases… even more fun when you’re thowing off-the-hump!!! Making more cutie-patooties!


So my berry bowls are now cleaned-up & drying… but I think a good berry bowl needs a little plate to go with it. That way you can wash some berries, let them drain, and then serve them in the same berry bowl… with the plate under it to keep the water from dripping on your table. So tonight I made some little drip plates…

So I’ve often said the best thing in the pottery studio is POWER TOOLS!
Especially when “drilling” lots of drainage holes into the bottoms of a bunch of berry bowls?!
So why not use a POWER DRILL to drill the holes?!

So I’ve already trimmed the bowls, and let them stiffen up to the “drier-side” of leatherhard. Not squishy. Not tacky. But definitely NOT bone dry yet. And then I start by making the first ring of holes just inside the footring… and then continue on the outside of the footring, between… staggered… lined-up… all different patterns!


And then I let them sit out a bit longer so the drilled “burrs” will brush off easily. Once the shredded debris stiffens up, I use a stiff paint brush to wipe all of those extra pieces off both inside & out! It’s always fun to see the drilled pattern after cleaning out the debris!


Now that they’re drilled full of drainage holes, I’ll let them dry to bone dry. And then I’ll take a green scrubby 3M pad to smooth out some of the rough edges before bisque firing.
Next up?… throwing a bunch of small plates to work as the drainage catch plate!
It’s always a GREAT day when a surprise “care package” shows up…
with a promise of wonderful things inside!!!

So I ripped it open!!! To find the newest assortment of trimming tools from my pals at DiamondCore Tools!!! … WHOO-HOO!!!


They even come with their own replacement blades!!!…
so easy to switch out with a simple screw & screwdriver! With all the DiamondCore Carving Tools that I’ve used, I’m only had to switch the blade once… and that was all my fault… as I “squished” the blade when I accidentally pressed it into the edge of my wedging table… awkward… don’t ask…
It wasn’t because their blade had worn-out, it was because I’m a klutz!
But it is nice to know that replacing the blade is always an option!


I couldn’t wait to give them a test drive… their inaugural trip… their virgin voyage… and yet totally LOVING how crisp, clean & pristine they were right now. Knowing that they will NEVER be quite this clean ever again! They’re pretty sexy, right?


Another great design choice… each of the trimming tools has a different shaped end. A point, a square, and wedge and the rounded Potter’s Thumb! Double-duty being able to use both ends of the tool.
And verdict is in!!!…
Their trimming tools are GREAT!!! So smooth. So sharp.
And the handles feel great too… nice weight, nice balance, beautiful wood!!! You know I LOVE trimming… now there’s even more to love!
Thank You DiamondCore Tools… I love your tools. Always so sharp, well-made and perfect for so many uses! I can’t wait for this whole quarantine thing to end… so I can share these beauties with my pottery students!!!


Another productive studio night with a lot of stamping. The bowls were thrown (against my natural instinct) without a spiral… and you know how much I LOVE a good spiral!!! But these are going to become berry bowls, and I didn’t want the spiral to “get in the way” of the drainage holes I’ll be drilling through the bottom later.
Bowl #1 –


Bowl #2 –


Bowl #3 –


Bowl #4 –


Bowl #5 –


Bowl #6 –


Bowl #7 –


Bowl #8 –


Bowl #9 –


Bowl #10 –


Bowl #11 –


Bowl #13 –


Bowl #14 –


Bowl #15 –


So for now they’re all stamped and back under plastic for the night. I’ll tackle trimming the bottom to add a foot ring tomorrow… and then drainage holes after that. Once trimmed & drilled, then I’ll throw a batch of small plates to fit… drainage catch plates for the berry bowls!


Another quiet & solitary night in the studio… no one around to divert my attention from throwing some more bowls. Just getting started on a fresh batch of new berry bowls. More to come!

Still working on a bunch of lidded jars in the studio. Good news that the lids all seem to fit!!! Sure, I’ve got a lot of trimming & finishing to do. The lids were thrown off-the-hump… so I still need to pull off that extra “cookie†of clay before trimming.


|
Gary Jackson: Fire When Ready Pottery
Lillstreet Studios ∙ 4401 North Ravenswood, Chicago, Illinois 60640 ∙ 773-307-8664 gary@firewhenreadypottery.com |