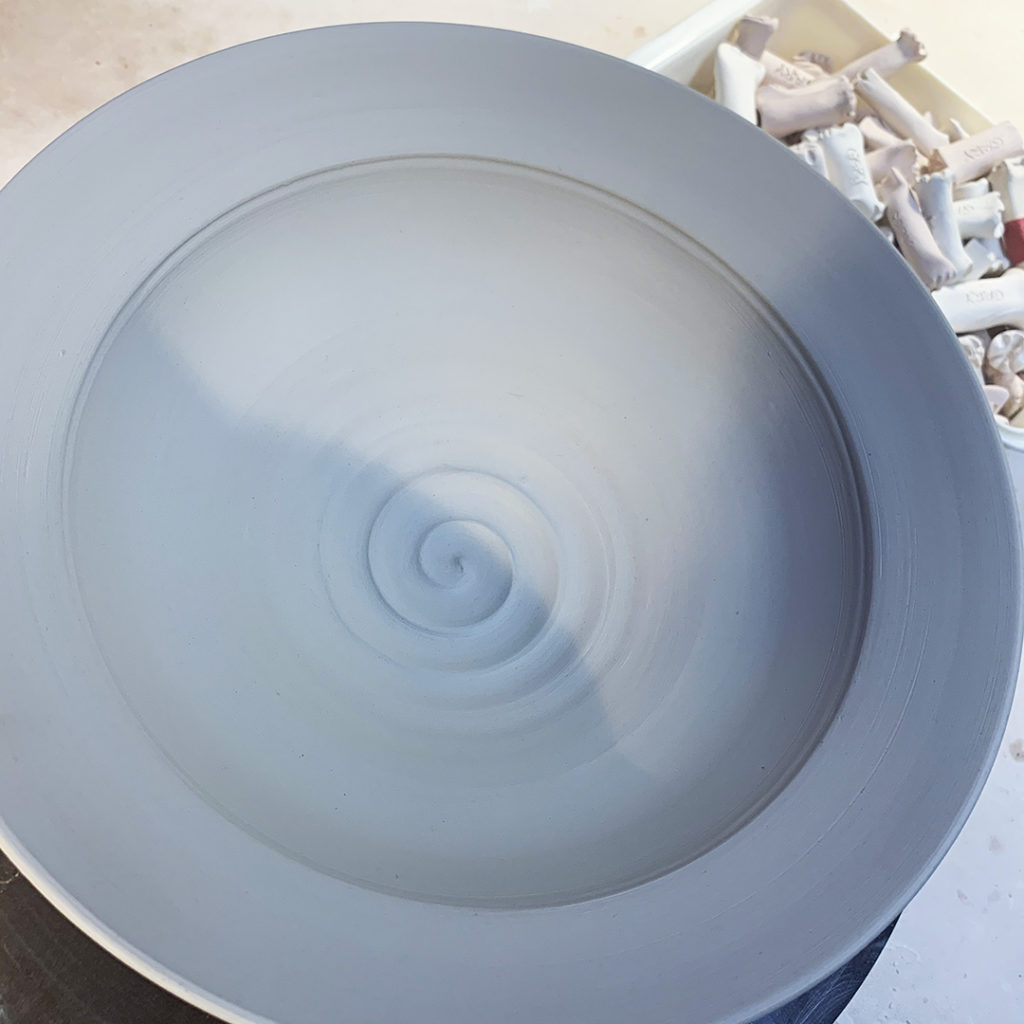
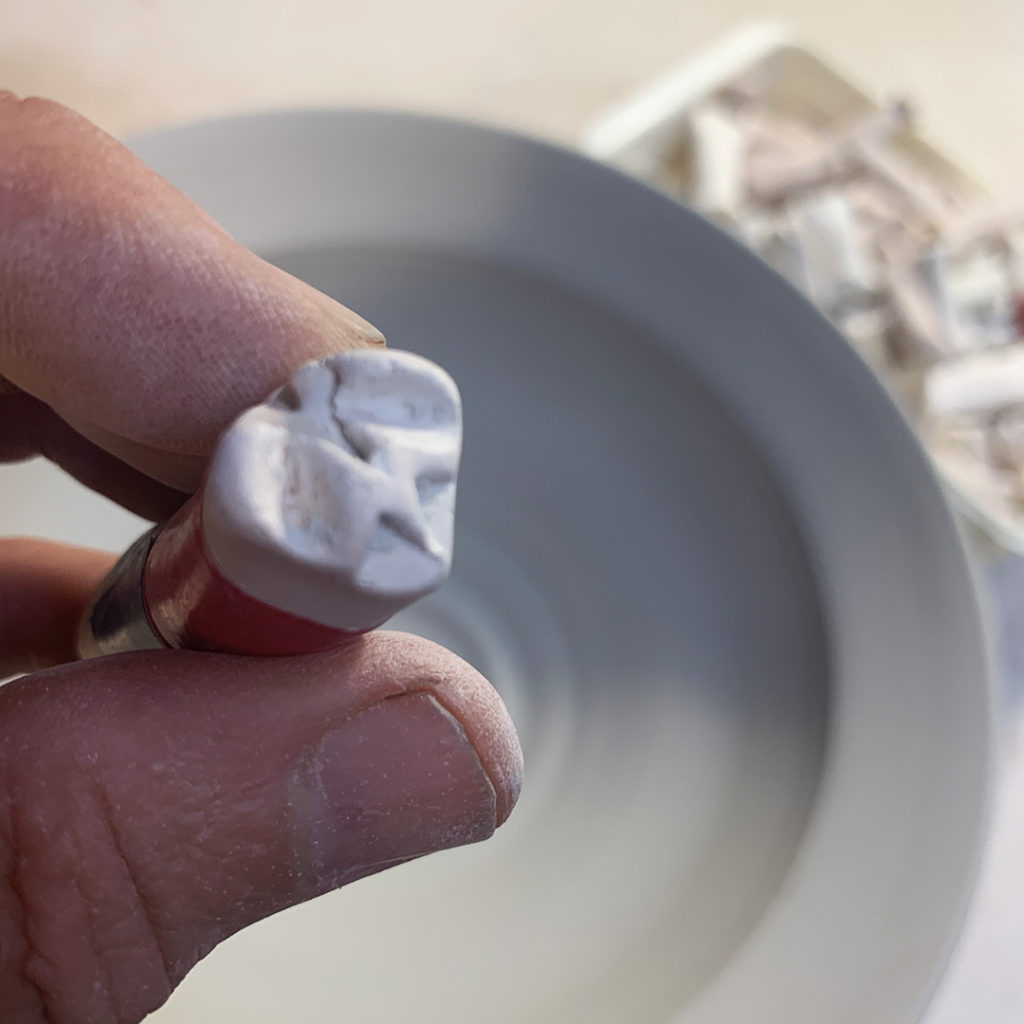
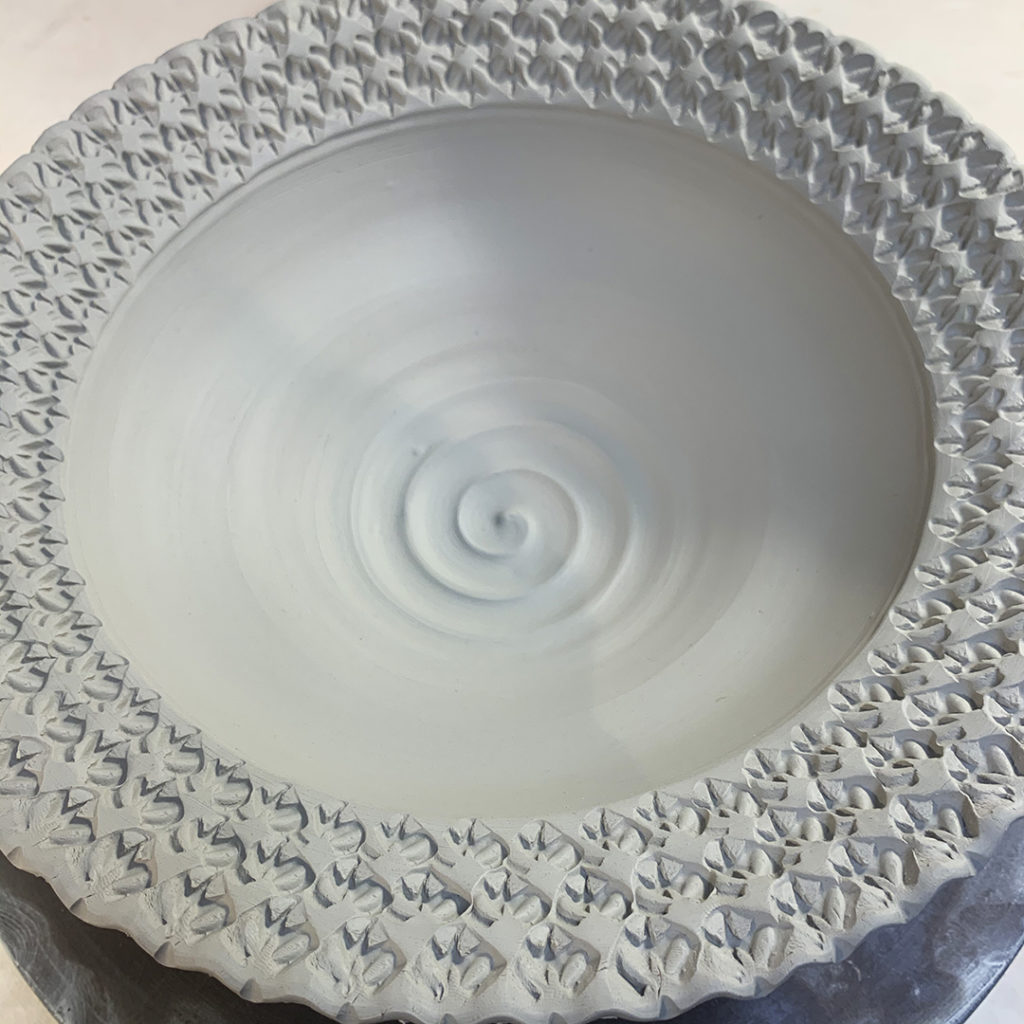
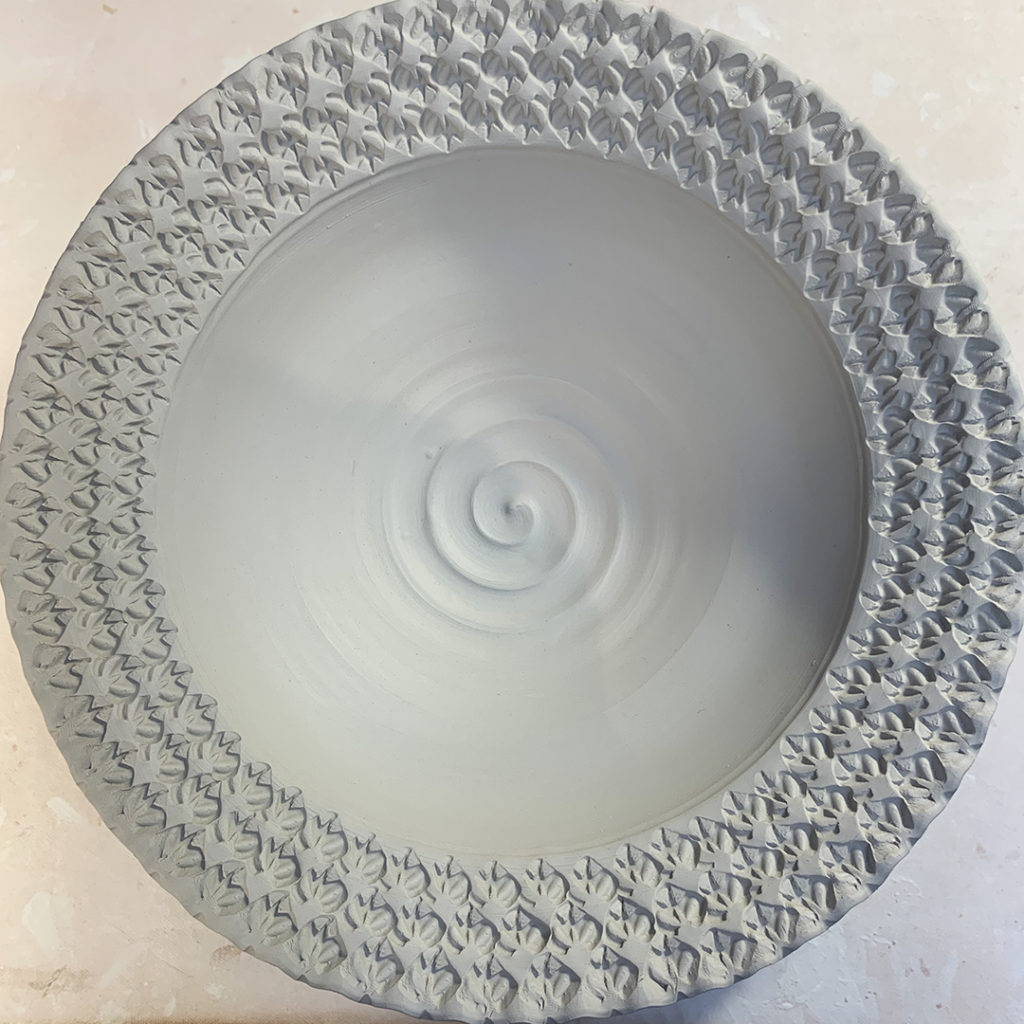
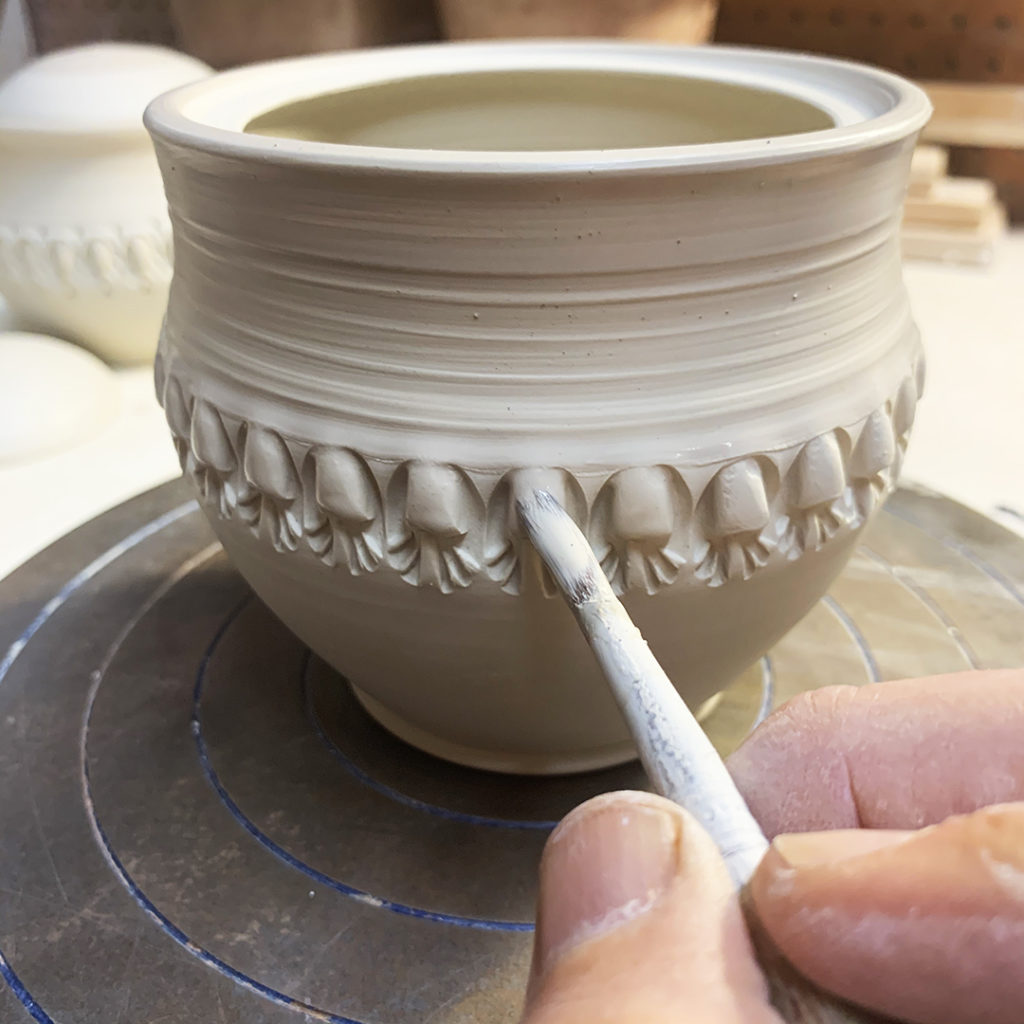
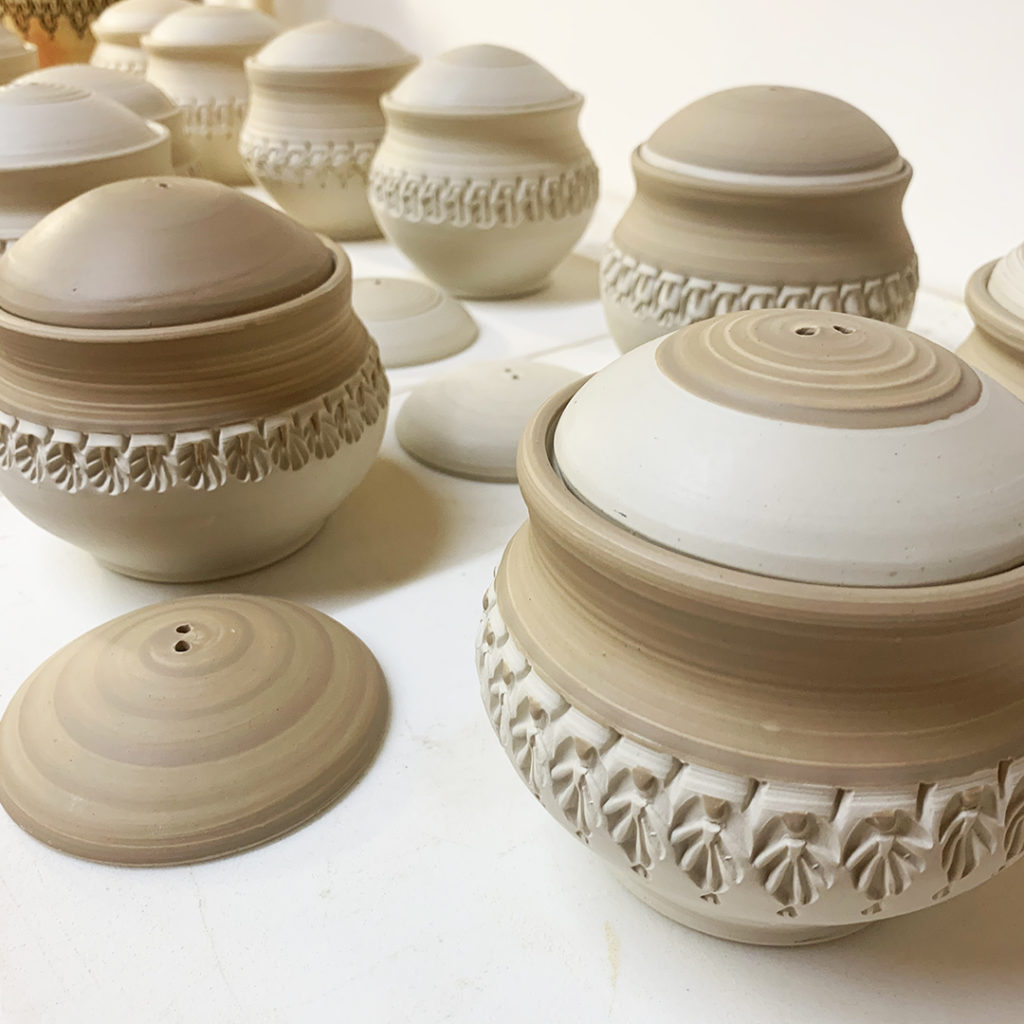
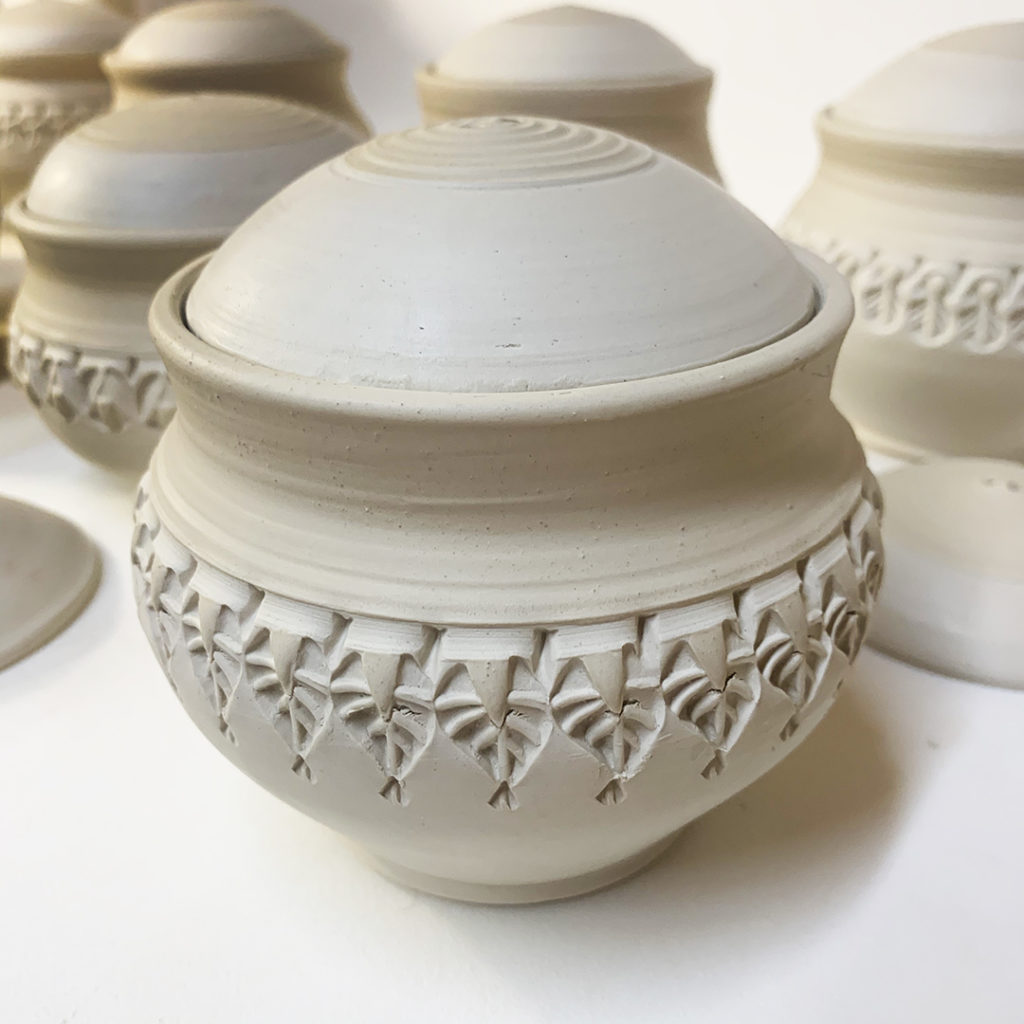
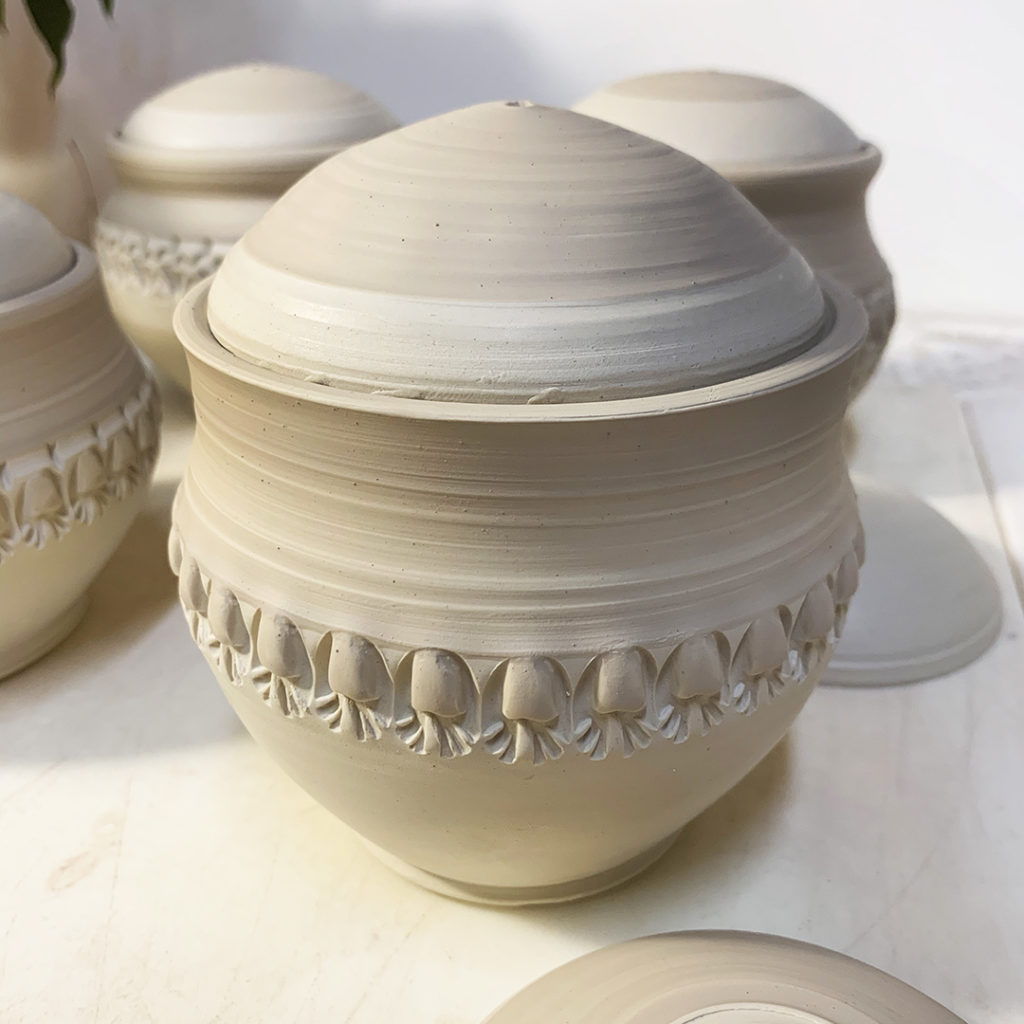
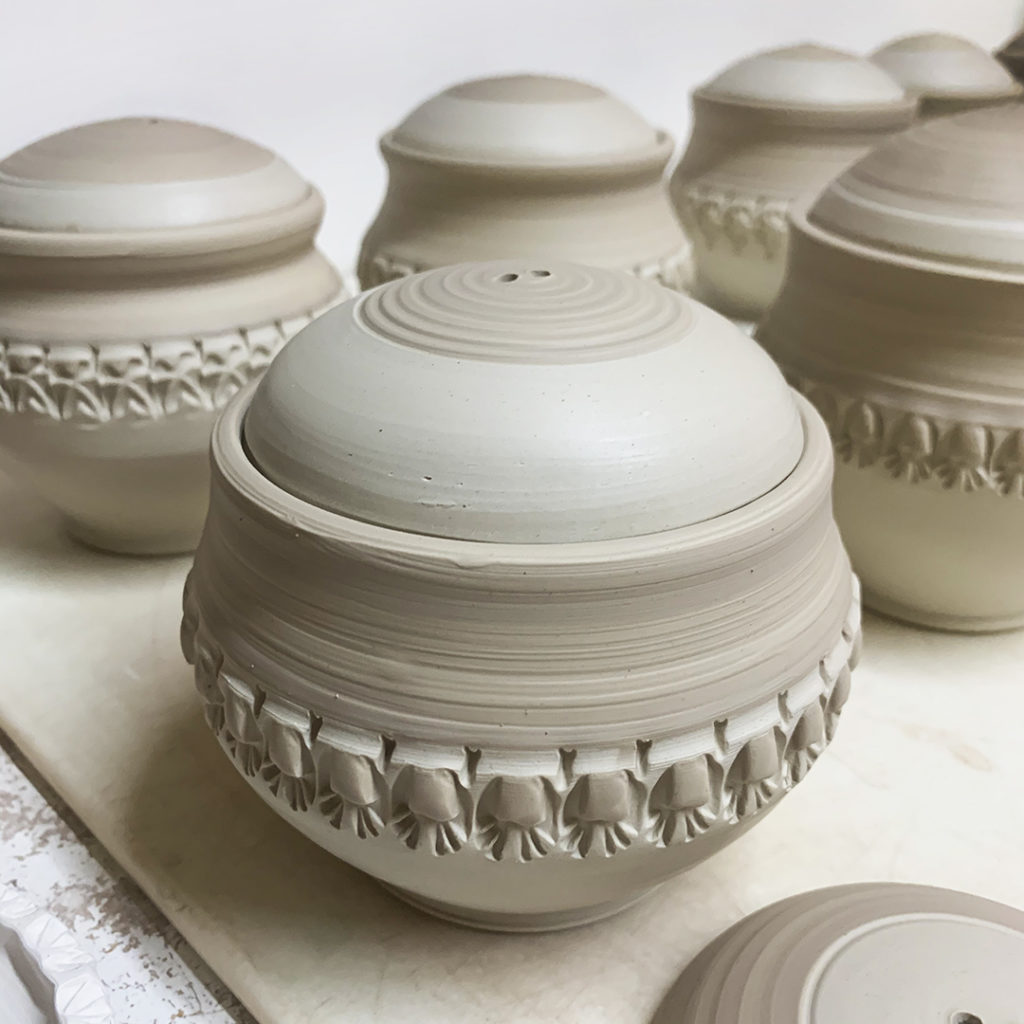
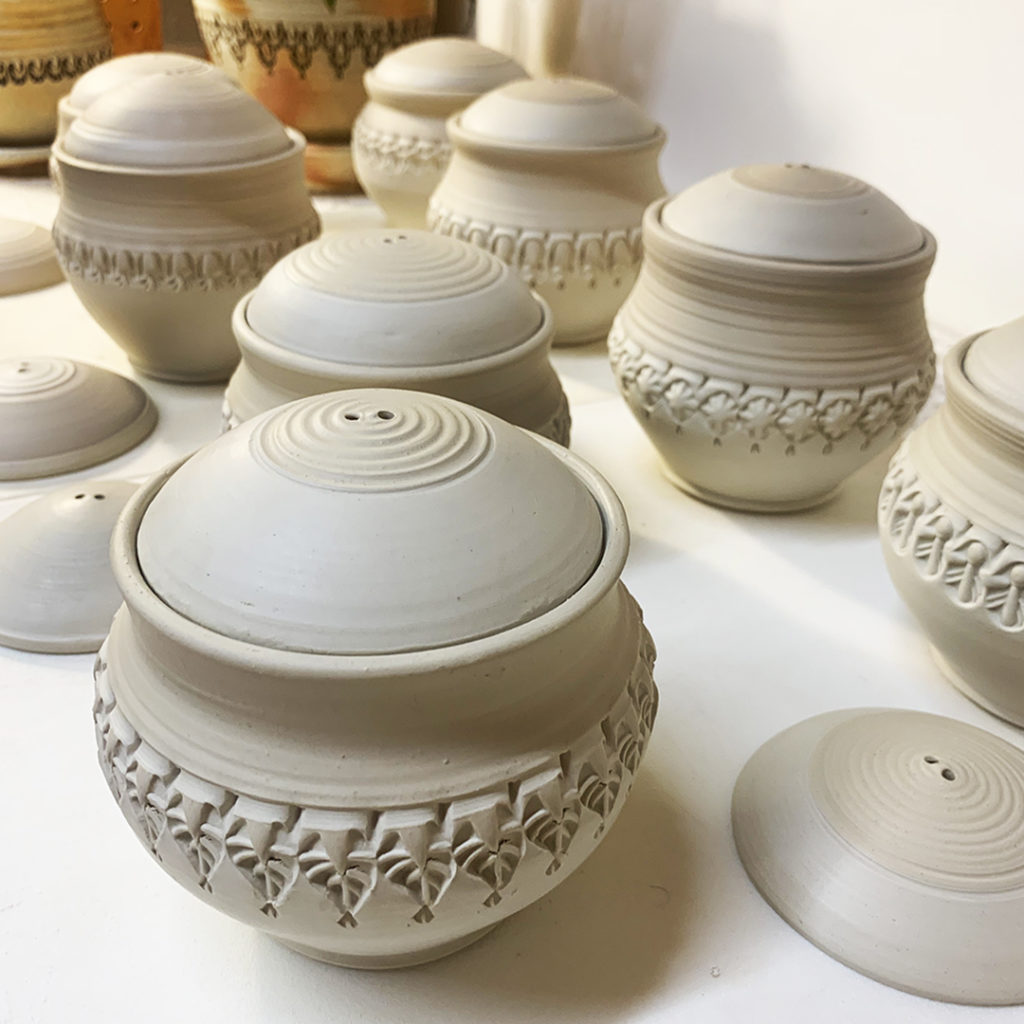
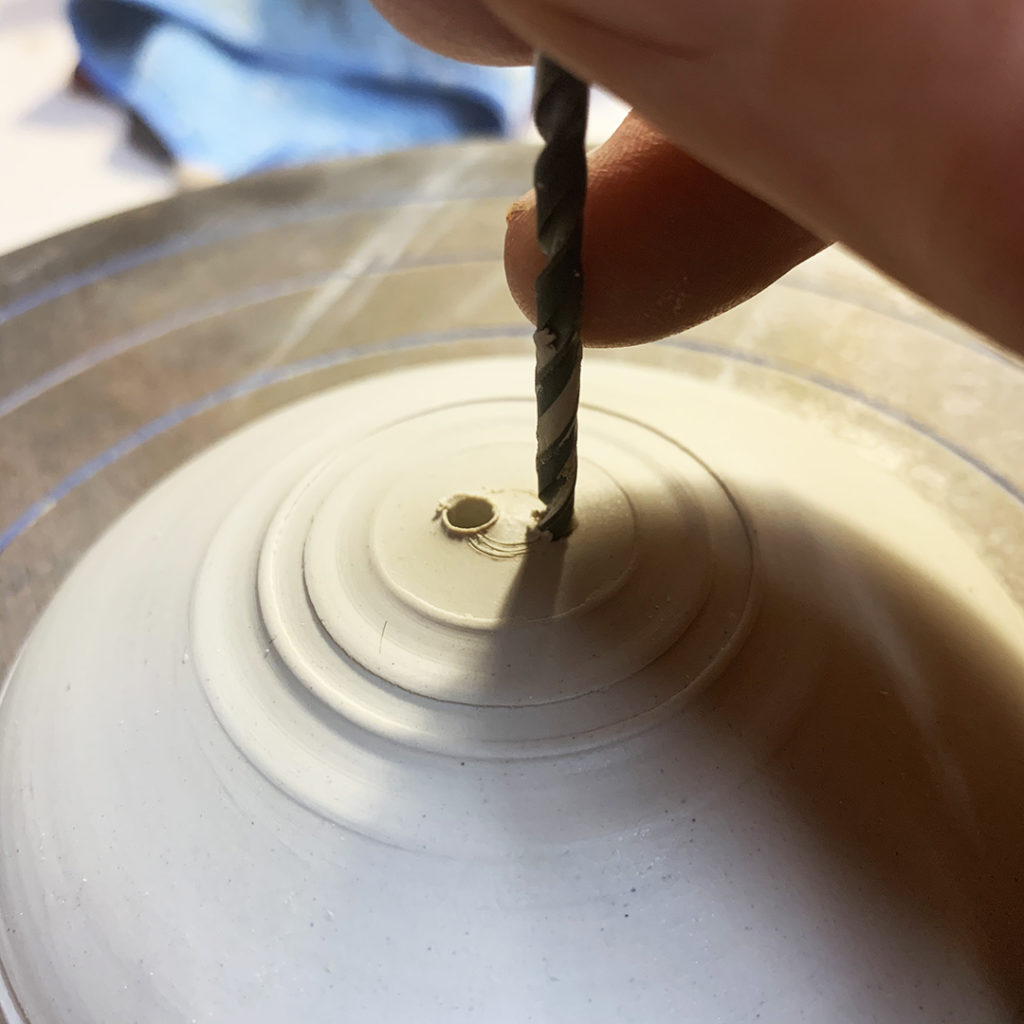
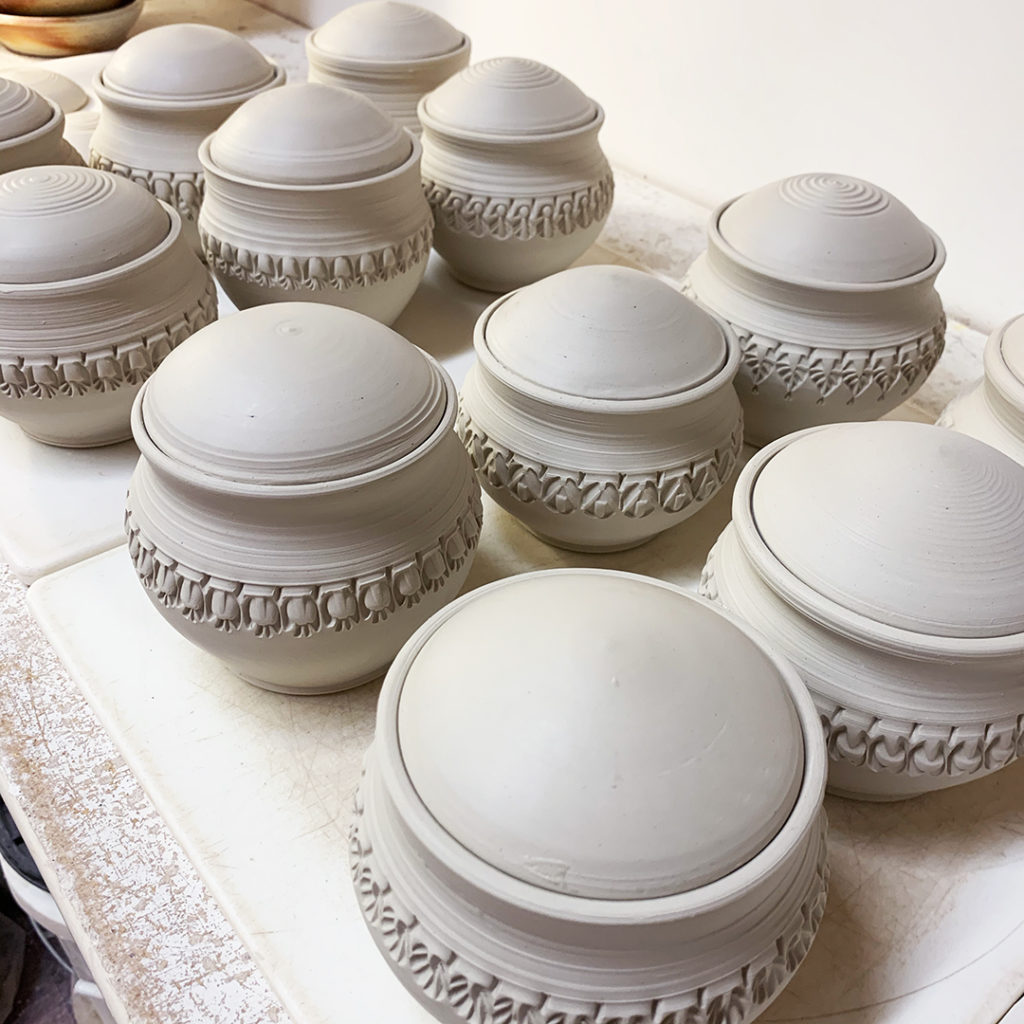
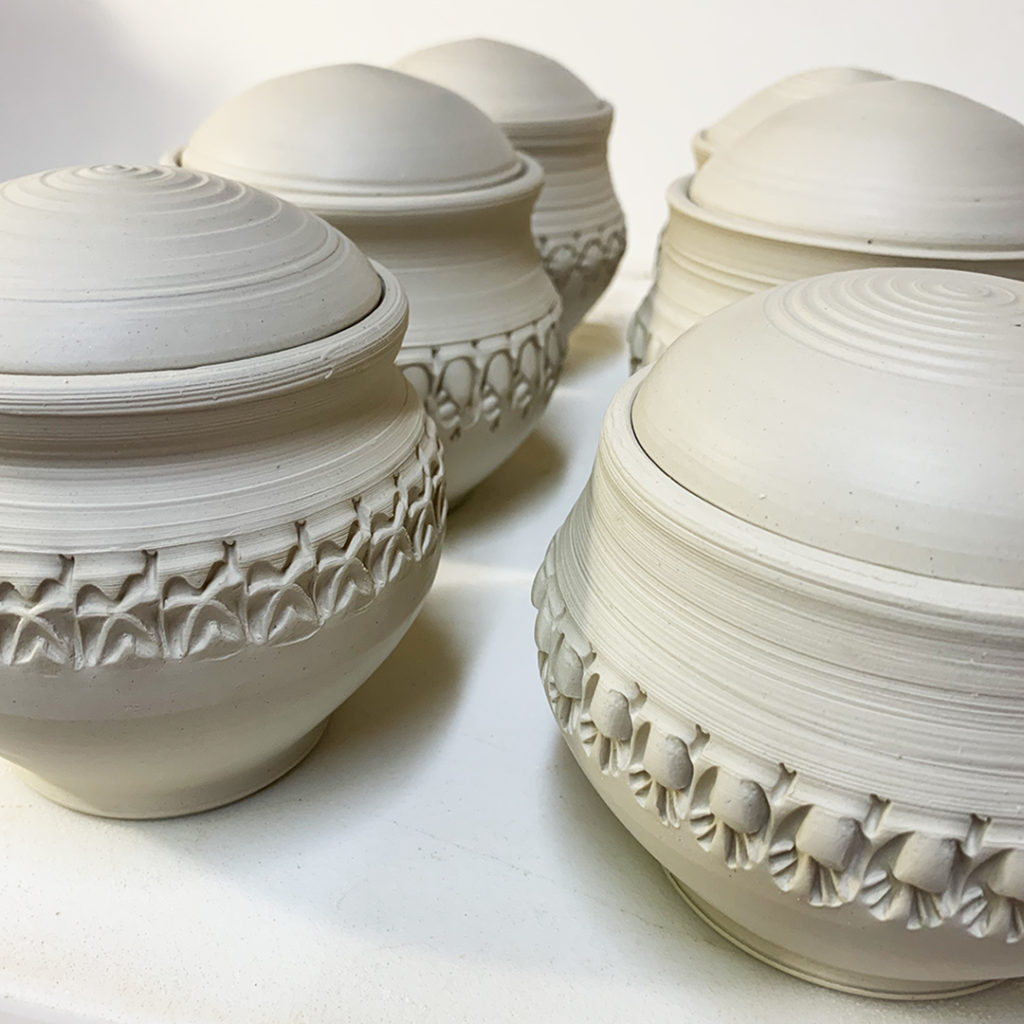
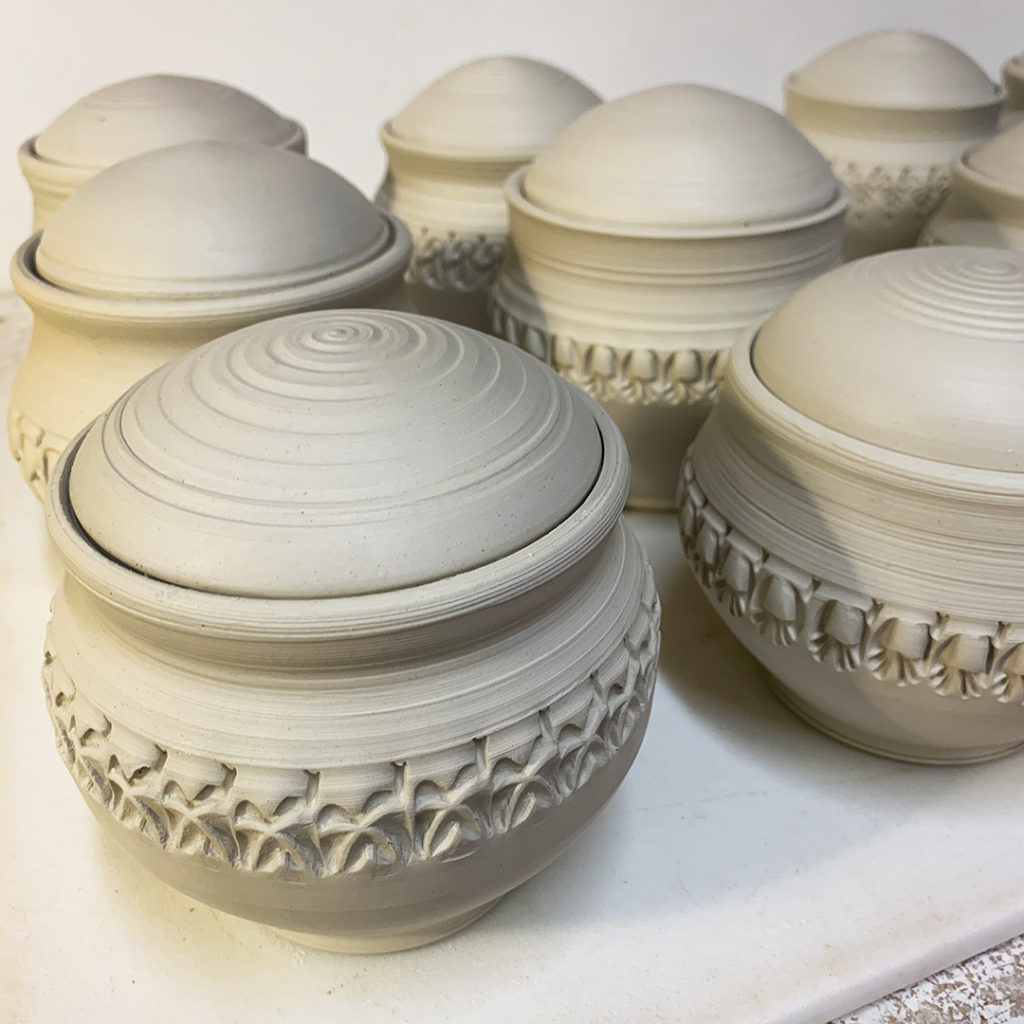
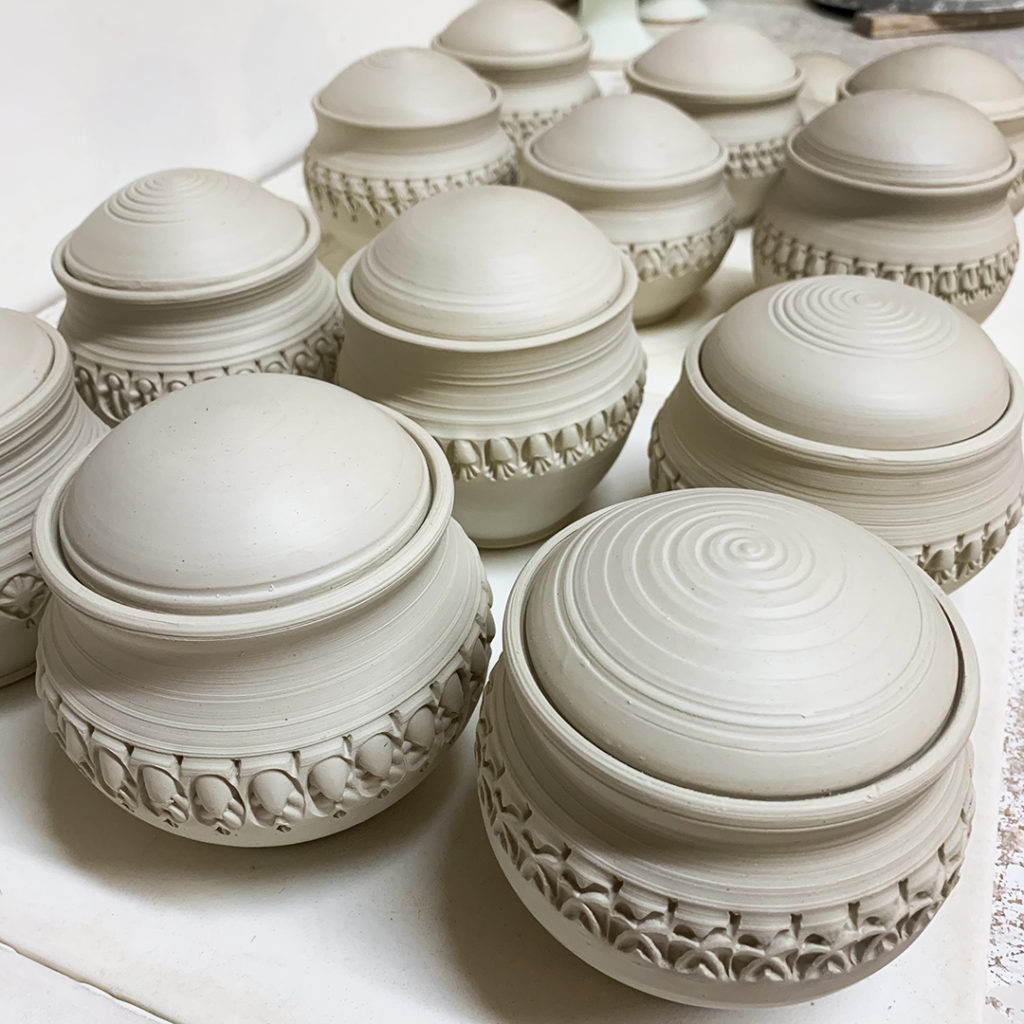
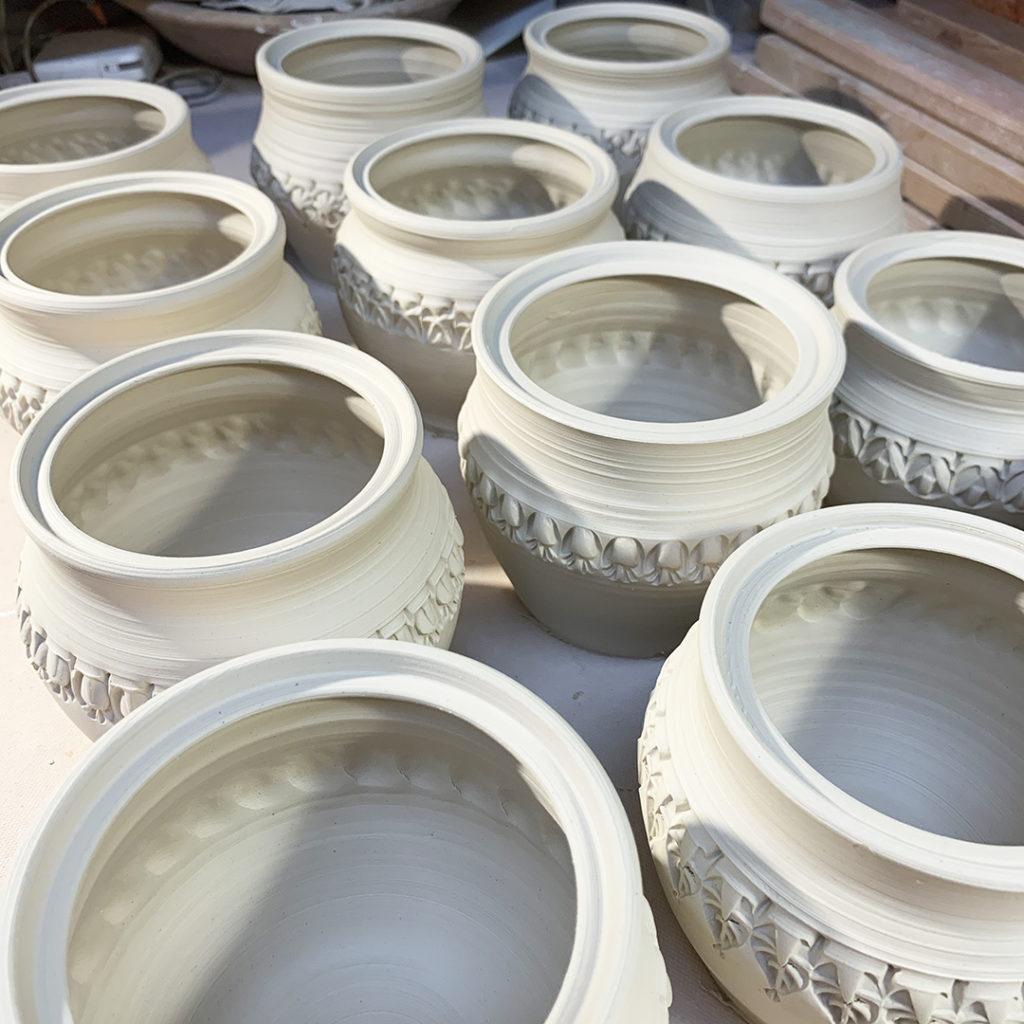
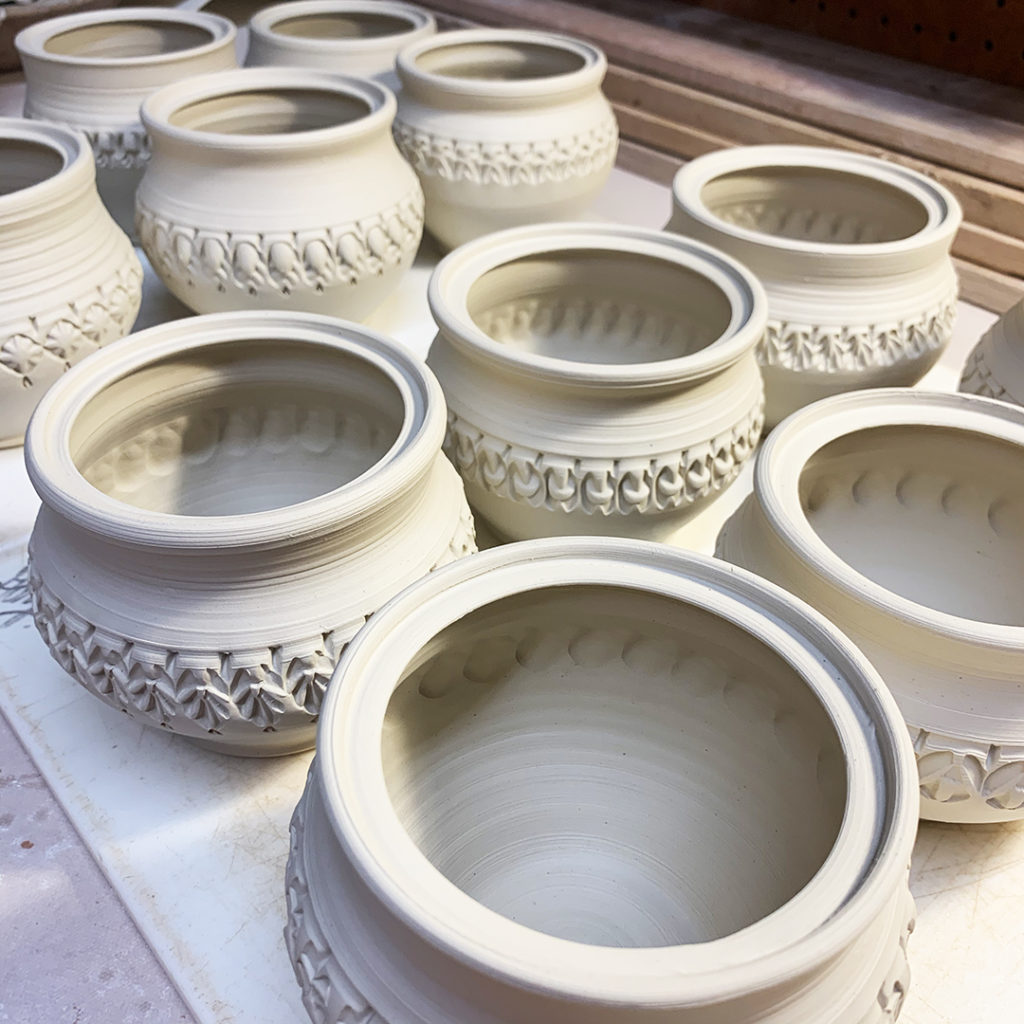
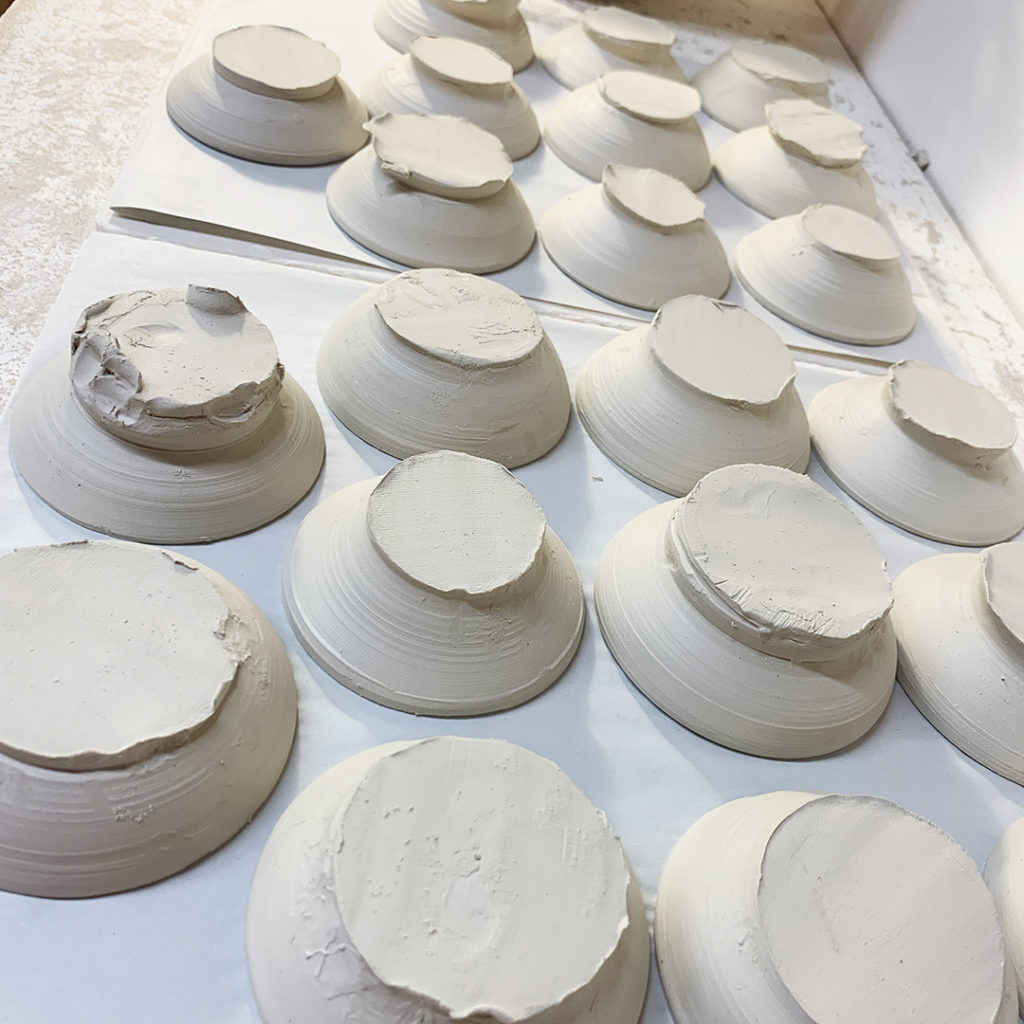
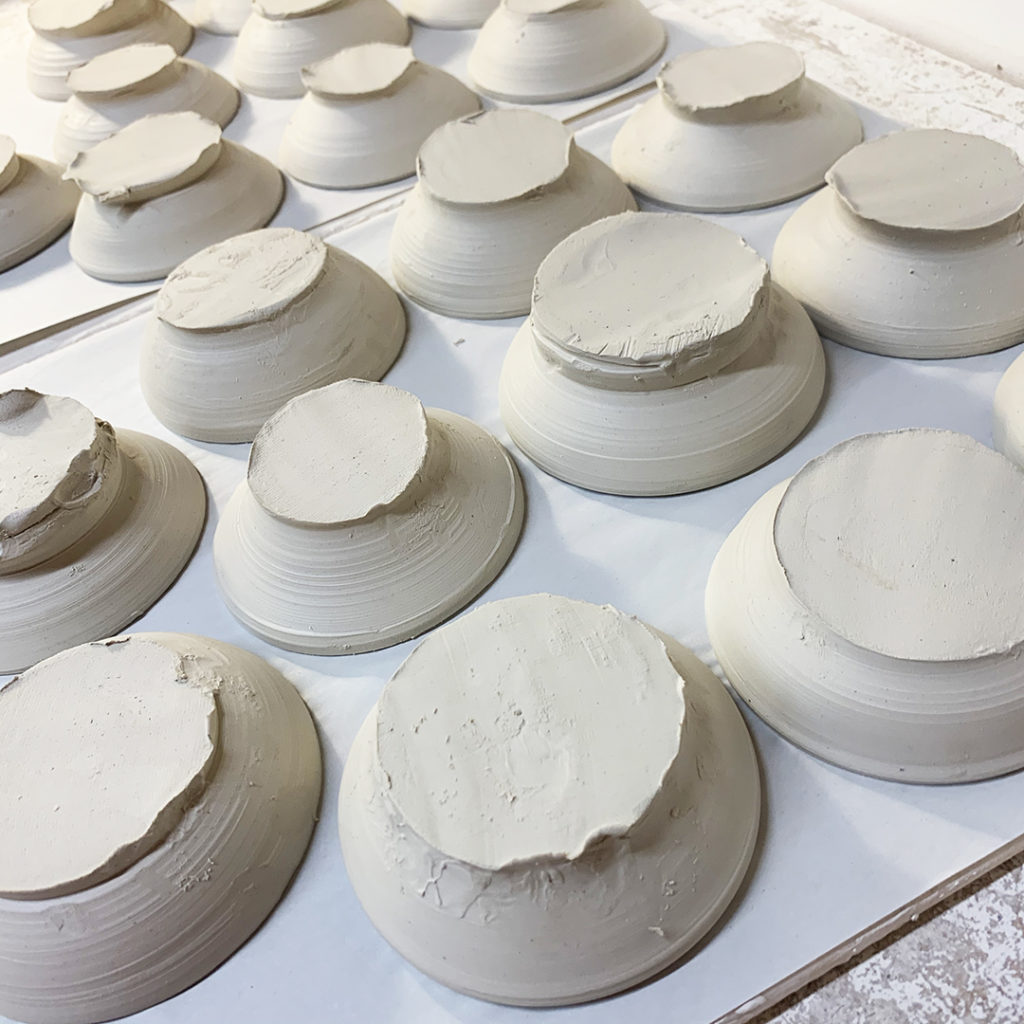
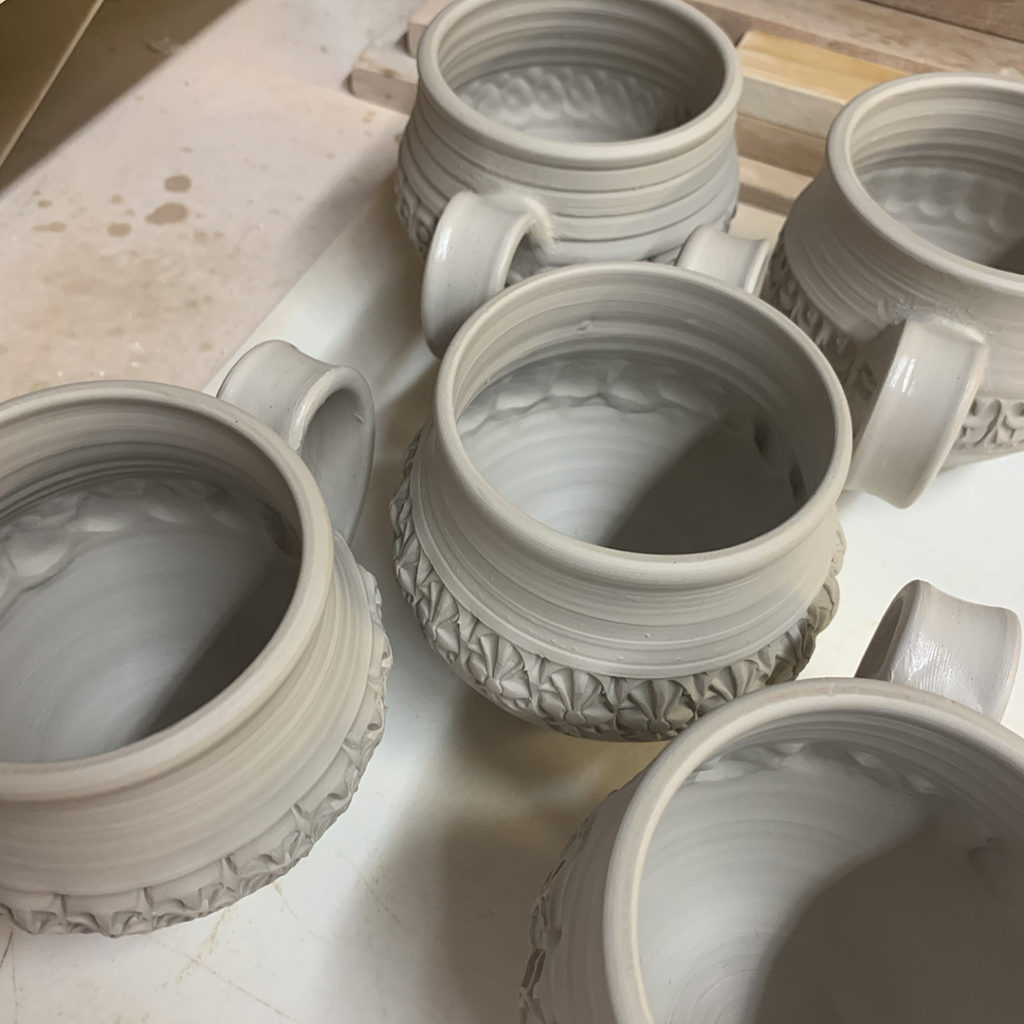
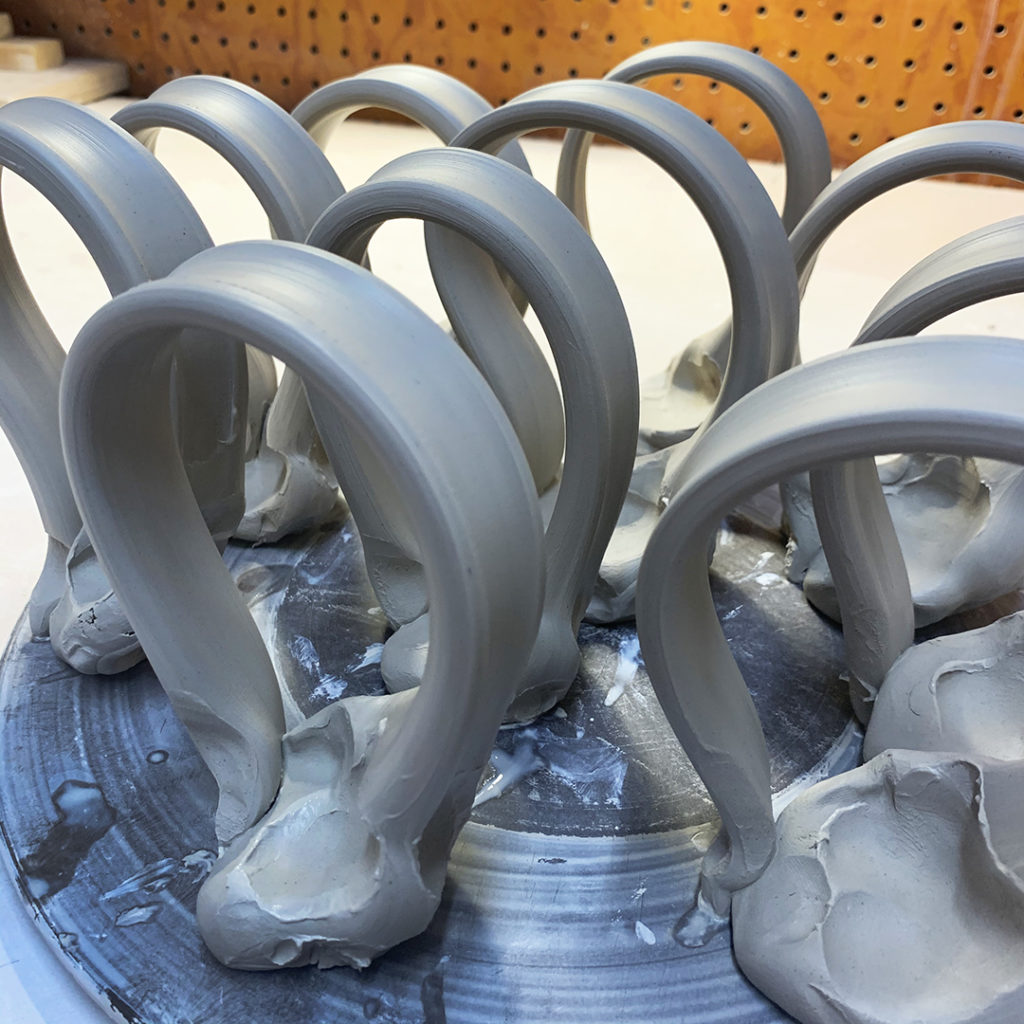
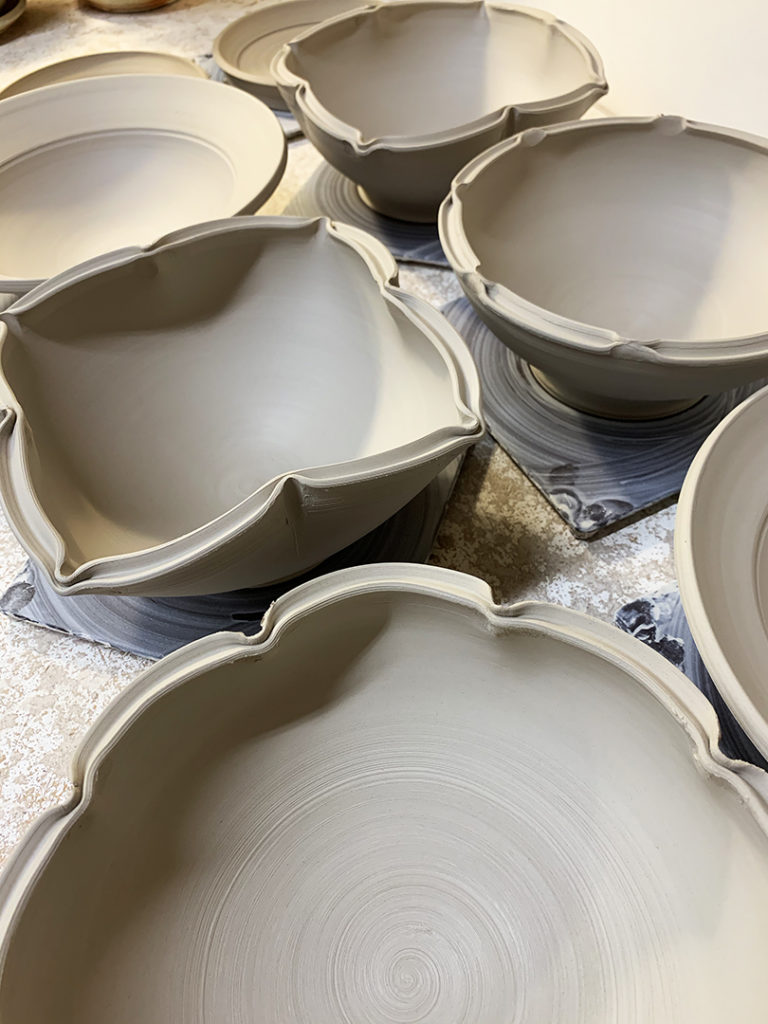
Gary Jackson: Fire When Ready Pottery
A Chicago potter’s somewhat slanted view of clay & play
Categories: glaze, process, production

Just a few of the pots that made their way into the soda kiln last night. All glazed, wadded & ready to go. I’ve figured out that a “full” cart of glazed & wadded pieces pretty much equals a full soda kiln… thanks to my handmade studio cart with adjustable shelved made by my Dad several years ago!


The strips of masking tape work as a “seat belt” to keep the pots from jumping off the cart as I roll out of my studio, down the freight elevator and along some uneven flooring to get to the kiln room!

Categories: kiln firing, process, production, studio

Just a few more pieces fresh from my bisque kiln to glaze quickly…
as I load the soda kiln tomorrow night after Summer Camp!
I fire all-day Saturday… so I’ve got to stay focused and get this done!!! Inlay glazes into the stamped impressions, liner glazes, clean, wad & ready to go!

Categories: glaze, process, production

Tenmoku glaze inlaid into the stamped impressions on these flower pots. I paint the glaze on… and then wipe off the top surface so the glaze stays only in the impressions!

Categories: process, production, stamped, tools, vases

Okay, so I just “had to” crank out a last-minute batch of mini bud vases! If I’ve planned correctly, these little cutie patooties will “just barely” make it into this weekend’s soda kiln!!! And yes, smaller pots do get smaller stamps… and I do still trim everything! Even if they’re teeny-tiny!

Gotta LOVE a good spinnin’ Giffin Grip!!!

Categories: mugs, process, production

Under wraps for the night… so I can come back to them later to do a little smoothing & touching up. As well as adding some accents & details with a bit of colored flashing slips. Then they can be left out to dry… and then into a kiln!!!

Categories: mugs, process, production

After a productive night in the studio, we now have a dozen mugs…
ready for some colored flashing slip accents and then a quick trip to the bisque kiln!!!

Categories: mugs, process, production

Here’s the “fussy part” of doing handles… score, slip, attach, repeat.

I always start with the top attachment… then move on to the bottom attachment making sure it’s secure, lined-up and that the handle is a good proportion to the cup.

I try to smooth them in as much as possible… but know that I can do a little more refining when I come back to them. Thus another one of the reasons I keep my mugs under plastic again after attaching handles!

Categories: mugs, process, production

Making handles for the new mugs… starting with small blocks of wedged clay that I slam on the table to make these “carrot” shapes.

And then I pull my handles the old-school way, let them set-up and then attach them to my mugs!

Several steps & timing along the way…
all to make a cylinder become a MUG!!!

Categories: process, production, tools

Trimming the latest batch of mugs with my new trimming tools from DiamondCore Tools! Still loving the feel of the handle, the sharpness of the blade… that and the fact that I just LOVE TRIMMING!!!

Categories: mugs, process, production, stamped

Another batch of mugs just in time…
hoping to get them through all the steps of the process in time
to get them into my next schedule soda kiln.

So tonight I did a bit of stamping… here are the before & after shots…

Mug #1 —

Mug #2 —

Mug #3 —

Mug #4 —

Mug #5 —

Mug #6 —

Mug #7 —

Mug #8 —

Mug #9 —

Mug #10 —

Mug #11 —

Mug #12 —

So for now they’re all stamped and back under plastic for the night. My plan is to trim them all tomorrow night… and then add handles… and then paint some colored flashing slips on them… dry… bisque… glaze… wad… all before my soda kiln deadline!!!