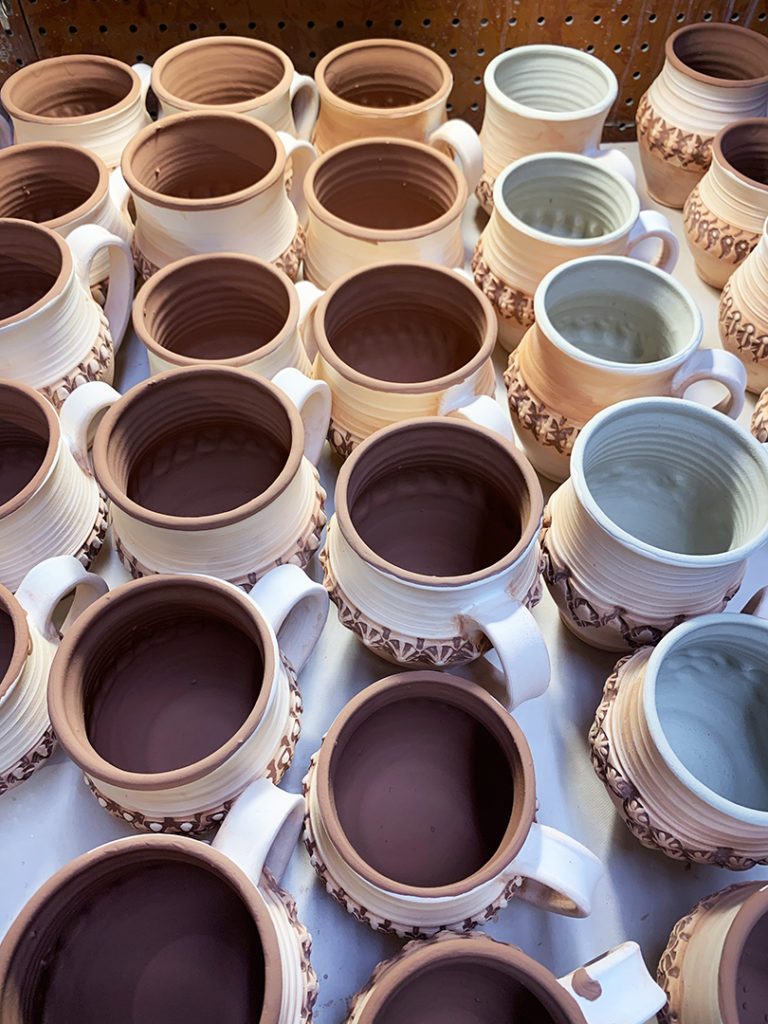
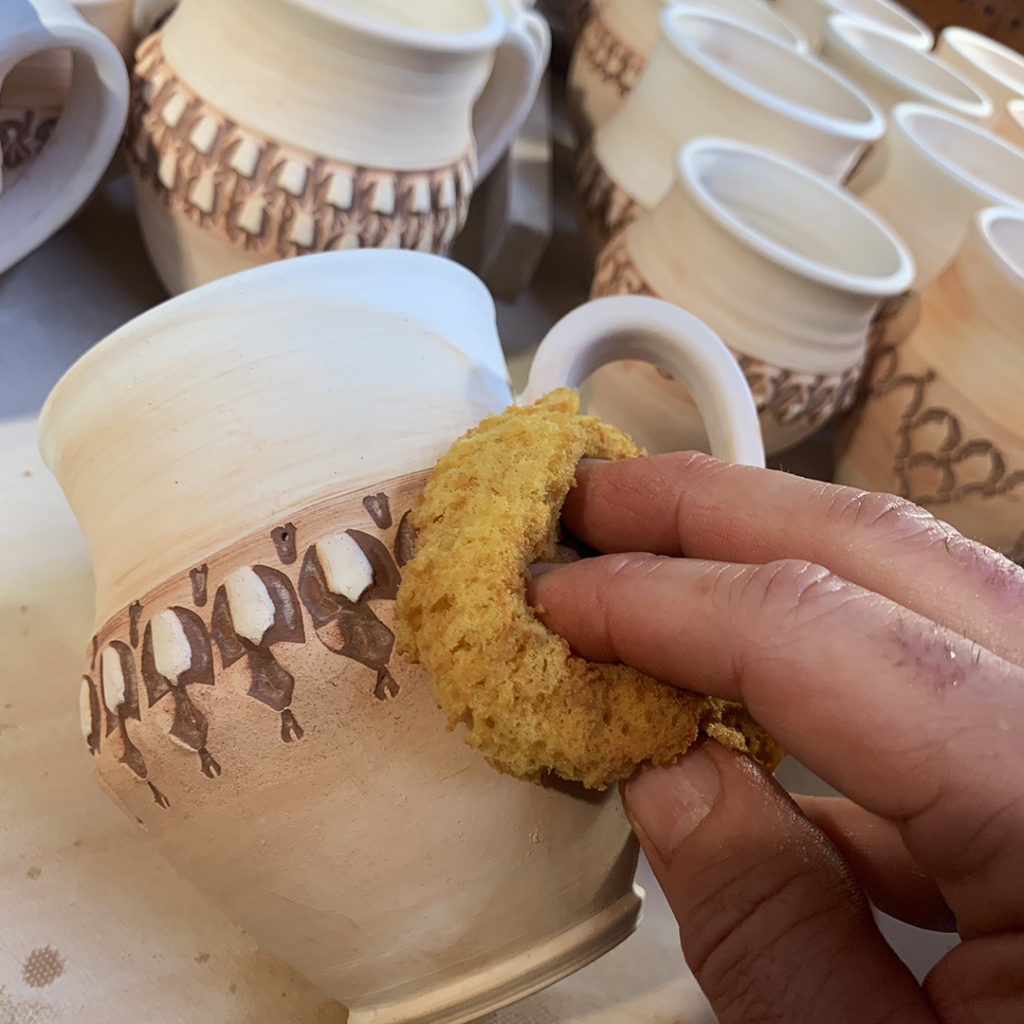
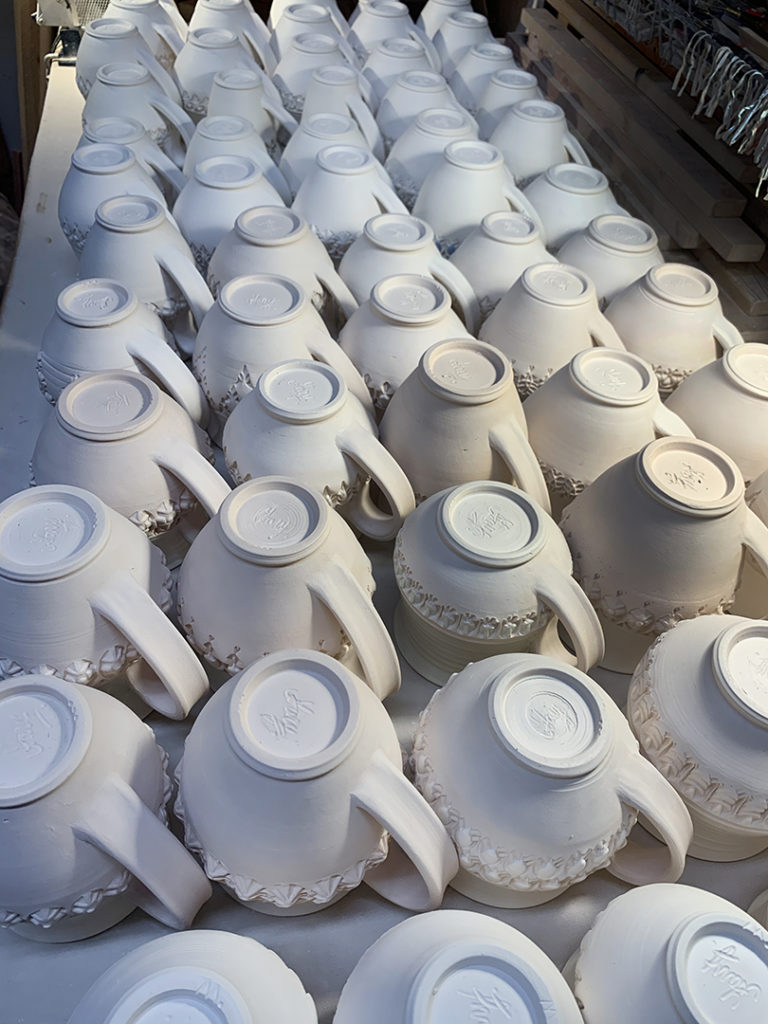
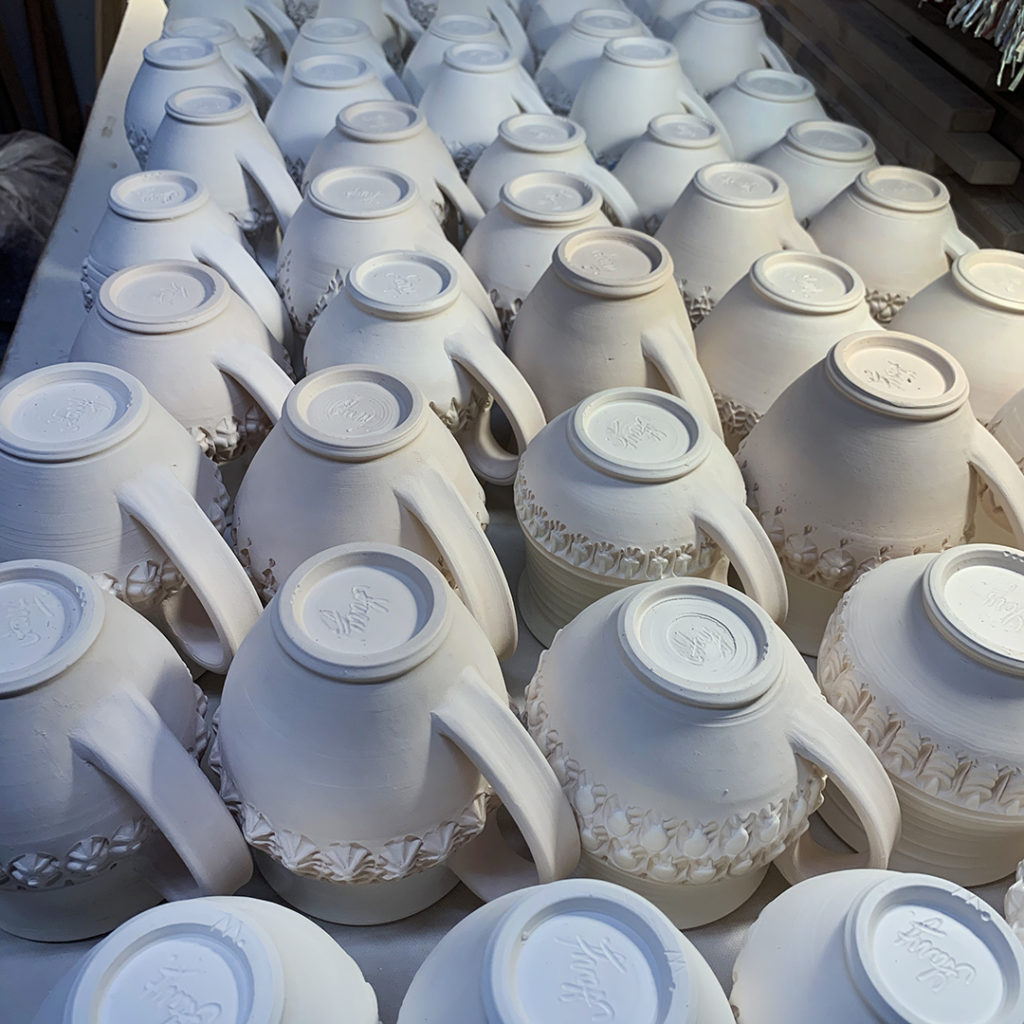
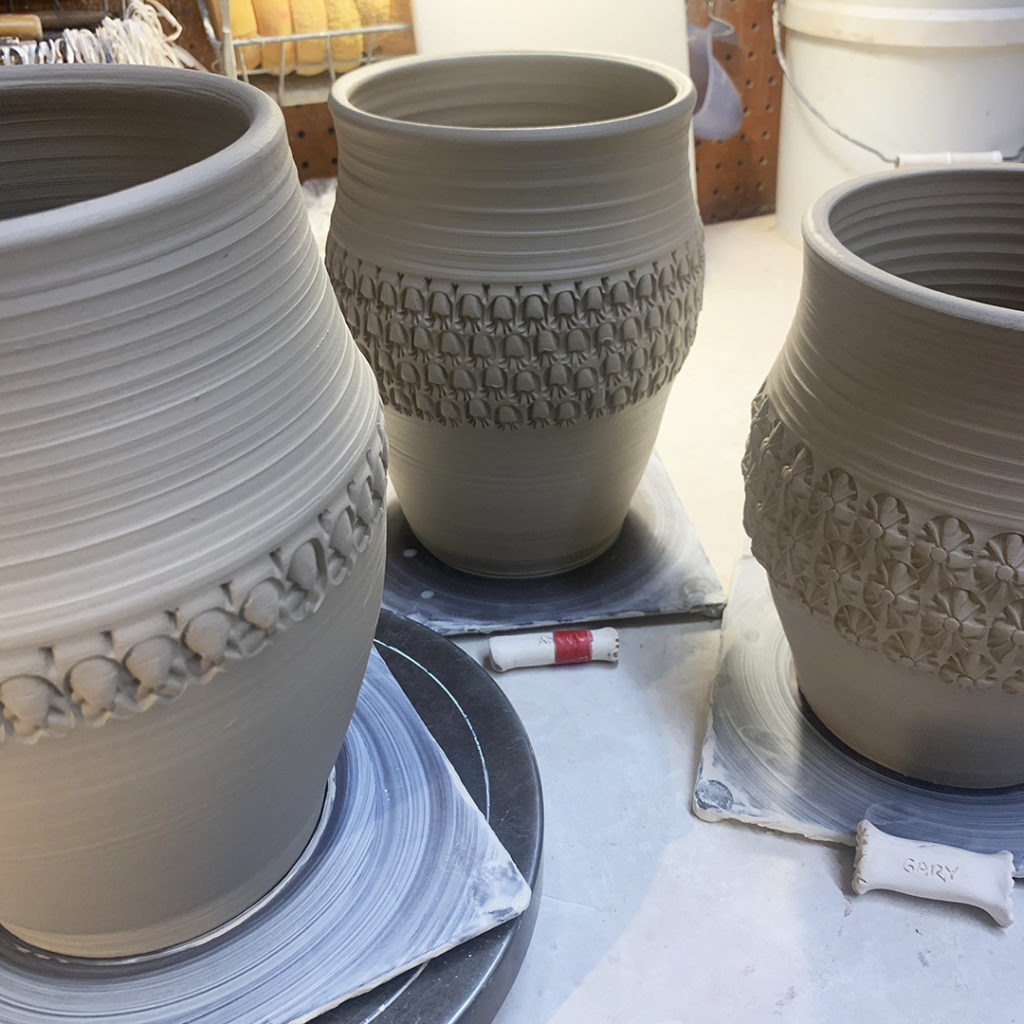
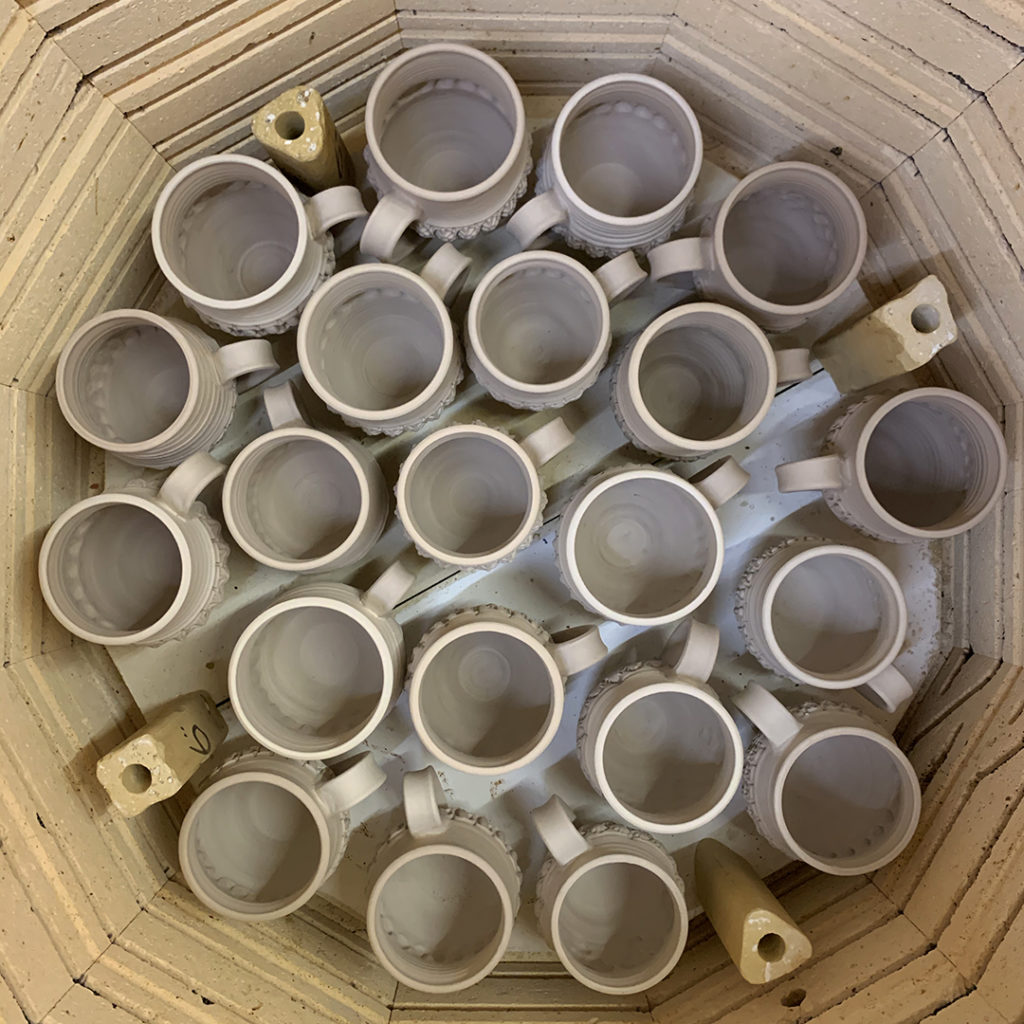
Gary Jackson: Fire When Ready Pottery
A Chicago potter’s somewhat slanted view of clay & play
Categories: mugs, process, production, stamped, stamps

Just doin’ a bit of stamping again… on another batch of mugs again! Handmade stamps making textures & patterns on handmade mugs!

Categories: platters, process, production, stamped, stamps

So after a full day of playing hooky in the perfectly beautiful outdoors… I did feel a tiny tinge of guilt… so I stopped by the studio to do a little stamping… and then THIS happened!!!!

So I just finished stamping another large platter.
One “magical” stamp doing most of the work!!!

Starting with just one line along the perimeter…

And if one line looks good… why not make it TWO?!!!

Two is good… but let’s go all the way with FOUR!!!

And here’s the handmade clay stamp that did “all” of the work!!!

Categories: mugs, process, production

Just finished adding all of my handles… score, slip, attach… voila’MORE MUGS!!! Perfect timing for another Mugshot Monday… and perfect timing since I got them done before going down to teach class again tonight!

Categories: mugs, process, production

Handles pulled and stiffening up a bit… it’s always tough to wait. I just want to start attaching right away, but it’s so much easier & cleaner if you wait a bit. Tough to do… but I am…

Categories: mugs, process, production
Categories: process, production, tools

Spending some time tonight trimming again… and you know how much I love trimming. It gets me one step closer to adding handles on these mugs… even more “fun” with my DiamondCore Tools Trimming Tools.

Categories: bowls, classes, process, production, stamped

Today I did a bit of stamping & detailing the class demo bowls I made Tuesday night with my Beginning Wheel students. A bit of stamping, some groves from a wooden tool, or even some lines from chopsticks! Each one done by hand one impression after another.

So now I’ve got a lot of trimming to do after these dry a bit more to leatherhard. My goal is get them all trimmed, dried & bisqued so that I can bring them back to part of my glazing demo for my same group of Beginners!

Categories: bowls, classes, pottery, process, production, wheelthrowing

Last night in my Beginning & Advanced Beginning Wheelthrowing class we did my FAVORITE demo of the session! I started with a class demo on how to throw a basic bowl on purpose… and NOT just a cylinder gone bad. A nice smooth curve though the bottom of the bowl… and no “beginners ledge” near the bottom! So we did the demo… made a bowl and they went back to their wheels to start making their bowls… on purpose!

While they were throwing their bowls, I continued to throw more of mine. After throwing a bunch of basic bowls, we reconvened for more demo. Where I showed them some quick decorative tricks, rim alterations and colored slip to make their bowls not-so-basic anymore!

Bowl #1 – four fluted edges

Bowl #2 – if four is good, maybe eight fluted edges is better?

Bowl #3 – flared out rim

Bowl #4 – an even wider flared out rim

Bowl #5 – combined flared rim and four fluted points

Bowl #6 – two indents… with the intention of adding a basket handle over the top from indent-to-indent.

Bowl #7 – a split-rim… pinched back together in eight places.

Bowl #8 – a split-rim with four indents to make it kind of like a quadrefoil shape

Bowl #9 – another split-rim with four INdents & four OUTdents.. giving it kind of a lotus shape!

Then we switched our focus to colored slips… again with the plan of just showing them some “quick tricks” and encouraging them to play & try more things!

Bowl #10 – a full coating of white slip inside with a paintbrush spiral

Bowl #11 – a fuill layer of white slip with a wooden tool dragged through it while the wheel was turning to reveal the darkness of the clay as a spiral.

Bowl #12 – finger-painting a squiggle through the white slip while the wheel is spinning.

Bowl #13 – rhythmic chattering with a plastic rib through the white slip while the wheel is spinning.

Bowl #14 – a full coating of white slip, the vertical lines dragged through with a rubber rib, and then the center re-applied & smoothed out with just the cutest little spiral ever!

Bowl #15 – I introduced using two colors of slip with simple banding.

Bowl #16 – and then an ombre blending, with a spiral dragged through.

So for now they’re under plastic so they don’t dry out too quickly… as there’s a “good chance” that there just “might” be a bit of stamping, texturing & embellishing of these bowls before the dry too much.

MORE IS MORE!!!… right???

Categories: process, production, terra cotta, The Ghouls Collection

So it was a productive afternoon in the studio playing with pumpkins! Each one getting a little personality of its own… quirky little smiles, shifty eyebrows of warts or maybe even a little cowlick of vines & leaves! Next up… some fun color accents to make them pop!

Categories: process, production, terra cotta, The Ghouls Collection

Now they’re starting to look a bit more like pumpkins… but now they’re gonna need to get some personality… and maybe some warts too?!!! Would love to keep going but I’ve gotta teach class tonight… so the “pumpkinizing” will continue tomorrow!