Gary Jackson: Fire When Ready Pottery
A Chicago potter’s somewhat slanted view of clay & play
Categories: mugs, process, production

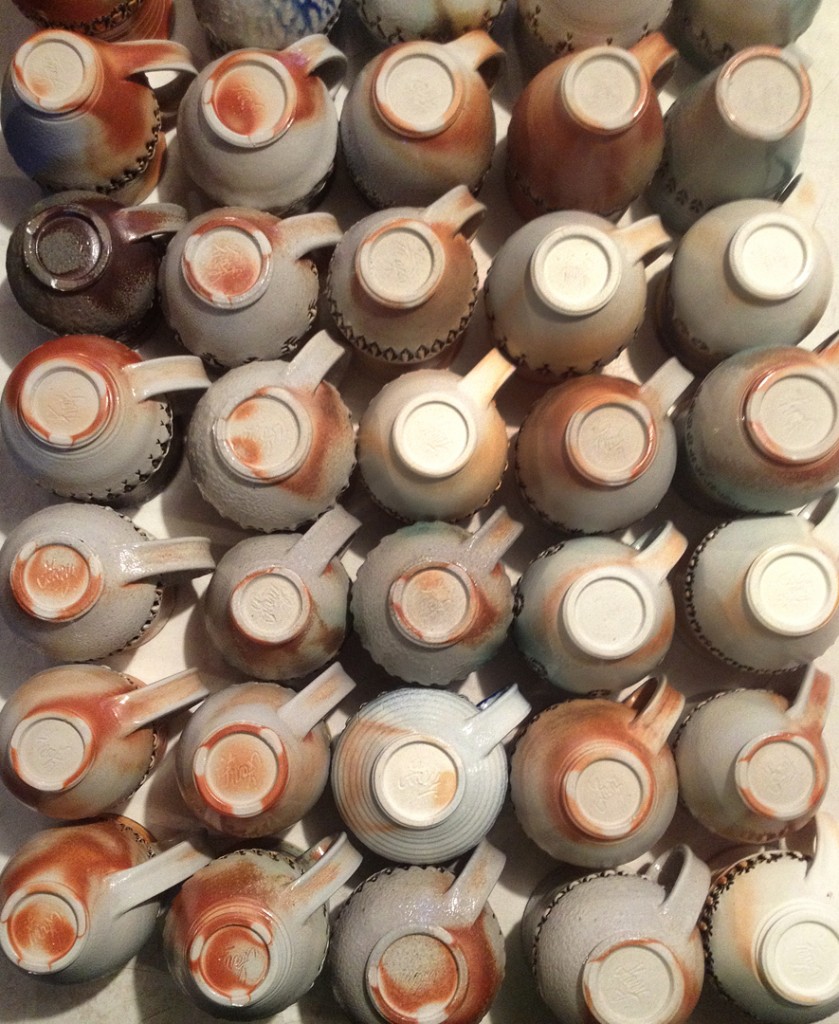
After the workshop, I was back in the studio to turn my stamped cylinders into mugs.
So I started by wedging up some reclaim clay. It’s the same clay body as the thrown cylinders, but I needed to dry it out a bit as it was still too squishy. So I wedged it and then flattened out pieces as slabs so the moisture would soak into my canvas-covered table faster… and then wedged it back up again. I then cut it up into 36 nuggets of clay… one for each of the cylinders. It’s going to be a LONG afternoon!
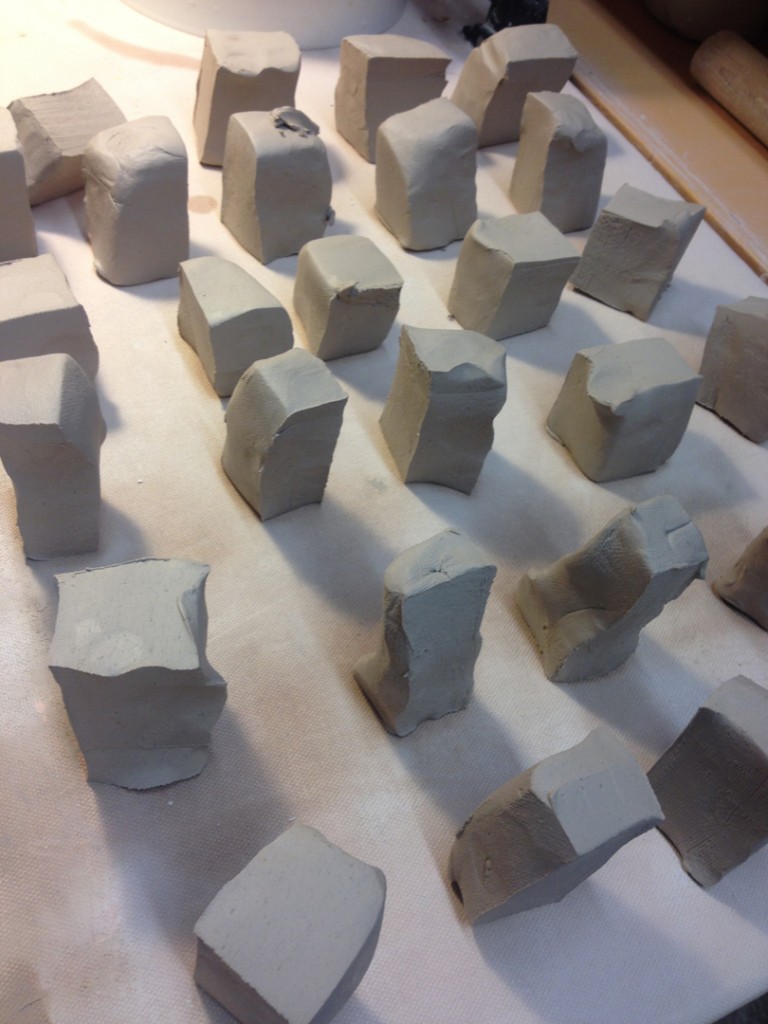
Then I take each “nugget” and slam it against the table, throwing it a bit away from me so it compresses and elongates at the same time. I rotate the nugget in between each toss. After a few times, you start to get this “carrot” shaped piece of clay.
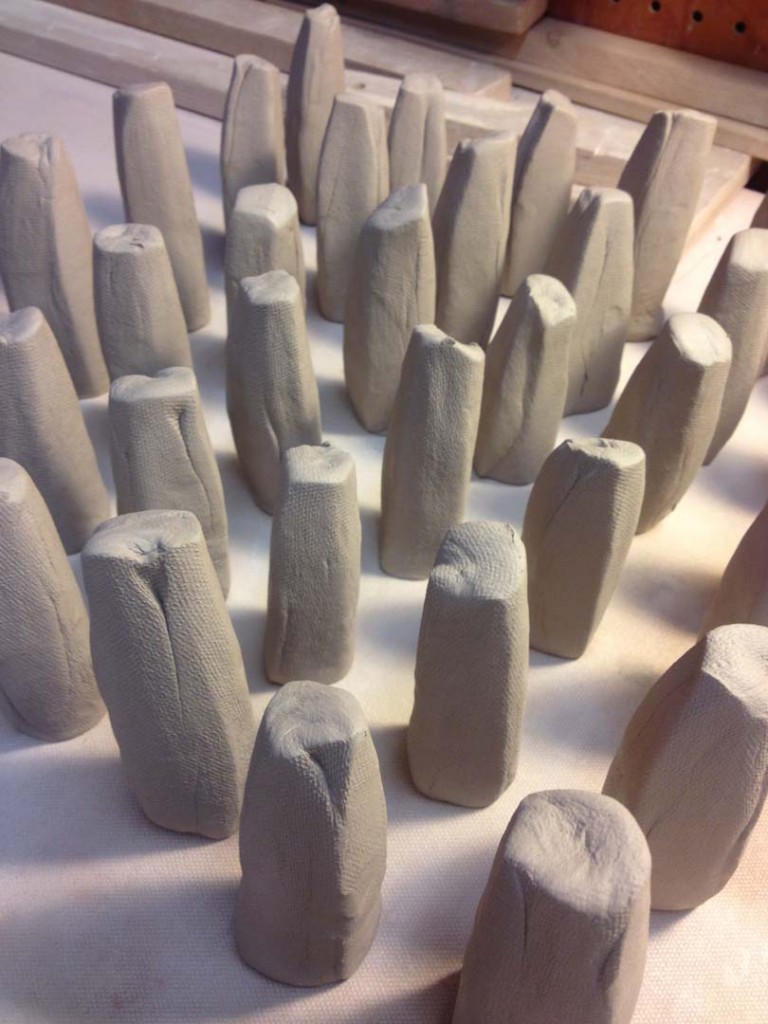
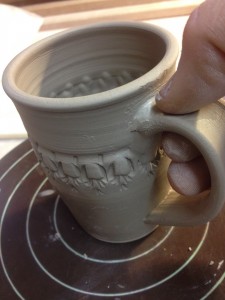
Then I pull my handles the old-fashioned way. Holding the thicker part of the “carrot” at the top, wetting my hand and sliding it down with a bit of friction. It’s that repeated swipe of friction that starts to lengthen the clay and make it into a strappy handle.Once I get it to the width & thickness I like, I do a quick flick, loop and squish to get them to stand up like this. I like how it establishes the curve of the handle right at the start. Easier than trying to manipulate a straight strap into a curve later.
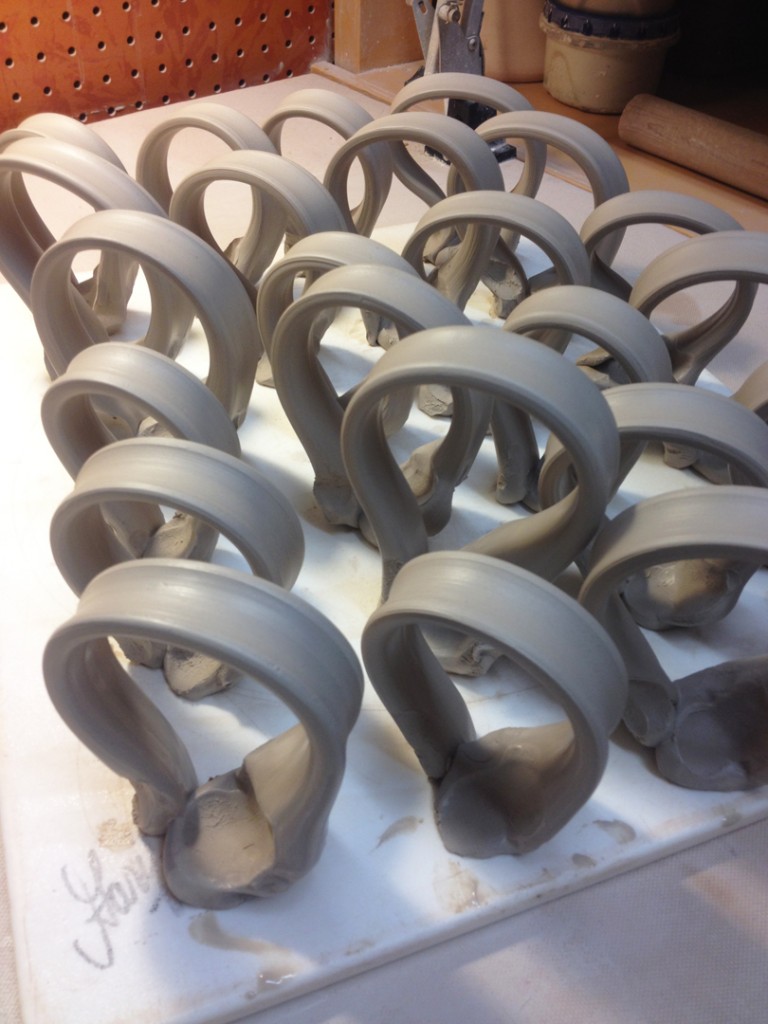
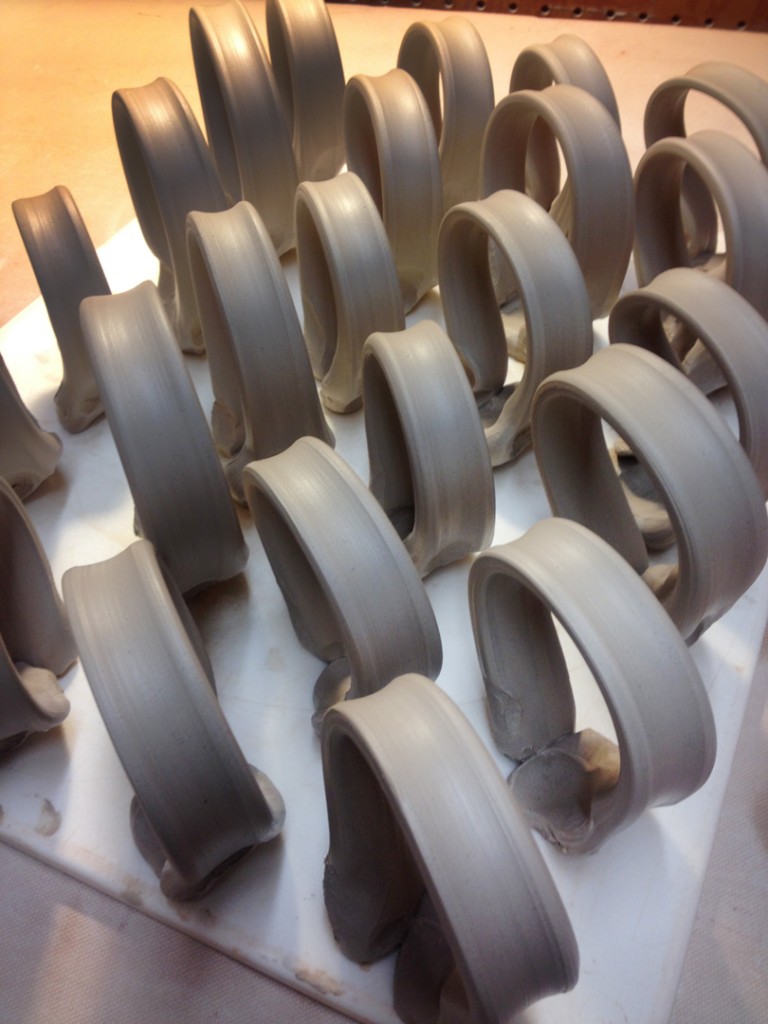
I let them set-up for about 15-20 minutes. I want them to be malleable, but not sticky or squishy. Then I set in to attaching them. I do a bit of scoring on the cylinder, and then cut off the “good” portion of the handle that I want to use. I score the end of the handle and add some slip. Carefully squishing them together and smoothing out the attachment. I always do the top attachment first, but then do the same for the bottom once I’ve established the right size for the handle.
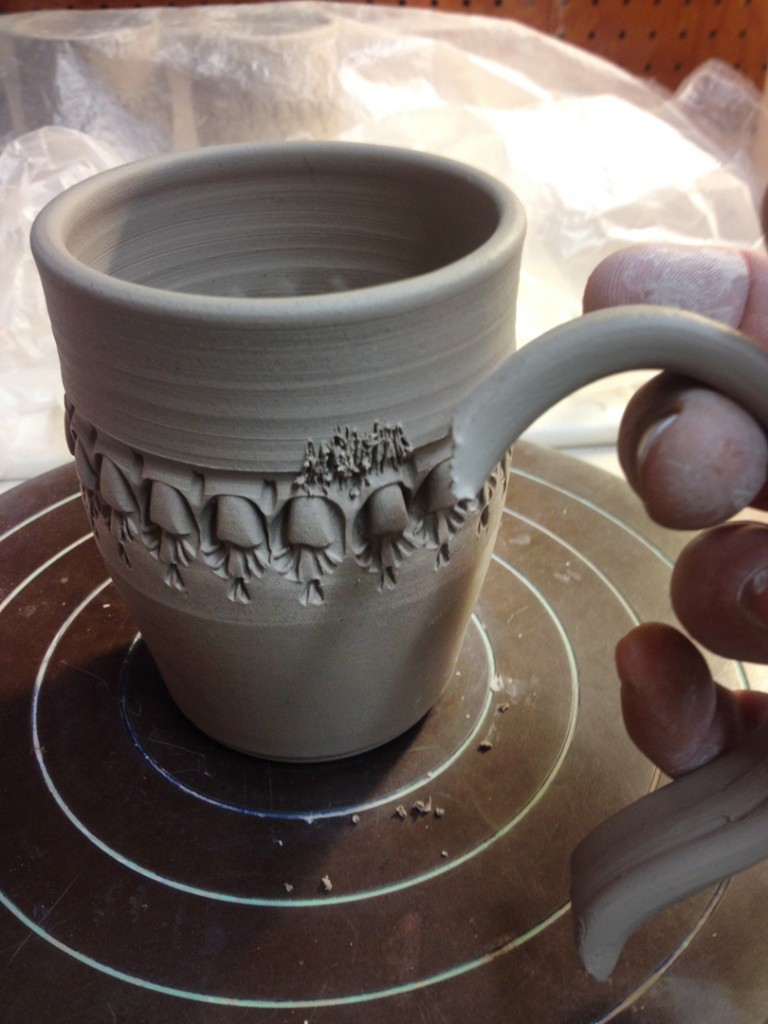
One the handle is attached both top & bottom, it’s on to the task of smoothing it all together. Trying to make it look nice and smooth, like the handle has grown out of the mug and is actually part of the mug… not just a squished on attachment.
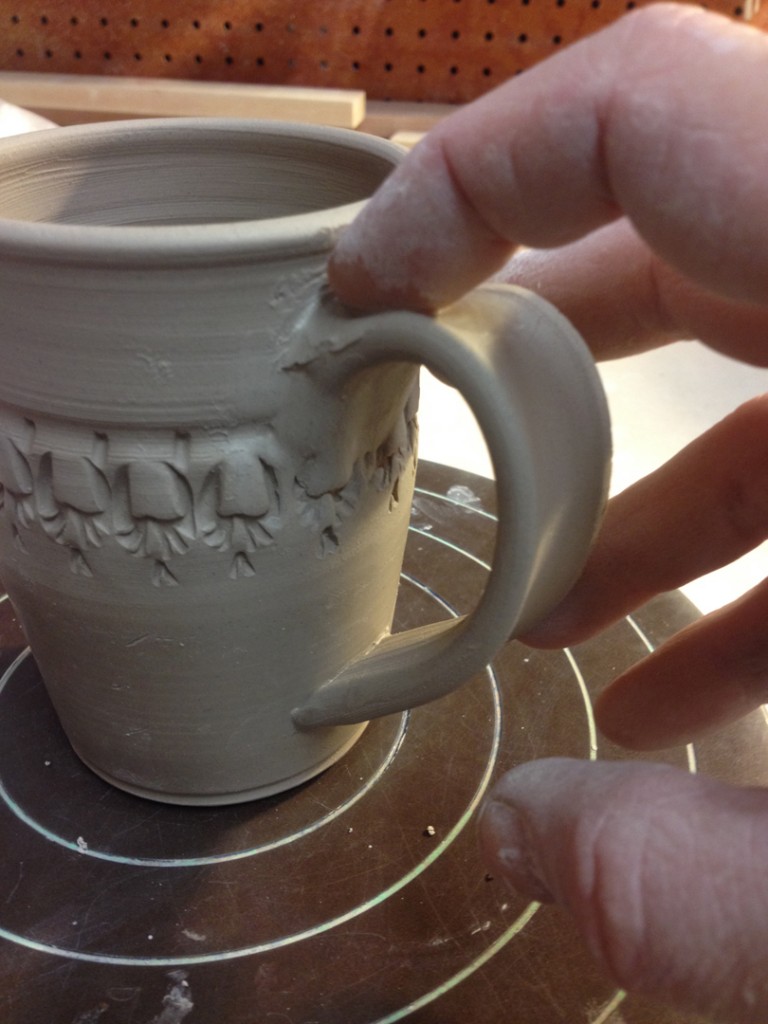
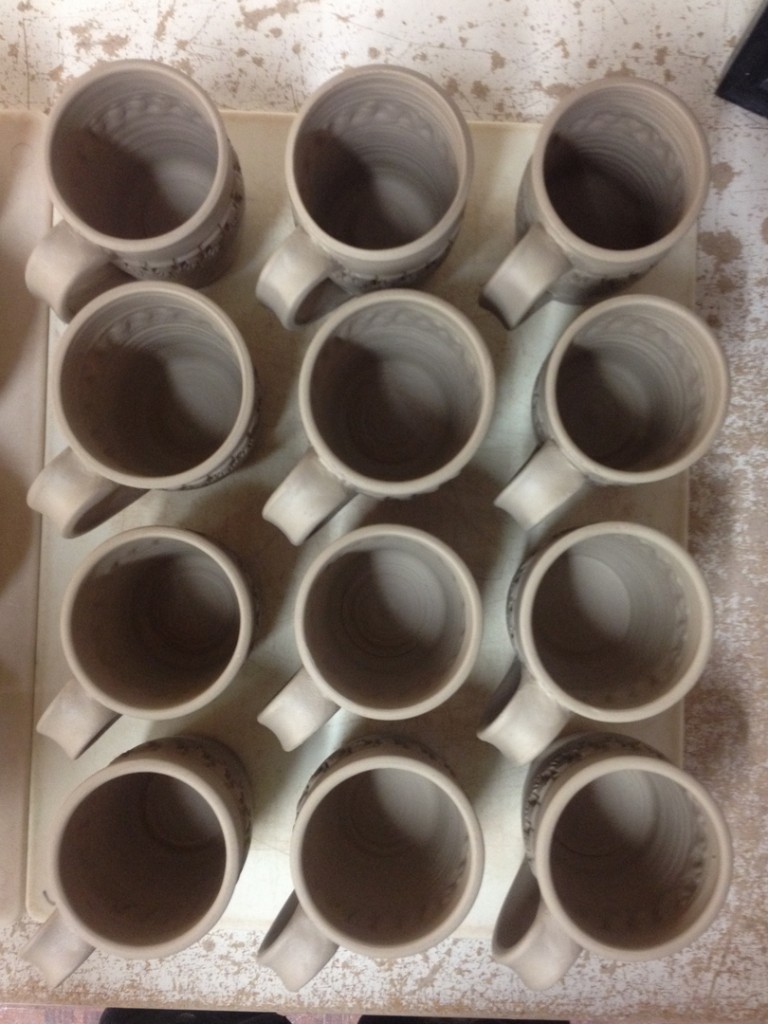
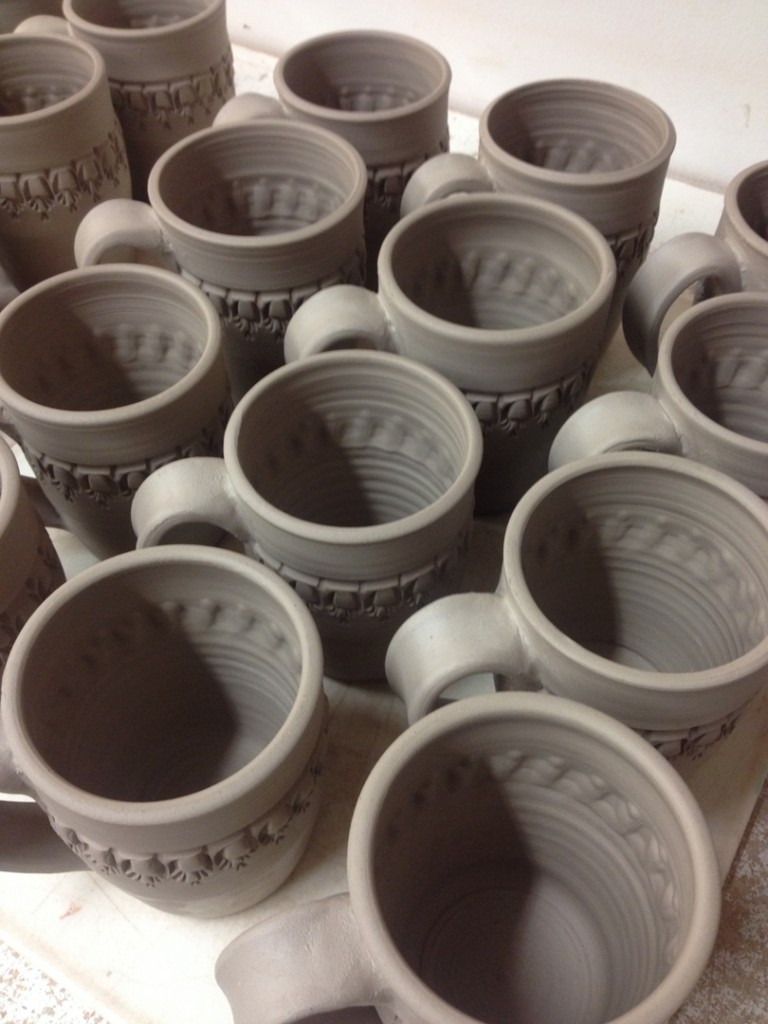
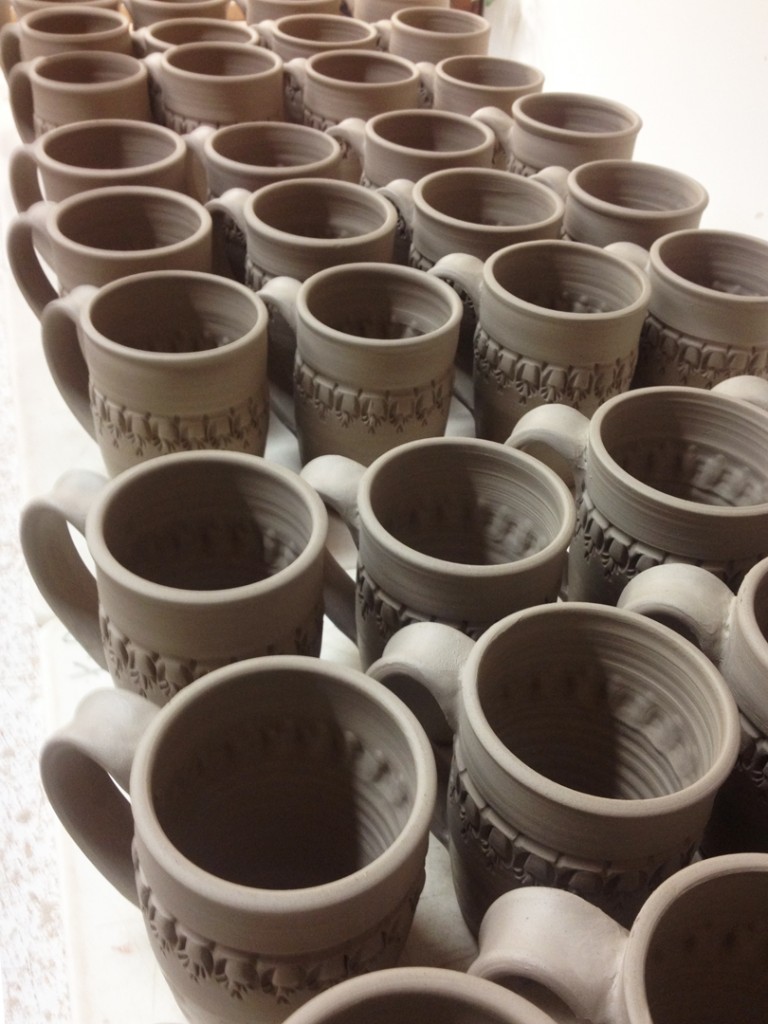
Score. Slip. Repeat…  Score. Slip. Repeat…   Score. Slip. Repeat…  33 more times!

And now all 36 mugs are back under wraps for the night.
Tomorrow night I plan to add some accents with colored flashing slips.
Save

Save

Save

Save

Save

Save

Categories: process, production, tools

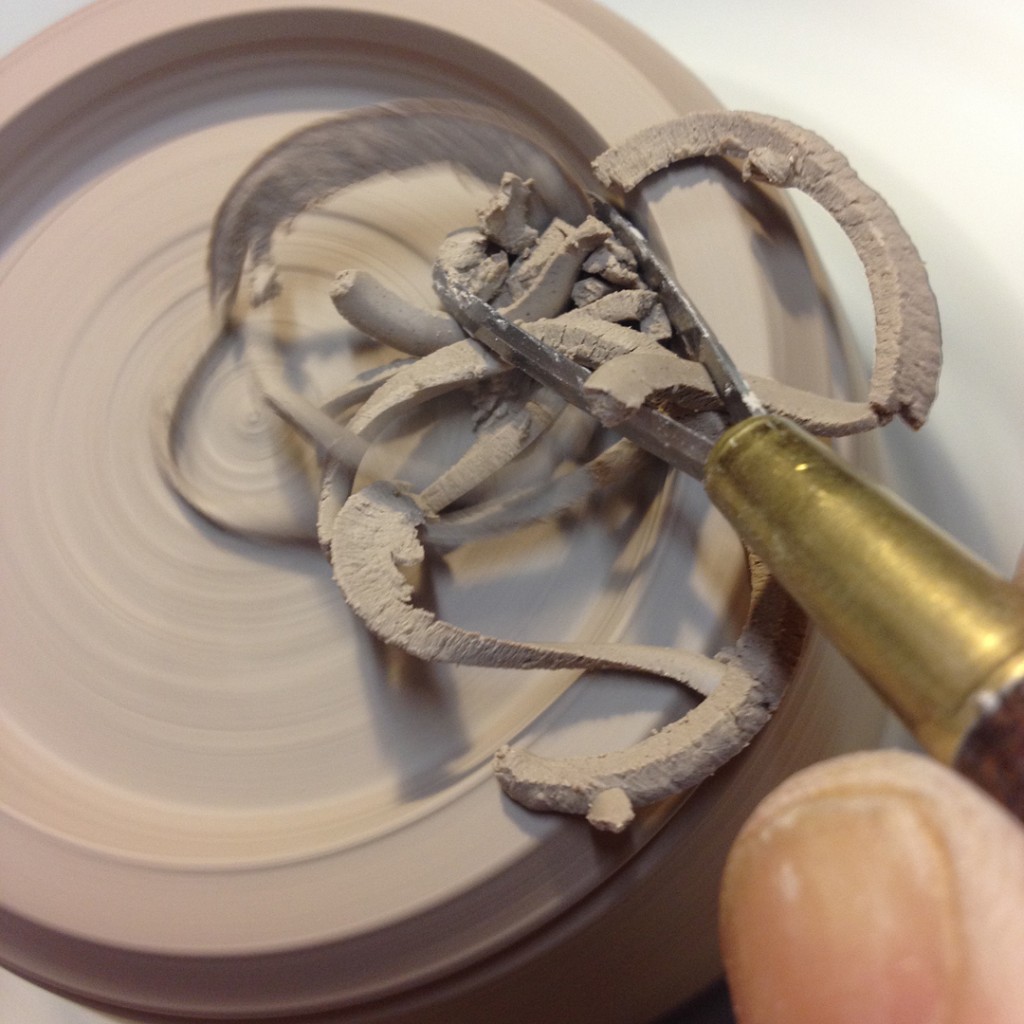
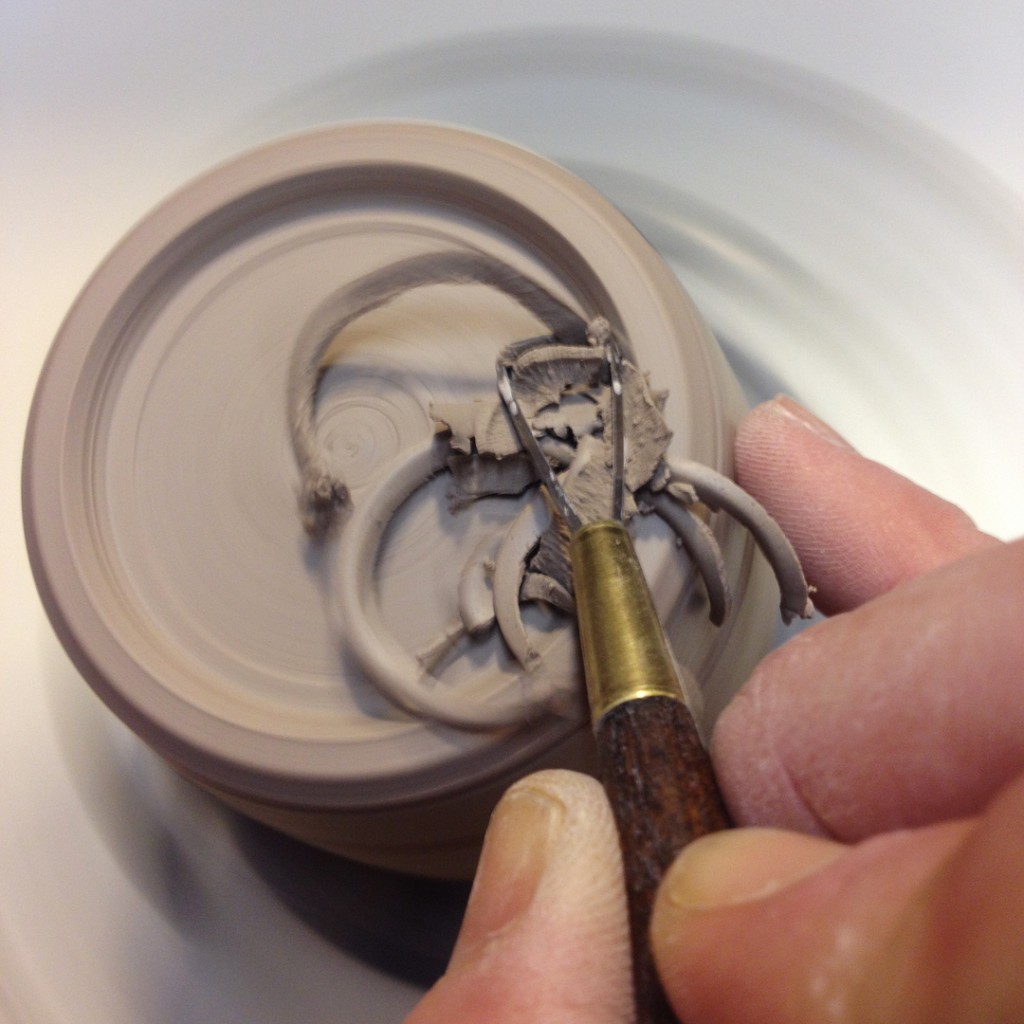
Spinning fast. Trimming smooth.
Love working with my Giffin Grip… makes studio life so much easier!

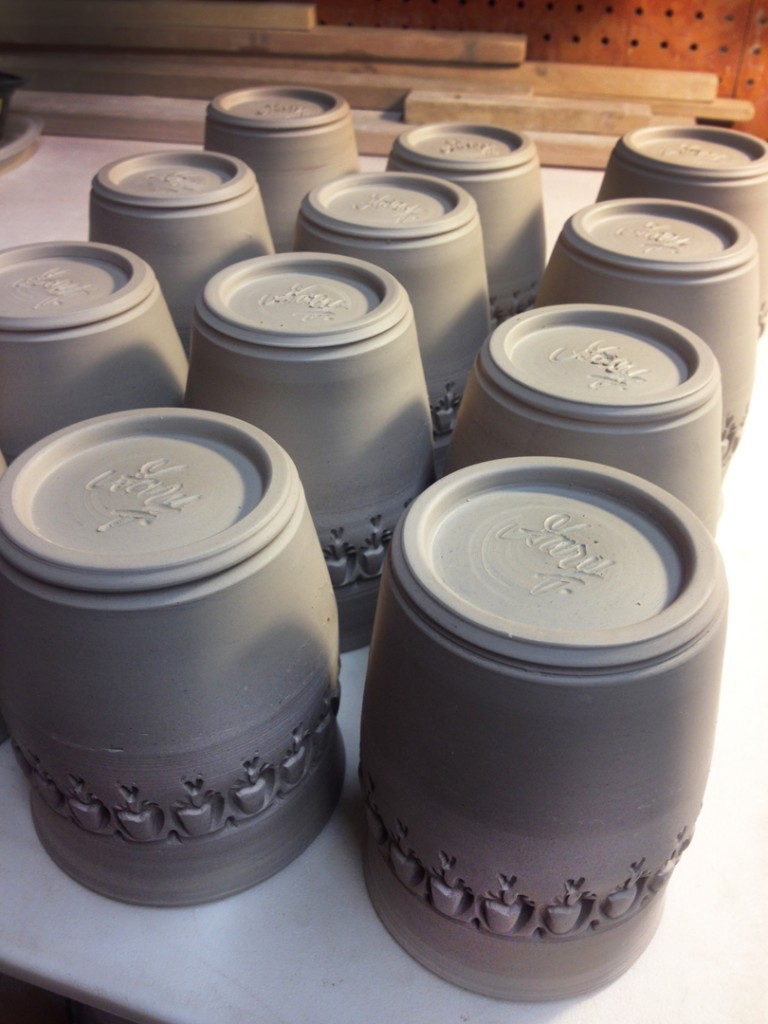
And then some signing to finish off the bottoms.
They are now under wraps again for the night… for tomorrow I add handles!

When I first started making pots, I signed the bottoms by printing my name in block letters. A couple years in, I switched to hand signing each and every pot. I prefer the personal signature to reinforce the “handmade-ed-ness” of each pot. And yet, I know some of those old pots are still out there… so we refer to the pots with printed letters as “vintage.”

Save

Save

Categories: mugs, process, production, stamped, stamps

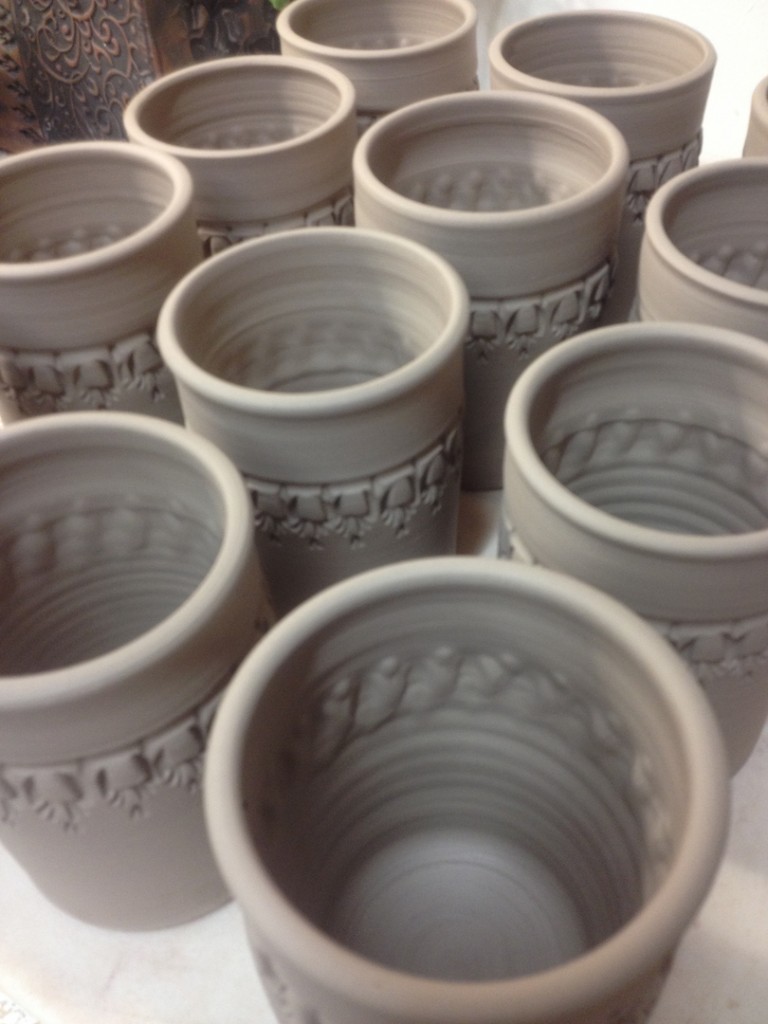
I started the evening with a bunch of cylinders… thirty-six to be exact.
They were way too plain… begging for a bit of textured fun.

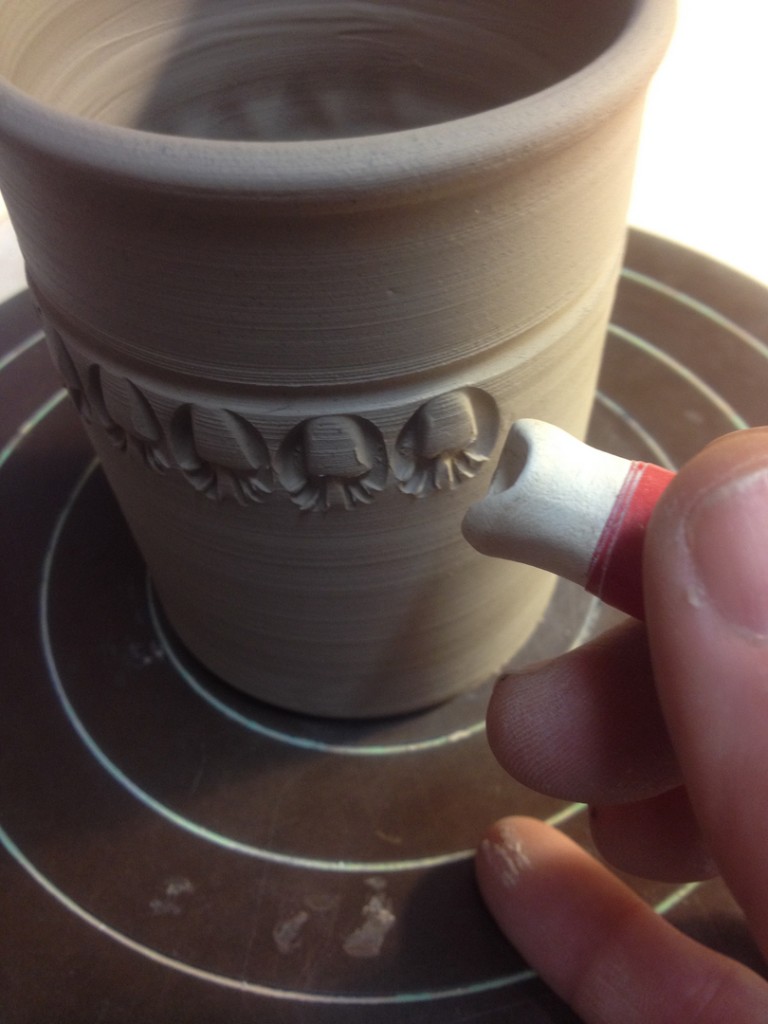
So I grabbed two stamps and set forth… first, a single row of lager stamps along the indentation. Which by the way, is the perfect “trick” to help keep your stamps straight.

Then a little “detailing” inside of the indentation to break it up and make it look a bit les obvious.

And then the same small stamp turned and tapped under the original larger stamp.

And here are the two stamps that did all of the work…

One done… thirty-five more to go!!!

Done… ready to be wrapped for the night. Trimming & handles still to come…

Save

Save

Categories: mugs, process, production

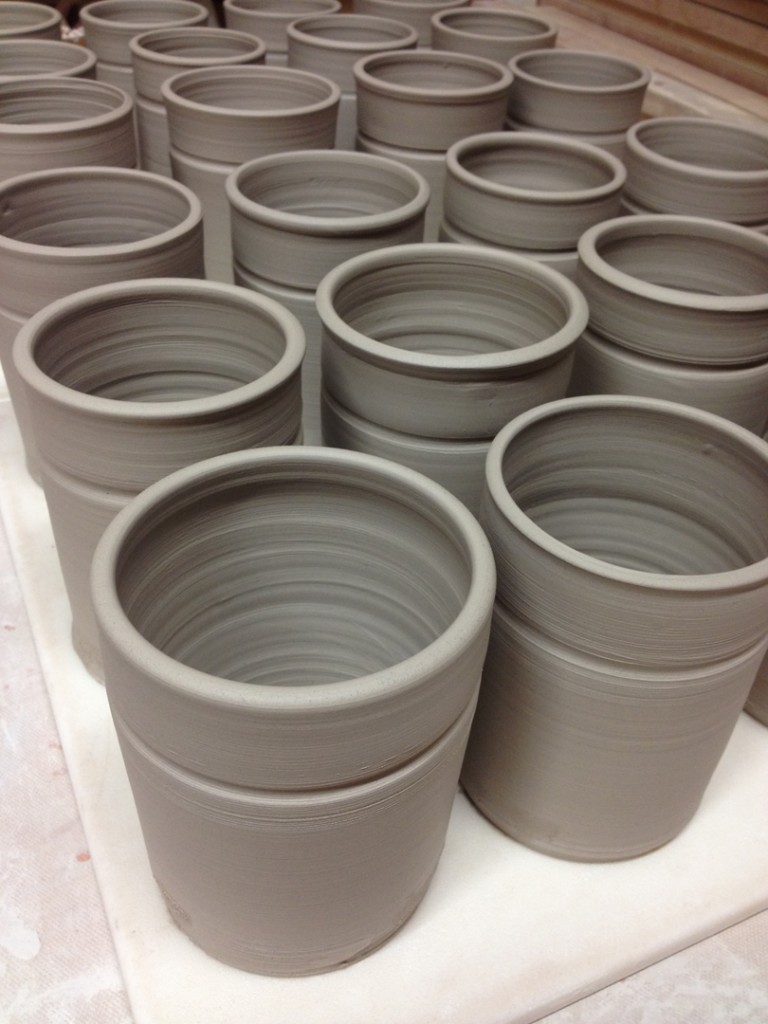
It felt great to be throwing again. Starting with my favorite… a quick two dozen cylinders to become mugs. I have “big plans” for these ones… but not until next November! Okay, so I’m starting “early” on a personal project I’ve been putting off for about three years now!!!

And for now they’re covered for the night… waiting to be stamped, trimmed & handled.

Categories: clay, process, production, studio

Felt great to be back in the studio prepping for a full day of throwing. It seems like it’s been far too long… but you know how tough it is sometimes to get started up again in the New Year?! Especially when the studio is clean and there are no projects drying under plastic that need my attention. But after today there will be…

Categories: glaze, porcelain, process, production

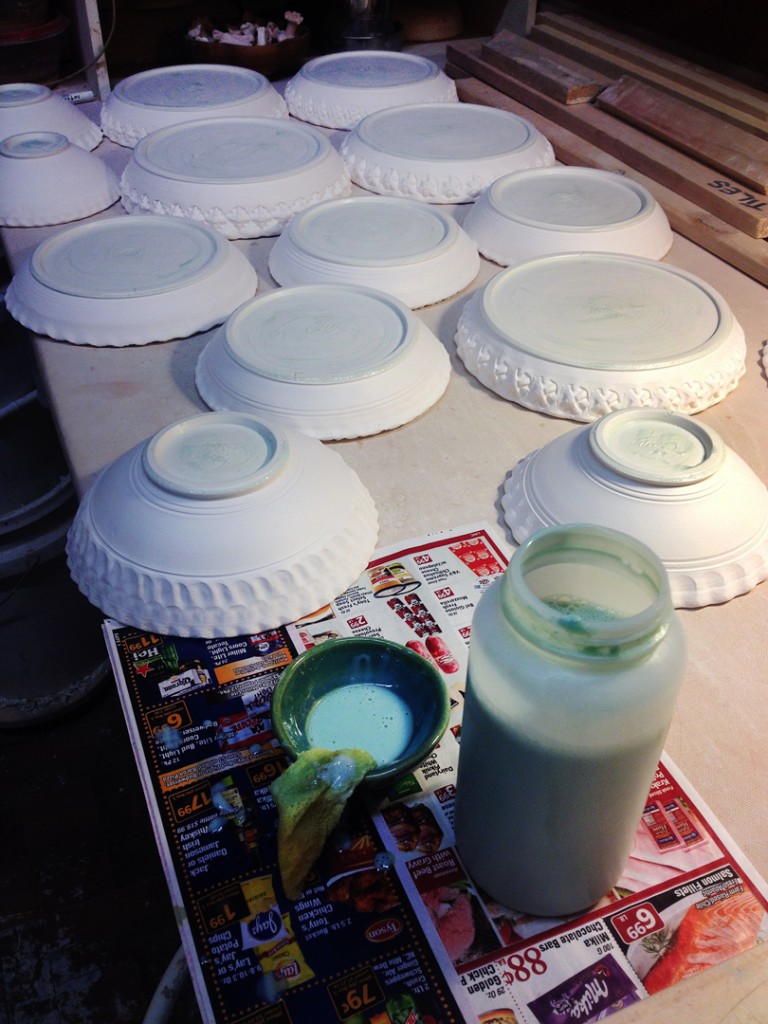
And while we’re selling mugs online today, I’ve been in the studio waxing bottoms and glazing a kiln full for this weekend’s Second Holiday Home Show! Shelves will be replenished, shlepping sale will be restocked, and a lot of new pots fresh from the kiln!!!

Categories: bowls, porcelain, process, production, stamped

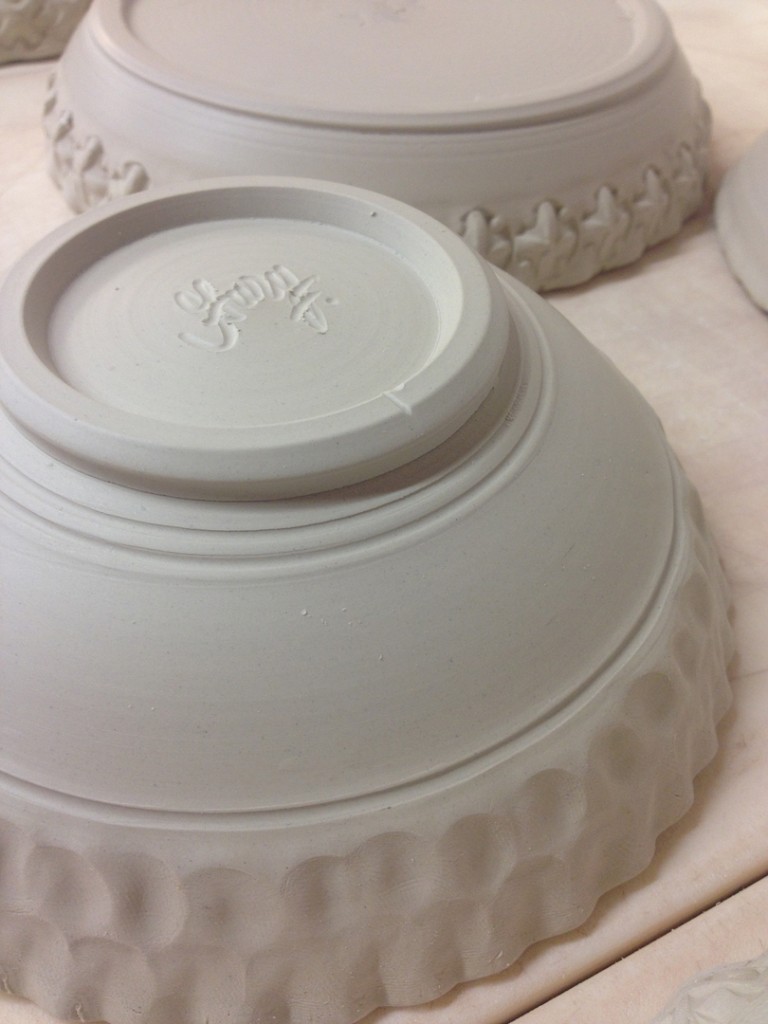
Bottoms are trimmed and hand-signed.
I love the look of everything at this stage. Especially the smooth crispness of porcelain!

Categories: bowls, porcelain, production, stamped

I was hoping to squeeze in one last cone six kiln before this weekend. But it looks like I can’t quite stop “making” and switch to “glazing”?!!! So these stamped porcelain dishes might need to wait for the second Home Show?!!!

Categories: art fair, mugs, production

Prepping & pricing for this weekend’s Holiday Home Show!!!
My goal every year is to start with over a hundred mugs. And we’ve got it…
at last count we were at 112 with more to come!!!
You know how I LOVE making mugs… Happy Mugshot Monday!!!

Categories: glaze, process, production

Well, I’m finally all glazed & wadded. My studio cart is close to full, which means the soda kiln will be close to full as well. I can always glaze a few more pieces if I need to as I’m loading. The masking tape “seat belts” help keep the pots from “jumping off” my cart as I roll it downstairs in the rickety freight elevator!