10.23.2022
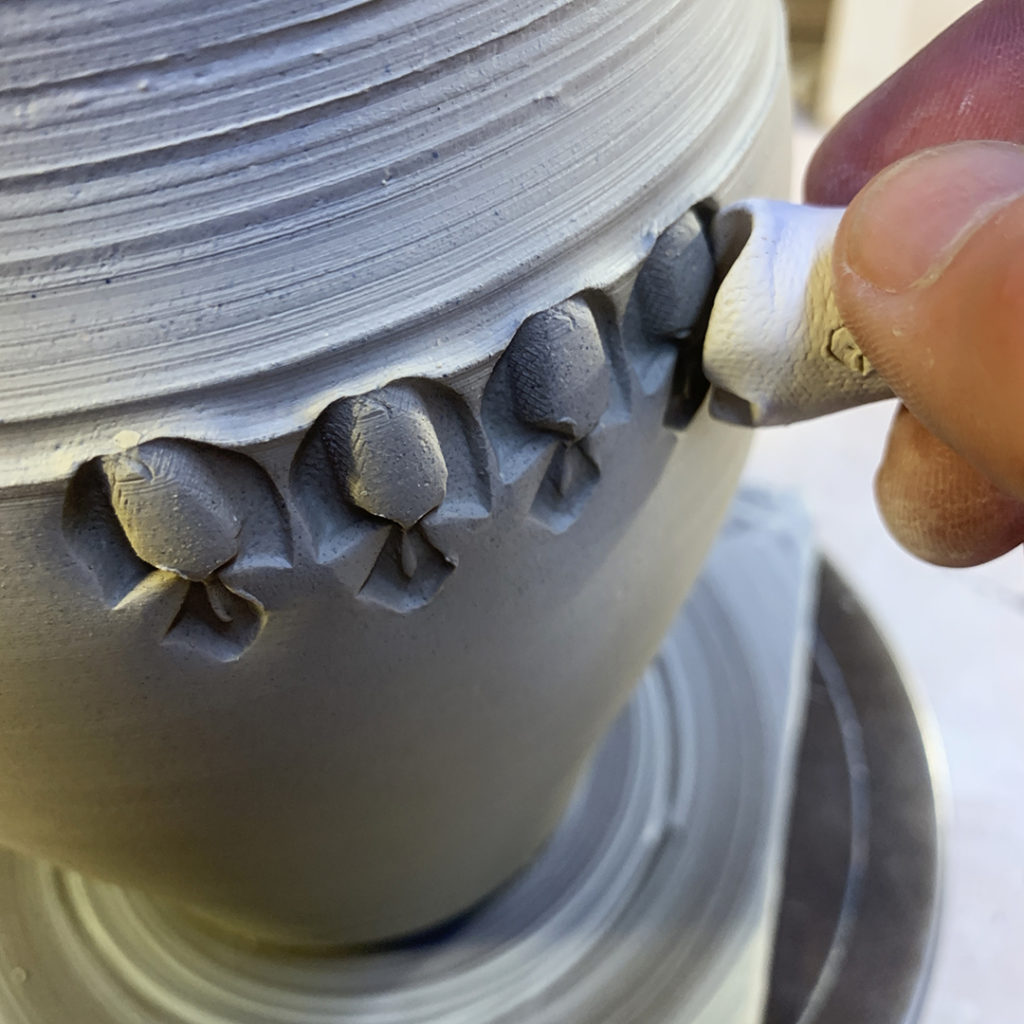
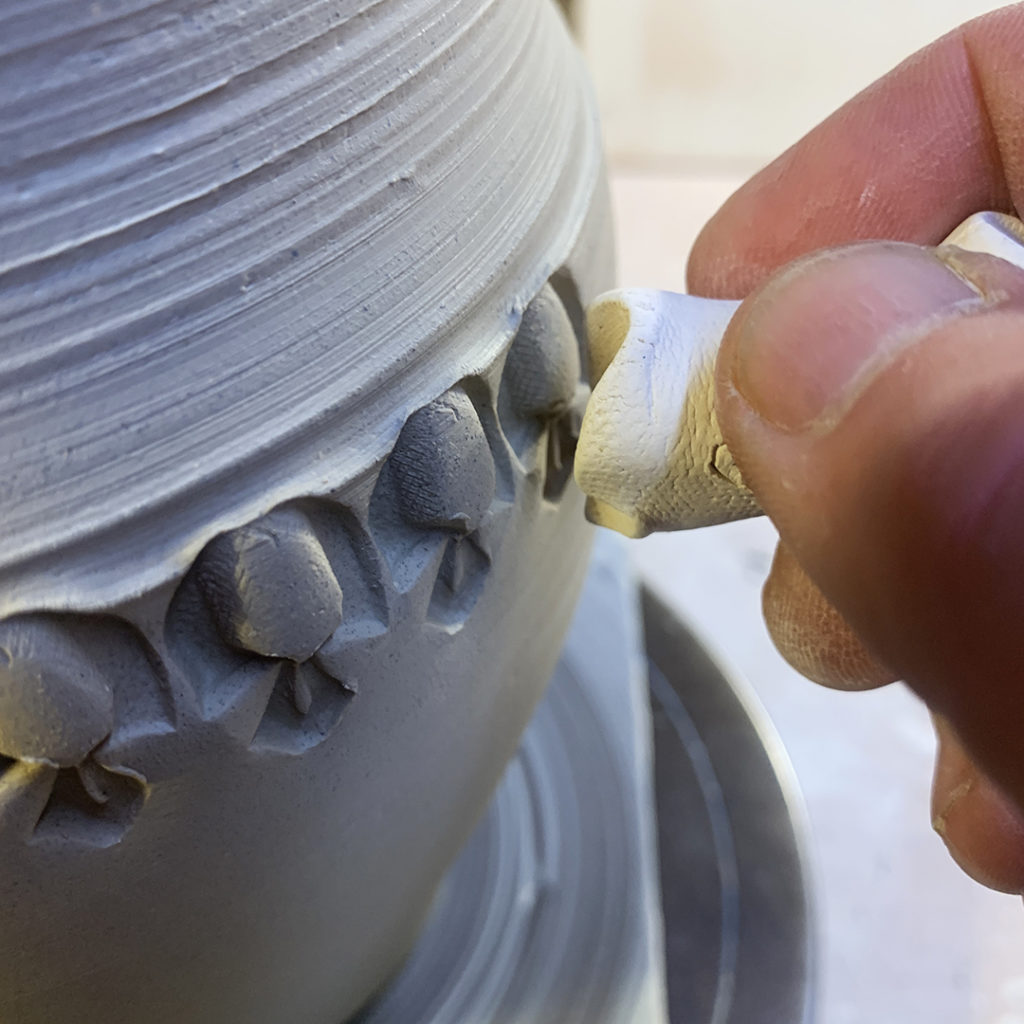
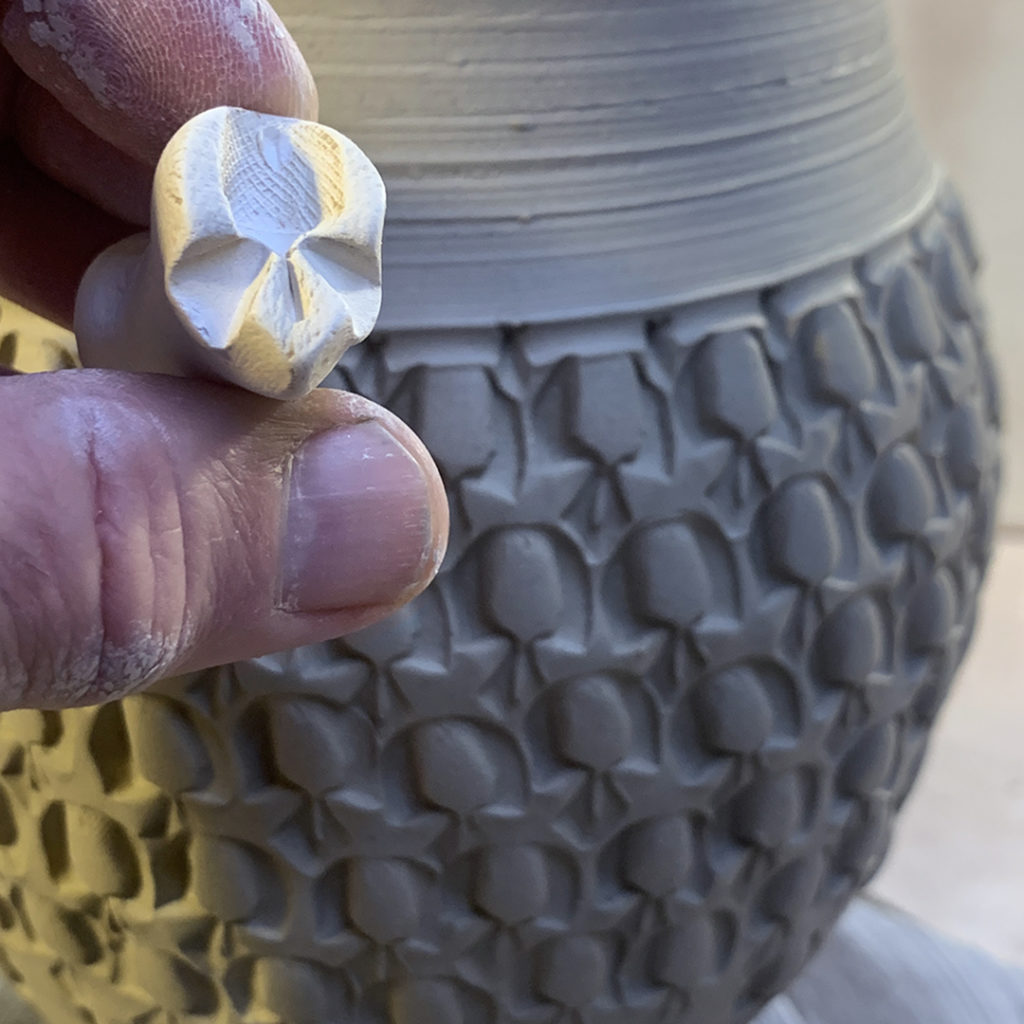
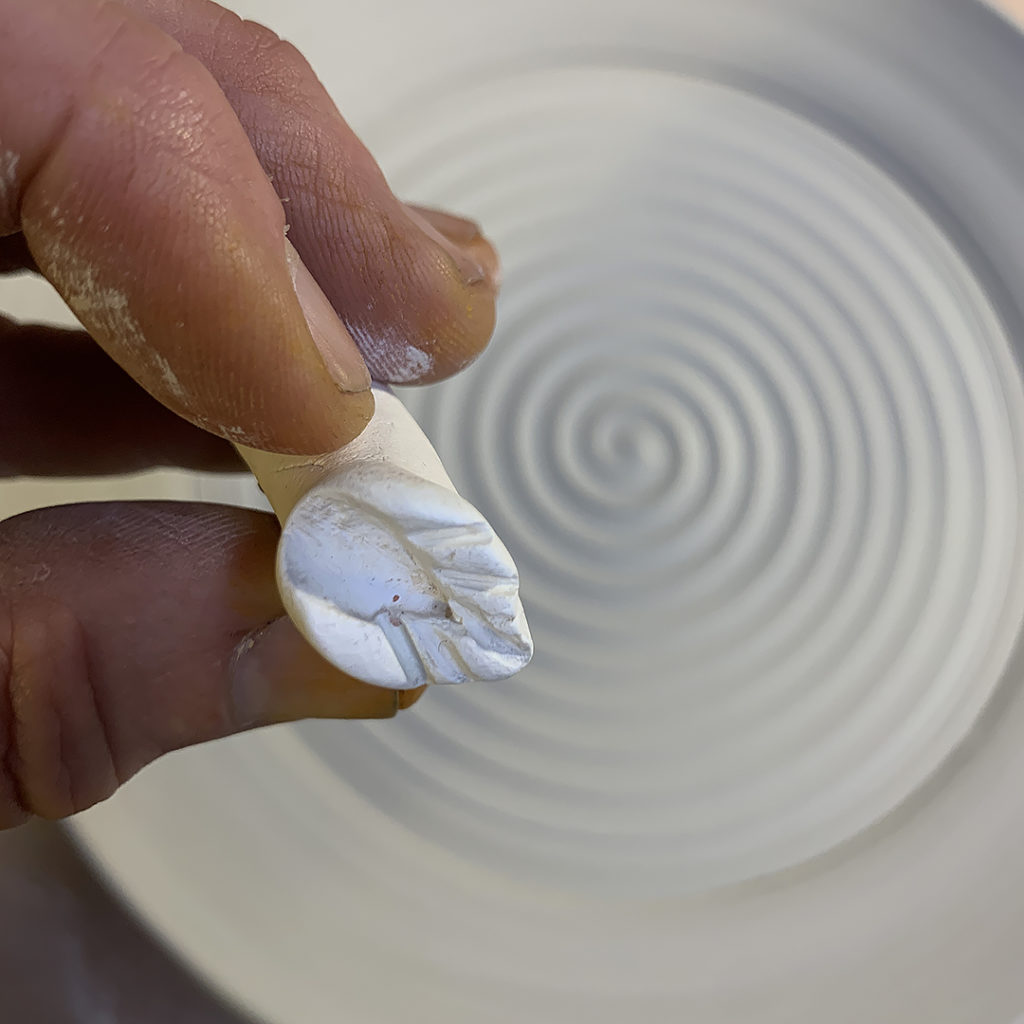
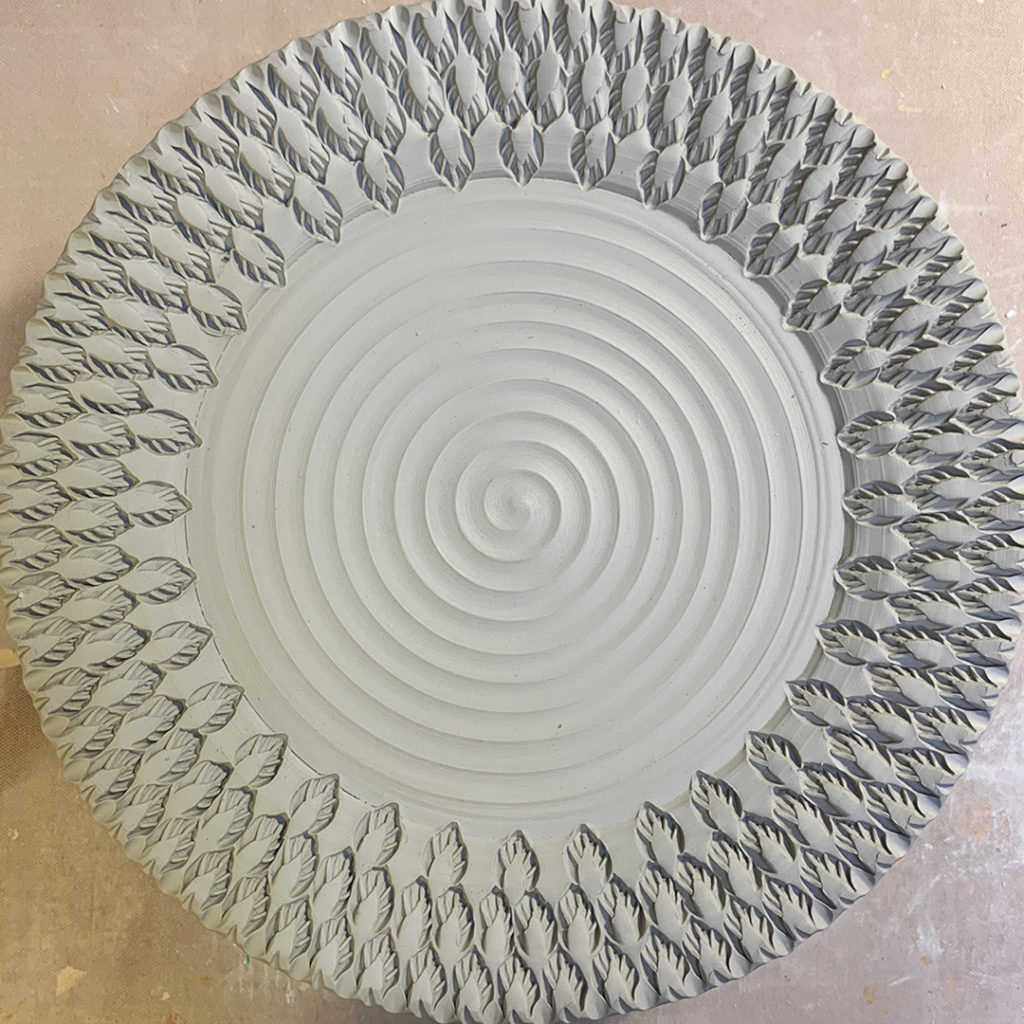
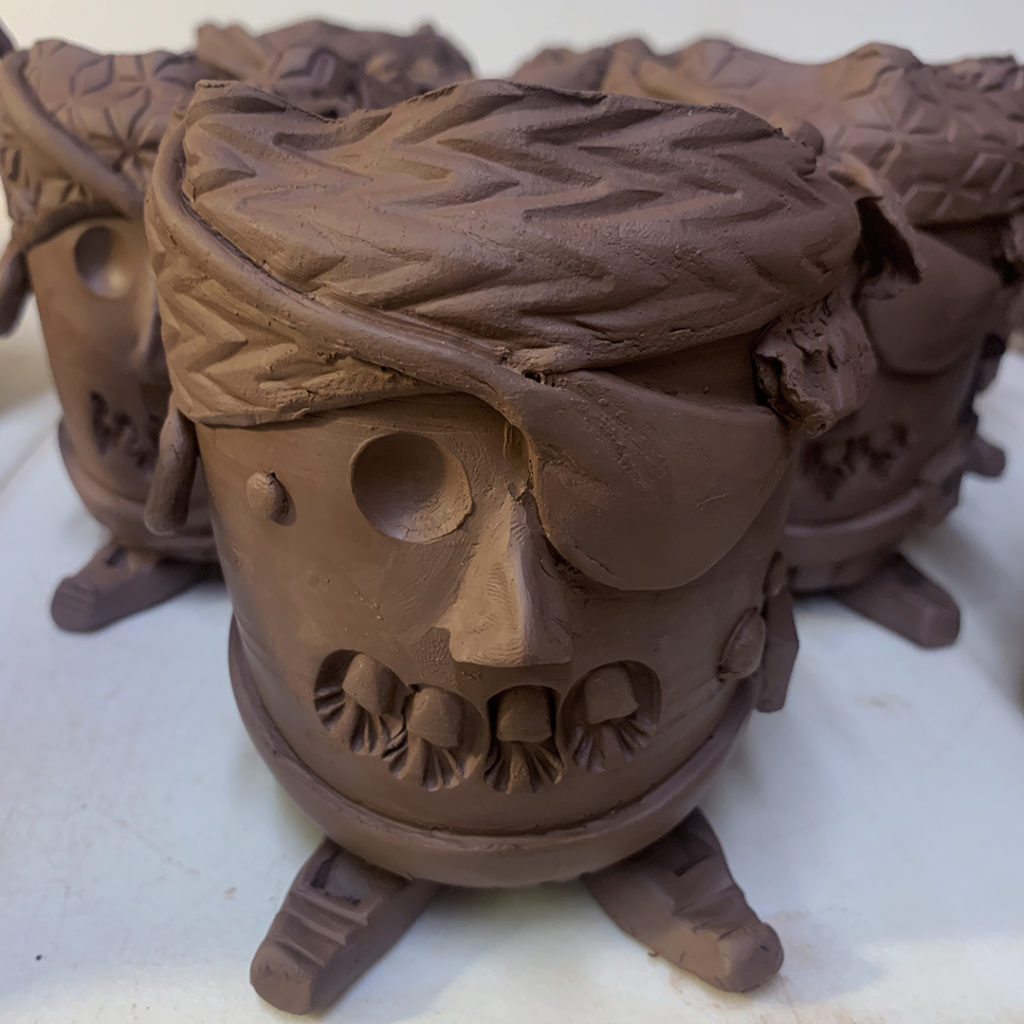
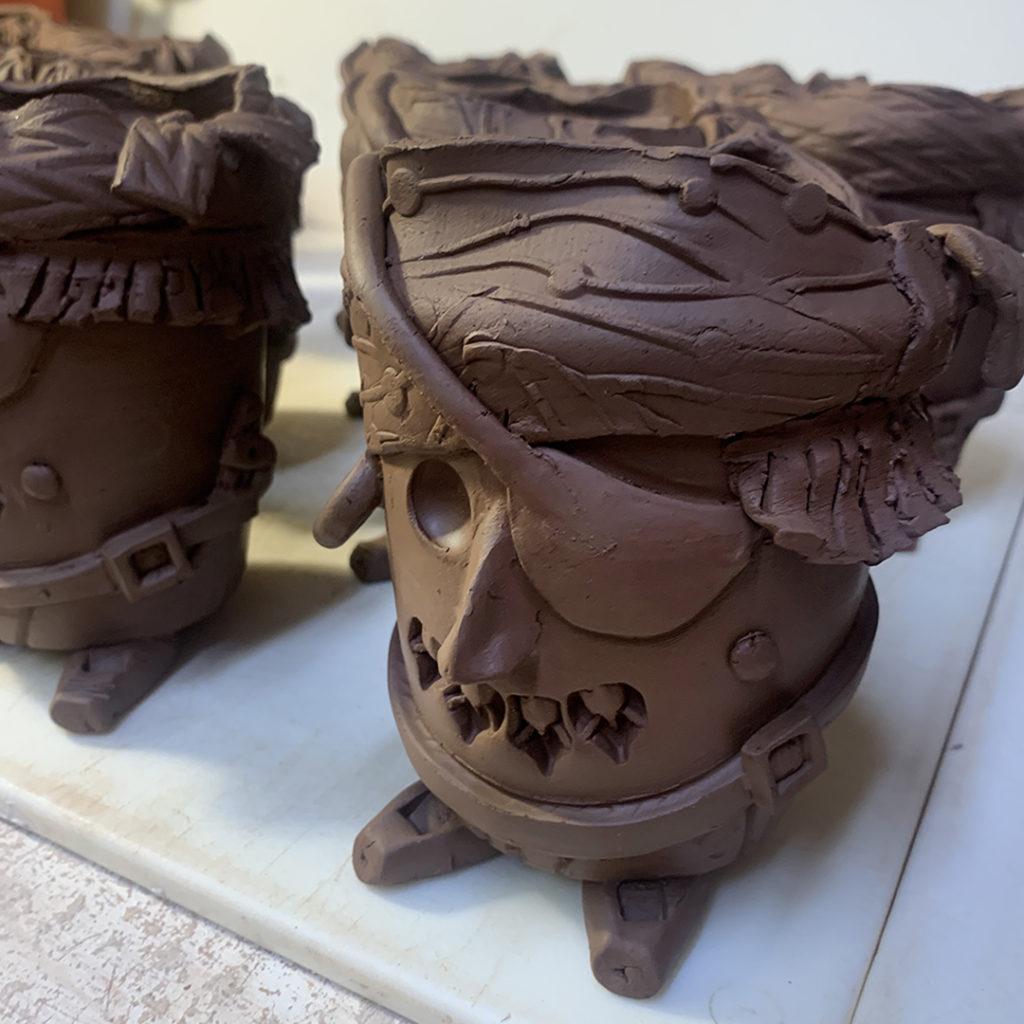
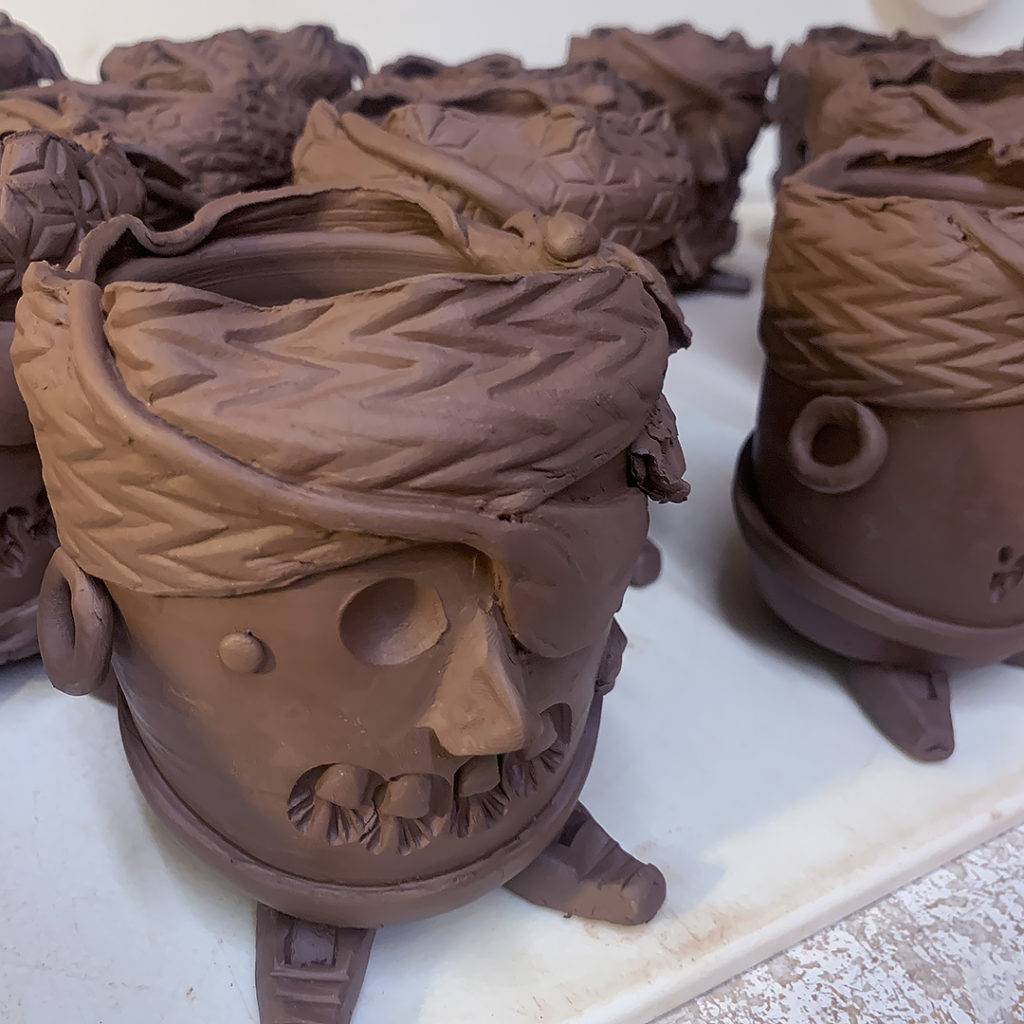
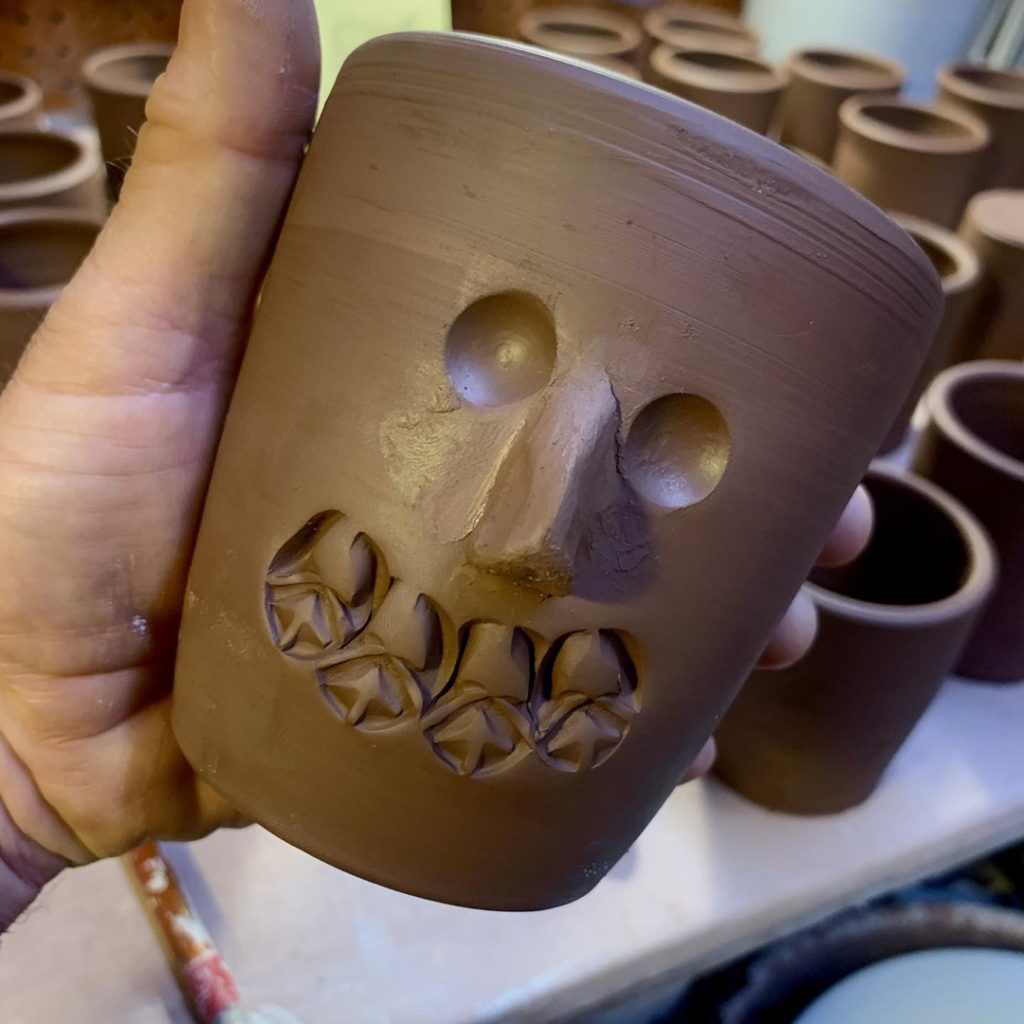
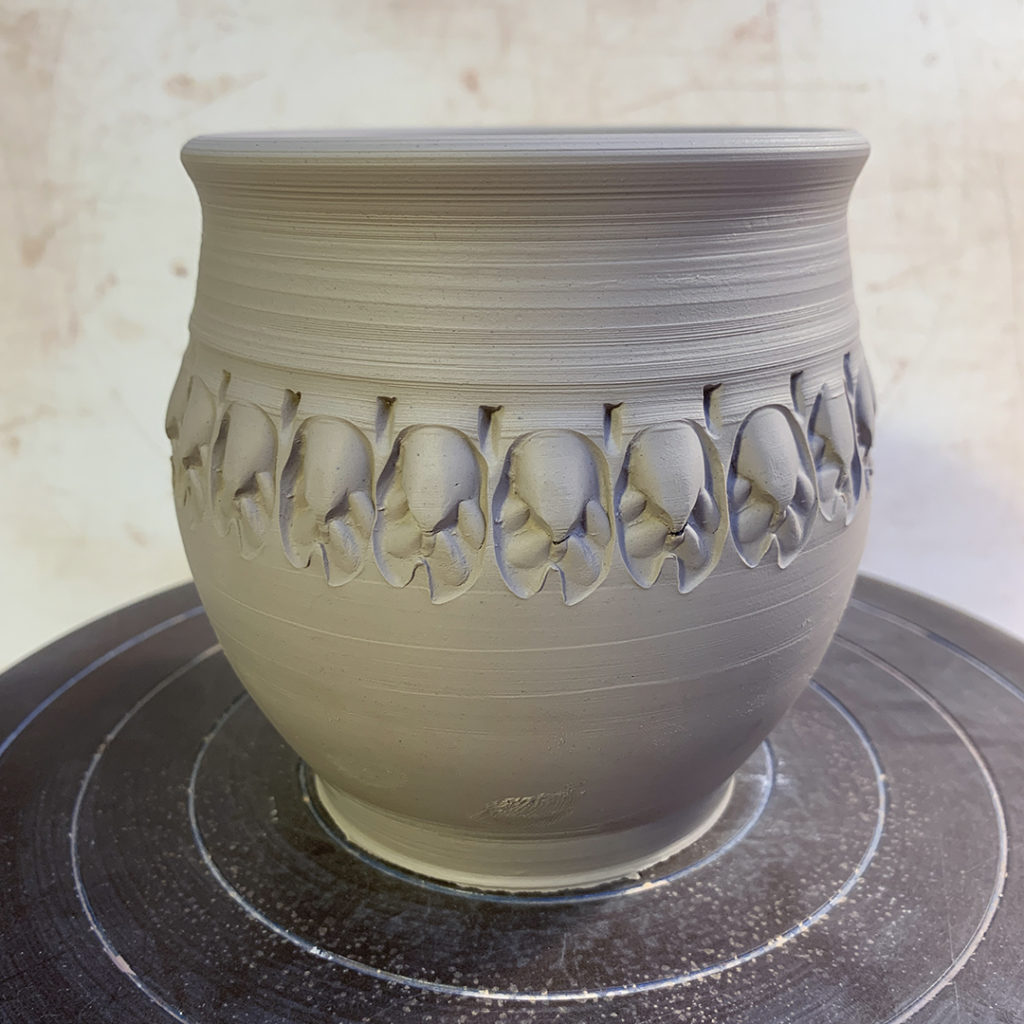
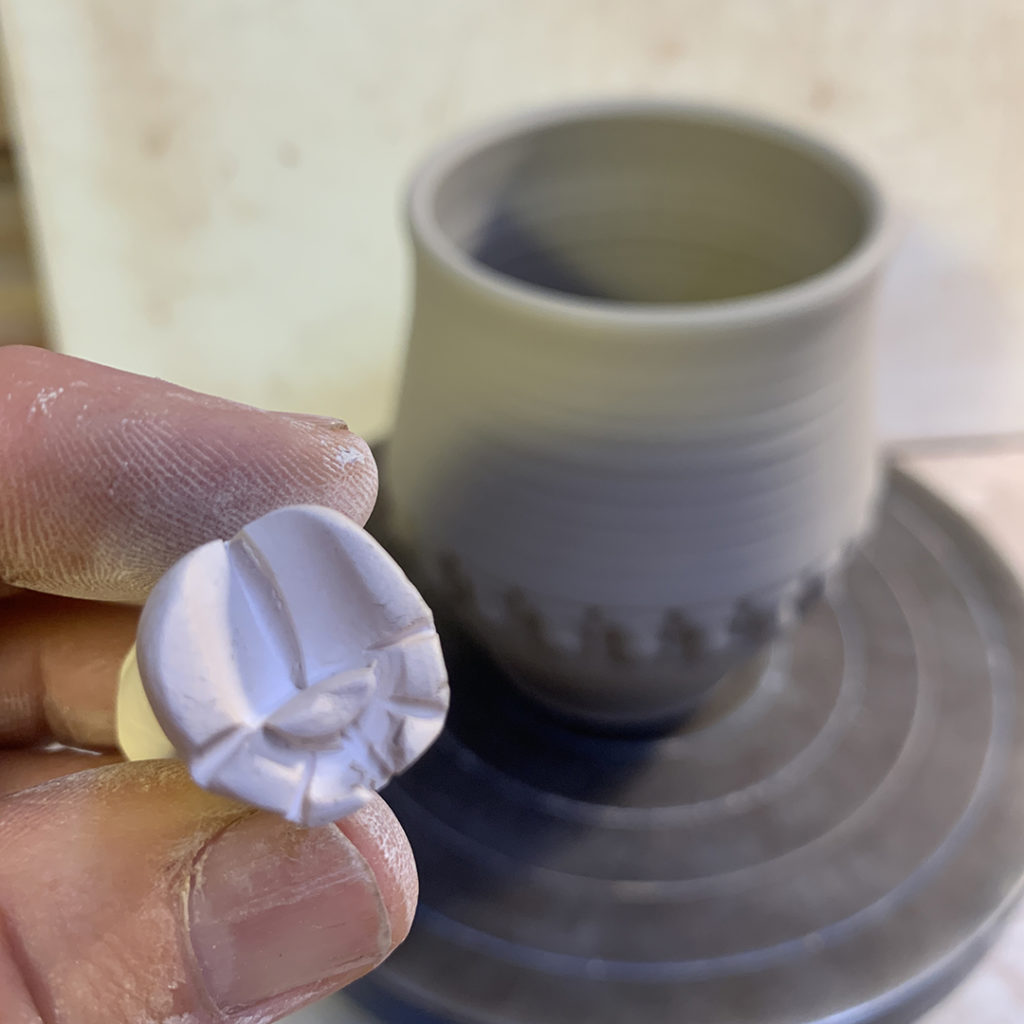
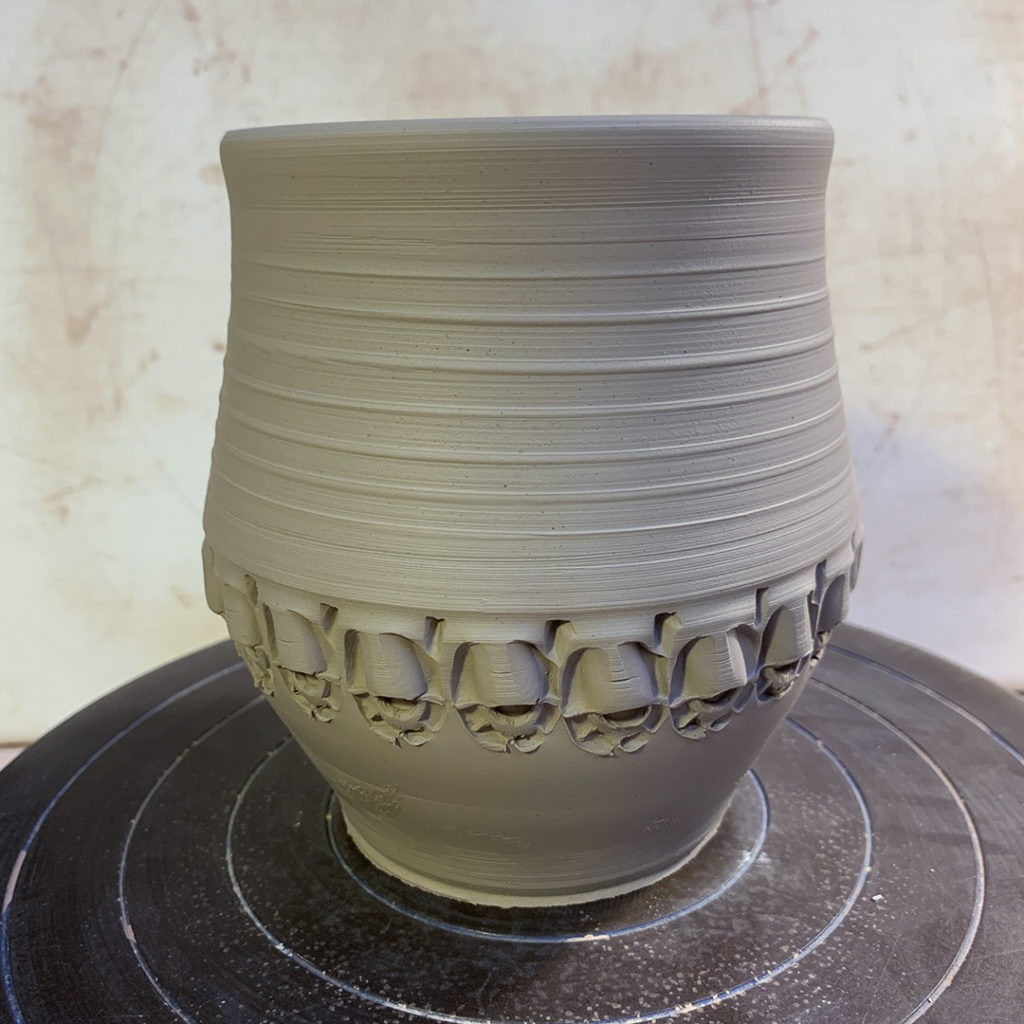
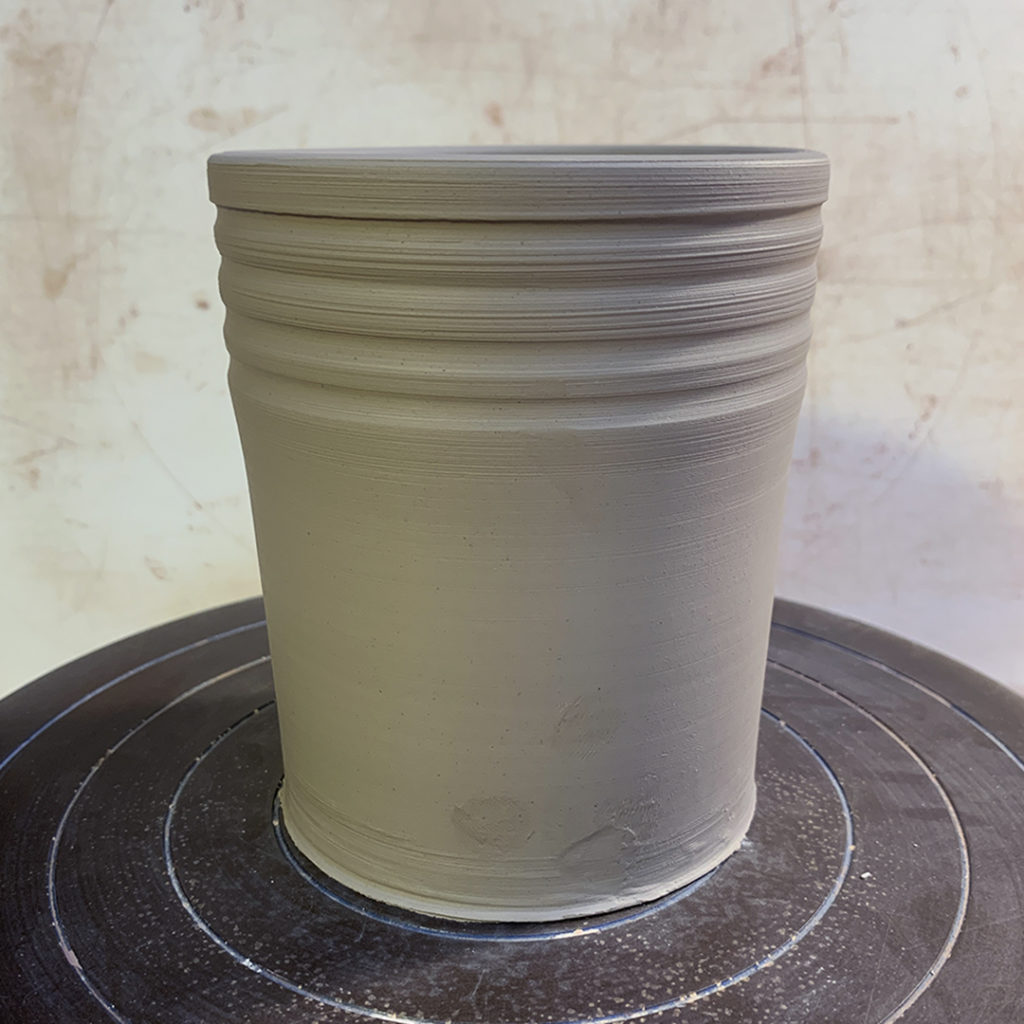
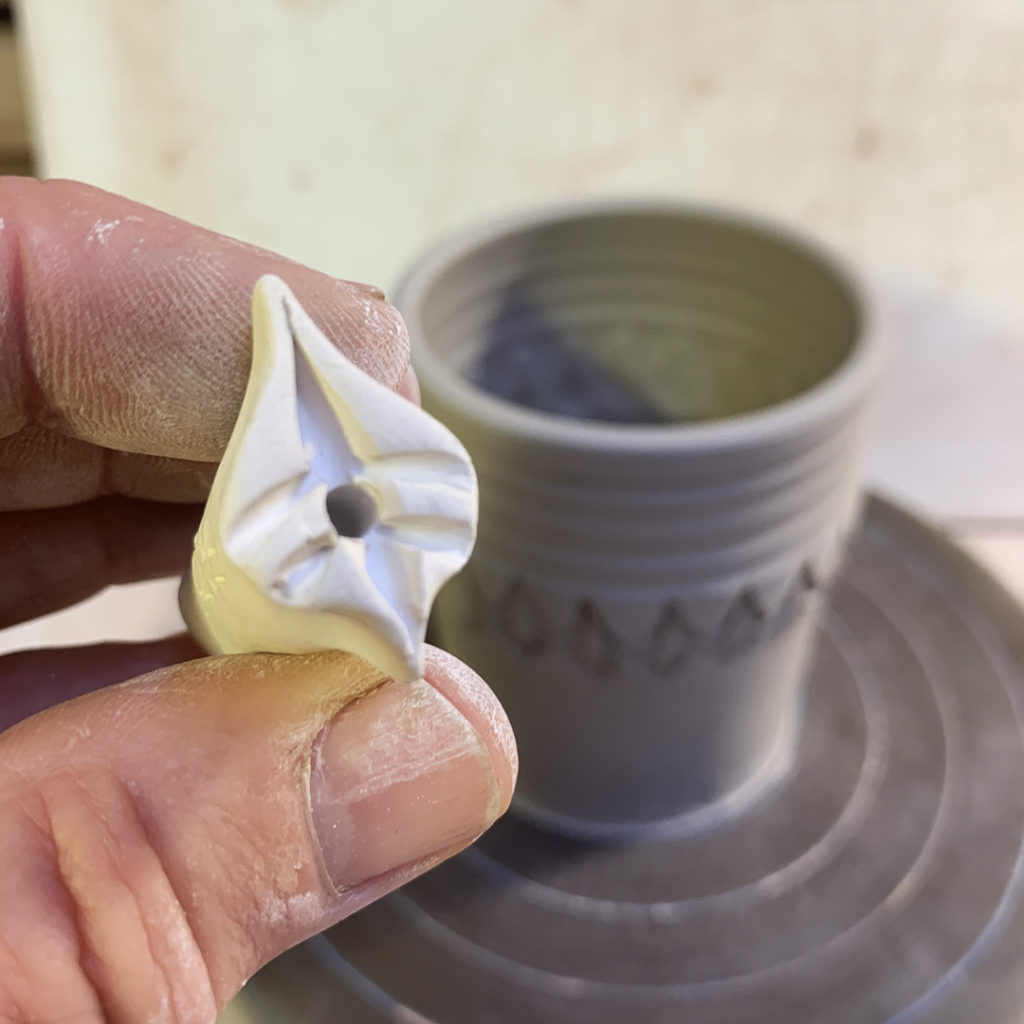
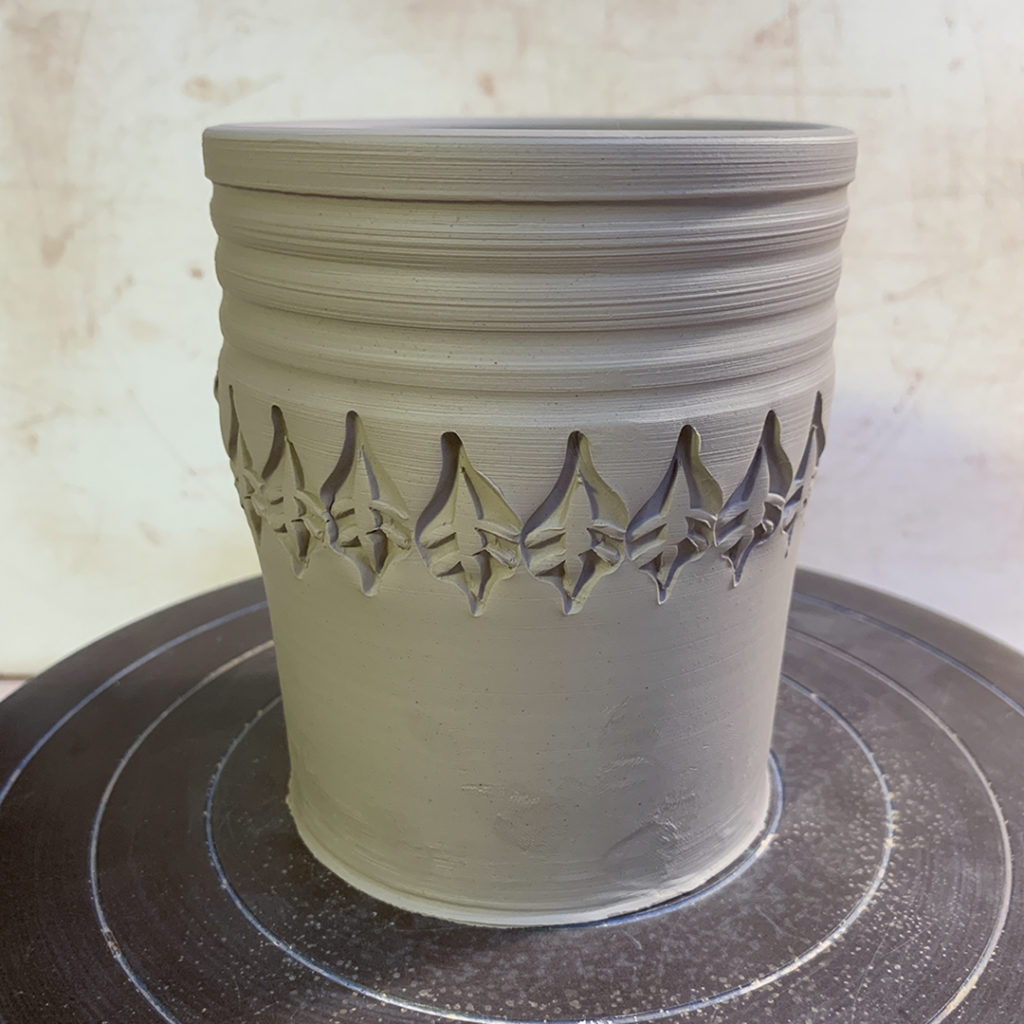
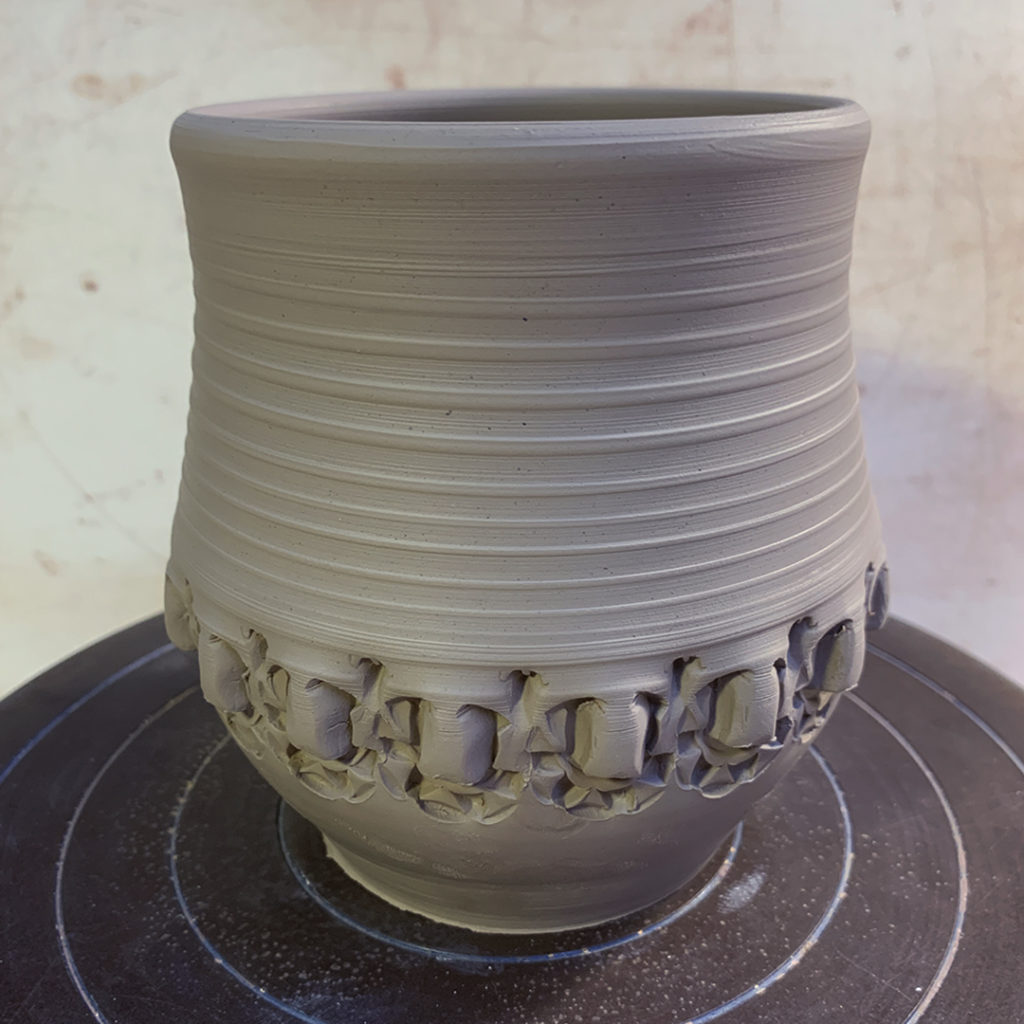
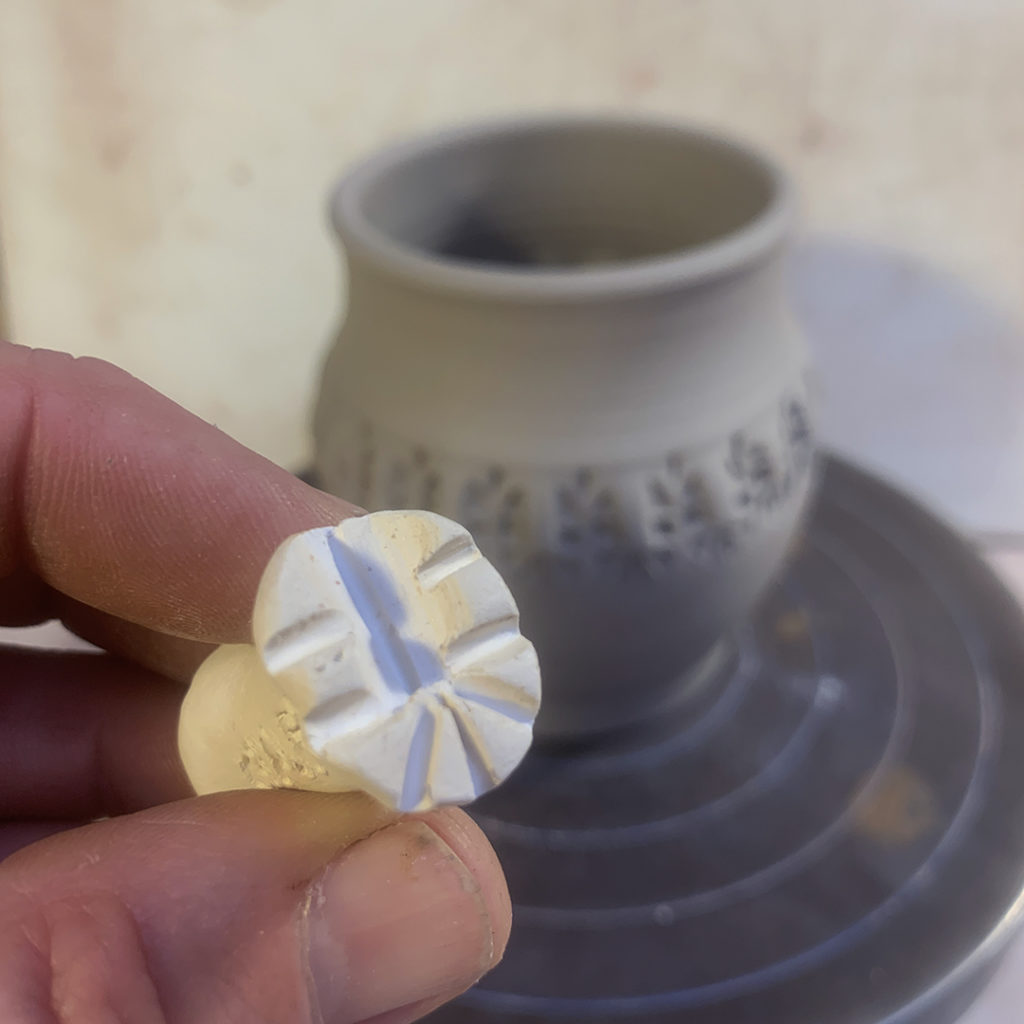
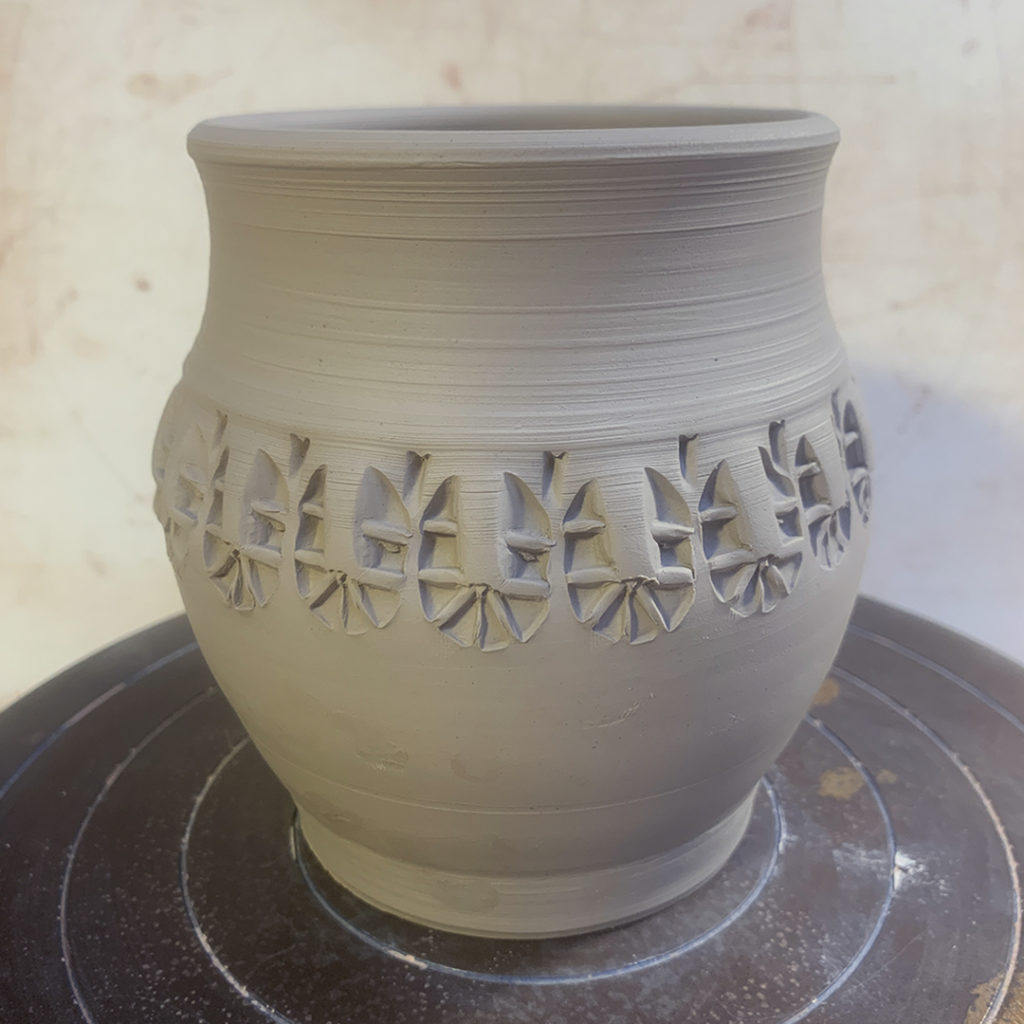
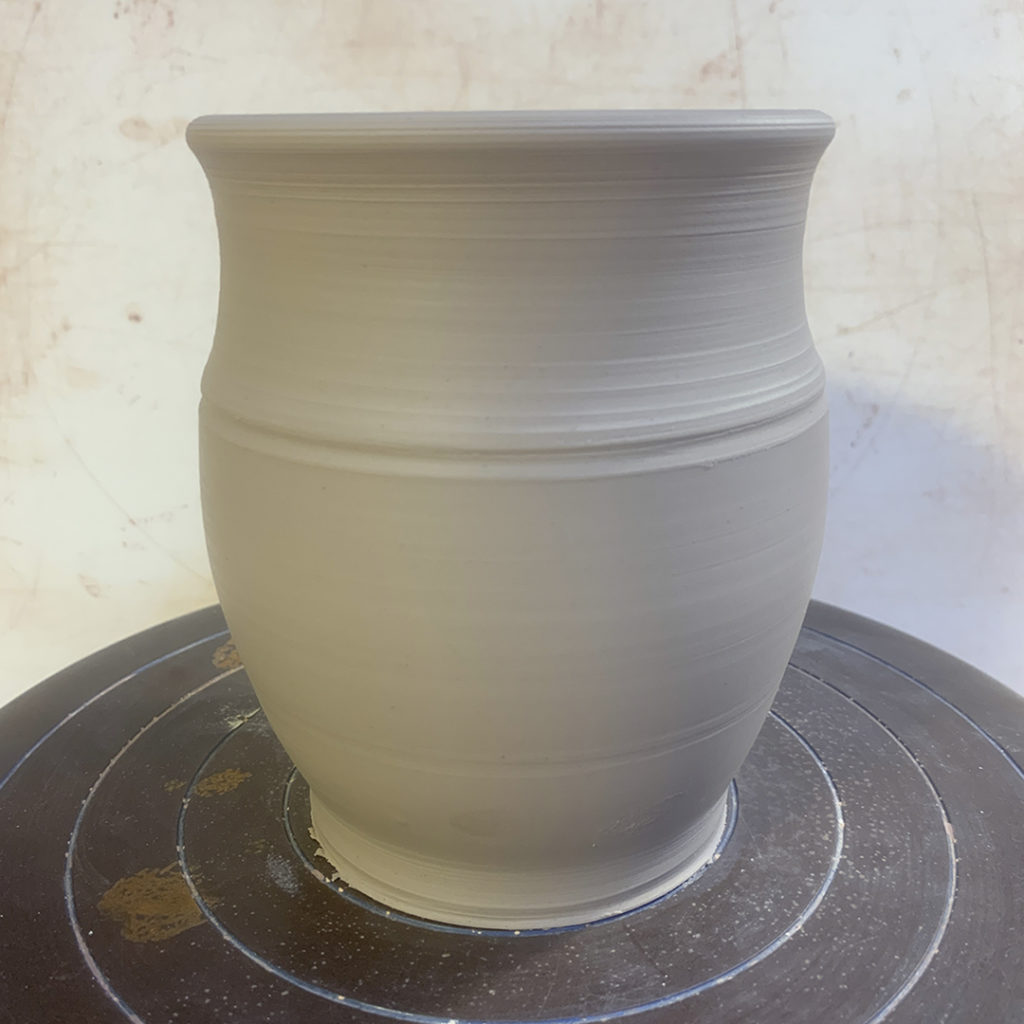
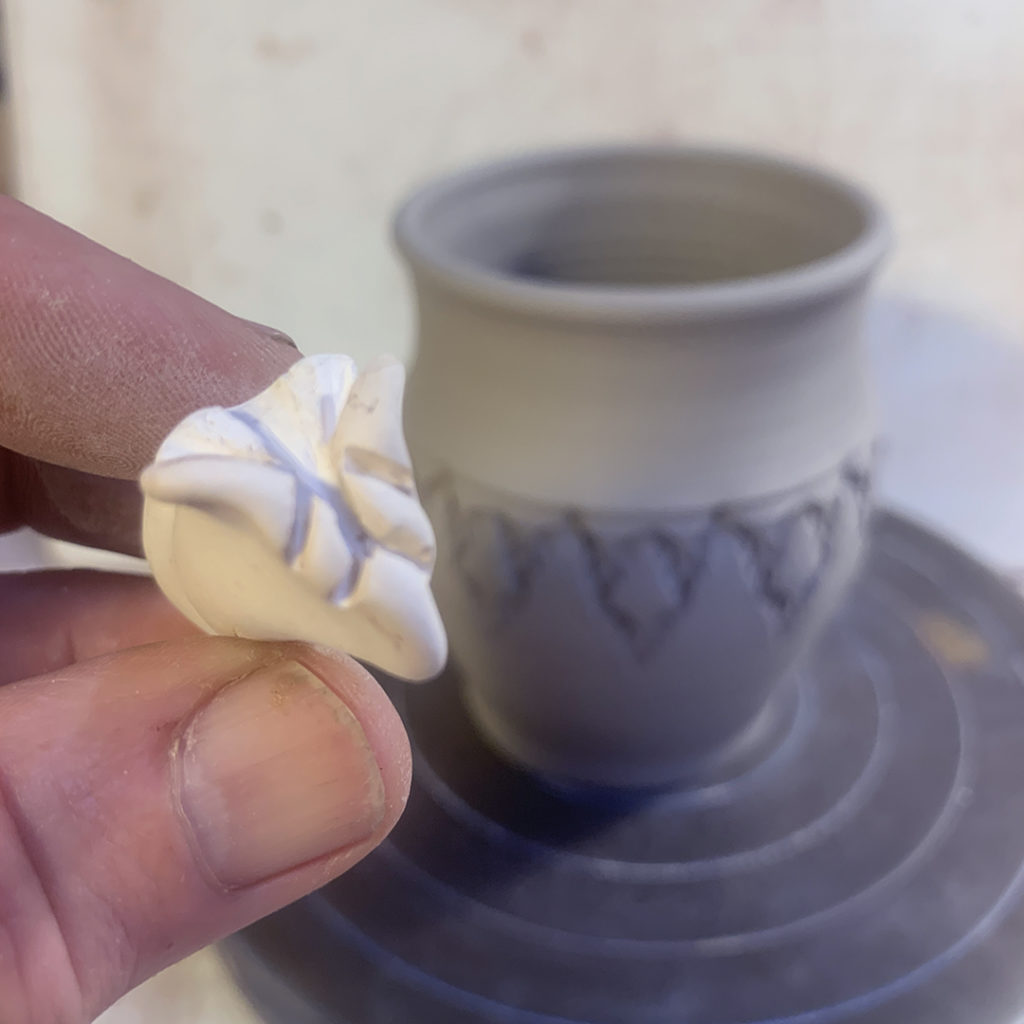
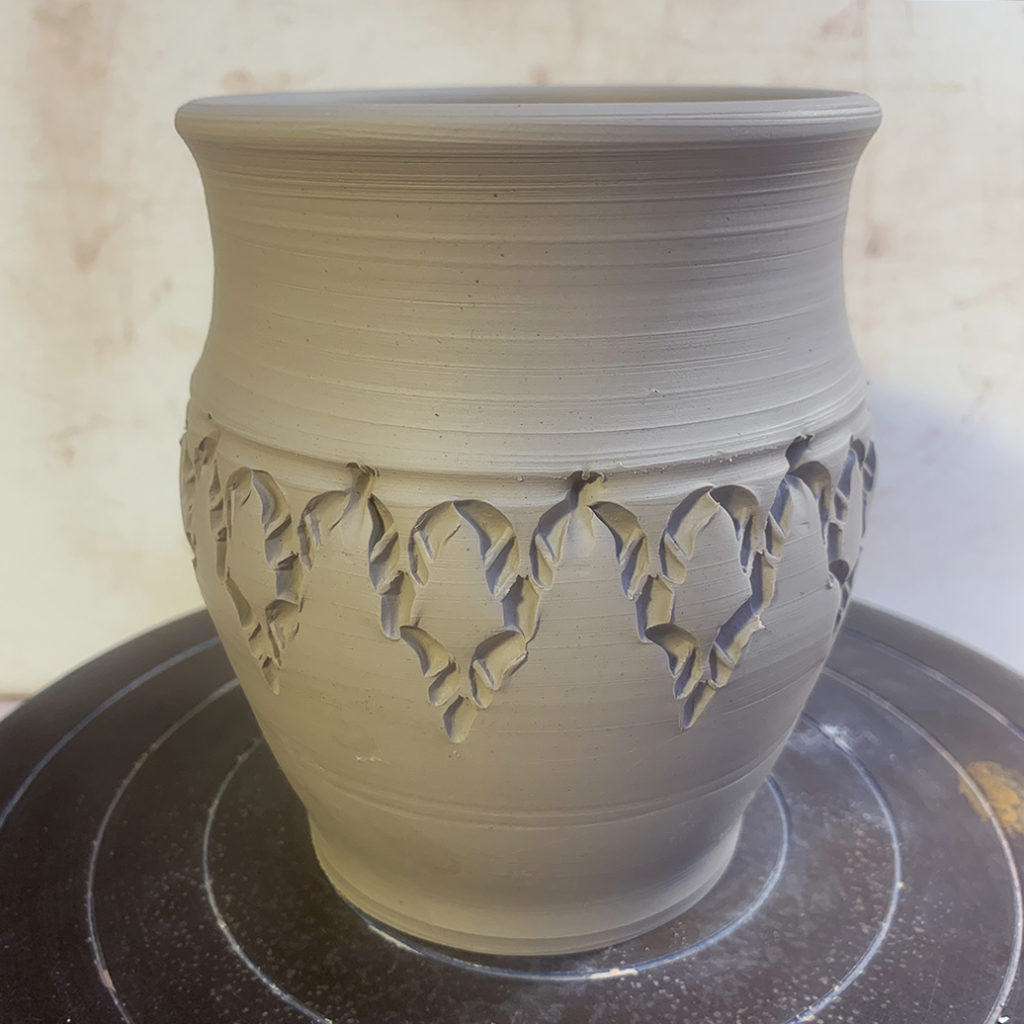
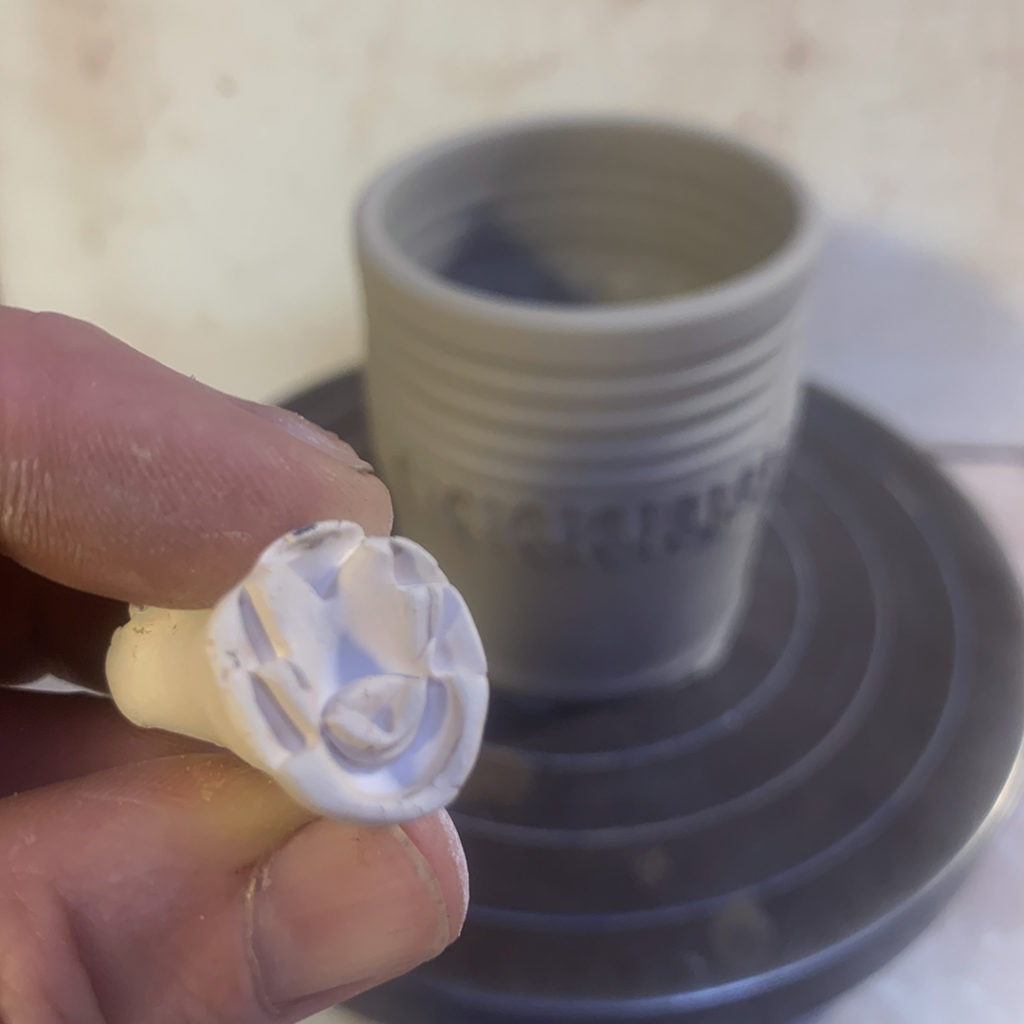
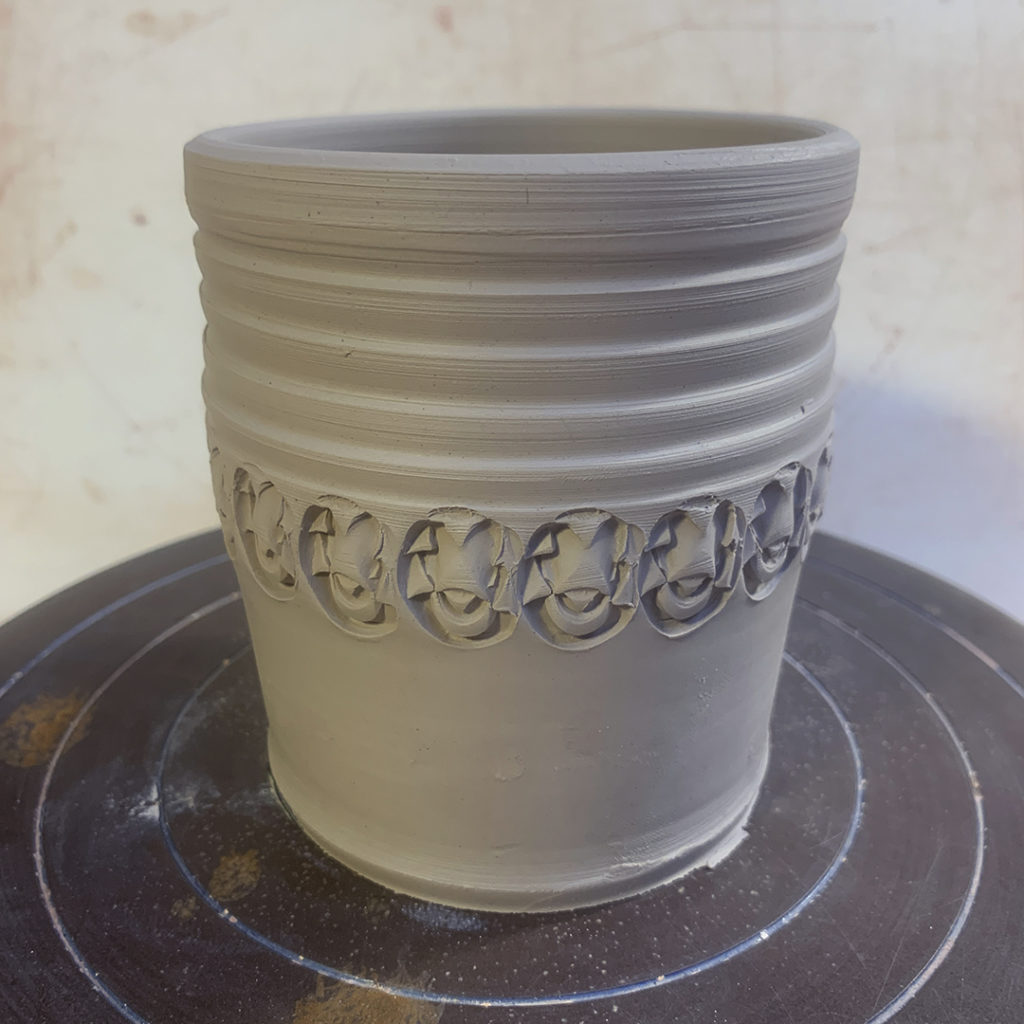
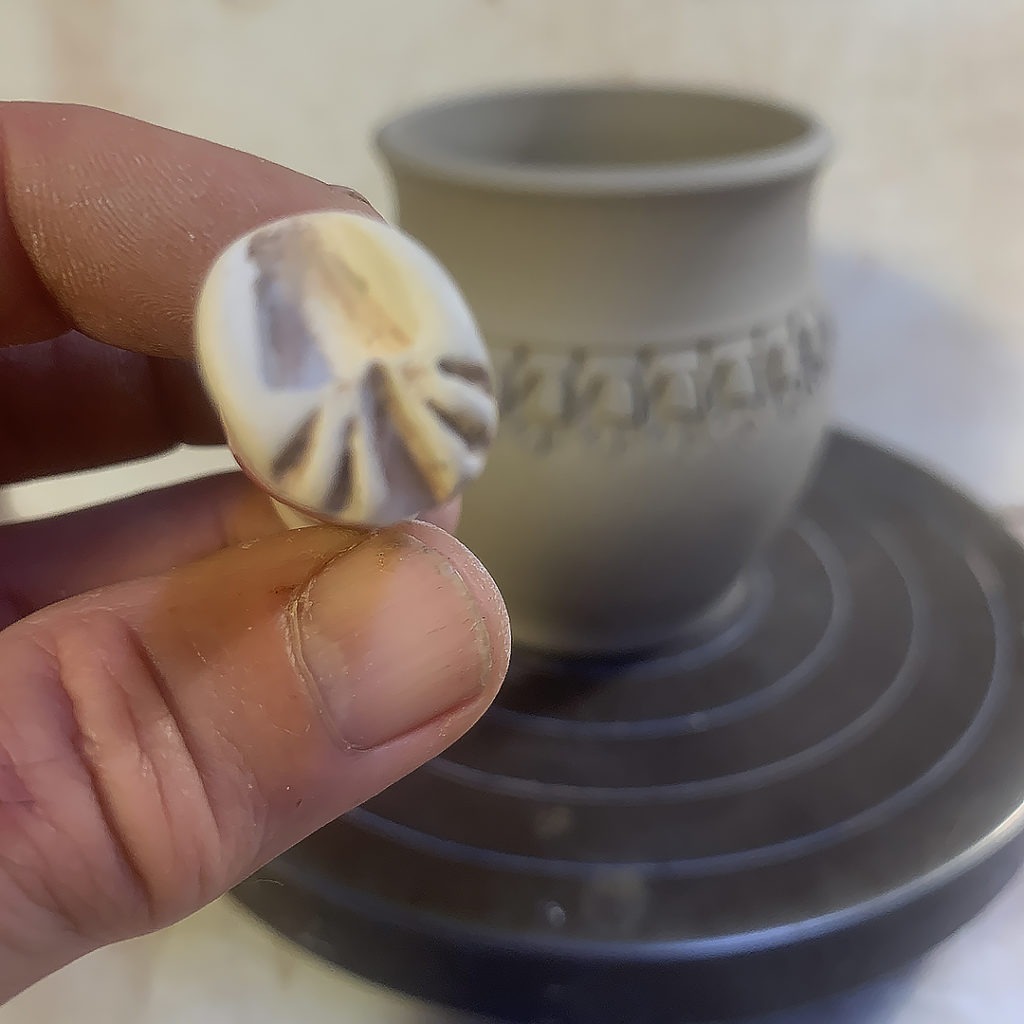
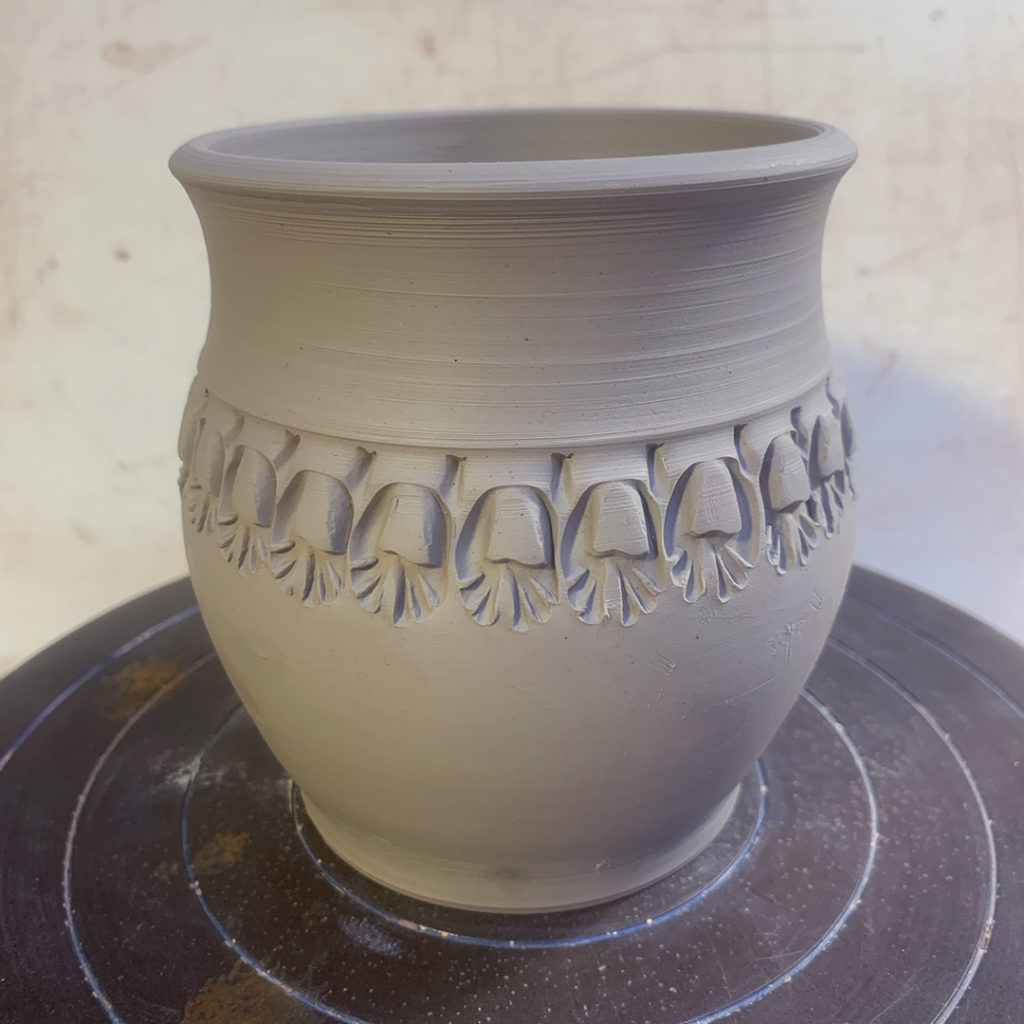
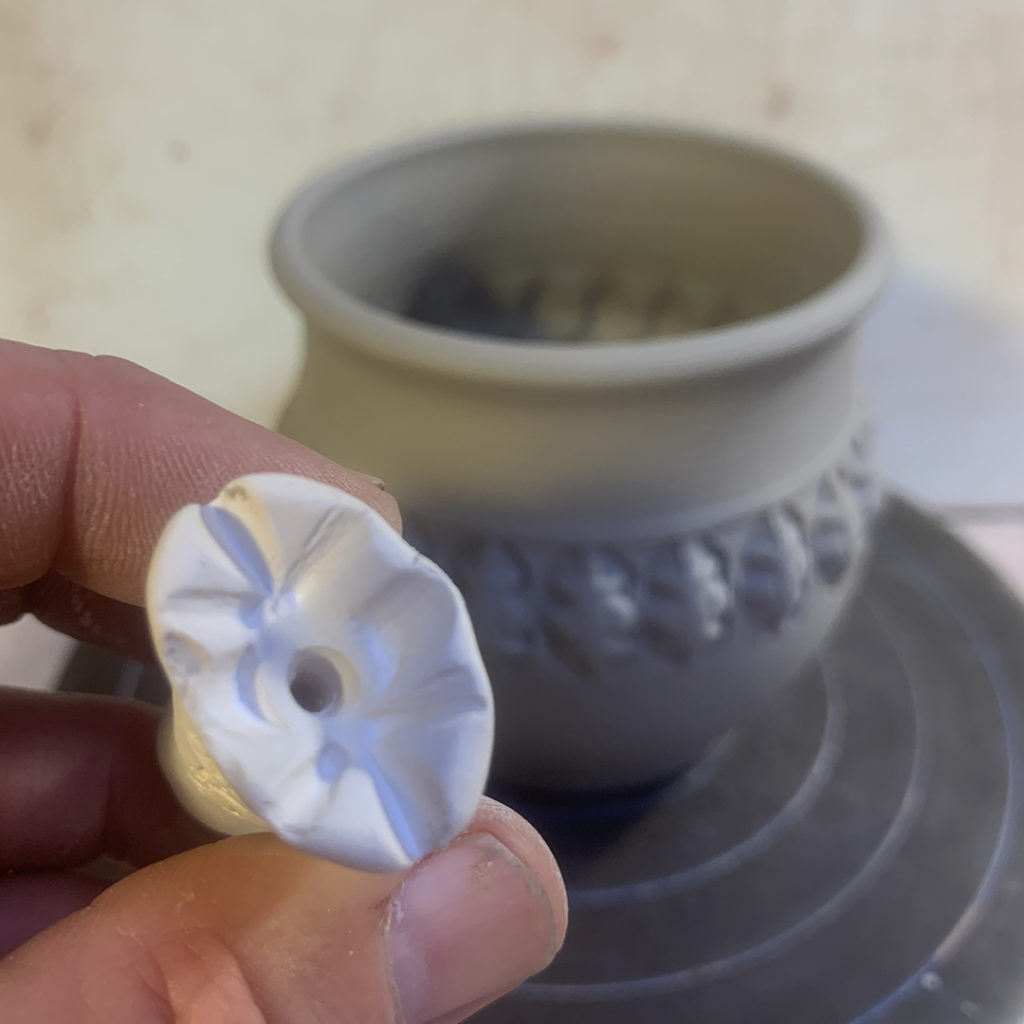
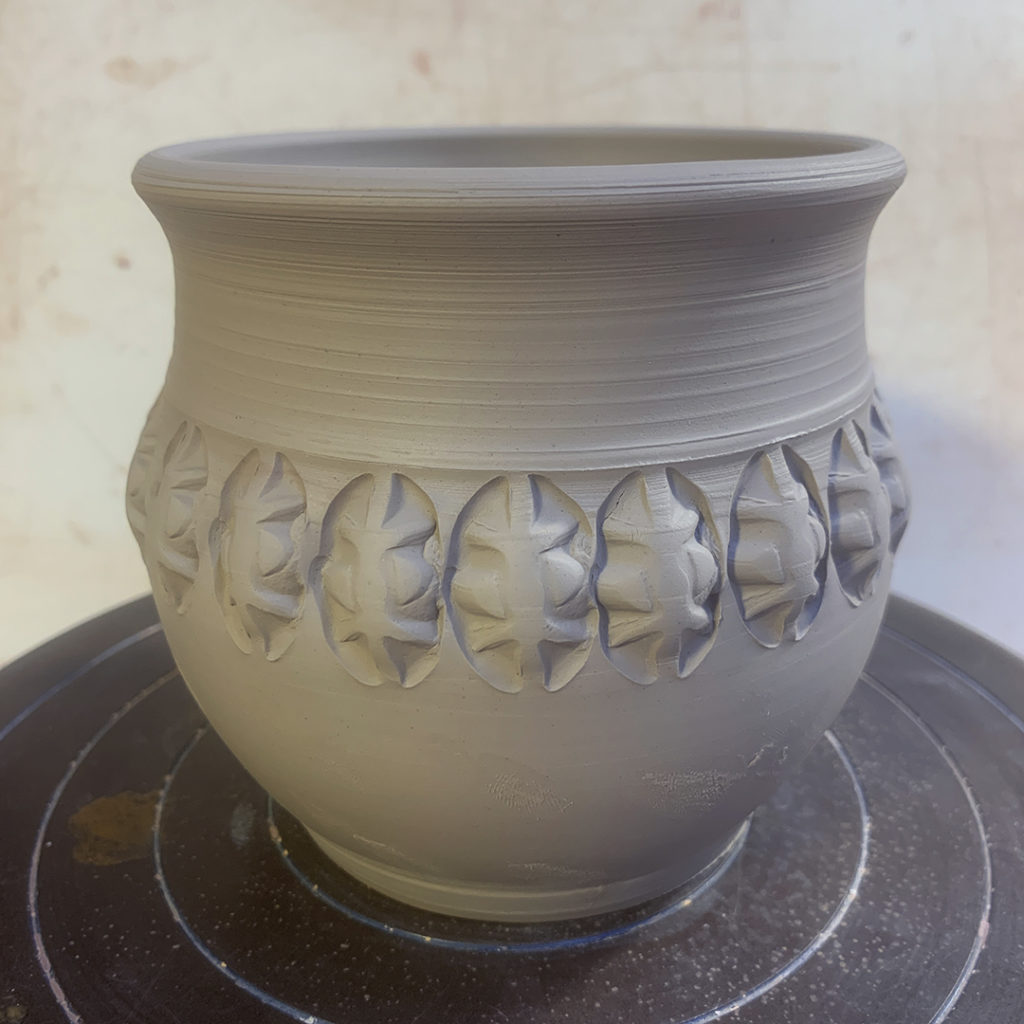
Stamping mugs again… using my own handmade clay stamps to make the impressions. I press them in when the clay is a soft-leatherhard. Still a little malleable, but not at all sticky. If the pots dry out too much, the stamp won’t go in deep enough to make a good impression.
MUG 1 –

MUG 2 –
MUG 3 –
MUG 4 –

MUG 5 –
MUG 6 –
MUG 7 –
MUG 8 –
MUG 9 –
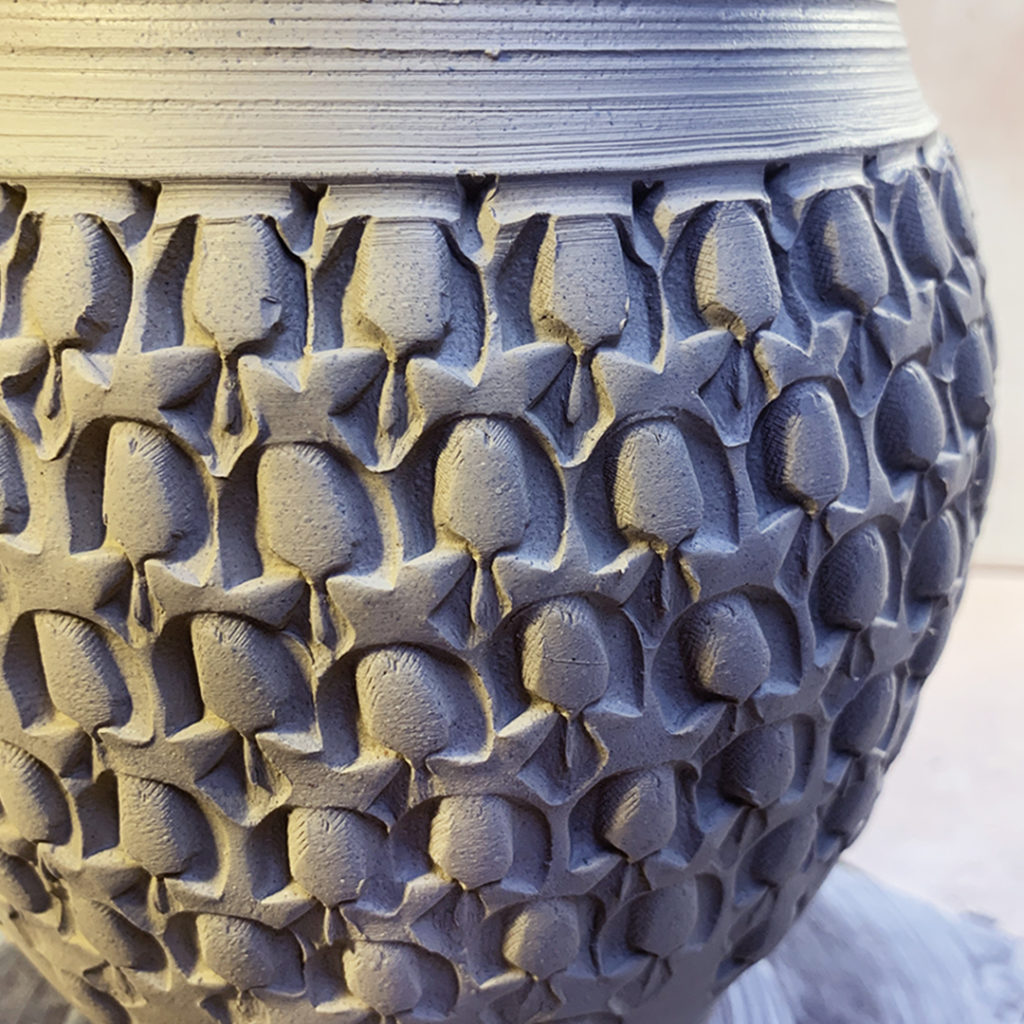
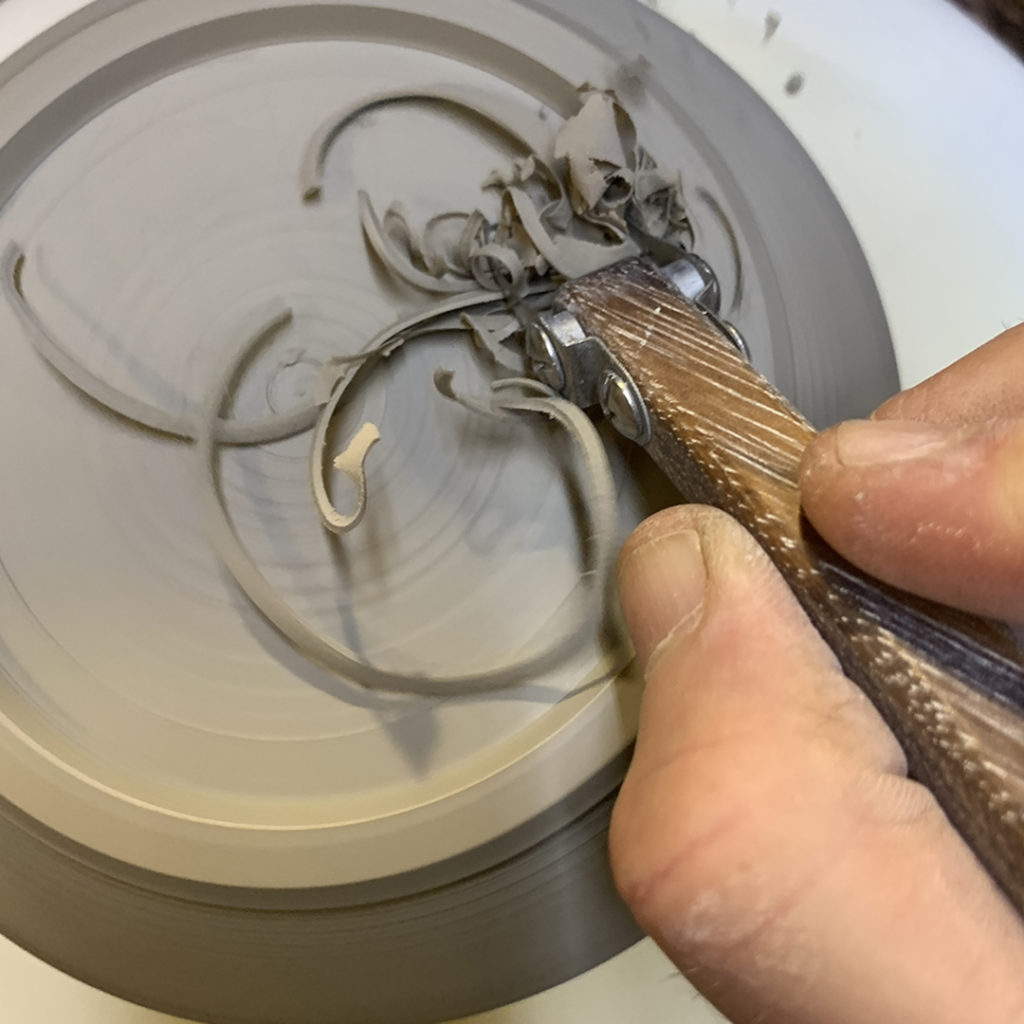
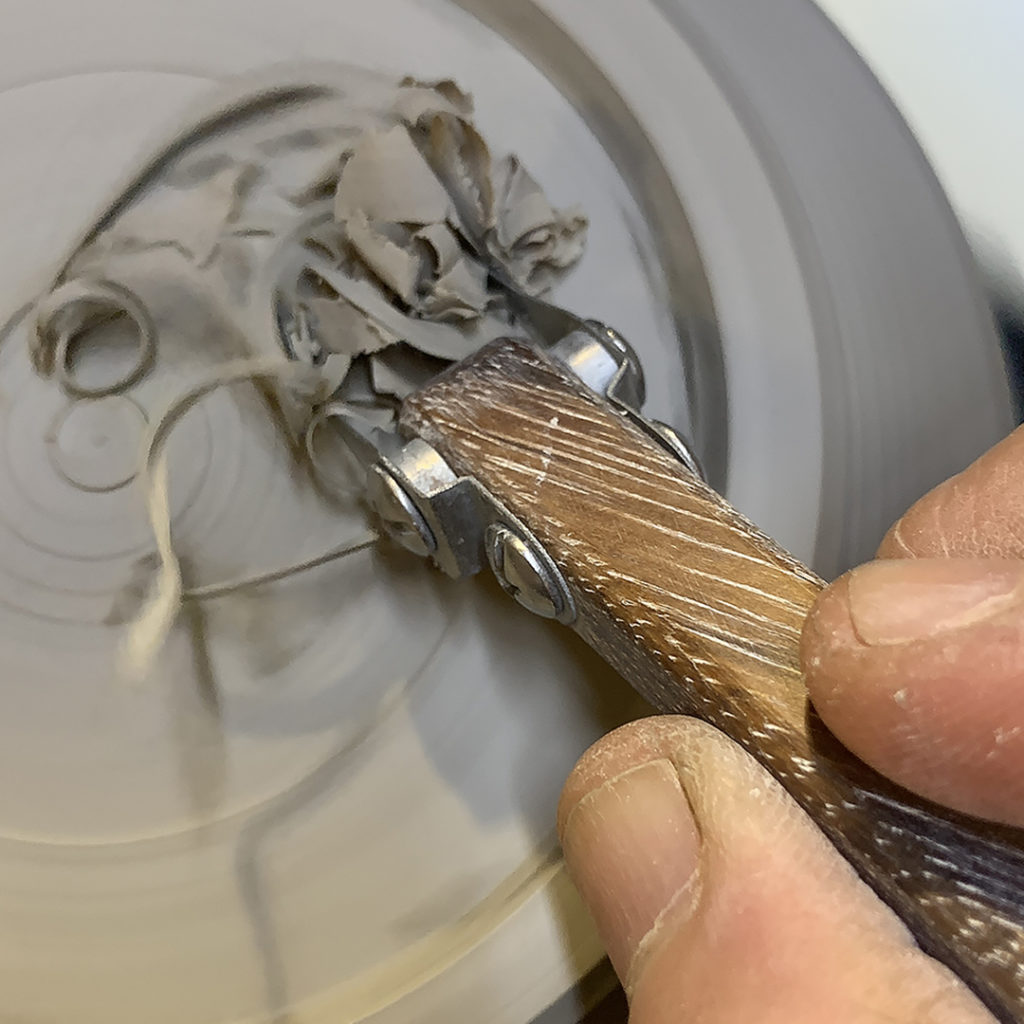
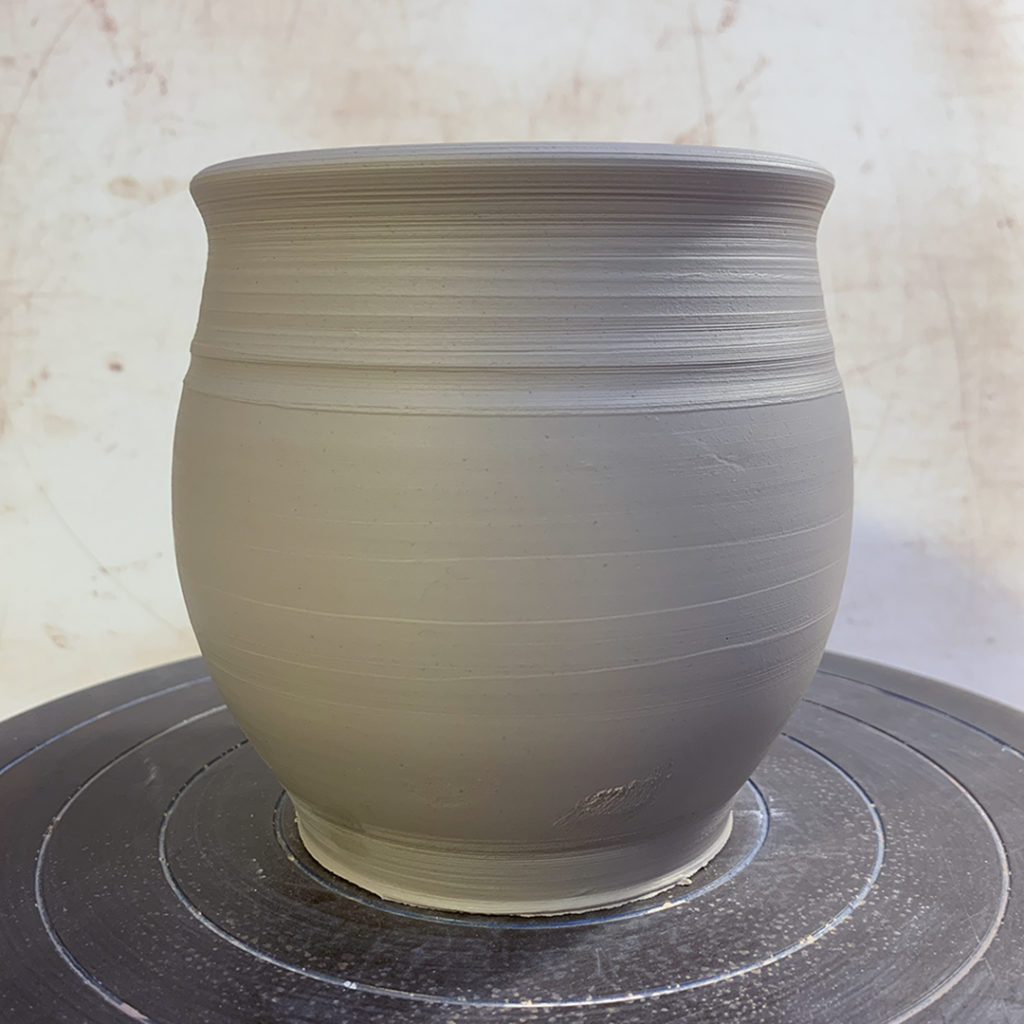
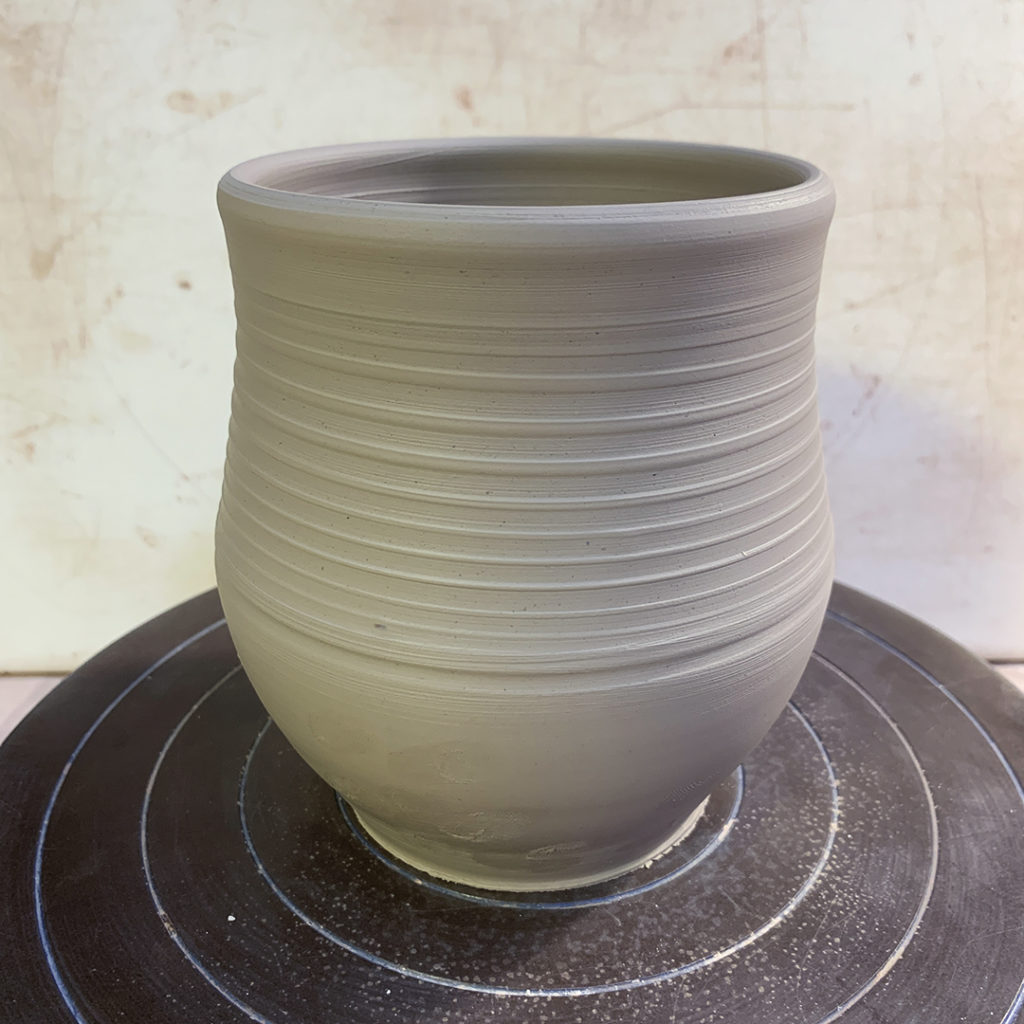
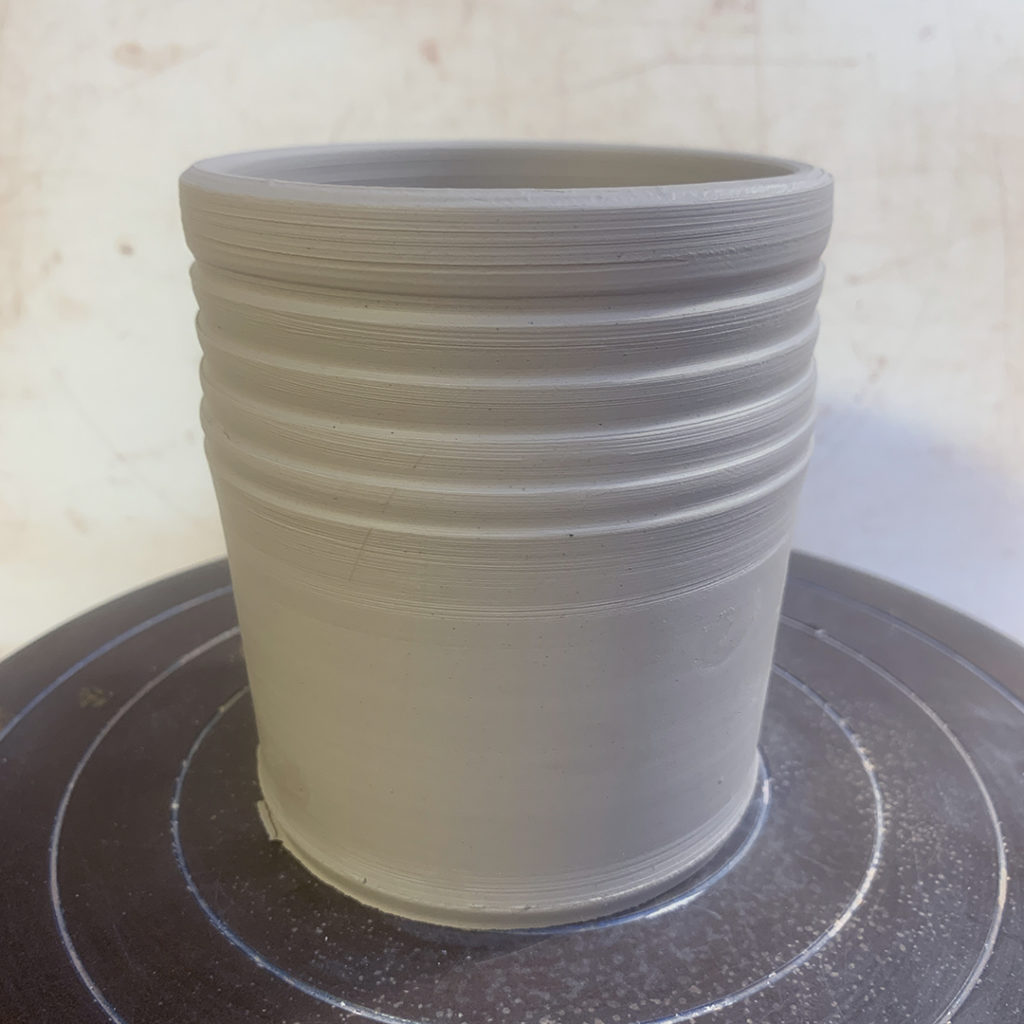
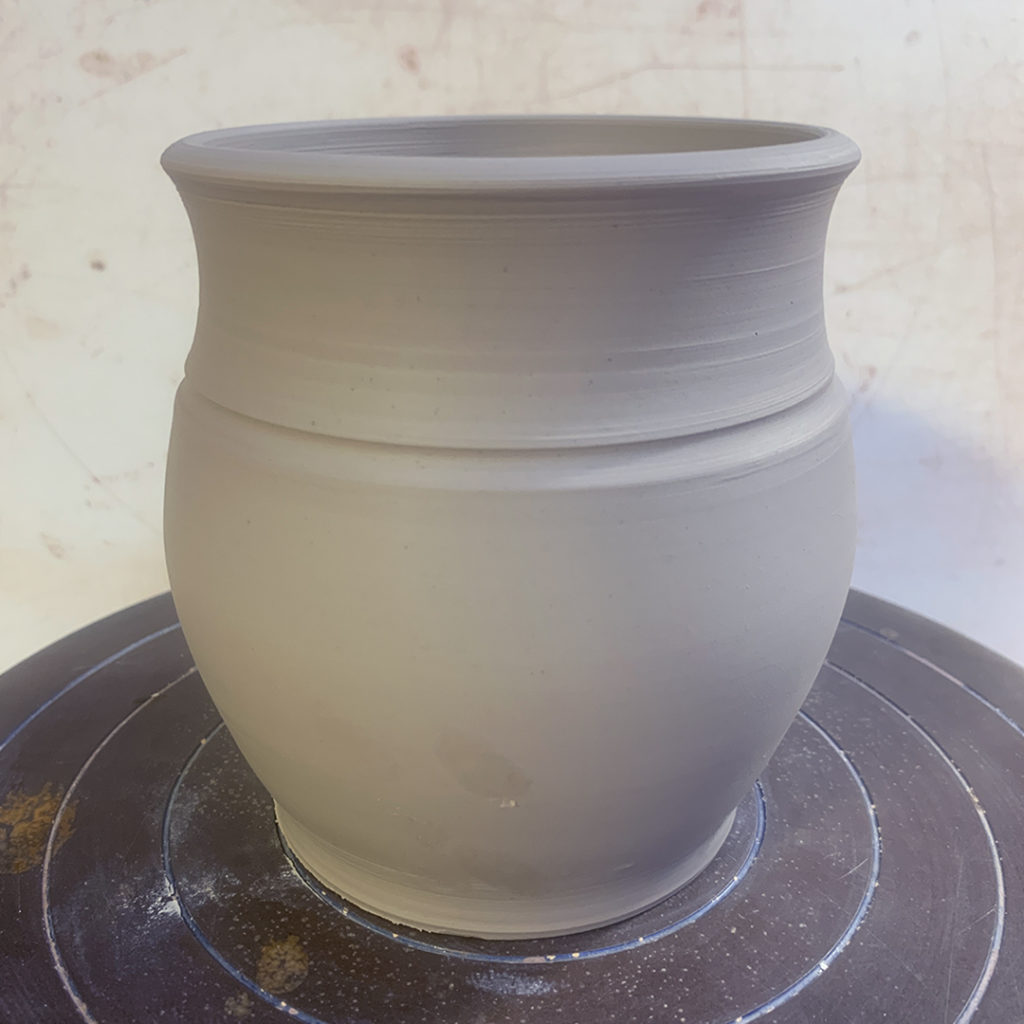
Next up we need to do some trimming… carving out a footring on the bottom! Then a few handles… and voila’... soon we’ll have more mugs!!!