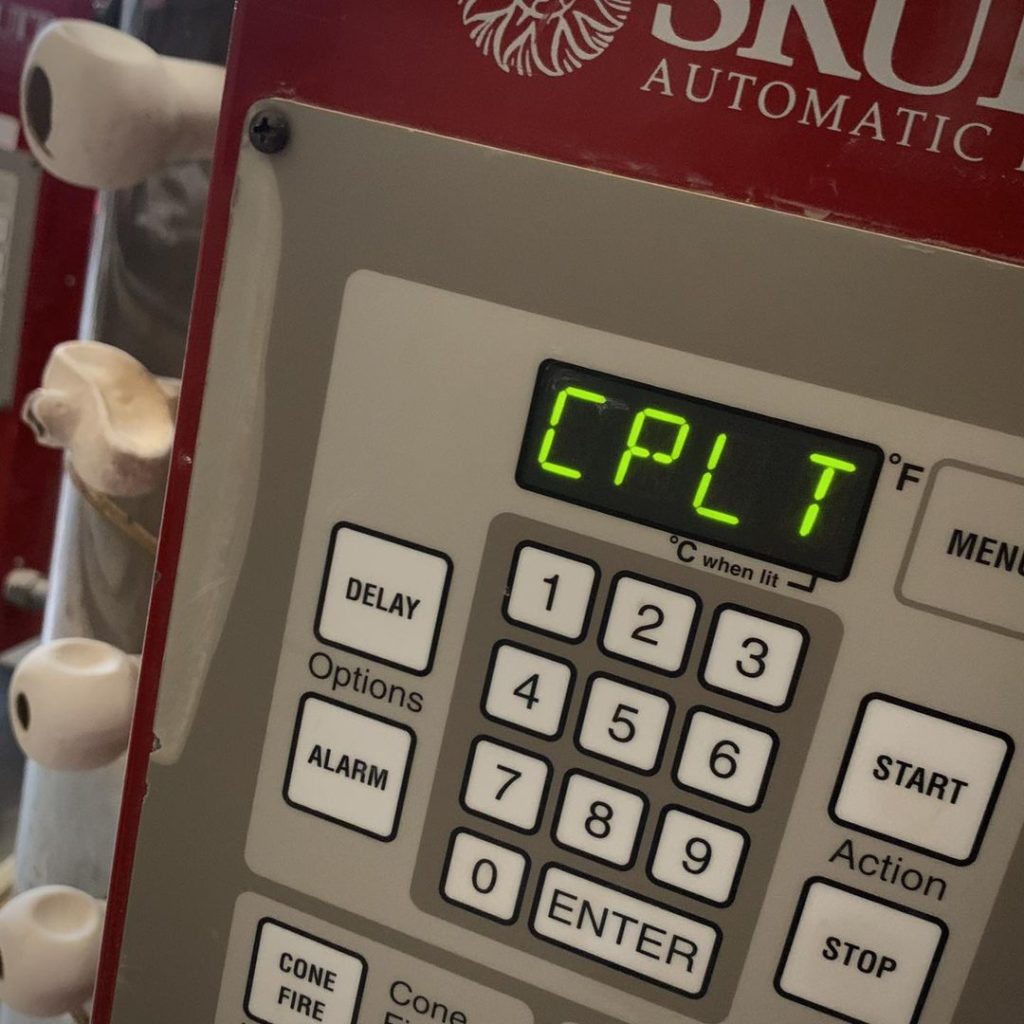
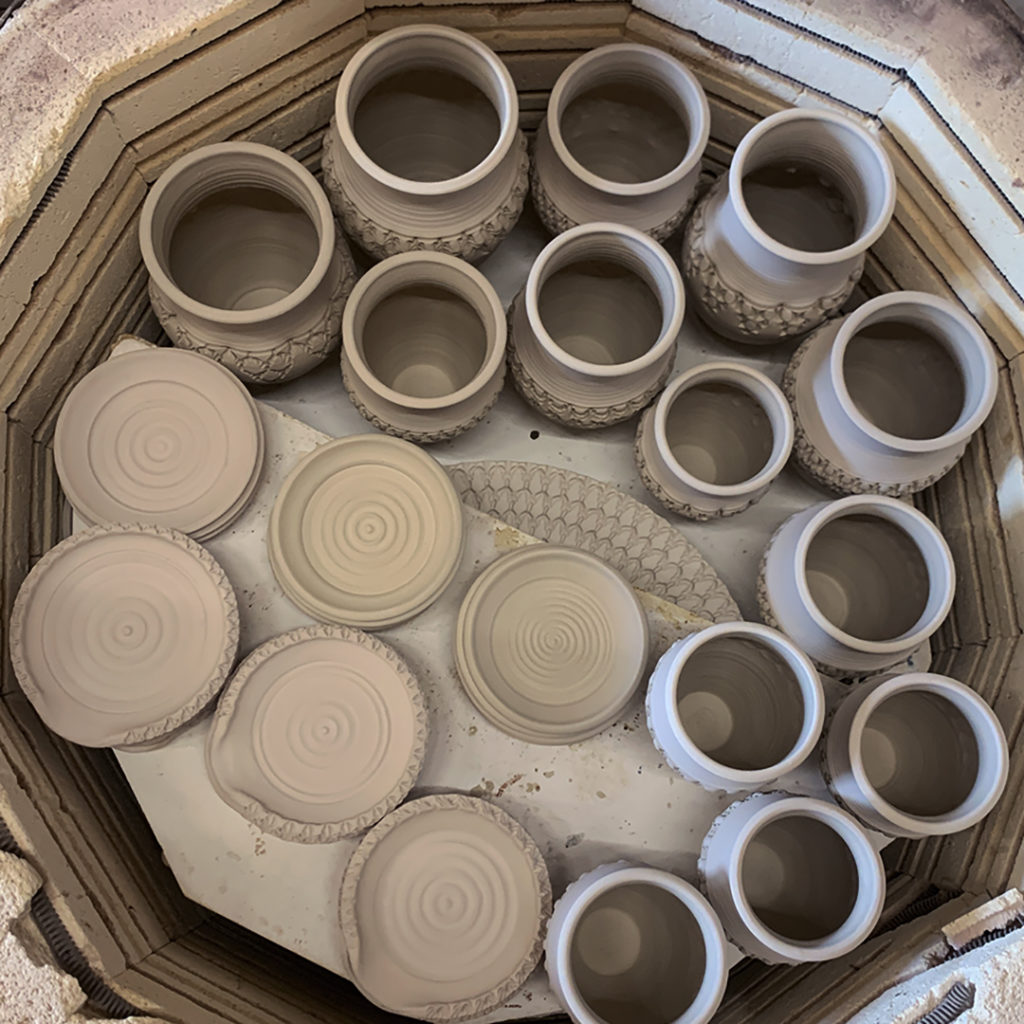
Loaded a bisque kiln getting ready for next weekend’s soda kiln firing. Lots of mugs. Lots of flower pots. Lots of vases. This kiln filled up a LOT faster than I expected. Looking forward to unloading so I can start glazing & wadding. I’ve got a lot of work to get done before I’m scheduled to load the soda kiln on Friday.
Kiln Layer #1 –
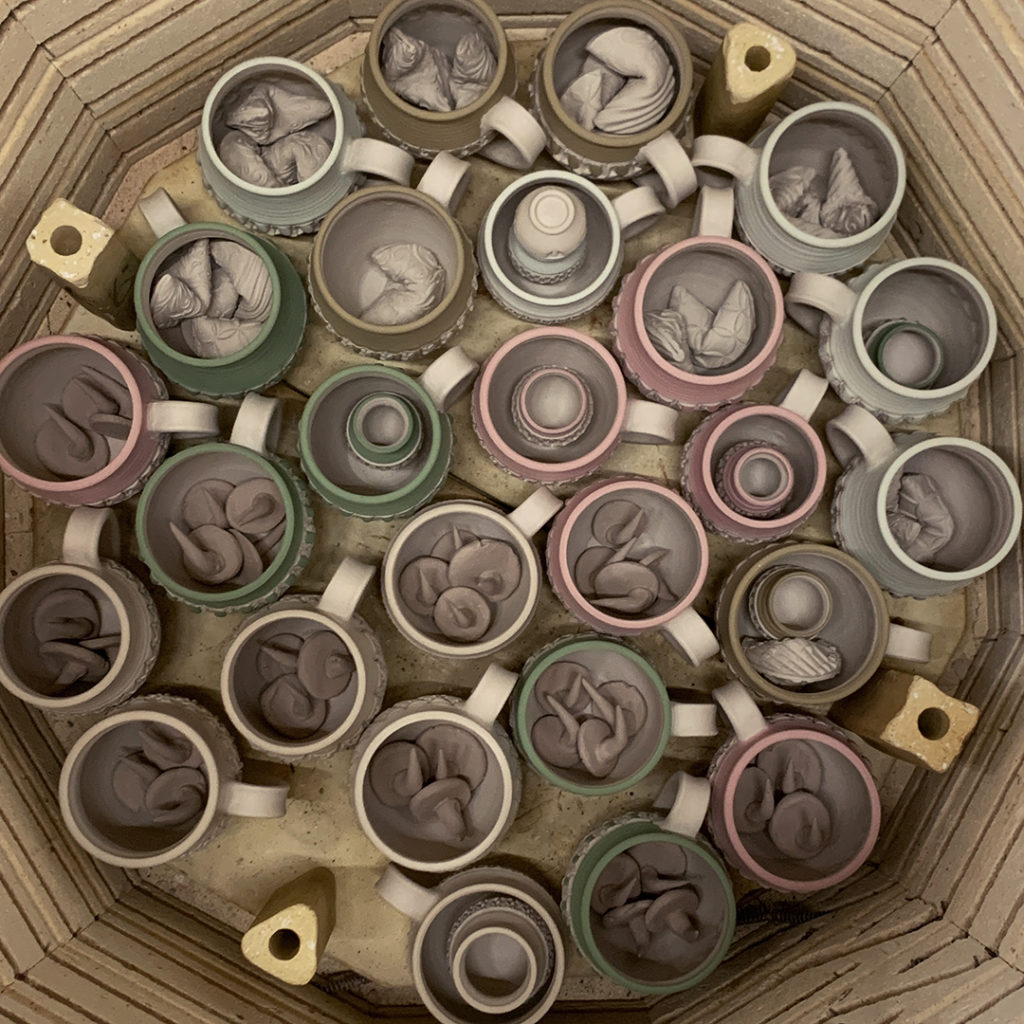
Kiln Layer #2 –
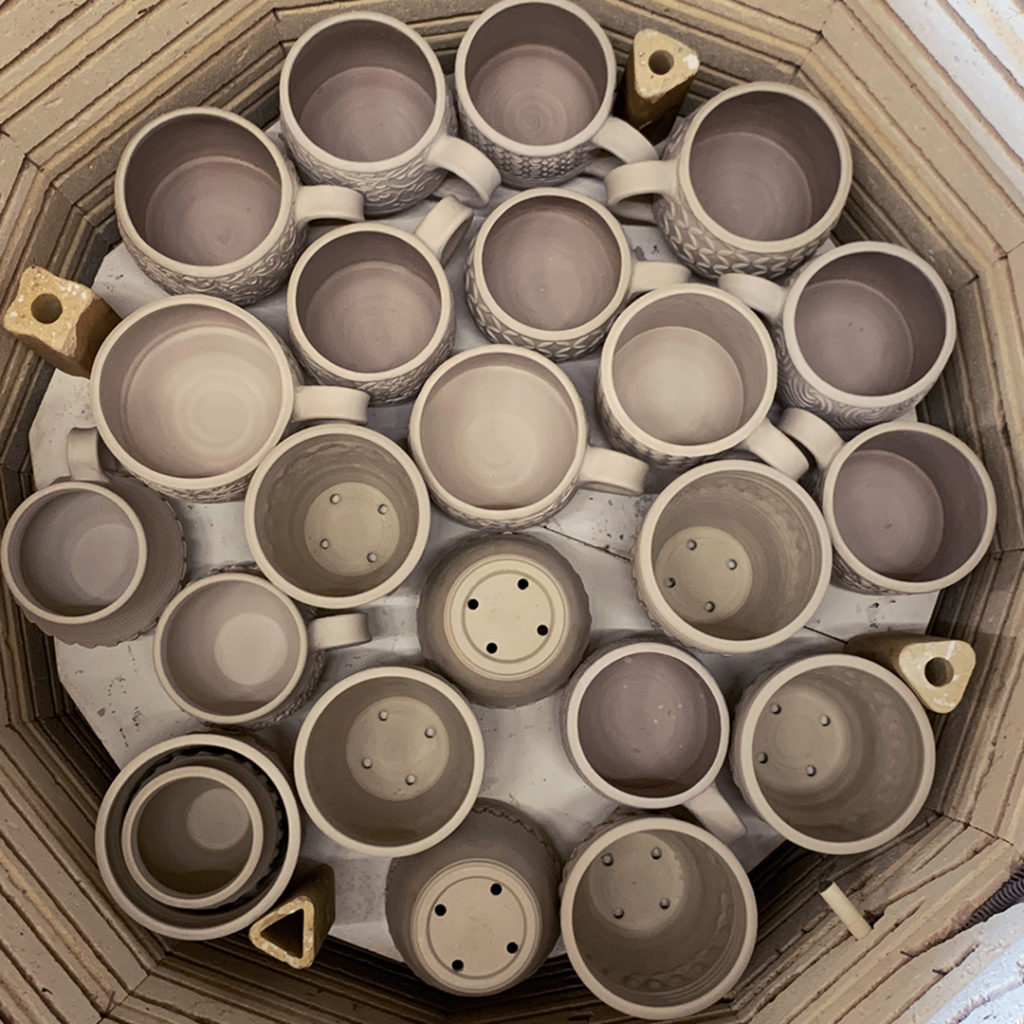
Kiln Layer #3 –
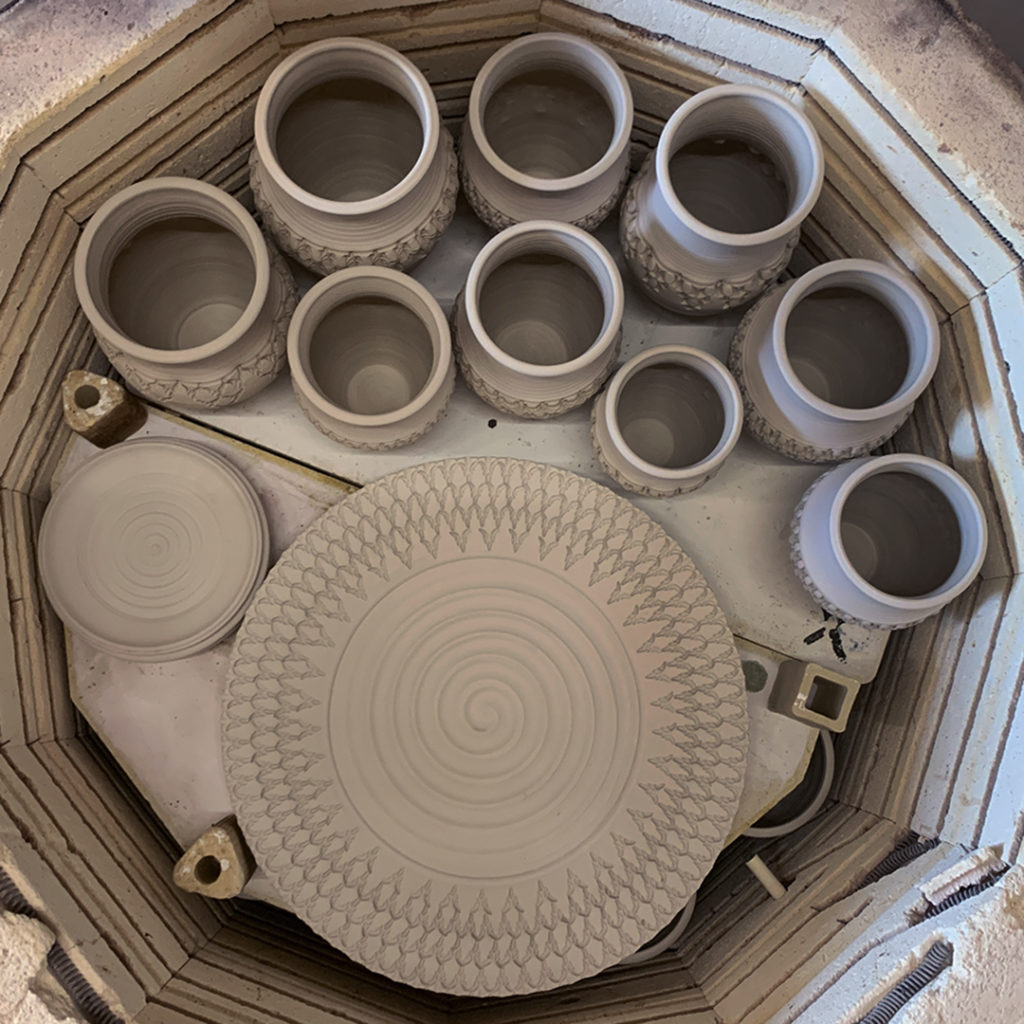
Kiln Layer #3-1/2 –
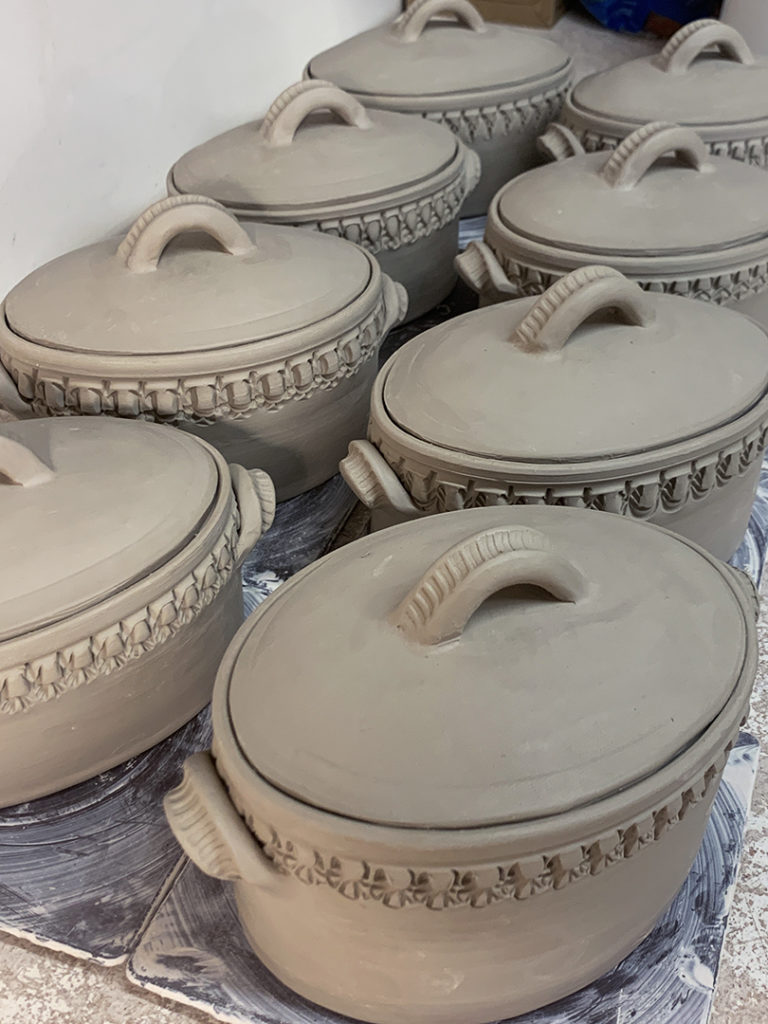
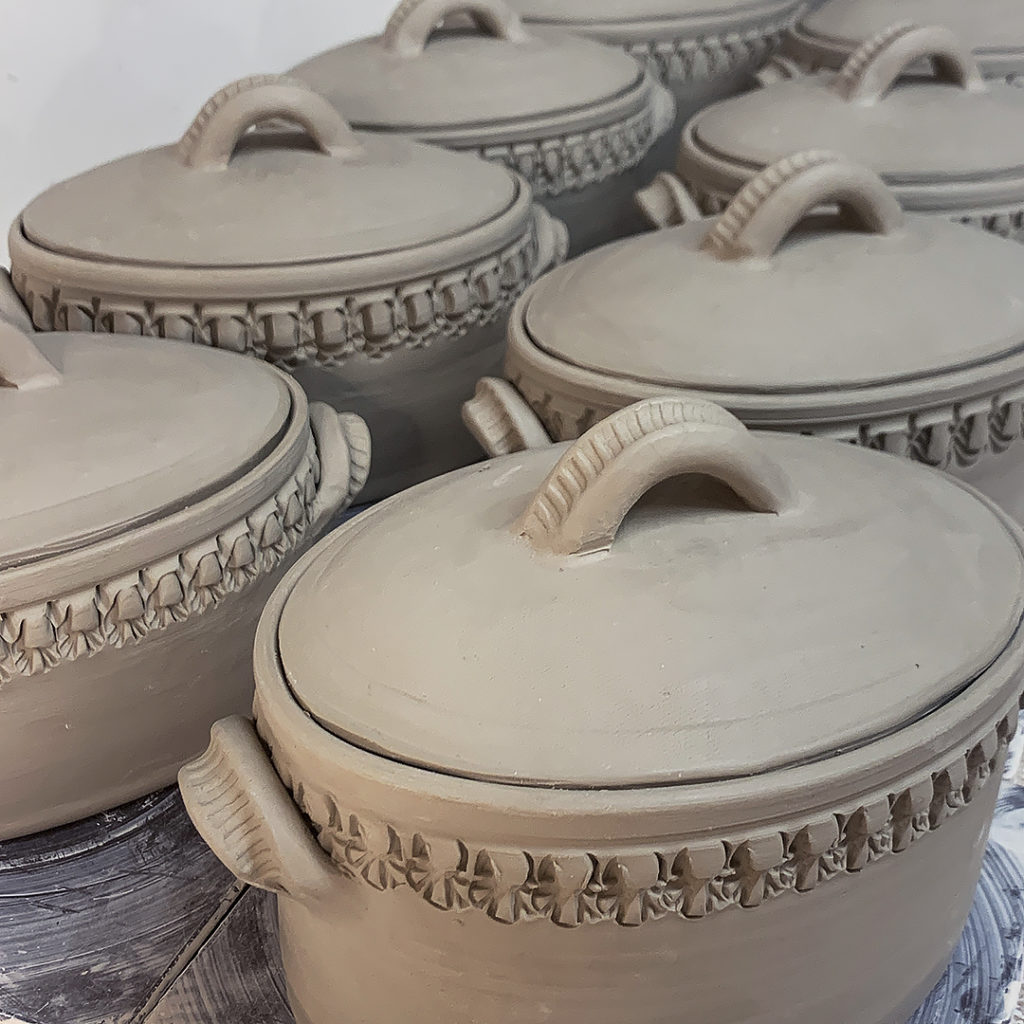
Okay, so my lidded oval casseroles now have some accents & details painted with colored flashing slips. I’m hoping to get these done & glazed in time for next weekend’s soda firing. Sure, I’m running a bit late… and trying to dry them quicker by raising them on a plastic grid to get air circulation on all sides… but I seem to work best under pressure. Fingers crossed.
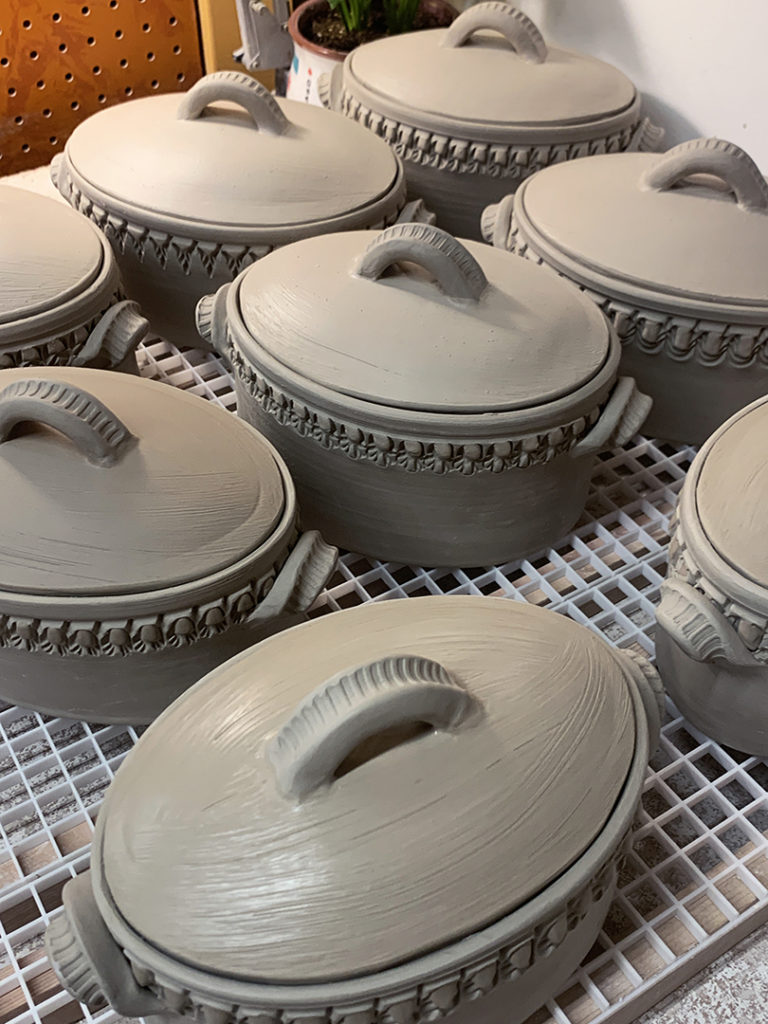
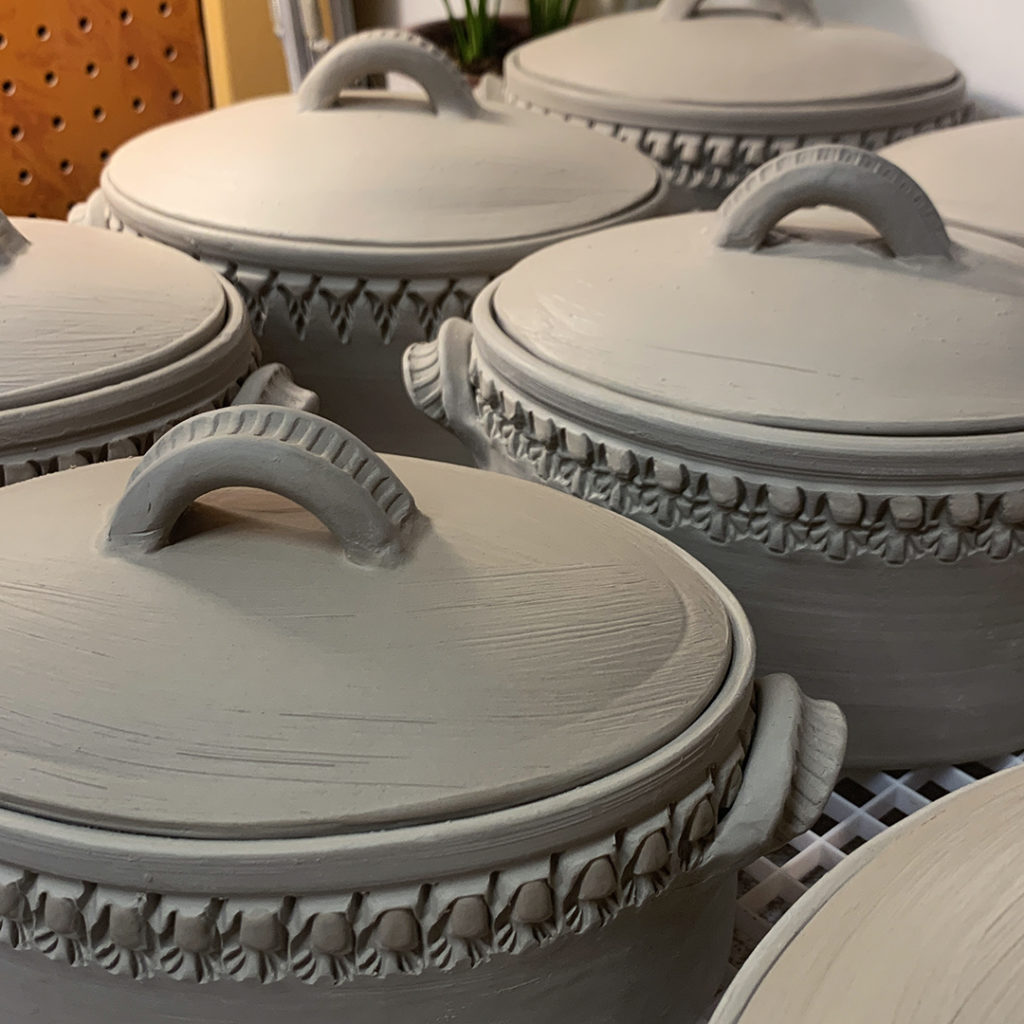
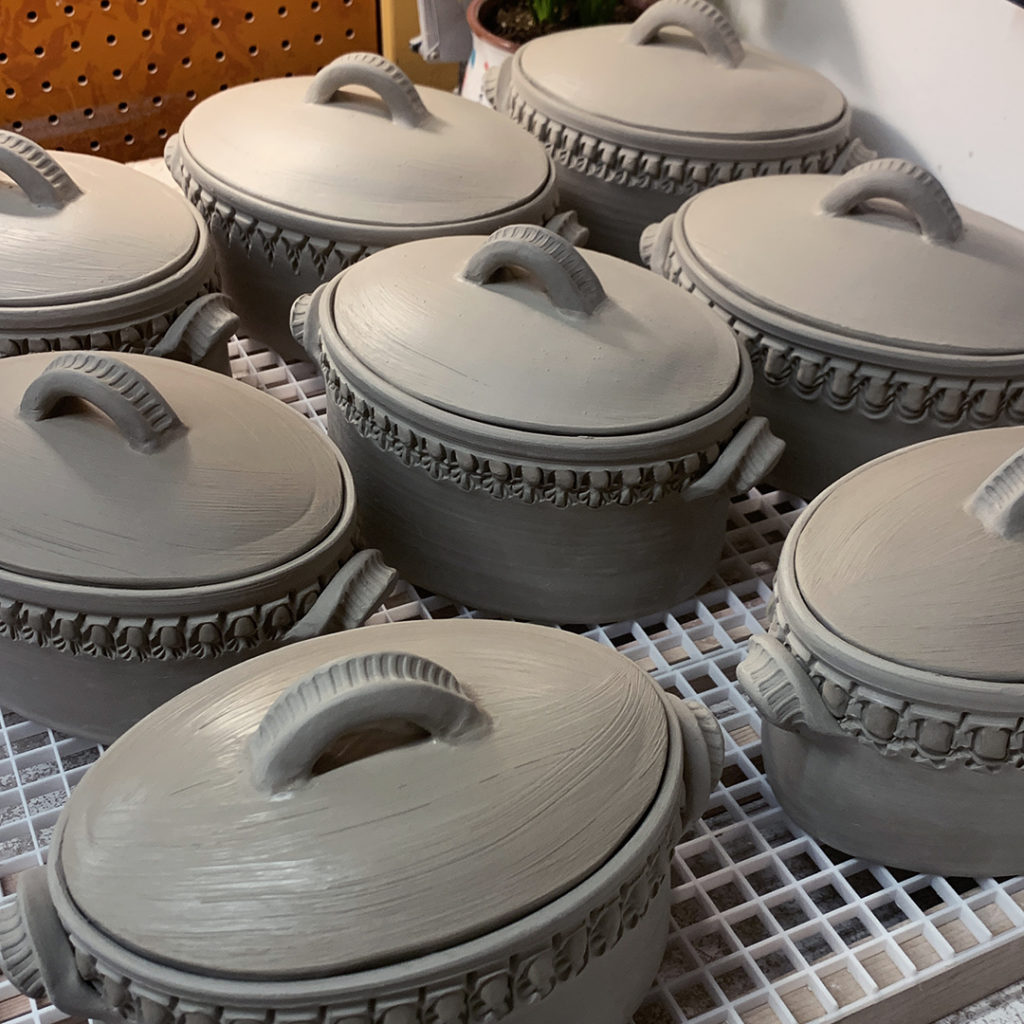
Okay, so today I finally got around to making lids… oval lids for oval casseroles! Sure, the bottoms have been under plastic for awhile… spraying here, spraying there. I think they’re fitting pretty well… just a little more refinement before I add some colored slip accents.
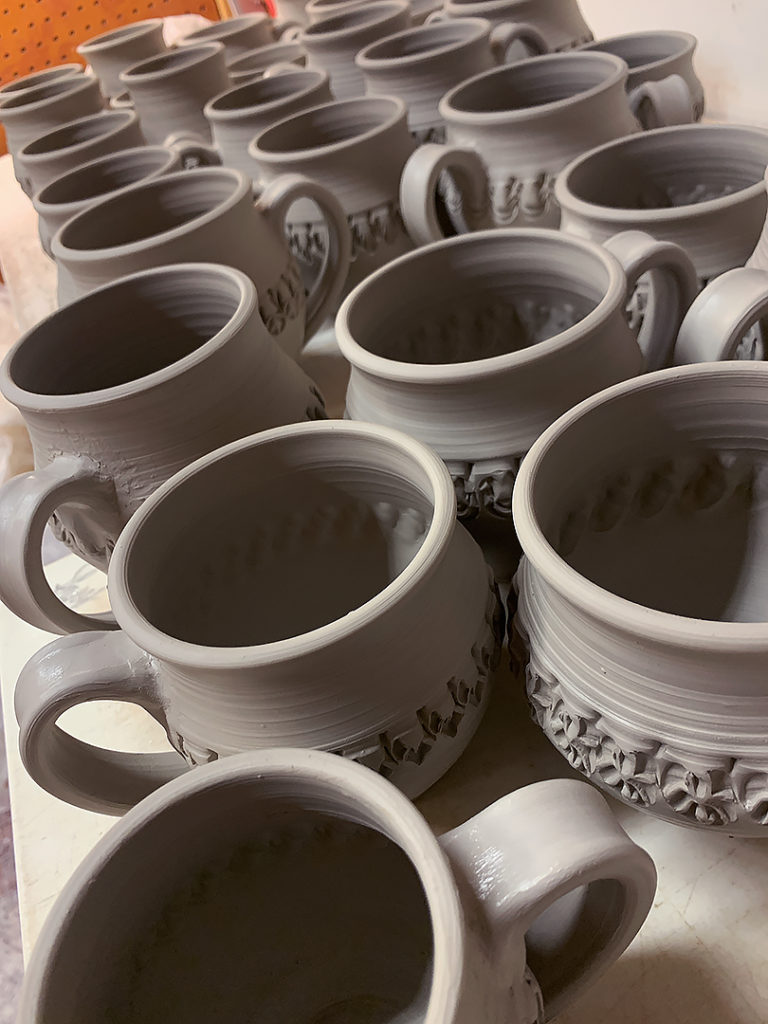
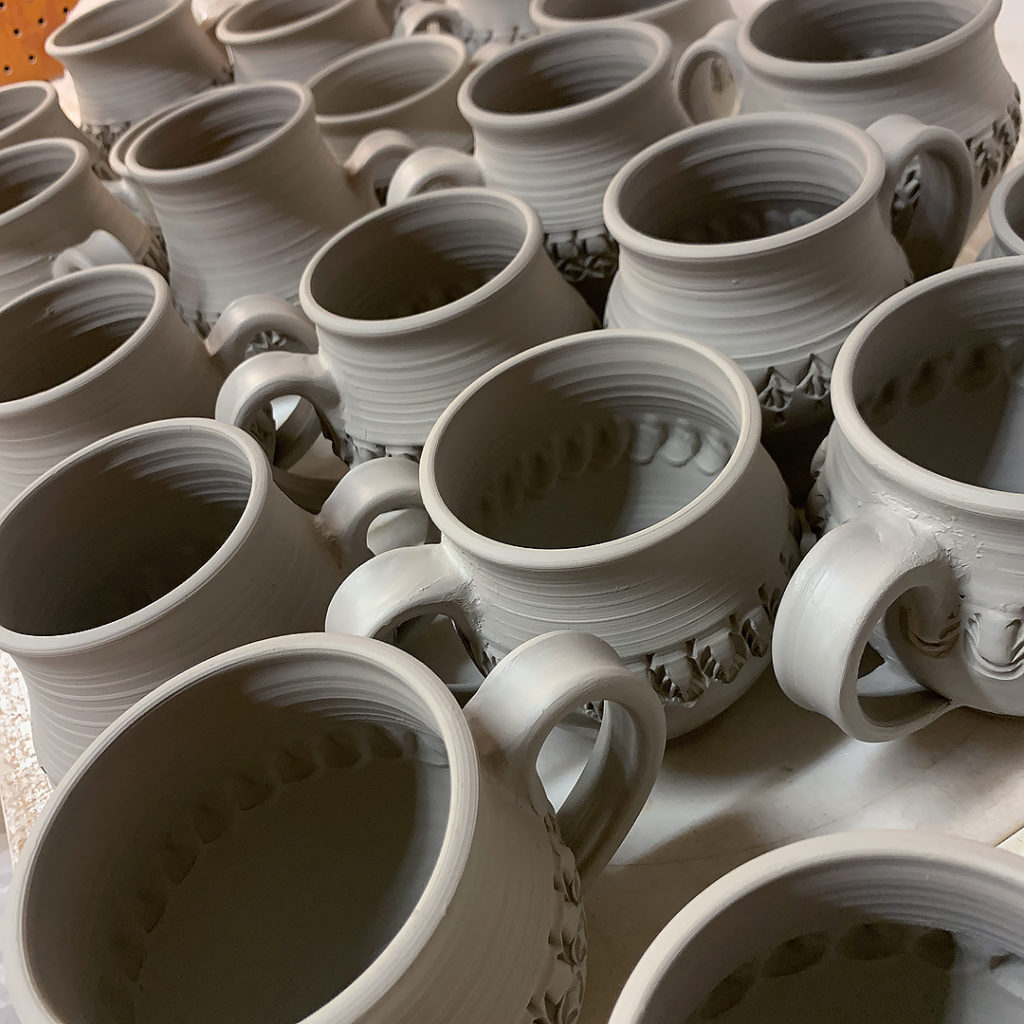
Sure, I could leave the mugs plain… and worry about adding some color when I glaze them. But since these are destined for the soda kiln… I’d rather give them some color now with colored slips that will change as the flames touch them in the kiln… depositing the soda mixture that will also “glaze’ the exteriors!

Scored & slipped… handles attached! We officially have more mugs!!!
A labor of love… as in “I truly love making mugs!”
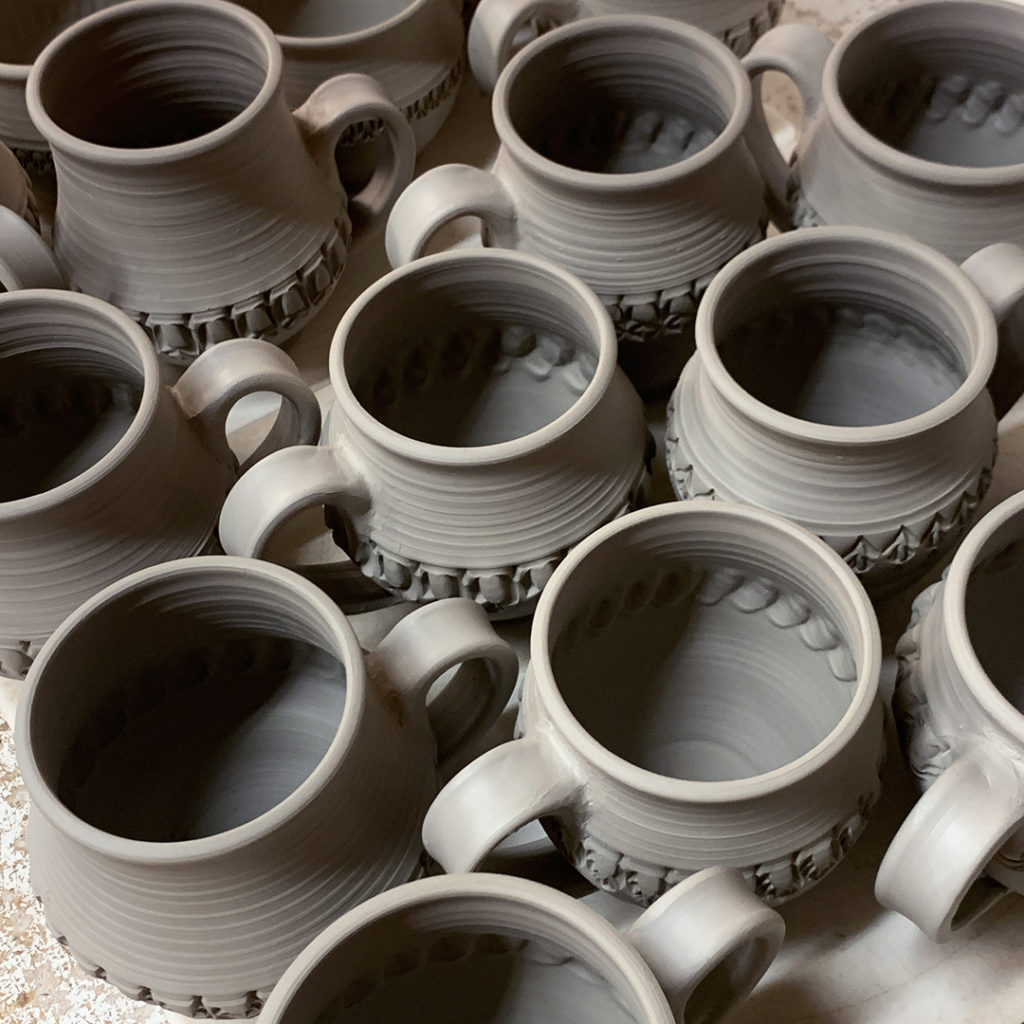
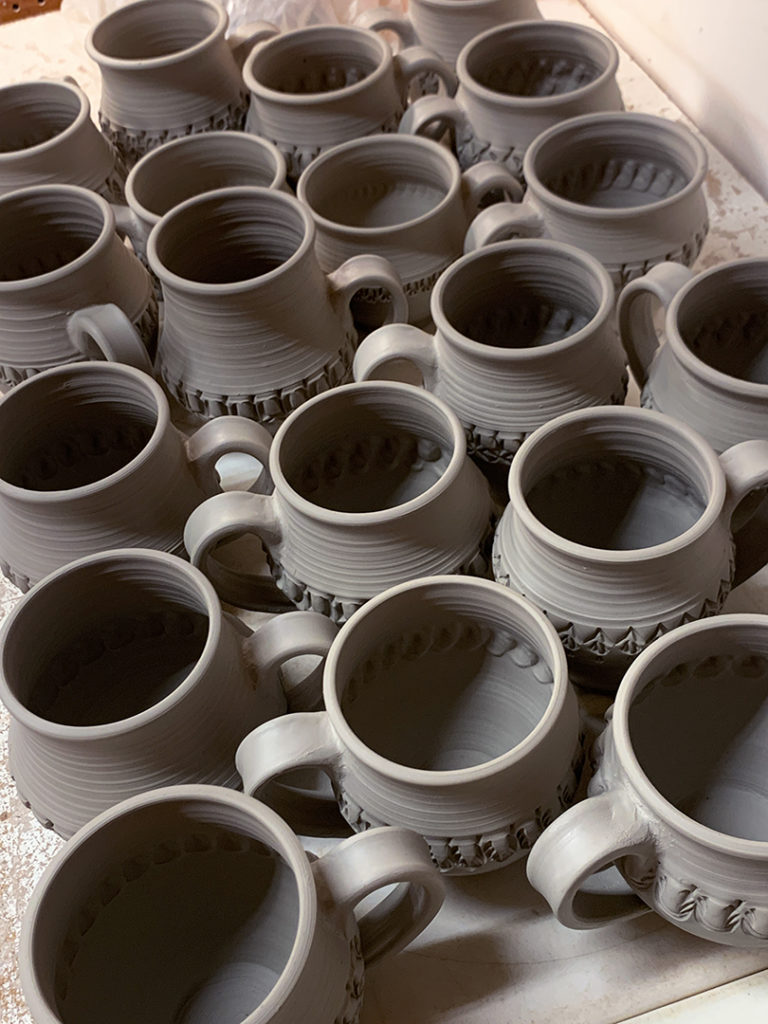
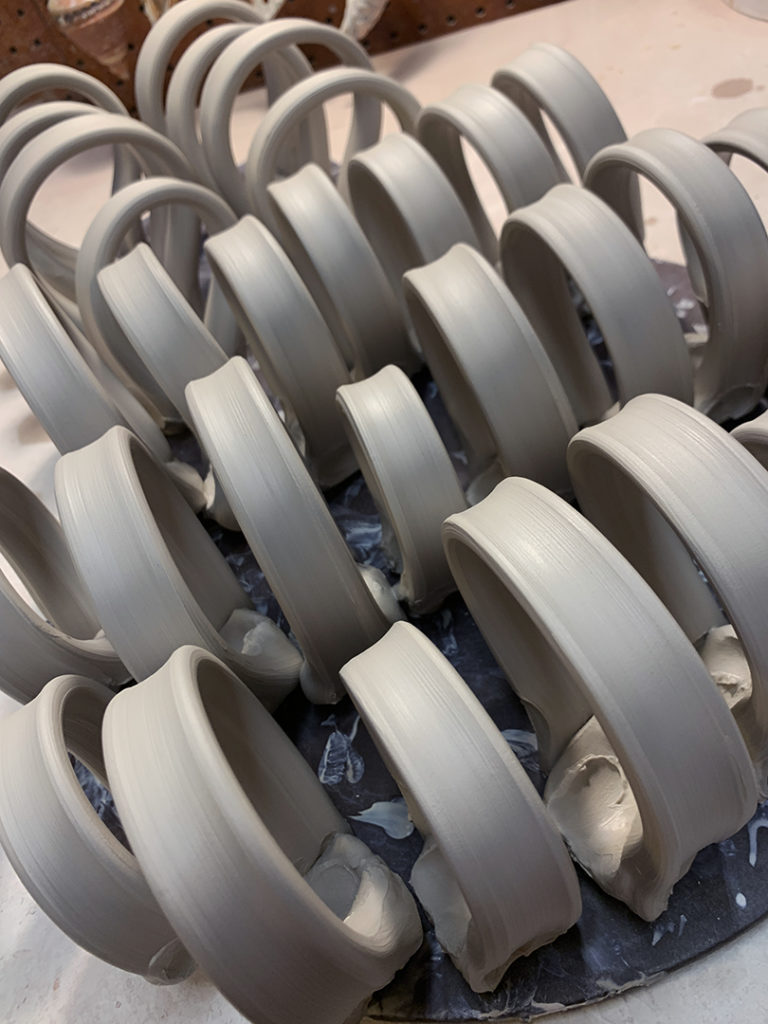
Pulled some handles… and flipped them around so they can stand-up with a nice curve to set-up. Once they stiffen up a bit, I’ll start attaching them to my mugs. Score, slip, attach, repeat… and repeat… and repeat…
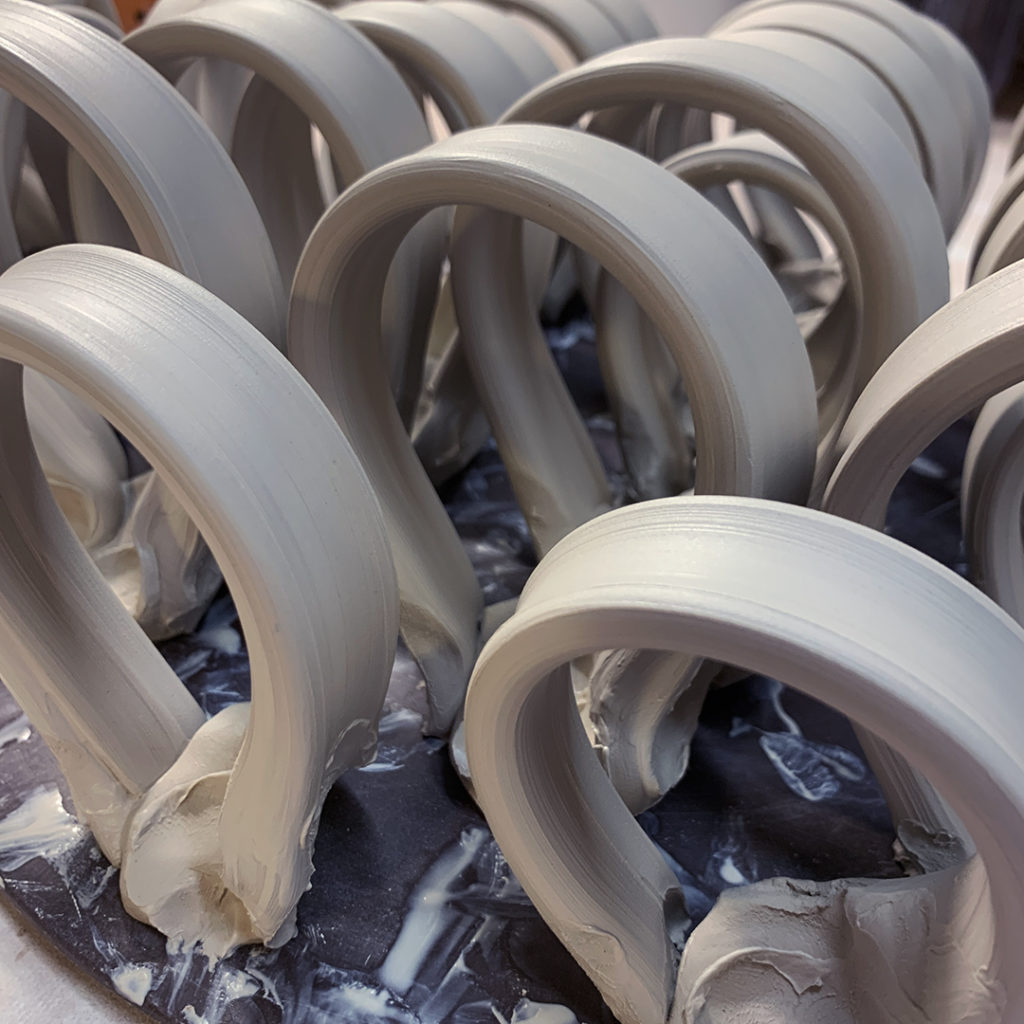
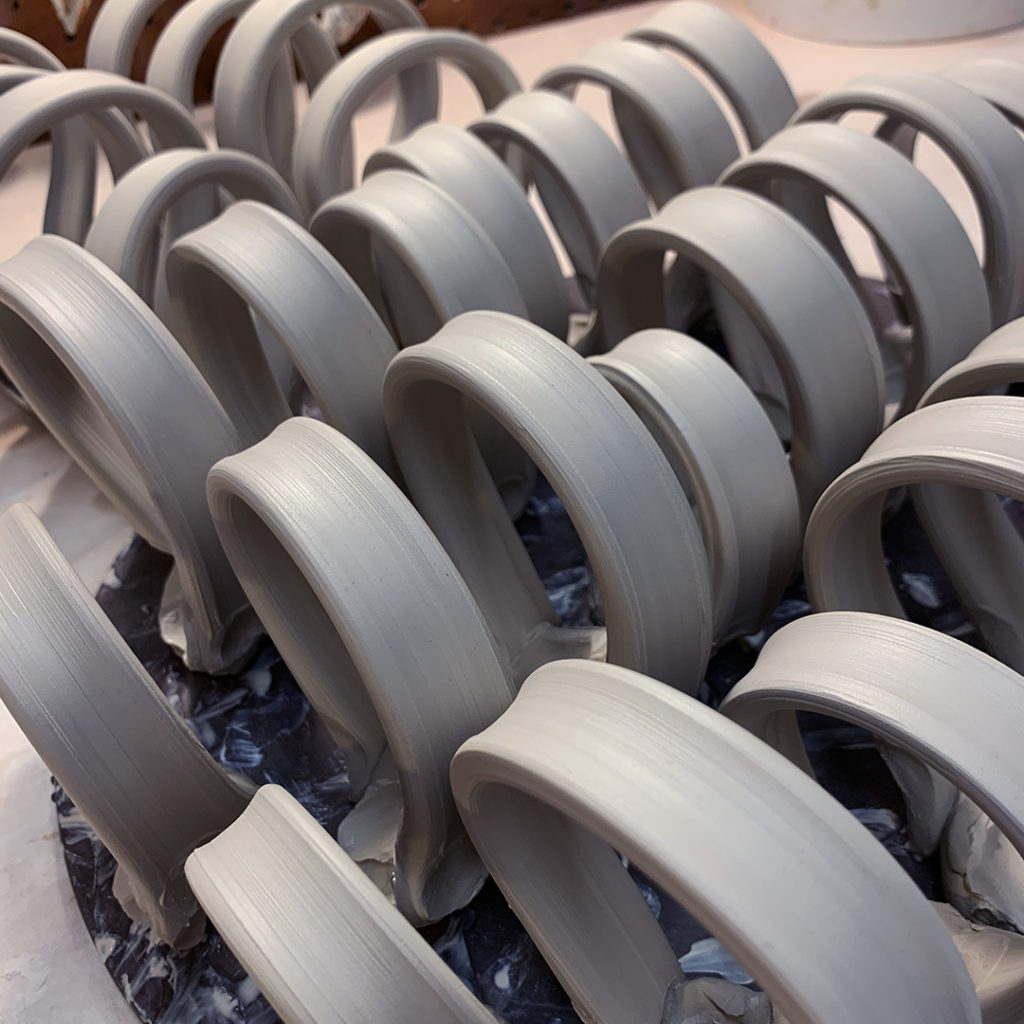
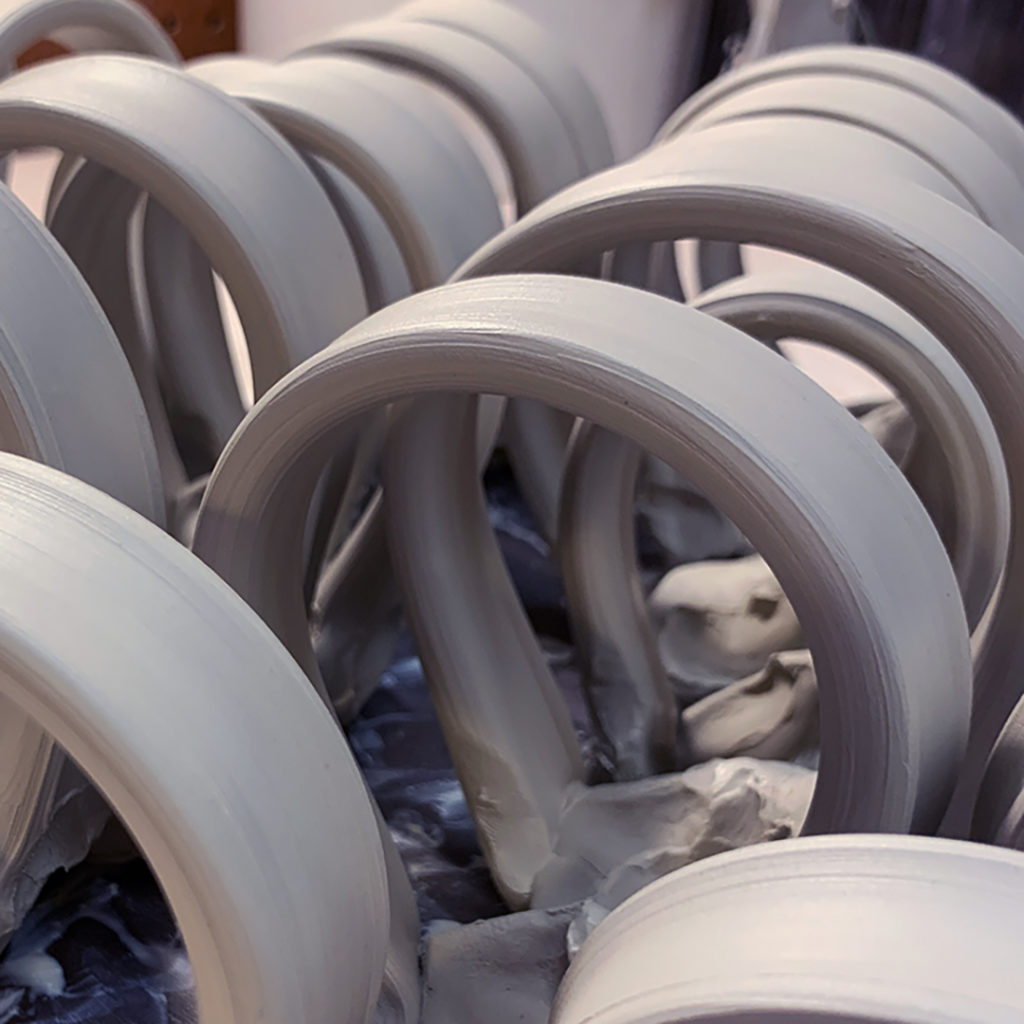

Here we go… making mugs again! My favorite thing to make!!! And today I’ve got a lot of handles to attach… because without a handle it’s NOT a mug!!! So I’m starting with some nuggets of clay… getting ready to pull my handles.

Getting ready for an evening of trimming… one of my favorite parts of the process. There’s something soothing & meditative when you’re “refining” the bottoms of your pots. Especially when you have good tools to make your job easier. Still loving my collection of trimming tools from DiamondCore Tools… always sharp for crisp clean footrings!
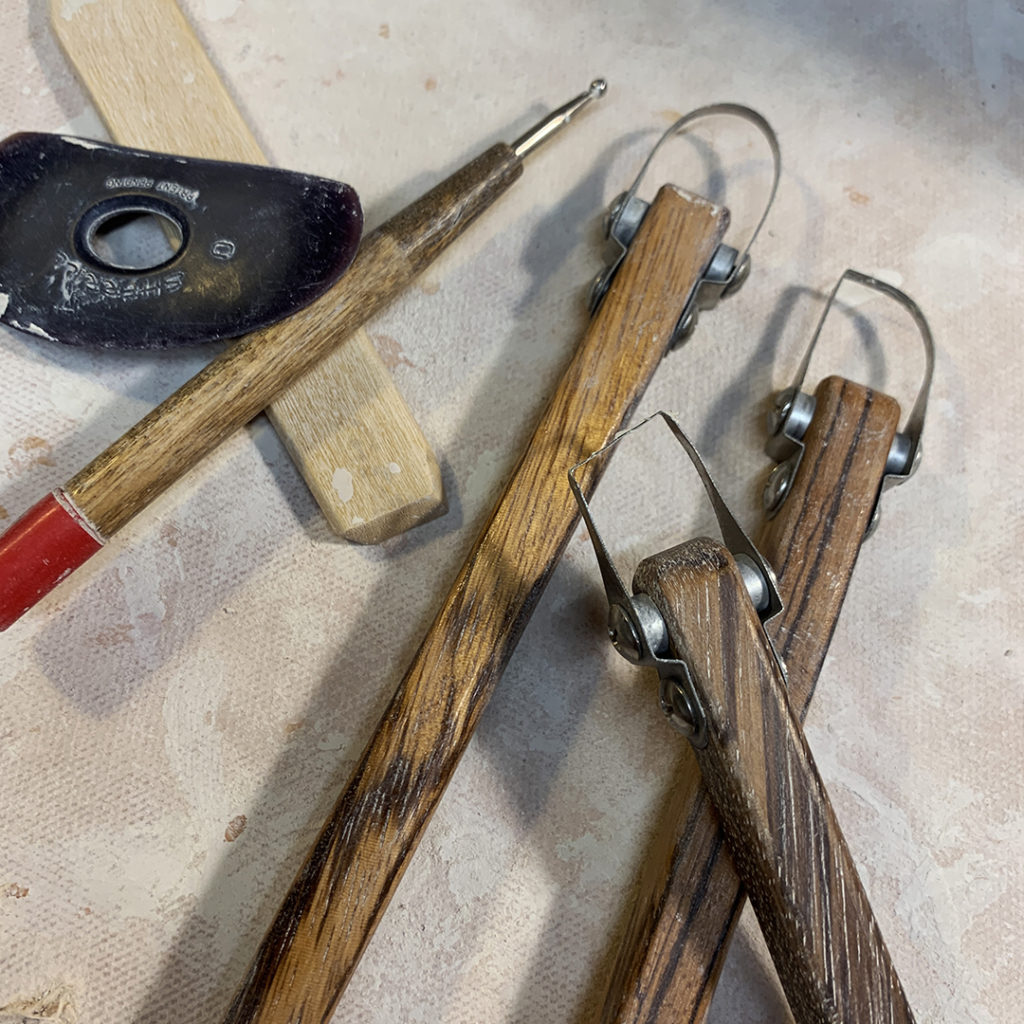
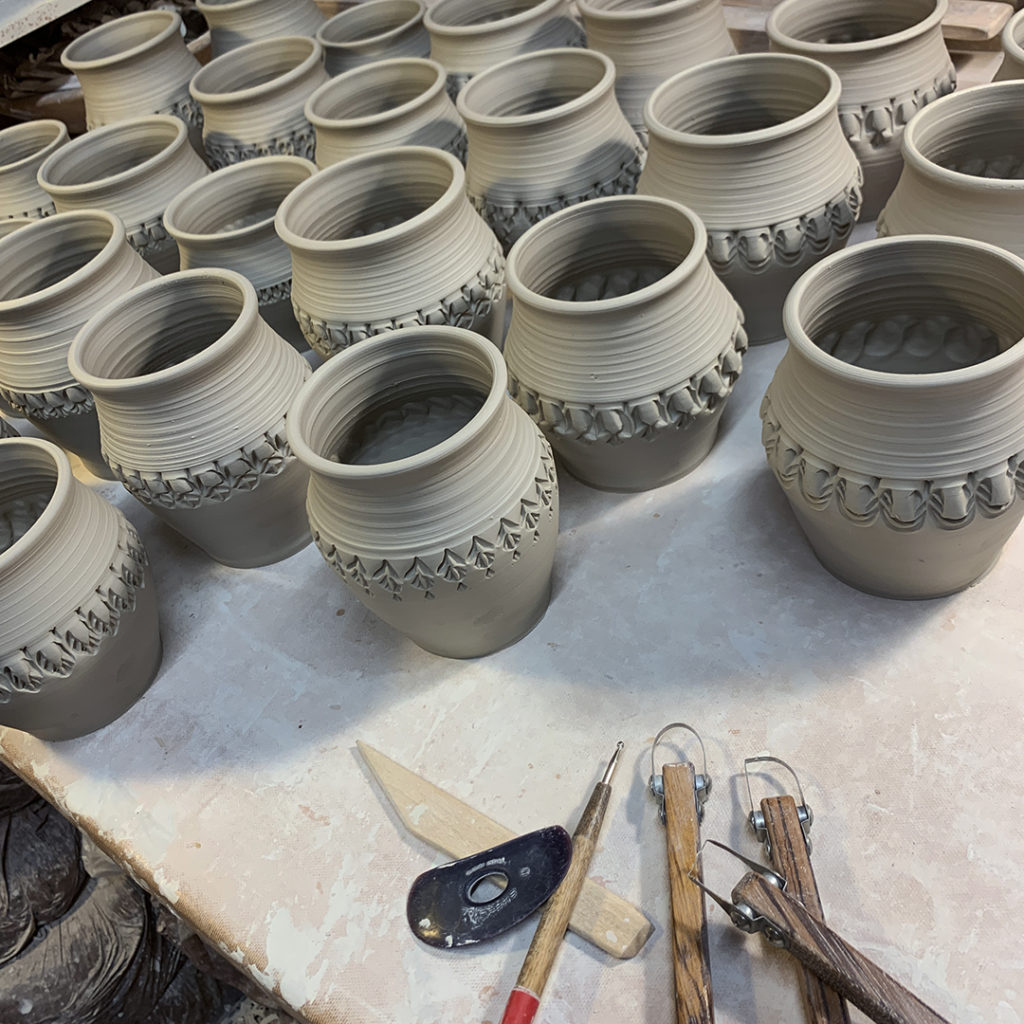
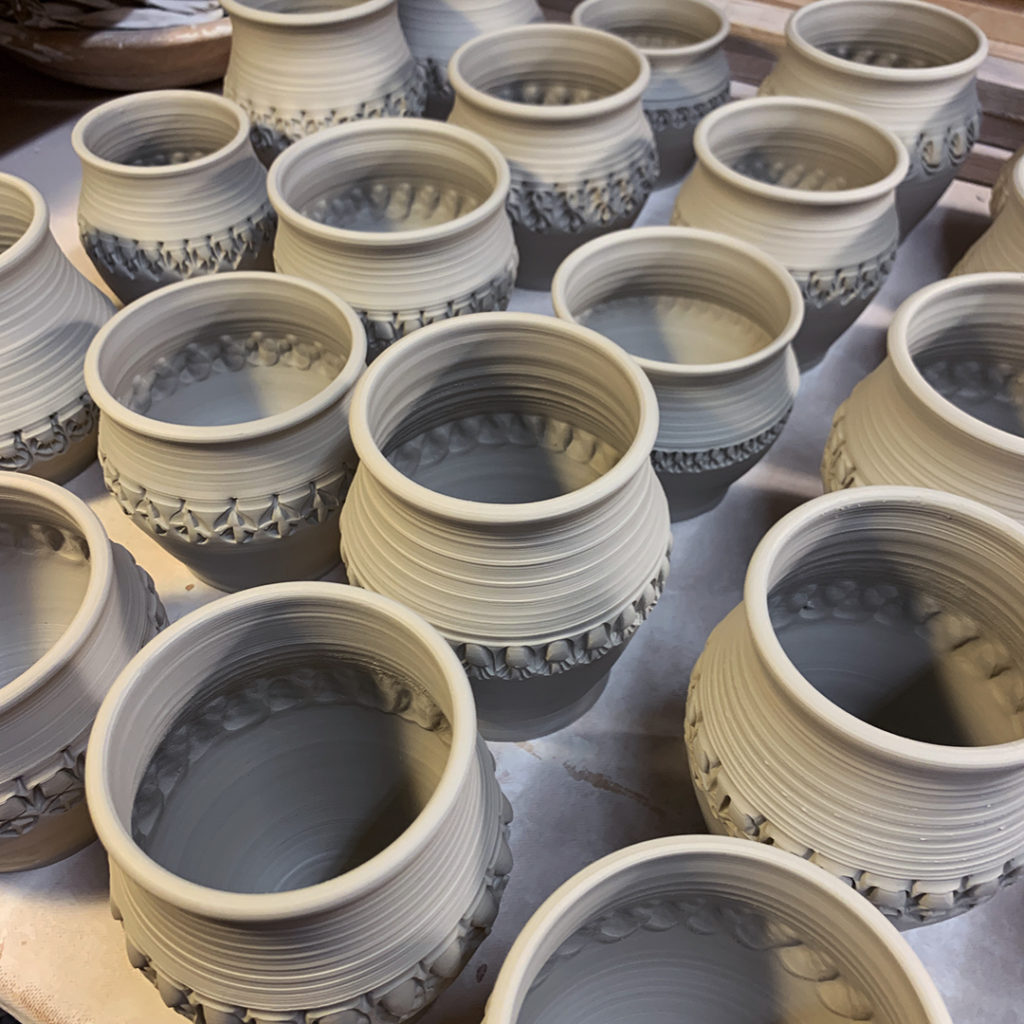
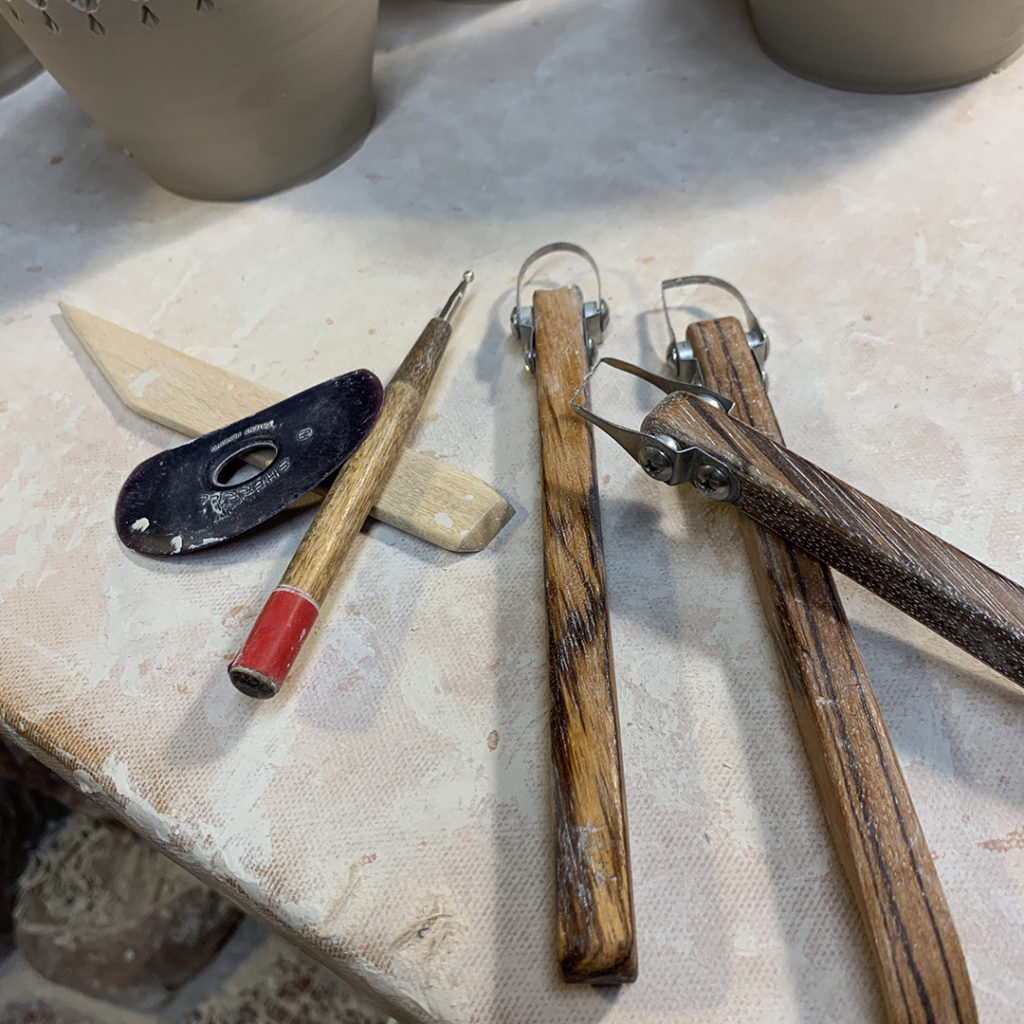
Getting ready for a big trimming session… lots of mugs to be trimmed tonight! And thankful for my Giffin Grip every time I pull it out… it’s been well-used & well-loved. One of my favorite tools in the studio… makes trimming so much faster & more fun too!!!
