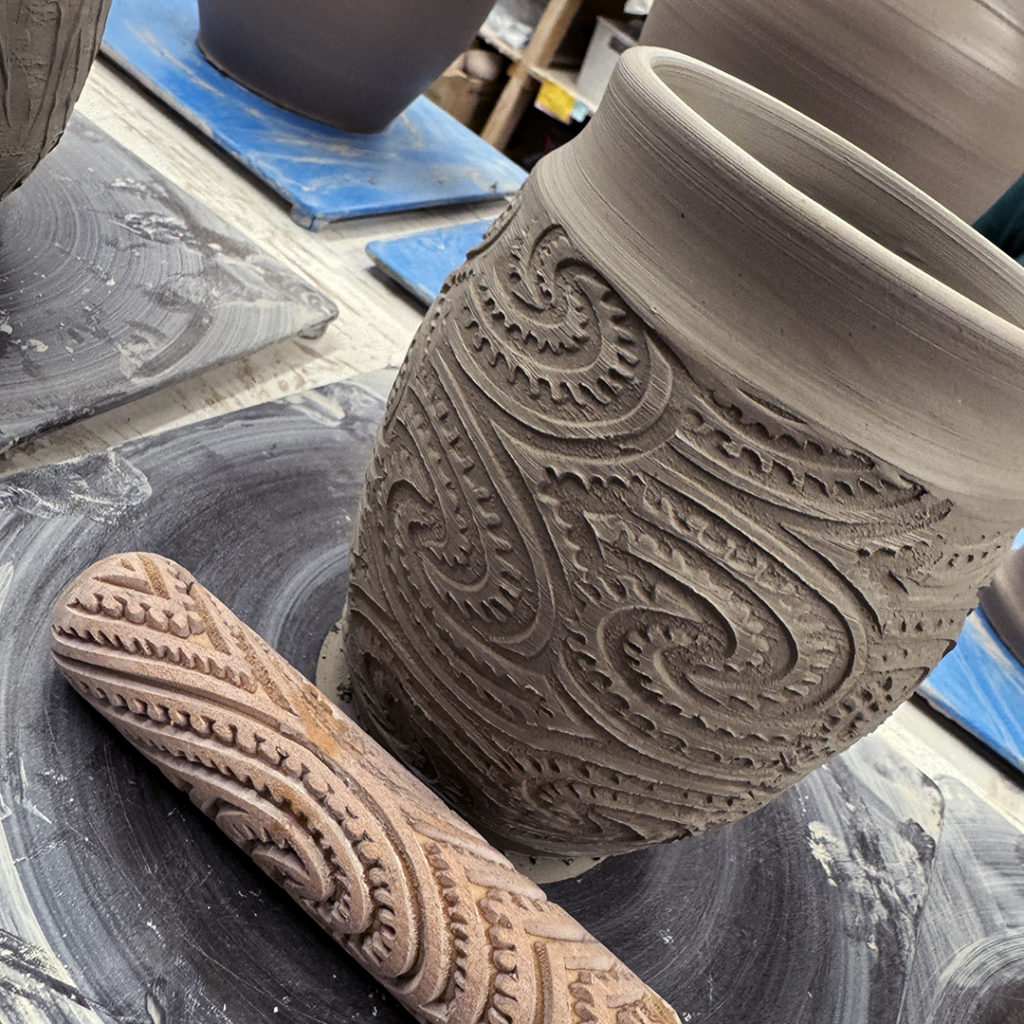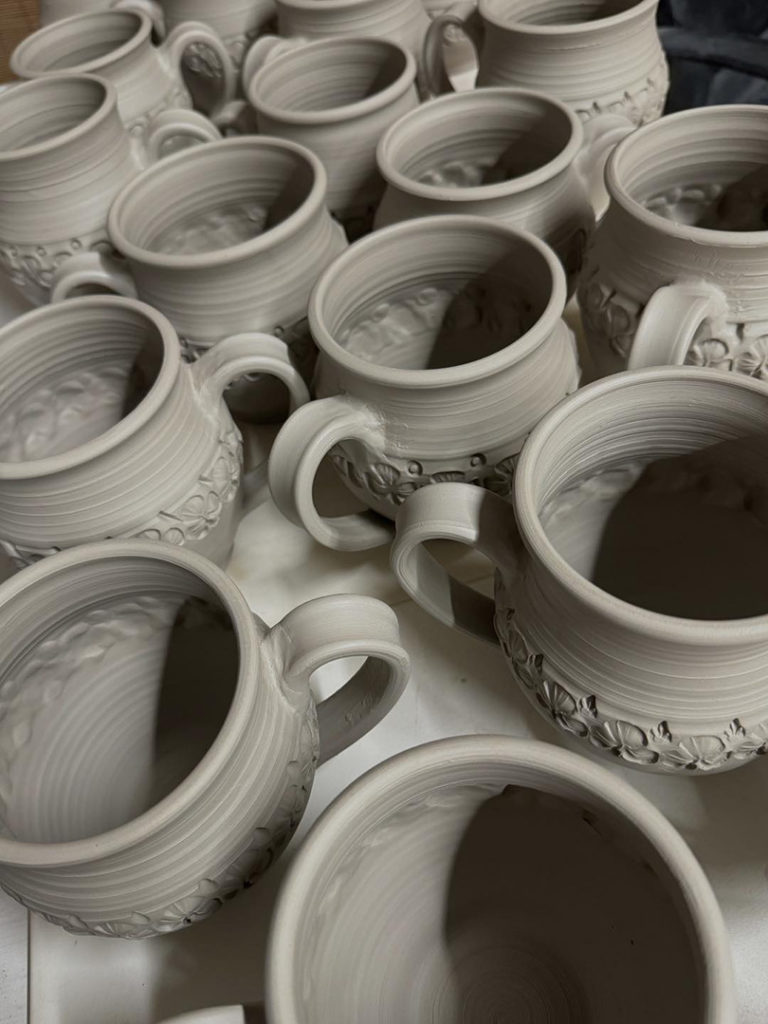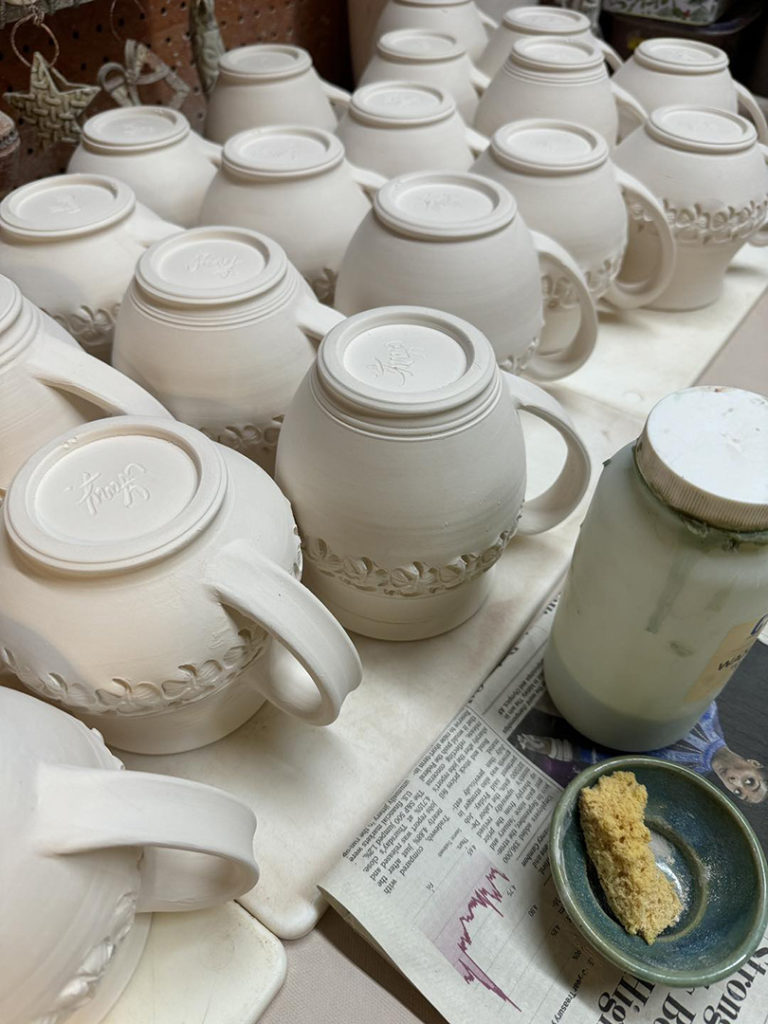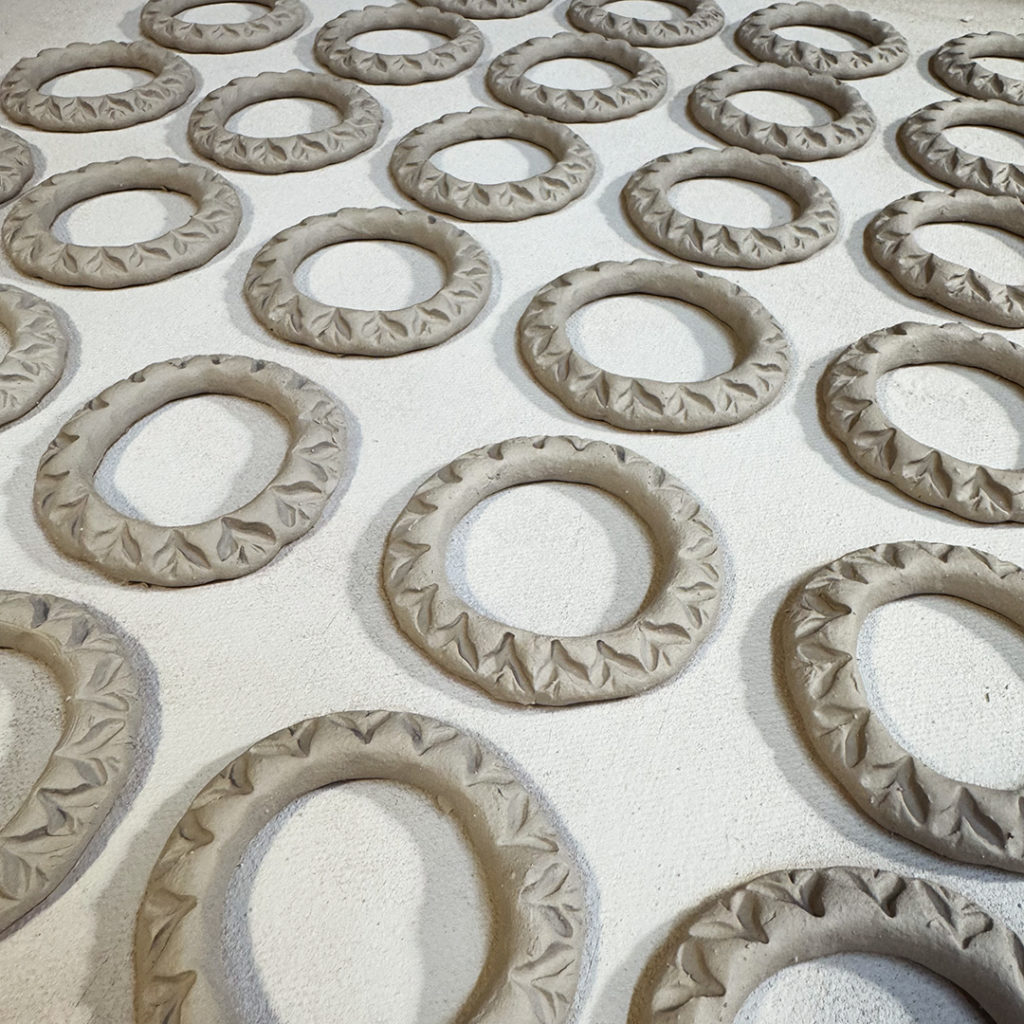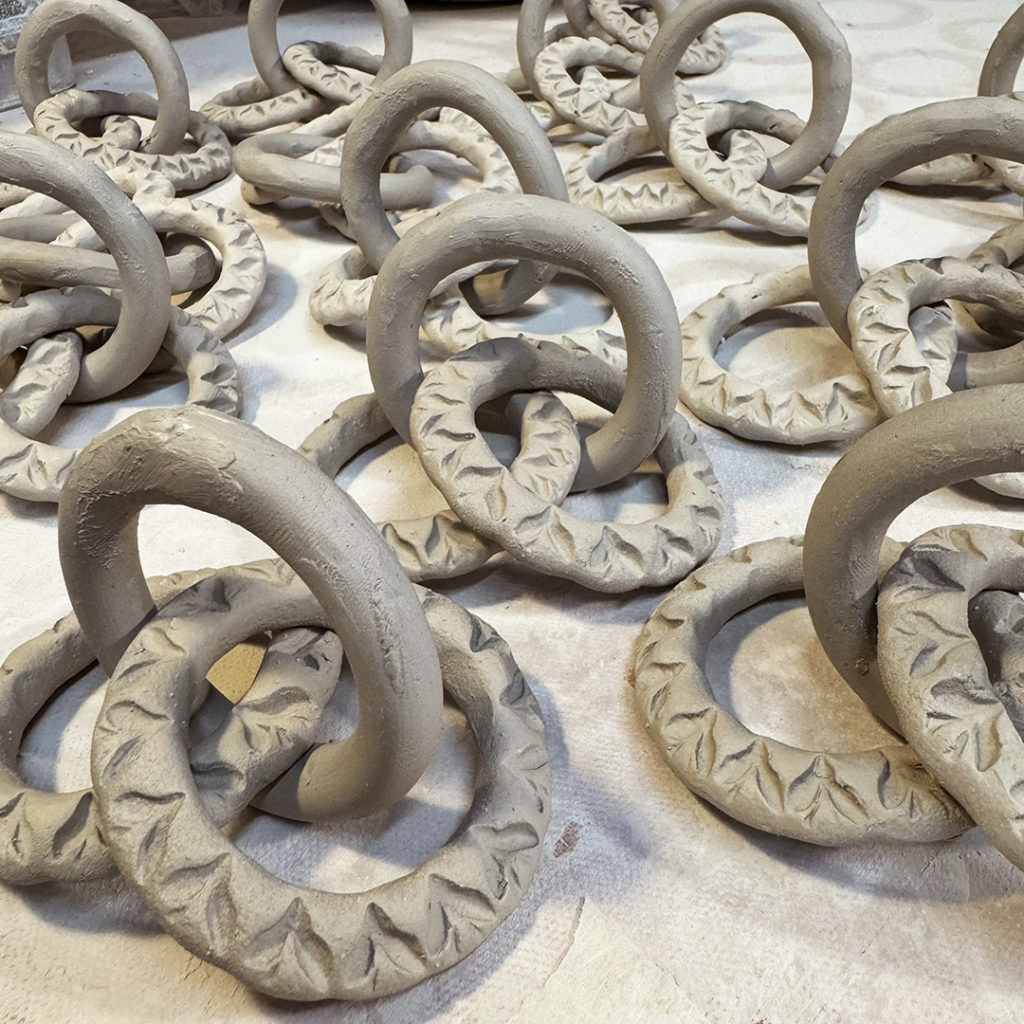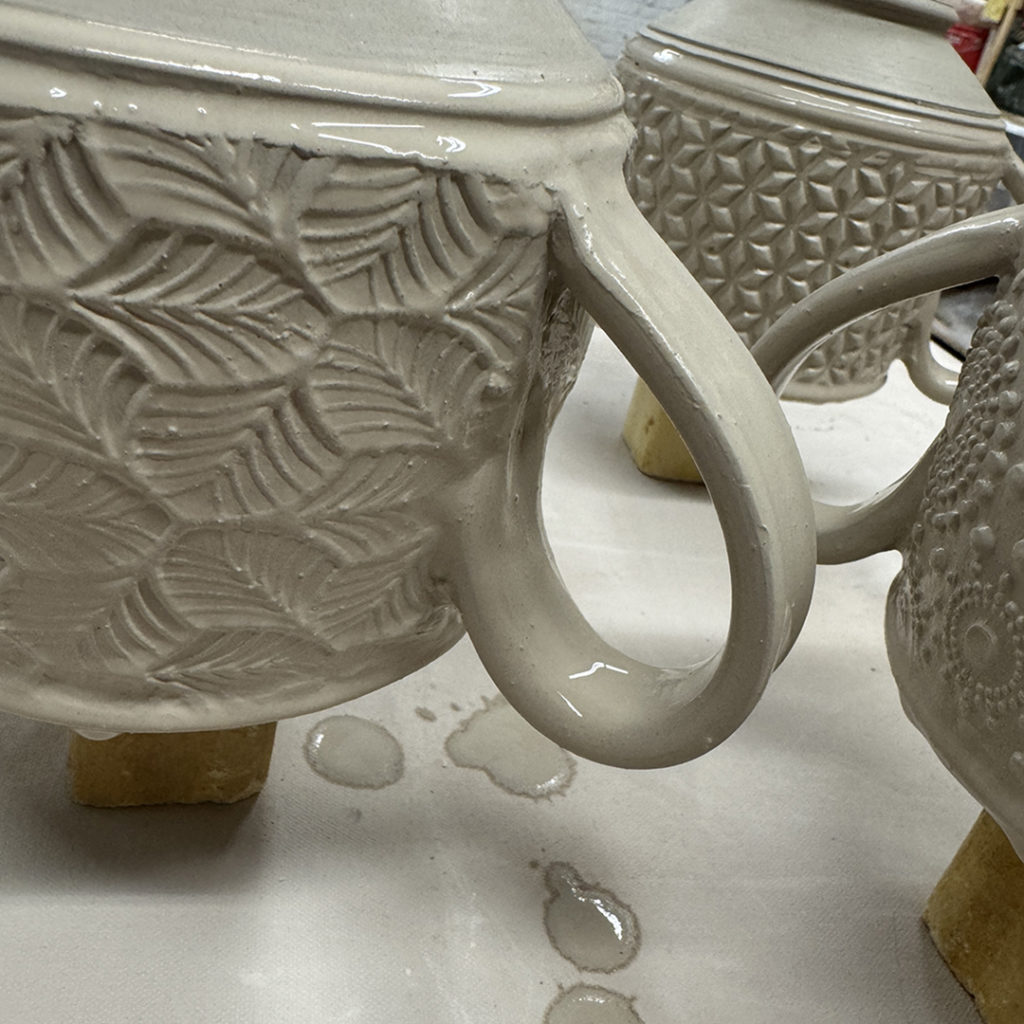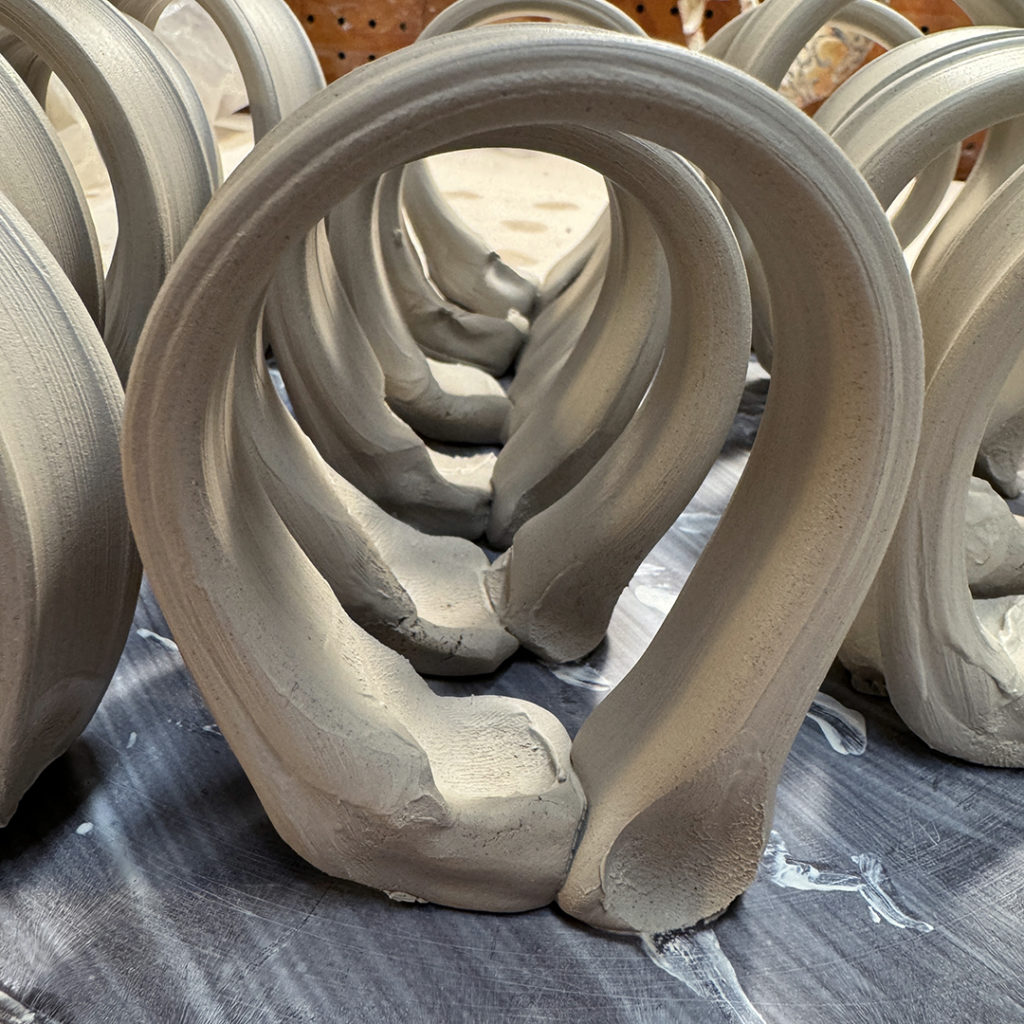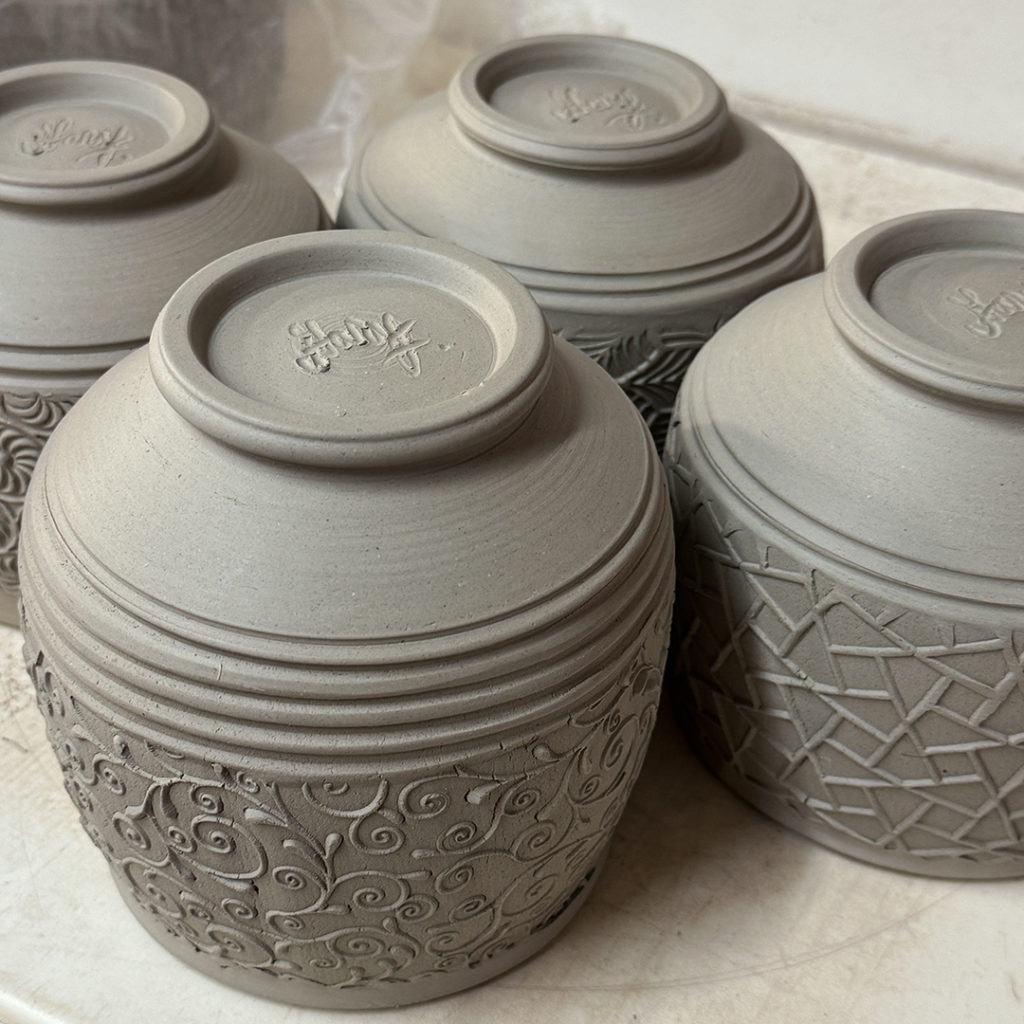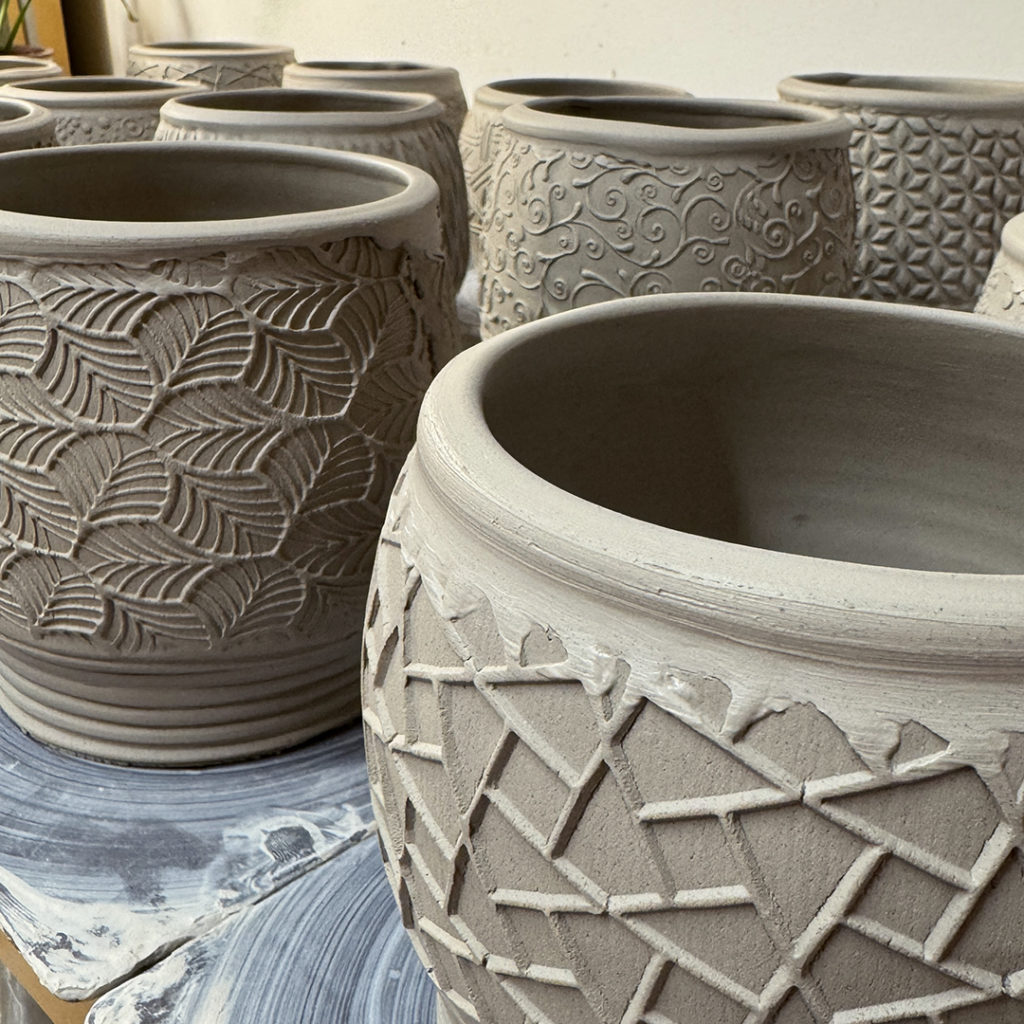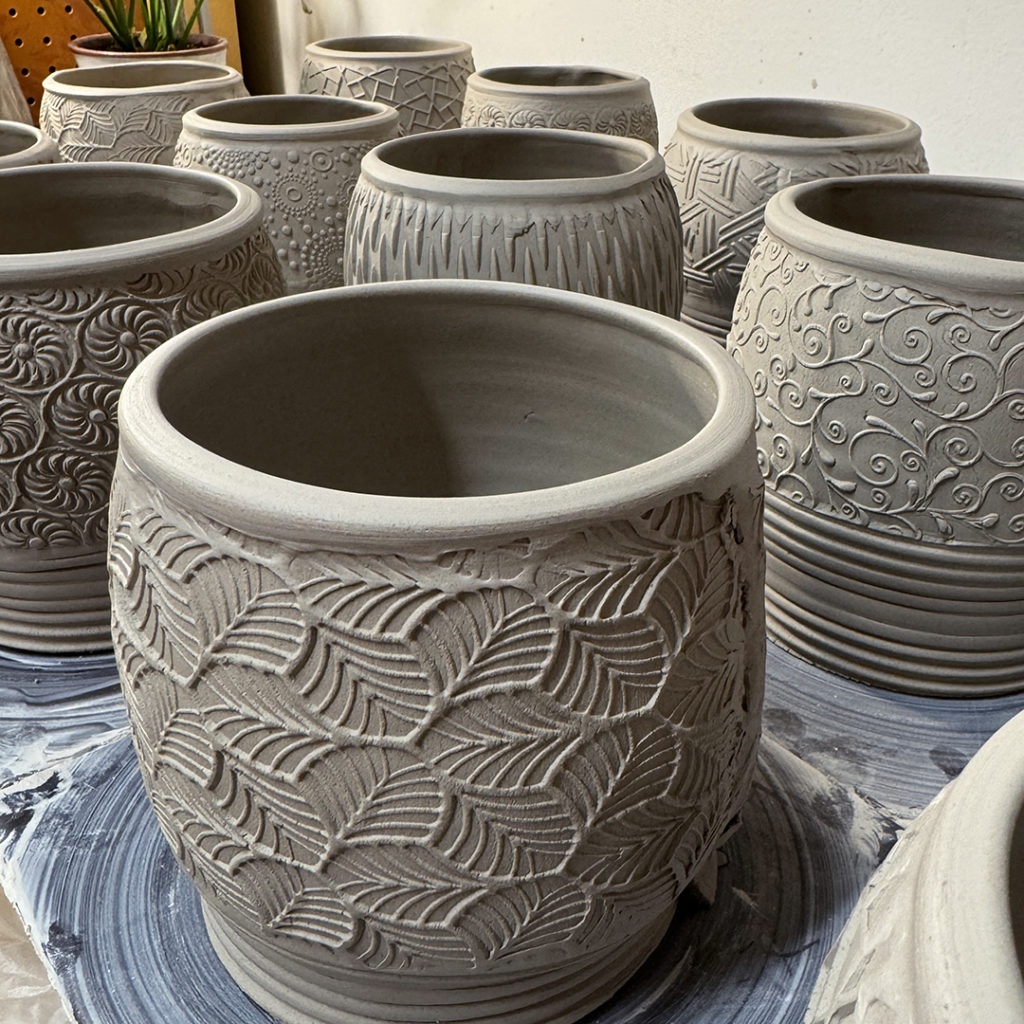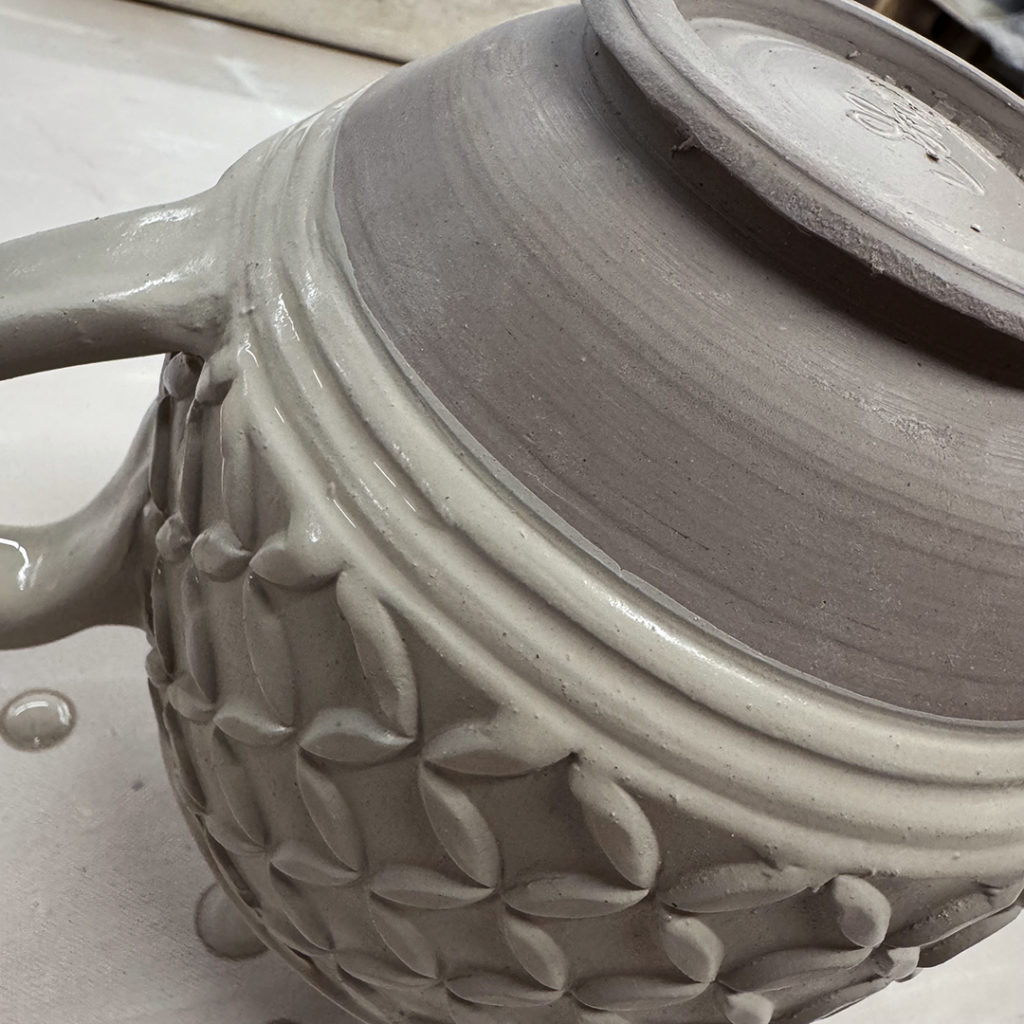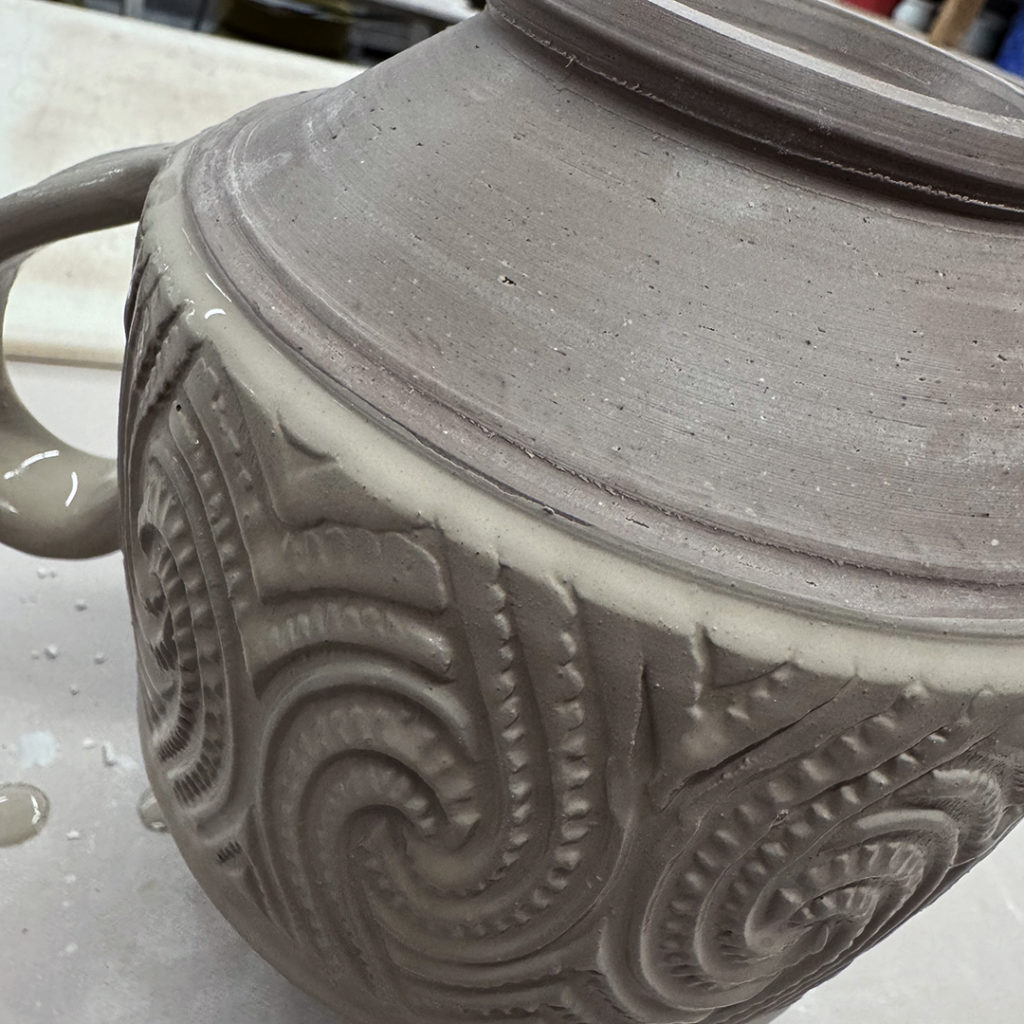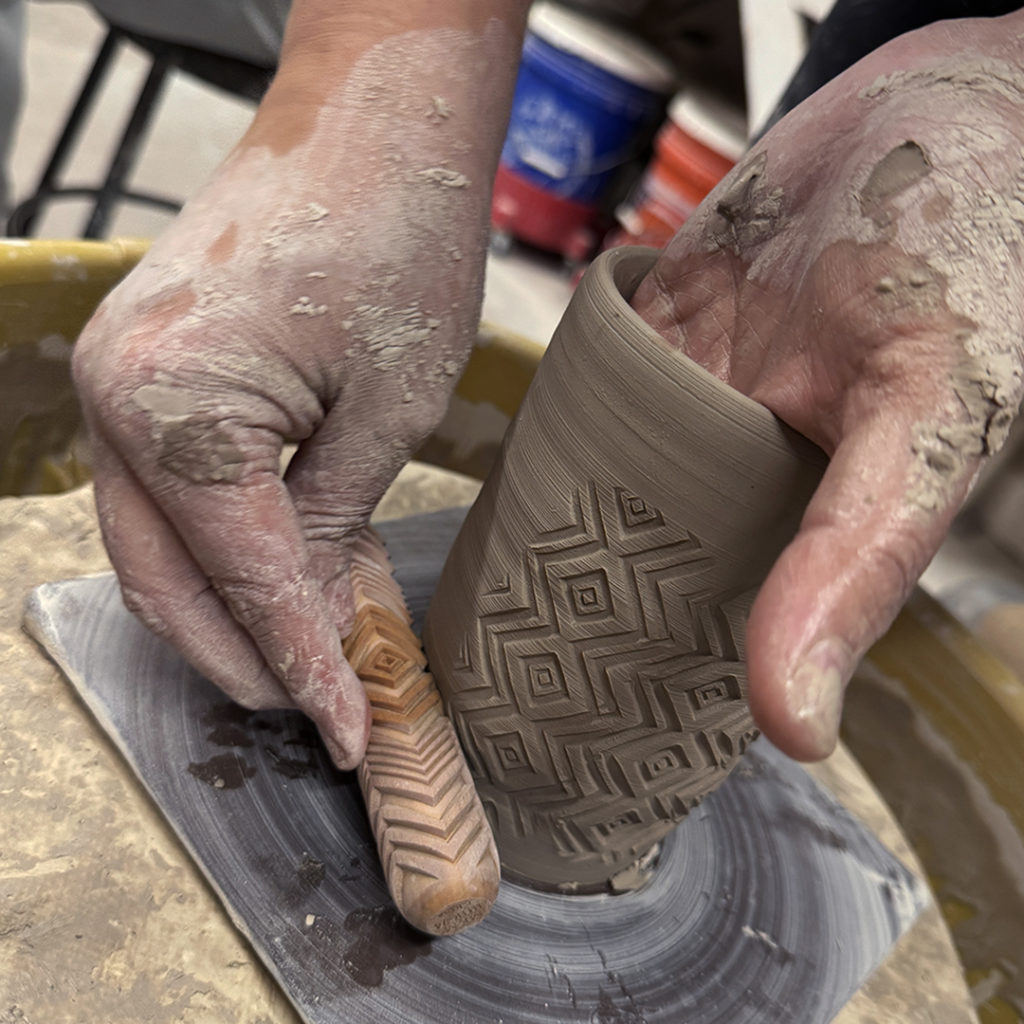
Always fun to be trimming in the studio with some great pottery tools… like my trimming tools from DiamondCore Tools & Giffin Grip. The perfect combo when spinning & trimming!!!
I realized it’s been awhile since I’ve shown off a loaded bisque kiln. So here’s the one I just loaded tonight… with more MUGS than I thought I had made?! I sort of love when you can get everything in… even if you need to turn things on their side to fit them “just-under” the lid!!!
Layer One –
Layer Two –
Layer Three –
Layer Four –
Layer Four just “under-the-lid”…
with some oval vases turned on their sides so they would fit in!
Just adding a few accents of colored flashing slip to a quick batch of oval vases. They may look white now… but after a soda-firing, these slip accents should turn orange… my favorite color!!!
After playing outside all day, I just had to get into the studio tonight to get a bit of work done. So I’m tackling a new batch of mugs… shocker, I know… but this time I’m trying out a new clay body!!! Sure, I coulda done a test tile or something first. But that just not how I roll. I’m all in!!!
I typically use a lot of B-Clay… but the last time I bought clay from Continental Clay they suggested “B-Clay with Grog.” It threw beautifully, seems to be drying a bit faster… and I can’t wait to see how it reacts in the soda kiln!!!
Finished painting some accents of colored flashing slips on this latest batch of mugs. These color-painted areas will “flash” with colors & soda effects after firing in the soda kiln. But first… they need to dry & be bisque fired.
Handles attached… and now this latest set of mugs is waiting for a few accents of colored flashing slip. Next up I’ll paint on some different colored flashing slips that will react with the soda atmosphere during my next soda firing.
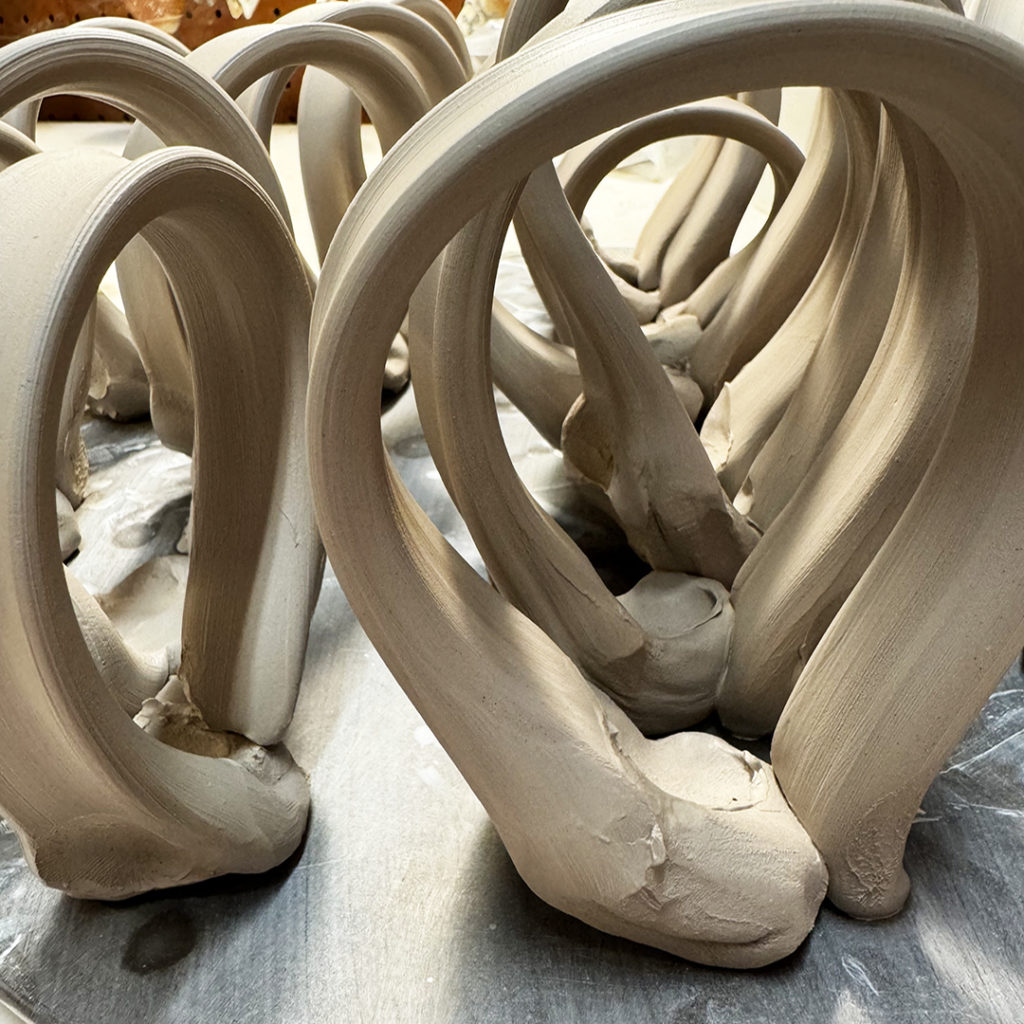
Pulling handles, looping them over and standing them up so they can set-up a bit. I want them to be malleable, but no longer squishy or sticky. And by looping them over this way I’ve set the curve to the most part… final curves made after attaching to the mug!
So the cylinders that were thrown yesterday were ready today to start stamping. They were under plastic overnight so now they are at a good stage that I like to call “wet-leatherhard.” Not quite stiff enough to trim yet, not quite wet enough to be squishy or sticky… but instead firm enough to hold its shape, and yet wet enough to press in good impressions with my handmade stamps.
Mug #1 –
Mug #2 –
Mug #3 –
Mug #4 –
Mug #5 –
Mug #6 –
Mug #7 –
Mug #8 –
Mug #9 –
Mug #10 –
Mug #11 –
Mug #12 –
Mug #13 –
Mug #14 –
Mug #15 –
Mug #16 –
Mug #17 –
Mug #18 –
Mug #19 –
So for now they’re all back under plastic wraps… drying up a bit more until they are leatherhard and ready for trimming. And then… the ever-popular task of adding handles to all of them!!!
Lots of stamping… lots of patterns… lots of textures! Always fun using my own handmade clay stamps to create the surfaces on my mugs. All pressed in one by one… by one… by one…
After stamping the stacked vase, I had to do a little trimming on the bottom. Thankfully I have my Giffin Grip which helped support the vase upside-down while I was trimming!