Gary Jackson: Fire When Ready Pottery
A Chicago potter’s somewhat slanted view of clay & play
Categories: holiday, pottery, seasons

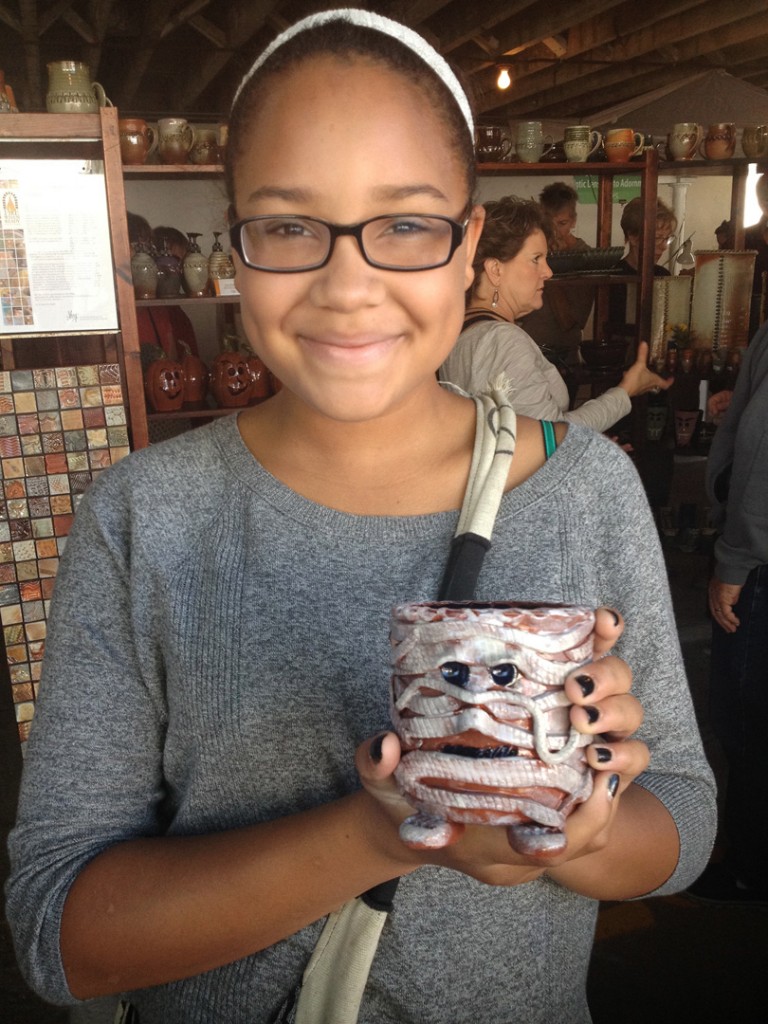
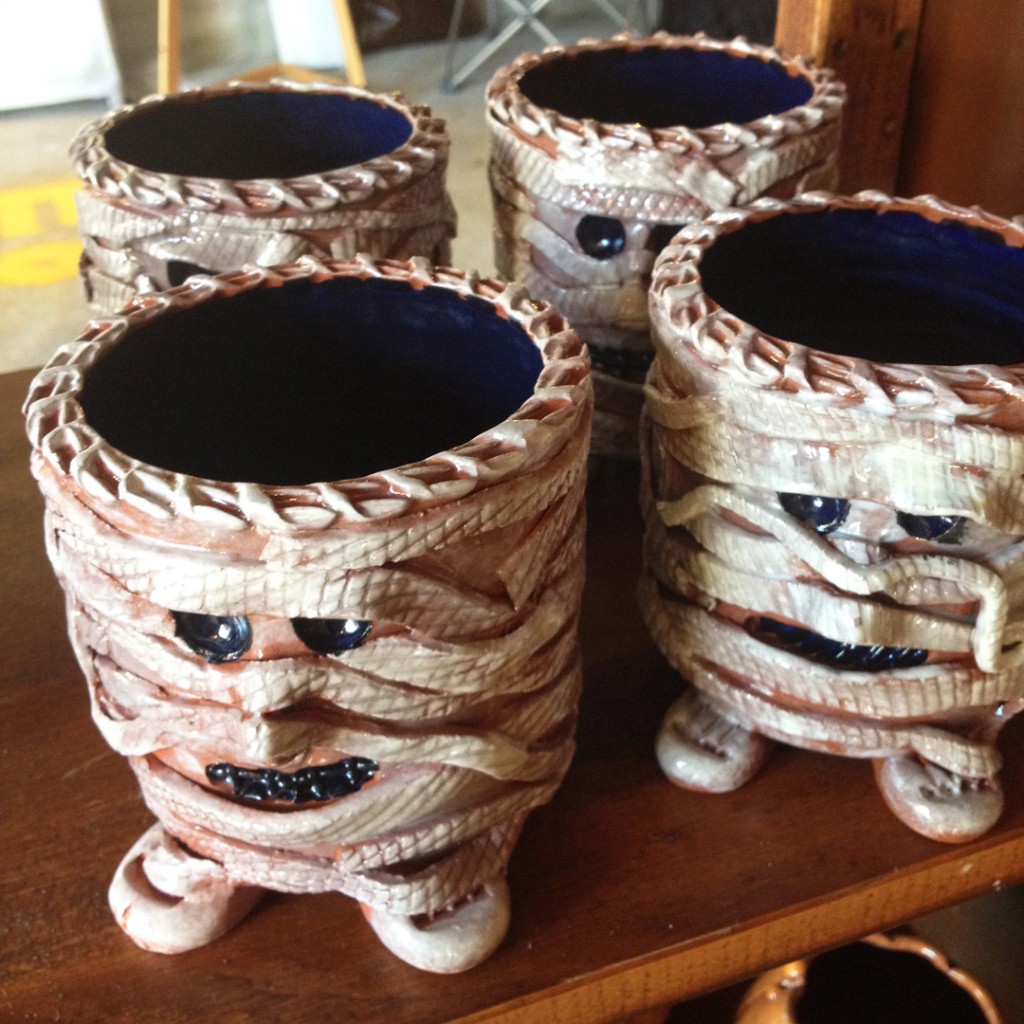
Over the past few years, I’ve introduced “The Ghouls Collection” during “Art In The Barn.” The first year, I did it pretty much just for my own amusement. Why not make some whimsical Halloween decorations just for the fun of it? And to my surprise, the were received VERY well my my wonderful customers! The first year, I started with Pumpkins, Skulls and Frankensteins.

Then of course, the questions started… “What character are you adding next year?”
So the following year, I added a Vampire into the monster mix.

Last year kind of got away from me. I didn’t have enough time and I didn’t think it would really matter if I didn’t have a new Monster. Well it did. I got a lot of questions from people who were looking to add another Monster to their collection. I apologized for skipping a year… and learned from that experience.

Limited Quantities Available!!!
I will be bringing all of these Monsters I have left in stock to “Art In The Barn.”.
But going forward, I’m thinking that some of these characters might be “RETIRED” from the collection to make room for the new ones. So if you’re looking to fill out your collection, or start a new Ghoul addiction… now’s the time. Before they disappear back into the crypt!

So this year, there will definitely be a new Monster for “The Ghouls Collection.”
What will it be?… well, I’m keeping it “under wraps” for just a few more days!


Categories: kiln firing, pottery, process, production

I unloaded my kiln late this evening. It was nice & cool by the time I came back from my fun day at the Renaissance Faire. Unbricking the door is always kind of exciting as you see more & more of the pieces revealed layer by layer. When the door is gone, it’s time to start unloading… and re-loading into crates to get it all home! The front of the kiln is a little heavy on the soda… but I knew I had to add a little extra & force it through if I was ever to get it into the tightly packed kiln. And it worked… even though the front & top has a bit more soda than I personally like, the majority of the middle & back was perfect!!!

Unfortunately, I got a little caught up in the unloading and didn’t do so well with the picture taking?! So, there will be more photos to come when I unpack at home…

Categories: glaze, mugs, pottery, process, production, studio

Gotta start glazing. I’m loading another soda kiln Friday night, and I’ve got a LOT of blank bisque waiting for some color… no such thing as too many mugs, right?!

Categories: pottery, process, production

So I’ve assembled all of the teapots and decided that some of them needed a little more attention. A little pop of color here & there with some colored flashing slips.

Teapot #1 – slip painted accents on lid & each stamp.

Teapot #2 – just stamped… I figure this one will be glazed with a light coat of temoku.

Teapot #3 – slip painted accents on lid & each stamp.

Teapot #4 – slip painted accents on lid & each stamp.

Teapot #5 – just stamped… I figure this one will be glazed with a light coat of temoku.

Teapot #6 – slip painted accents on lid & each stamp.

So now they’re all assembled & slip painted… and wrapped overnight one more time so they can “dry together” a little bit slower. One they’ve settled in together, I’ll unwrap them tomorrow night so they can start drying… so that they’re ready for my upcoming bisque kiln!

Categories: bowls, pottery, process, production, stamps, studio

As part of my “big” production day in the studio, I threw five more serving bowls with soda clay. I let them set-up for awhile and had the opportunity to stamp them today. Usually I do it the next day, or even two days later. But since I was cranking things out today… it was great to be able to stamp them today!!! I’m kind of rushing to fill a kiln next weekend. The “faster” I can get things done, dried and into a bisque kiln the more time I’ll have to glaze & wad.
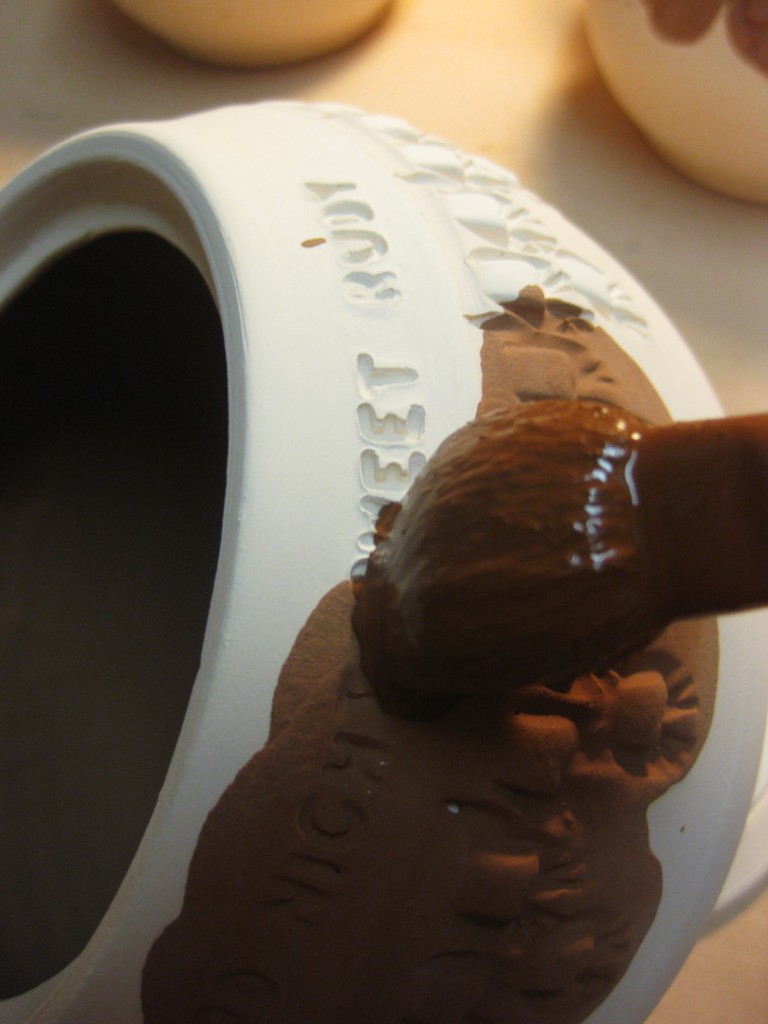
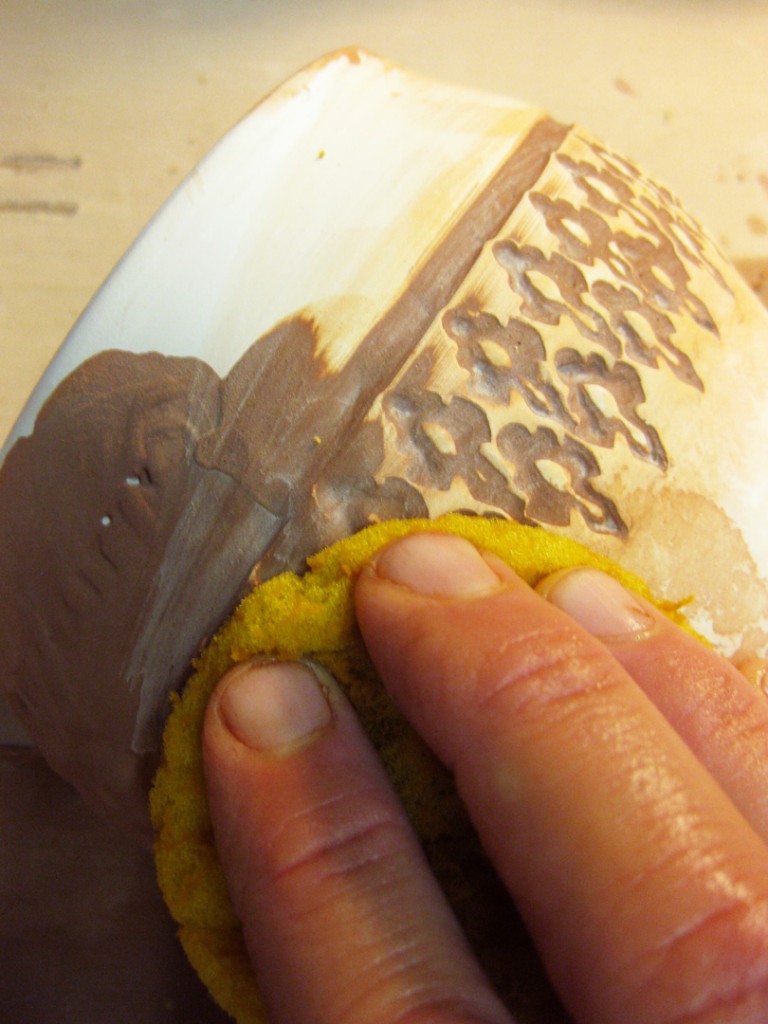
Bowl #1 –

Bowl #2 –

Bowl #3 –

Bowl #4 –

Bowl #5 –

So now they’re loosely wrapped up for the night… and I hope to trim them tomorrow.

Categories: pottery, process, production, stamps

So it’s been FAR TO LONG since the last time I made teapots. I’ve put them off. And put them off. But I figure it was finally time to tackle teapots. So here we go… the beginnings of six teapots. I started with six shaped cylinders. And then made several lids and several spouts. Pieces & parts. As a production potter, I planned ahead and made the opening pretty much the same size on all six of them. I figure it would give me more chances of a lid fitting if I threw them the same size, and then made multiple lids to fit. Eventually, something’s got to fit together, right?!

I let them stiffen up overnight under plastic. When I came back today, they were ready for some stamping. So I pulled out one of my stamp cases to figure out what patterns I would be using. Big choice… and somehow, I always tend to pick out my favorites. Go figure.

Teapot #1 –

Teapot #2 –

Teapot #3 –

Teapot #4 –

Teapot #5 –

Teapot #6 –

So now everything is wrapped up for the night, drying to leather-hard so I can assemble them later. Lots of pieces & parts to put together to make six new teapots!!!


Categories: pottery, production, studio

Apparently, only twenty fit on my ware board. So that’s where I “had to stop” for the night. Next up, some stamping, trimming, slipping and hole punching to turn these into a new batch of salt & pepper shakers!

Categories: garden, nature, pottery, stamps

It’s always good morning when the peaches you get at the Farmer’s Market are finally ripe!

Categories: artists, classes, clay, creativity, pottery

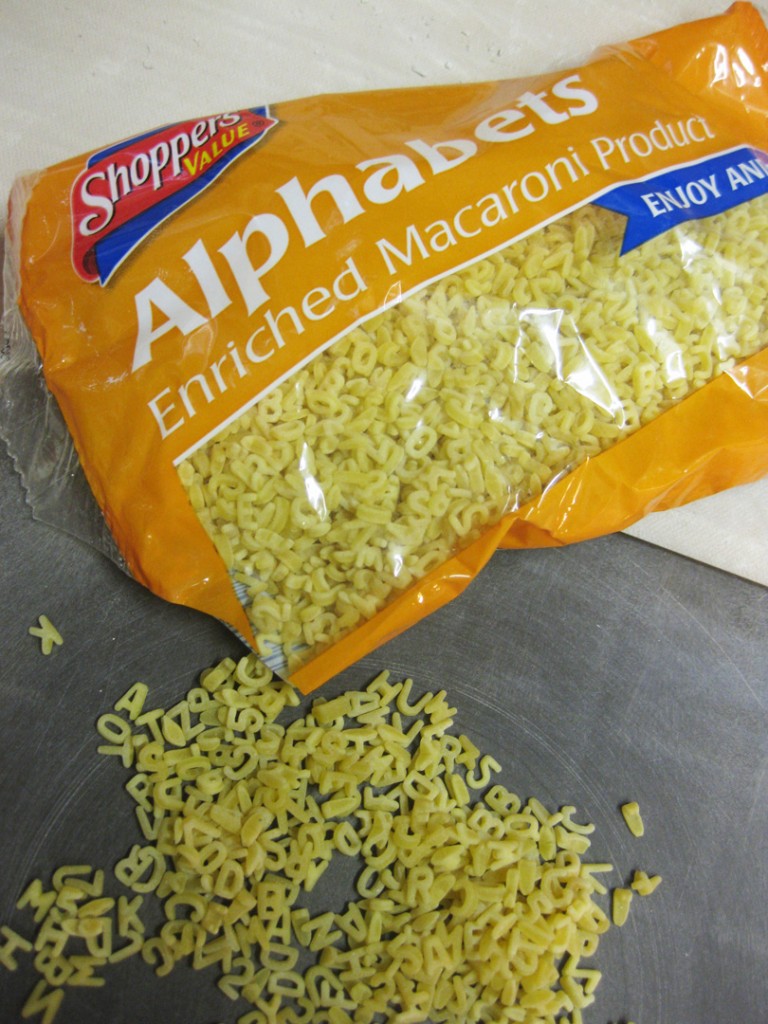
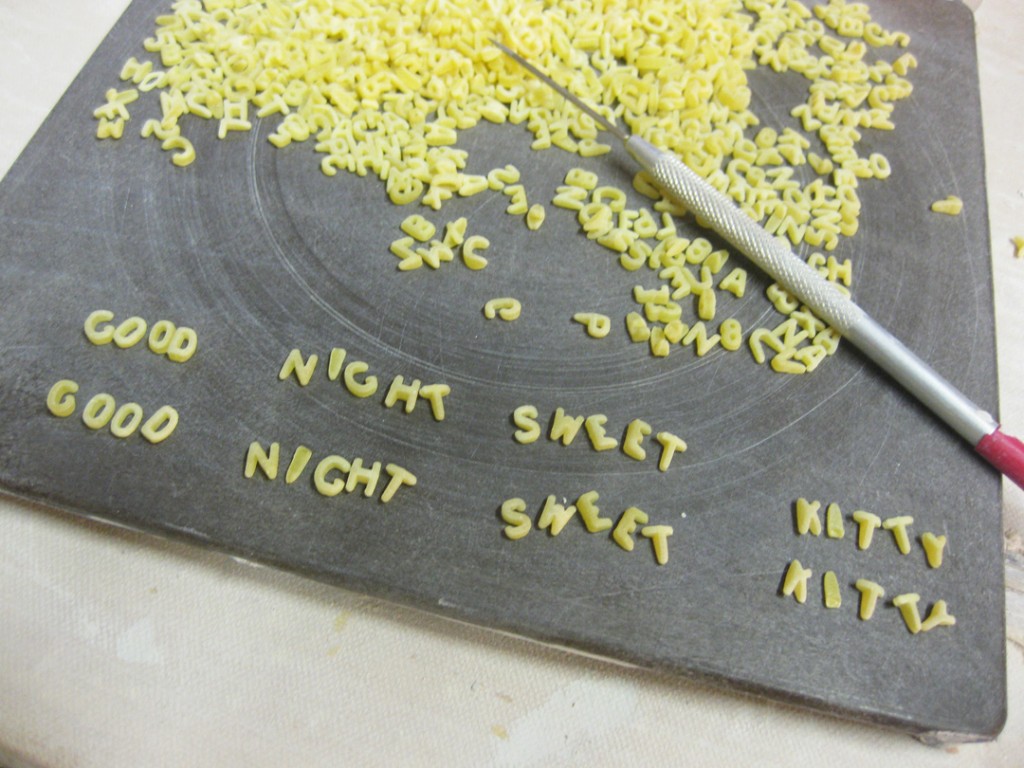
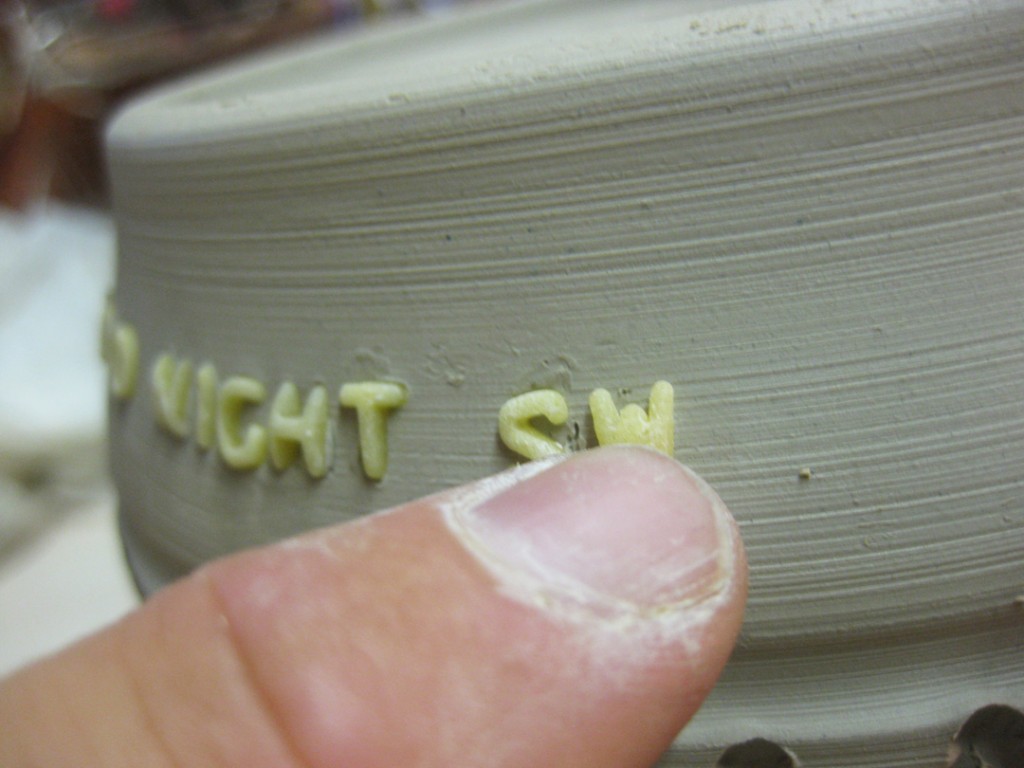
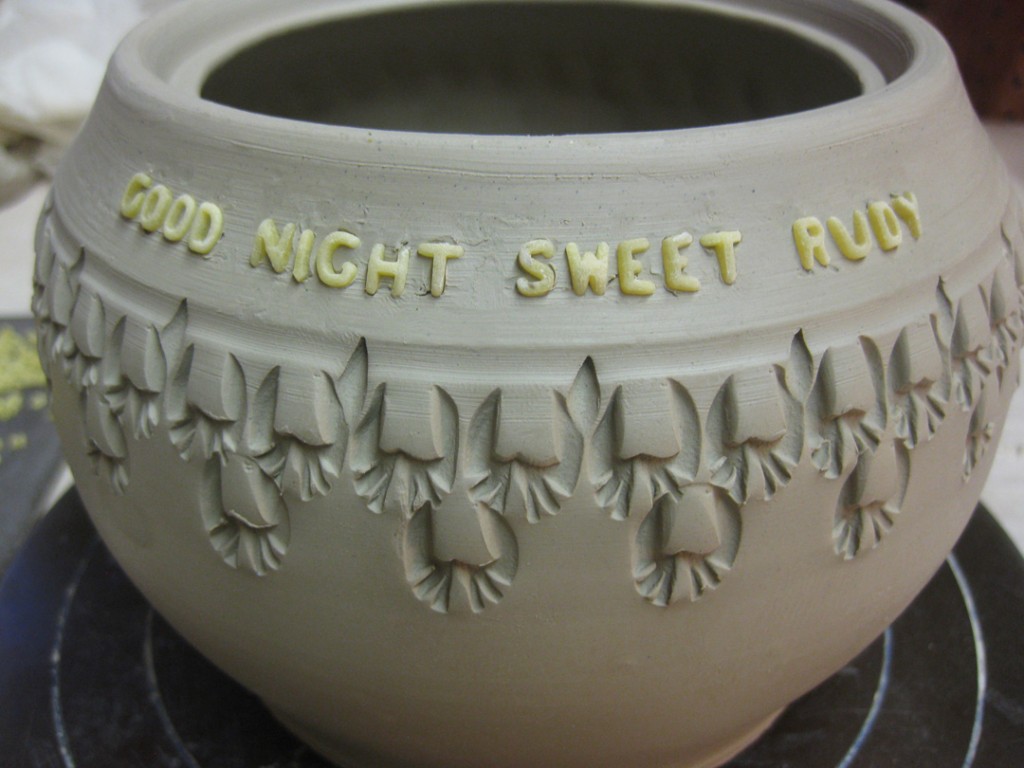
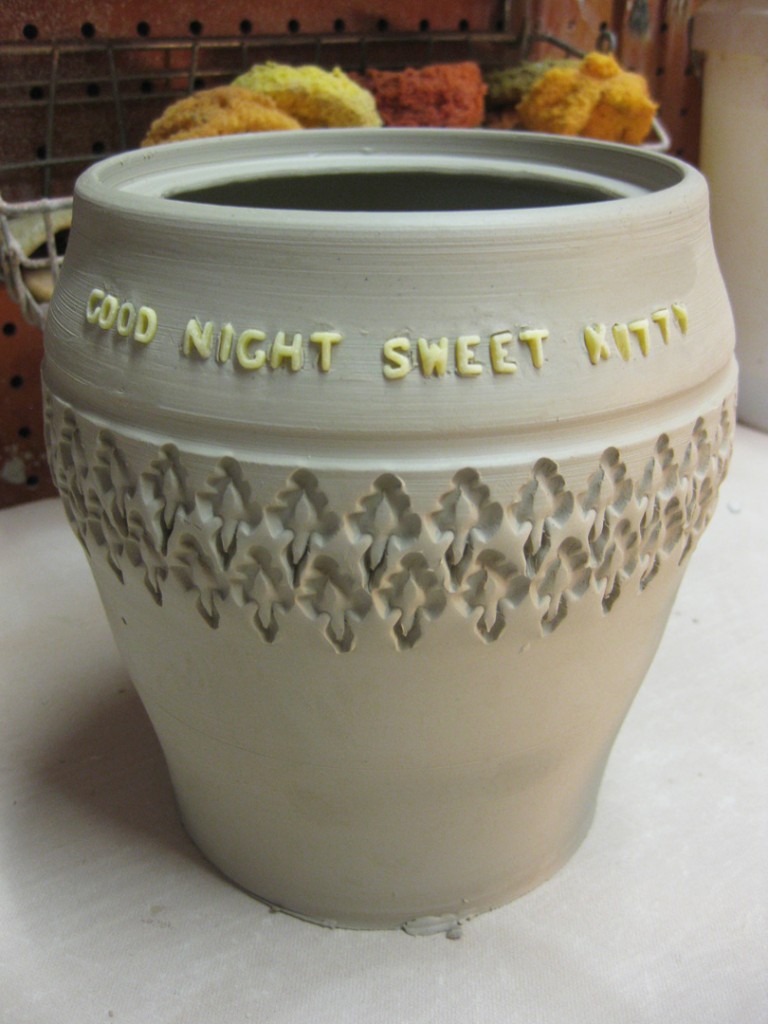
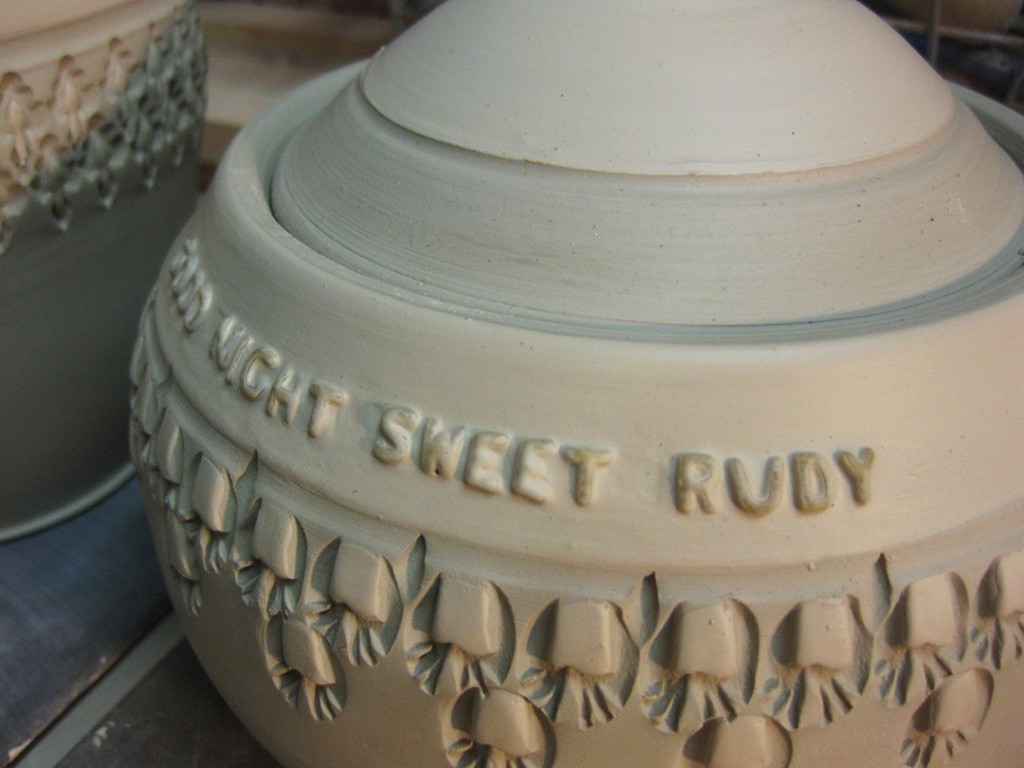
Awhile back, I did a blog post about one of my students who was interested in adding some text to her pottery. She started using pasta letters… simply squishing them into the moist clay before bisque firing. Click here to revisit the original post on “Tracey’s Letters.

Well, a lot of people have been asking for a follow-up… and here are some of Tracey’s glazed pots with “pasta-text” on them. After bisque firing, Tracey fills in the letters with glaze and then wipes the top surface away… leaving the glaze only in the letter indentations. This letter technique has been working well for her, especially with the dark “Stoneware With Ochre” clay body that fires up to a dark, yummy chocolate brown.

Categories: pottery, process, stamps

Last week, I did a demo for my class on how to make plates & platters. I’ve kept the demo pieces well-wrapped, and occasionally sprayed, to keep them wet enough to stamp. Well, tonight I finally got around to stamping them.

Plate… freshly thrown… and plain!

A little stamping around the perimeter… and the stamp that did it all.

Once stamped, I did a little decorative fluting along the edge.

Platter… freshly thrown… and also plain!

Stamped around the perimeter… and the stamp that did the impressions!

Once it was all stamped, I did a little fluting around the edges for a slight ruffled effect.

So now they’re back under the plastic to dry a bit more to leather-hard for trimming.