Gary Jackson: Fire When Ready Pottery
A Chicago potter’s somewhat slanted view of clay & play
Categories: pottery, production

Still replenishing “the basics” in my studio. Then I need to switch gears for newer production pieces. Any ideas or suggestions of new forms & shapes I should be adding to my production list for the upcoming art fair season?! Please leave me a Comment or two.. or three…

Categories: pottery, process, production, stamped

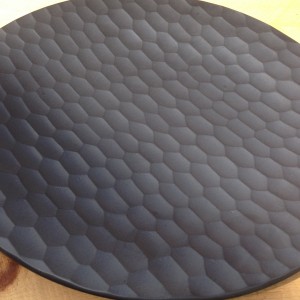
Did a little stamping tonight to finish off a class demo platter. Unfortunately, the clay is always to squishy to stamp during class. So I bring the demo upstairs and wrap it up. The stamping occurs a few days later… okay, well, today.

Same platter. Different angle. Lots of stamps.

Categories: artists, bowls, classes, friends, pottery

Last night we had our final pottery class of the Winter session. Always a bittersweet night. Fun to see what my students have made and how they’ve grown over the 10-week class. Sad to see some of them leaving… some of them moving on… one of them just plain moving! Luckily, I believe many of them will be coming back again next session to play some more in my class!

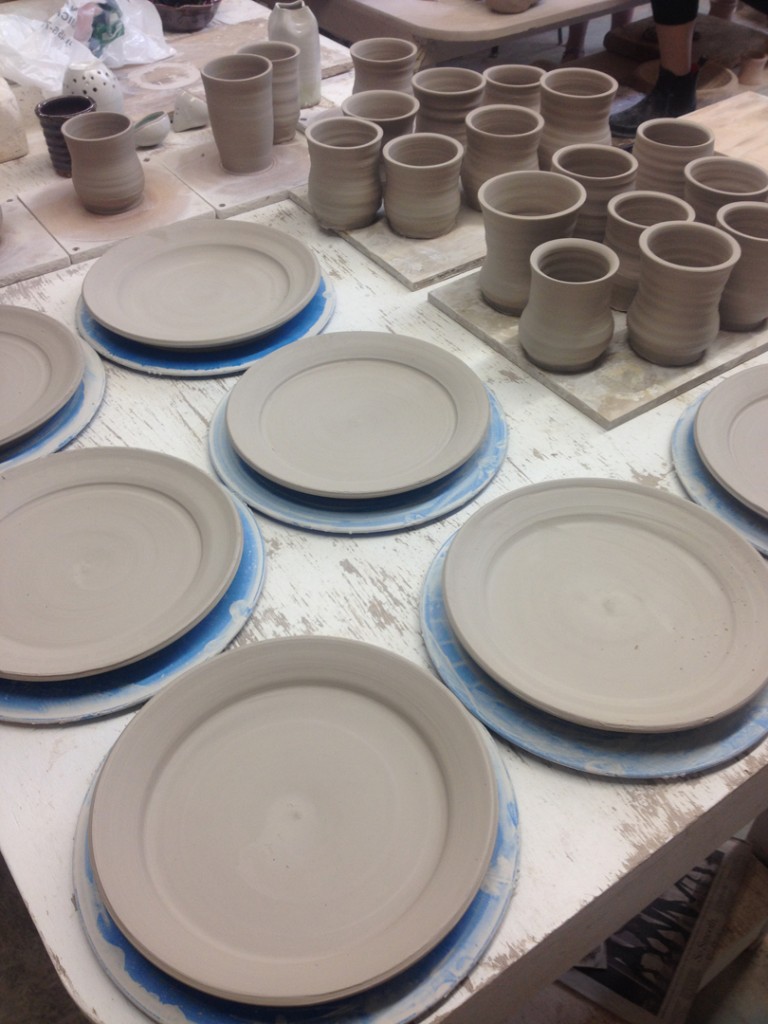
As part of our last class, I always challenge them to a trading-exchange White Elephant sort of game. They have the 10-week class to make a specified item, and then we do a big trading game on the final night. This session it was plates. 12″ or smaller for my new beginners, 12″ or larger for my returning beginners! Let me just say we didn’t quite pull out the ruler, but most of them gave it a great effort. So much fun with so many great students.

And then you see this kind of a post on Facebook the next day…

Direct from Katie’s post on Facebook…
“Latest pottery… plate from Patty via our end-of-term exchange and bowl by me! As always, massive thanks to and adoration of Gary Jackson!”

Aw shucks… warm fuzzies all around. And some pretty sweet pots too!!!
Categories: pottery, production, studio

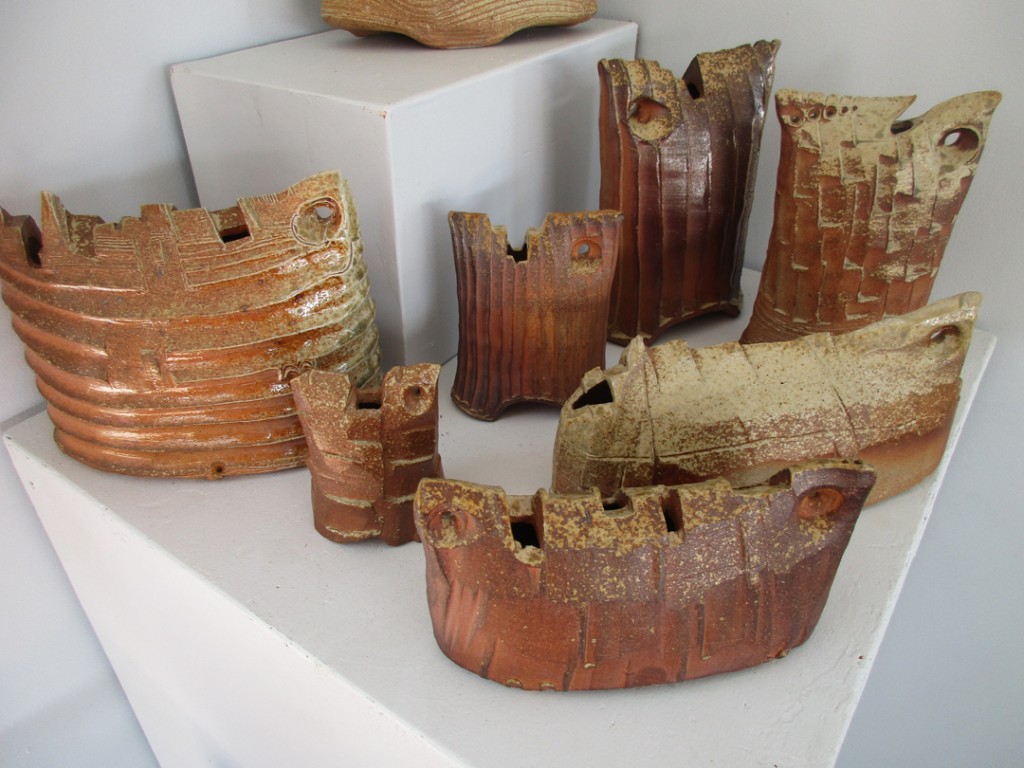
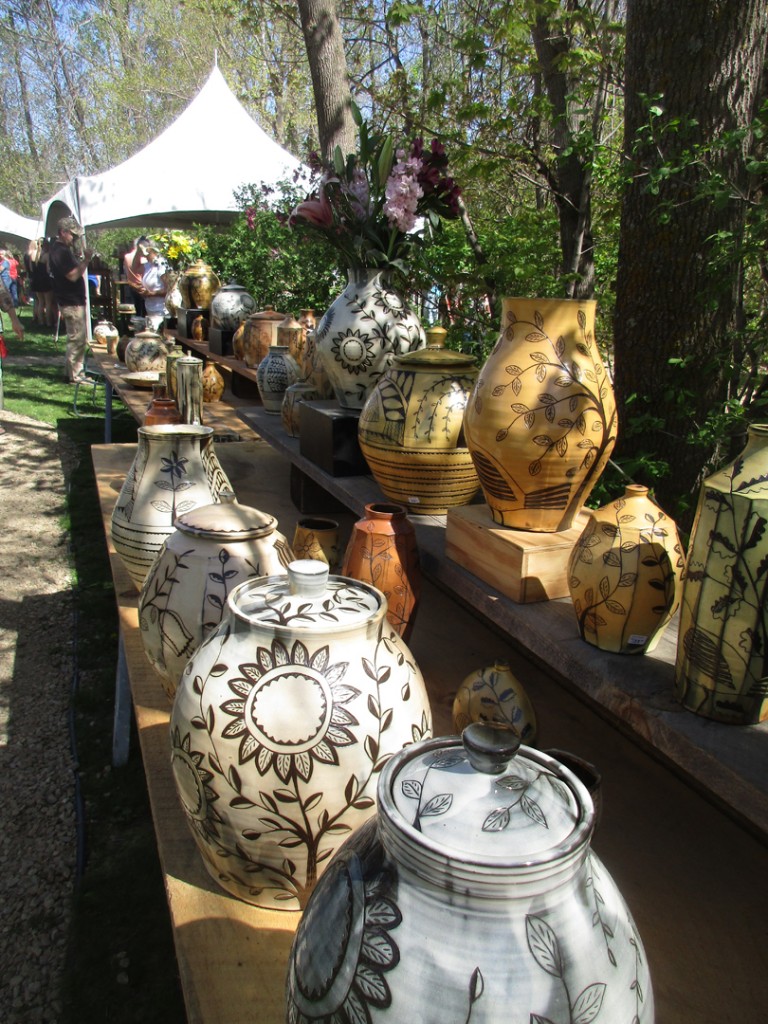
It was a very productive night in the studio last night.
Looks like I’ve got some stamping & trimming for later today!

Categories: pottery, production, stamped, textures

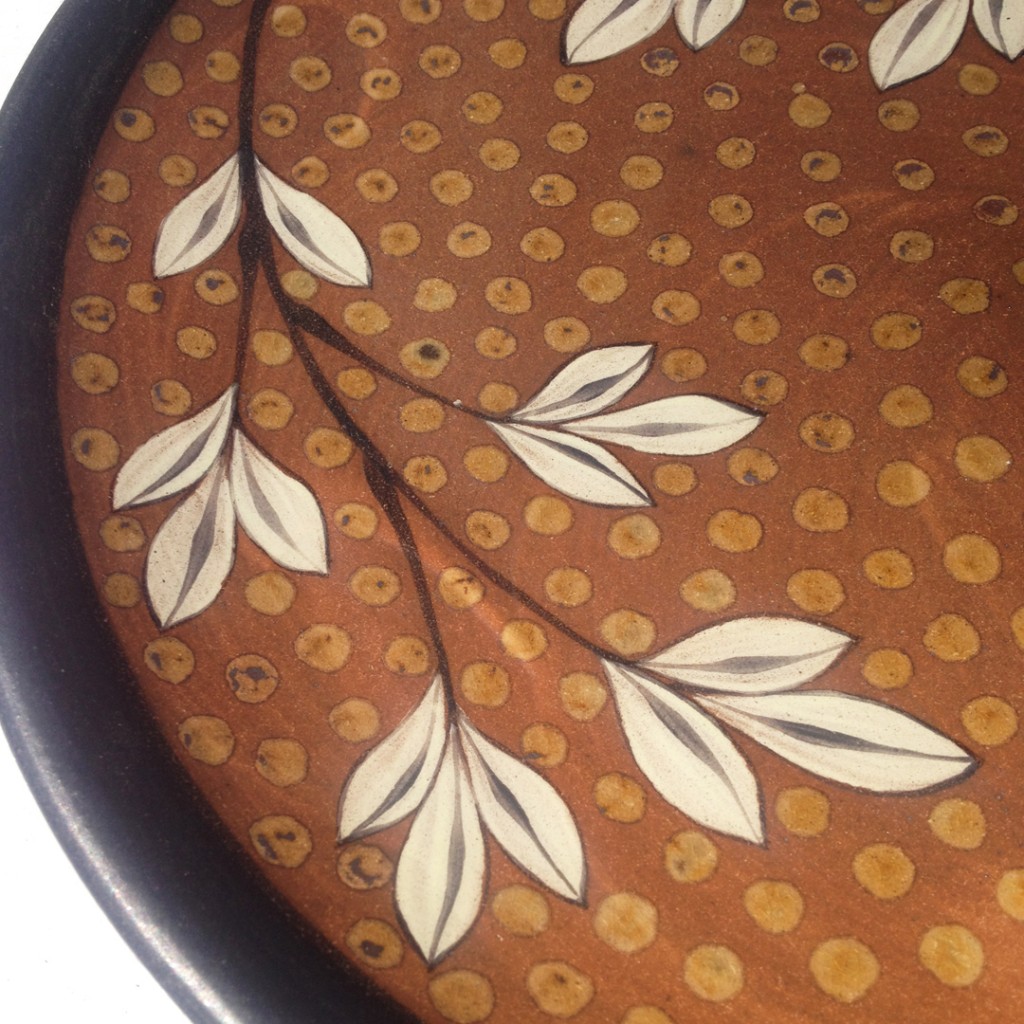
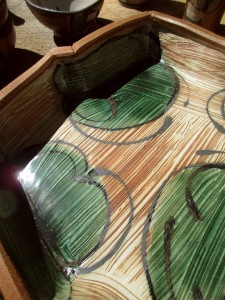
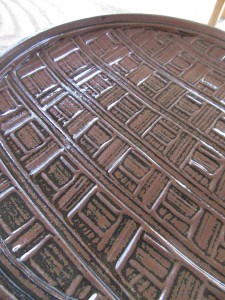
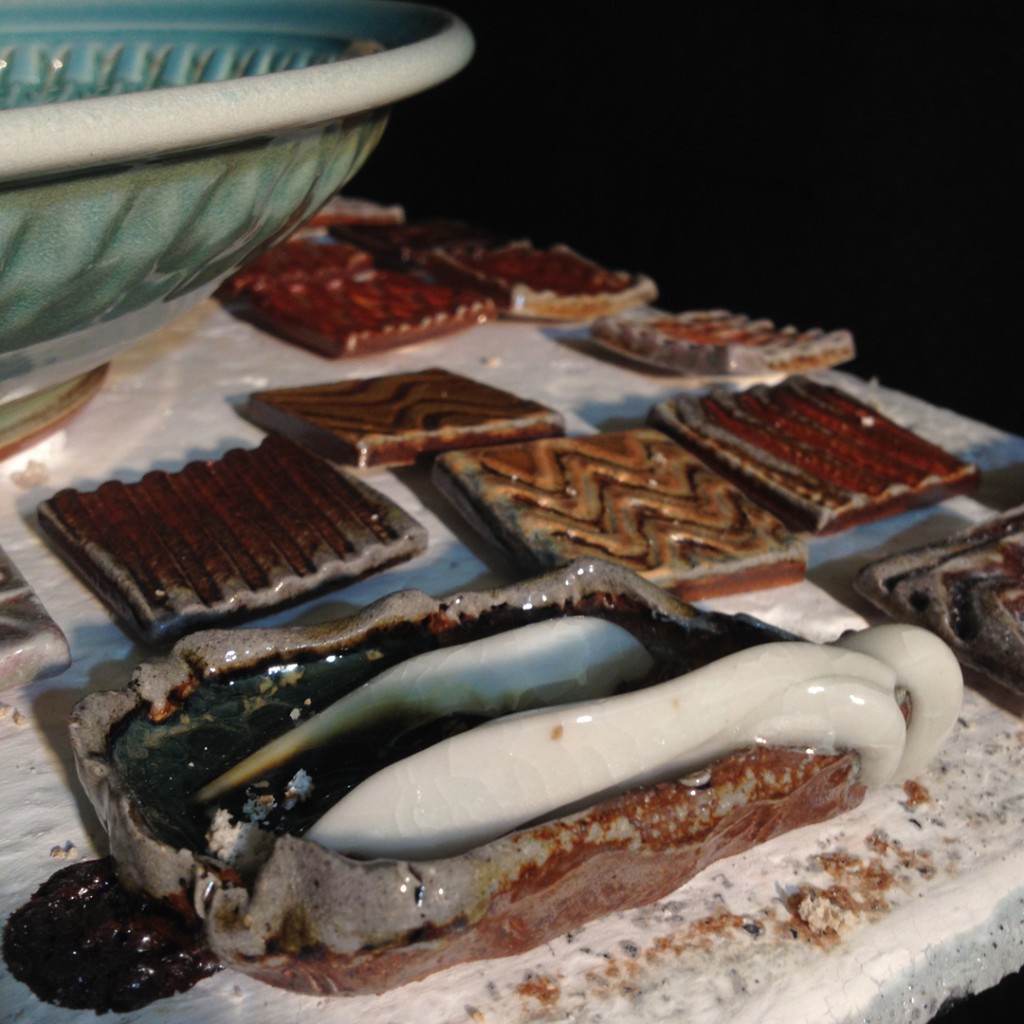
Repetitive stamping on a stoneware platter. And some pretty sweet lighting & shadows from the regular IKEA work light on my wedging table. Go figure.

Categories: patterns, pottery, production, stamped

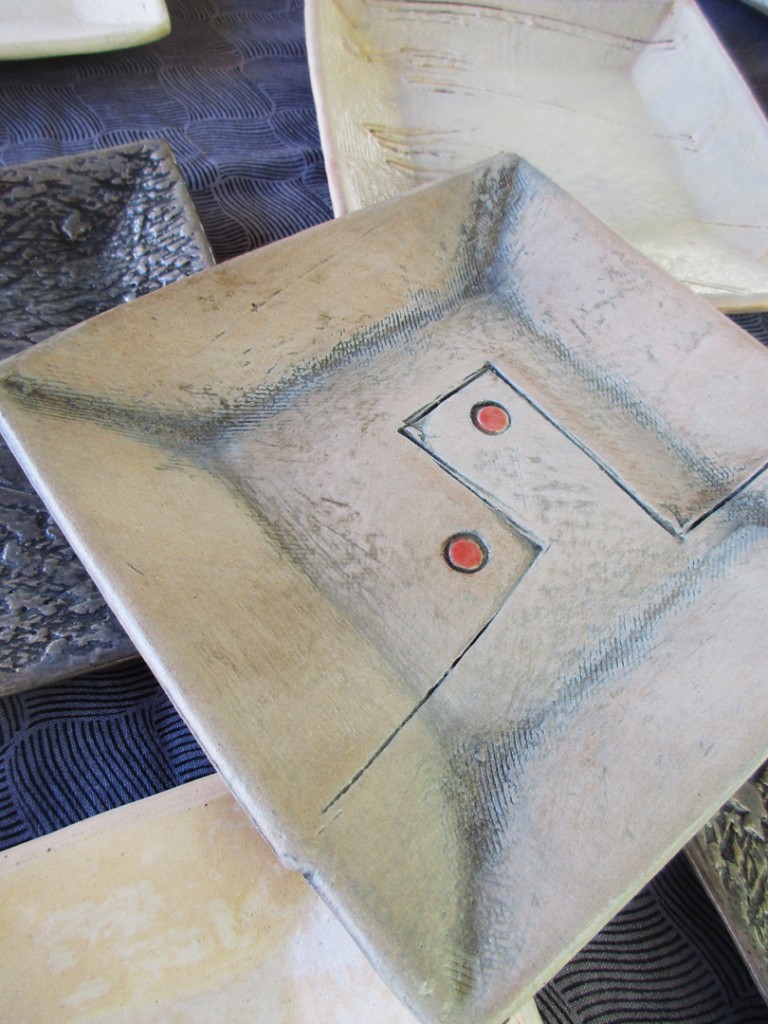
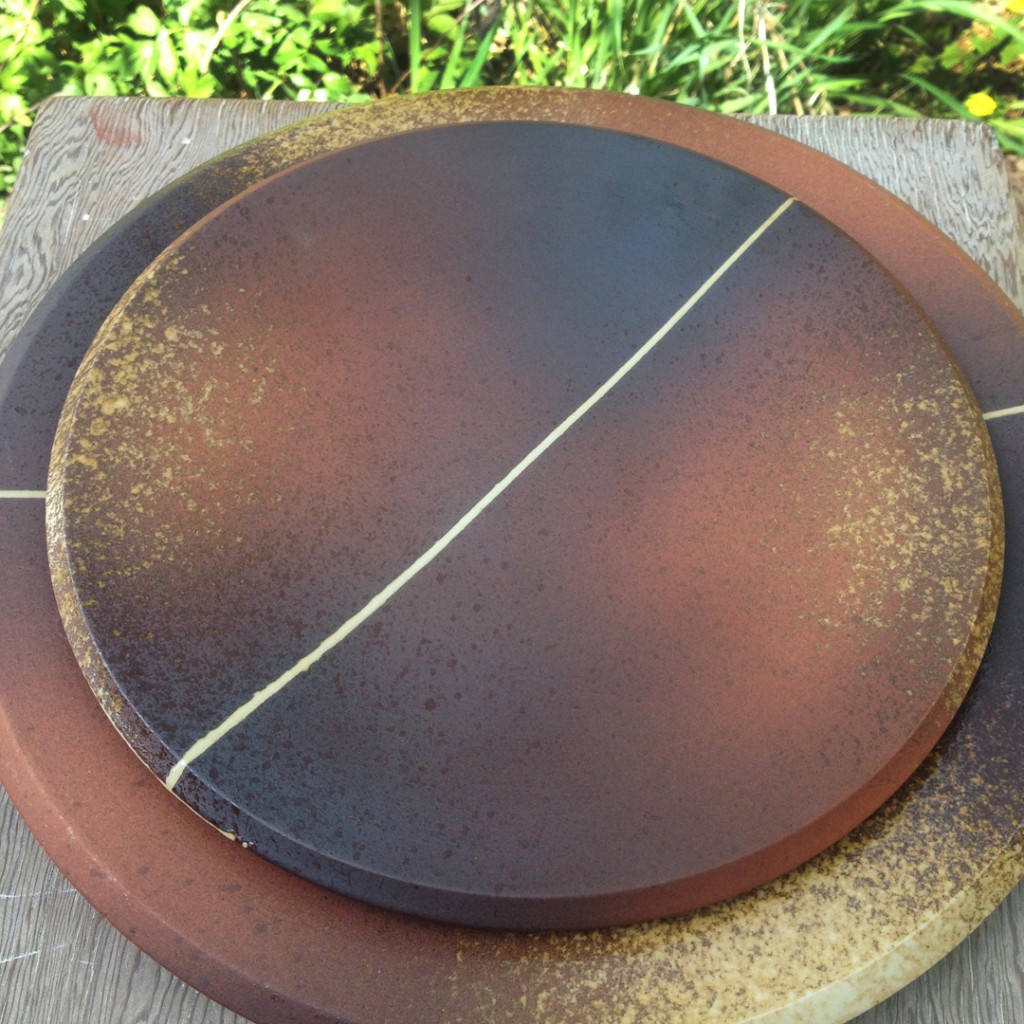
Here are the “glamour shots” of tonight’s freshly stamped platter.
For the mesmerizing video of this platter, click over to my pottery Facebook page.

Categories: clay, inspiration, pottery

After The Greeks, I was tap dancing on being visually overstimulated… but not quite.
So I continued my tour of old pots in the China Exhibit. And again, I was impressed by the pots in the exhibit… keeping in mind how old these pots are. Taken out of context of the museum exhibit, I think you could find most of these forms at any art fair nowadays!

A beautiful celadon teapot…

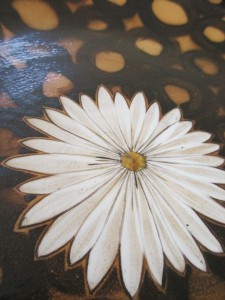
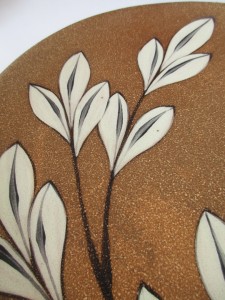
And a few examples of early sgrafitto… in graphic black & white…

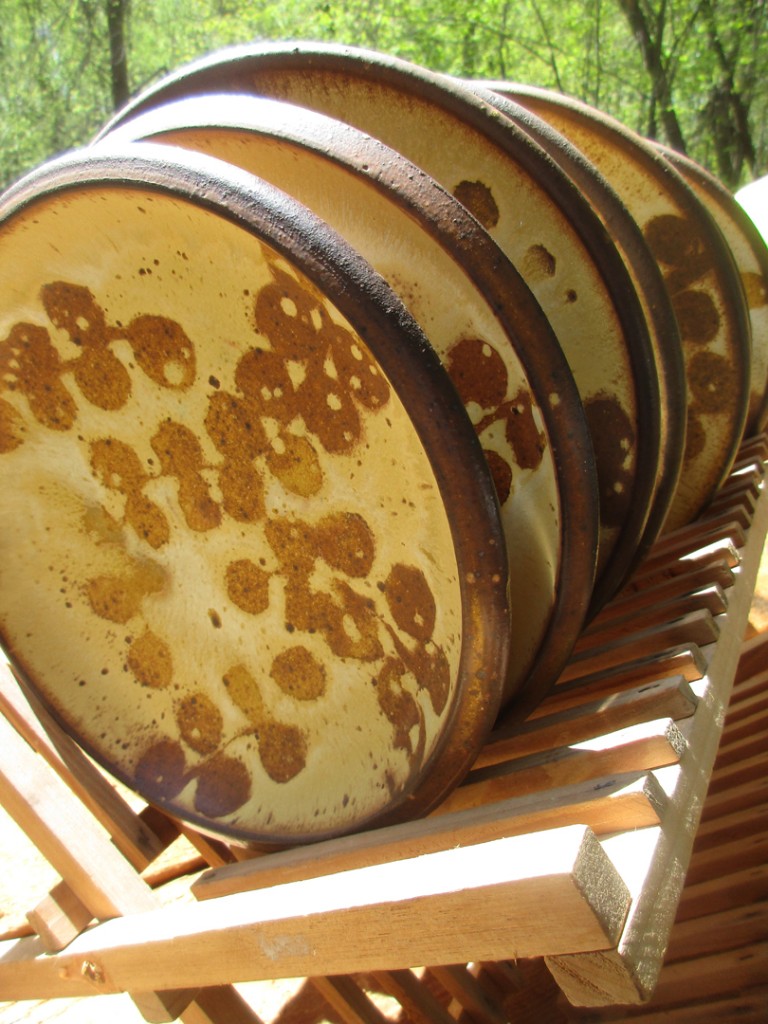
And again, saved my favorite for last… love the pattern, the design, the colors…
and the “rusty-ness” look of it.

Categories: bowls, classes, pottery, process, production

Last night in my pottery class we made a LOT of bowls!!! We started with a demo of how to make a good basic bowl. A bowl on purpose instead of a cylinder gone bad. We talked about gaining control of the clay and having a plan when you start. Sit down at the wheel and know what you’re going to make before you even start centering the clay.
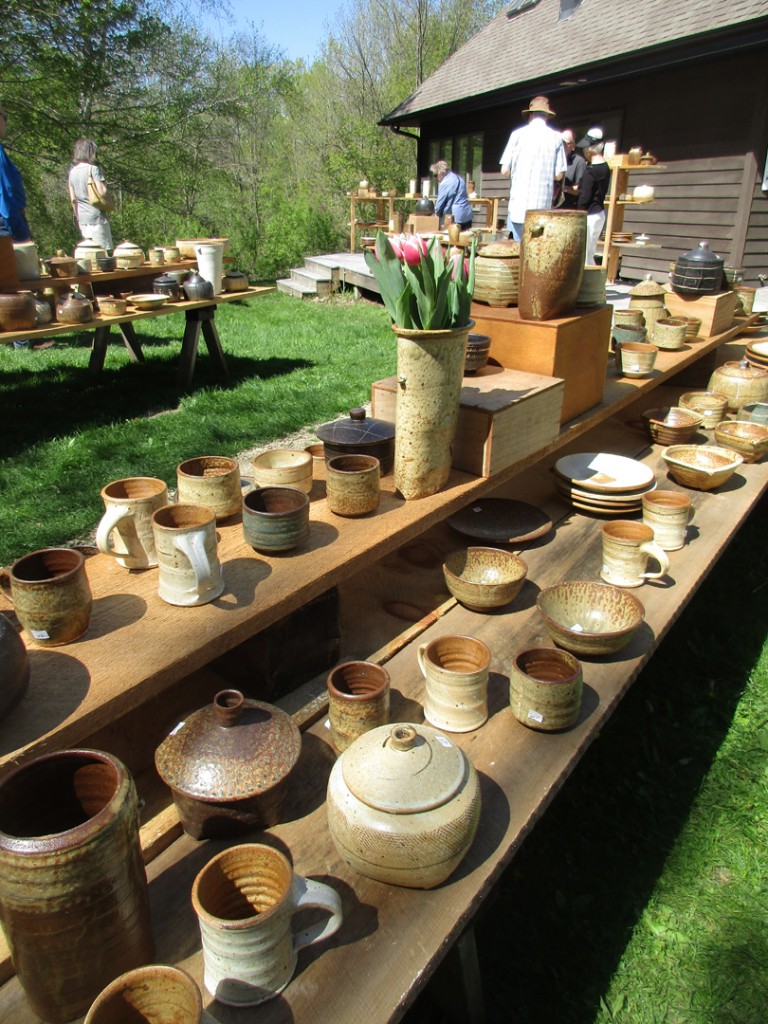
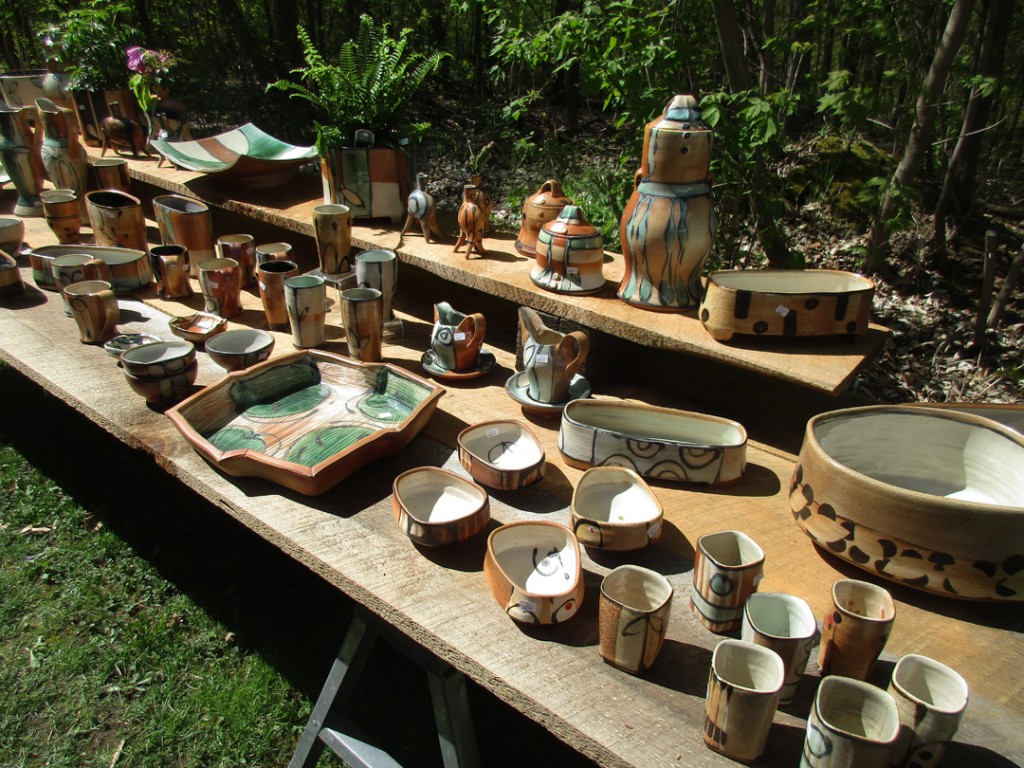
So I threw one bowl for my students… and then “released them” back to their own wheels. While they practiced, I threw 15 more bowls… all basically the same. Simple. Round. Plain. Then we reconvened for Part Two of the evening’s demo.

We discussed the importance of playing with the clay and making it your own. Anyone can make a simple bowl. But making it “special” is a lot more fun. So I went through some quick tricks they can all do to make their bowls a little more fun. And begin to express themselves past the plain, round bowl. And the importance of being diligent and committing to a design. Don’t be tentative… no one likes an “iffy” pot. To start making their bowls with a purpose.

Bowl #1 – Four simple finger twists giving four fluted details.

Bowl #2 – And if four is good, eight flutes might be better.

Bowl #3 – A thin flange flared out to create a wider, decorative rim.

Bowl #4 – And if thin is good, thicker might be better. A wide flanged bowl… kinda like the ones you get at a fancy restaurant. Large bowl with one little bite of food in the bottom.

Bowl #5 – So why not combine the two – flanged & fluted rim.

Bowl #6 – A hollow rolled rim to give a bit of visual “bulk” and a grooved spiral.

Bowl #7 – A simple flower made in the bottom of the bowl with a dragonscale tool.

Bowl #8 – A split rim, then pinched back together in four places.

Bowl #9 – A sweet split rim “fluted” out with a round stick tool.

Bowl #10 – Another split rim with four flouted OUTs, and four fluted IN’s!

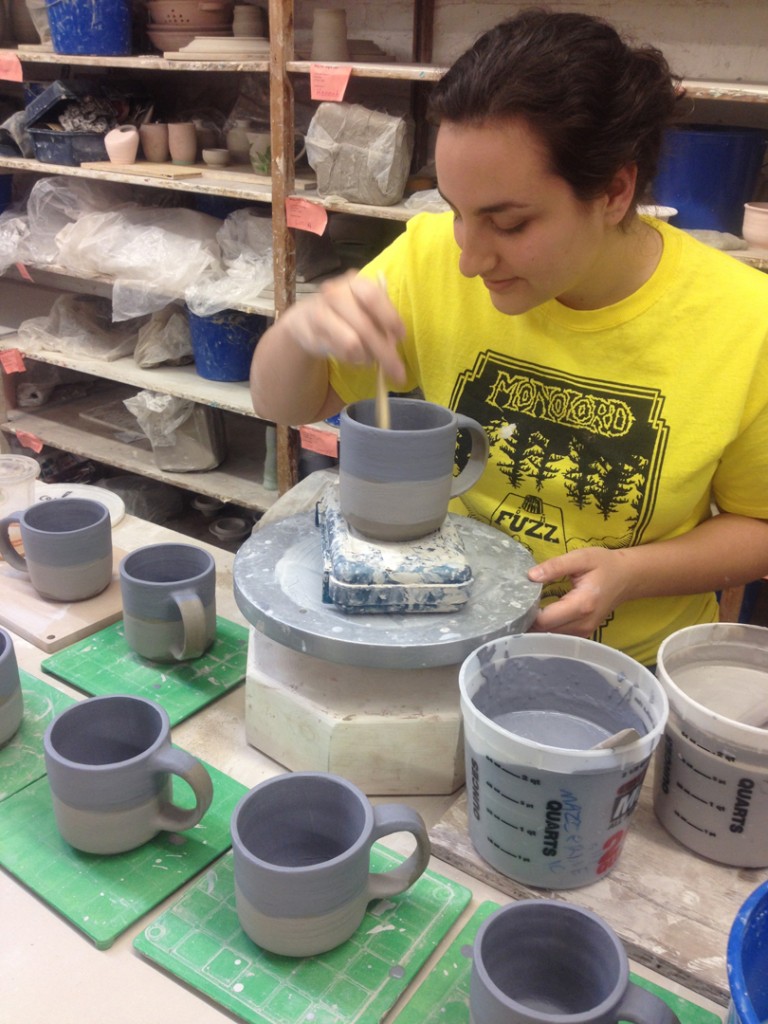
Then we discussed the fun option of colored slips. Basically a layer of colored clay “skin” that they can paint onto their pots. It’s a quick & easy way to add some flair to the pots. And sure, you can paint them with slip and leave them plain… or…

Bowl #11 – A thick layer of white slip and a spiral created by dragging a wood tool through it while the bowl was still rotating on the wheel.

Bowl #12 – Another layer of white slip. A paintbrush spiral in the bottom. Then some horiziontal banding along the top made with a wood tool pressing through while rotating. Then a little “basket weave” pattern by simply dragging through the bands.

Bowl #13 – A little bit thicker layer of slip, maybe double the normal amount, and then some fun finger squiggles… yep, my finger!

Bowl #14 – Another layer of white slip- then some decorative chattering through to reveal the clay color. Chattering is just rhythmic tapping of my rib through the slip while the bowl was spinning.

Bowl #15 – The plan here was to make a wide flange, paint it with slip and then do some decorative “fun” on the flange. But my students (err, Catherine) talked me into leaving it as it is for now… and then doing some stamping on the white slip. Their hope is that the stamps would reveal the clay color when pressed in. I doubt that it will. I think the white slip will just press in along with the stamp. But we’ll see…

Bowl #16 – A little colored ombre effect by blending two colors.

So for now they’re under wraps in my studio.
Part Three of the demo will happen there when I start stamping & detailing them all a little bit more. I’ll add more photos here as they progress.

Categories: bowls, classes, pottery, process, production
Categories: pottery

Not for the faint of heart… or those who hate the twirling teacups at Great America.
But this video is pretty amazing thanks to the folks at Colossal online.
Simple enough… camera attached to the wheel… so it’s wheelthrowing a bottle from
the clay’s point-of-view! Hang on tight while we go for a spin!!!

As seen on Colossal
Watching a ceramist work at a potter’s wheel is a mesmerizing and nearly meditative process as the wet clay slowly morphs into shape, spinning so quickly it loses definition almost completely. Eric Landon from Tortus Copenhagen was curious to see what things might look like from the clay’s perspective and mounted a camera to the edge of a potter’s wheel as he worked on a vase. It’s fascinating to see the world become a blur while the clay and wheel remains in sharp focus.

Click here for the fast-spinning, mesmerizing, wheelthrowing video!!!
And here’s a few “still-life” sneak peeks for those who don’t like to spin…

For more great videos and so much more… click here to visit Colossal online.