Gary Jackson: Fire When Ready Pottery
A Chicago potter’s somewhat slanted view of clay & play
Categories: porcelain, process, textures

So I’ve had this porcelain platter under plastic for quite some time now…
pretty much back to the “Sgraffito Surprise Challenge” for my Throwdown Class.
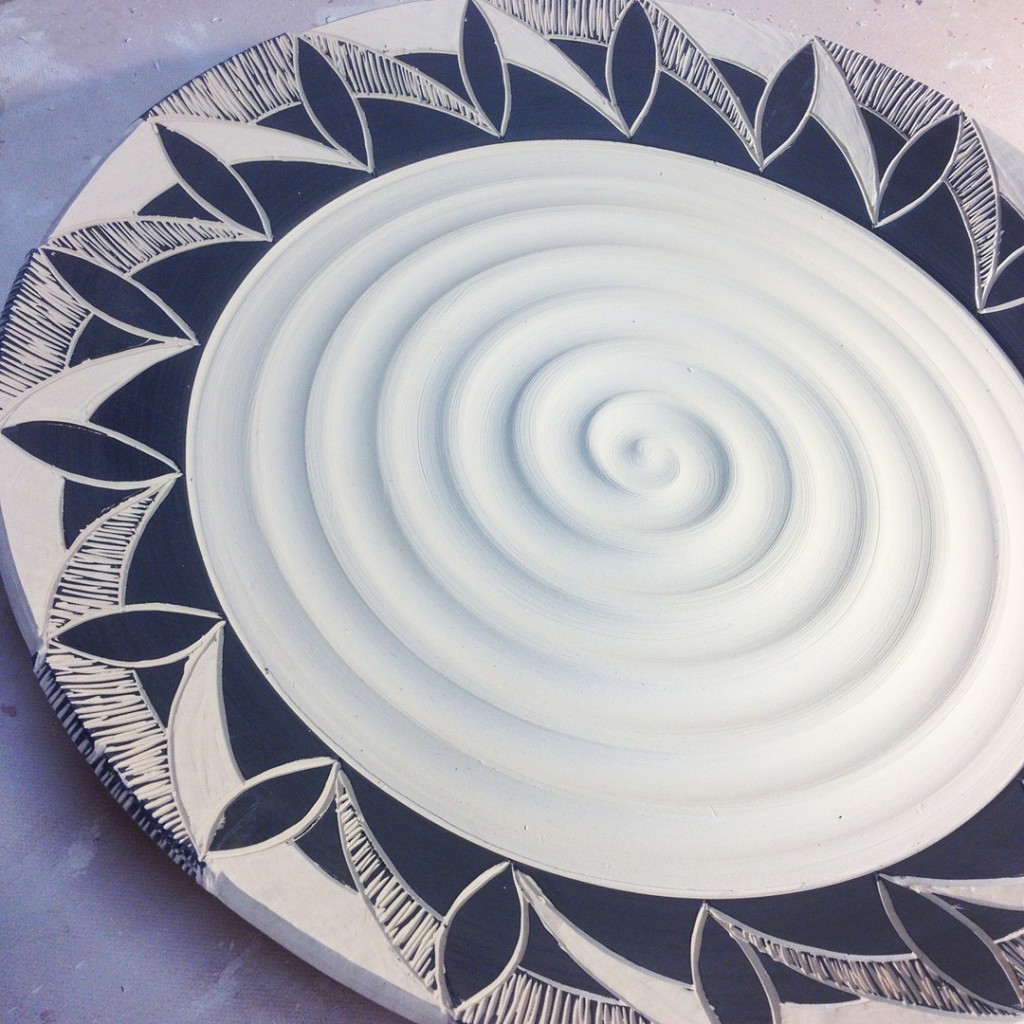
I threw the platter shortly after that and added a layer of black slip. Unfortunately, once it was under plastic wrap, the urgency seemed to dissipate as well. Sure, I had to spray it a couple times… but it all seems good. So I trimmed it last night and started to decorate it with some sgraffito carving.

I started with a “template” leaf shape I cut out of a Post-it Note…
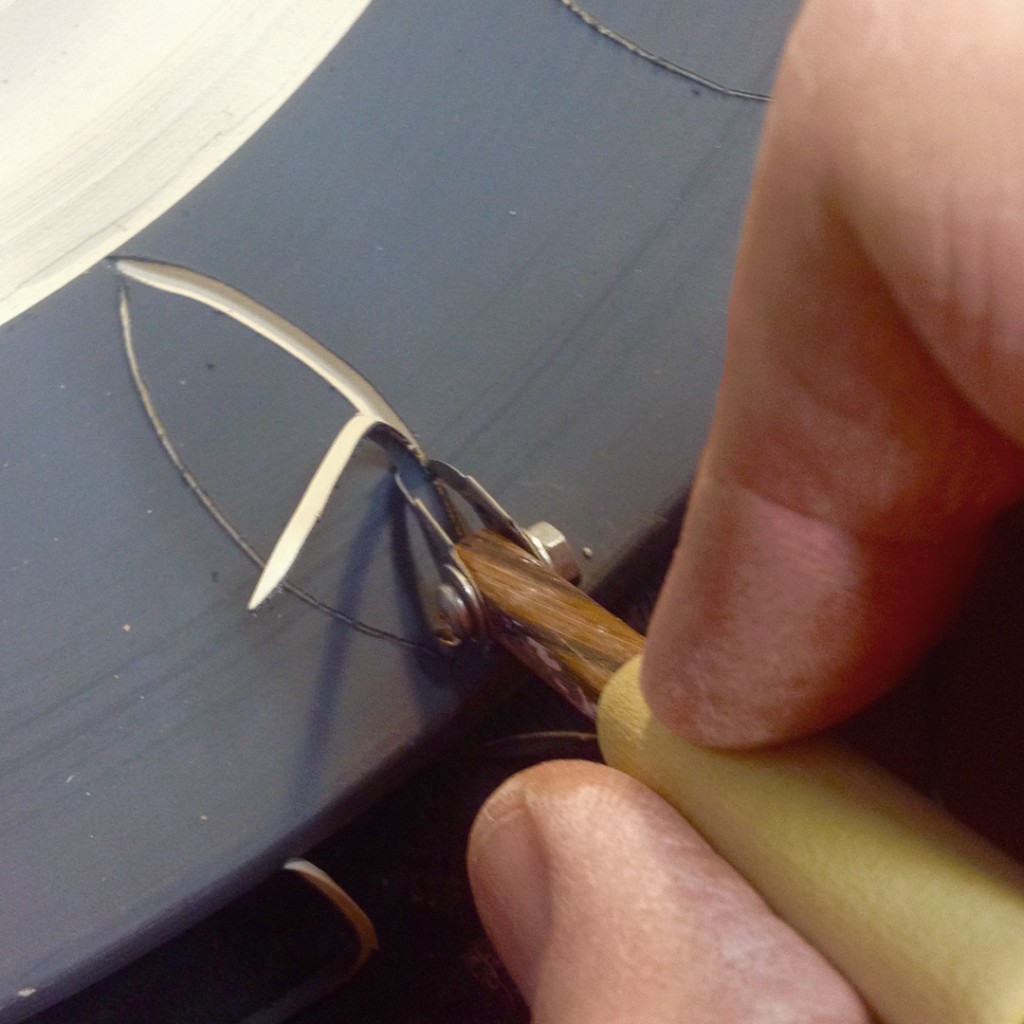
that’s the first thing I found! So I traced it into the black slip with a wire needle tool.

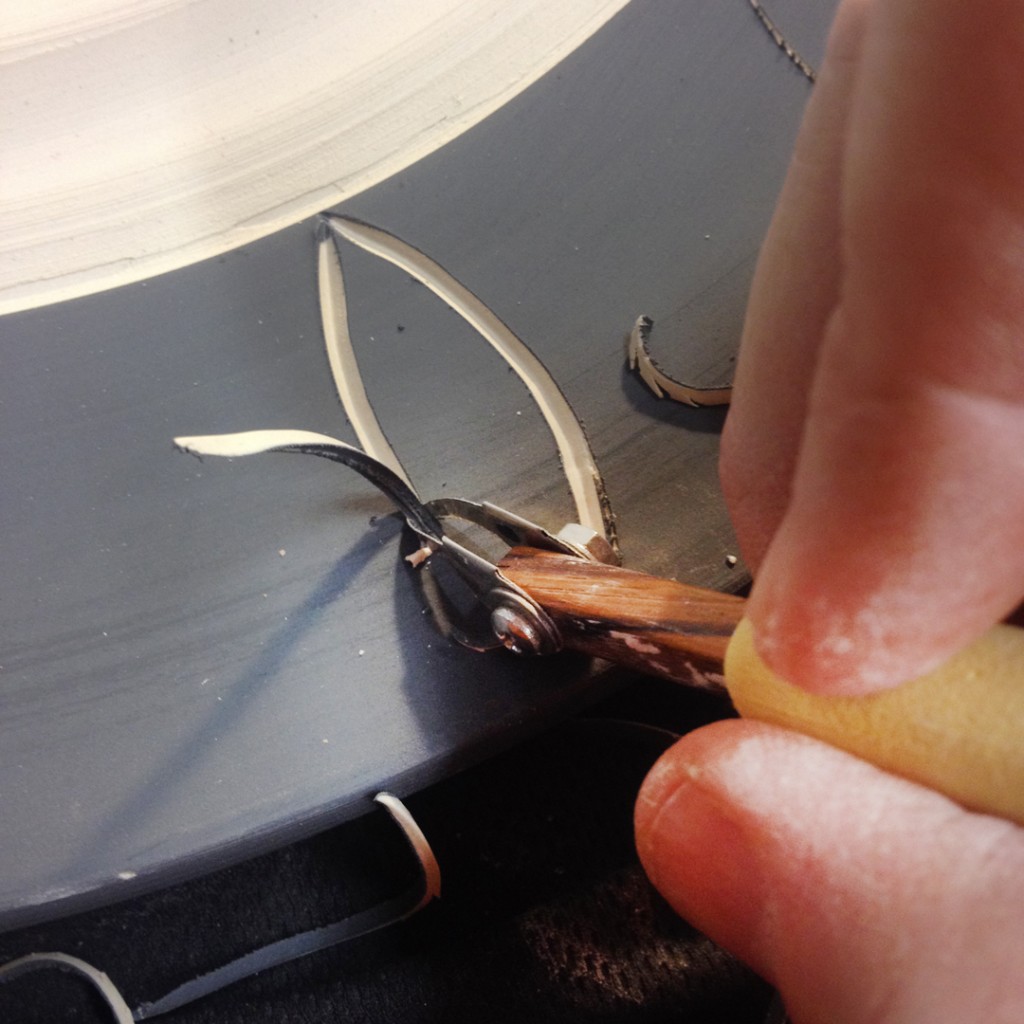
The first cut is always the toughest!
It’s tough to COMMIT… once you start, there’s no way to turn back!

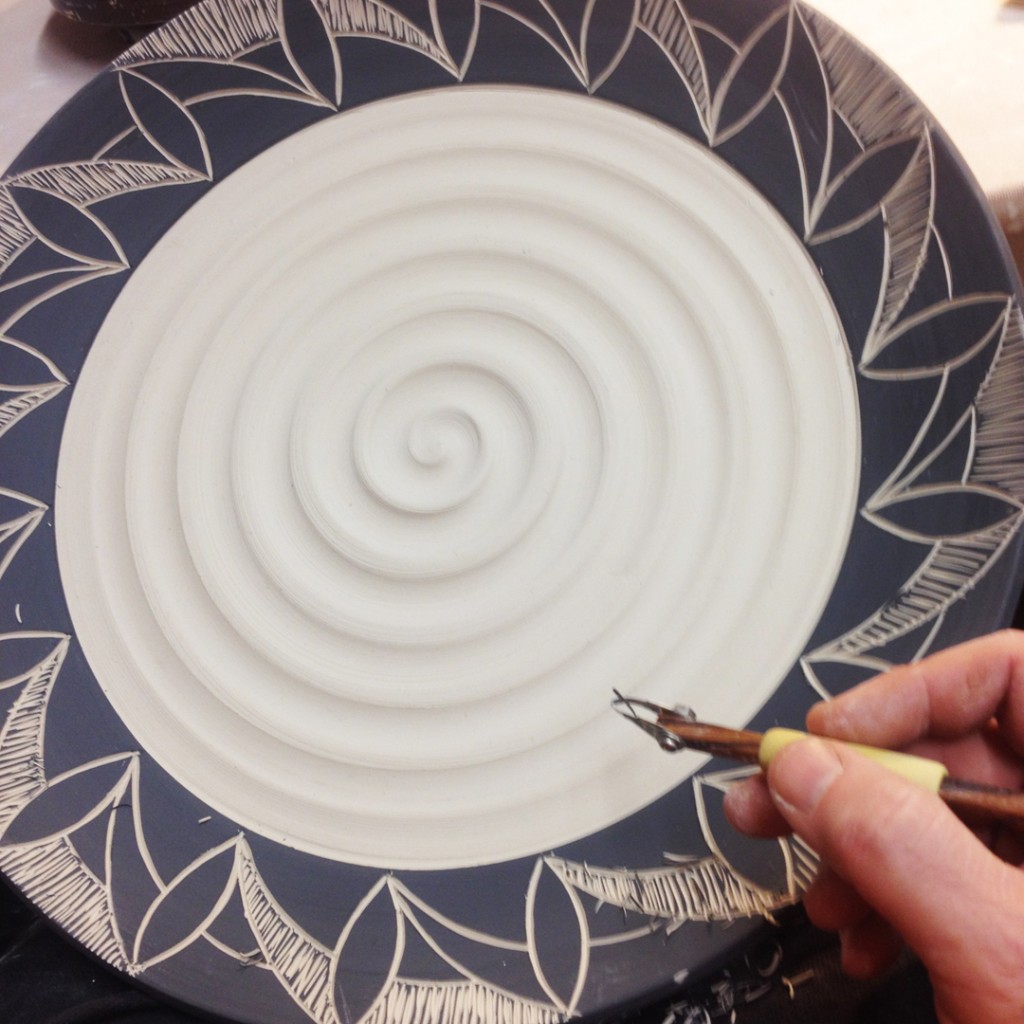
And I love using me DiamondCore Tools – especially this V-tip Carving Tool – my fave!!!
Clean, crisp, lines that carve out SO smoothly. Like buttah!

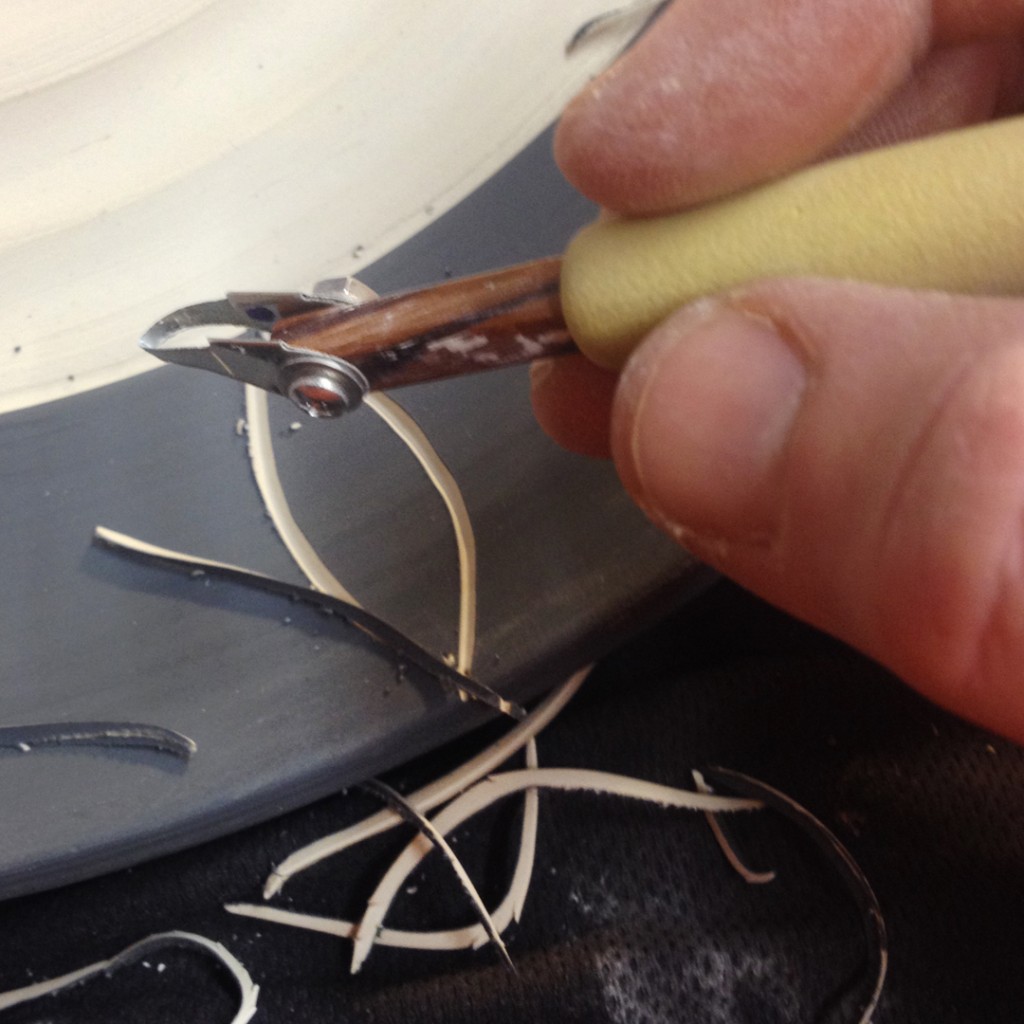
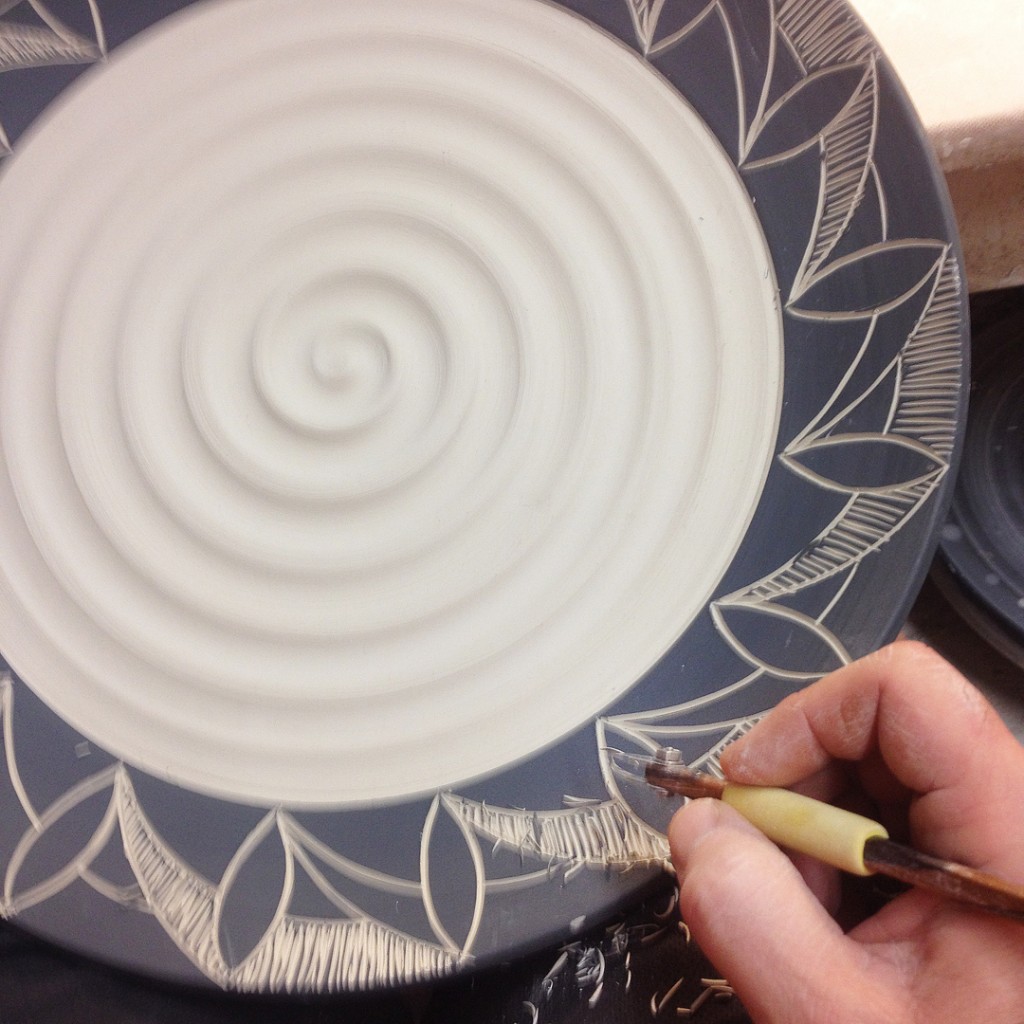
Once I had carved out the first round of petals, I started freehanding some more curves.
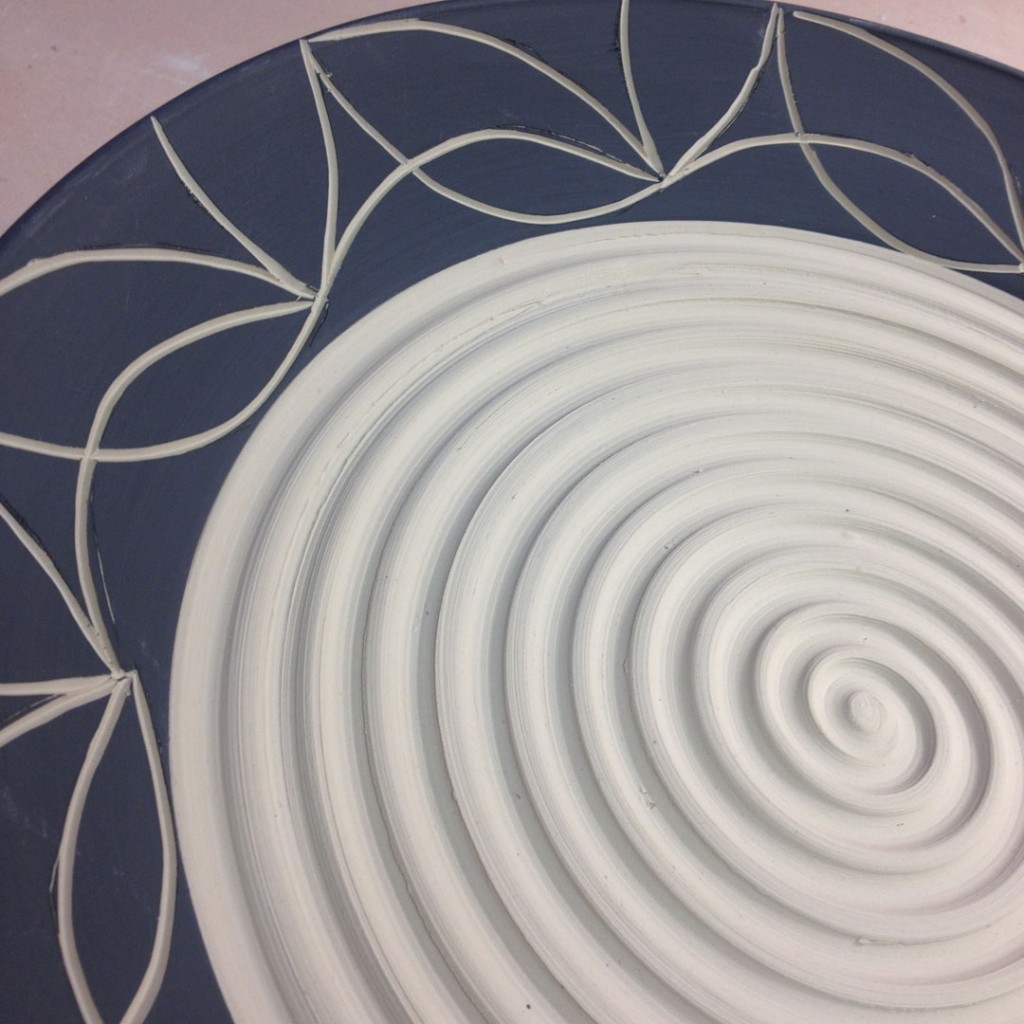
And then I decided to do some “shading” with some straight lines in some of the sections.
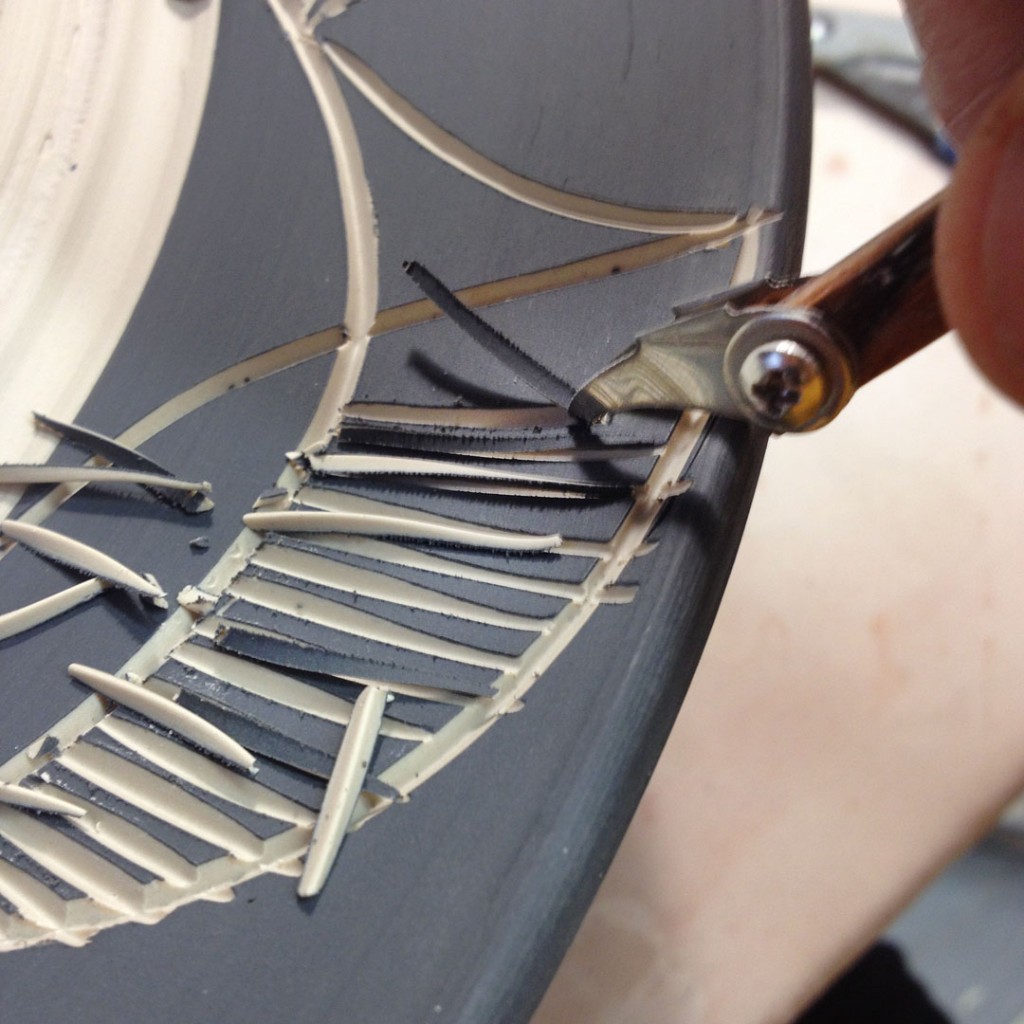
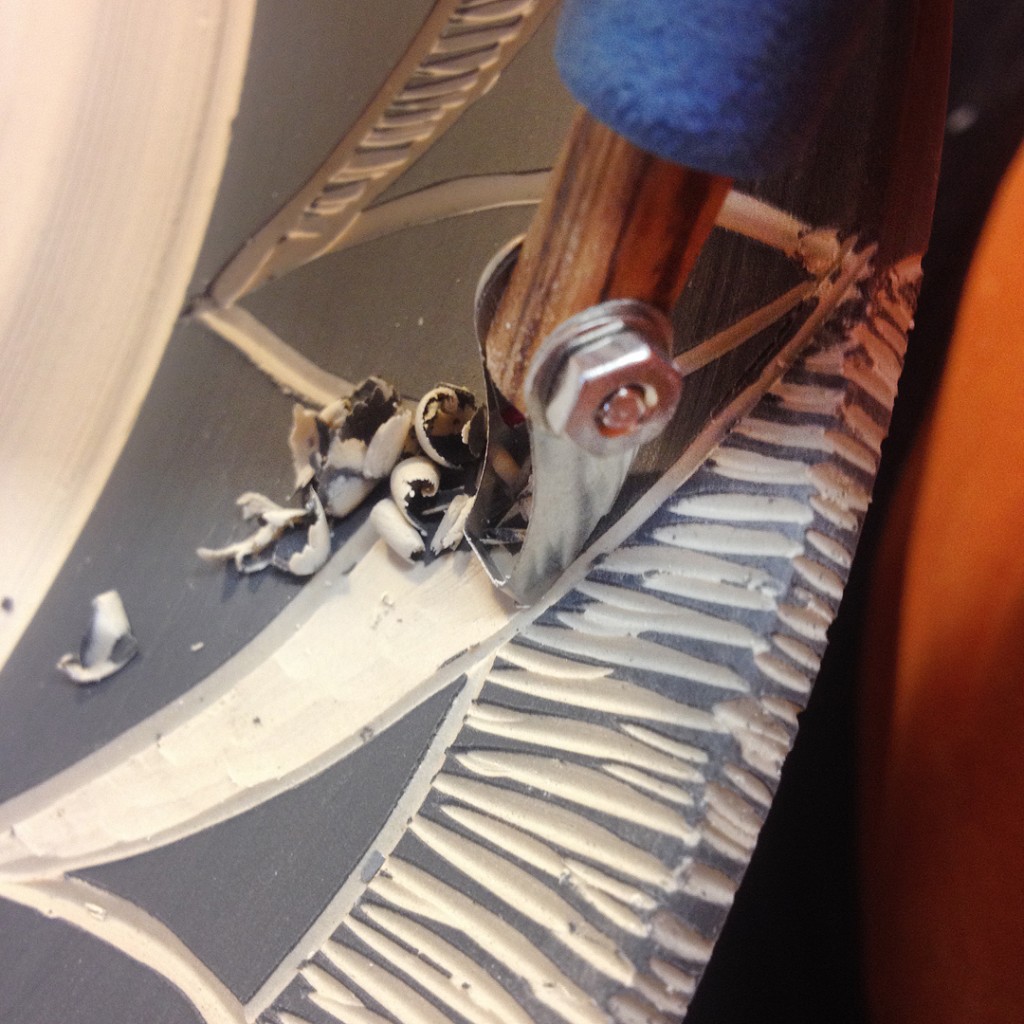
I sort of love how the trimmings just lay there… twisting, turning, scattering.
So much fun to simply blow off to remove!
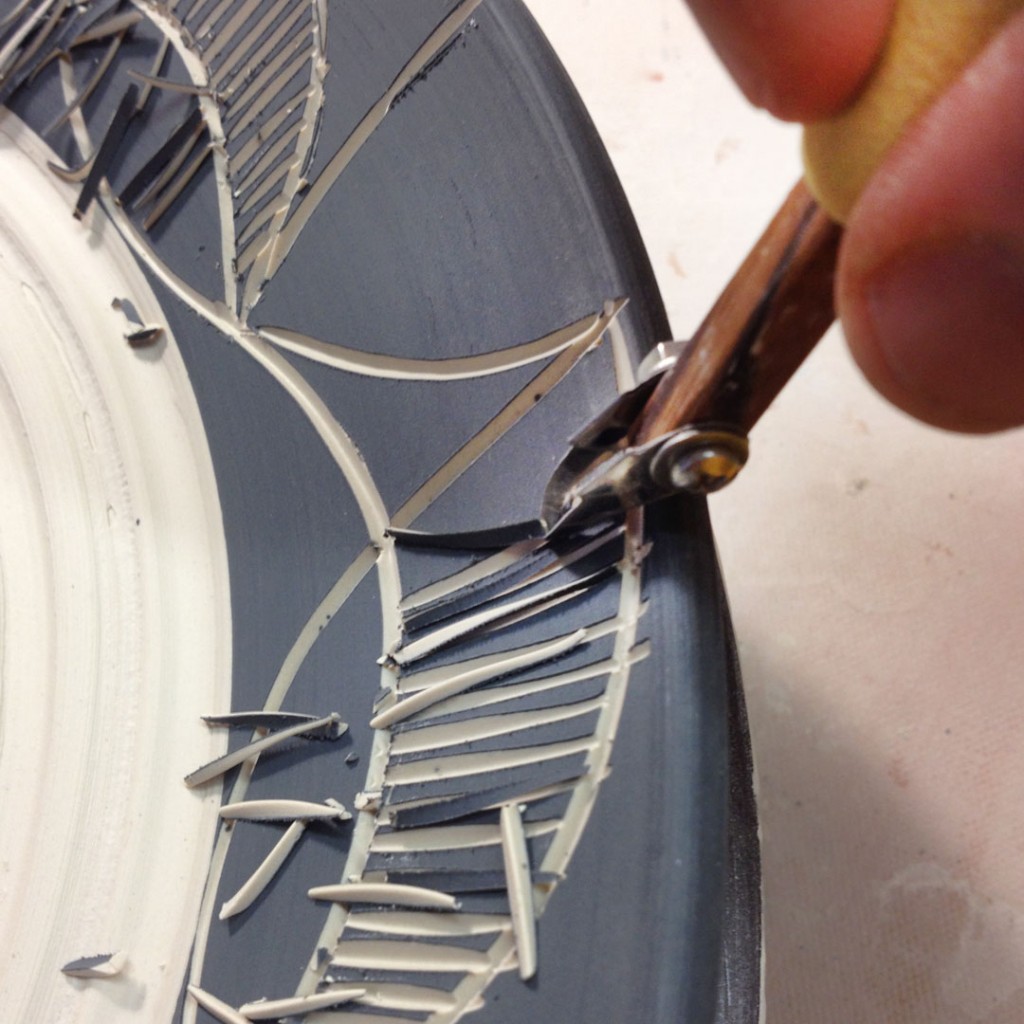
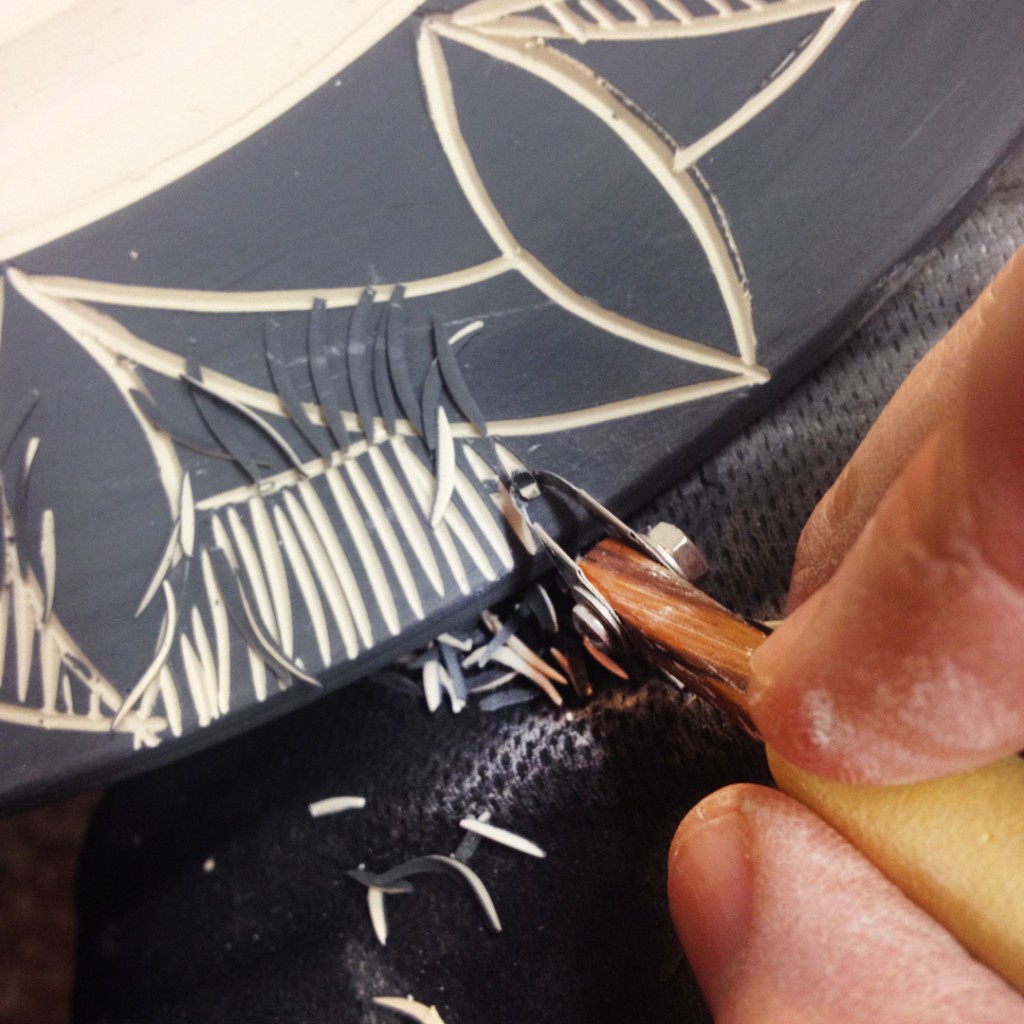
Then I switched to the DiamondCore square-tip carver to clean out a few sections to make them smooth & white.
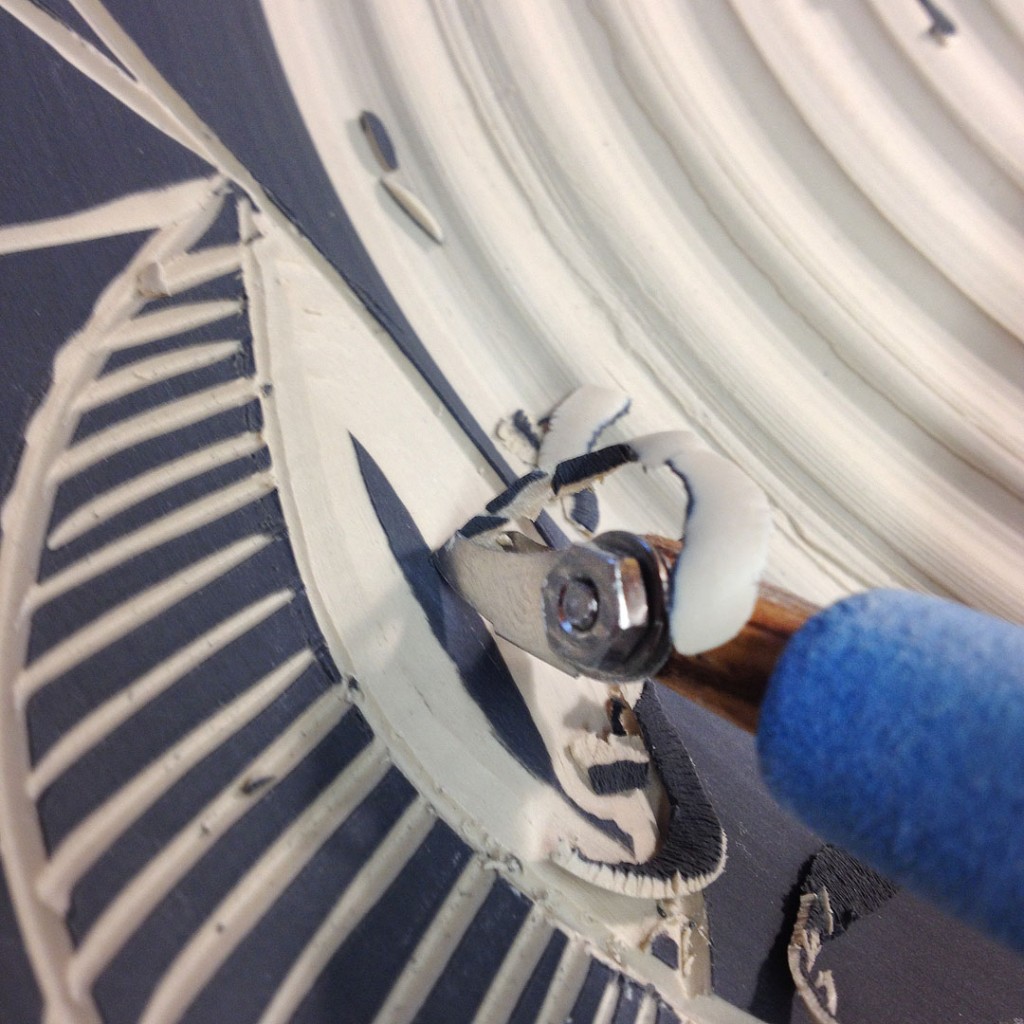
After seeing them smooth, I decided I like the texture better. So I went back in after cleaning them with my DiamondCore V-tip tool to add some more texture lines in the white sections.

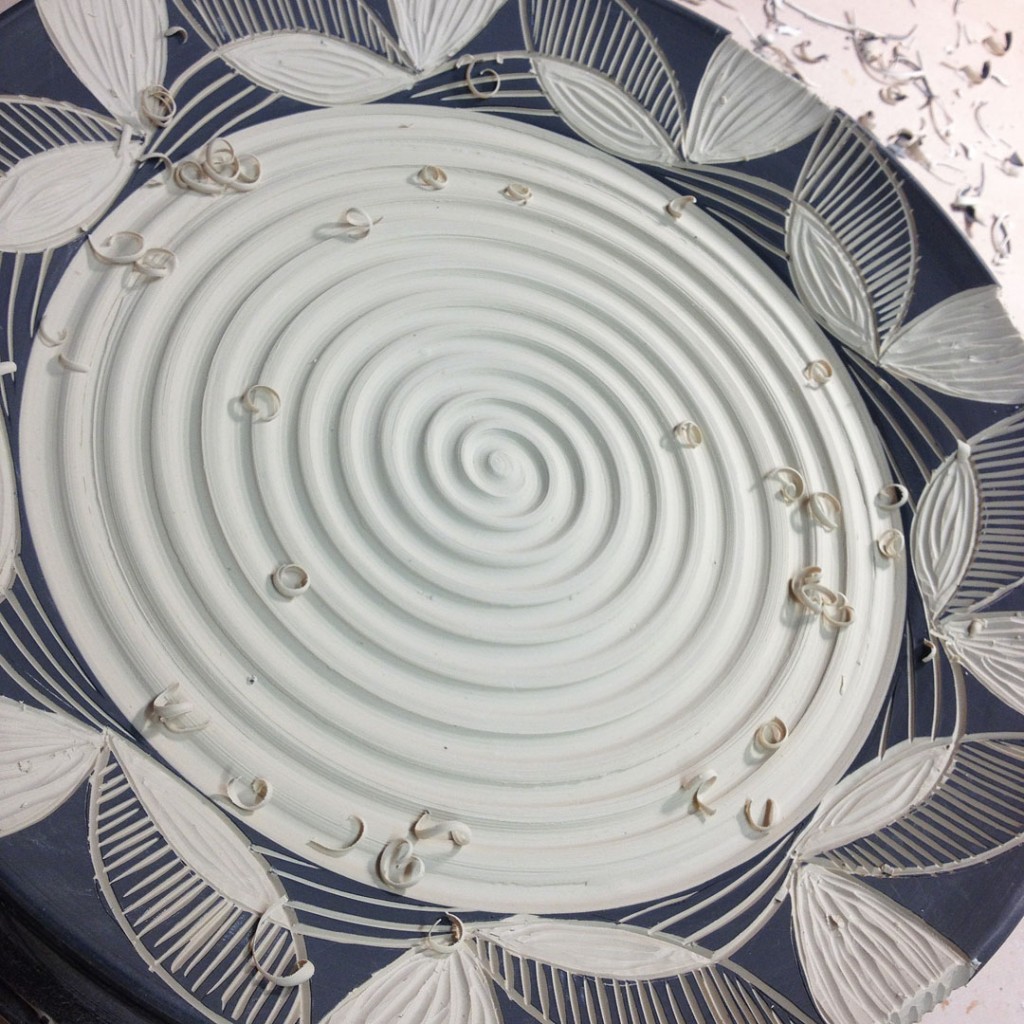
Almost there… lots of trimmings piling up!!! I love a good work in progress shot!
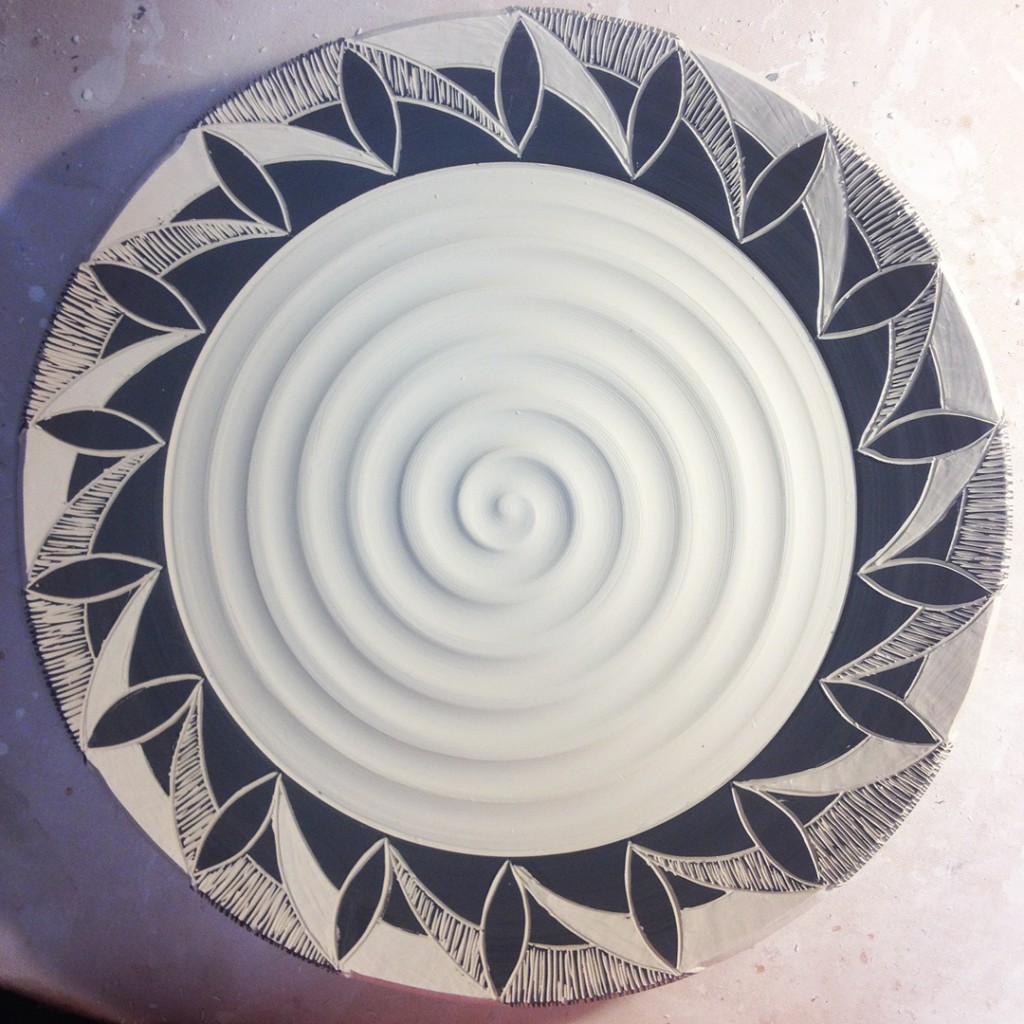
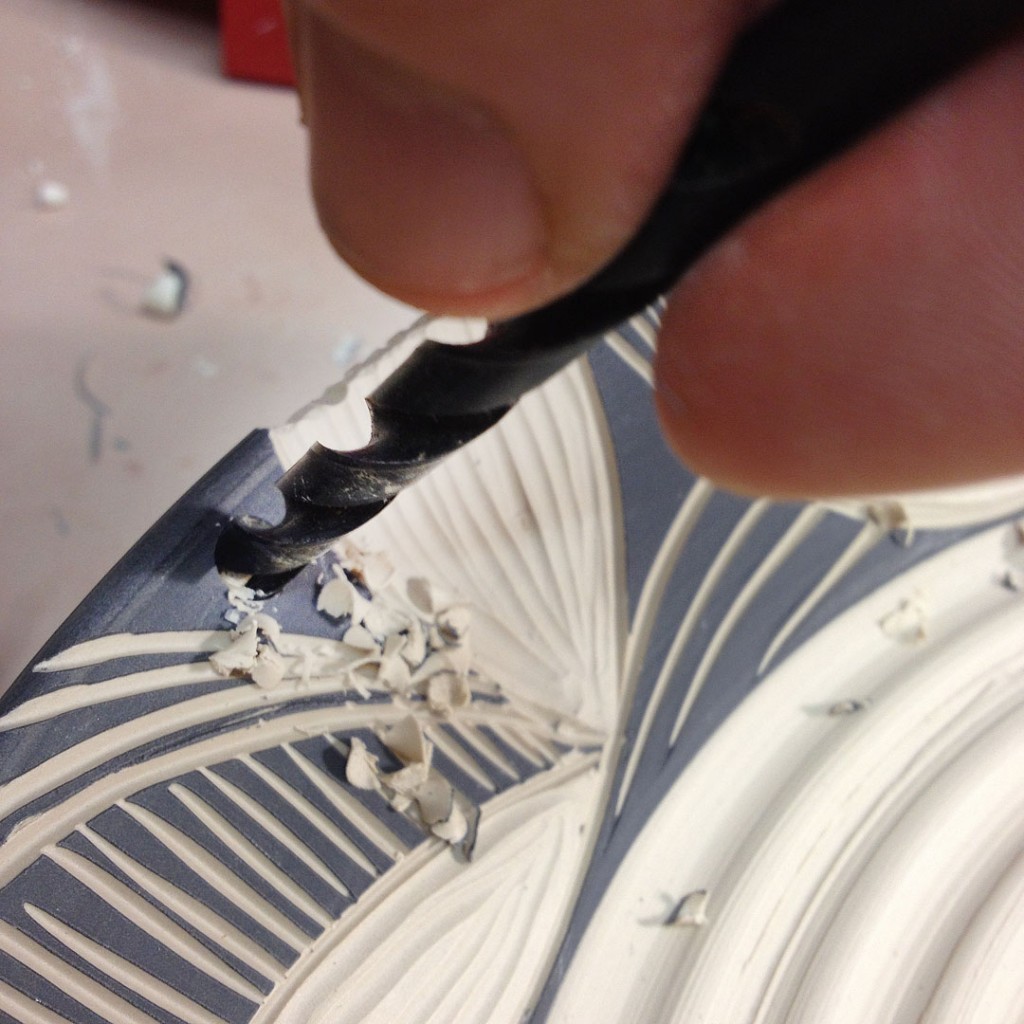
But then I thought that there were a couple too many fully black sections. And yet I knew I didn’t want to change them to white or “fray” as they would contrast with the sections next to them. So I decided to add a few white dots… what wetter way than a quick turn of a drill bit?!
And there it is… “done” for the evening and now back under plastic.
Of course, forcing yourself to stop sgraffito-ing is sometimes the hardest part.
So I “think” I’m done… but I may need to do a few more refinements when I get back in?!

And now
Categories: artists, lillstreet, porcelain

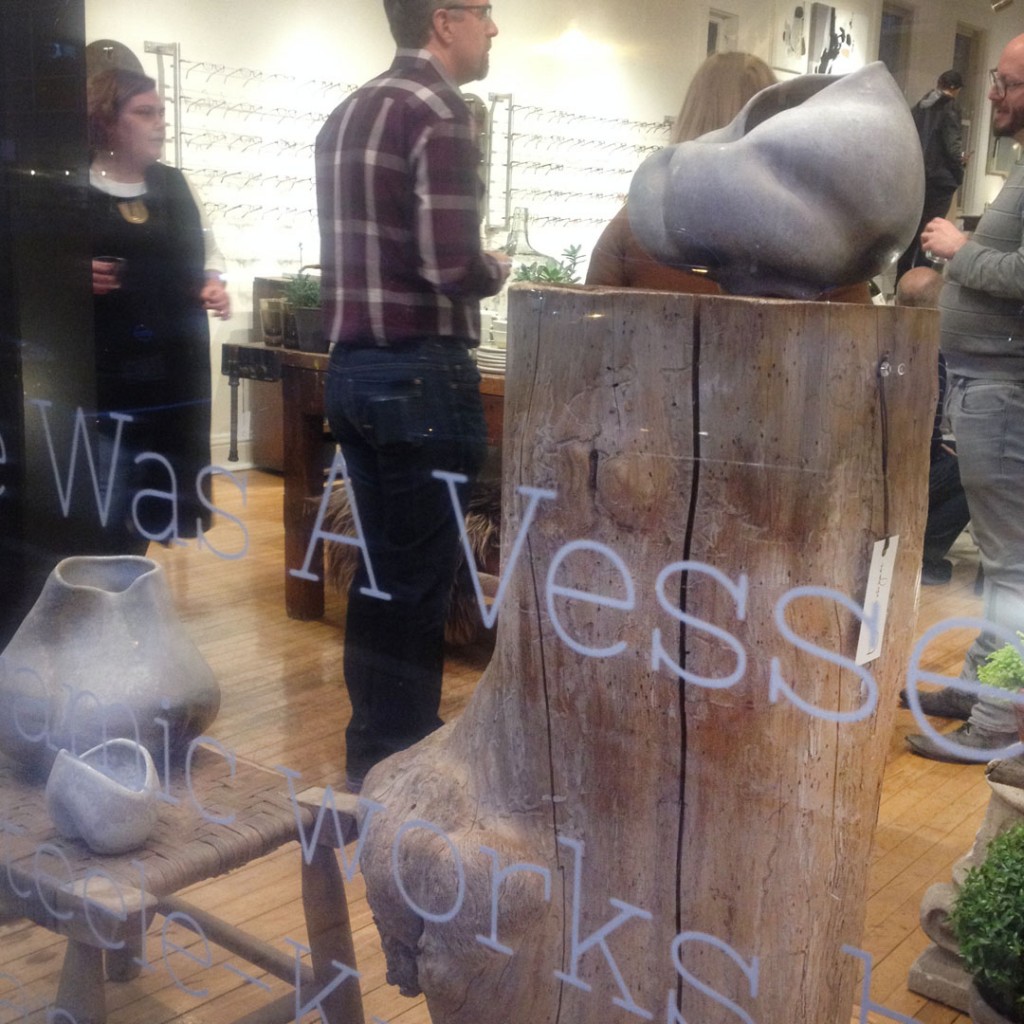
It was so much fun to see one of my current pottery students showing off a bit! Tonight was the Opening Reception at iD Chicago in Bucktown for new ceramic pieces by Shannon Steele-Knuckles. It was great to see the pieces she’s been working on – all thrown on the wheel and then altered, glazed and altered again. Using layers of glazes, underglazes & some sandblasting to get her beautiful finishes. She was so passionate & inspiring when she talked about her work it was contagious. Beautifully done Shannon!

Save

Save

Categories: mugs, porcelain, soda-fired, stamped

Fresh out of the soda kiln just in time for Mugshot Monday.
Lots of colors & flashing effects on this little one!

Save

Categories: patterns, porcelain, process

So after accepting the “thrownback THROWDOWN challenge” from Taylore…
and throwing my platter with a layer of black slip, it was time to start the sgraffito decoration process. Now let me just say from the git-go, that I am NOT a proficient sgraffito-ist. In fact this might be my very first intentional sgraffito project… something more than just some  cut-line leaf patterns. I had to do a bit more planning on this one to determine my pattern, with textures and contrasts before even starting. When I finally had a plan in my head, I could begin the process. And here we go…

I started with a pointed oval cut-out pattern and a needle tool.
A little light tracing to get me started before I put the first cut in.

It’s hard to turn back once that first cut is in place!

The second cut?… not so bad..

Loving my new carving tools from DiamondCore Tools.
Great quality blades giving me nice smooth lines! They glide right through the clay!

I must admit that once you get going it gets kind of addictive! A little here. A little there.
Some texture here… some “shaded” areas with half of the slip carved away.
I like the color variation and the texture working together.

After awhile my pattern started to come together.
Kind of an organic leaf pattern with a bit of a stylized Art Deco twist.

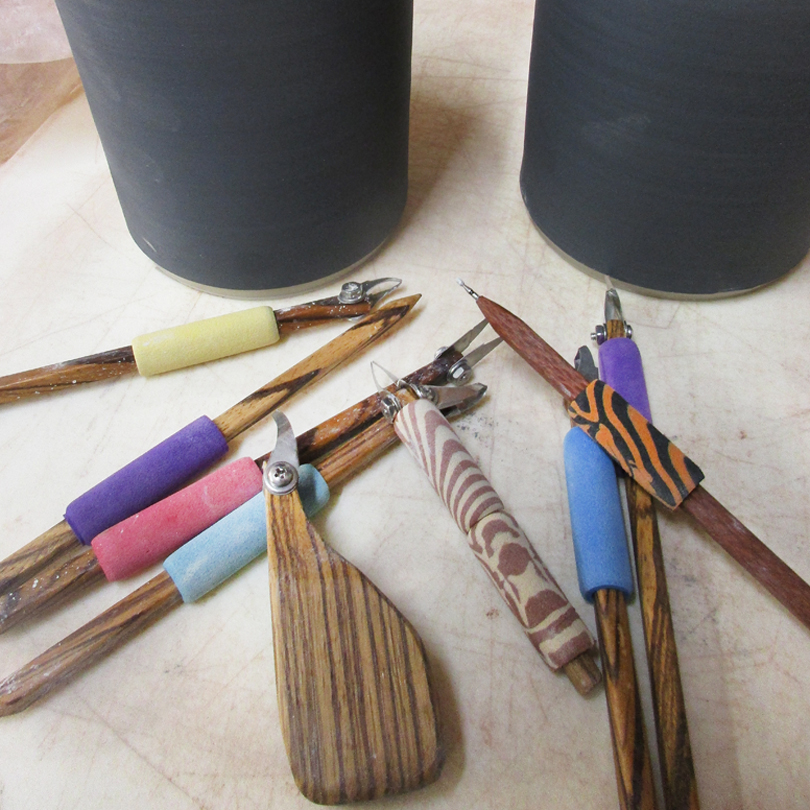
So lucky to have this great collection of carving tools. Each blade is a different shape for a different cut mark. Each of them extra sharp thanks to DiamondCore Tools. The sharper the blade, the smoother the cut. So fun to finally put them to a real use… as they were probably intended!!!

But I will admit that it was tough to use them all… as I have definitely found my favorite!!!
It’s the V-tip Pencil Carverthe yellow one! I love the sharp beveled edge V-cut it makes into the clay. A bit of width to the cut with a crisp bottom line inside.

Part way through I switched to the Square-tip Relief Carver to do a little relief carving apparently, who knew?... but more to just take out wider areas of the black slip. Trying to create a cleaner white area with a bit of a deeper, smoother cut. And some extra color contrast happening on my platter.

After awhile feverishly working away in the studio, I ended up with this… for now.
And I’m pretty darn pleased with myself. Not bad for a first attempt…
might be onto something here?!

Although I’m still not 100% confident that I’m done carving?!
I think one of the hardest parts to this is actually knowing when to call it done.
You could carve away forever… and end up with a plain white plate!!!

So we’ll see… the “Sgraffito Surprise Challenge” continues tonight in my LILLSTREET THROWDOWN class. Each of my students should be bringing in their complete platters too. I can’t wait to see them all done. I’ve seen a few along the way, a few sneak peeks here & there, but I can’t wait to see them all. Until then, I think I might have an hour or so before class to consider adding a bit more… because you know my theory… More Is More!
Save

Categories: classes, porcelain, wheelthrowing

Last week my class tackled sgraffito for the first time!
They worked on cylinders and then were challenged to throw and finish a sgraffito platter by next Thursday.

So last night I was at the studio and I saw a handful of my students working hard on their assignment. So good to see them all taking the challenge to heart… and helping each other so much. So supportive. So encouraging. But then the Throwdown Challenge was Thrown Back at ME!!! One of my students challenged me to do the sgraffito platter challenge as well. And you know how I LOVE a challenge!!!

I’m in.
So last night I threw my porcelain platter… and tried to dry it a bit faster than normal.

After awhile, I added a band of black slip along the perimeter. This will be the “canvas” for my sgraffito decoration. Now I just need to figure out a plan… what my design is going to be.

Oh yeah, and I need to find some time to work on this before Thursday night’s class?!!!!
That’s the really tough part!

Save

Save

Save

Categories: clay, porcelain, process, studio

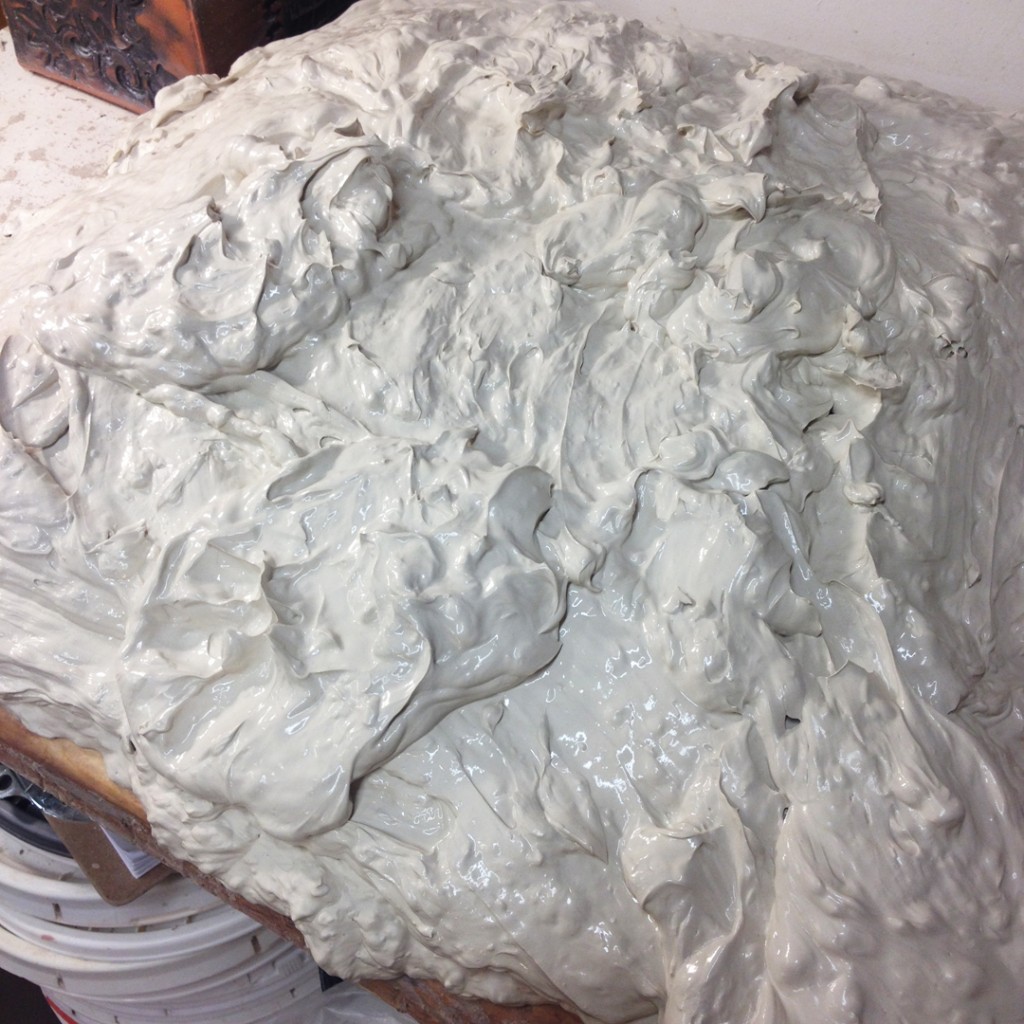
Another pile of slop! This time it’s a creamy blend of porcelain reclaim sitting on my plaster bat. Should be ready to wedge in a day or so… and then it’s FREE CLAY ready to go!!!

Save

Categories: porcelain, process, stamps, tools

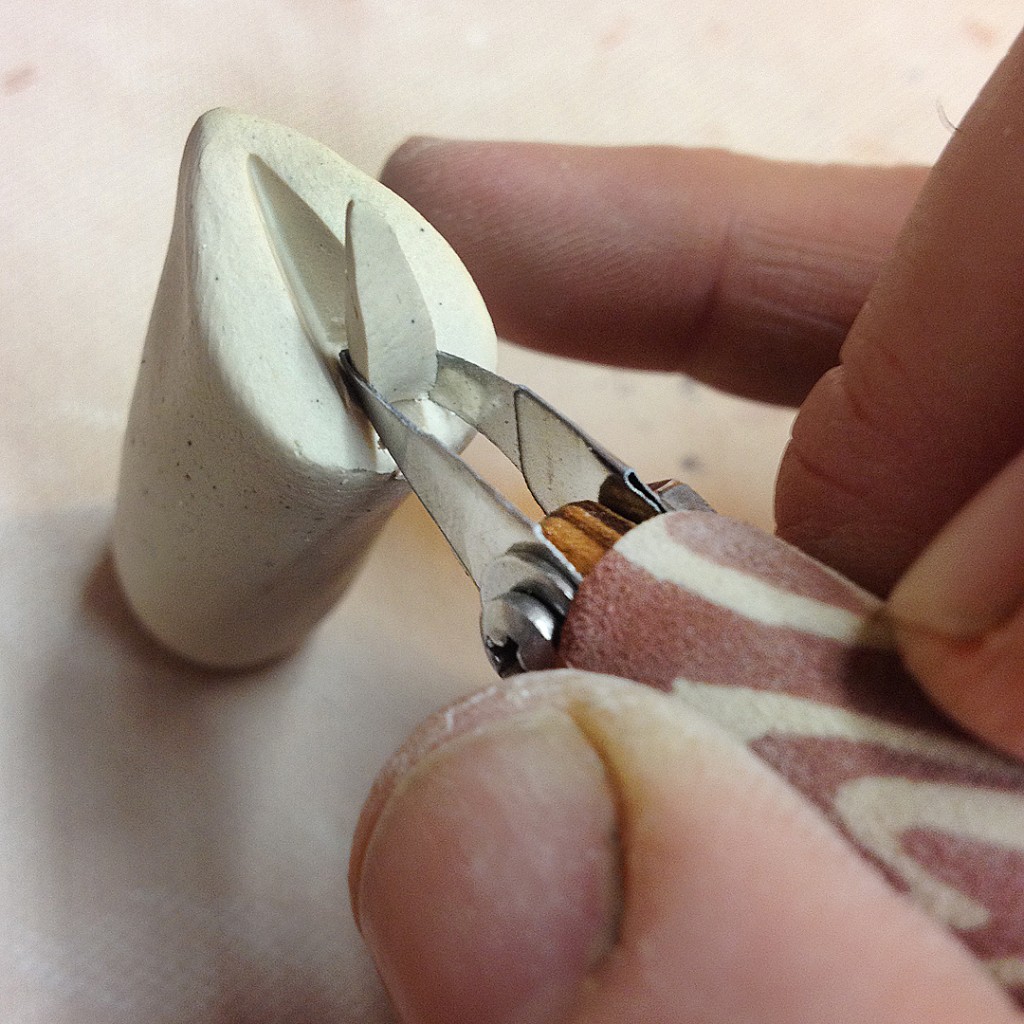
Just making some new stamps for the next set of pots coming soon. And for the first time, I decided to see what would happen if I tried my new carving tools from DiamondCore Tools for stamp-making?! Huge potential here with these great tools… I just think I need to let the clay stiffen up more & go bigger!!! No time to be timid with sharp Zebra Tools from DiamondCore!!!

Save

Save

Categories: mugs, porcelain, soda-fired, stamped

Pretty little porcelain… stamped & soda-fired mugs for Mugshot Monday!

Categories: artists, classes, patterns, porcelain

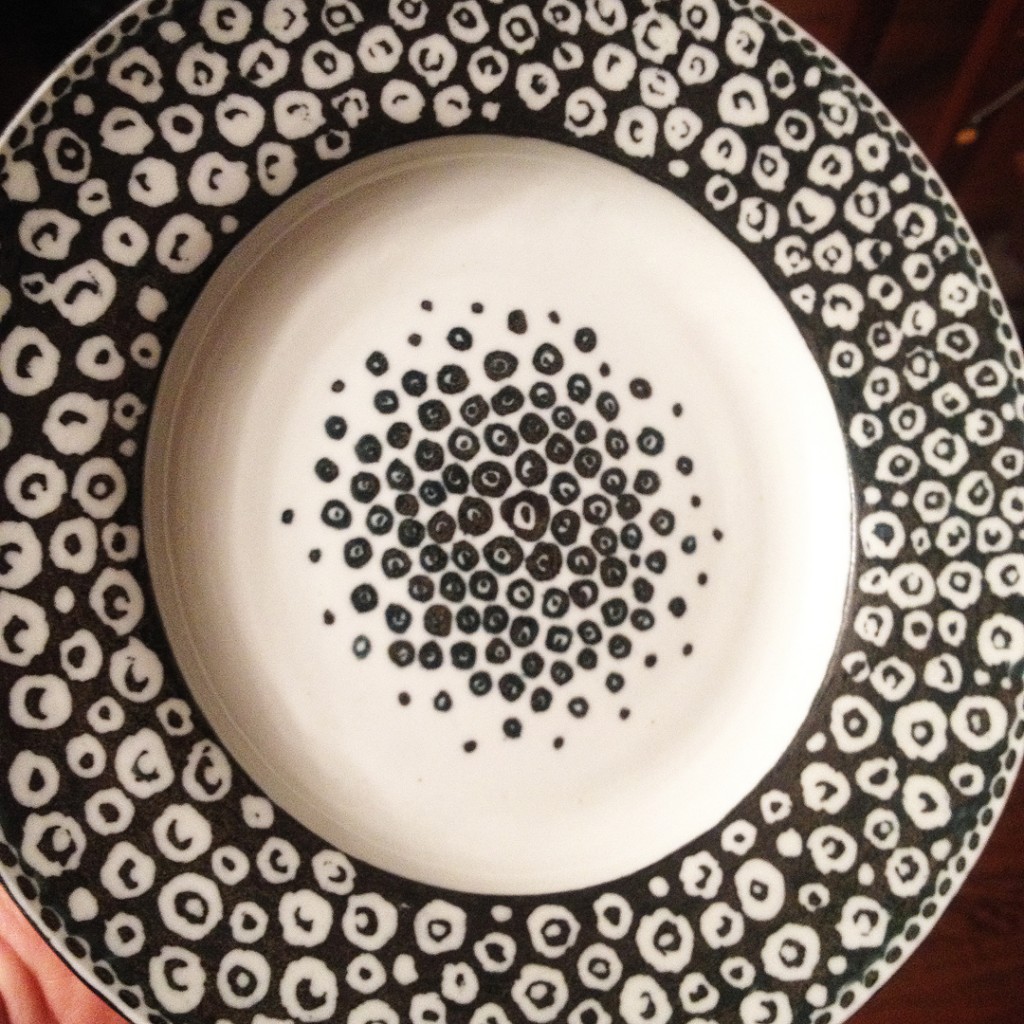
As part of our last pottery class, my students were challenged to make a plate for our class White Elephant type trading-stealing game. After a lot of fun & trading, I came home with this porcelain beauty made by my teaching assistant Susan Slogoff. Using liquid latex & black underglaze for her stunning surface design.

Save

Categories: lillstreet, porcelain, soda-fired, vases

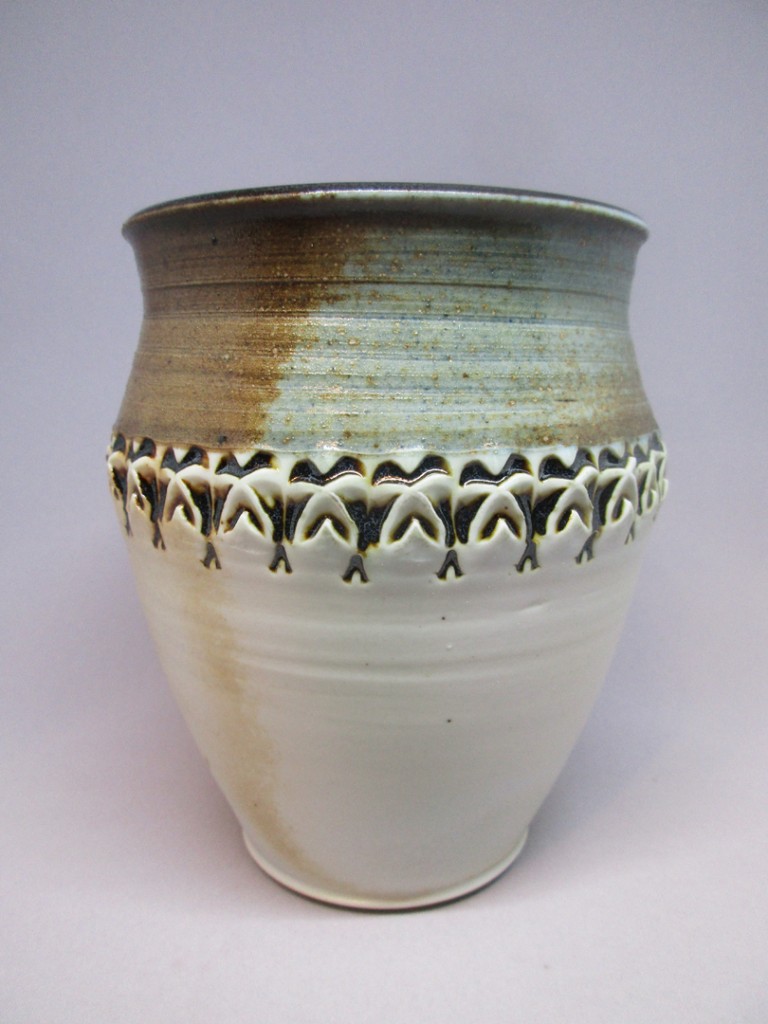
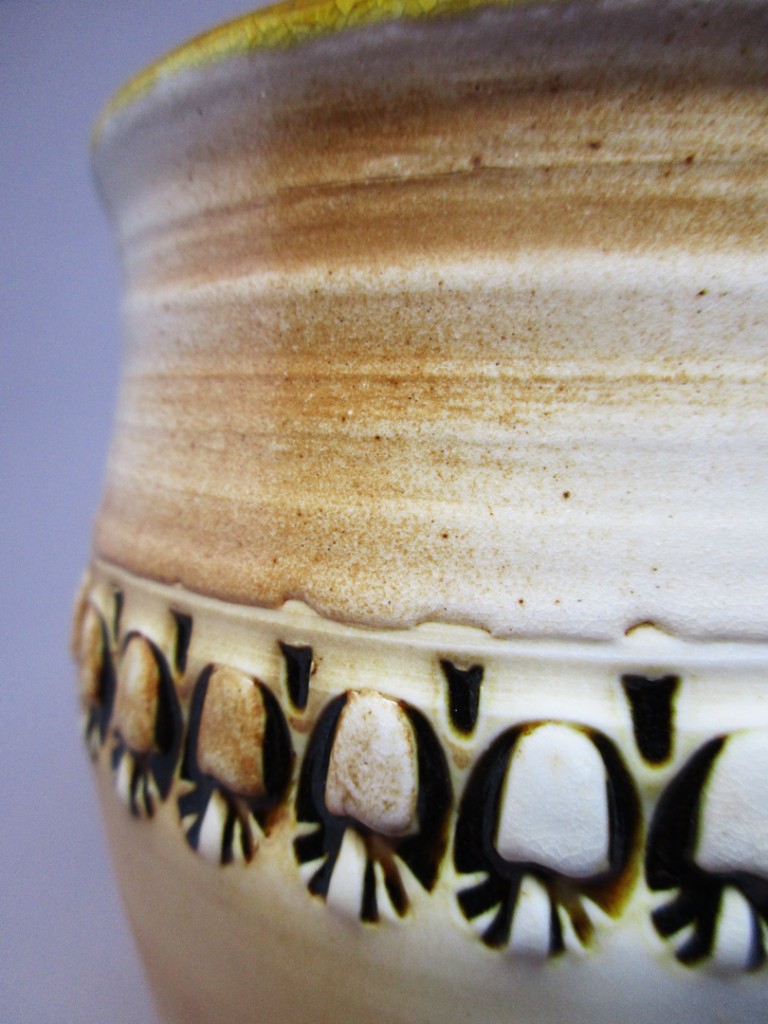
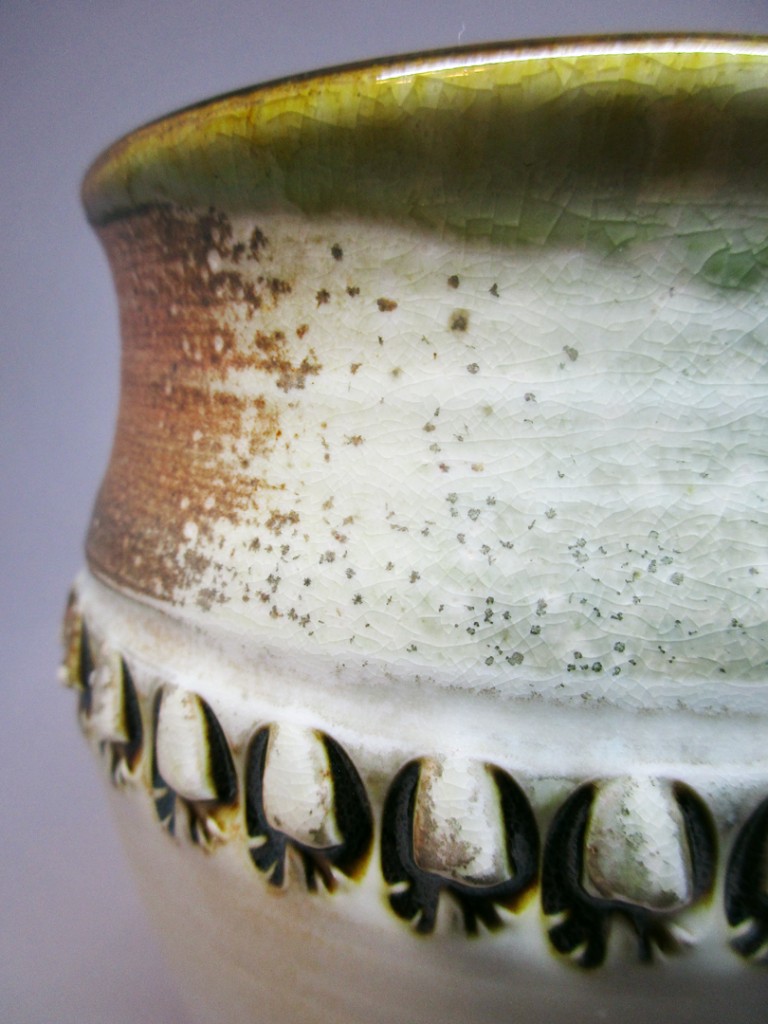
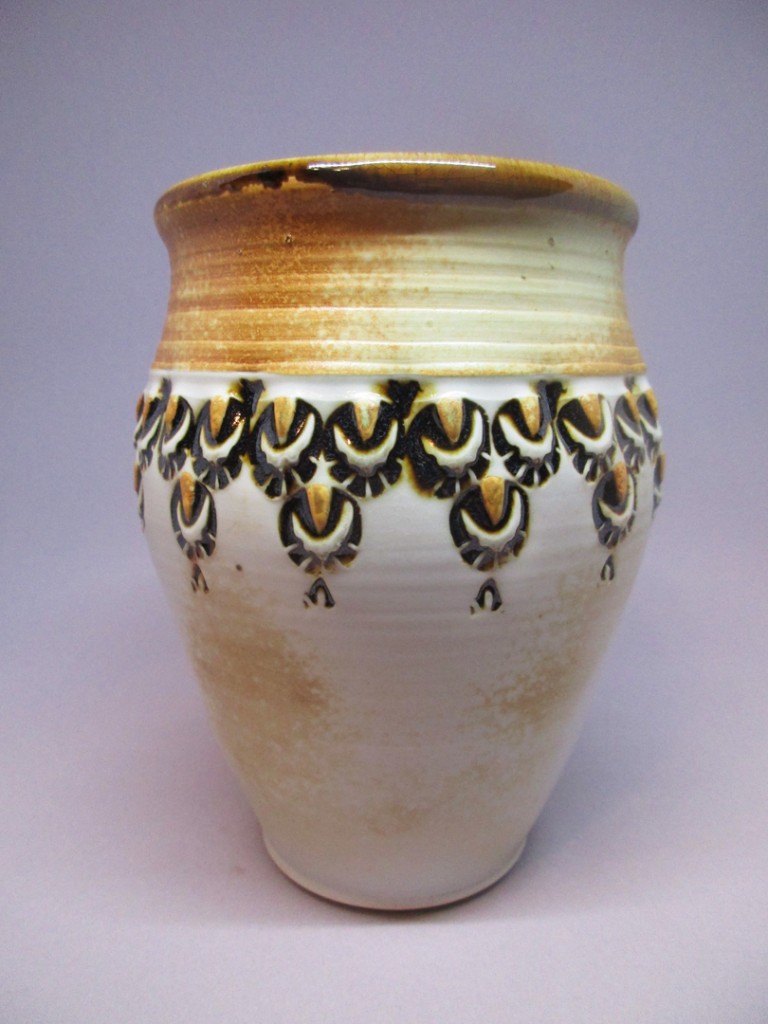
Here’s a quick peek at the porcelain vases I made and donated for the Lillstreet ArtReach Fundraiser. They had asked for a couple tumblers, but I wanted to do more for the kids. So I offered up some vases for the floral centerpieces… each to be sold off at the end of the event. So if you were one of the lucky folks enjoying an evening of “Art Under The Stars” you would have your choice of one of these vases. A great chance to donate to a great program AND come away with a beautiful “souvenir.”


So hopefully by now, people are enjoying their evening on the Lillstreet Rooftop.
A special evening to support the efforts put forth by the ArtReach Chicago group.
Bringing creativity to the community. Sharing clay, paint and other supplies.
Making art happen all around the City… in places that need a little extra inspiration!