10.07.2021
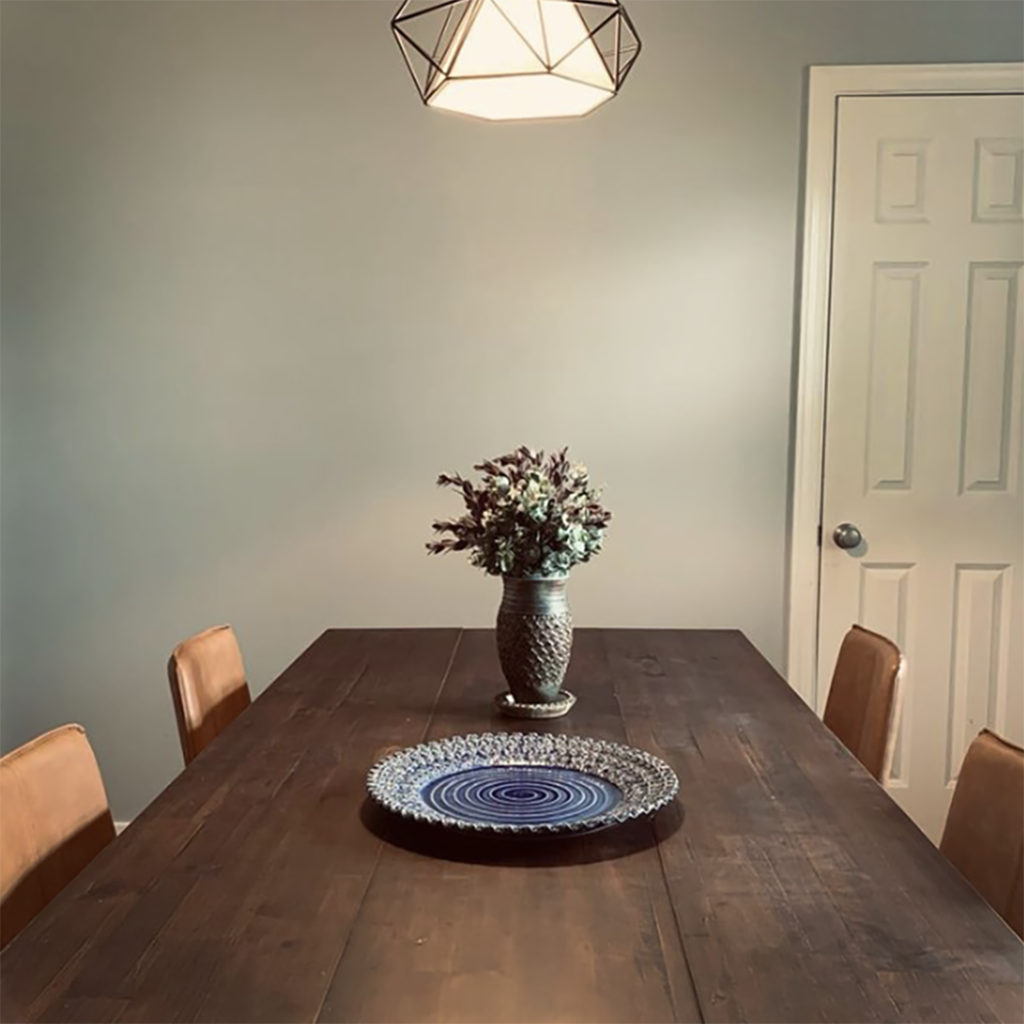
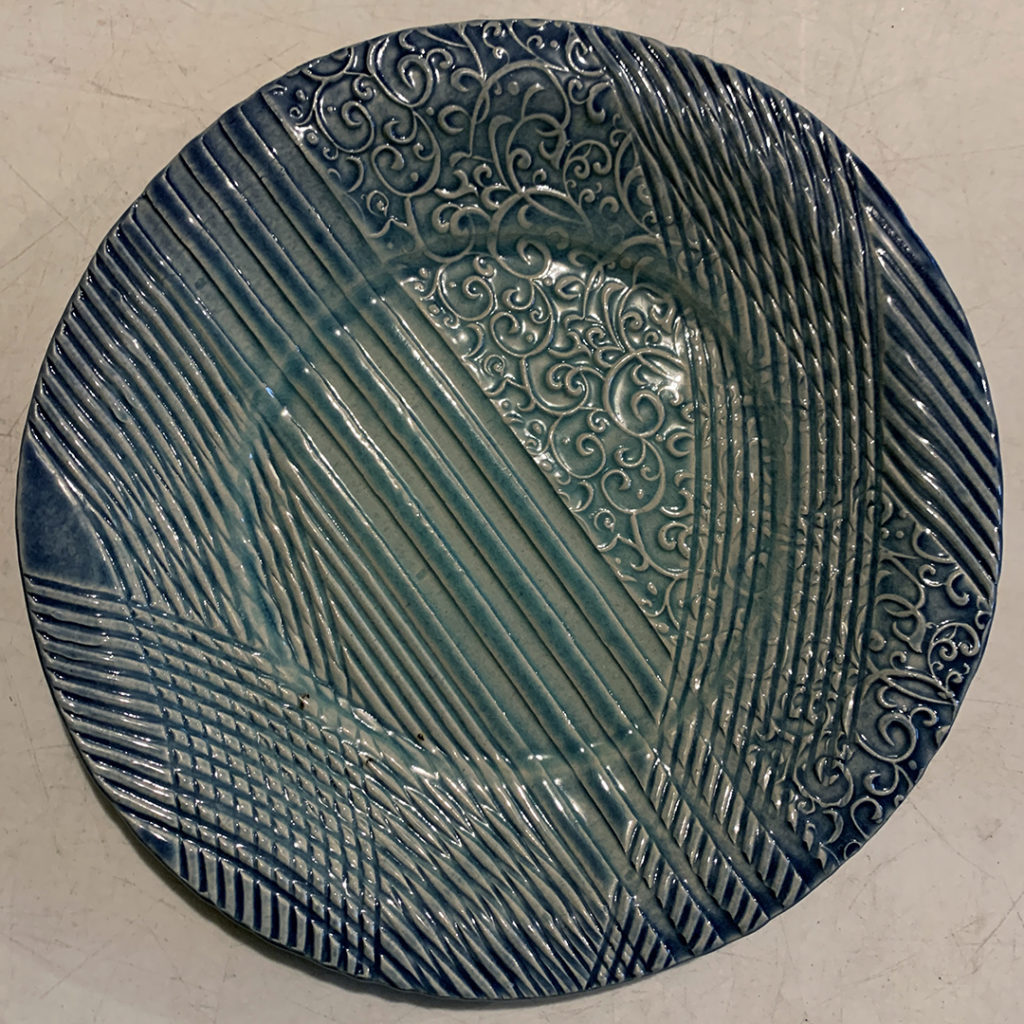
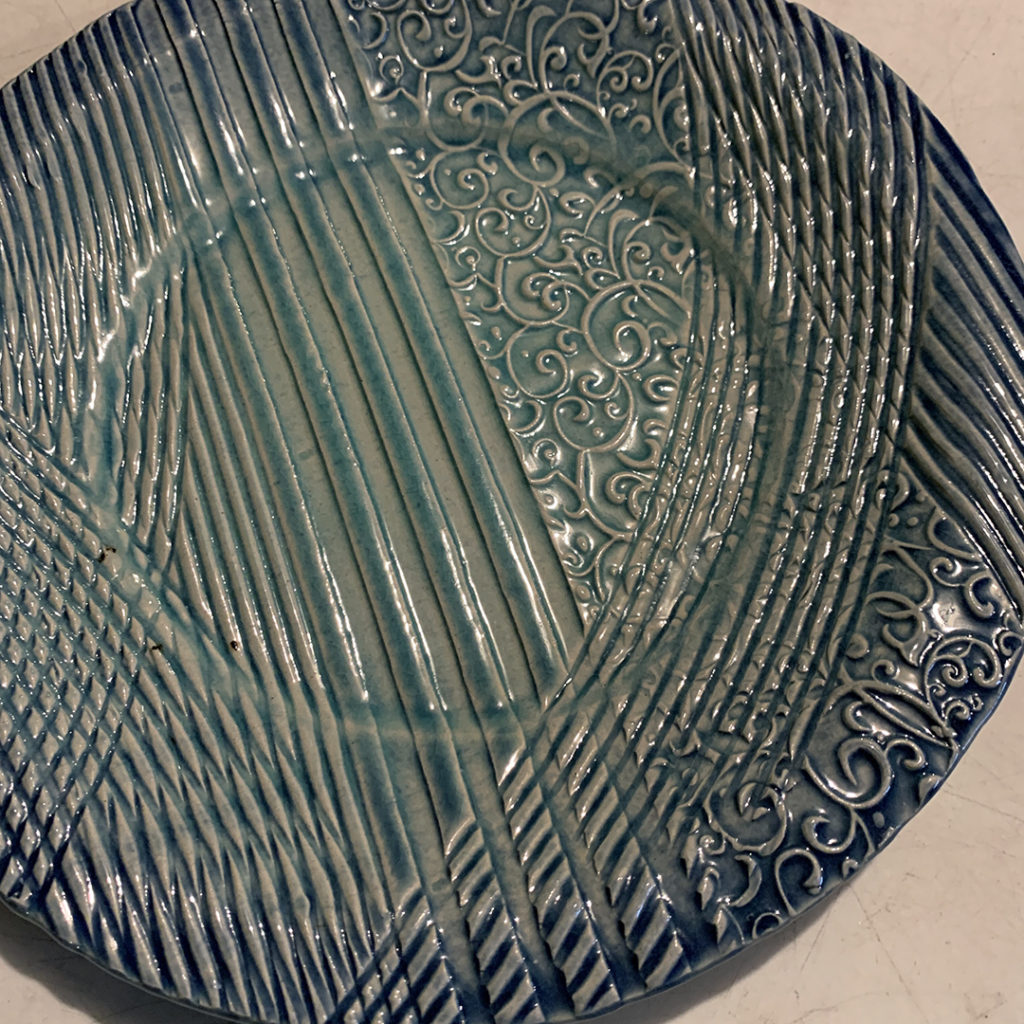
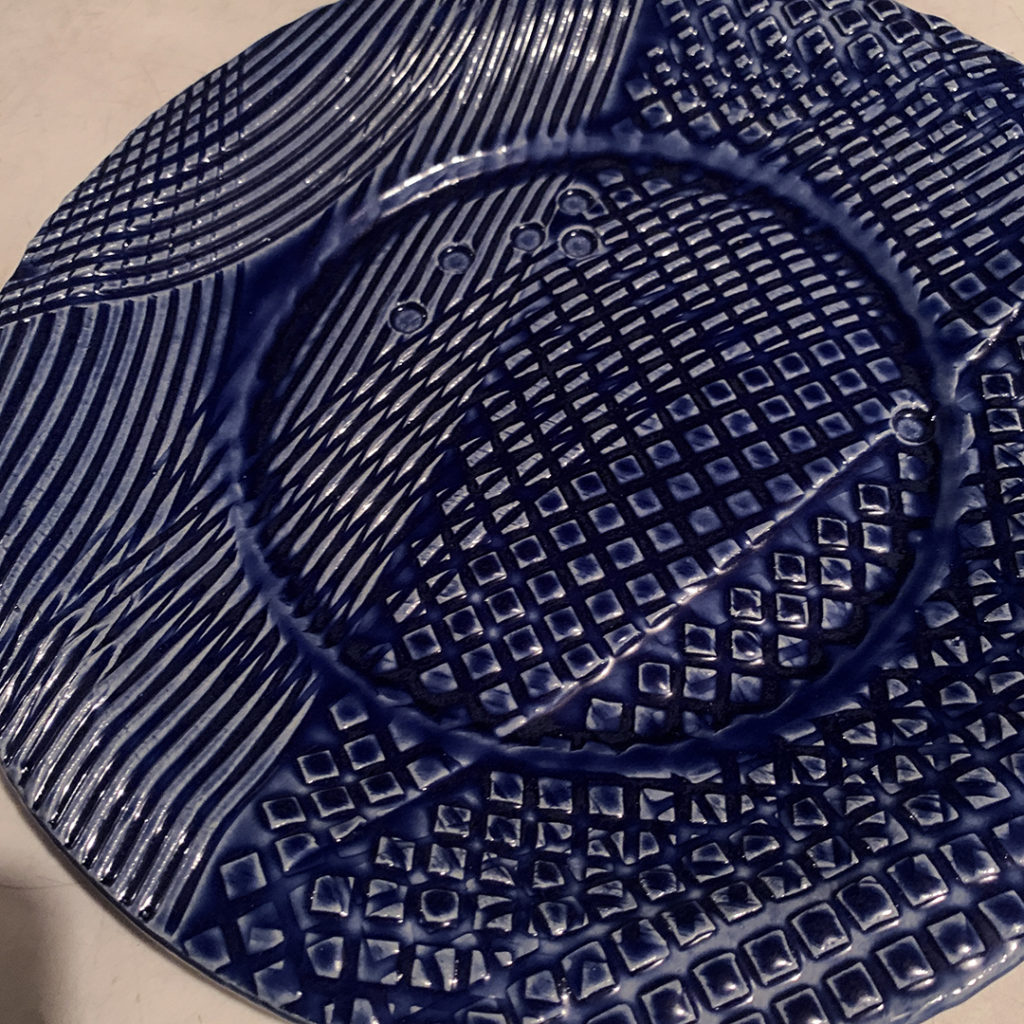
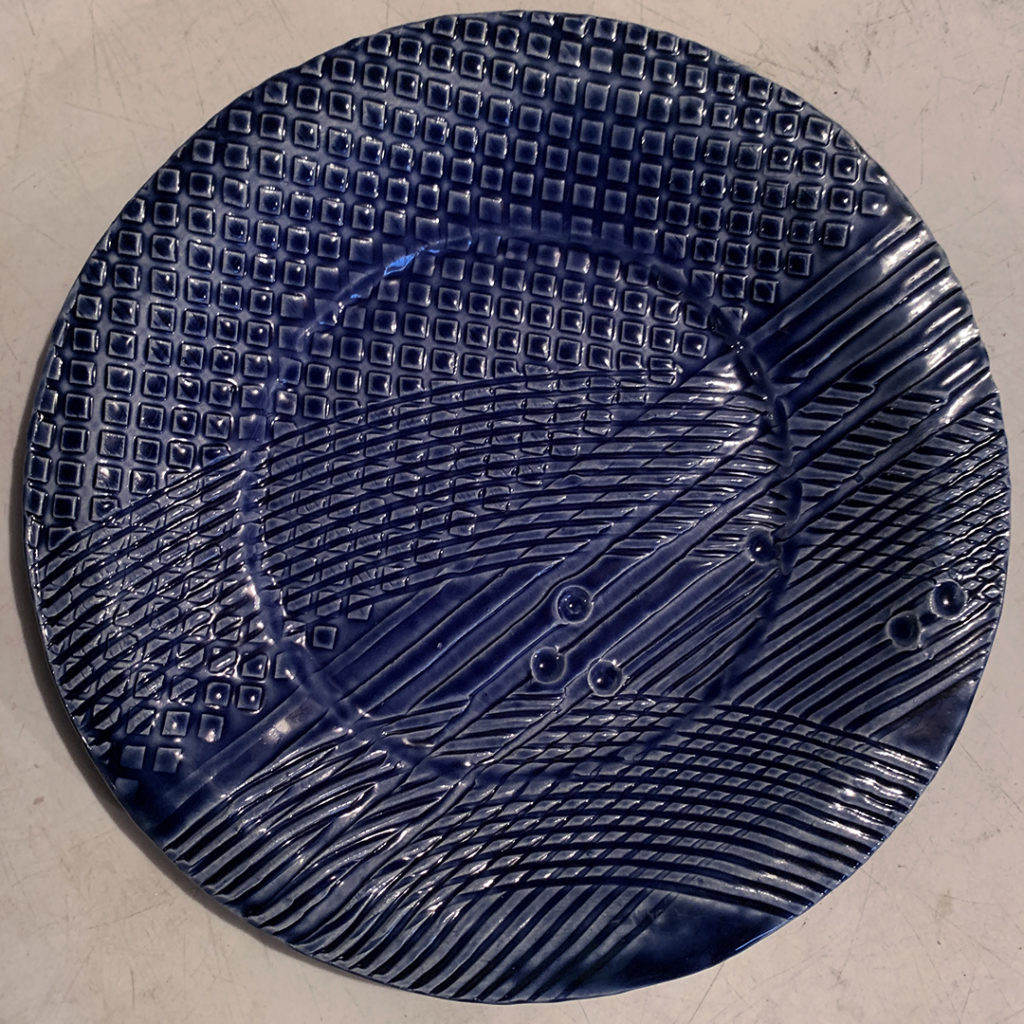
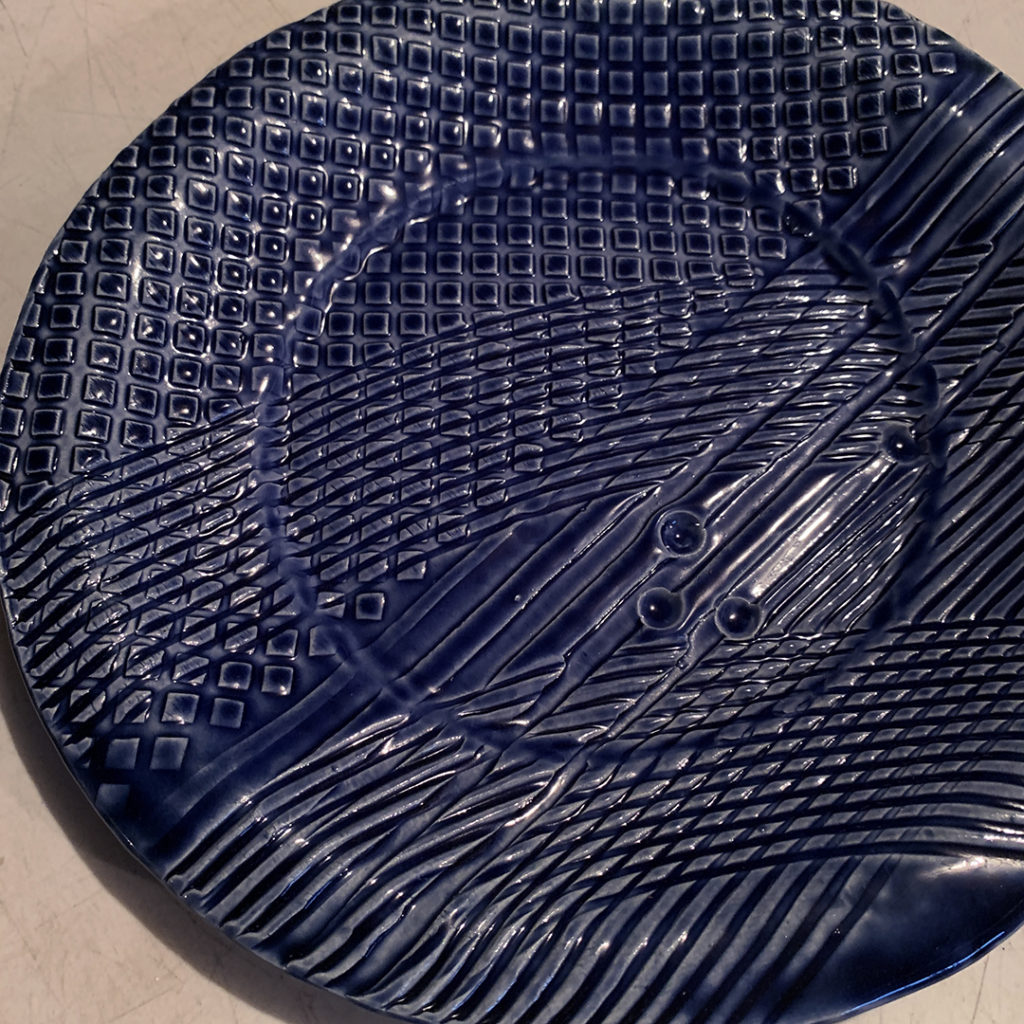
Nothing dresses up an empty dining room table than some handmade pottery! Thanks Erin for sharing the newest additions to your dining room… a nice blue stamped platter and a stamped vase to hold the flowers!

Gary Jackson: Fire When Ready Pottery
A Chicago potter’s somewhat slanted view of clay & play |
Nothing dresses up an empty dining room table than some handmade pottery! Thanks Erin for sharing the newest additions to your dining room… a nice blue stamped platter and a stamped vase to hold the flowers!
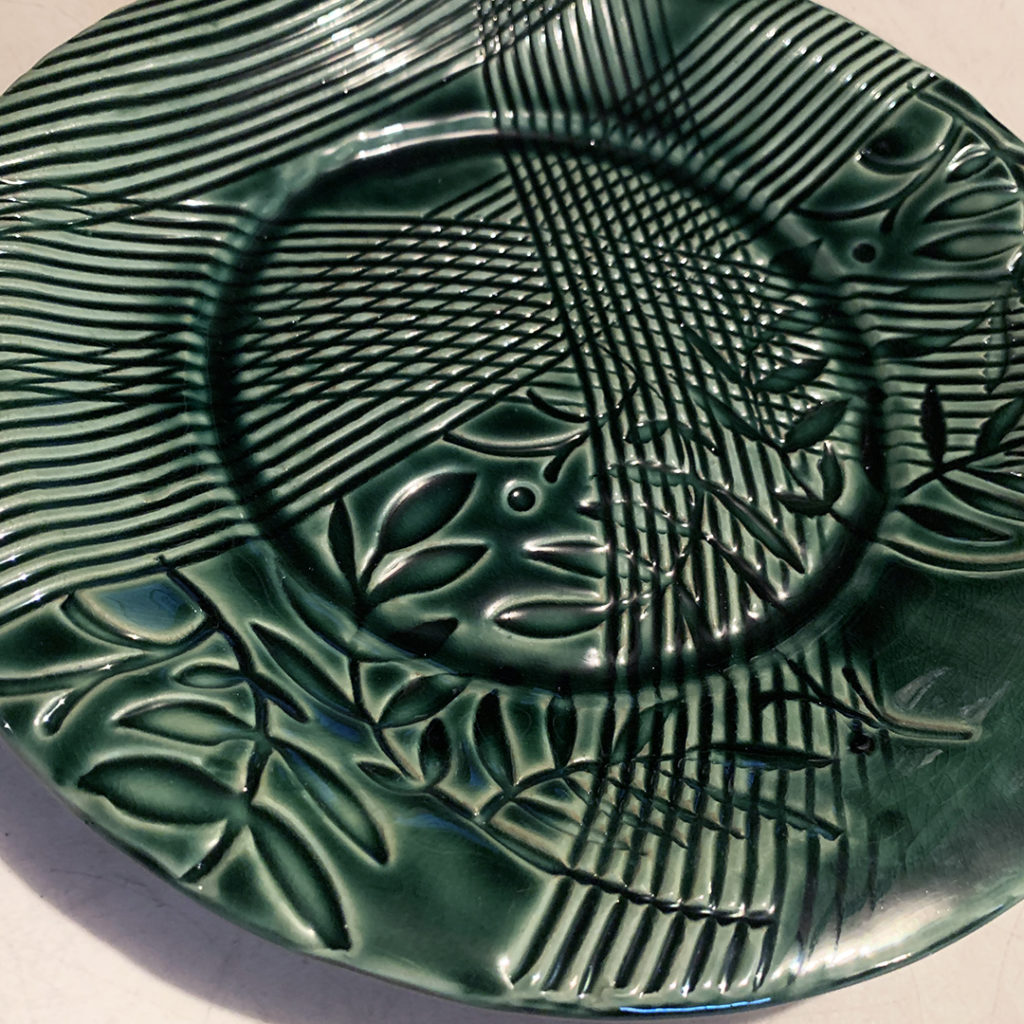
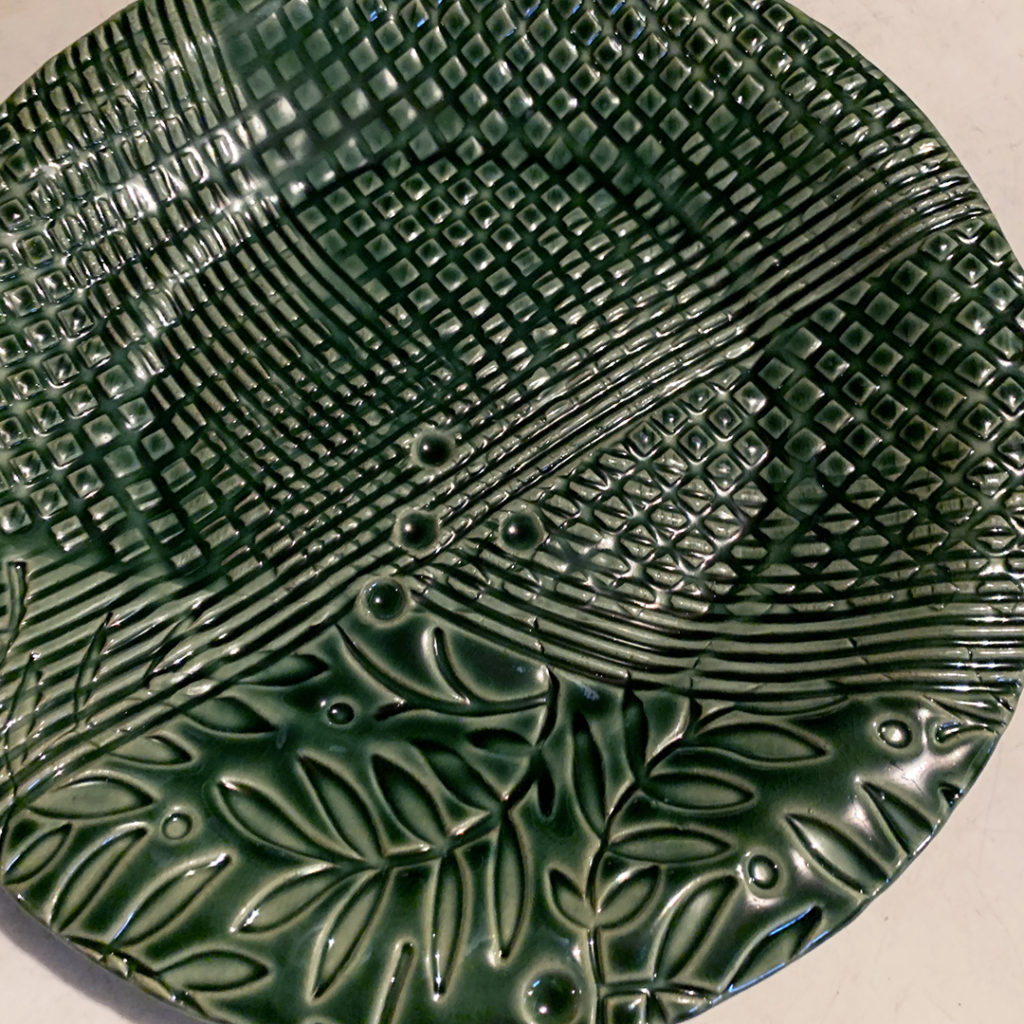
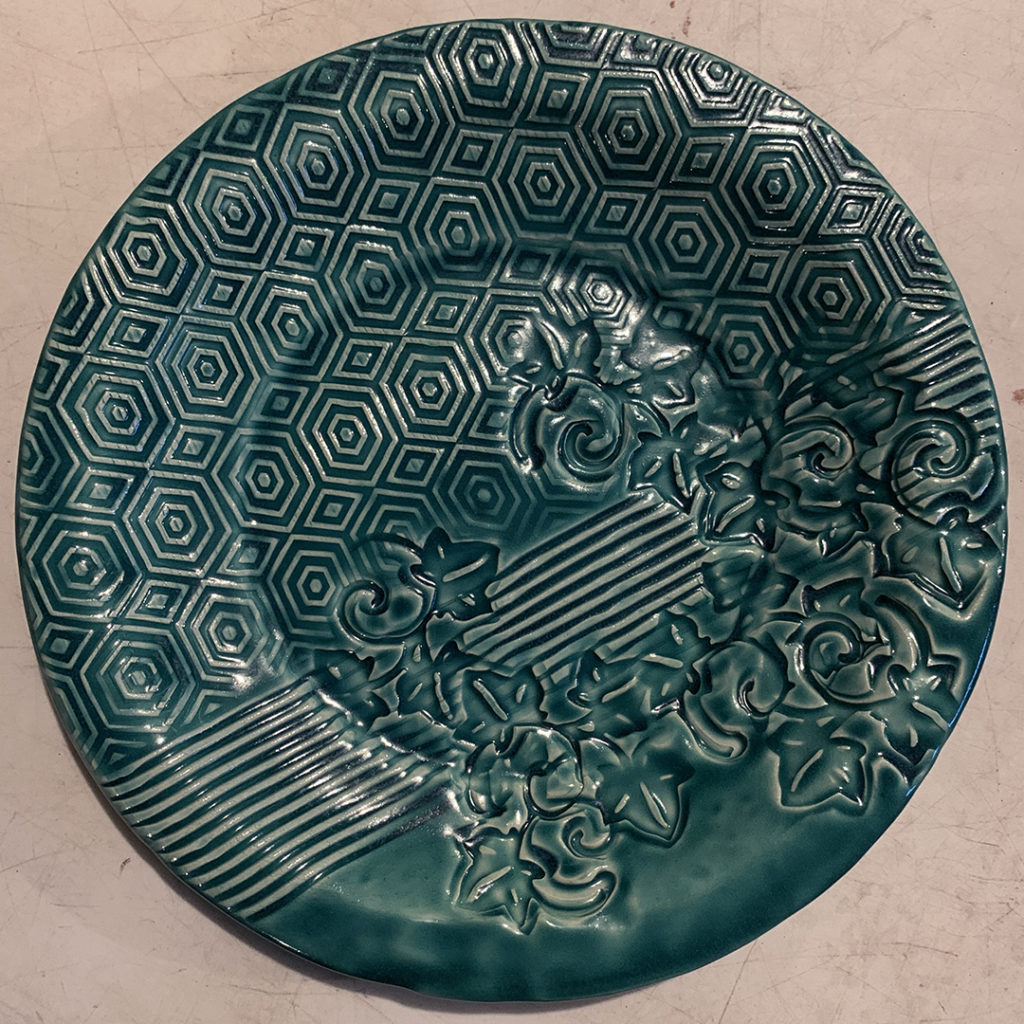
I mean, who doesn’t like a quick snack of spinach dip & crackers???… but it looks so much more impressive when served on a green sgraffito plate! So fancy for a quick appetizer Julie… thanks for upgrading your dip!!!


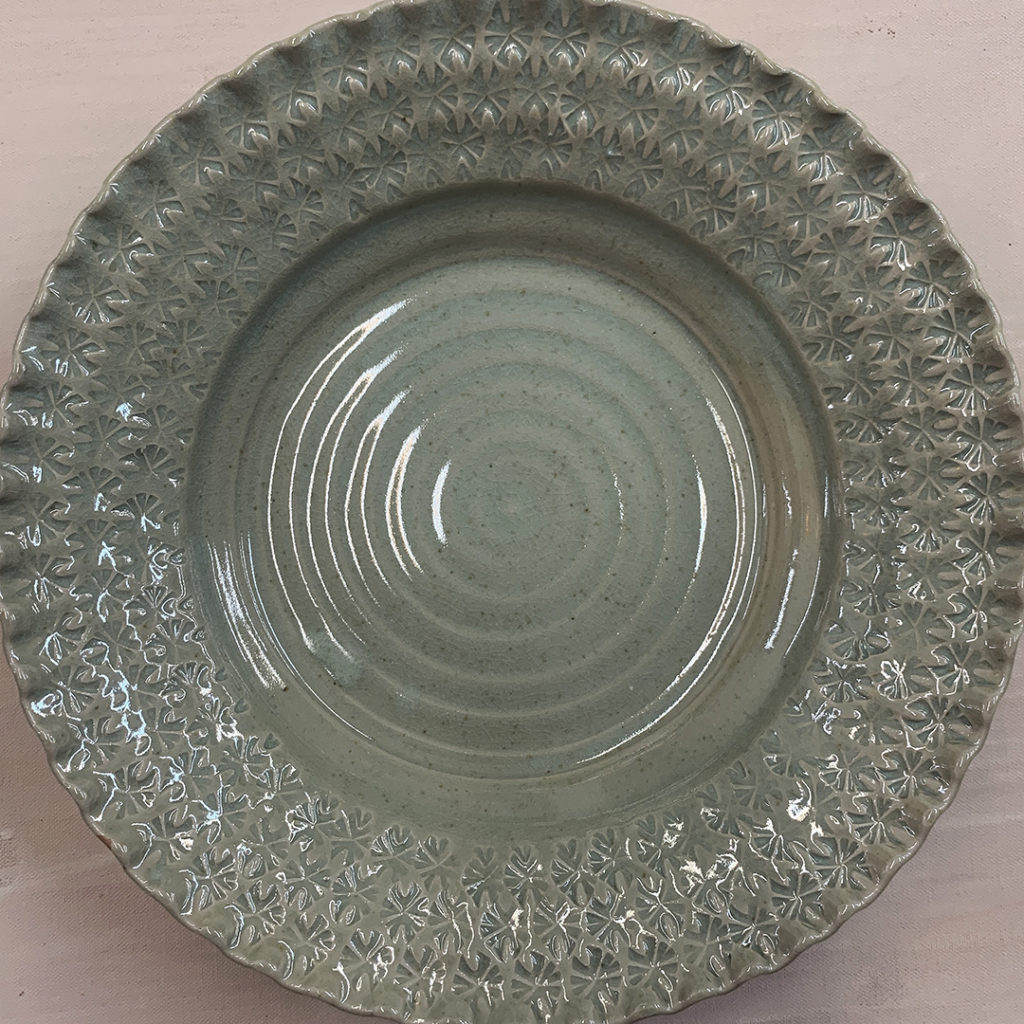
Plenty of platters!!!
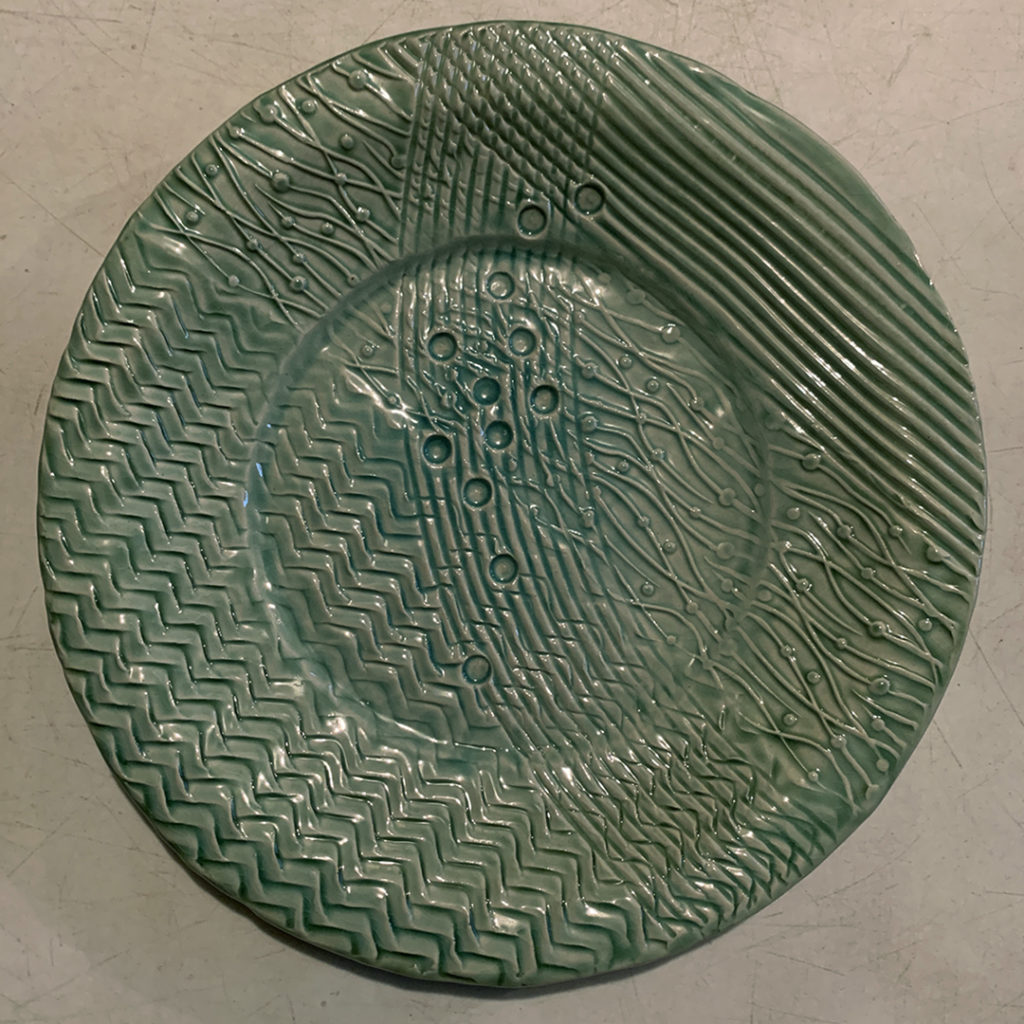
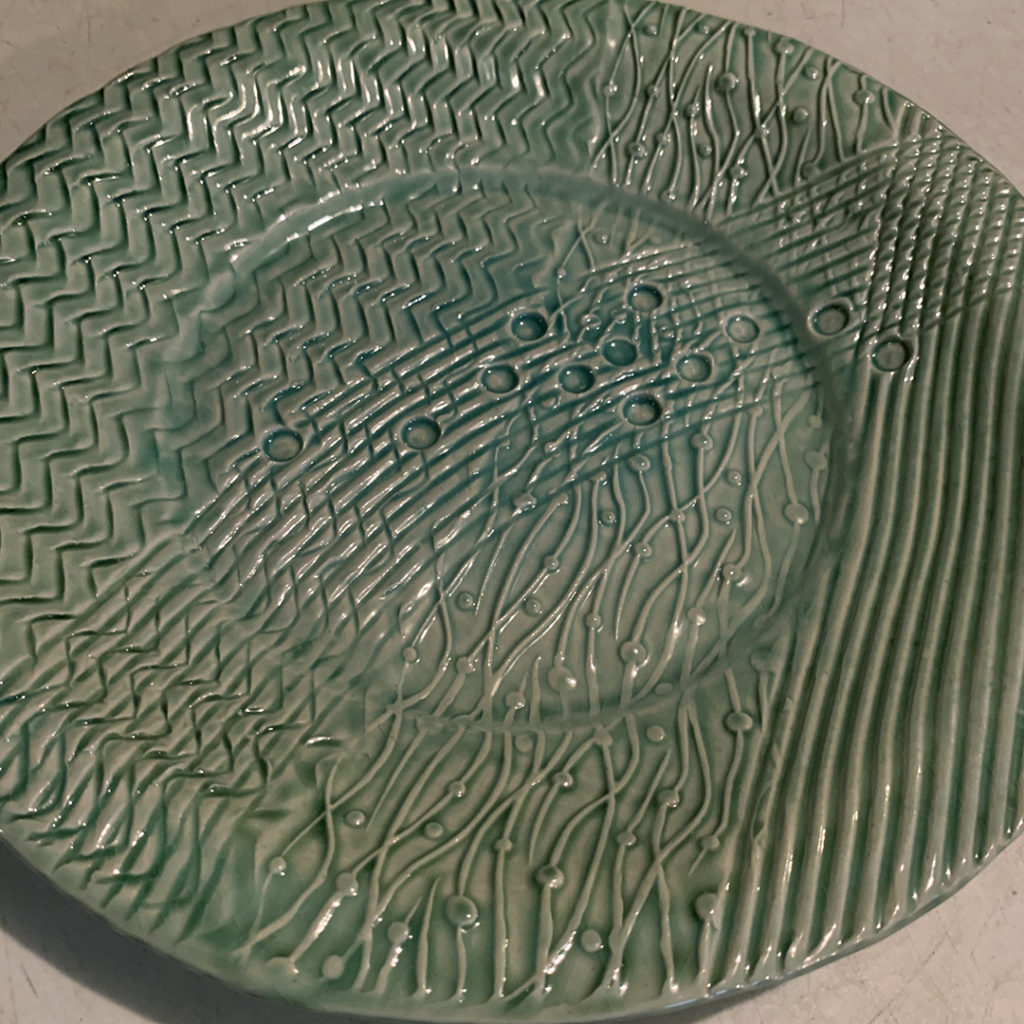
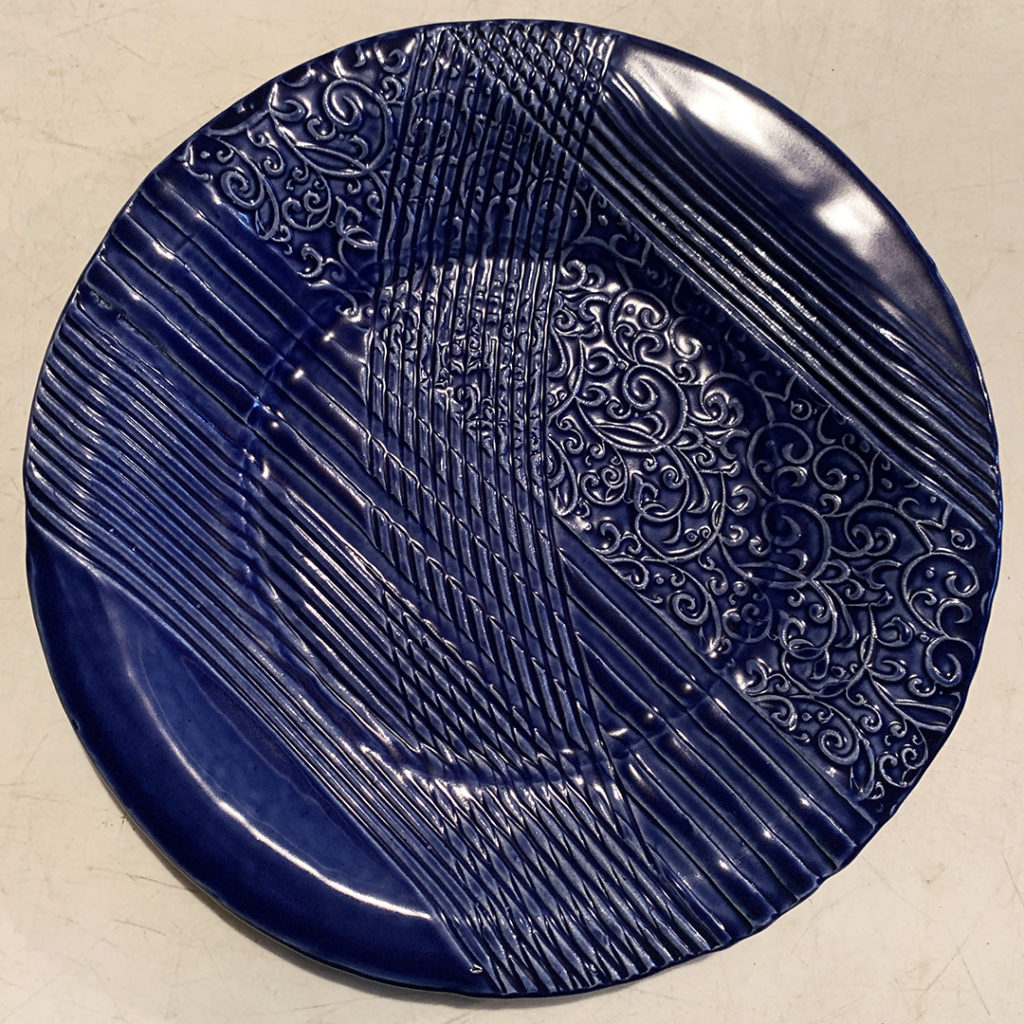
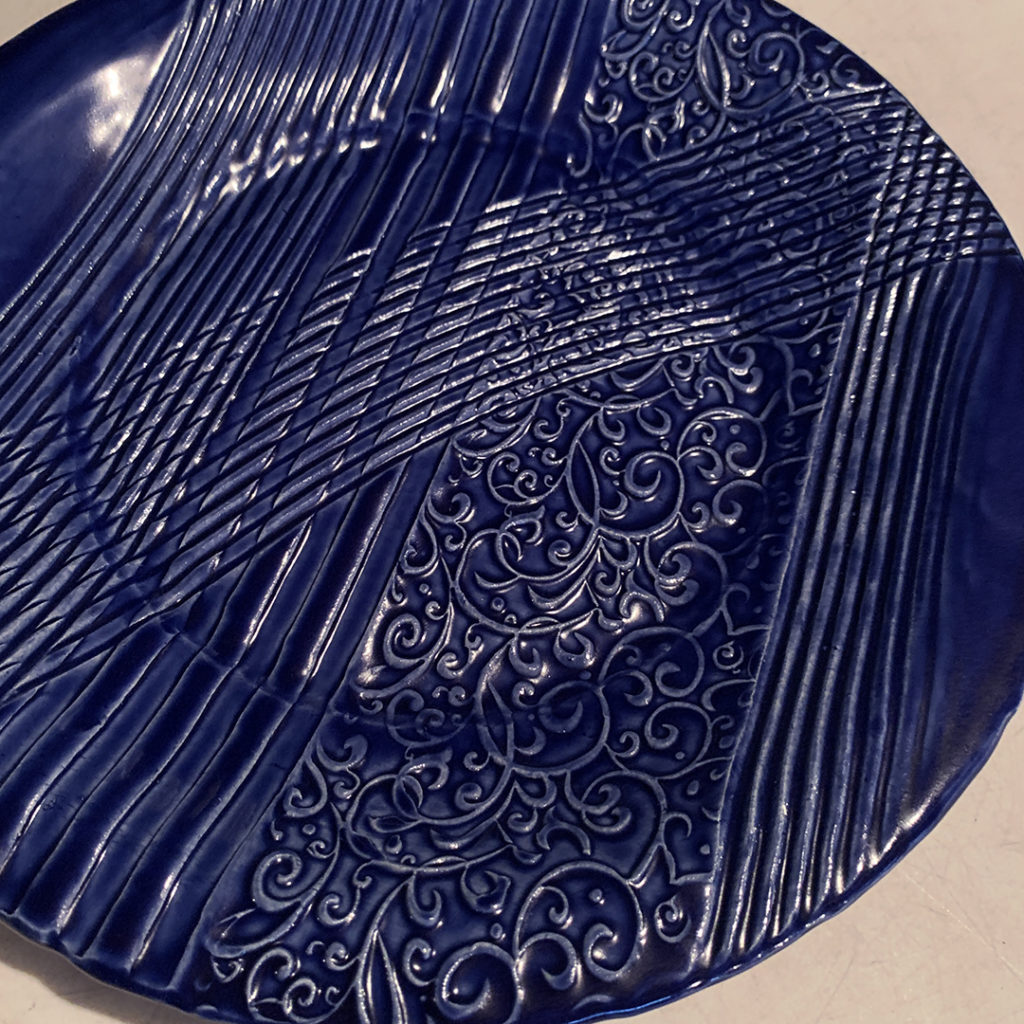
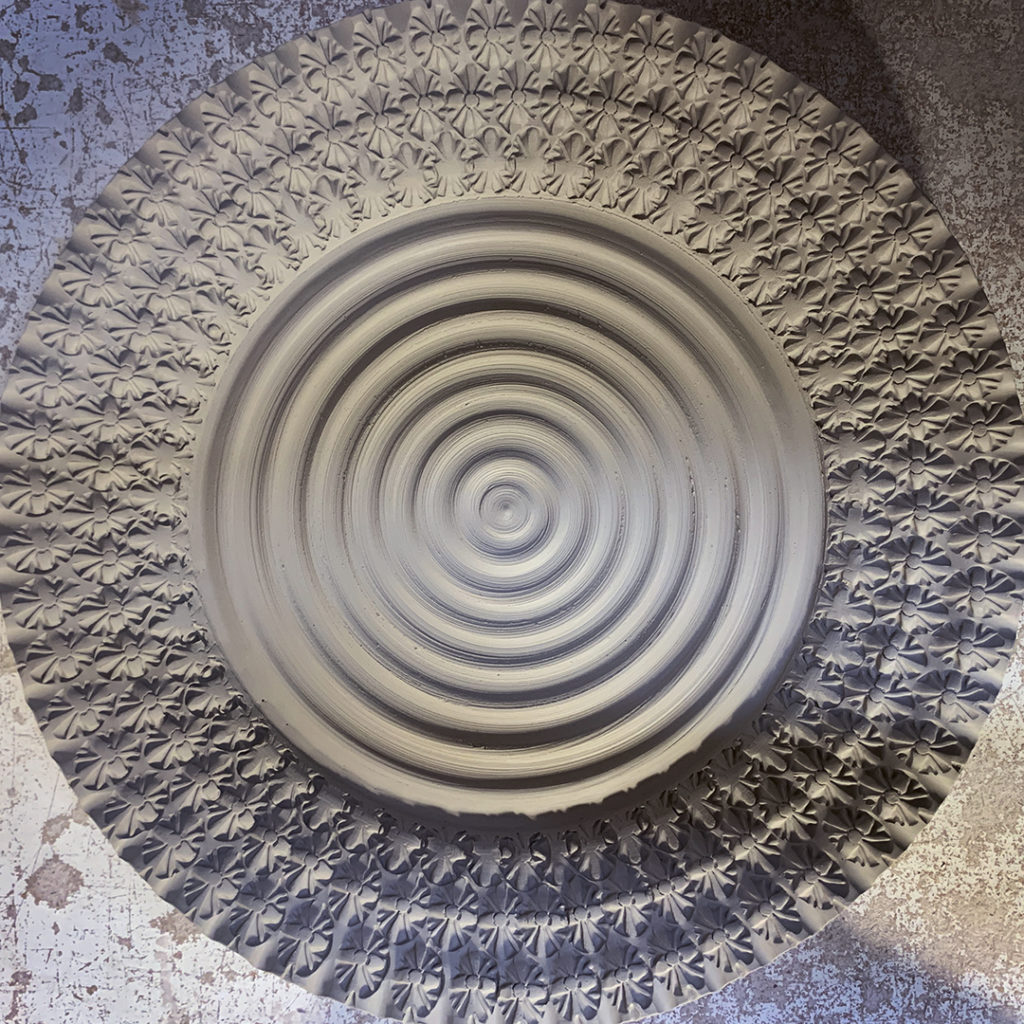
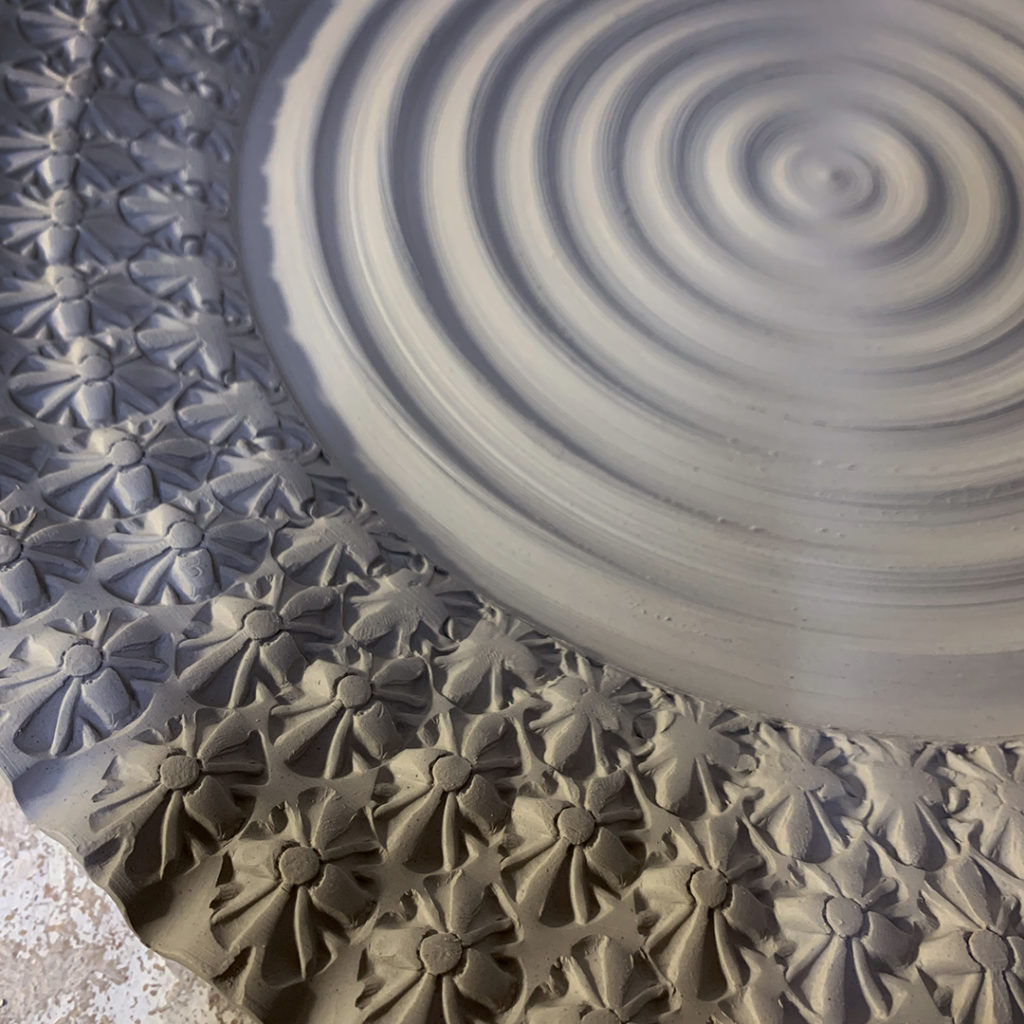
I’m pretty excited to be bringing a bunch of NEW textured platters to ART IN THE BARN this weekend! It’s been fun exploring a new form with some new layered textures & patterns! You know I come from the school of MORE IS MORE… and I think I’ve succeeded!!!
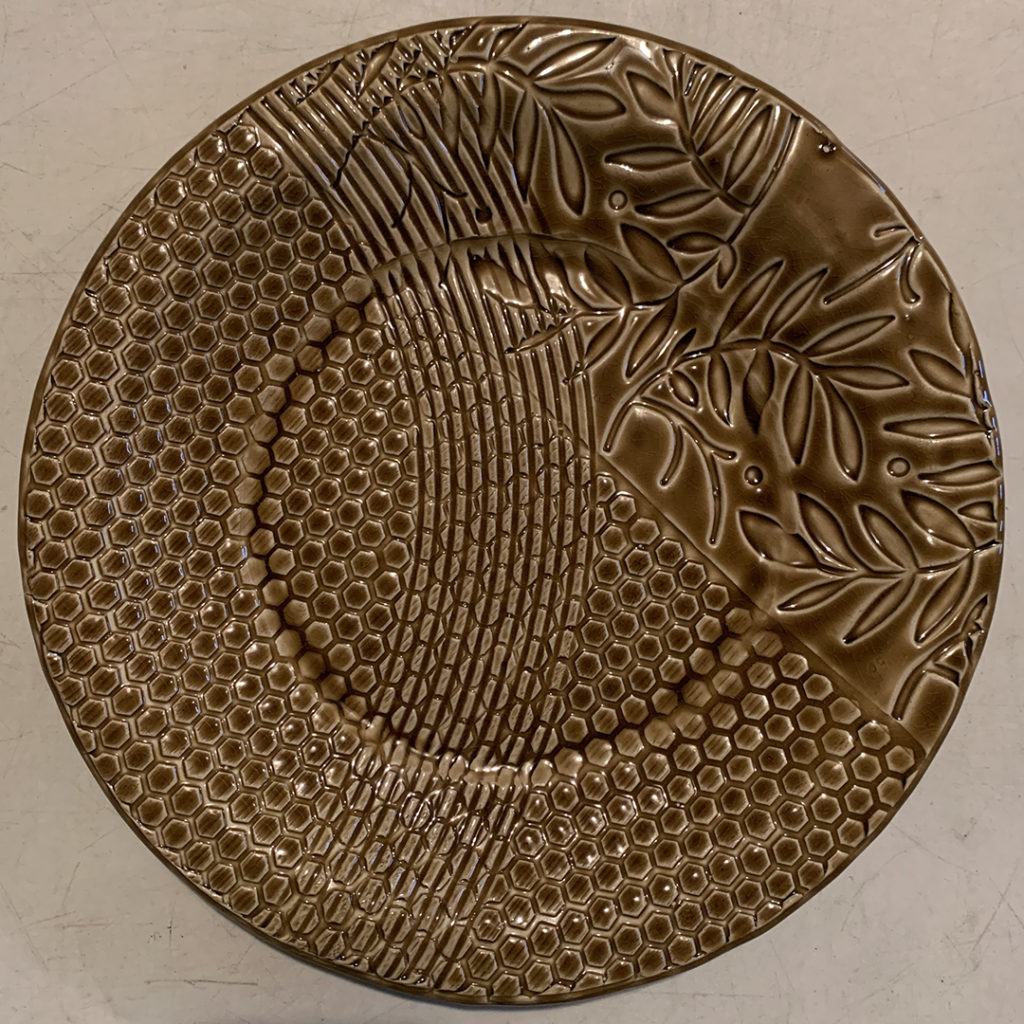
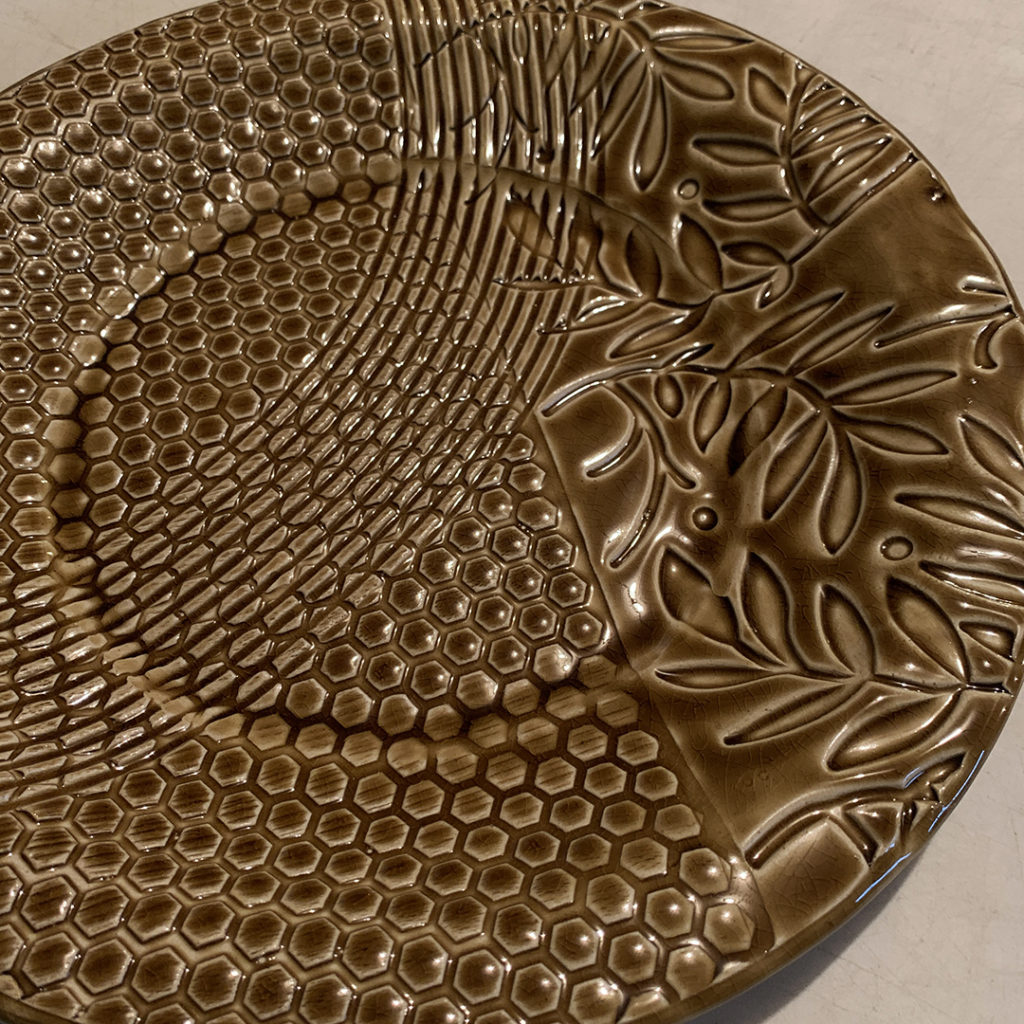
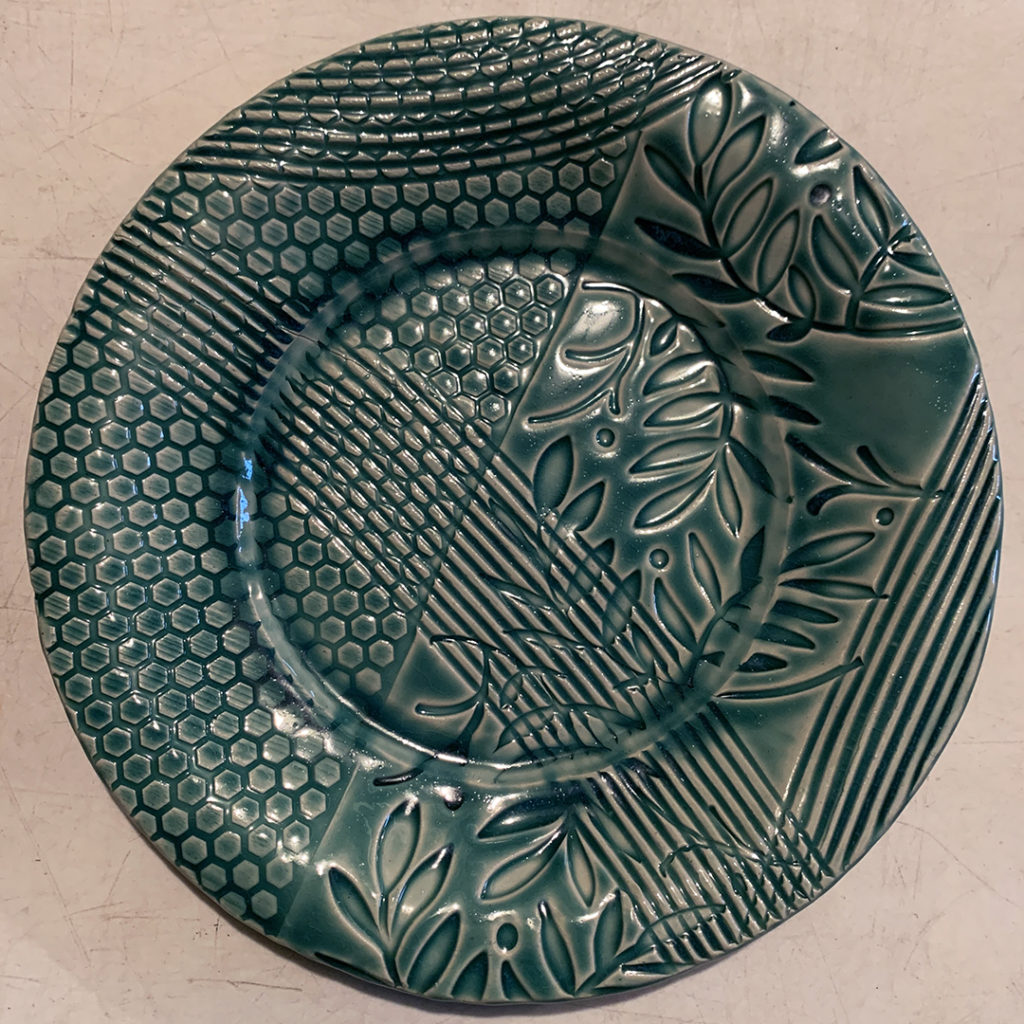
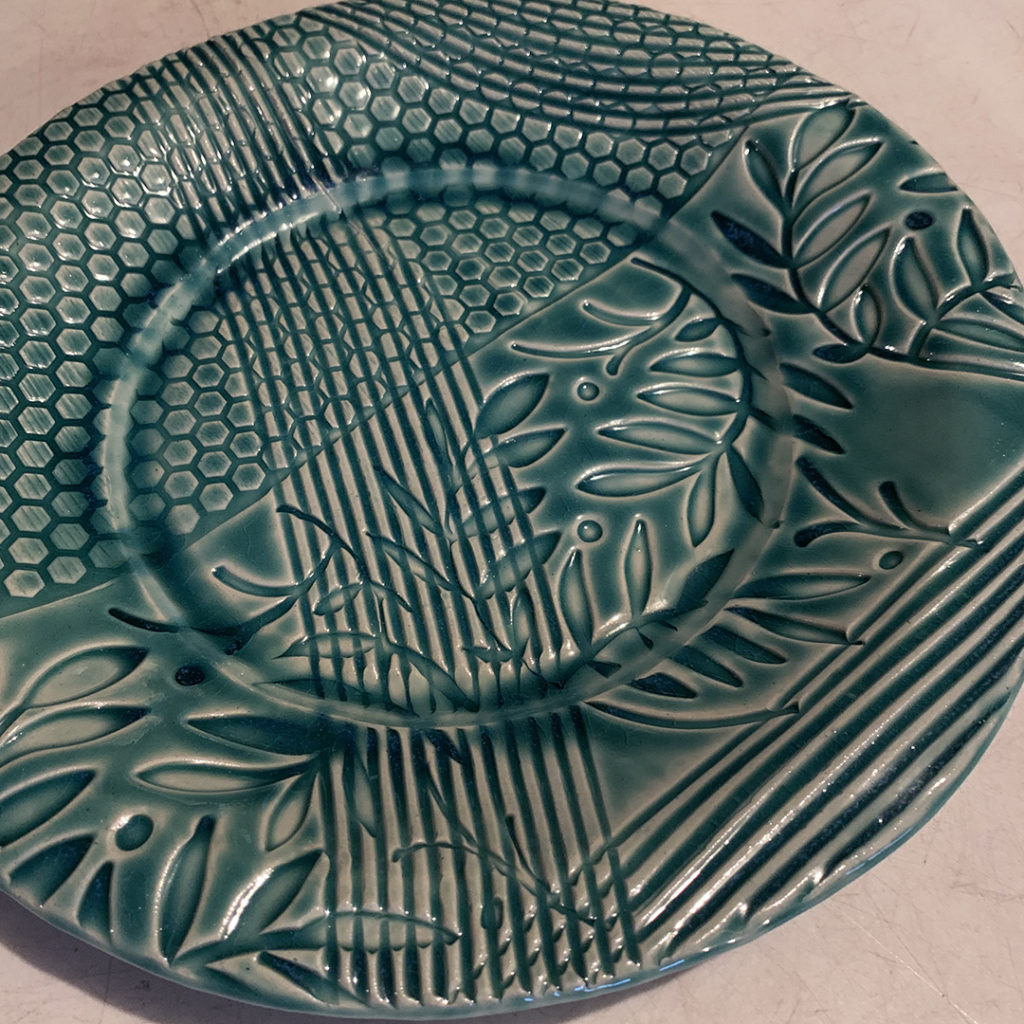
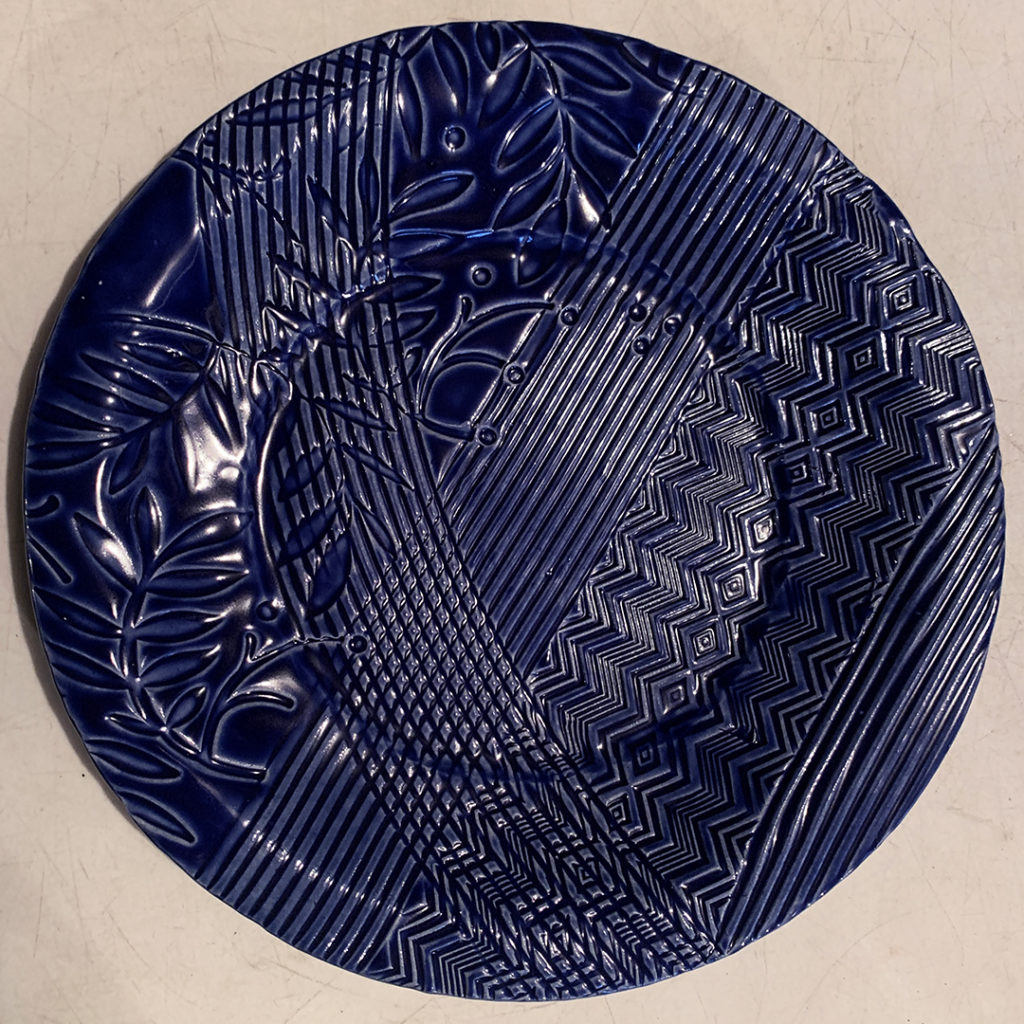
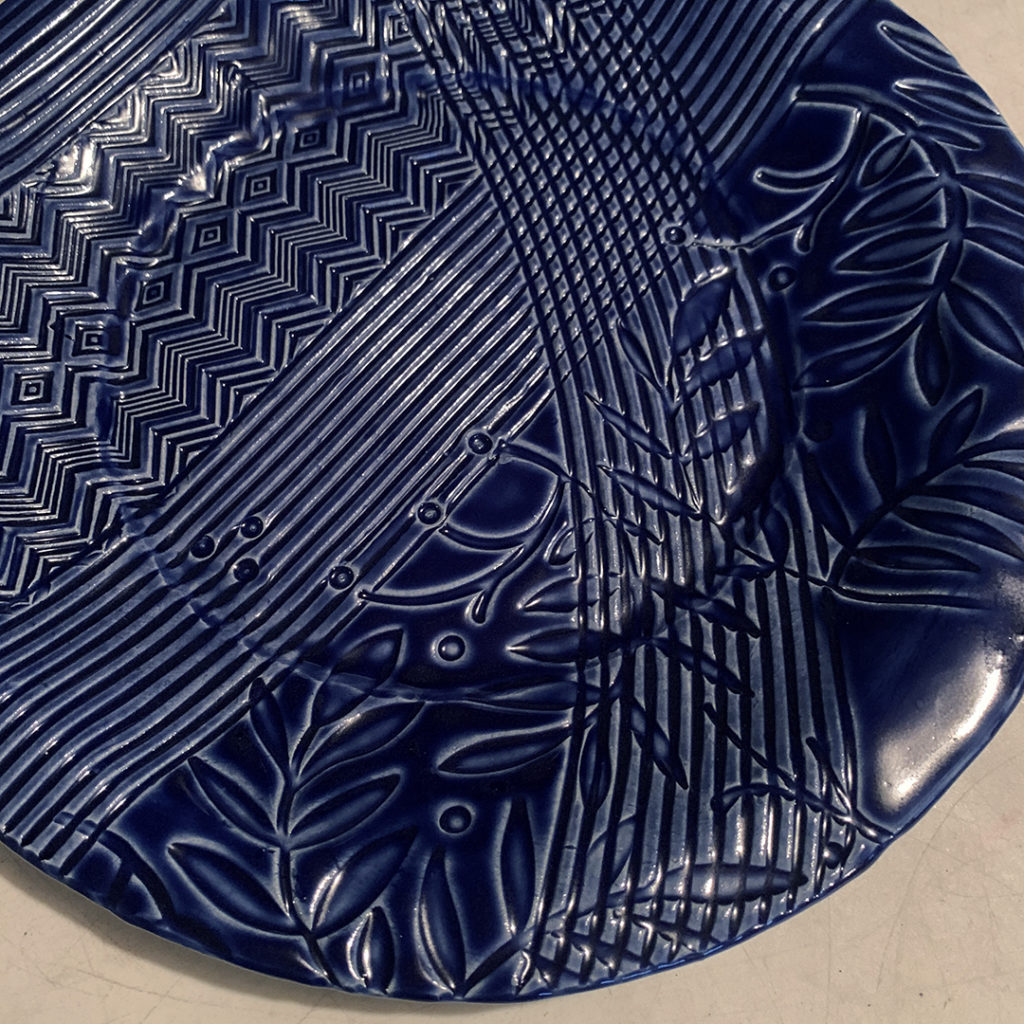

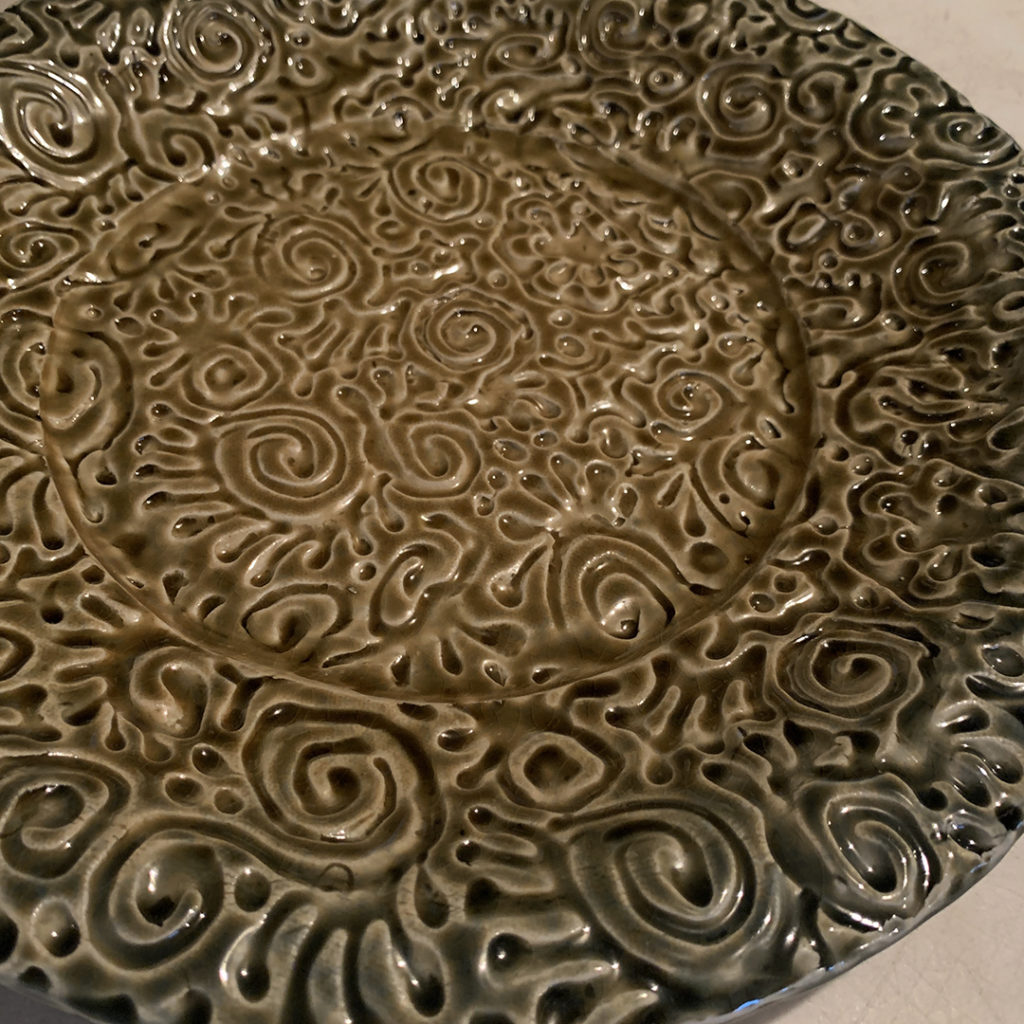

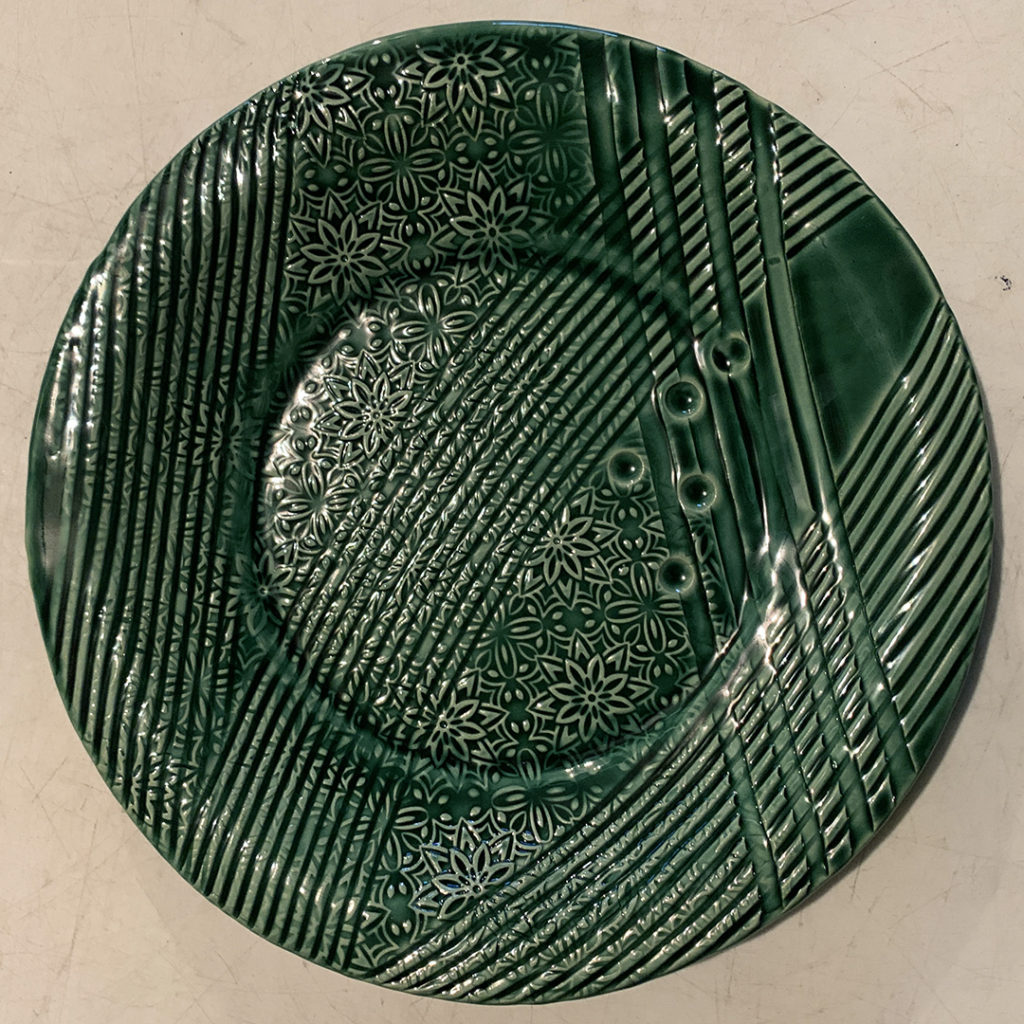
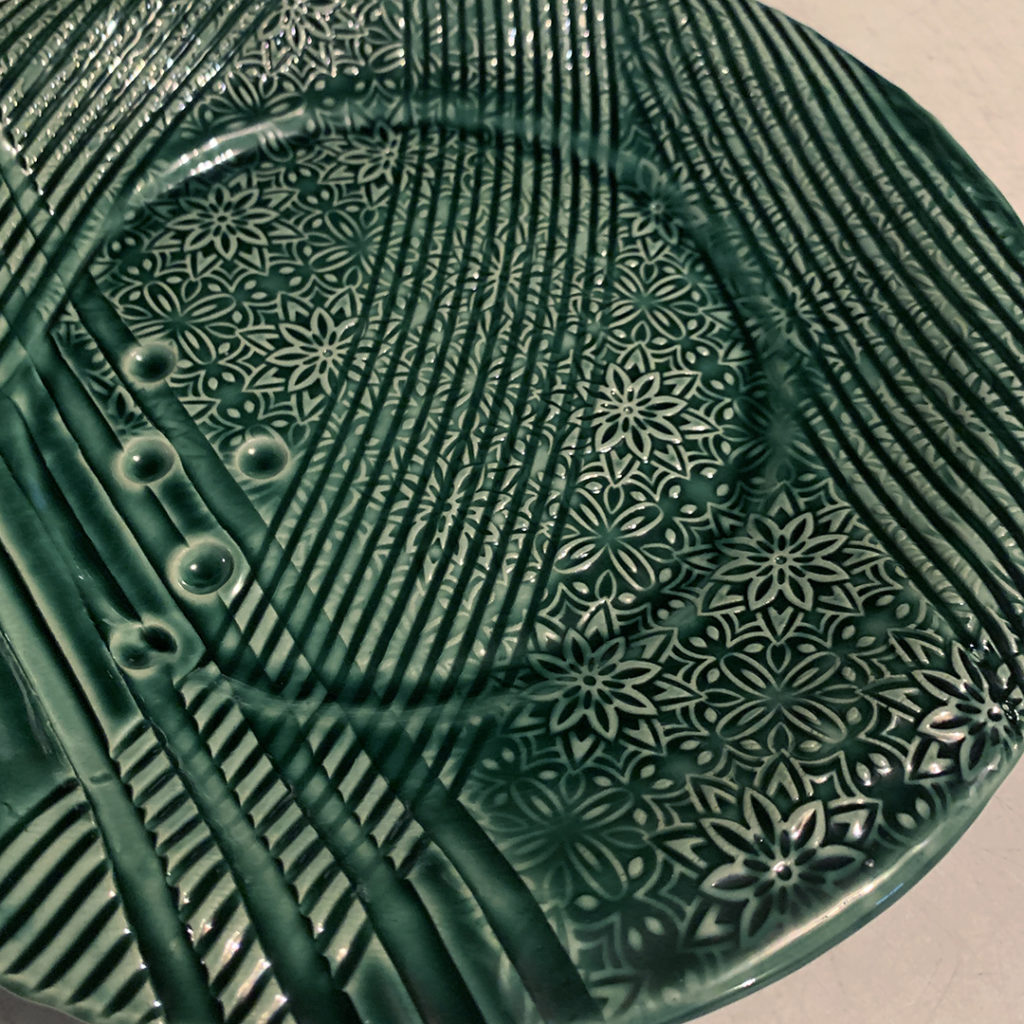
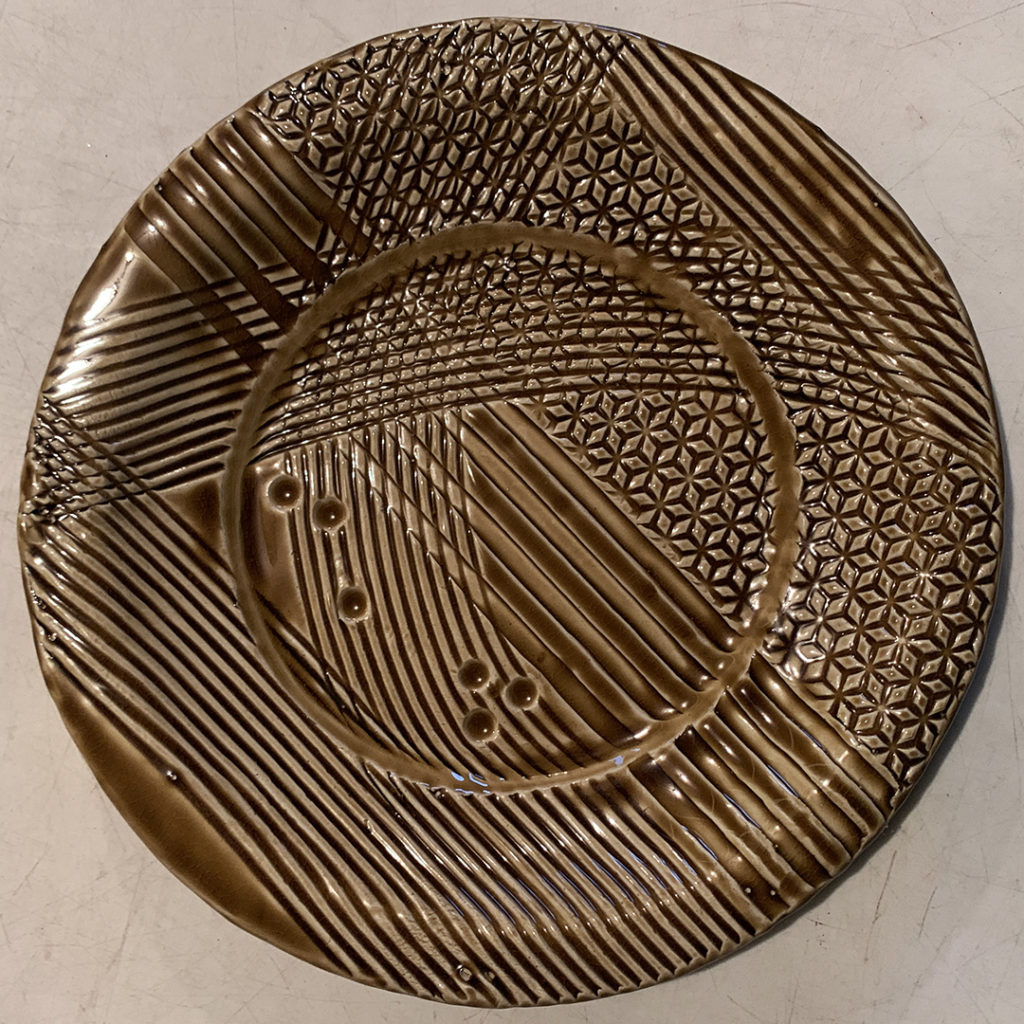
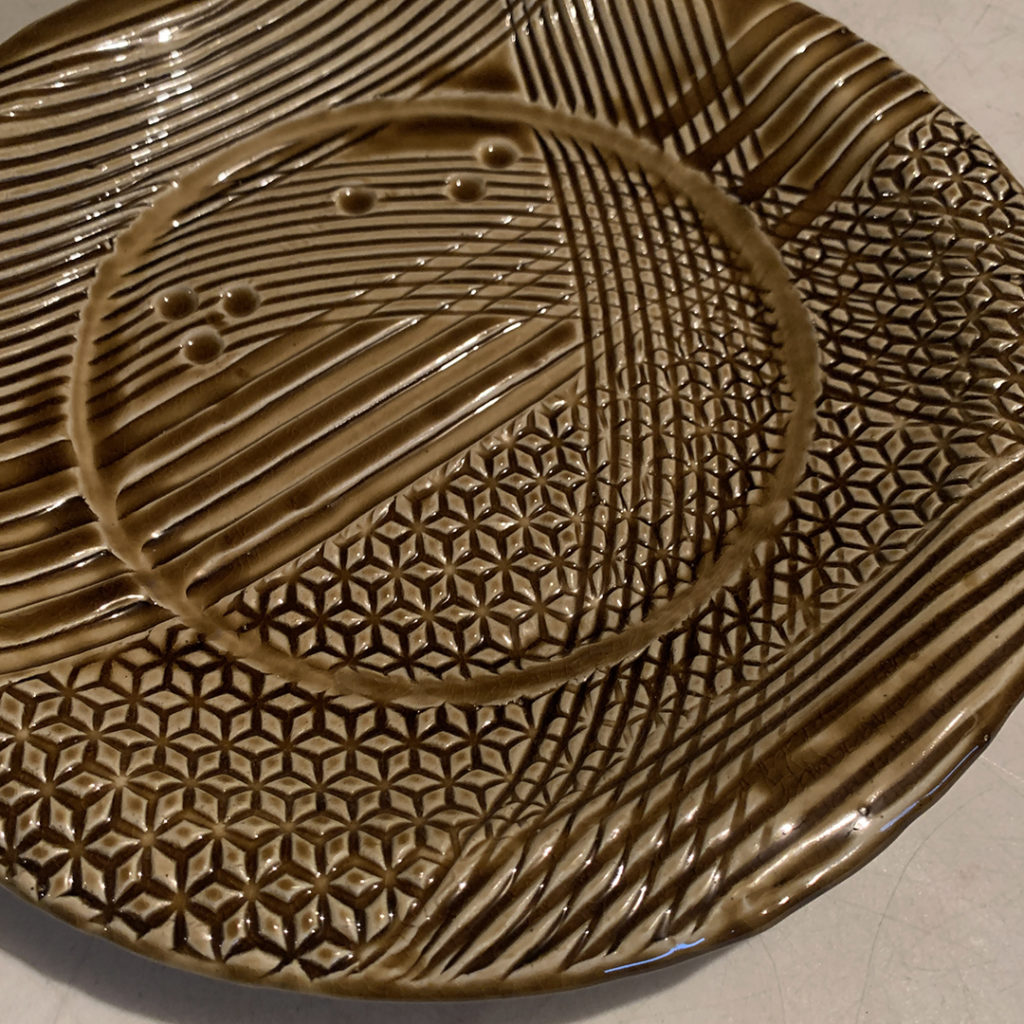
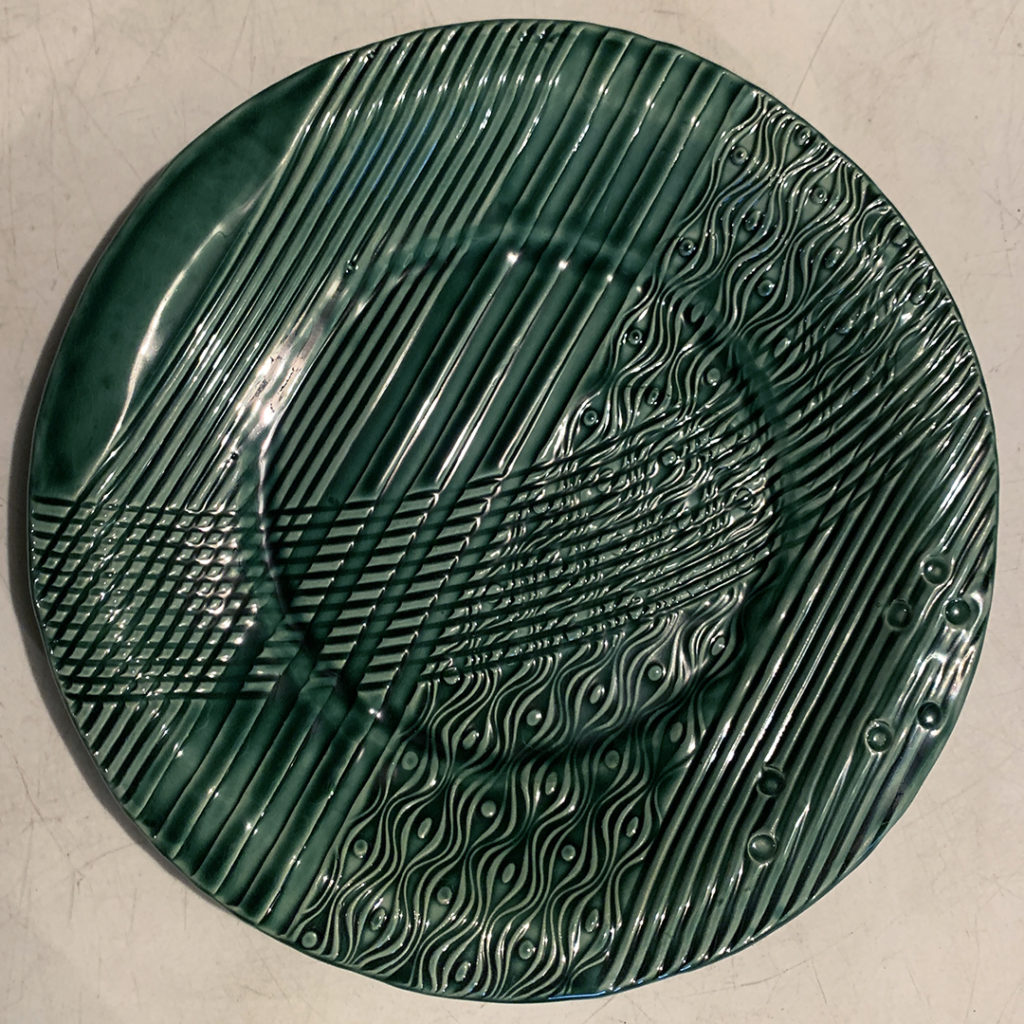
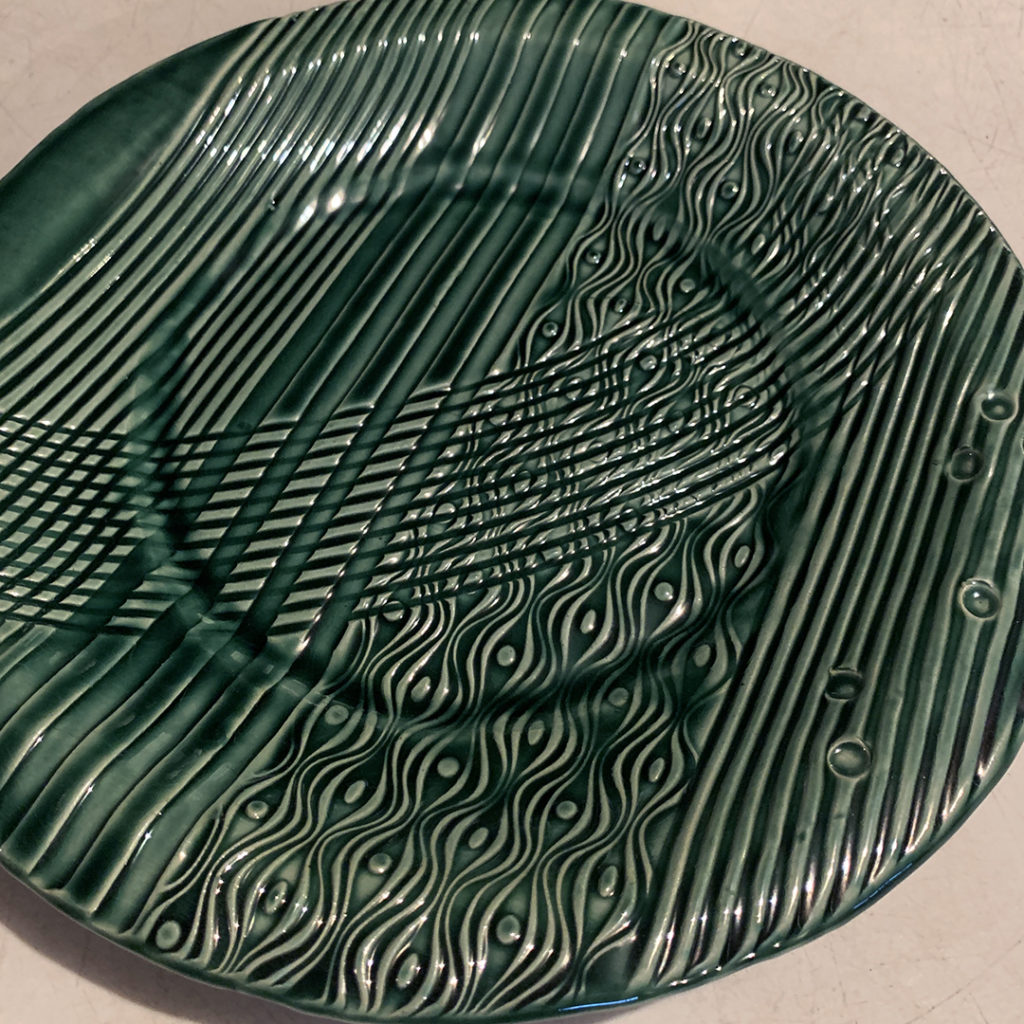
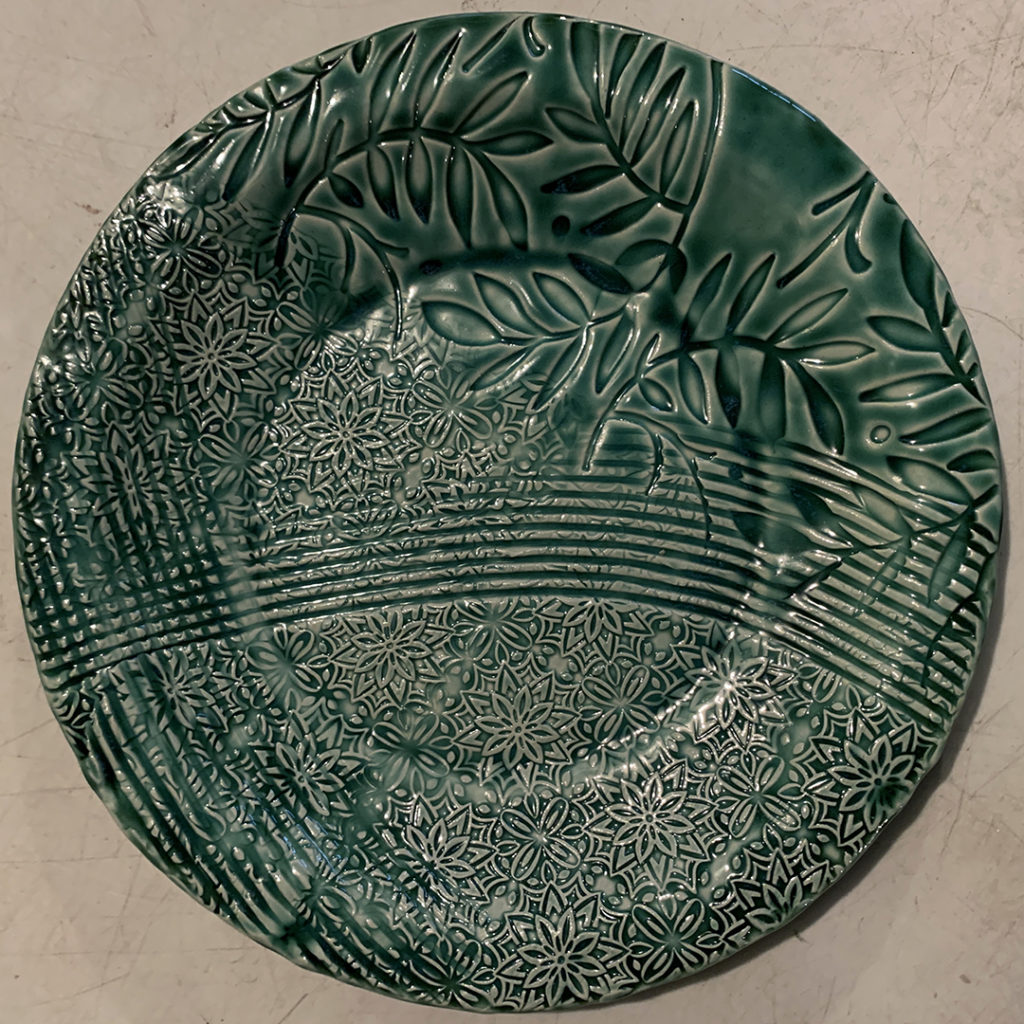
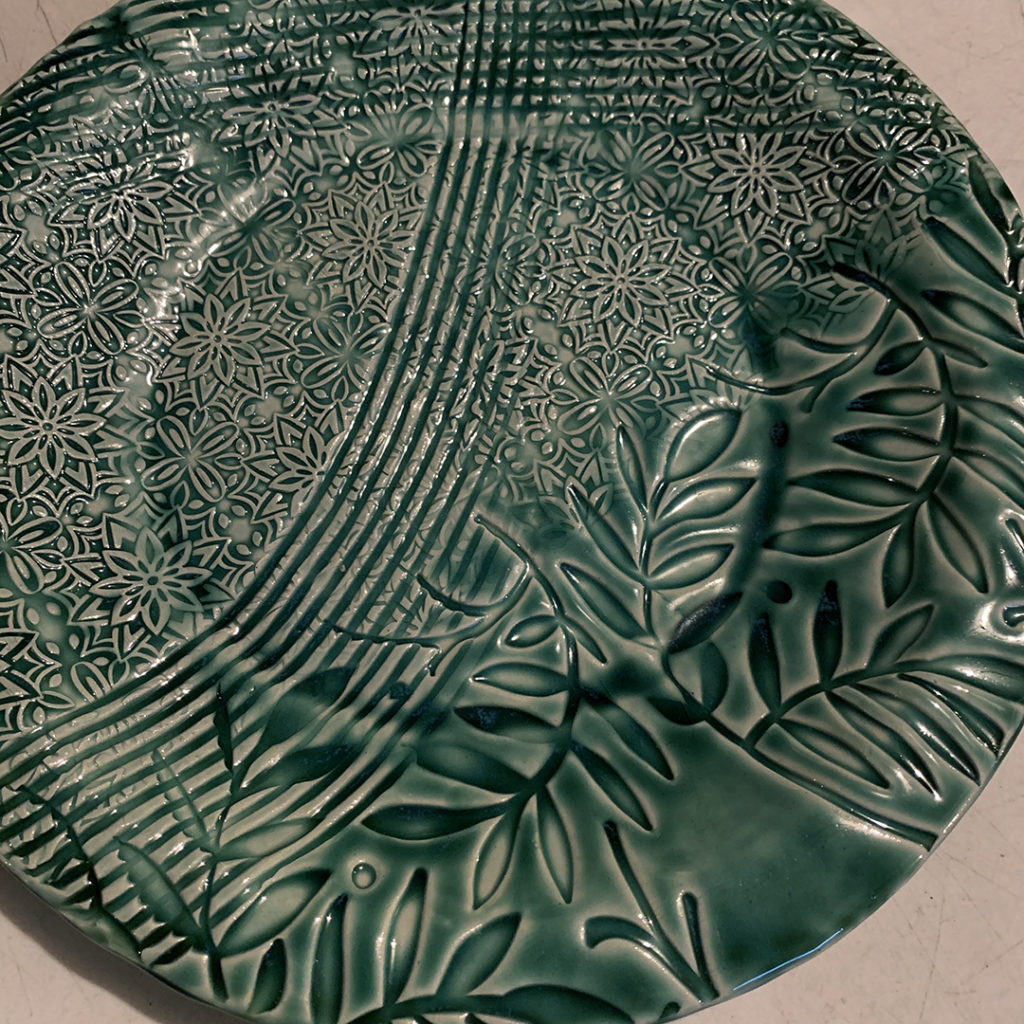

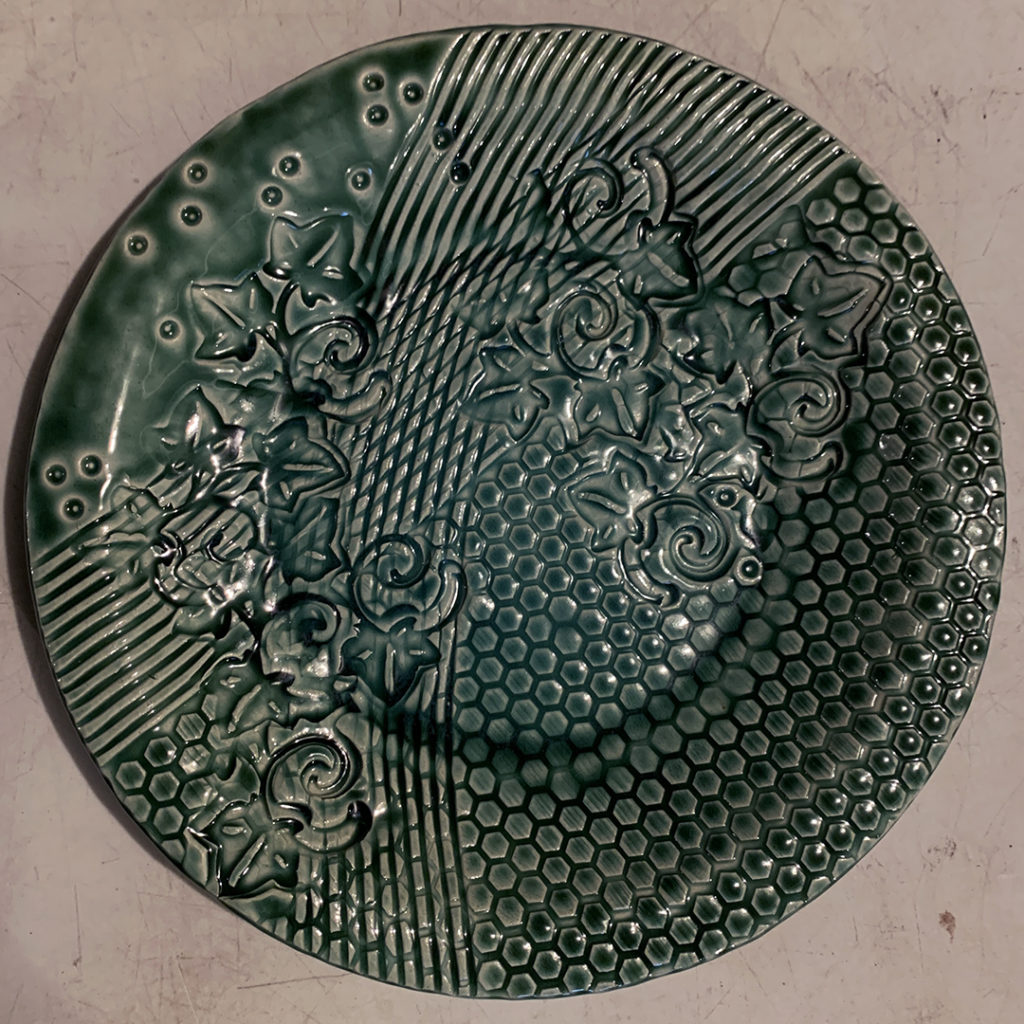
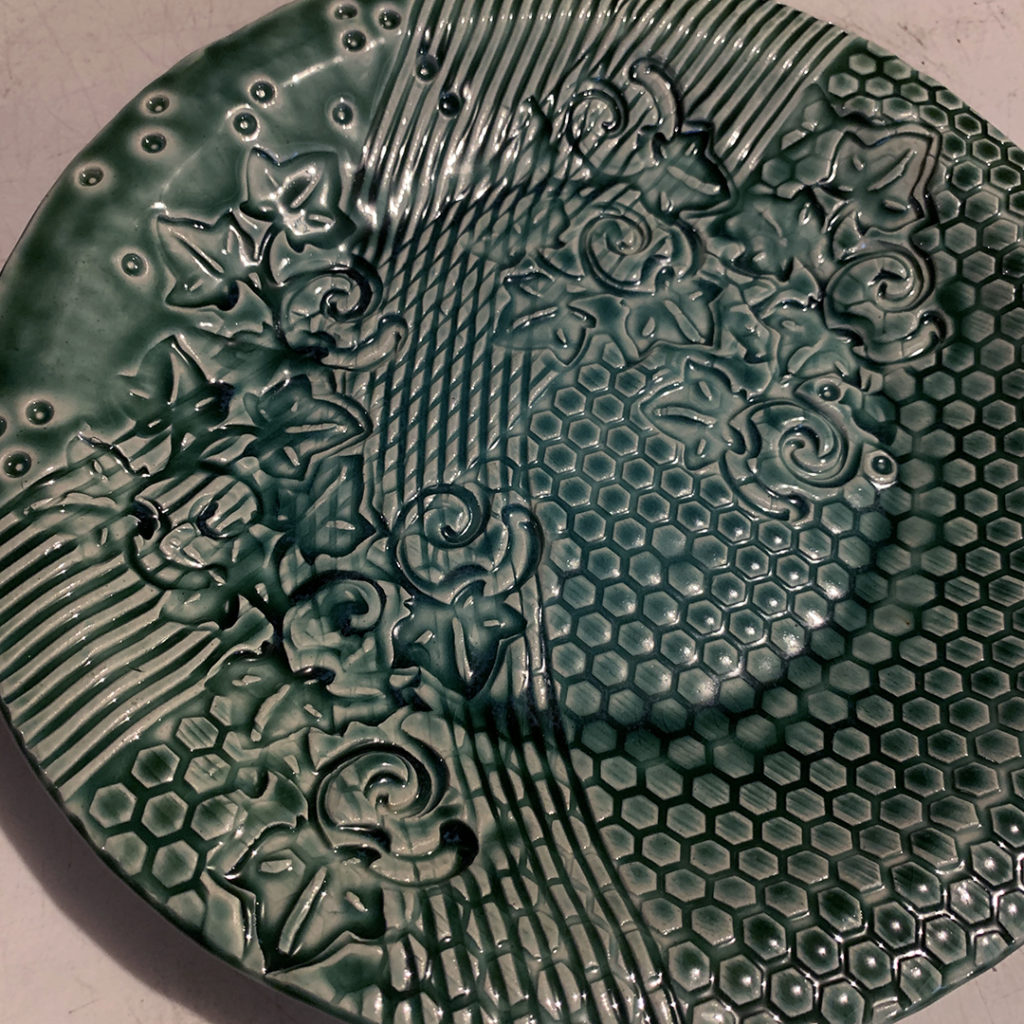
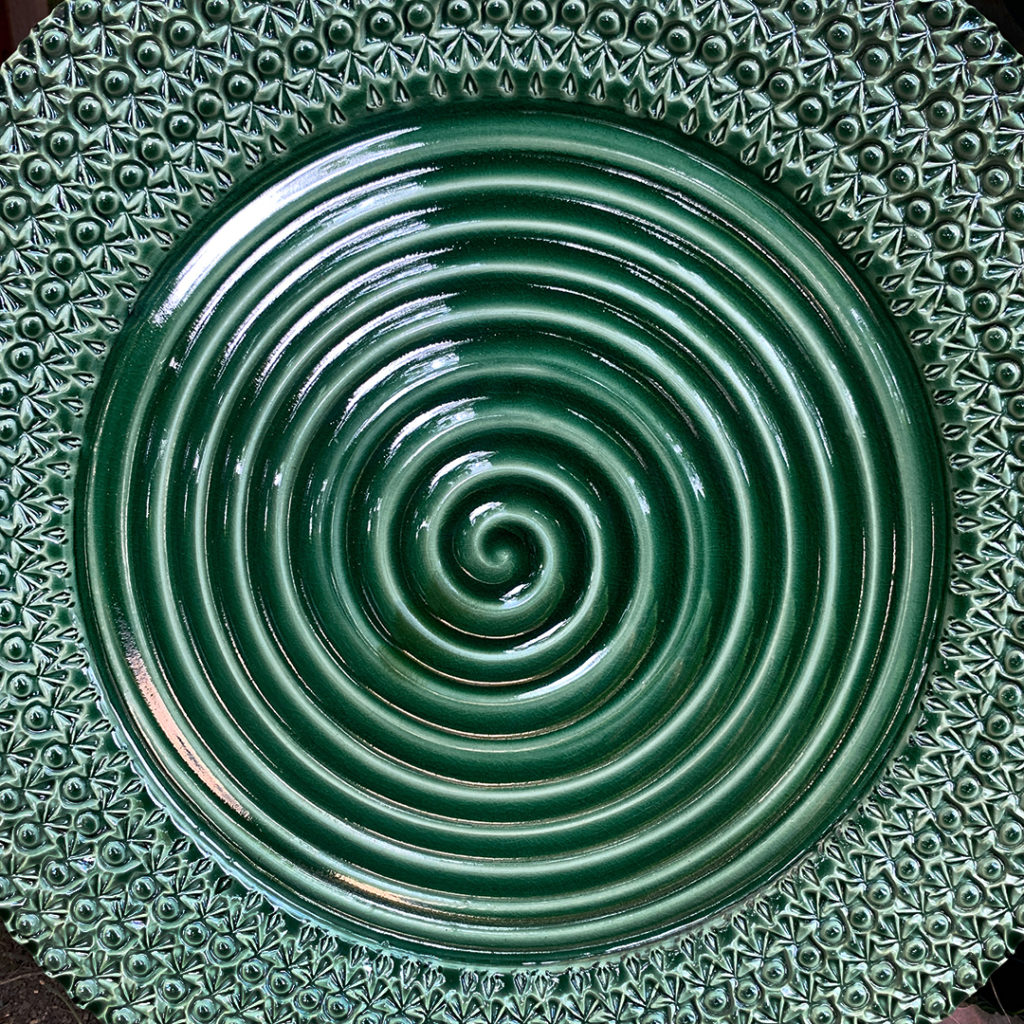
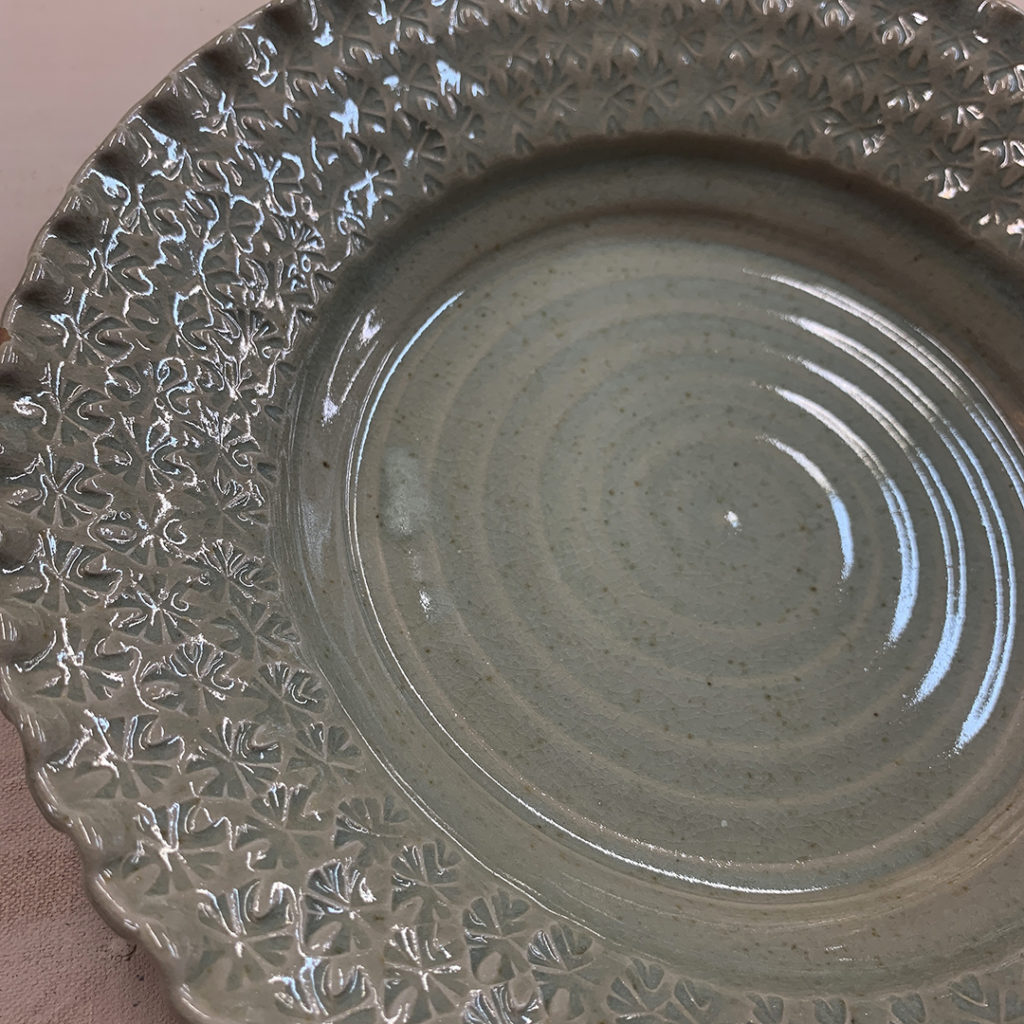
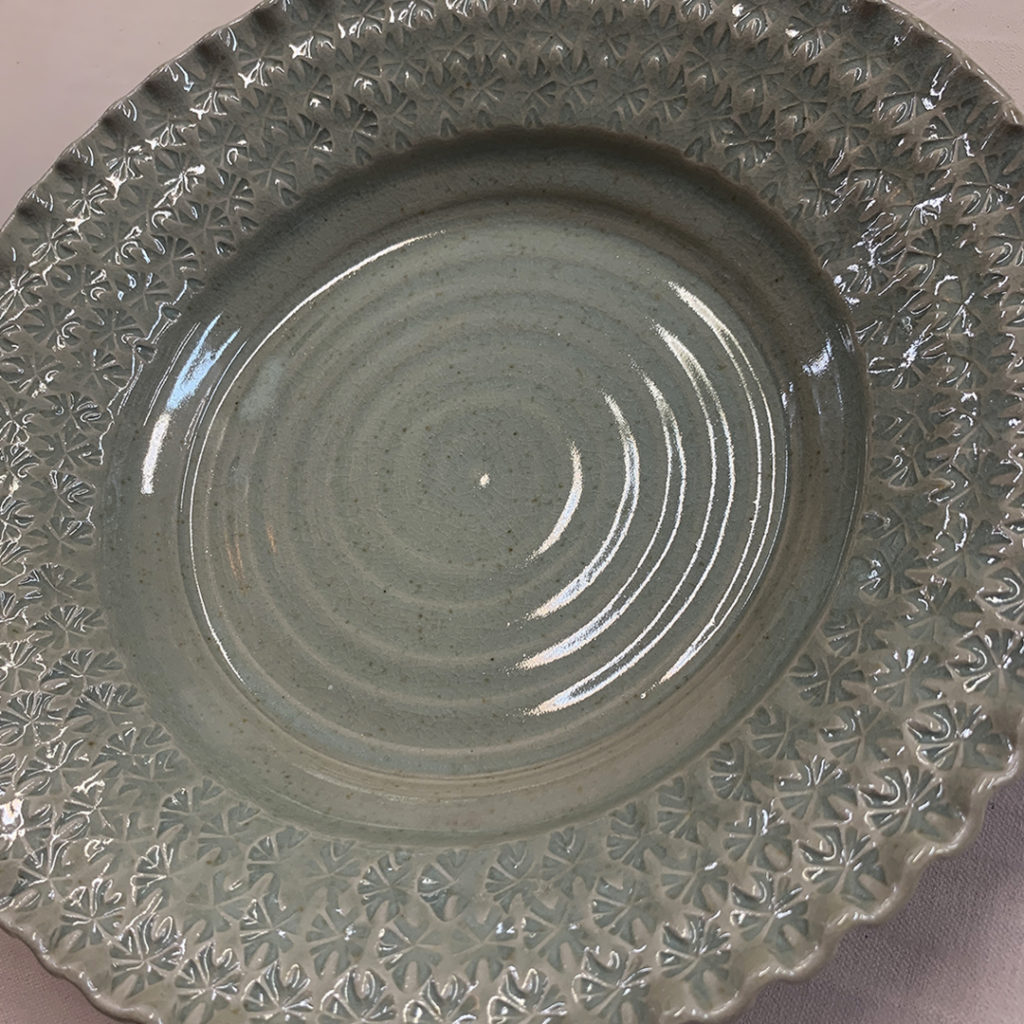
Swirls, spirals & stamps! A mesmerizing combination with a deep green glaze making this platter a stunner! More plates & platters like this will be coming with me to ART IN THE BARN this weekend in Barrington! C’mon out… I’ll be in the Lower Barn in my usual double booth space!
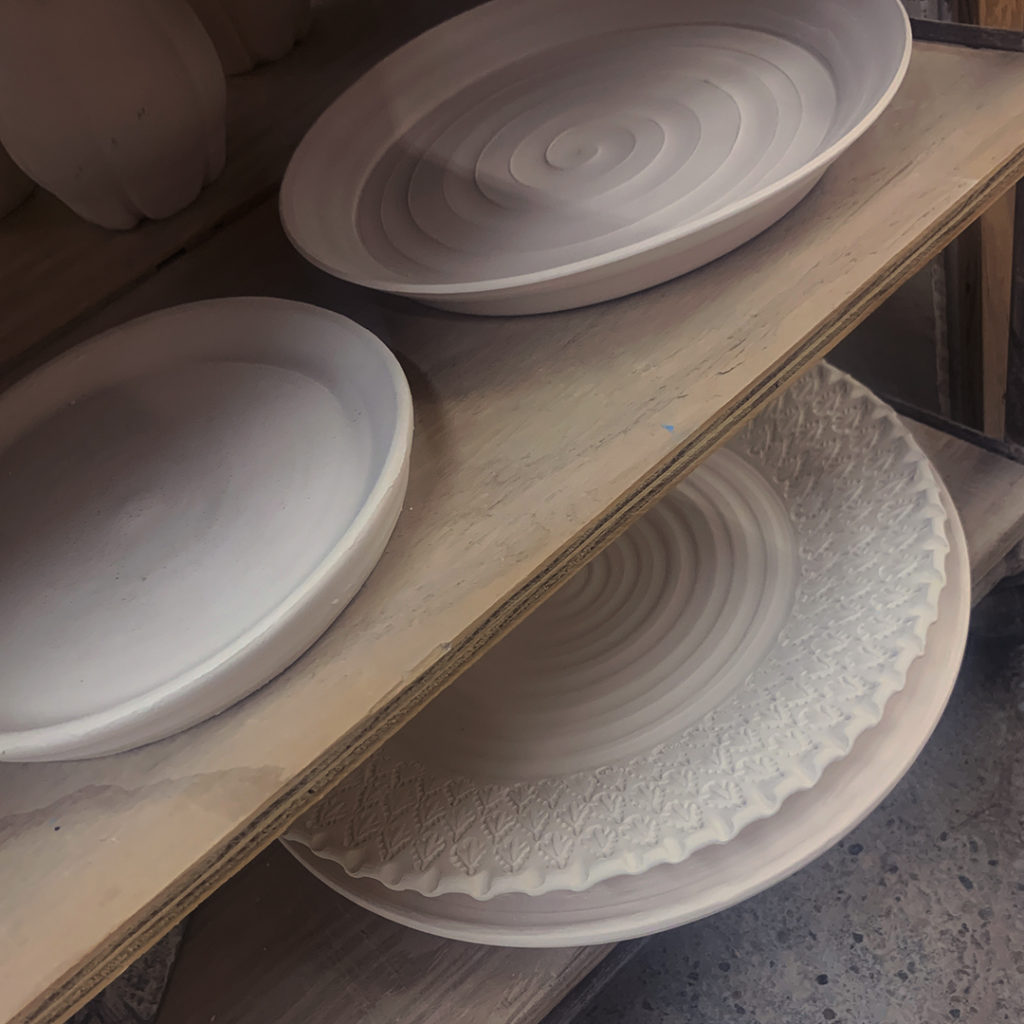
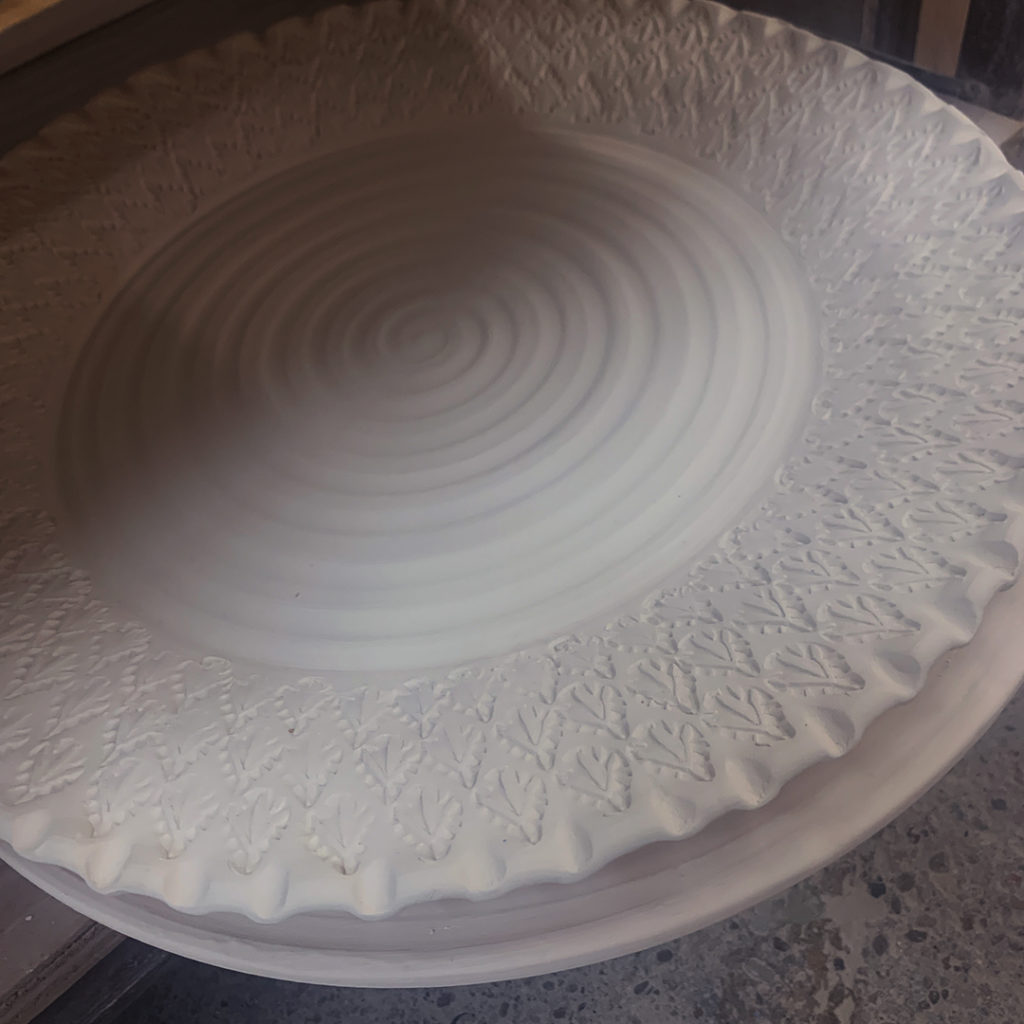
Looks like my pottery doppelganger is at it again… and I’ve already had three people mention to me that “one of my platters” is on the bisque cart. It’s not mine… it just one of my students!!!
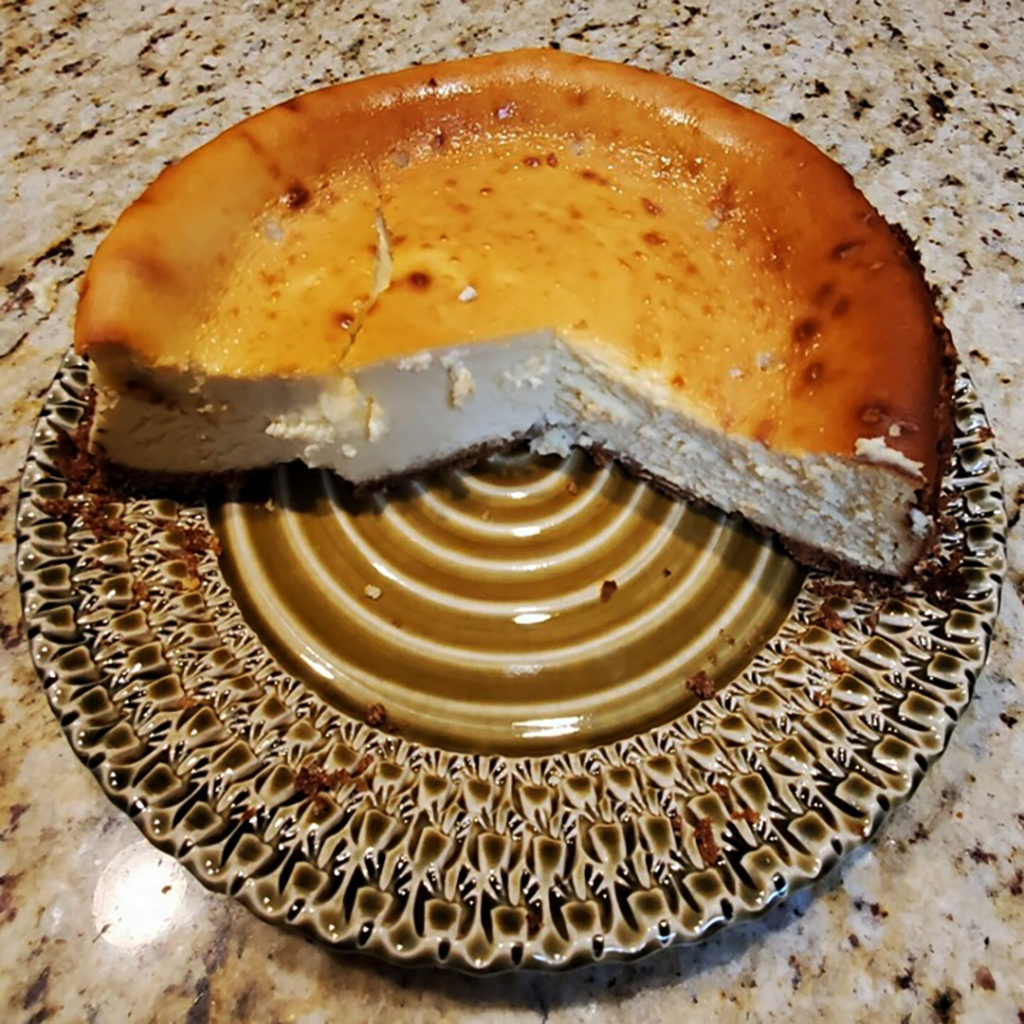
Happy Belated Birthday Tina! Looks like you had a yummy birthday cake… errr, cheesecake… presented on a nice stamped & glazed platter! Making every celebration a bit more special… although I don’t see any candles here?! Thanks David for sharing the festivities!
So when the latest glaze kiln was unloaded at Lillstreet, I had SO many people stop by to tell me that one of my stamped platters was on the glaze cart. When I went to look for it… all I saw was this one… which was NOT mine!
Turns out it is one of my students who has truly taken my demos to heart. They say “imitation is the sincerest form of flattery”… but we also discuss how to take a technique and alter it a bit to make it your own “new” style! She was the first one to admit that she is not a creative person, but can see something & she can make it. The rest of the class dubbed her as “The Replicator.”

Just finished stamping up another platter… with just one handmade stamp over & over again! Just in time for another Texture Tuesday!

The third member of the Sculpture Show in Evanston this weekend was Steve Skinner from Black Tree Studio Pottery… and it was these large platters on the wall with miniature houses that caught my attention. For more information on Steve’s work, click on www.blacktreestudiopottery.com


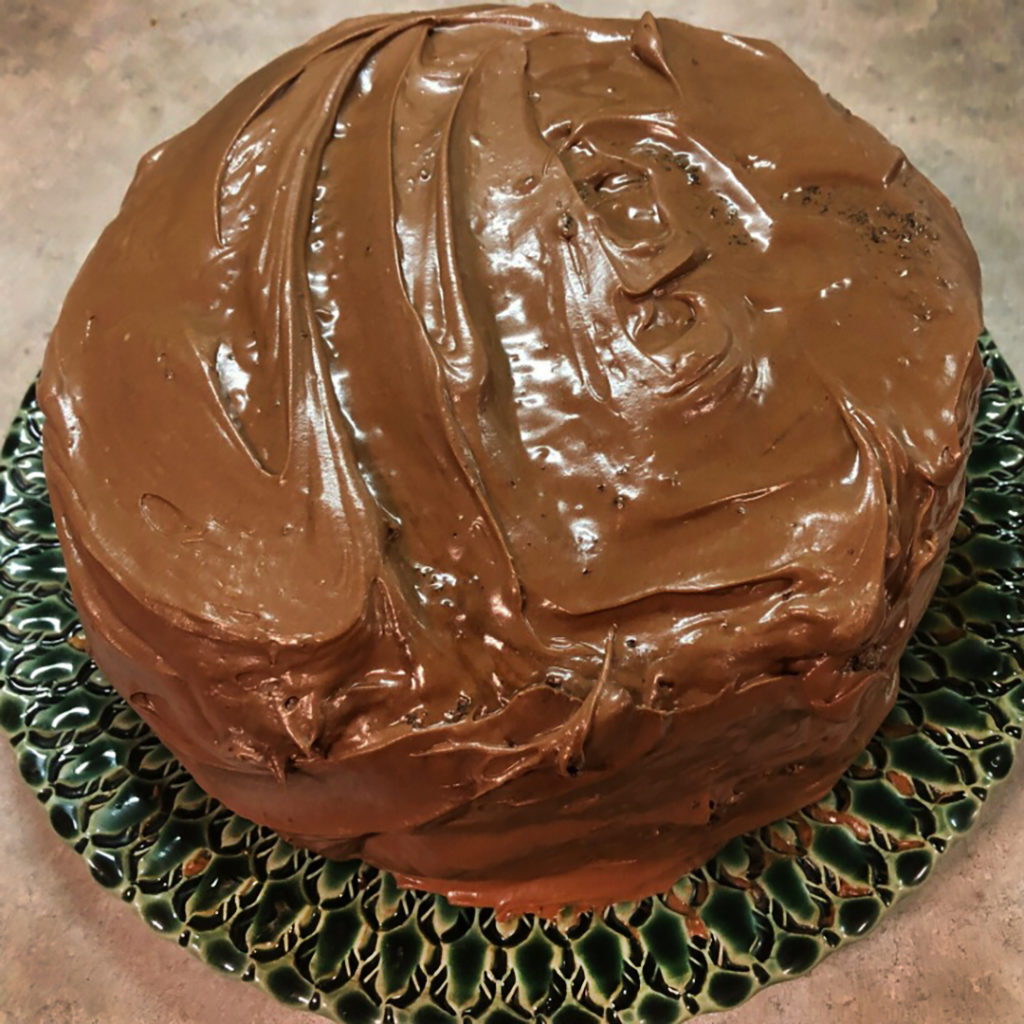
At first glace this looks like an AMAZING chocolate cake with a ton of yummy frosting! Look a little closer and you’ll see that it’s sitting on a stamped & glazed platter by yours truly. Looks like Rosene might need a bigger platter? Thanks for sharing the photo of your cake… now if only she could share some of that cake too!!!
|
Gary Jackson: Fire When Ready Pottery
Lillstreet Studios ∙ 4401 North Ravenswood, Chicago, Illinois 60640 ∙ 773-307-8664 gary@firewhenreadypottery.com |