Gary Jackson: Fire When Ready Pottery
A Chicago potter’s somewhat slanted view of clay & play
Categories: glaze, ornaments

Still in my studio glazing… a lot of pieces are wadded & done on my shelves. But it seems like there’s always more to glaze… like this batch of holiday ornaments! Some with colored slip, and some with sprayed glaze accents!

Categories: ornaments, process, production

After a bit of detailing with colored flashing slips, these ornaments are now drying
and ready for a bisque kiln. They will then be carefully propped-up on a little
handmade tripods in the soda kiln.

Categories: ornaments, process, production

Finished trimming & assembling another batch of ornaments…
now just need to do a little more detailing with colored flashing slips
before they get soda-fired!

Categories: ornaments, wheelthrowing

After throwing all of the cylinders I’ll need for my collaboration project…
I still had some time & some clay.

It’s never too soon to start making Christmas ornaments, right???

Categories: artists, ornaments

While taking down my Christmas tree, I found this sweet little ornament that came as a gift this year from Alabama. It was such a hectic time of year, it was great to “find it again” to enjoy the textures & sweet simplicity! Thanks Donnalee… you’re an ANGEL!!!

Categories: art fair, lillstreet, ornaments, soda-fired, stamped

Kickin’ off the Lillstreet Holiday Open House with plenty of wheelthrown stamped & soda-fired ornaments!

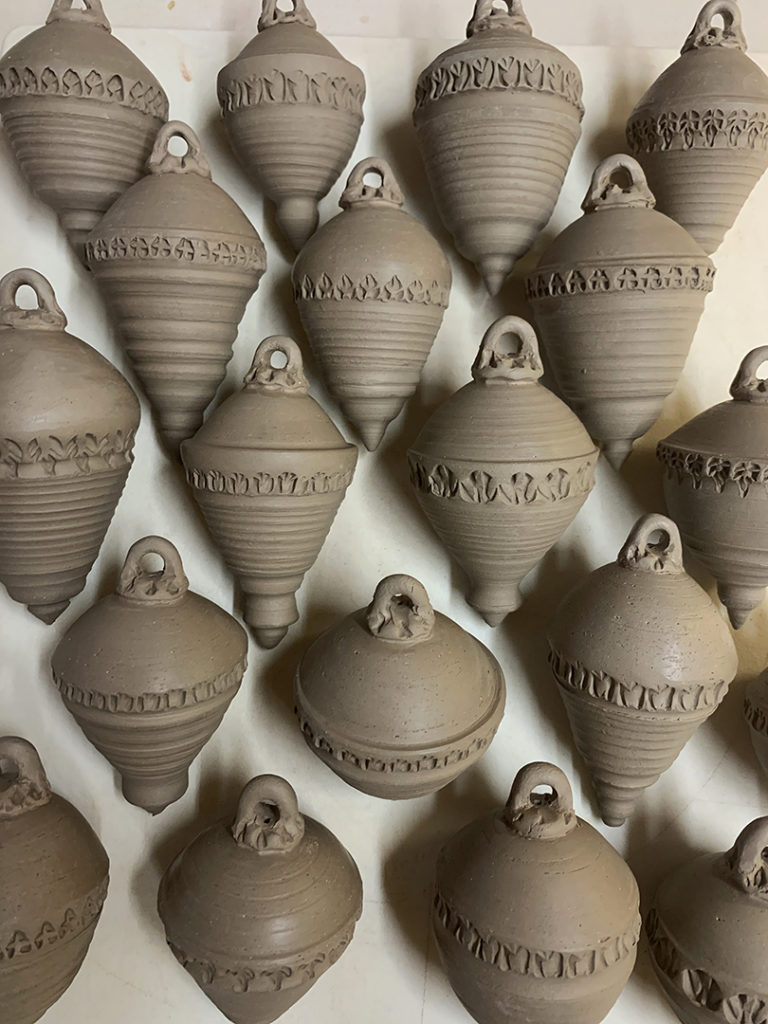
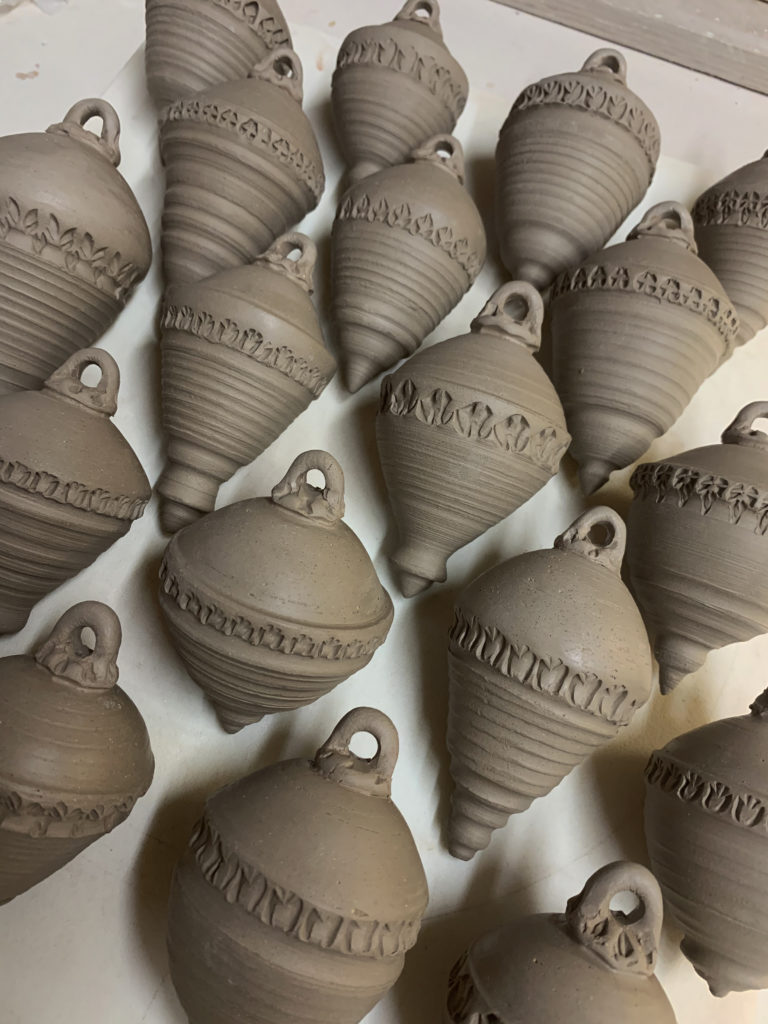
Categories: ornaments, soda-fired
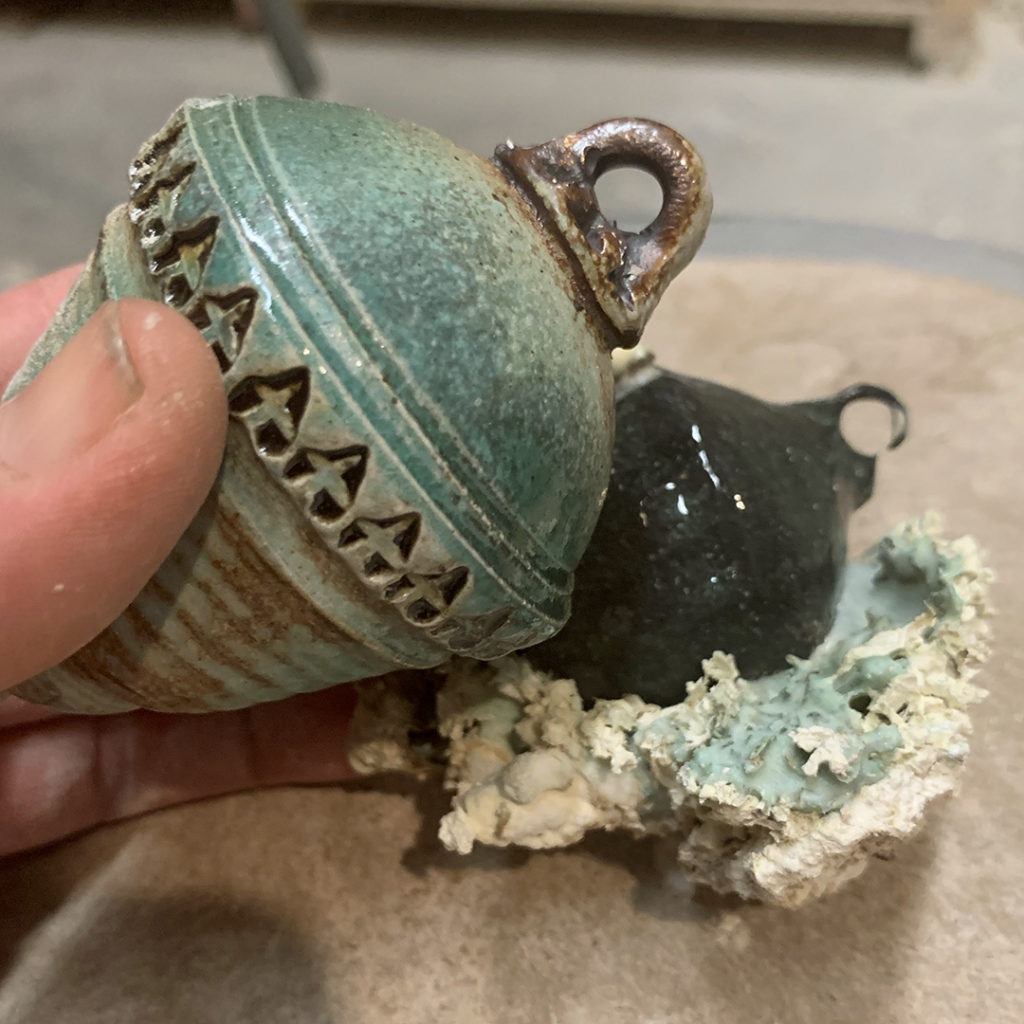
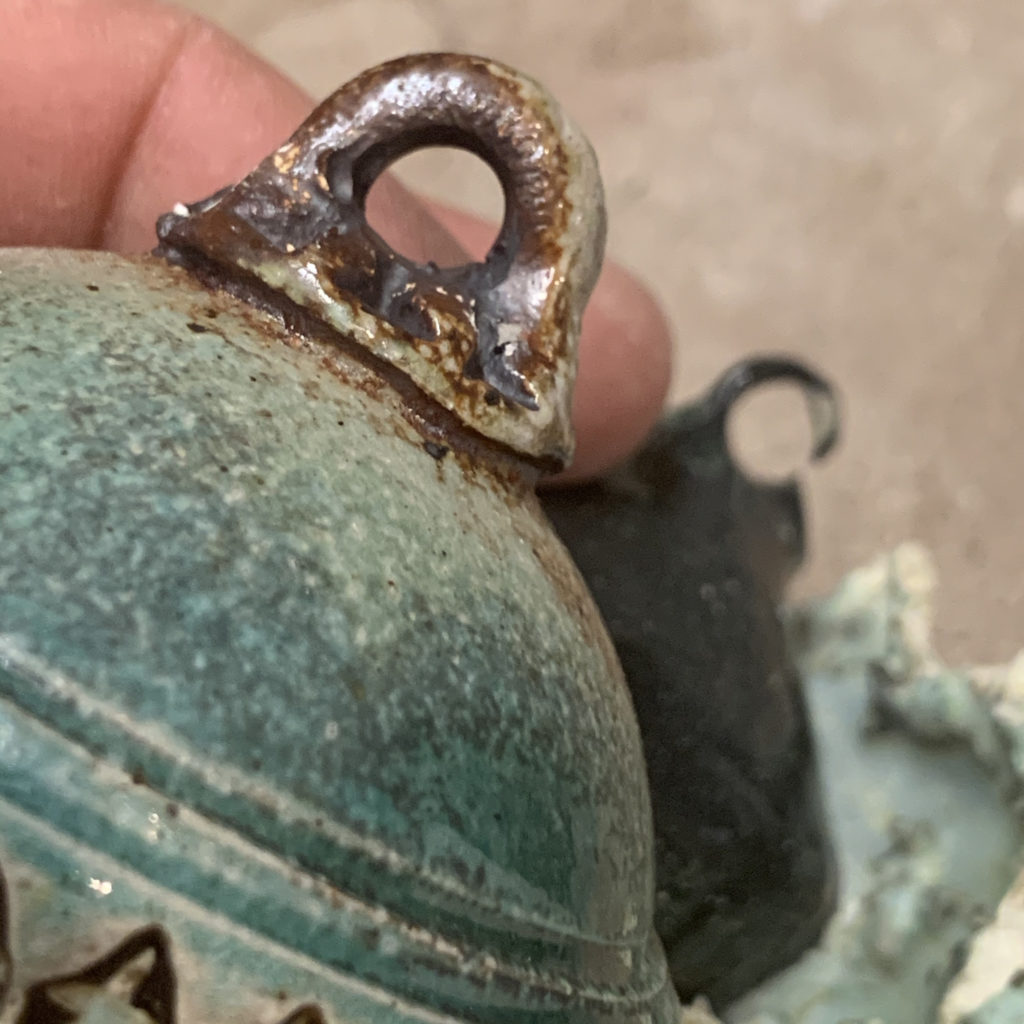
, stamped

Started out by making another batch of wheelthrown ornaments. I like to throw them off-the-hump… making the pointed “finial” to the top.

And then I do a bit of stamping… and trim off the bottom into a smoothly rounded dome. Then I add a “cap” with a ring to hang the ornament. A little bit of handbuilding on top of the wheelthrown ornament.

And then I added some colored flashing slip accents to some of the ornaments.
Bands of color going around and some dots of color in the center of some of the stamps.

After they’re bisque fired, I get them ready for the soda-kiln. I make these little tripods ahead of time, bisque fire them and dip the tips in kiln wash. When I’m loading the kiln, I carefully balance the ornament upside down on the tripod.

After the firing… if everything went well
the ornaments are now fired and still standing on the tripods!

As I unload the kiln, it’s always so much fun to find these little cuties coming out.

So for now they’re done… but when I get home I’ll be adding a metal ring through the top loop to hang the ornaments with, And in case you’re wondering… they are a LOT lighter than you would think!!! Yes, if you throw them thin, and trim then even thinner… you can make some pretty lightweight ornaments!

There will be LOTS of ornaments available this weekend!!!

My HOLIDAY HOME SHOW this weekend.
Saturday, November 17th & Sunday, November 18 from 10:00am-6:00pm both days!

Save

Save

Save

Categories: ornaments, process, production, tools

Doing a little trimming on the bottom of the ornament I threw as a “throwing-off-the-hump” demo for my class. So much easier with my Giffin Grip holding it tight, spinning it fast!

Categories: ornaments, stamped

Summer Camp has ended and soon enough it will be Christmas!!! Say it isn’t so!!!!…
But just in case, I’ll be ready with another batch of soon-to-be soda-fired
wheelthrown ornaments!

Save

Save

Categories: ornaments, production, tools

Never too soon to make more Christmas ornaments, right???
Just trimming the bottoms of my latest batch… made SO much easier
with my favorite Giffin Grip & Bison Trimming Tool.
Spinnin’ & trimmin’ before adding the ring on the top to hang them from!