Gary Jackson: Fire When Ready Pottery
A Chicago potter’s somewhat slanted view of clay & play
Categories: nature, vacation

It was our last day in Las Vegas.  Finally.
And as if we hadn’t already walked well over a hundred cement miles
over the past two weeks… we decided to go hiking in Red Rock Canyon
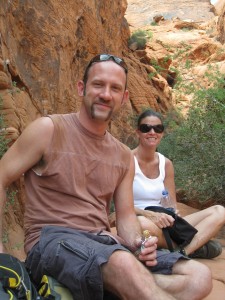
with our new friend John who now lives in Las Vegas. It was an
incredible day off the Strip – enjoying the natural beauty of Vegas!!!
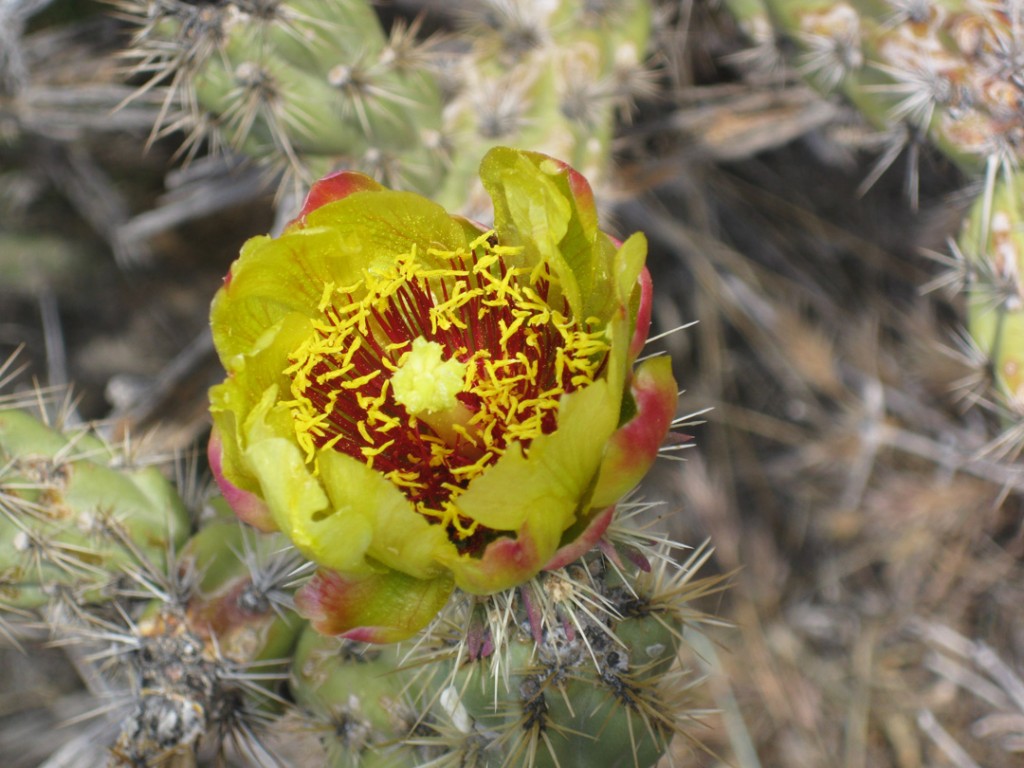
cactus-flower

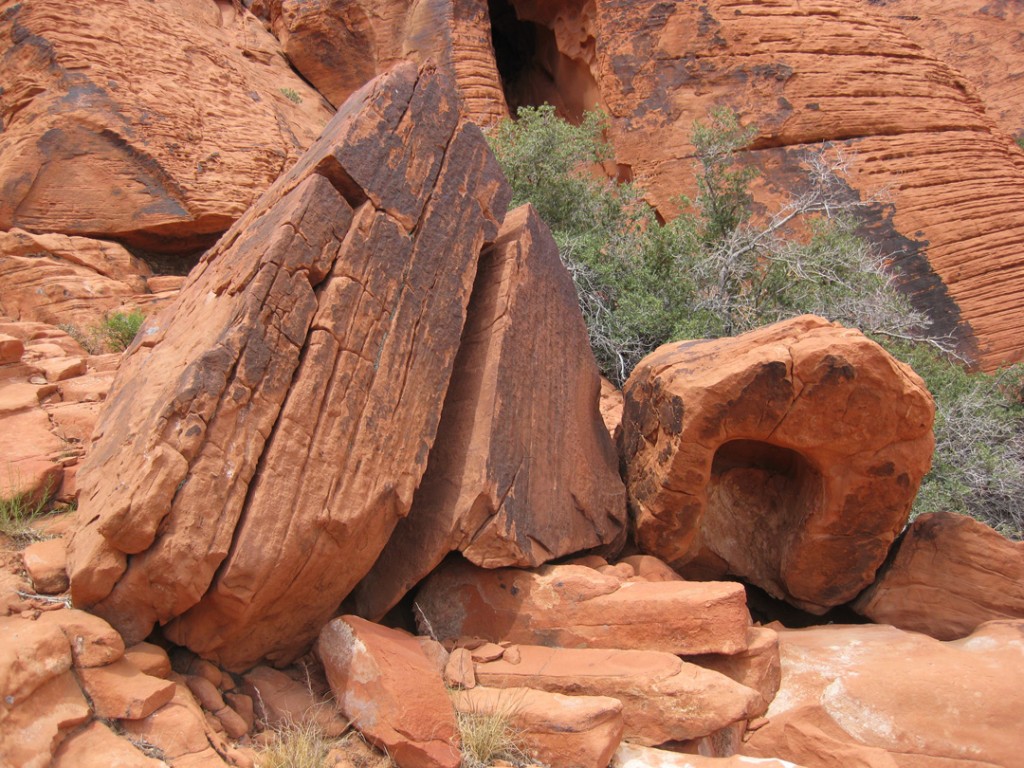
tumbled-red-rocks

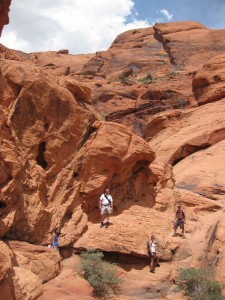
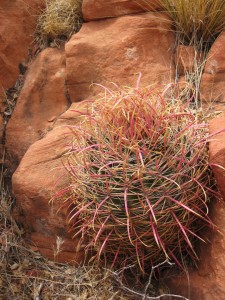
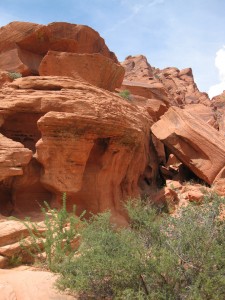
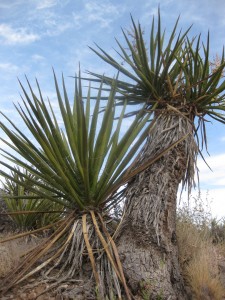
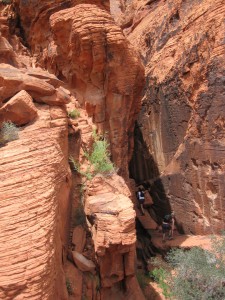
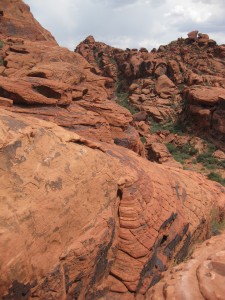
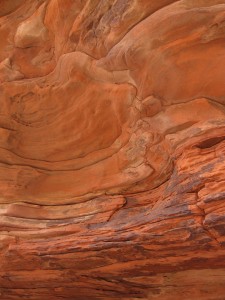
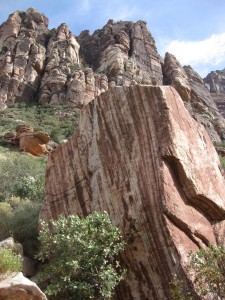
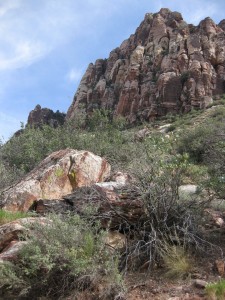
We started out on the Calico Hills hiking trail. It was beautiful introduction
to the red rock formations. It was a rigorous climb through the rocks, up and
over boulders and through tiny crevasses. It was a great day of hiking…
and an incredible change from our time on the Strip!

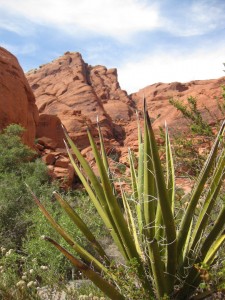
red-rock1rocks-cactus

team-hikingbarrel-cactus

red-rock-lichenmindy-red-rock

red-rock2cactus-tree

red-rock3team-hiking2

cactus-closeup1red-rock4

john-mindyred-rocks-texture

scott-hiking2windswept-tree1

erosion-cavescott-hiking

mindy-sittingscott-posing

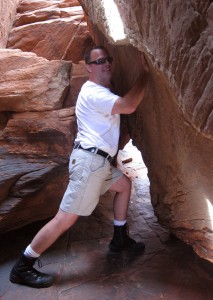
Of course there was some “fun” along the way… like Scott trying out his best pose!
He saw Haley do it – and knew he could do better… like back in his modeling days.
And the group becoming “trapped” in a small sliver of light!
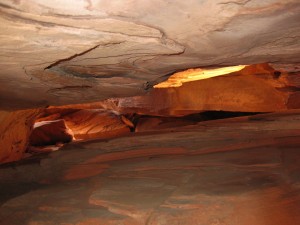
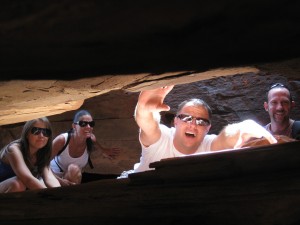
sliver

sliver-foursome

We then moved along down the road, a scenic loop that goes through the park.
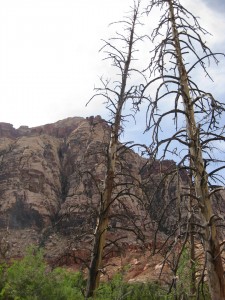
Our next stop was the hike along Pine Creek Canyon… and a hidden pool and
trickling creek that we could cool our feet in. It was a nice rest at the end of the trail
before turning back… and returning to civilization!

mountainsrock-bush

layered-rockthicket

dead-treestree-mountain

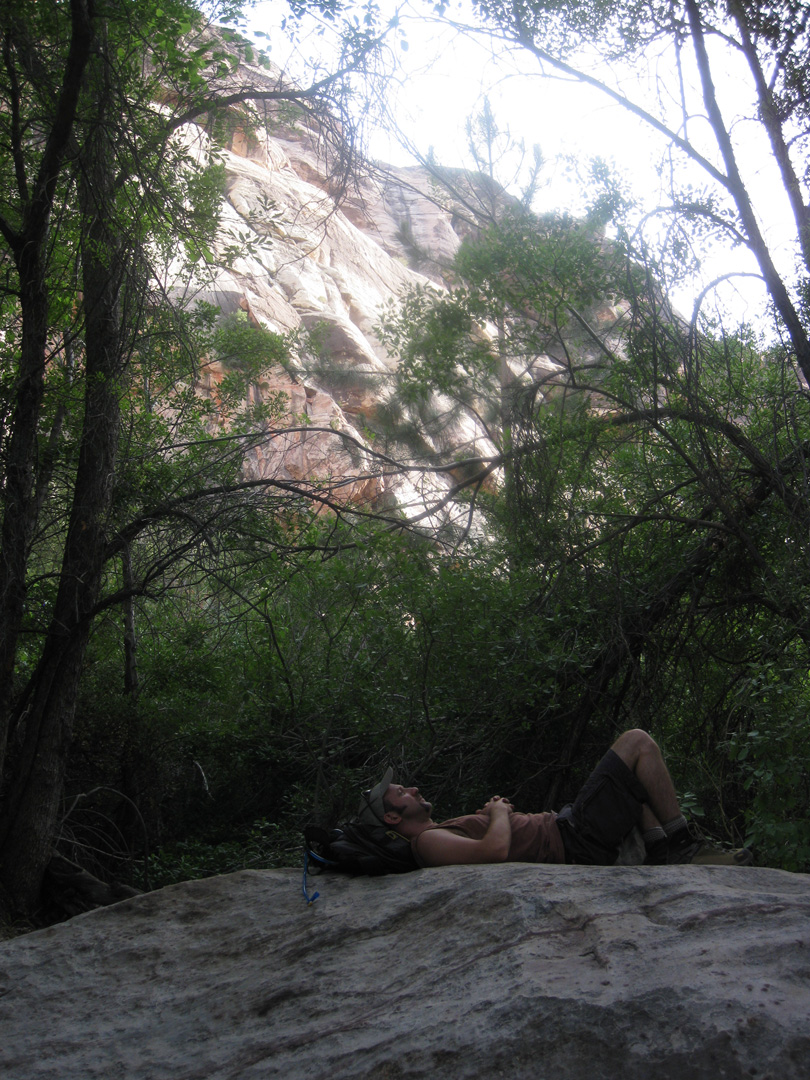
john-relaxing

At the end of our day, we all went back to John’s house to enjoy the comforts of his
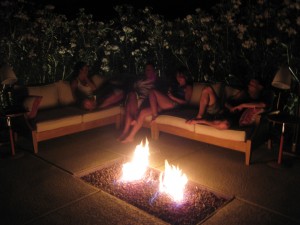
hospitality… and his backyard!!! Which includes a pool, hot tub and fire pit! John
pulled out all of the stops with a great barbeque, chips & dip, cookies, brownies,
gourmet cupcakes and a chocolate fountain!!! I even got to toast marshmallows
in the fire! What a great way to end our journey – relaxing in the desert and
hanging out with new friends.
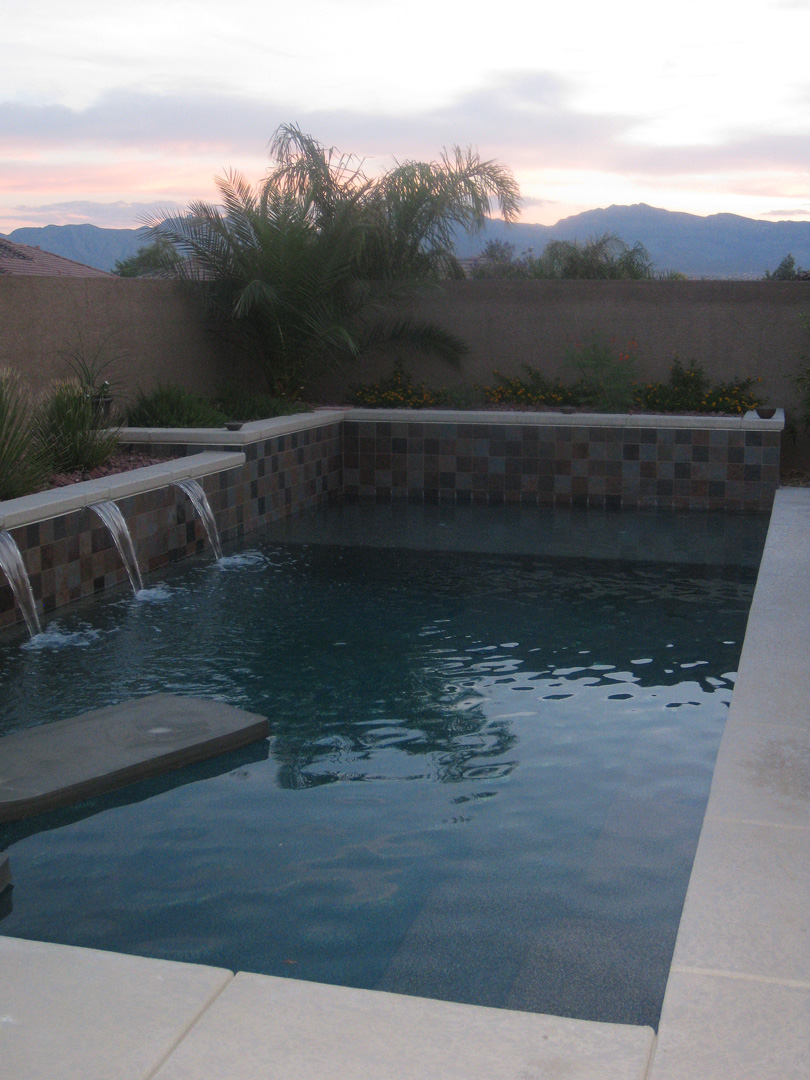
johns-pool

johns-sunset

johns-fire

Categories: inspiration, nature, photography, stamps, sunrise

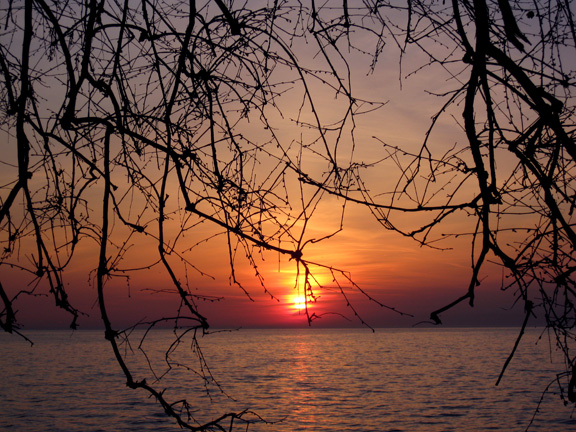
This morning’s sunrise was simply spectacular.

There’s no better way to start your day…
than playing along the lakefront, enjoying the quiet serenity of morning…
and watching the beauty of nature’s morning announcement greet the day!
It’s amazing what a difference five minutes can make!

8-1

8-2

Categories: inspiration, nature, photography, sunrise

Because one sunrise is never enough…
and this morning’s was stunning – and then got even better!!!

gary-jackson-sunrise-tree1

Categories: bike, inspiration, nature, sunrise
Categories: nature, pottery, process, production

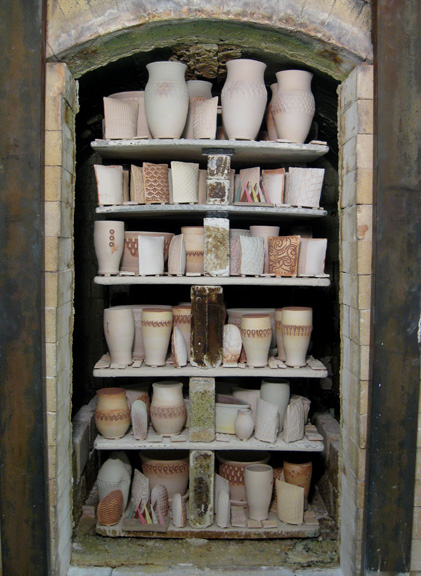
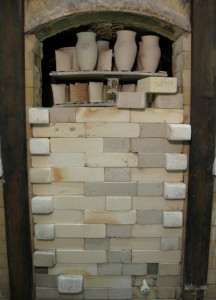
So today is the day that all of the work gets loaded into the kiln.
It’s a 3-dimensional, spatial relationship challenge! And I love it!

So you start at the bottom in the back – loading the first layer of pots.
Then you place the posts, as known as “furniture,” to raise the next shelf.
More pots, more posts, another shelf. More pots, more posts, another shelf.
All the while keeping the air flow and spacing in mind. Ideally, you want to
fill the space kind of evenly all the way to the top of the arched kiln ceiling.

It’s a great challenge to get as many pieces into the kiln while allowing for
proper air-flow to ensure good soda exposure and air flow throughout the kiln.
If it’s packed too tight the flames can’t get through the pieces and some of the work
comes out too “dry” and not “glazed” by the soda. If the kiln is packed too loosely –
I don’t feel that I have gotten my money’s worth in the firing!!!

gary-jackson-kiln-loaded

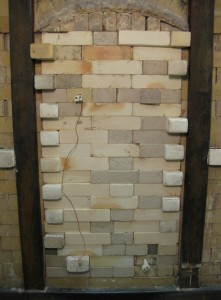
Once the kiln is loaded, the door is closed… one brick at a time!!!
With special cut bricks on alternating ends to help keep it tight side-to-side…
as well as carved arch bricks that fit along the top curve.

gary-jackson-kiln-door2gary-jackson-kiln-door1

Going, going…                                              …gone!

Categories: nature, photography, pottery, process, production, studio

As I prepare for my soda kiln firing this weekend, there’s been a lot of glazing
& wadding going on in the studio. Few people realize the huge number of steps
a piece goes through before it’s ready for use at the table. It’s not just a few minutes
of fun on the wheel… there’s countless hours of decorating, trimming, finishing
and firing… twice!

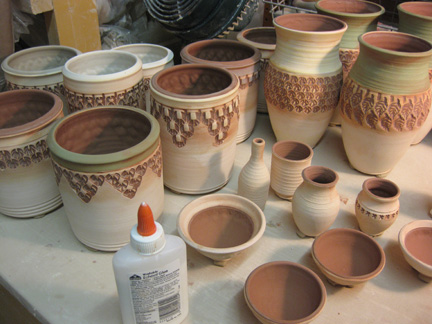
So I’m working every night this week trying to get everything glazed & wadded
for my firing. One of the benefits to the soda firing process, is that my glazing
is somewhat minimal. It’s mostly liner glazes and a few accents… with great
anticipation that the soda atmosphere will create the glossy “glazed” effect
on the sides of the work, along with some great flashing marks!

gary-jackson-glazed-in-process

So every pot is glazed and cleaned up. You want to make sure that edges are crisp,
drips are wiped off and everything is ready to go. After liner glazes & cleaning, I then
glue on little balls of wadding to the bottom of the pots. Wadding is a “soda-resistant”
clay-like material that helps lift the pot off the kiln shelves during the firing. The
concept is that it will keep pots from sticking to the shelves if there is an excess
of soda build-up.

Once they are lined & wadded, I separate them into different categories… some
of them waiting to be lightly sprayed with accent colors. Just a bit of color to work
along with the colored slips I’ve applied before bisque firing and the color flashings
the firing will create in the kiln.

gary-jackson-glazed-on-table

Then the pots get stacked back onto my rolling cart… which will make the journey
downstairs, in the rickety freight elevator, tomorrow to the kiln room for loading.
My hope is that all pots & tiles will be wadded and ready to go by the end
of tonight’s studio session. We’ll see… still have a long ways to go!

gary-jackson-glazed-on-cart

Categories: bike, nature, pottery, process, production, stamps, studio

One of my favorite things to make… mugs!

Many potters despise the process; mostly because of their fear of handles.
But I enjoy making the smaller, personal items that become part of people’s
everyday rituals. The morning coffee, the winter’s hot chocolate, the cup of tea
for those feeling under the weather… or in my case… ice cold grape pop!!!

So I’ve spent the past few days working in the studio on a new batch of mugs.
Nothing fancy – just trying to get back into the swing of things and restock
the “art fair inventory.” And I thought I would try to show you some of the steps
along the way.

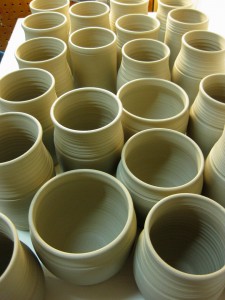
First, I start by throwing the basic cylinder shapes. I prefer to work
in “batches” instead of singles. I like the production aspect of it all.
Creating a quantity of something… then moving on to the next.

gary-jackson-thrown-cylinders

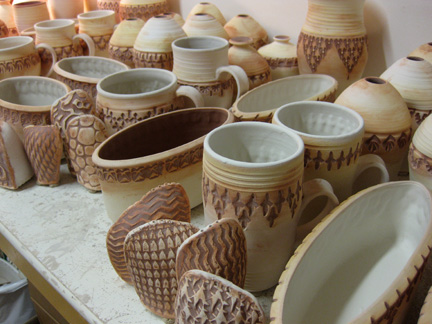
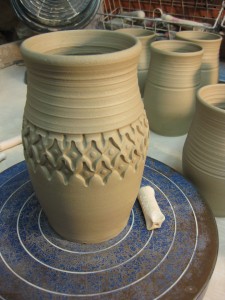
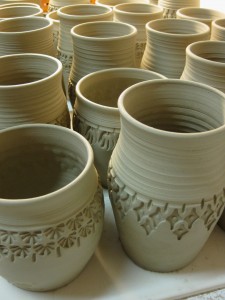
When they are a fairly damp “leather-hard” I begin the stamping decoration.
I make my own stamps out of a piece of clay. I roll it into a coil, carve a pattern
into both ends and bisque the stamp. One stamp pressed in repeatedly can create
a wonderful pattern around the cups. The trick is to get the pattern to line up
when you get back to where you started!!!

gary-jackson-stamped-mug

After they are stamped, the bottoms are trimmed. It’s a fairly simple process
where you turn the cylinder upside down on the wheel, center it, attach it,
and then trim away the excess clay while it is spinning. Think of it as very
similar to a wood lathe. Spinning fast, trimming fast. Trimming helps remove
the excess clay where it attached to the wheel, as well as allowing me to trim out
the bottom to create a finished looking foot ring.

gary-jackson-stamped-mugs

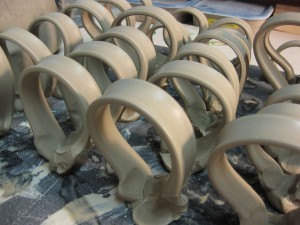
After trimming, the handles are pulled and allowed to stiffen up.
Once they are no longer sticky, wet or mushy, I can apply them
to the side of the cylinders to create a “not-quite-so-instant” mug!

gary-jackson-pulled-handles

To attach the handles, I cut out the section of the strap that I need…
then scratch & slip both the ends of the strap and the attachment points.
The scratching works like Velcro, the slip works like clay glue. Together,
it creates a strong bond when attaching clay to clay.

gary-jackson-attaching-handles

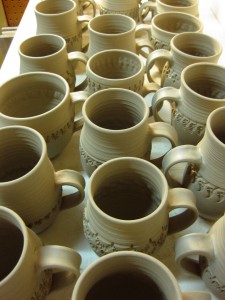
After attaching the handles, I take a few extra moments to smooth them out
and give them a finished look. I then set the mugs aside and cover them with
plastic to help them dry more slowly. I like to keep them covered for at least a day
to help the moisture level of the mug and handle equalize a bit before full drying.

gary-jackson-rows-of-mugs

Once the mugs are done and all handles are attached, I will paint some colored slip
on the mugs that are going to be soda-fired. The colored slip will help add some color
to the final mugs – as well as reacting to the soda environment of the kiln to create
some wonderful flashing effects.

After slip painting, the mugs are allowed to dry slowly. They then need to be bisque fired
to approximately 1850-degrees. This makes them hard yet porous. Next they are glazed,
wadded and fired again. The final soda firing takes around 13 hours to reach the top
temperature of 2350-degrees. The kiln will cool for a full day, and be unloaded the next.

All of that for a simple mug.

Categories: nature

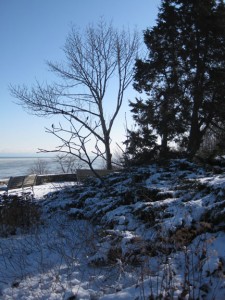
The temperatures have dropped… the wind is blowing…
winter is officially here… and all of Chicago feels like a frozen tundra!

It’s beautiful outside… but warm & toasty inside.
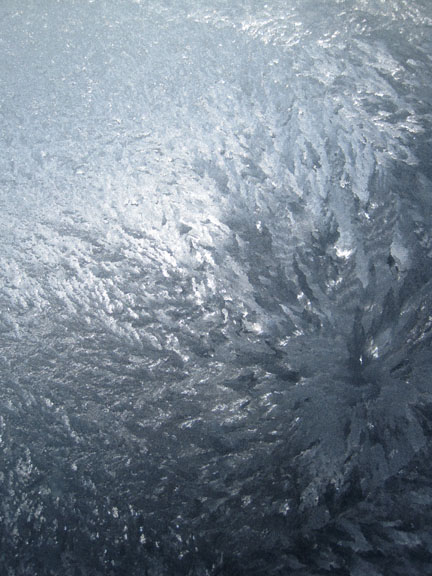
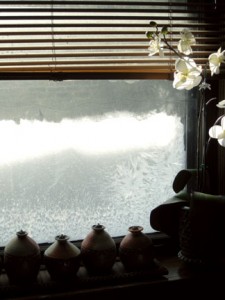
It’s so cold that my kitchen window (above & below) is frozen over
with beautiful crystalized ice formations. Glittery & sparkly when the sun hits it!

Categories: inspiration, nature, photography

The past three mornings have been stunning.
The weather has been surprisingly warm and the sunrises spectacular.
A wonderful view each morning as I ride along the lakefront before work.
Each day I’ve wondered if it can get any better…

And each time it did…

Categories: bike, nature, photography

Another morning bike ride.
Another sunrise over Lake Michigan.
Another morning of natural beauty.