
So I’m nearing the end of my soda firing today! It was a nice & even firing the whole way through. Always a good feeling when you get to the end and turn it off. So quiet. For tomorrow is a “Fun Day” while the kiln cools!

Gary Jackson: Fire When Ready Pottery
A Chicago potter’s somewhat slanted view of clay & play |

So I’m nearing the end of my soda firing today! It was a nice & even firing the whole way through. Always a good feeling when you get to the end and turn it off. So quiet. For tomorrow is a “Fun Day” while the kiln cools!


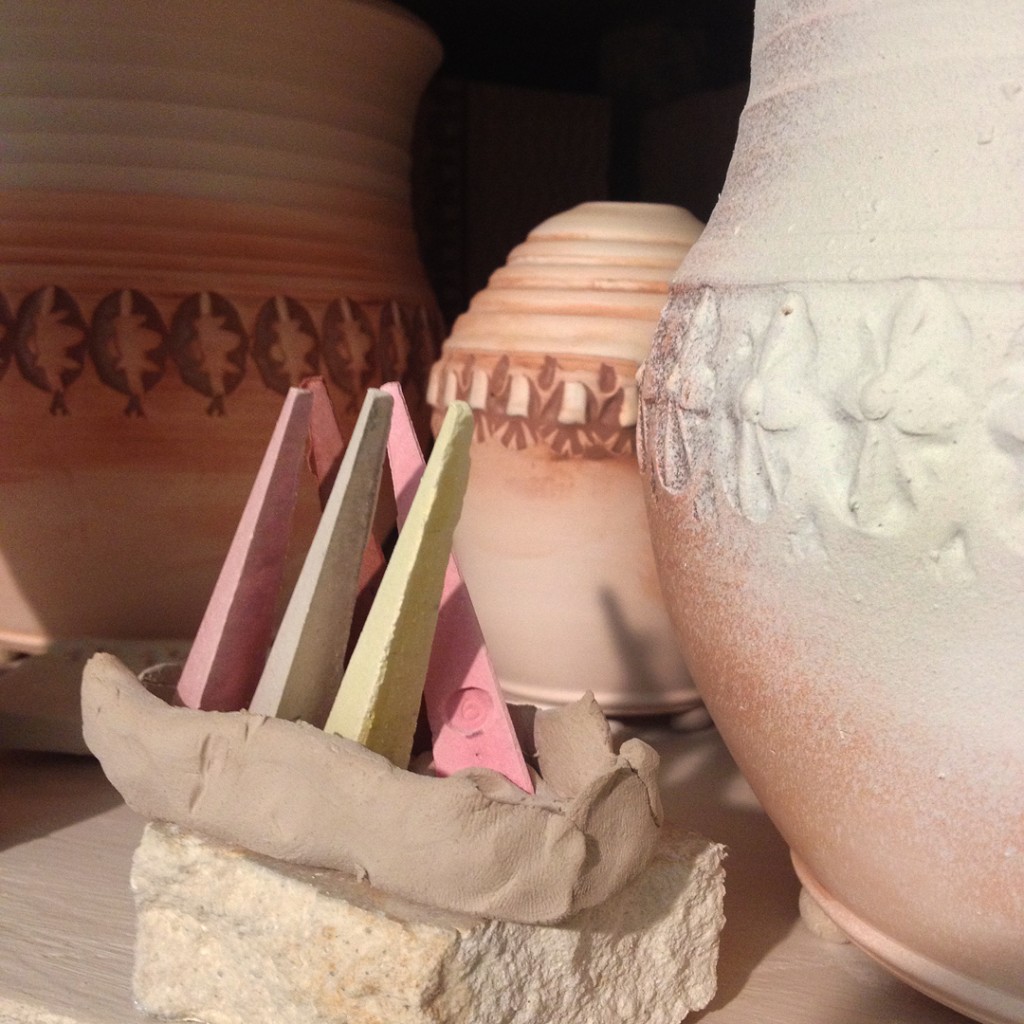
Many people have asked how I fire my holiday ornaments. I tell them “upside-down.” Well, here’s the real secret revealed… I prop them up on a tripod I make out of clay, bisque and dip in kiln wash. A little balancing trick so I can get soda-fired effects around all sides of the ornament. Hope it was worth the wait!!!

It takes awhile to load the soda kiln. Especially when you’re doing it by yourself. Lots of pots & lots of shelves. It’ pretty much like a large 3D game of Tetris. Packing as much in as you can… but keeping space for the air & soda to flow through.
Here’s the back stack of the soda kiln… a third of the space filled.
More pots. More shelves to come

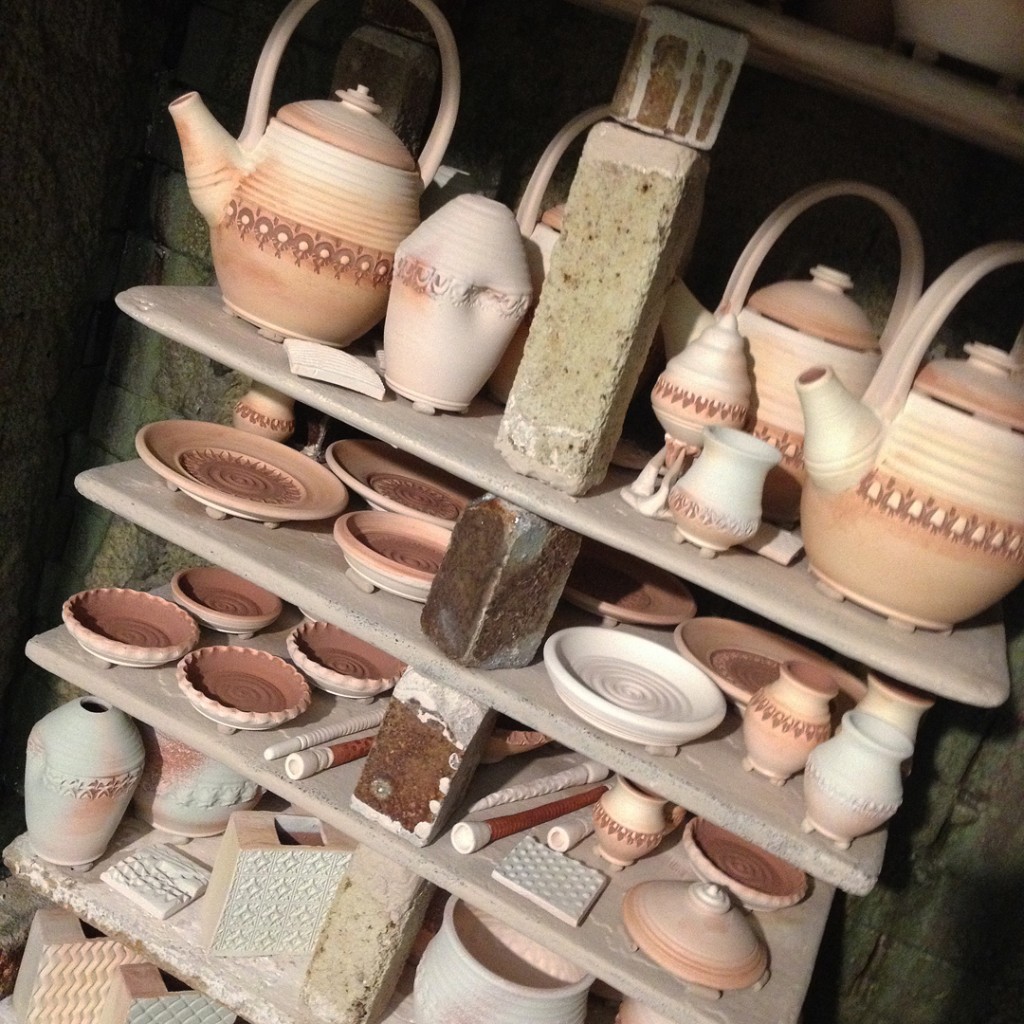
And then the bottom “floor” layer of the front stack…
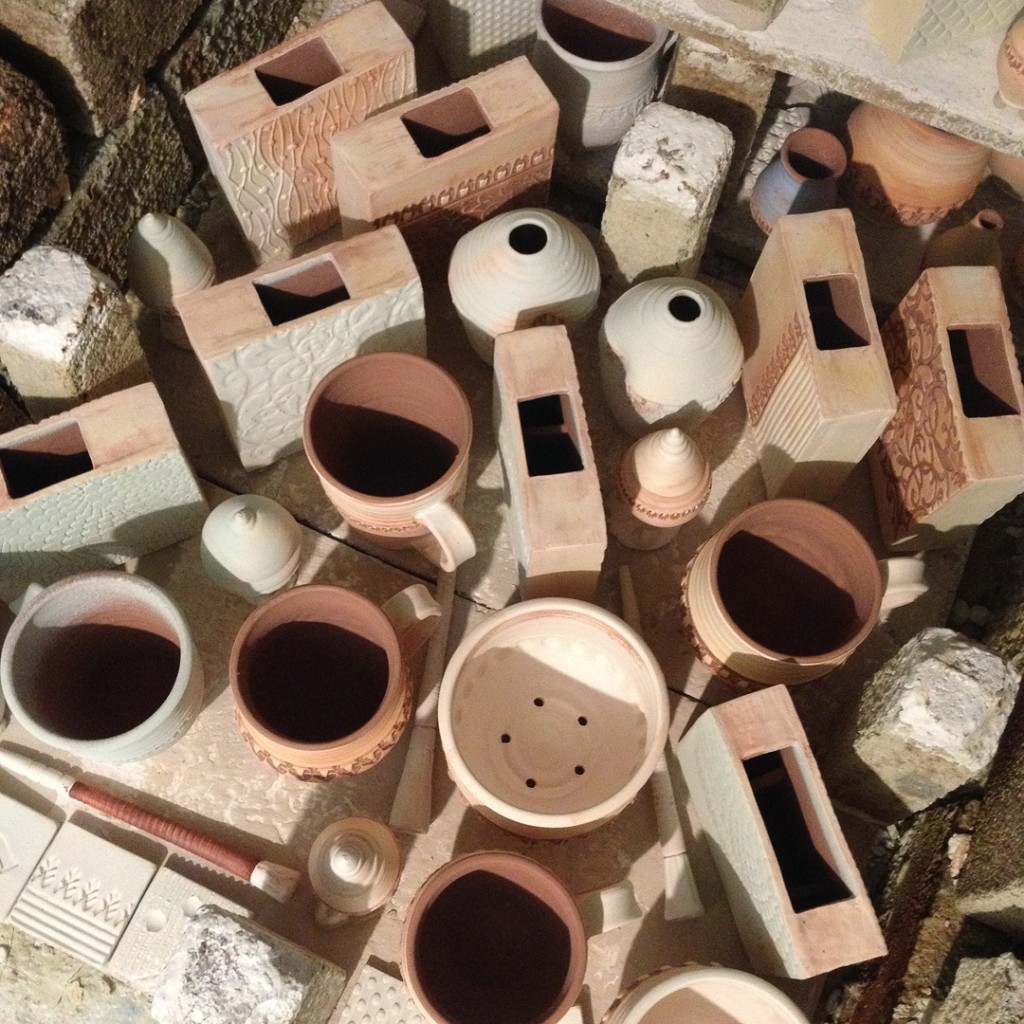
And then finally, a few hours later, the front stack is piled up and ready to brick up the door.

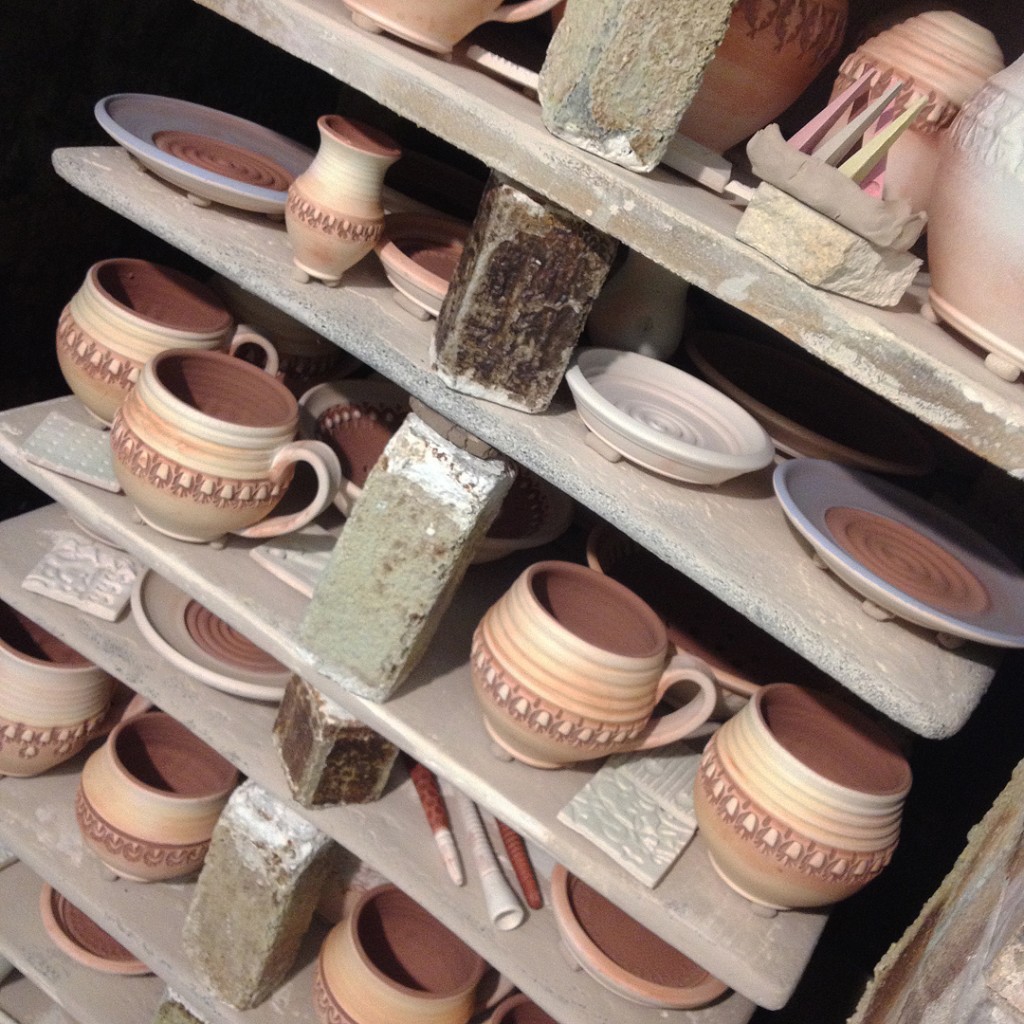
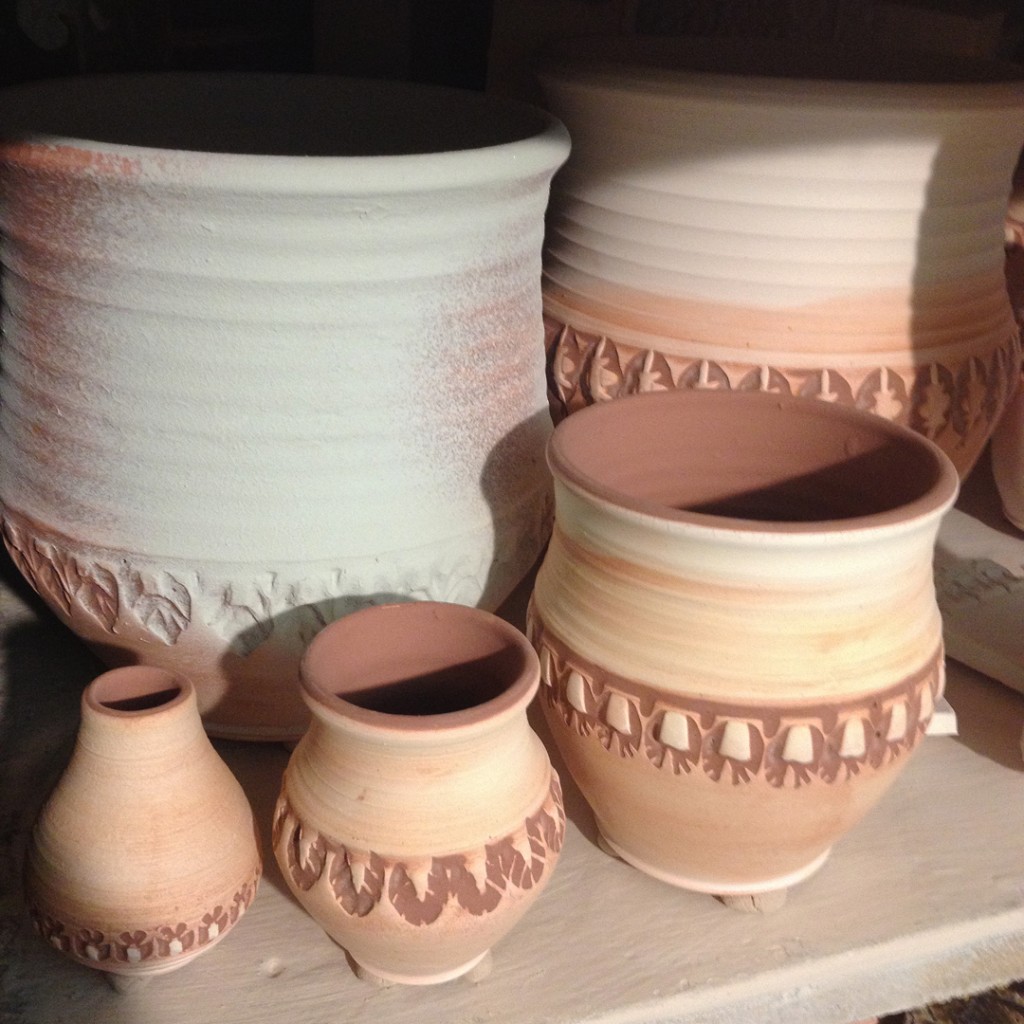

And the top cone pack to watch throughout the firing. Each pyrometric cone is a different density so they melt at different temperatures. When the last cone goes down you know you’re done wit the firing. Very hi-tech!!!!
One last bisque kiln loaded and firing. Time to start glazing the pieces that came out
of my previous kilns… as my next soda firing is THIS WEEKEND!!! Yikes…
fire fast, cool faster… quick!!!
Bisque Kiln Layer #1 – mugs, flower pots, soap dispensers and square vases (upside down).

Bisque Kiln Layer #2 – stacks of serving bowls, cups… and one class demo ornament!
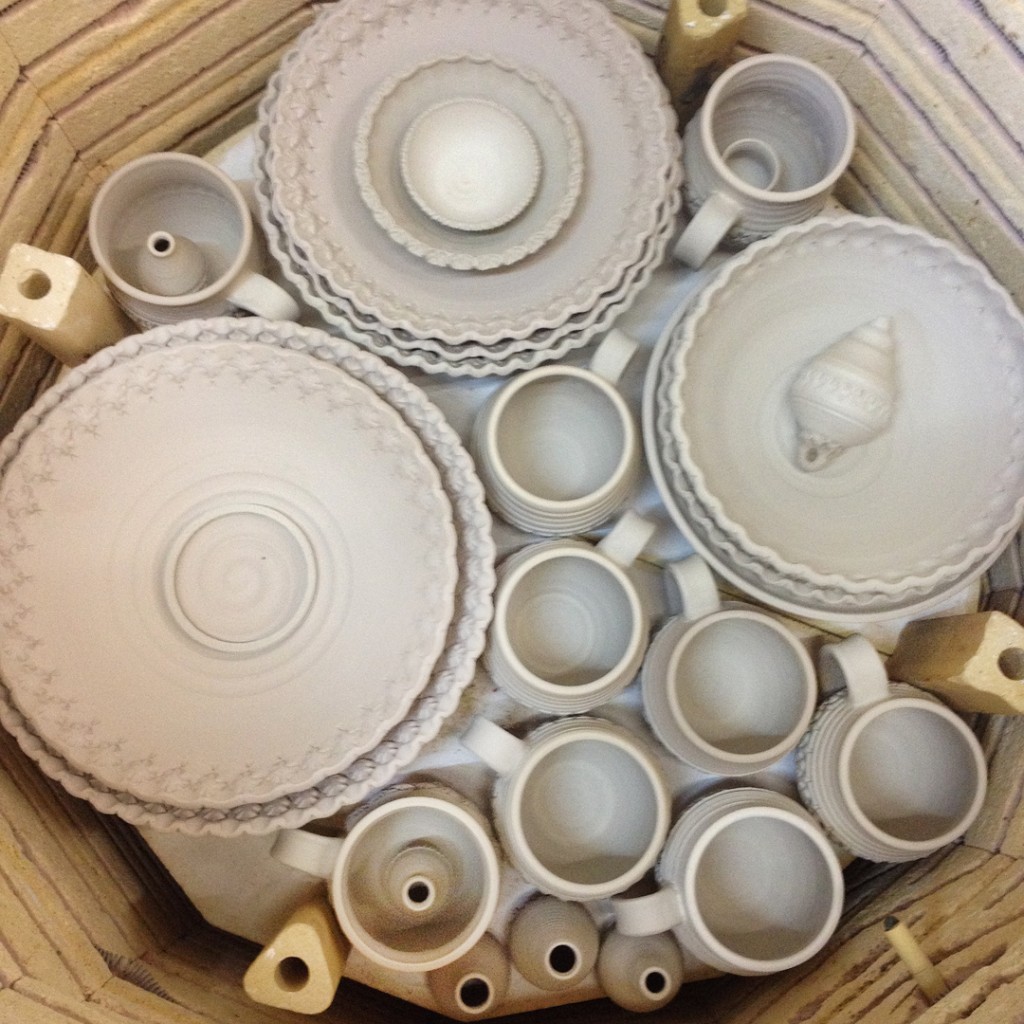
Bisque Kiln Layer #3 – mugs, teapots, bowls, and square vases

Bisque Kiln Layer #3 and a half – a half layer with small plates & square vases
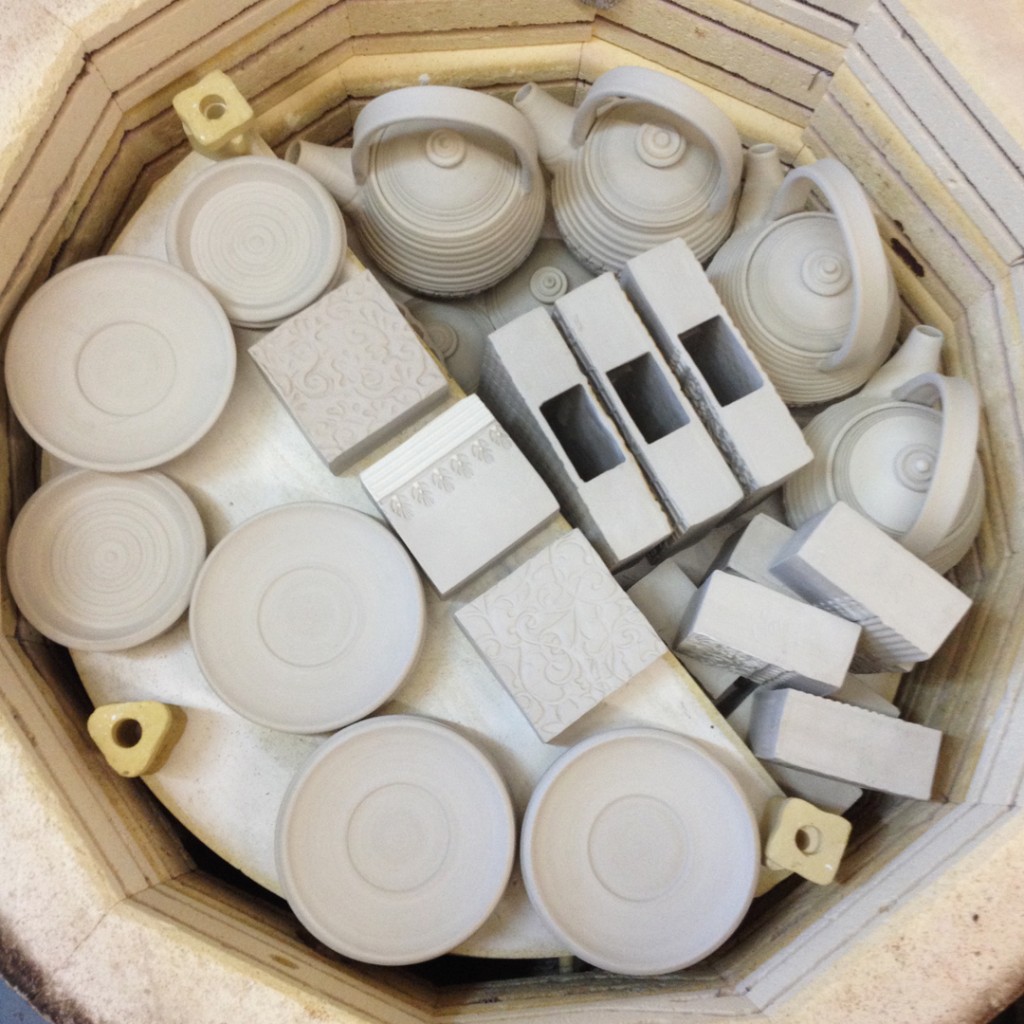
Bisque Kiln Layer #4 – another half layer with a stack of stamped platters.

And I love when the kiln is packed pretty tight all the way up to the top.
Just a smidge of air space between these platters and the lid when it comes down!

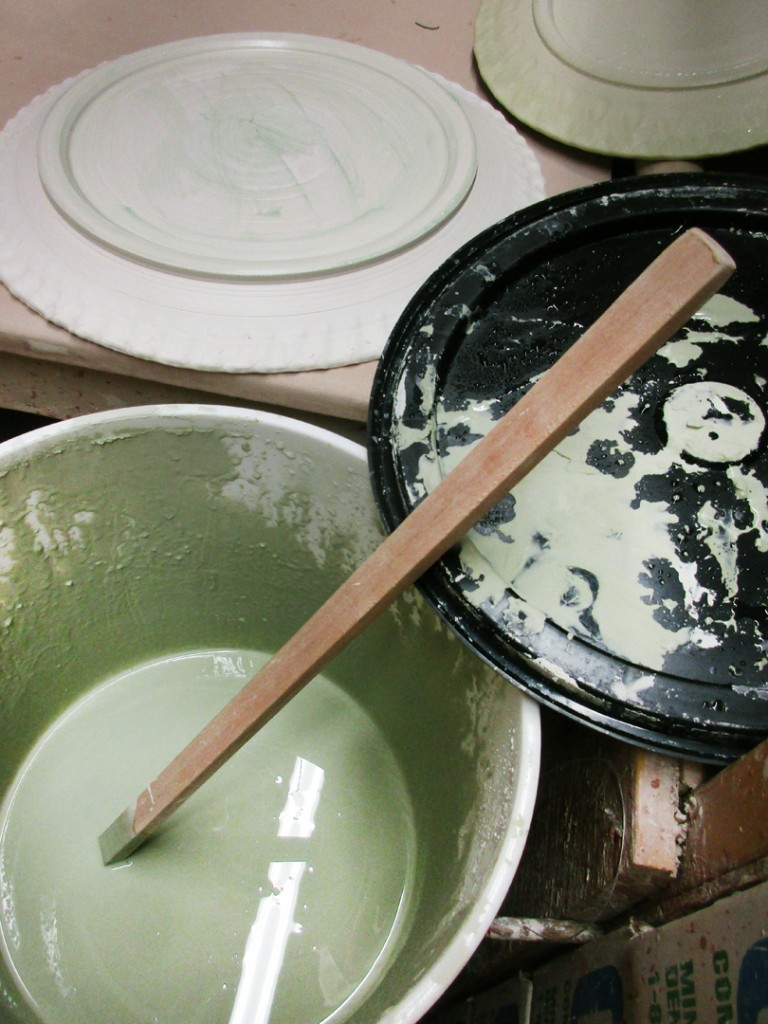
A little late-night glazing last night…
just one last kiln firing for this Saturday’s Holiday Home Show!
Mostly plates & platters coming out in fun cone six colors just in time for the big party!
This Saturday 12/16 at my place from 10:00am-6:00pm! C’mon by!!!
It was a rather “late” night of loading the soda kiln last night. Started late, finished even later. But, I got a lot of work squeezed in. So it’s a sequence of posts & shelves to build up from the bottom filling with pots & pieces along the way. The back stack is just one shelf wide, whereas the front stack is two shelves. Eventually, you run out of room (and shelves) in the kiln. Brick up the door, candle for a bit, then turn it off and go home for a very quick “nap” before coming back to fire it off all day long!
Back stack…

Front stack…


I have a great rolling cart in my studio that my Dad built for me years ago. Turns out that when I fill the cart with glazed work, it pretty much equals a full soda kiln. So when I’m done glazing, I need to take it downstairs on the rickety freight elevator to the kiln room. I like to add bands of masking tape to the outer edges to keep the pots safe on the shelves during transit… kinda like a masking tape “seat belt”!!!


An empty soda kiln with a beautiful layer of soda build-up
making a stunning “patina” on the brick interior.
Soon to be filled with pots. Layered with shelves. Ready to soda-fire tomorrow.

|
Gary Jackson: Fire When Ready Pottery
Lillstreet Studios ∙ 4401 North Ravenswood, Chicago, Illinois 60640 ∙ 773-307-8664 gary@firewhenreadypottery.com |