I spent much of tonight using a triple beam balance. It’s been so long.
And all I could think of was my high school science classes.
Chemistry class with Mr. Sparacino and my friends.
Measuring. Testing. Laughing. Good thing I retained some of that.
Or else tonight’s mini-measurements would have been a lot tougher!!!
So I just donated to Fine Mess Pottery to help in her quest to reformulate her glazes
for cone 6 soda firing. A great project with hopes of making a safer, greener & cheaper firing alternative. I love that she’s doing the work, and more than willing to share her results on her blog. So we all benefit… especially when her glaze tests work out. And as an added bonus, for my $30 donation, I’m going to receive a bound notebook of all her glaze & slip recipes!!! If you’re looking to donate a different amount, there are several other “thank you gift” levels… from thank you notes, to teabowls, to mugs, to casseroles… or even a cake stand with a cheesecake!!!
Thanks to Emily Murphy Bicking for sharing this glaze-fundraising project!
If you’d like to support her Lori Watts and her glaze reformulation project, click here.
If you want to learn more about Lori and Fine Mess Pottery, click here.
It’s always fun to go through all of your work down in the storage room. And to see everything
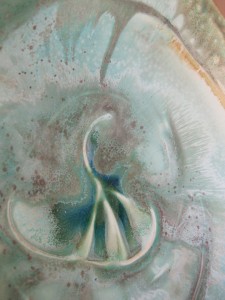
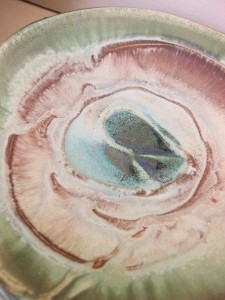
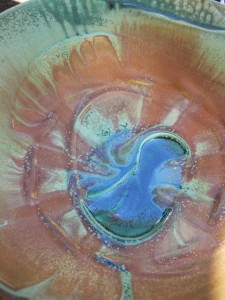
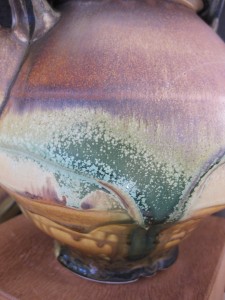
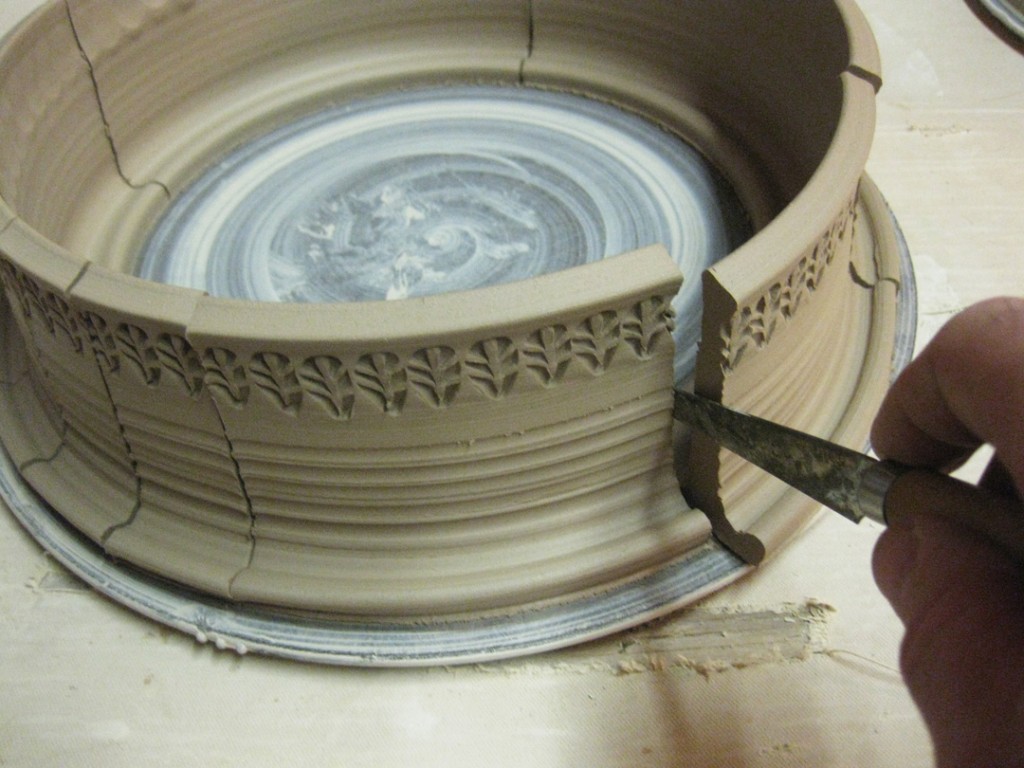
one more time before it goes upstairs to the Home Show. This large stamped bowl caught my
eye. Mainly because I know that the glaze is “supposed” to be a beautiful red color. Not blue.
But it’s one of those glazes that can be easily affected by the kiln firing. If there’s a little too
much oxidation in the kiln, the red glaze turns this beautiful blue-ish color.
Sadly, nothing you can ever bank on happening ever again.
Just another “happy accident” coming out of the kiln!
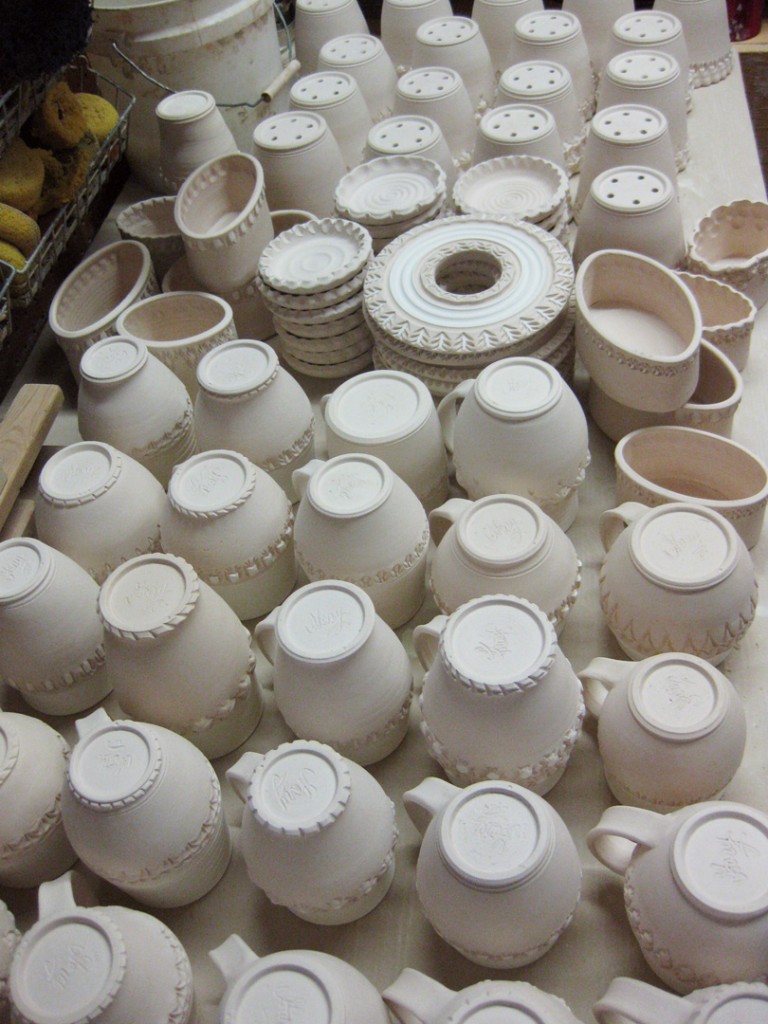
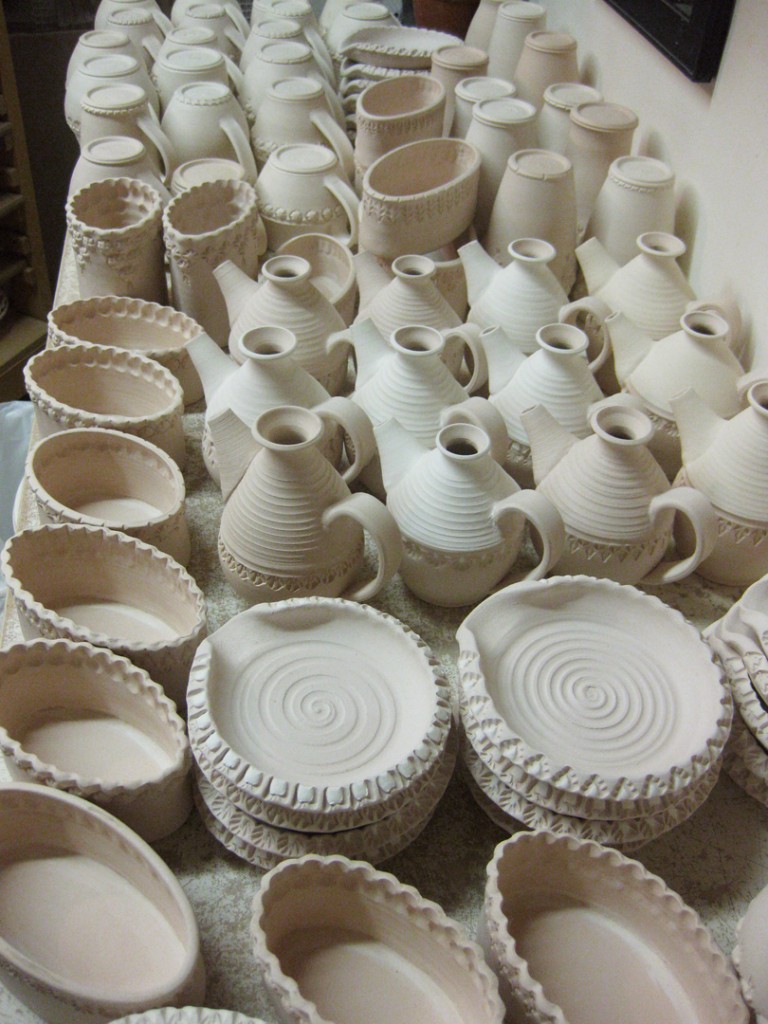
My bisque kiln from last night was still warmer than I would like.
So I decided to let to cool longer and dive into glazing some pieces from an earlier kiln!
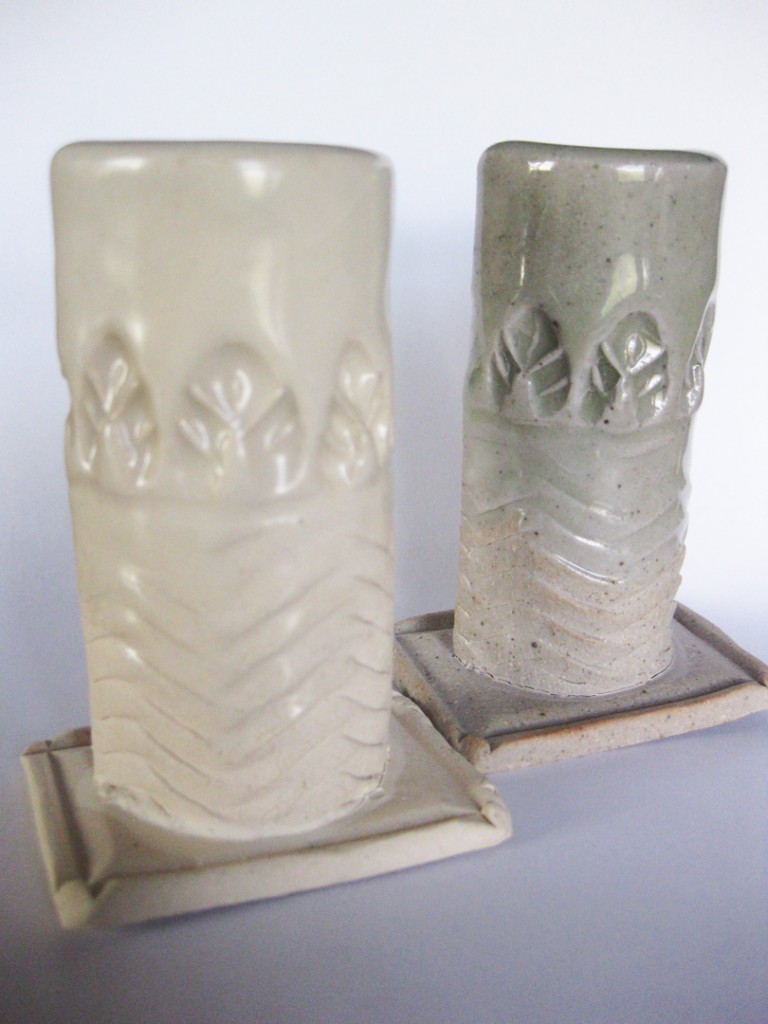
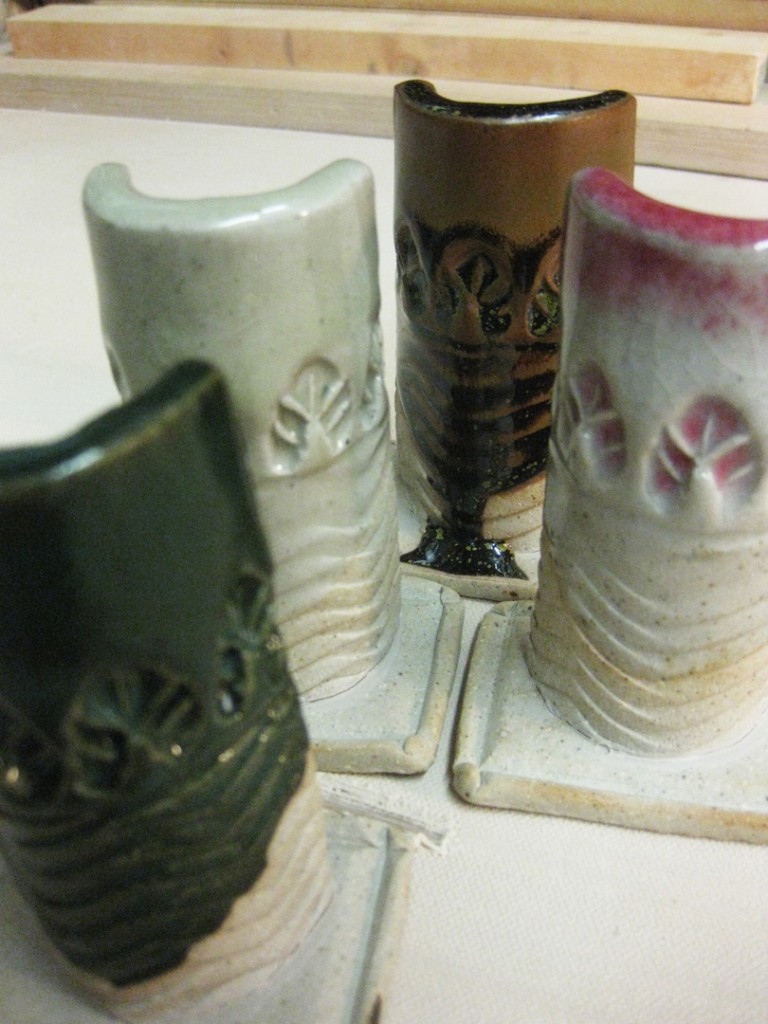
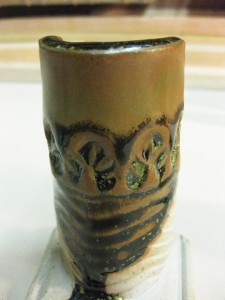
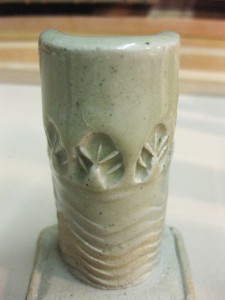
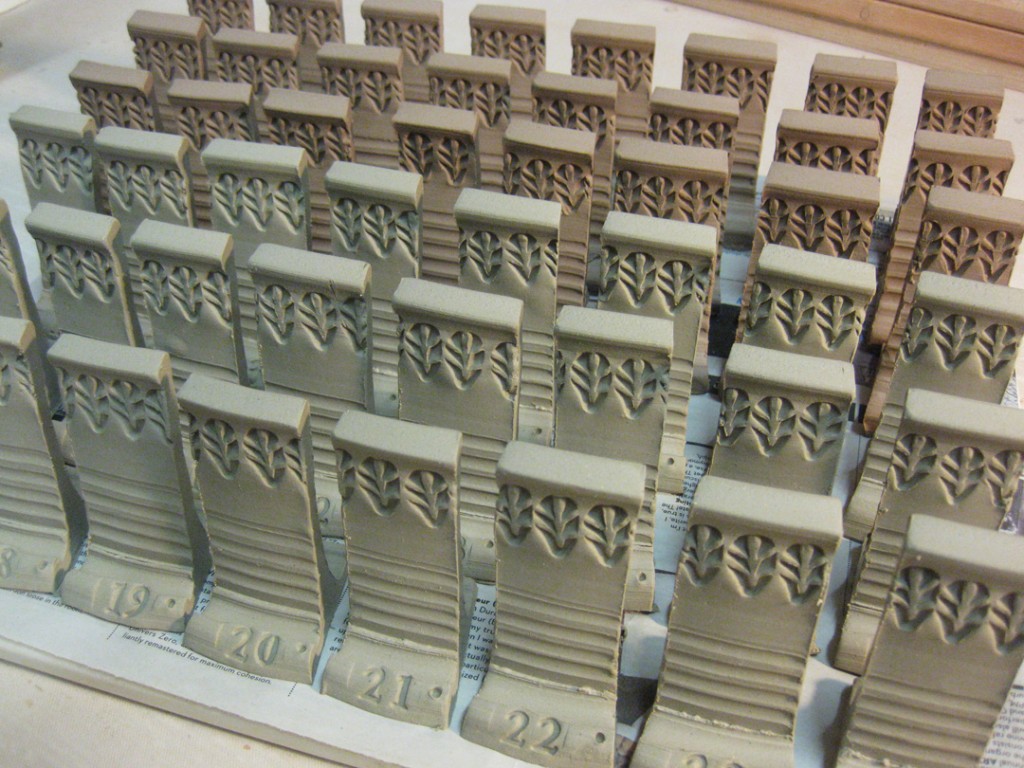
I generally start by painting a lot of temoku glaze into all of the stamped impressions.
And then, once the glaze is dried, I take a moist sponge and wipe off the top surface
so that the temoku glaze stays inside the stamped impression – but not on the surface.
I love how the inlaid glaze really shows off the pattern of the stamp, instead of covering
& obliterating it with too much glaze!
But don’t think that they’re done. Oh no, I’ve got a lot of work to do on them first.
Liner glazes, sprayed accents, wadding, etc. So there’s still a lot to do… and even more
coming out of the bisque kiln tomorrow night. Not a lot of time to get everything done.
It’s my plan to load the soda kiln on Friday evening, and fire all day Saturday!
Rushing to get some Halloween fun made in time for “Art In The Barn”…
it was time to crank out some pumpkins. And once I had made pumpkins, it was time
to turn them into Jack O’Lanterns! But I digress, let’s go back to the beginnning…
I started by throwing some terra cotta orbs… simple enclosed forms with air trapped inside.
Once they had dried a bit overnight, to a wet leatherhard, I gave them some textured
pumpkin “stripes” and altered their shape using the edge of a square chopstick.
And we all know that a good pumpkin needs a good stem.
Doesn’t everyone look for a groovy, cool stem on their store-bought pumpkin?!
So I rolled a coil, gave it some texture lines, attached it with some good scoring & slipping,
then twisted it and animated it a bit.
Now that I had pumpkins… it was time to carve faces into them like a good Jack O’Lantern.
First, I carved out the eyes, nose, mouth and details. Then I opened the pumpkin and “cut off”
the top with a good angle so that the lid fits & doesn’t swivel around. I added some “warts”
for added texture & whimsy… as well as two on the edge of each lid to help people line them
up to close the pumpkins properly.
I let them all dry overnight and then came back to paint them with colored underglazes.
I did some sponge-painting with the orange underglaze so that some of the terra cotta color
would show through and give them some depth – not just flat, solid orange. And a bit of green
on the stems to help accentuate the stem texture. I dried them overnight on plastic grid
sheets with fans oscillating overnight.
Then, after teaching my class Tuesday night, I glazed the Jack O’Lanterns with low-fire clear
glaze. I actually sprayed on the glaze to get a nice even, thin coat. Luckily, this crazy green
color disappears during the firing… and the colored underglazes will pop after firing!
Tonight the kiln was cool enough to unload… and I was pleased to see the shelf-full
of Jack O’Lanterns smiling back at me. Each one funnier than the next.