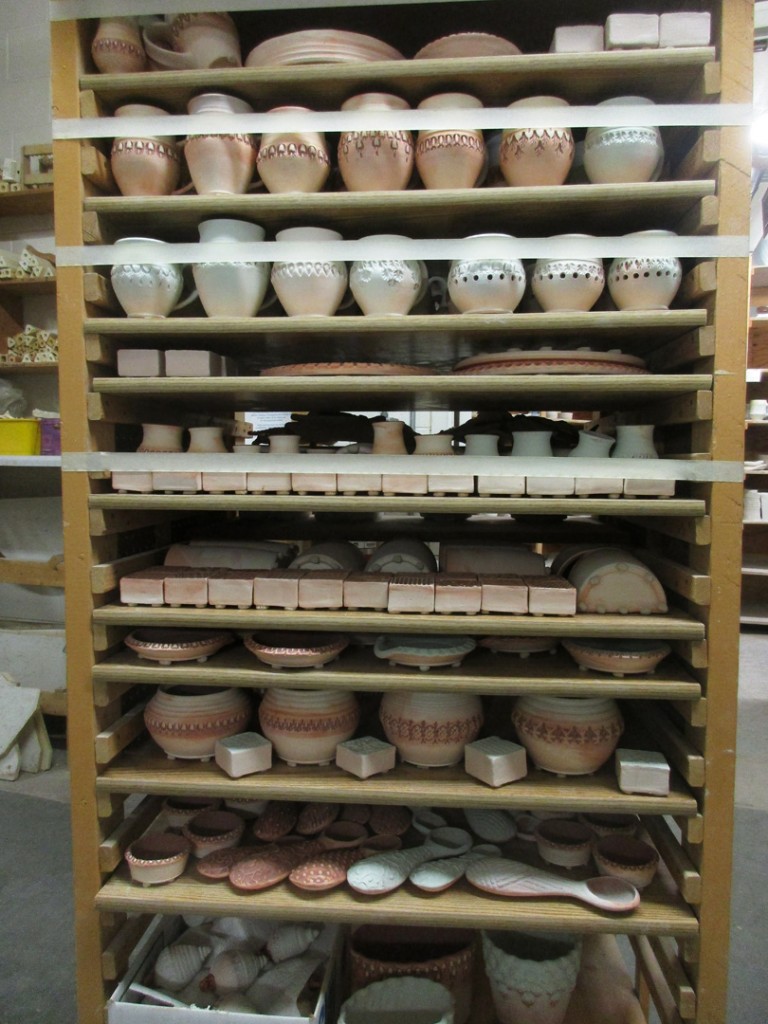
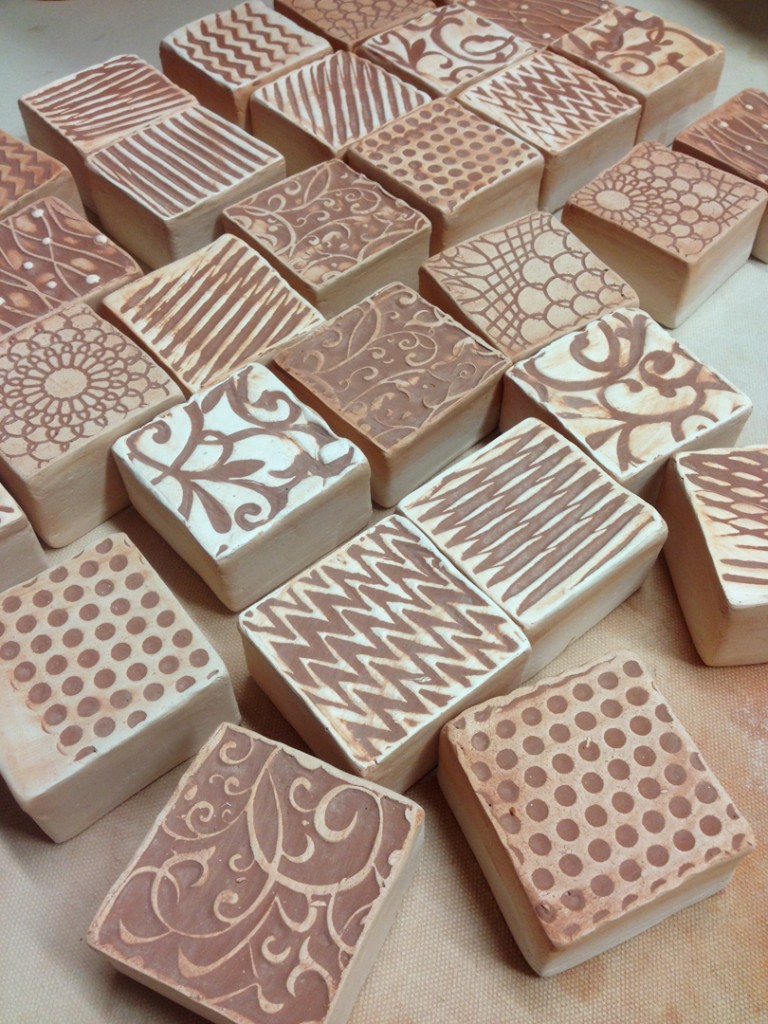
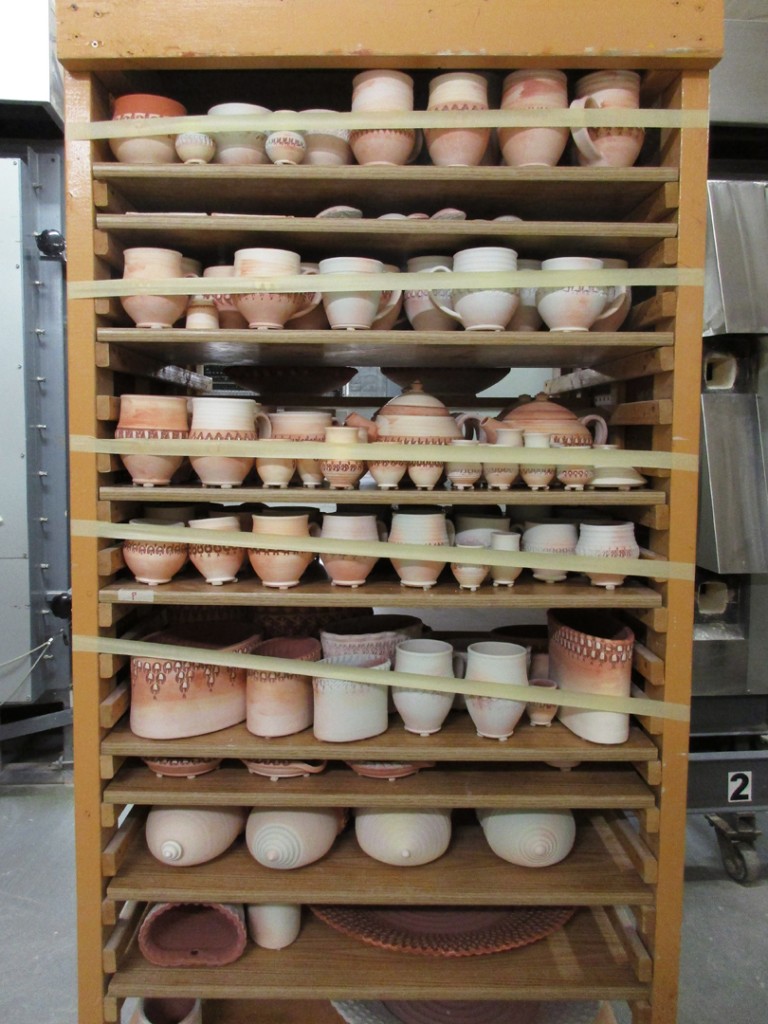
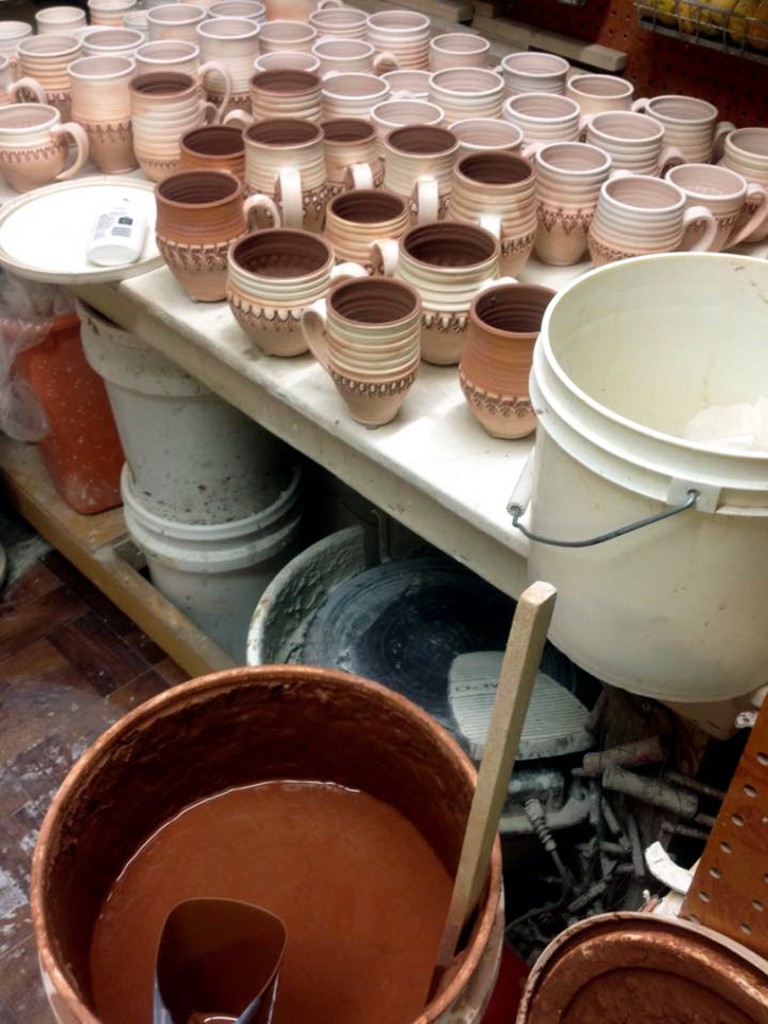
So I finally finished glazing & wadding upstairs in my studio. My cart travels downstairs in the rickety freight elevator. So I add some masking tape “seat belts” so nothing jumps off during the ride. And now it looks like everything made it down to the kiln room in one piece… time to remove the tape…. and start the loading… giddy-up!!!
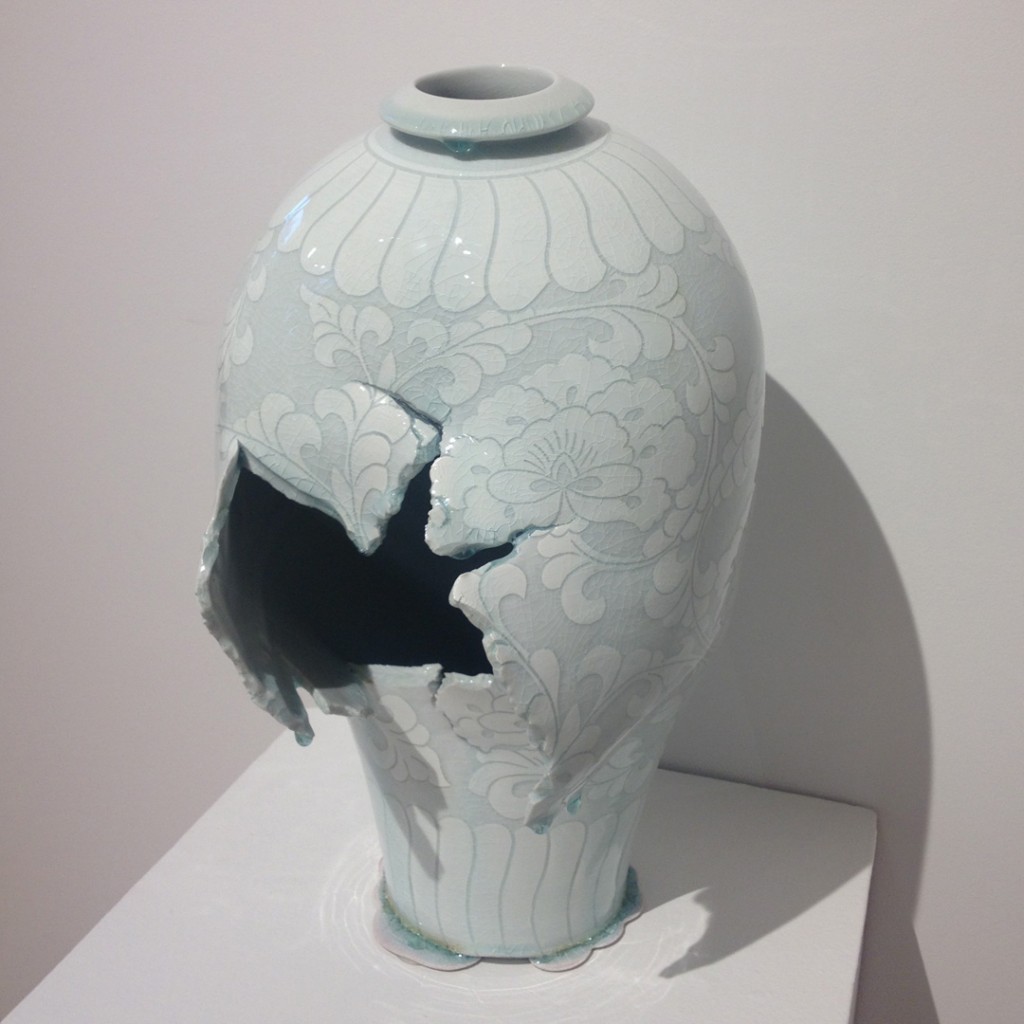
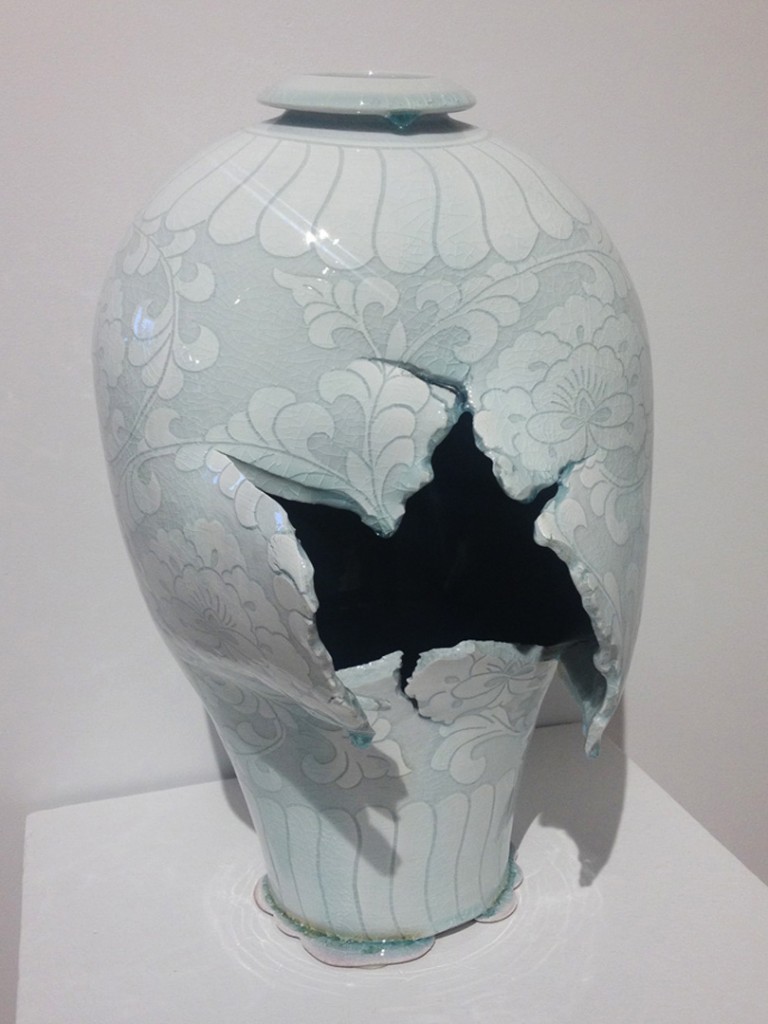
Currently on display in The Gallery at Lillstreet Art Center is one of the crazy-cool “exploded” pots by Steven Young Lee. I’m not sure that I understand the whole “concept” behind them… but they’re pretty darn impressive!!!
First off… just throwing a vessel that large with porcelain. Challenging enough.
Second… to carve such an intricate, detailed & layered image on the entire pot. Wow.
But then to have the kahunas to “explode” it… and still get it to hold its form… kinda.
Not to mention the perfect glazing… and those wonderful drips hanging on! C’mon.
Back in the day, when Steve was one of my wheelthrowing instructors at the old Lill Street Art Center location, he made functional pots. (Still does, but he’s more known for these now.) He was one of the best instructors I had there. Very specific, encouraging, and EXPECTED you to do the class demo project every single week. He would demo it one night, and then we had to come to class a week later with our version of the same. He told us right there on Day One of class that if we didn’t want to “participate” in the class demo “homework” assignments we might as well switch classes right there & then. Great teacher who has since moved on to be the Artist Resident Director at the Archie Bray Foundation in Helena, Montana. And is now making these crazy-cool pots… and getting quite famous at the same time!!! Well, in the pottery world any ways.
I’m just not sure that I get it. Sorry Steve.
Steve makes beautiful pots, carves incredible imagery into them and then “explodes” on purpose! I do appreciate the craftsmanship and attention-to-detail. I even love the wonderful glaze drips hanging on. I know there’s something very “conceptual” going on here. But I think I would still rather see the beautiful pot without the “explosion.” But that’s just me. Obviously a LOT of people “get it.” He’s quite popular in the ceramic collector’s world… and will displaying his work this weekend at SOFA Chicago. So it’s got to be good, right?!
According to Ceramic Arts Daily…
Throughout much of his work, Lee embraces the irregularities and mishaps that generally are seen as making an object worthless. The artist often intentionally cracks pieces or fires them to the point of breaking. In some cases he carves imagery on the inside of the vessel as well as the outside, letting viewers know that they are actually supposed to be able to see the interior. Other times he fills in the cracks with a textured mortar that is then covered in gold leaf. Lee thus challenges the identity of the vessel as a functional object meant to contain something. Indeed, the idea of containment—or lack thereof—is a key component in all of Lee’s work. Transgressing boundaries of all types—geographic, cultural, visual, functional—Lee allows a spilling out of meanings as diverse as the experiences that inspired them.
For more about Steve Lee and his incredible ceramic work, click here for his website.
And if you’d like to see this wonderfully dripping & broken pot in person, there’s a Closing Reception at Lillstreet Art Center tomorrow night. Friday, November 6th. You’ll even get to me Steve Lee… and ask him for yourself about what’s going on here!
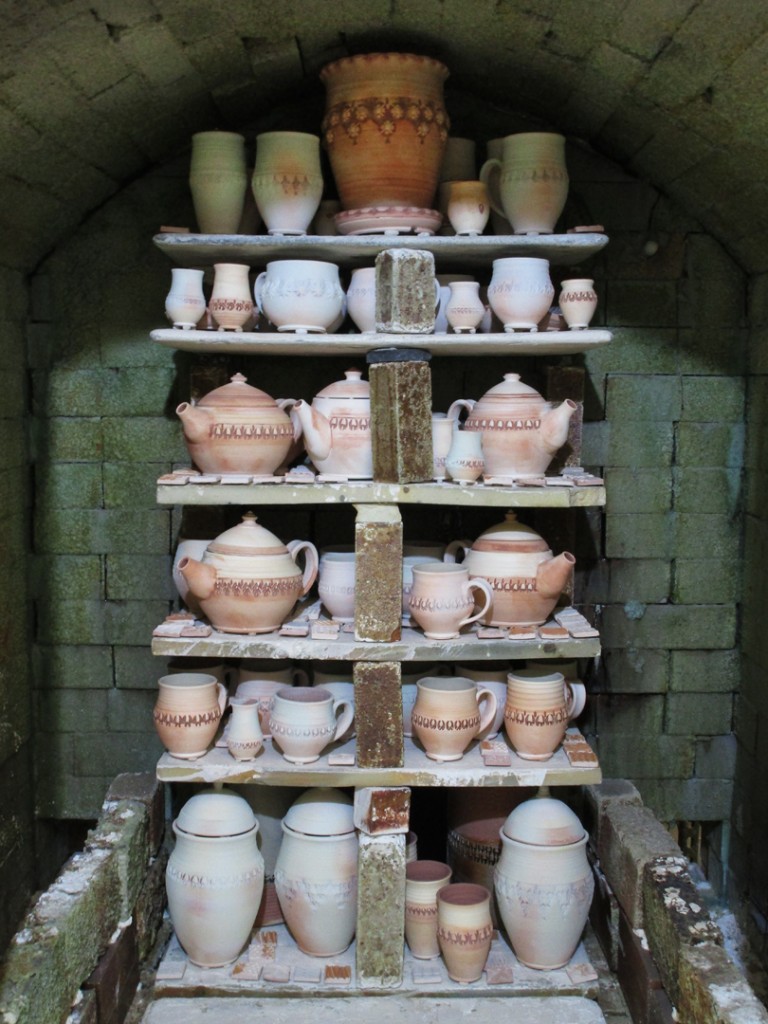
A FULL day of glazing & wadding. Followed by more than a couple hours of loading. Luckily everything pretty much fit. Okay sure, some sections might be a little tighter than I would normally like in a soda kiln. But oh well, it is what it is. So now it’s all packed, loaded and bricked up for the night. Time for a “couple” hours of sleep and then right back to start the firing in the morning!
Here’s the back stack… one shelf deep.
And the front stack… two shelves deep… and DONE.
