In the middle of glazing…
one last kiln to be fired before this weekend’s art fair in Glenview, Illinois.

Gary Jackson: Fire When Ready Pottery
A Chicago potter’s somewhat slanted view of clay & play |
In the middle of glazing…
one last kiln to be fired before this weekend’s art fair in Glenview, Illinois.

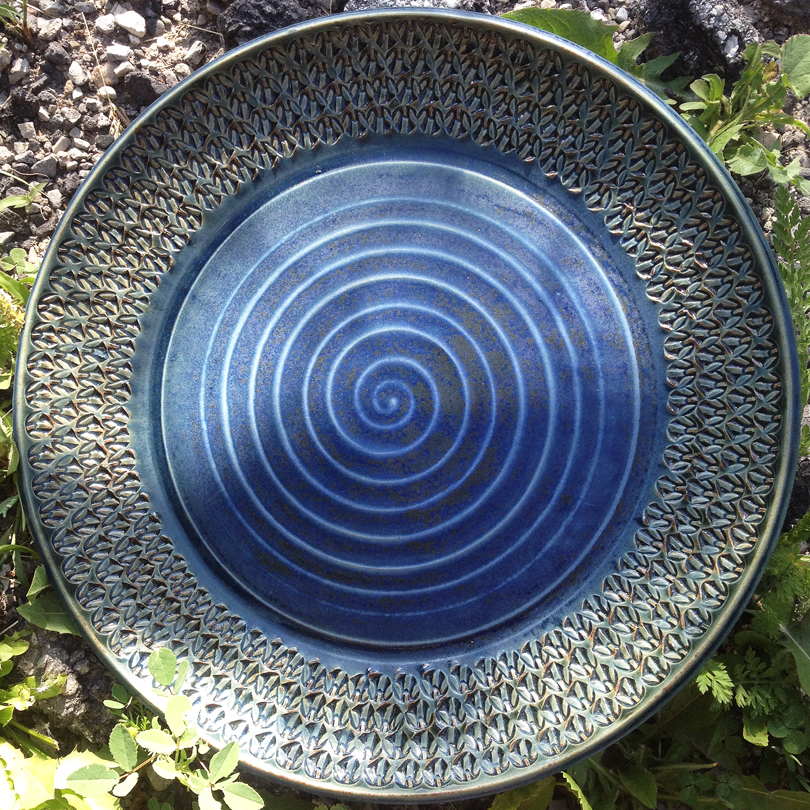
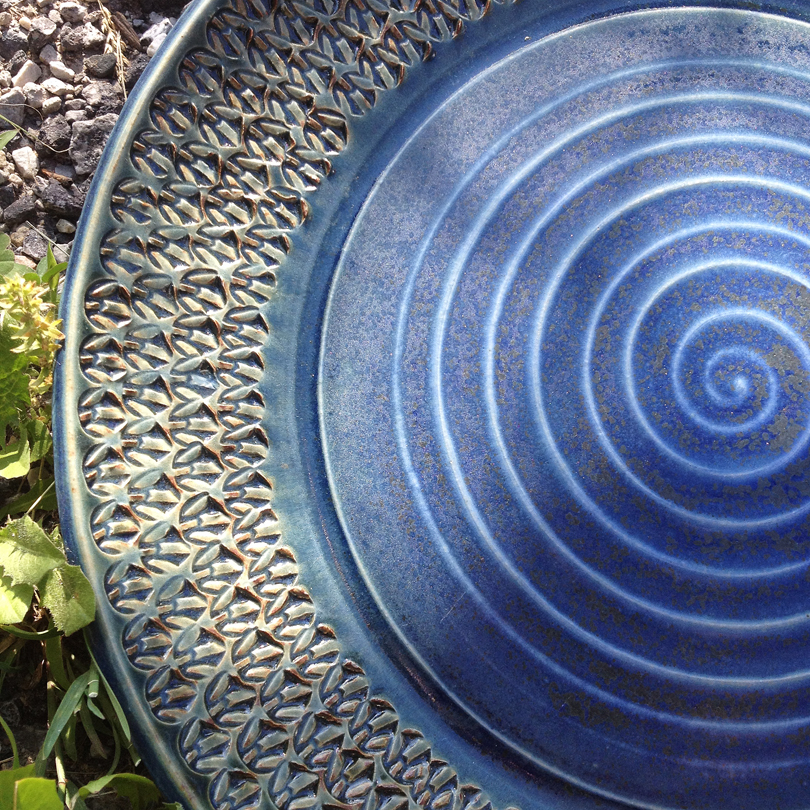
Last night was the last class of the Spring session of my Beginner’s Wheelthrowing class. Every session I challenge them to make a piece to trade & exchange at the final class. This session the “theme” was plates & platters. This Josh Blue & sprayed temoku plate was my entry into the Exchange Game… which one of my students gladly went home with!!!
Goin’ green for Mugshot Monday! With a drippy green glaze combo
and the succulents that survived the steamin’ hot art fair this weekend.

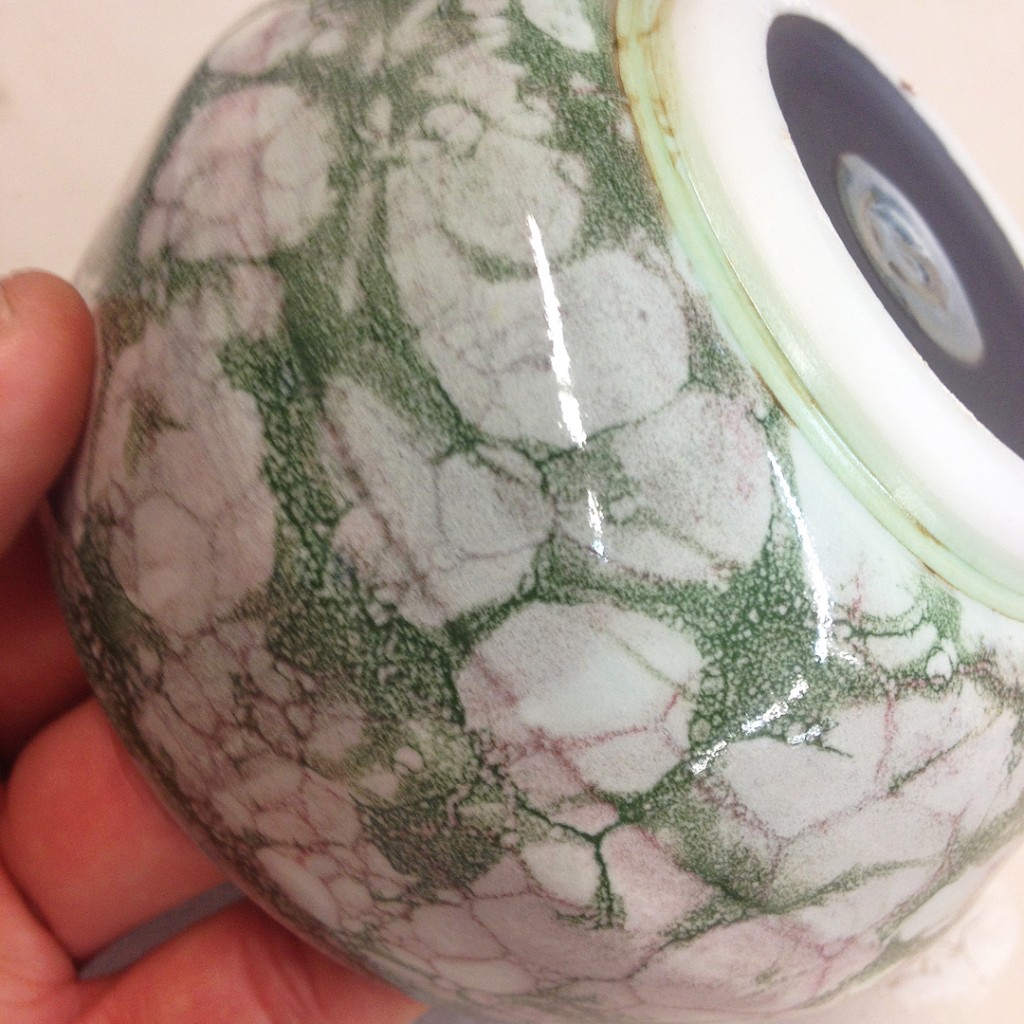
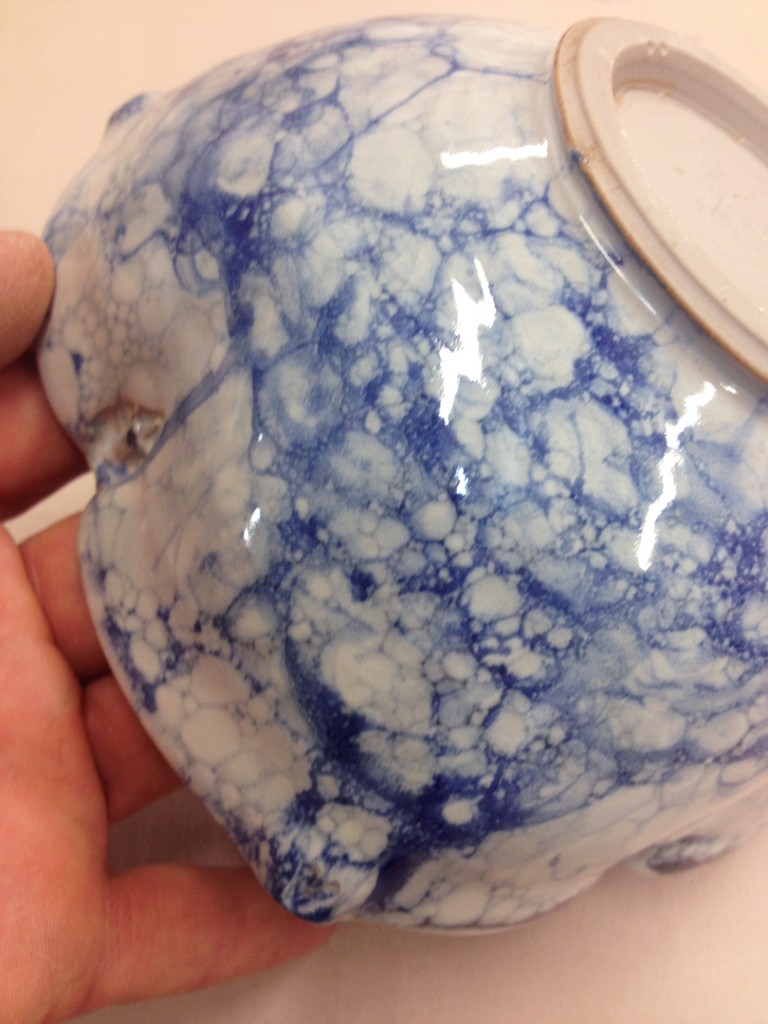
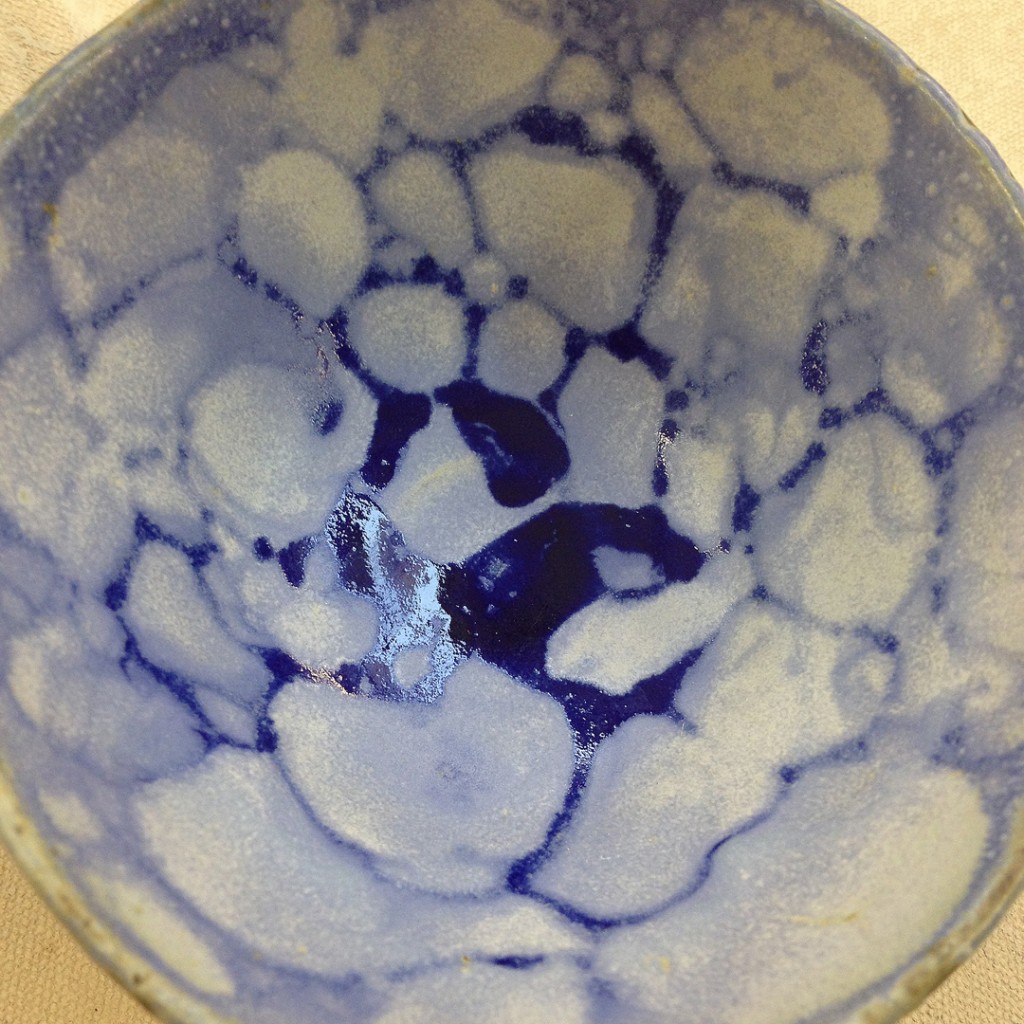
Also fresh-out-of-the-kiln… the two bubble glazing demo pieces from last week’s class. My bowl had a layer of Shaner White glaze, followed by bubbles of Tom’s Purple, and then another layer of Josh Blue bubbles.

One of my students glazed her bowl with Shaner White followed by bubbles of a green stain, and a slightly dipped rim of Randy’s Green… which explains some of the blushy pink tones!

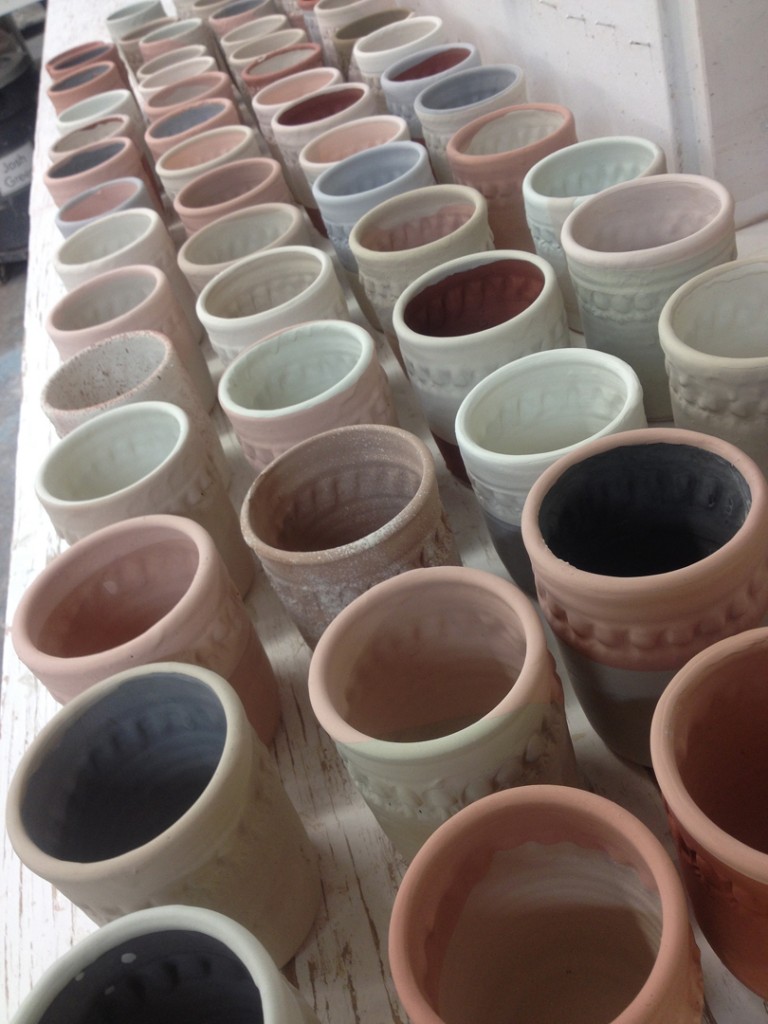
This week in my pottery class we had a LOT of glazed cups to look at… as the week before we had glazed sixty cylinders as part of our second glazing demo. So much fun to have so many different combos & results… some good, some not.
But either way, a LOT of great information for my students to share.

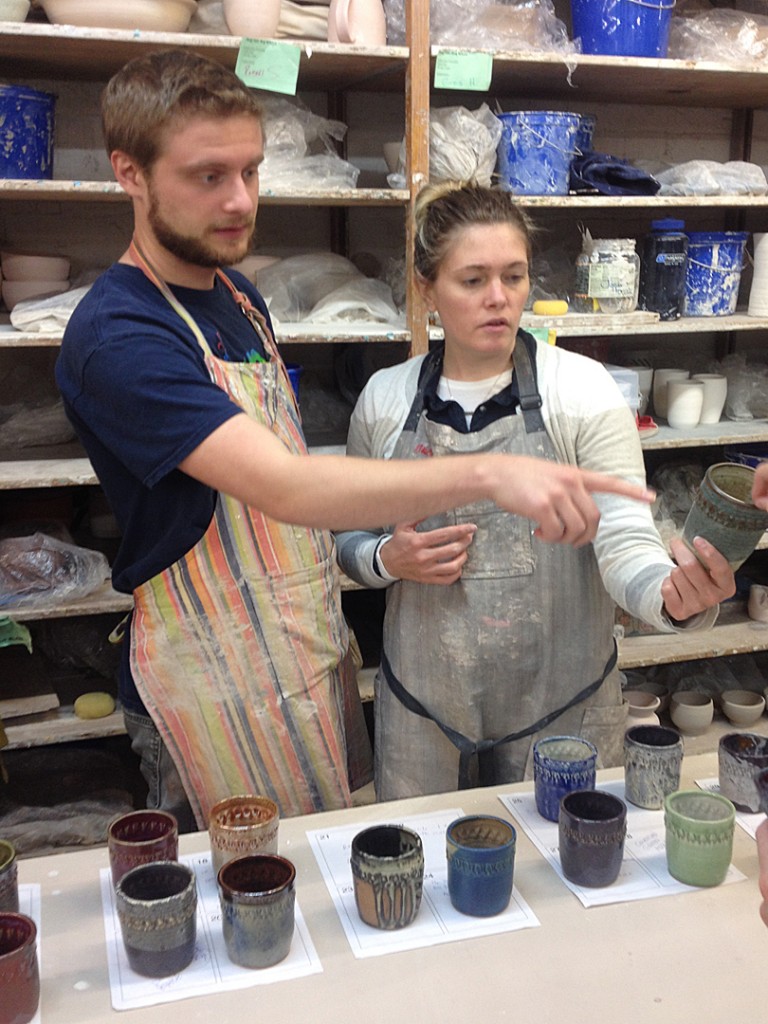

Here’s a quick glimpse… more to come…
and thanks to Tracey & Steve for getting them fired so fast for us!!!


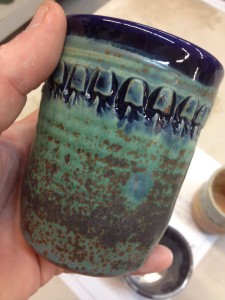
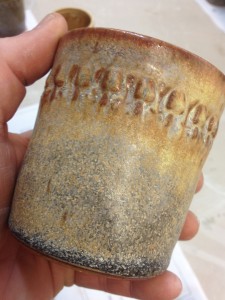


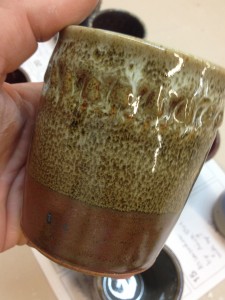


A new bin of FUN for my class tonight!!!
I’ve got the glazed cylinders from last week’s glaze demo project finished, fired and ready to share! Some good combos, some not so much. But a LOT of great “visual information” to be learned from this group glazing project.

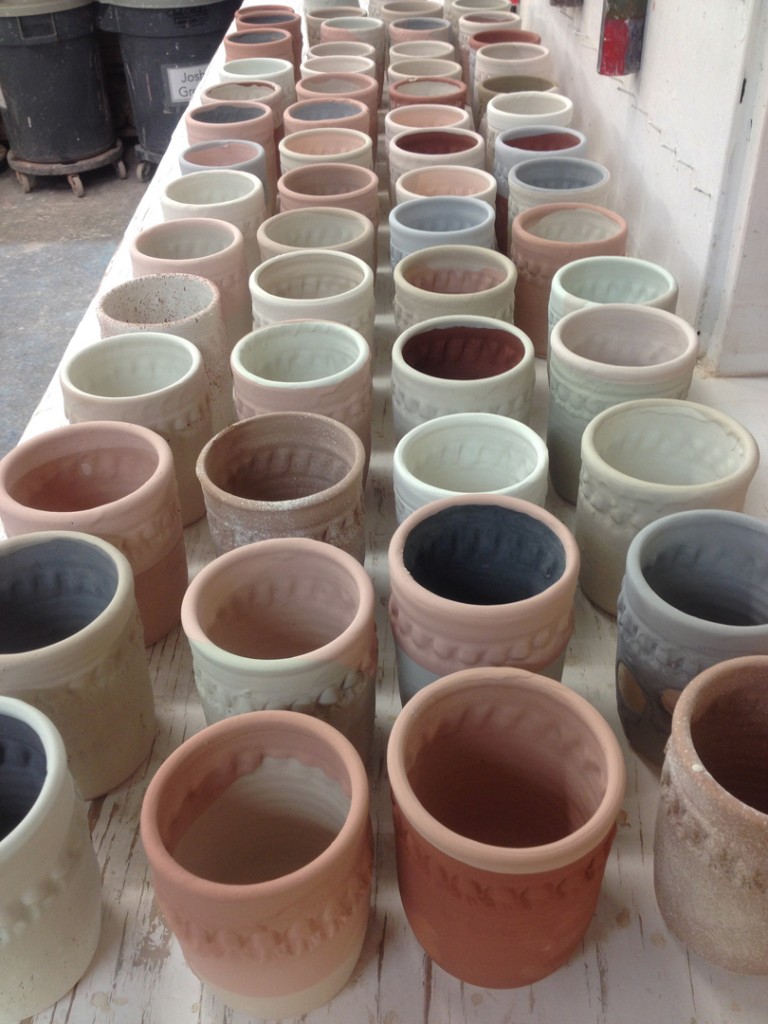
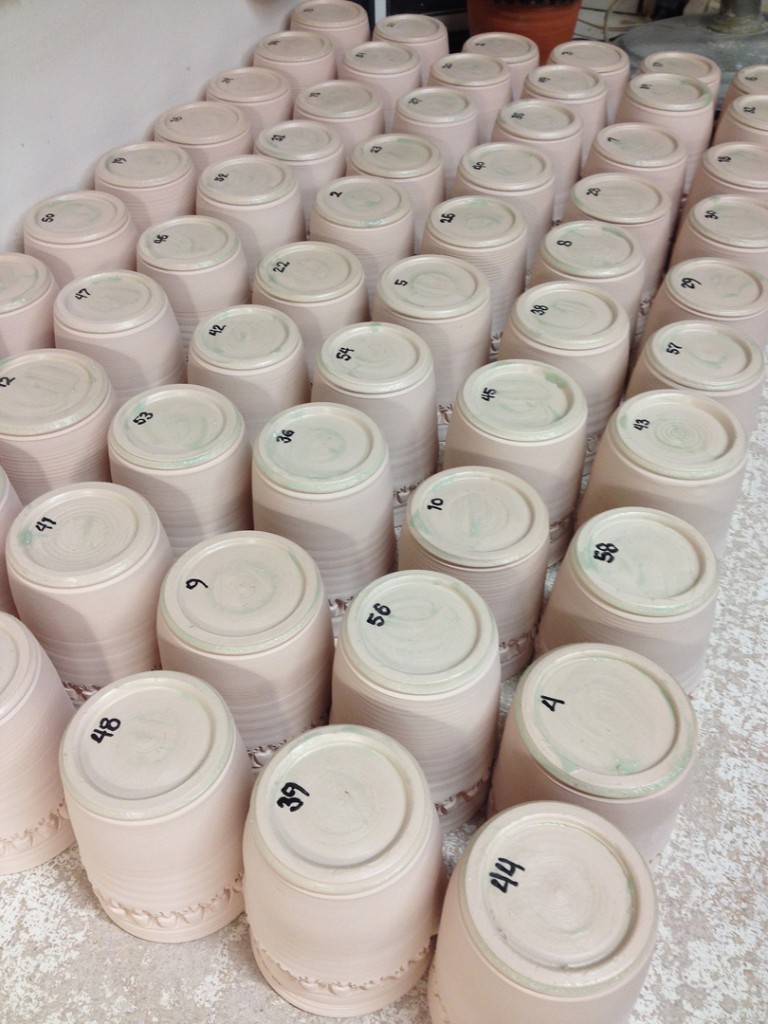
As Part Two to Tuesday night’s glazing demo… I challenged my students to glaze sixty cylinders in all different glaze combinations & techniques. They’re always talking about how they get overwhelmed when glazing, that each pot is too “precious” to experiment, and that they don’t see enough finished results to really make an informed decision. I’m taking all of that out of the way and I provided them with sixty bisqued cylinders to glaze… none of them “precious”!
We’re looking forward to seeing the results and comparing them to the notes we took for each one! Even if half of them turn out as a good combo I’ll be excited. They all embraced the challenge as they dipped, double-dipped, bubbled, splattered and glazed all of the cylinders. We’ll see soon enough how they all turn out!


This week in my pottery class, we tackled some of the more “advanced” glazing options…
layered combos, stains, oxides, wax resist decoration, wood ash, etc.
But the big hit of the demo was BUBBLE GLAZING!!!
Always a hit… as you add a bit of dishwashing soap to a small cup of glaze and then blow bubbles onto your pot. When the bubbles pop, you get a great “textured” bubble pattern of glaze contrast. We tried both glaze bubbles, and a green stain bubbling. We’ll see what happens!!!


It’s going to be a BIG glazing “demo” tonight in my beginner’s wheelthrowing class…
let’s hope they’re all up for some interactive glazing fun!!!

Several people asked to see the finished pieces from my bubble glazing demo a week or so ago. Well here are a few of the pieces from class. A fun technique with a wide range of results… have fun, experiment & bubble away!!!!
This was my demo piece. A base layer of a glossy white glaze. Followed by a bubble layer of a purple glaze… and then another bubble layer of blue. Apparently the purple wasn’t quite strong enough to show up? Bad glaze choice?… or just not enough bubbles???
And then here are a few pots bubbled by the students!



|
Gary Jackson: Fire When Ready Pottery
Lillstreet Studios ∙ 4401 North Ravenswood, Chicago, Illinois 60640 ∙ 773-307-8664 gary@firewhenreadypottery.com |