07.15.2023
You know I loves me some fun tie-dye… but this is actually some colored splatters of glaze on the countertop before my Summer Camp kids cleaned it up!!!

Gary Jackson: Fire When Ready Pottery
A Chicago potter’s somewhat slanted view of clay & play |
You know I loves me some fun tie-dye… but this is actually some colored splatters of glaze on the countertop before my Summer Camp kids cleaned it up!!!

Bright & colorful asiatic lilies… a cheery addition to the garden blooming this morning!

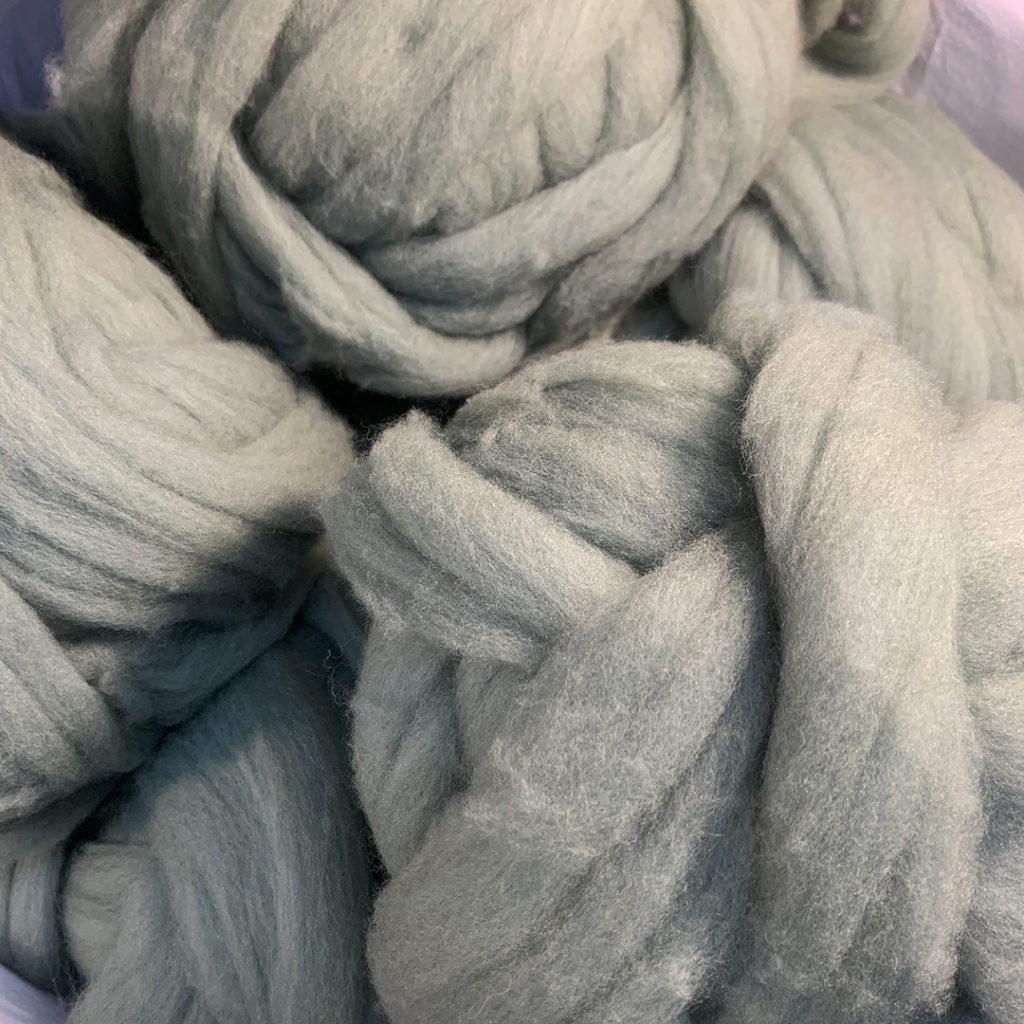
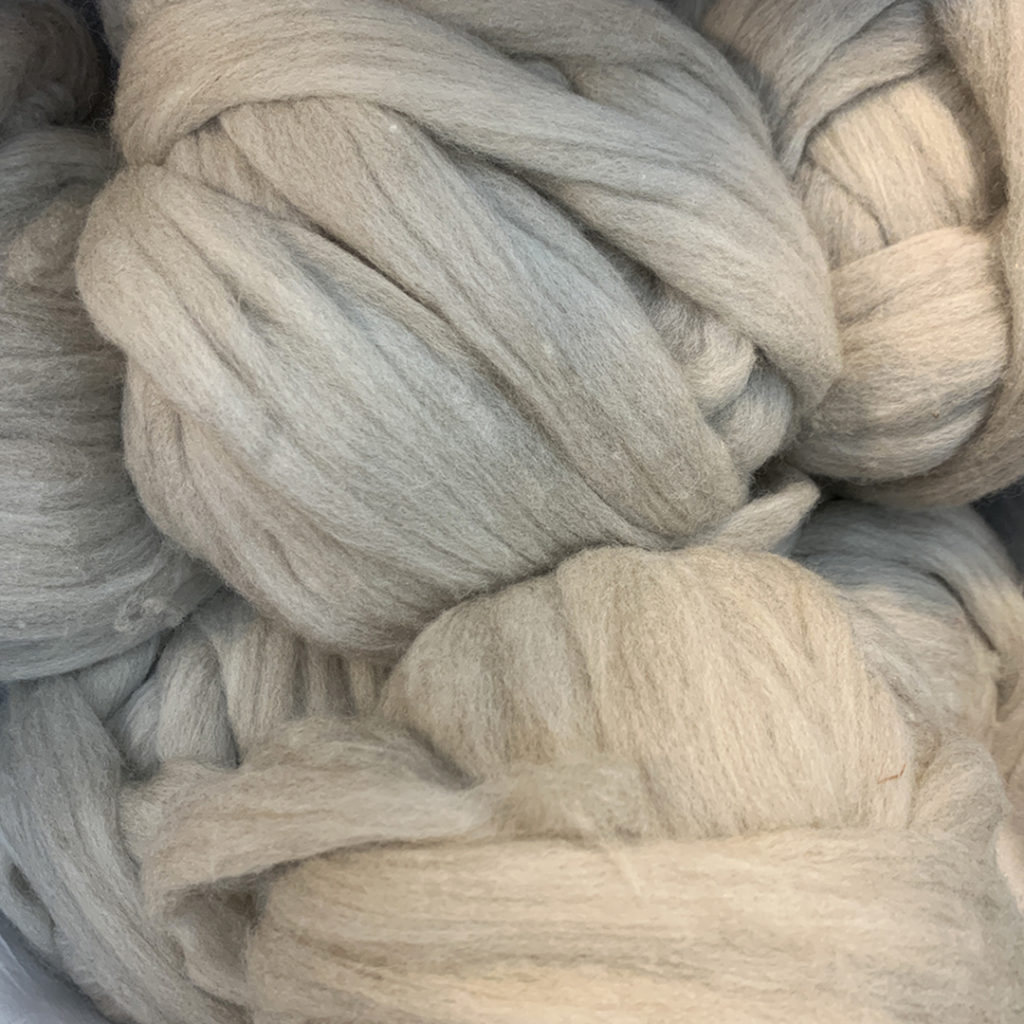
This gray, smoke-filled mornings from the Canadian wildfires are really putting a damper on my sunrise morning rides!!! Can’t wait to see clear skies again!

HA!!!… this is just a gray color swatch… but it “feels” like the skies in Chicago!!!
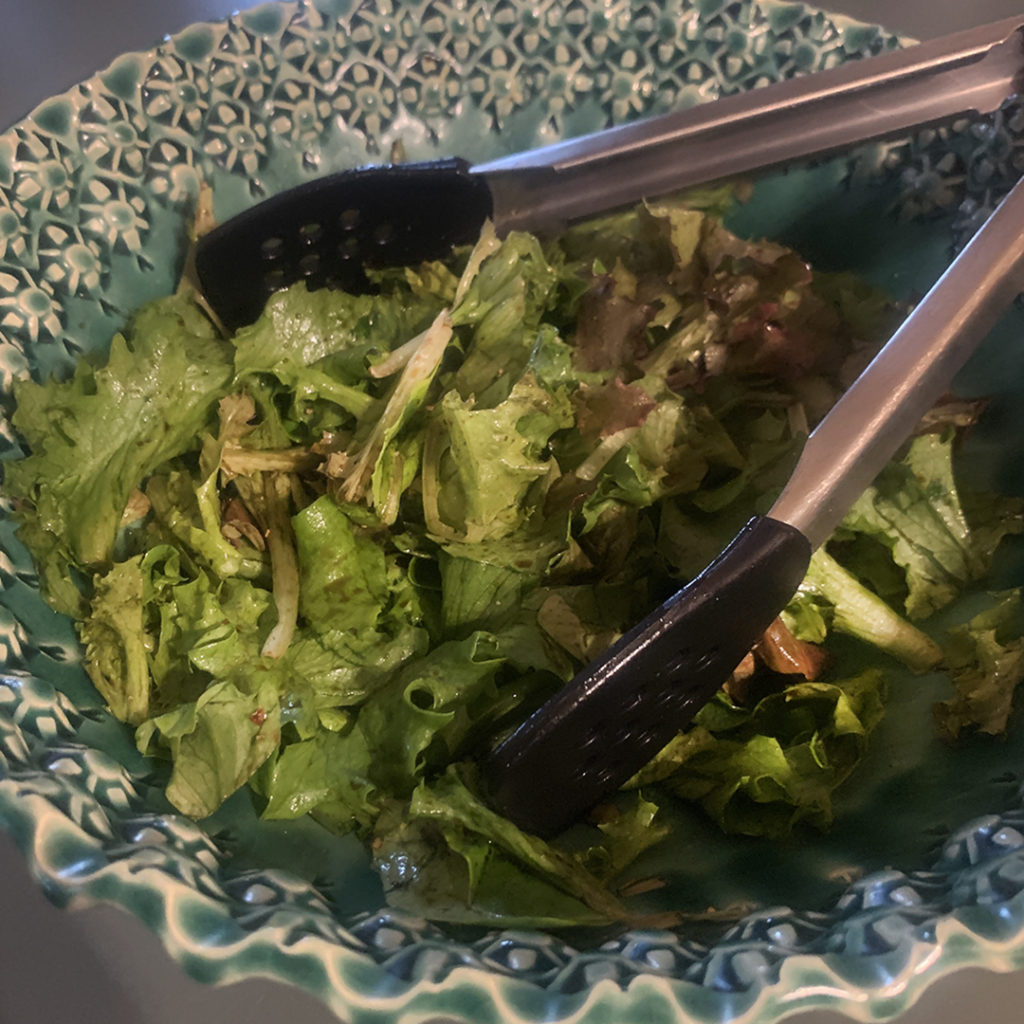
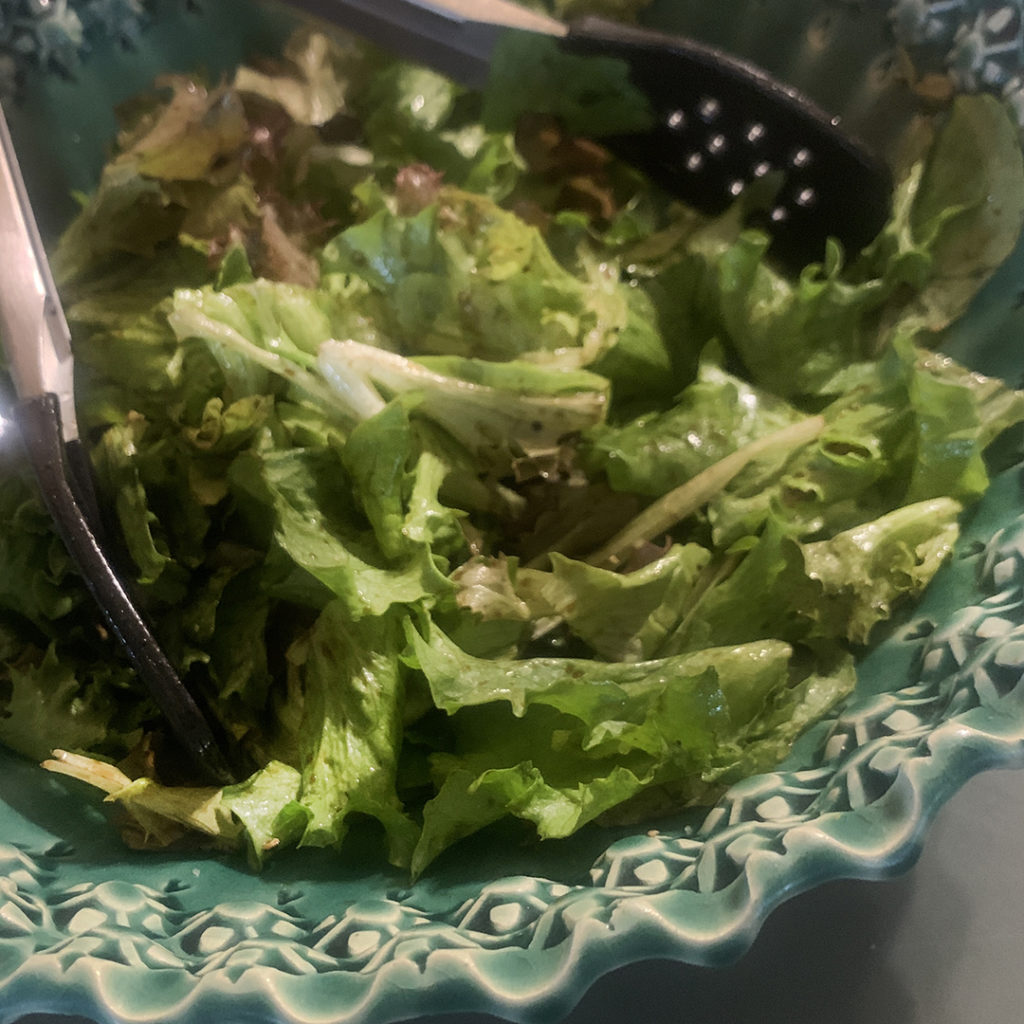
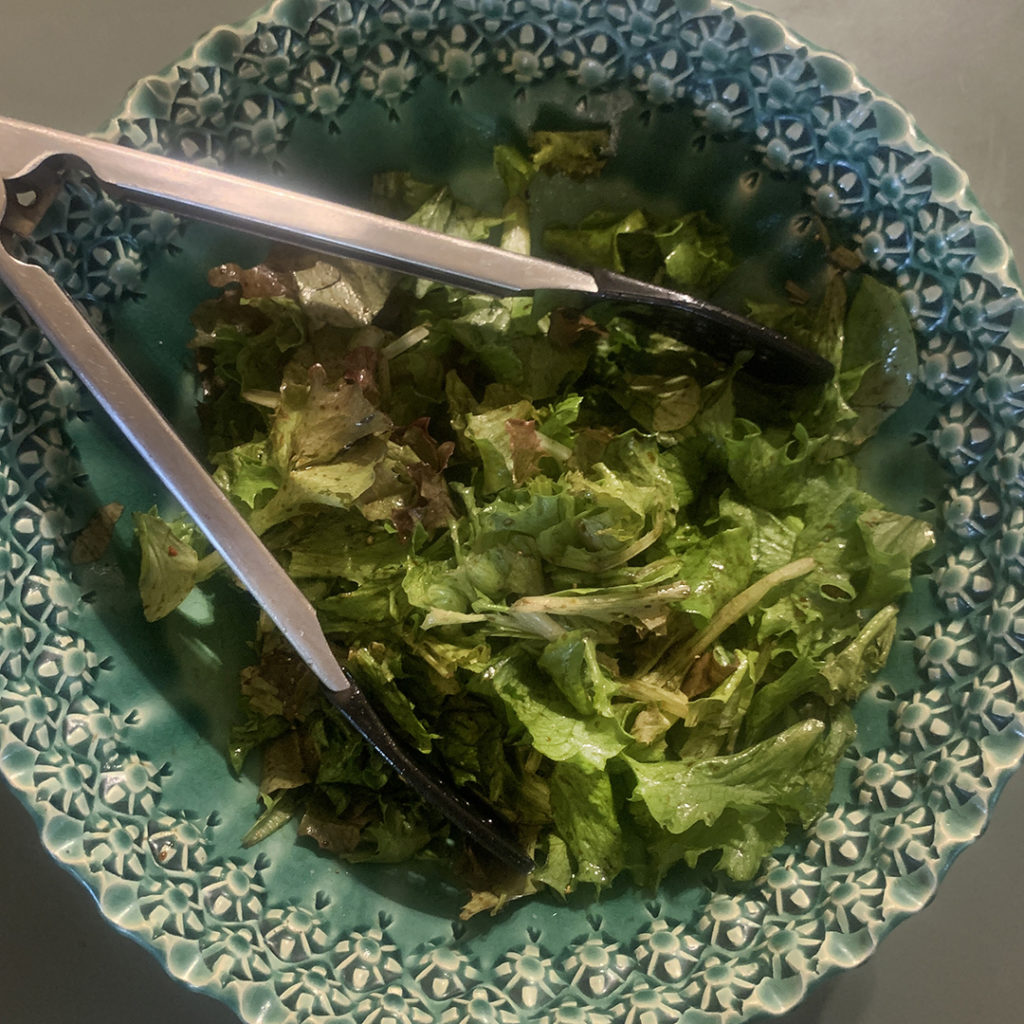
Looks like a colorful & tasty Texture Tuesday!
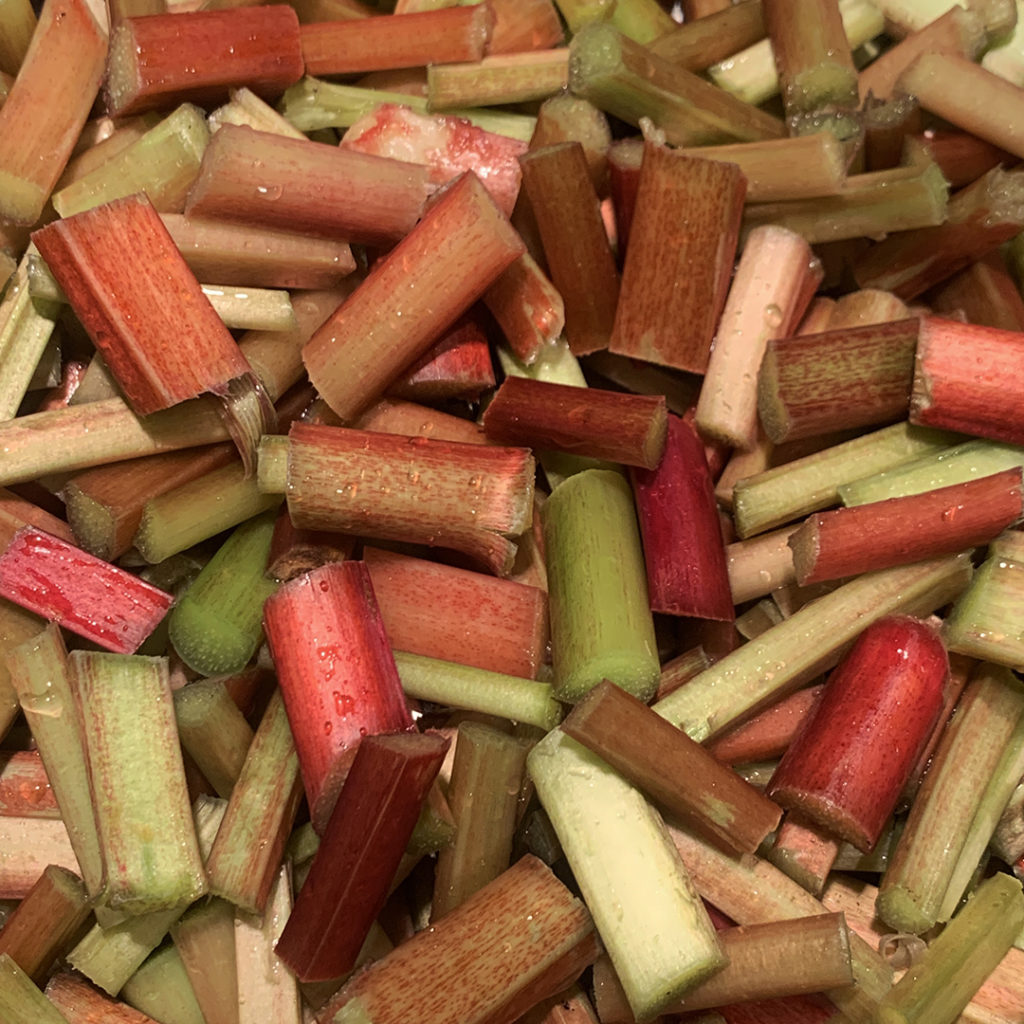

Looks like Sarah has been tossing a yummy salad in her stamped bowl. Beautiful & healthy all at the same time!

Tonight in my studio there was a “sweet” explosion of color as I tried to finish the “piping” before class started! It was my week to celebrate the “loser” of CAKE WEEK… more to come!


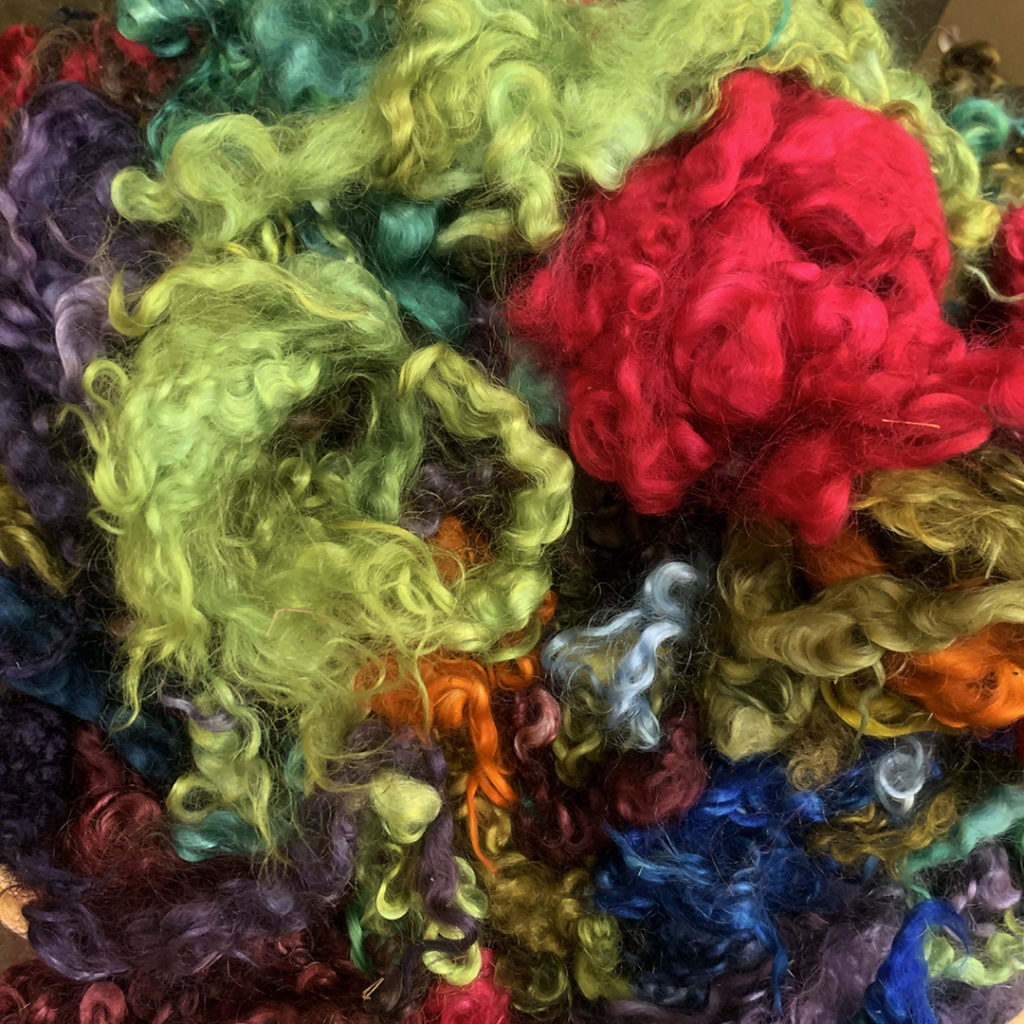
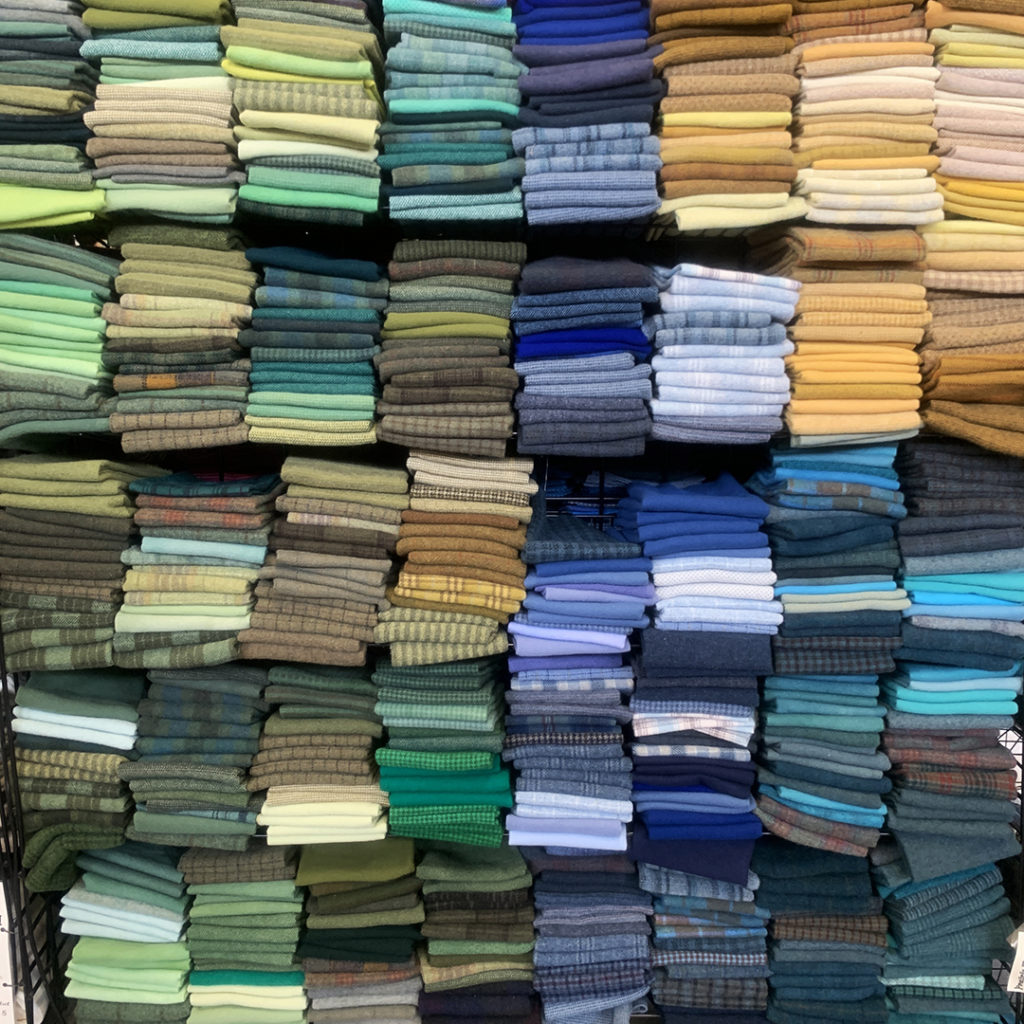
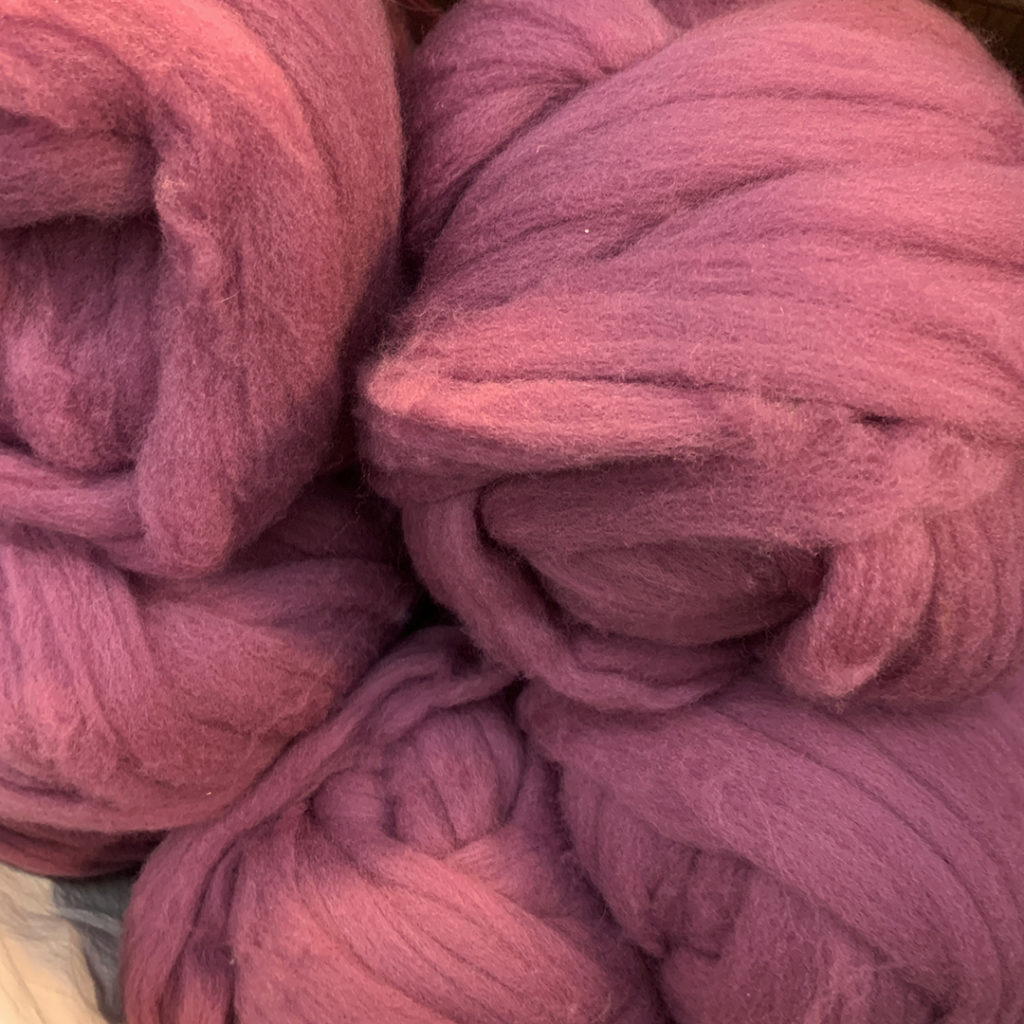
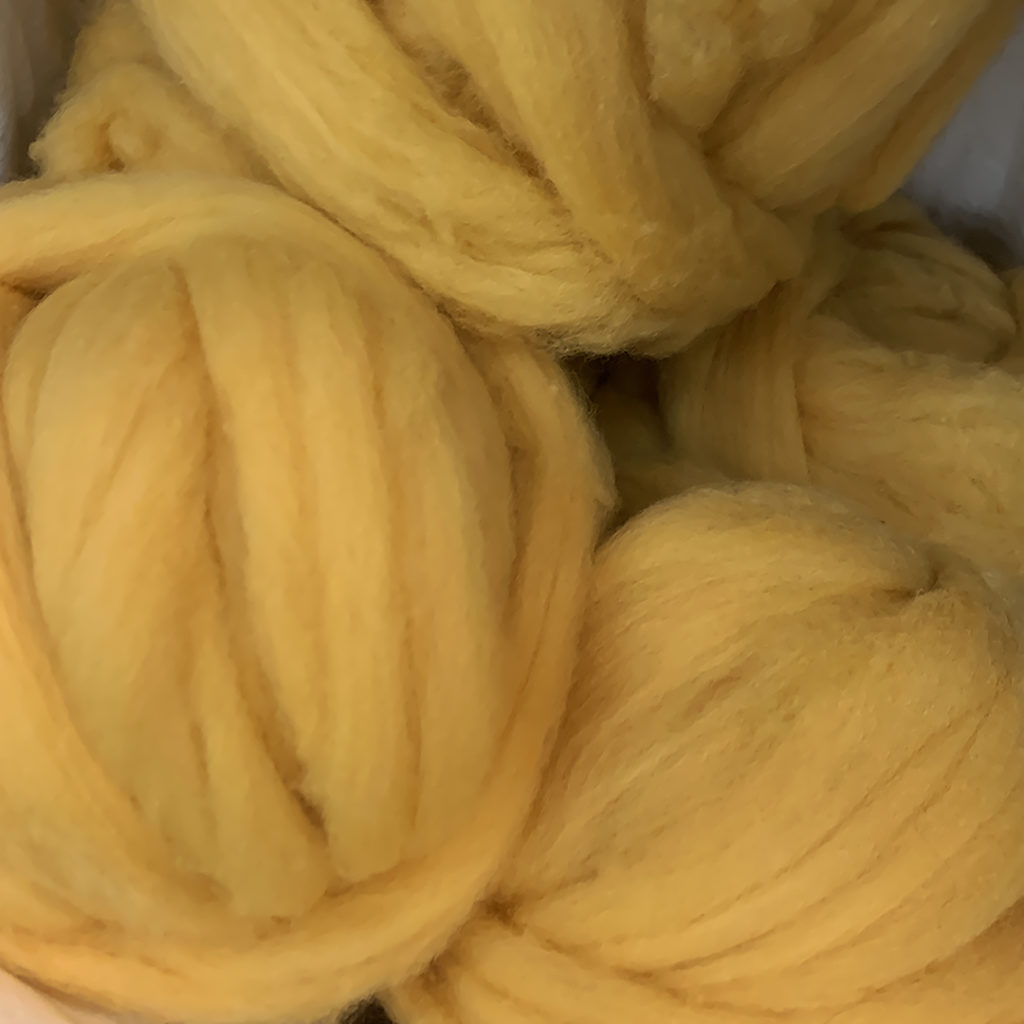
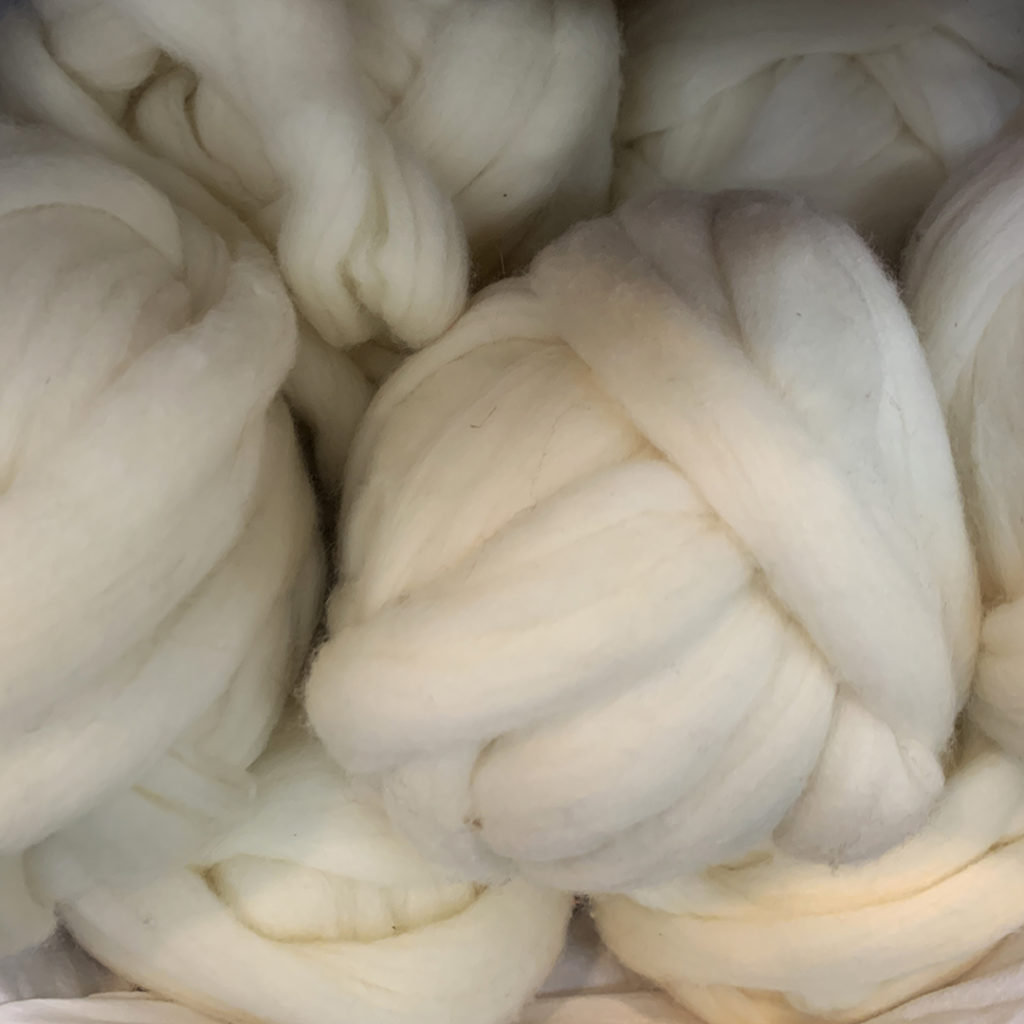
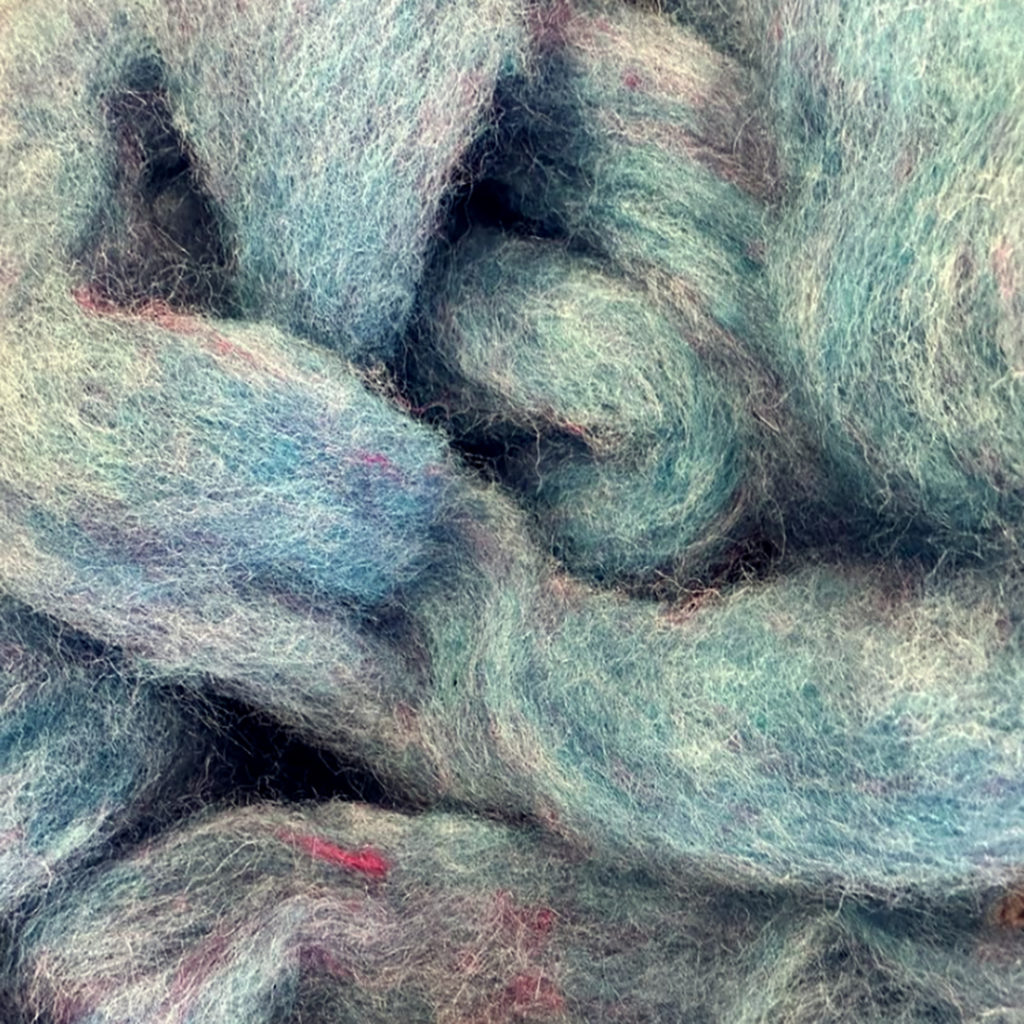
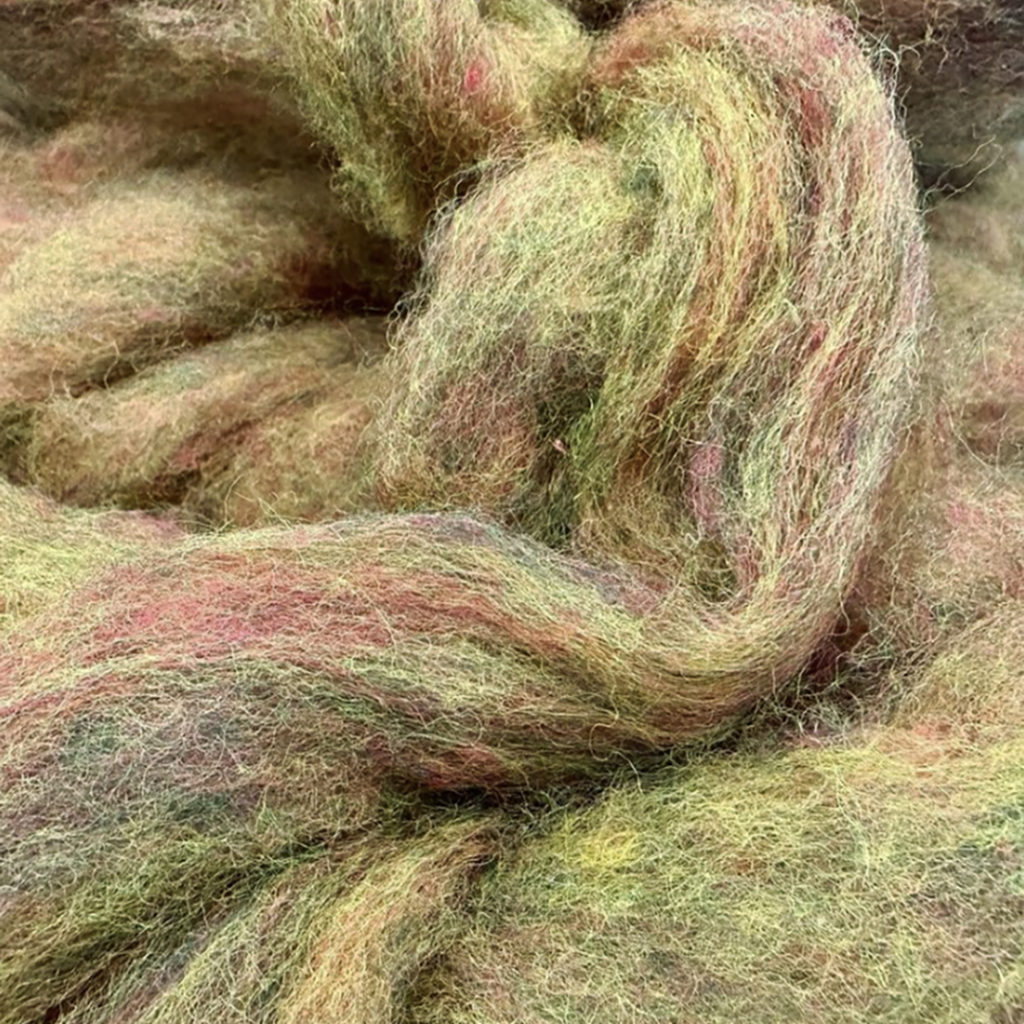
Tons of textures & colors at the Shepherds Harvest Festival. Lots to look at… even more to touch & feel. Such a tactile explosion for those of us who tend to touch everything! Lots of wool & yarns… but also some things I never thought I’d see?! Like the last photo… fish skin leathers!!!


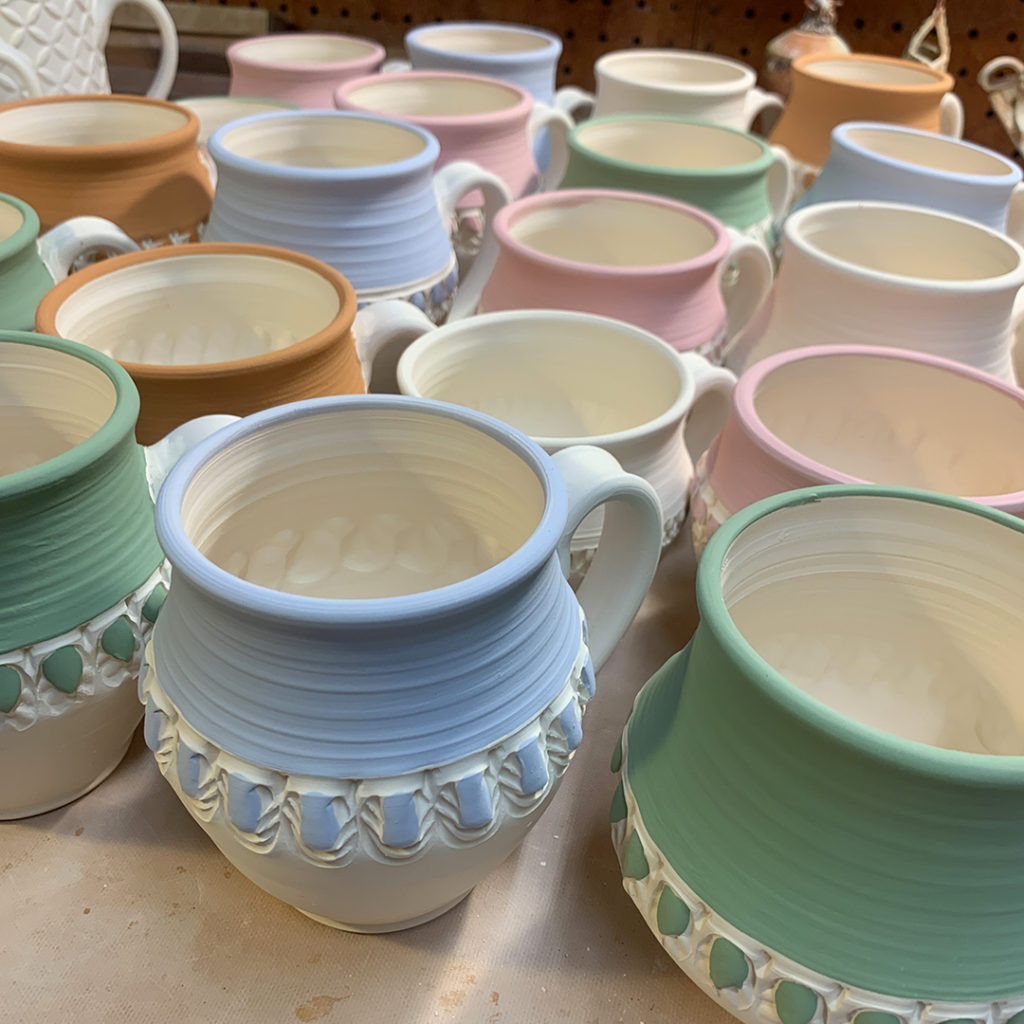
Definitely feeling the Spring vibes here with some colored slip accents on my bisqued mugs. Getting ready start glazing these… inlaid glaze in the stamps & a tenmoku liner glaze. Then it’s off to the soda kiln this weekend where these colored slips will react & flash with the soda atmosphere during firing. The colors should become darker, richer & more saturated… if all goes as planned?!
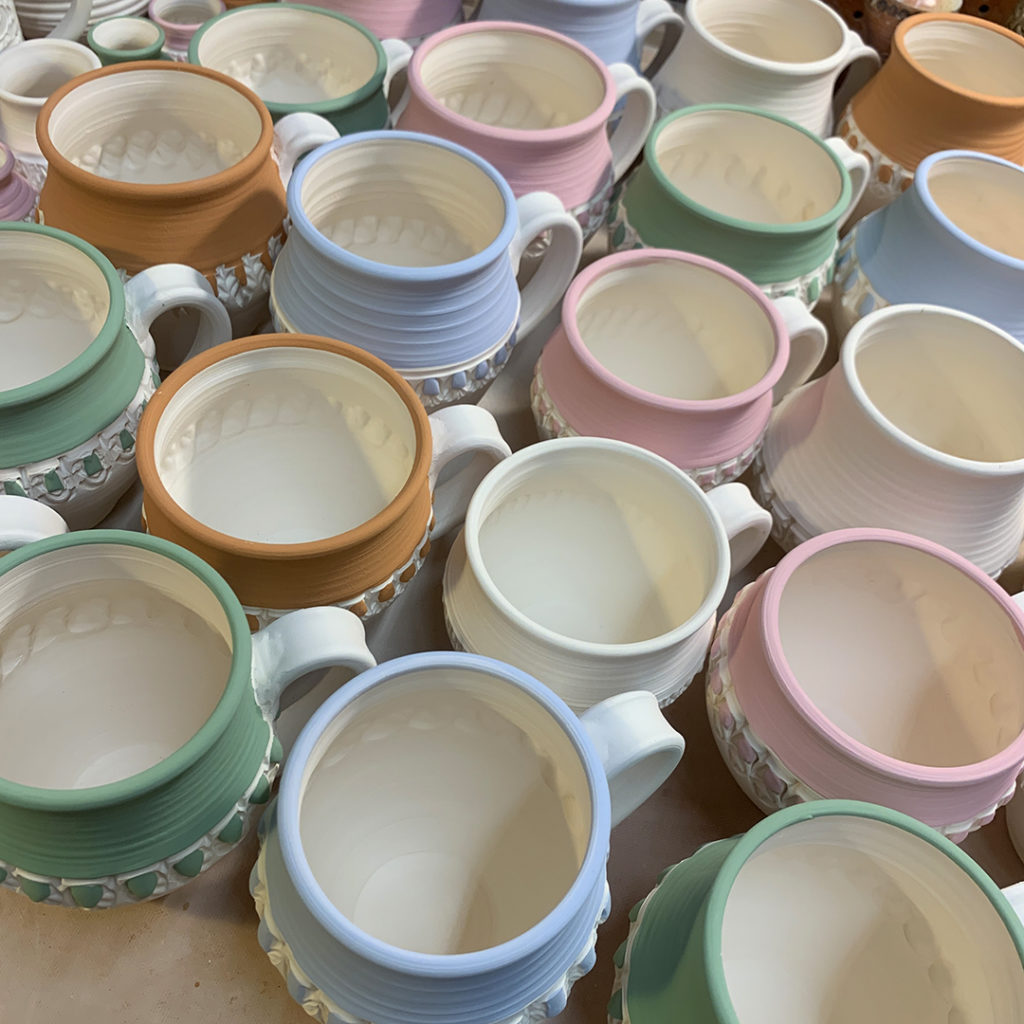
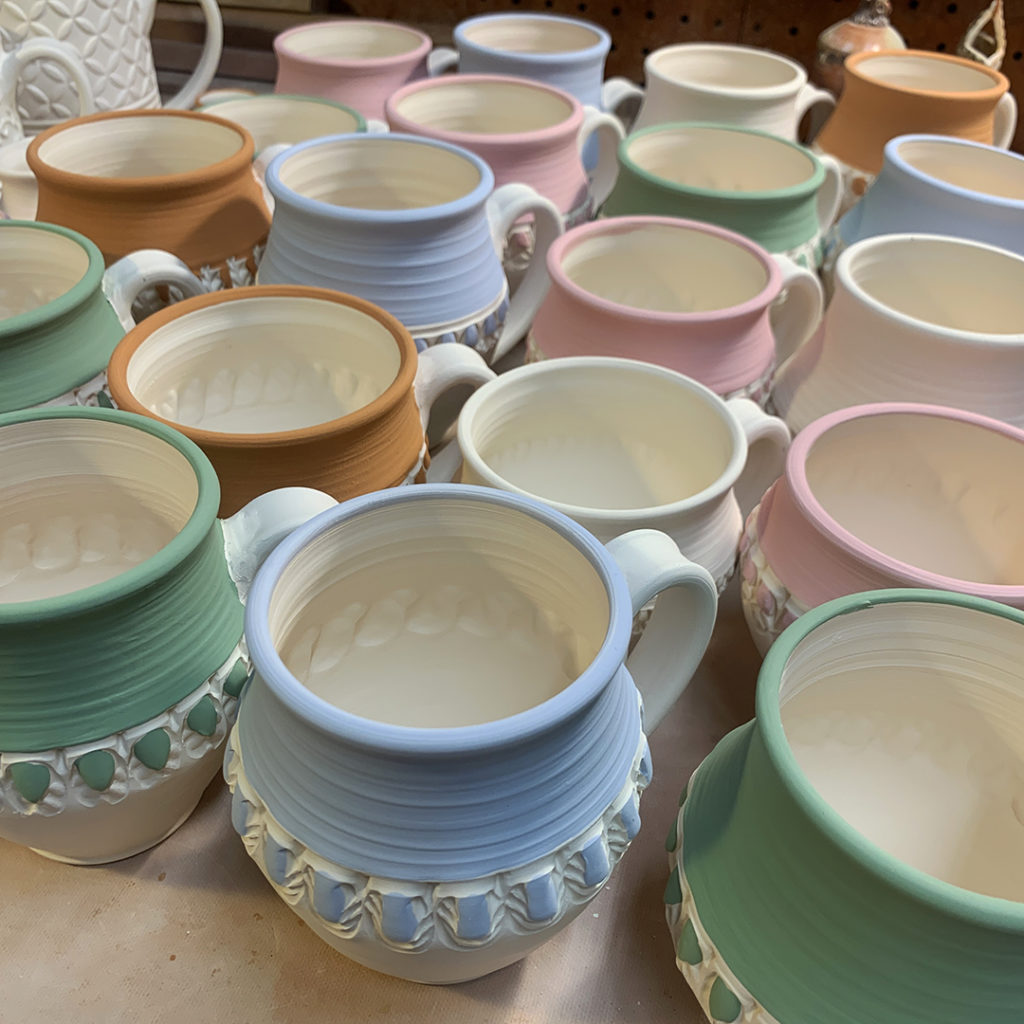
Sure, I could leave the mugs plain… and worry about adding some color when I glaze them. But since these are destined for the soda kiln… I’d rather give them some color now with colored slips that will change as the flames touch them in the kiln… depositing the soda mixture that will also “glaze’ the exteriors!

|
Gary Jackson: Fire When Ready Pottery
Lillstreet Studios ∙ 4401 North Ravenswood, Chicago, Illinois 60640 ∙ 773-307-8664 gary@firewhenreadypottery.com |
