09.21.2021
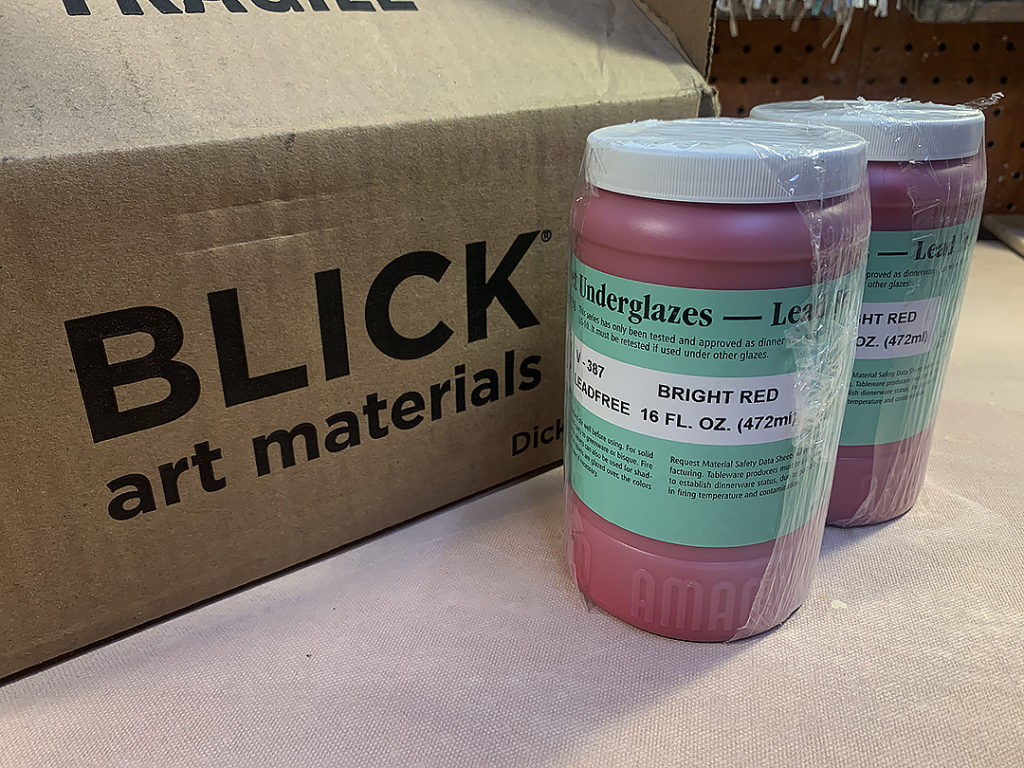
Good thing my new underglazes arrived in time… the new batch of Ghouls wouldn’t be nearly as cute if they were all terra cotta “rusty orange” colored! Some times some Ghouls really need some RED!!!
Gary Jackson: Fire When Ready Pottery
A Chicago potter’s somewhat slanted view of clay & play |
Good thing my new underglazes arrived in time… the new batch of Ghouls wouldn’t be nearly as cute if they were all terra cotta “rusty orange” colored! Some times some Ghouls really need some RED!!!
A fun little trio sitting on the side of the table… a perfect trifecta a “fan” picked up from ART IN THE GARDEN last weekend! Including a handpainted collaboration piece I did with Mary Foster. Such a sweet grouping of green!

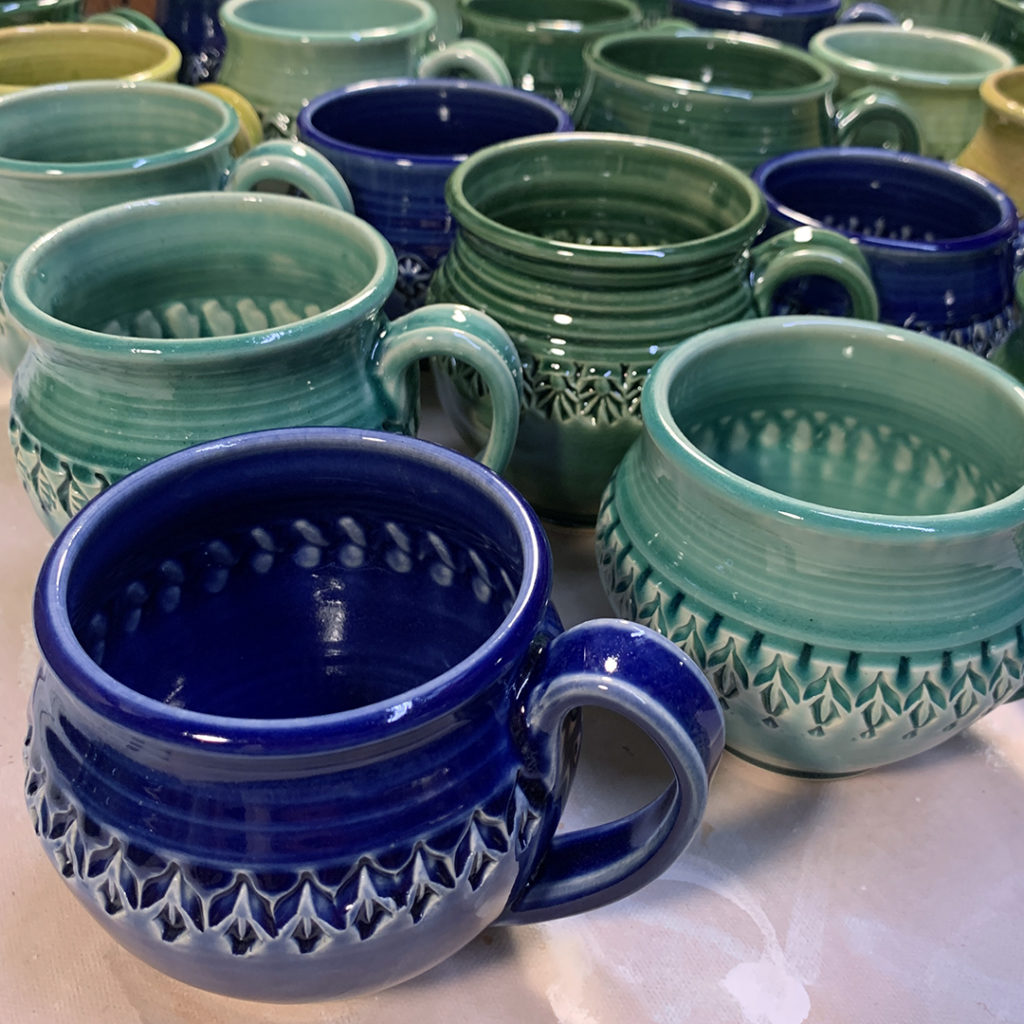
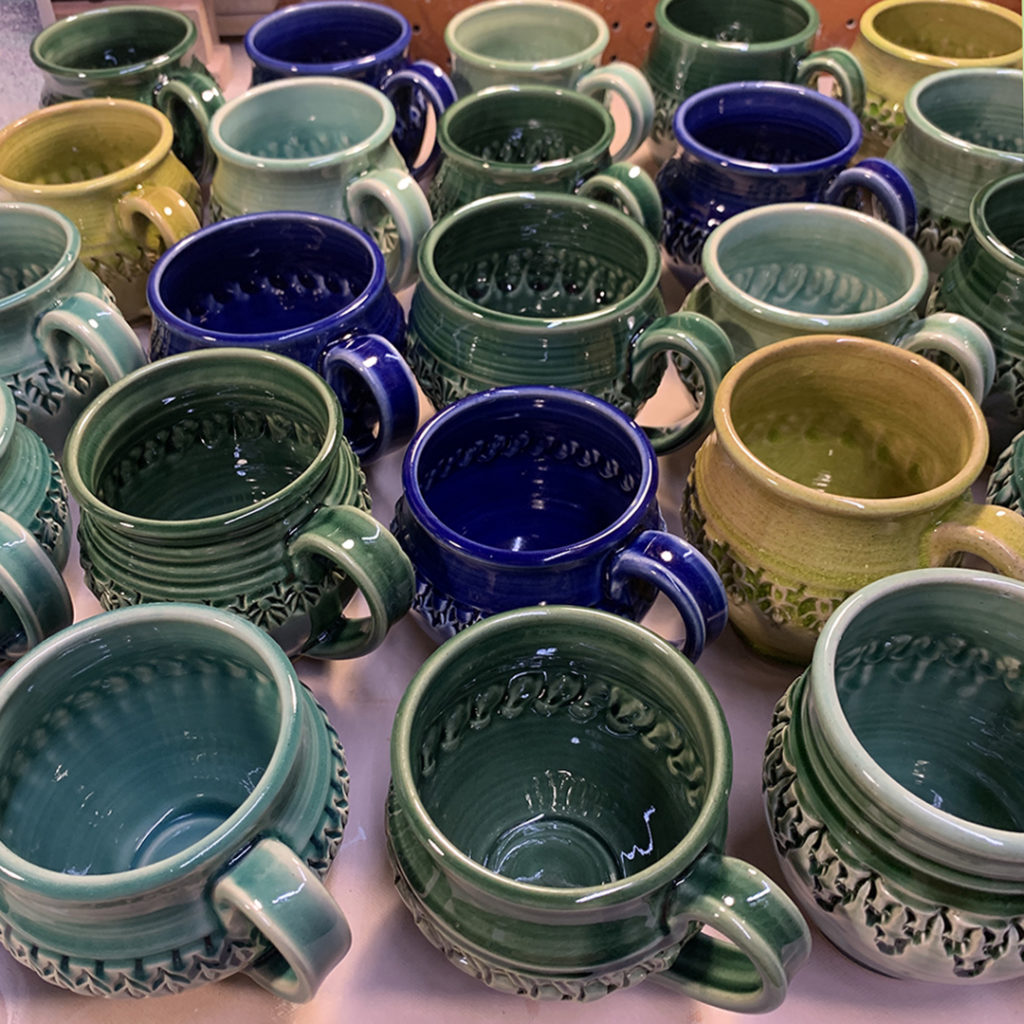
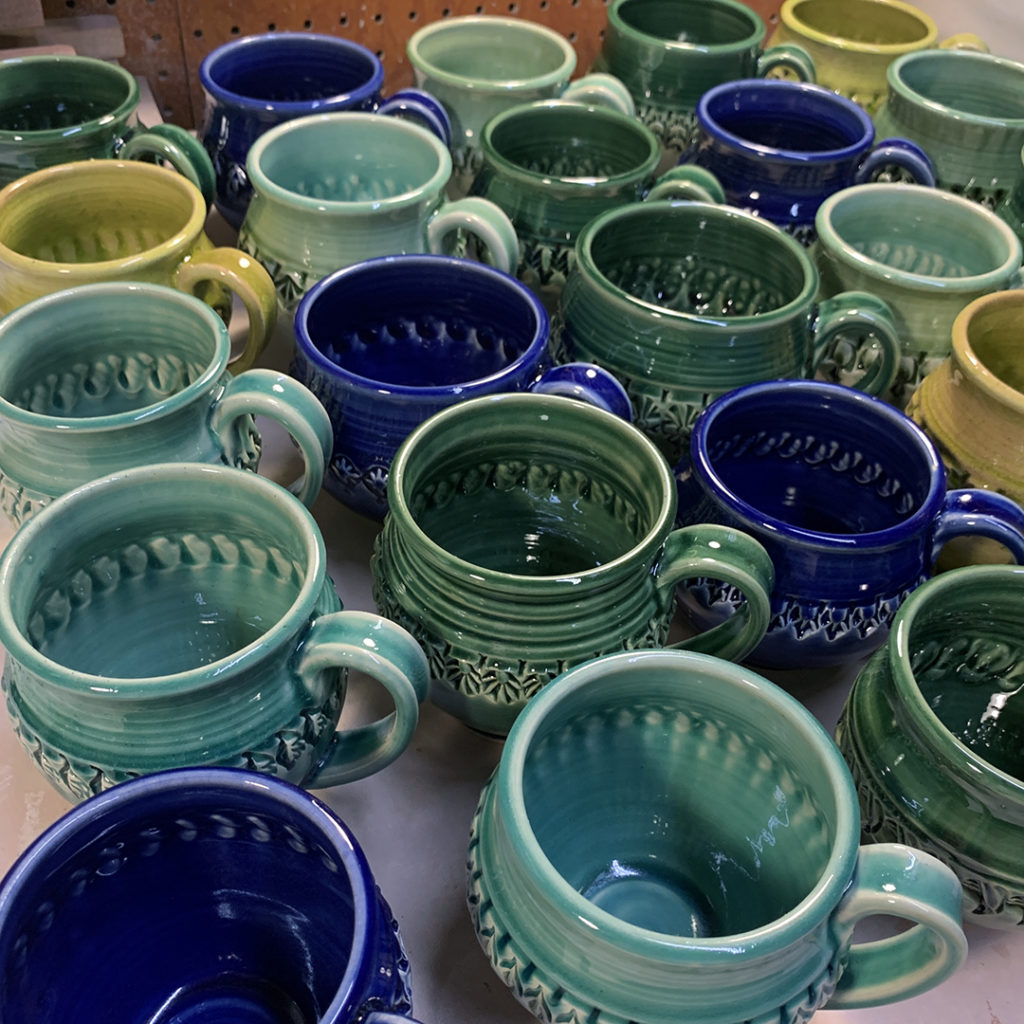
Just unloaded another kiln in time for ART IN THE GARDEN this weekend. For those who like to start their day with a splash of color!

So I did a whole lot of laundry this morning… and after ten weeks of Summer Camp… I realized that I have a LOT of tie-dyed t-shirts!!! MORE IS MORE… and it apparently applies to tie-dye too, right?!

A little sunshine this morning… a bright pop of color… a sunny yellow hibiscus flower for a beautiful Floral Friday! Thanks to one of my neighbors for growing these in their front yard!

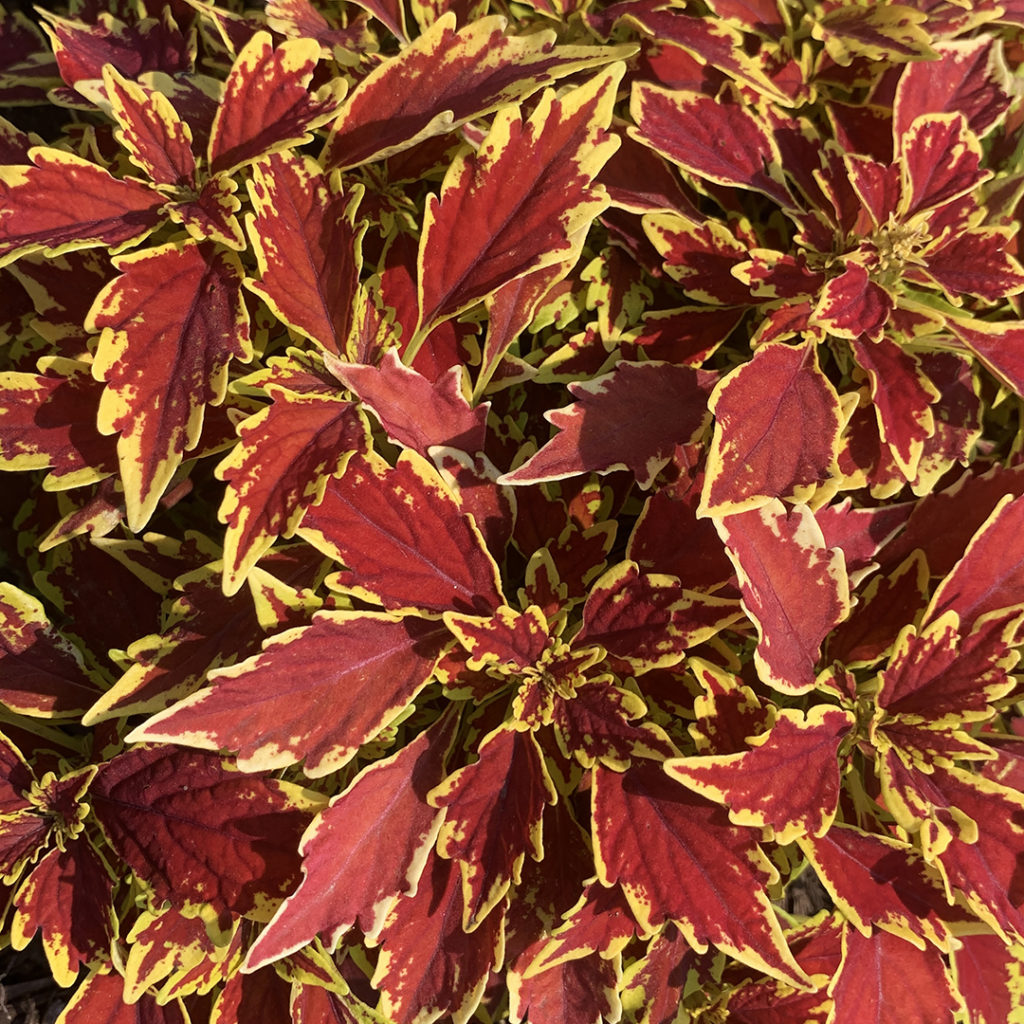
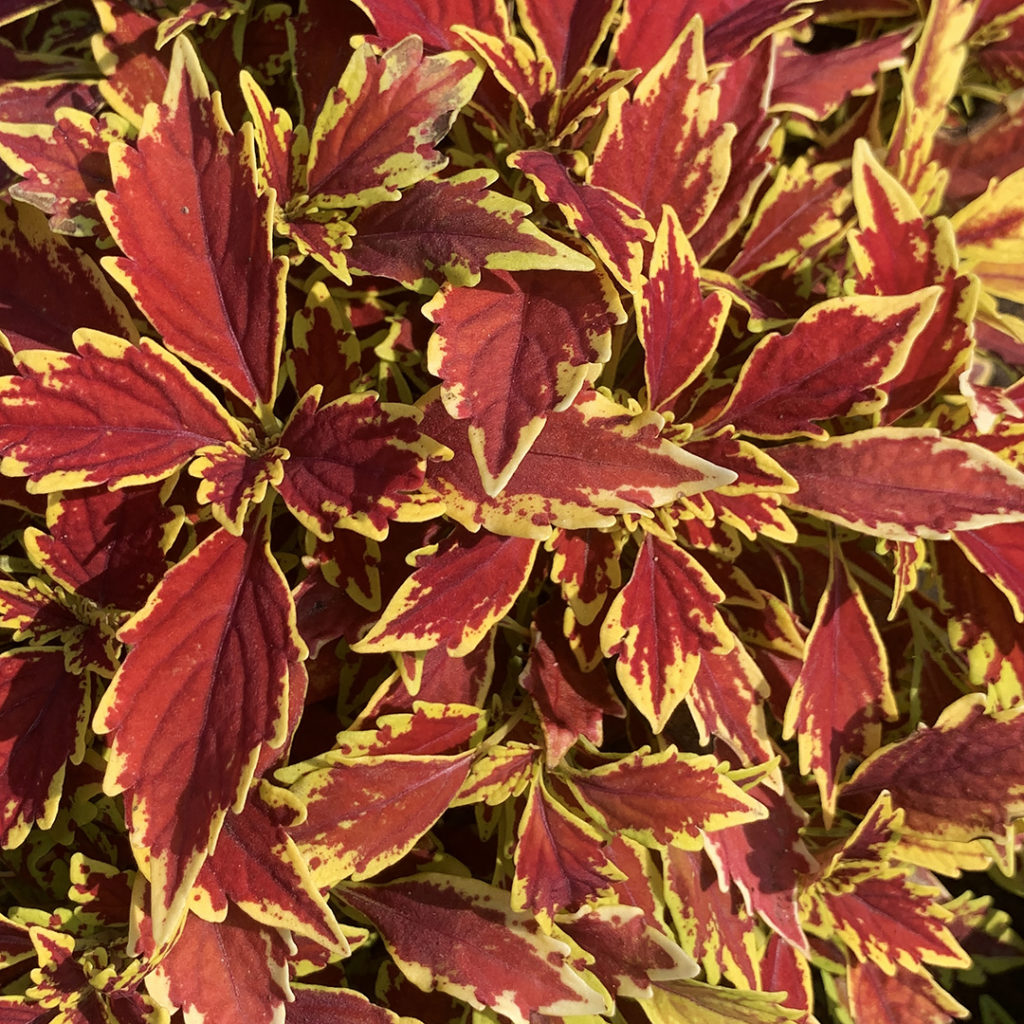
Bright colors, cool textures… and nothing GREEN!
I love how this coleus is just a fun burgundy red color
“outlined” by a golden frame!
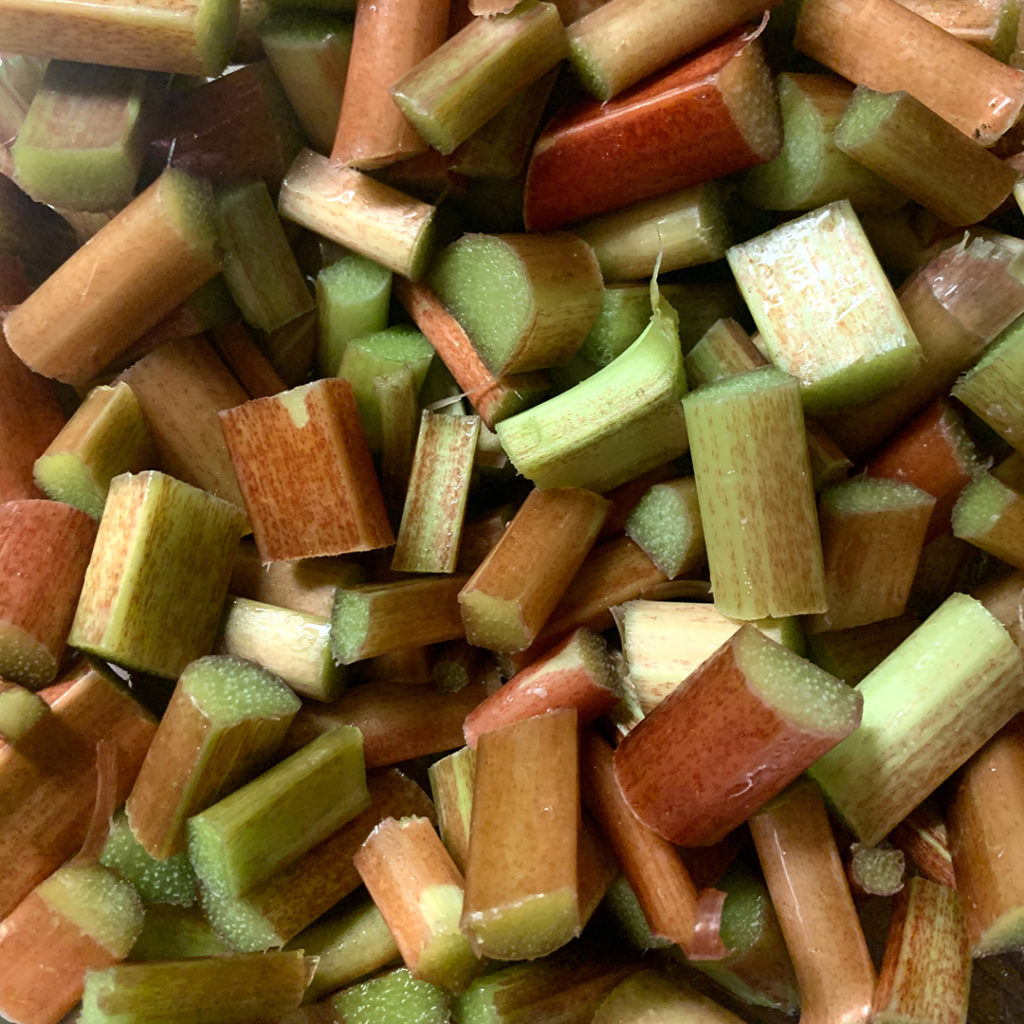
Chopping up some rhubarb… entranced by the range of colors & textures all from one plant. I love homegrown rhubarb… and I also LOVE a colorful & natural Texture Tuesday!

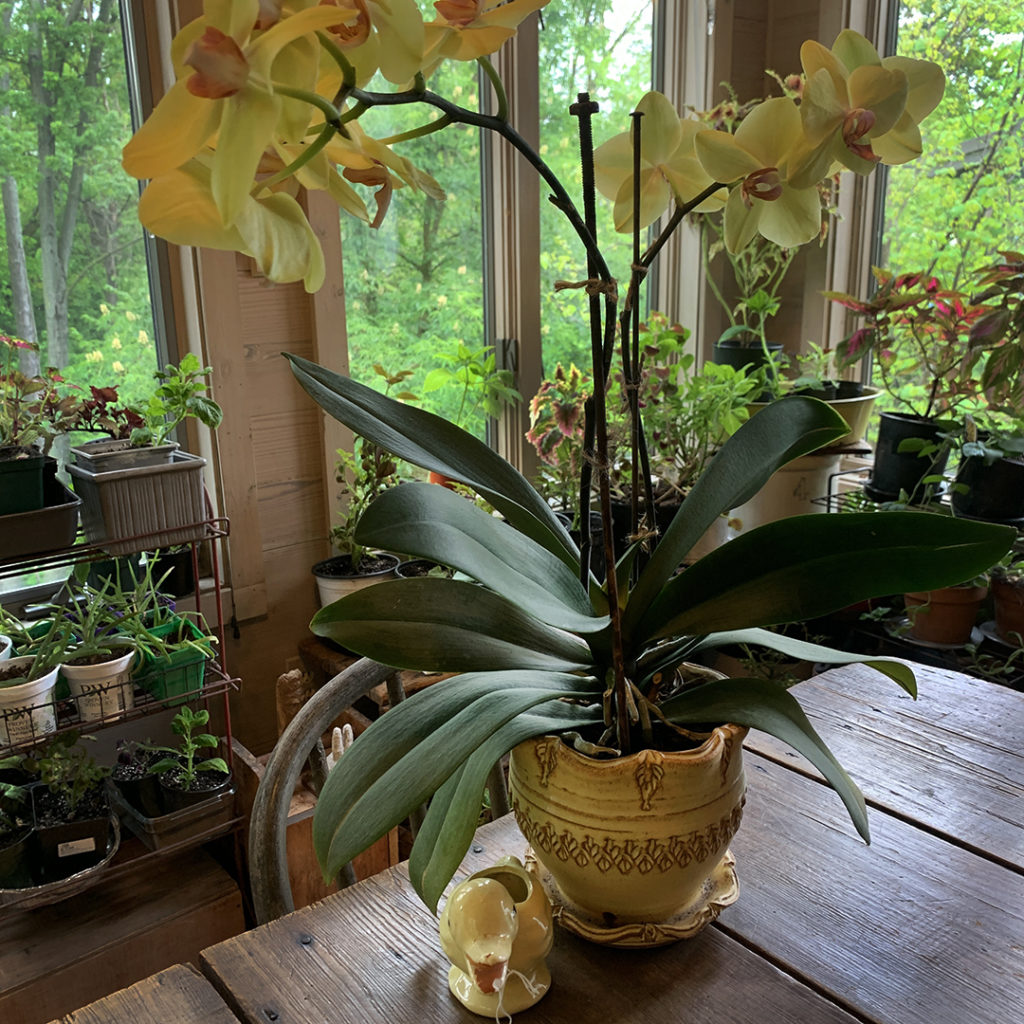
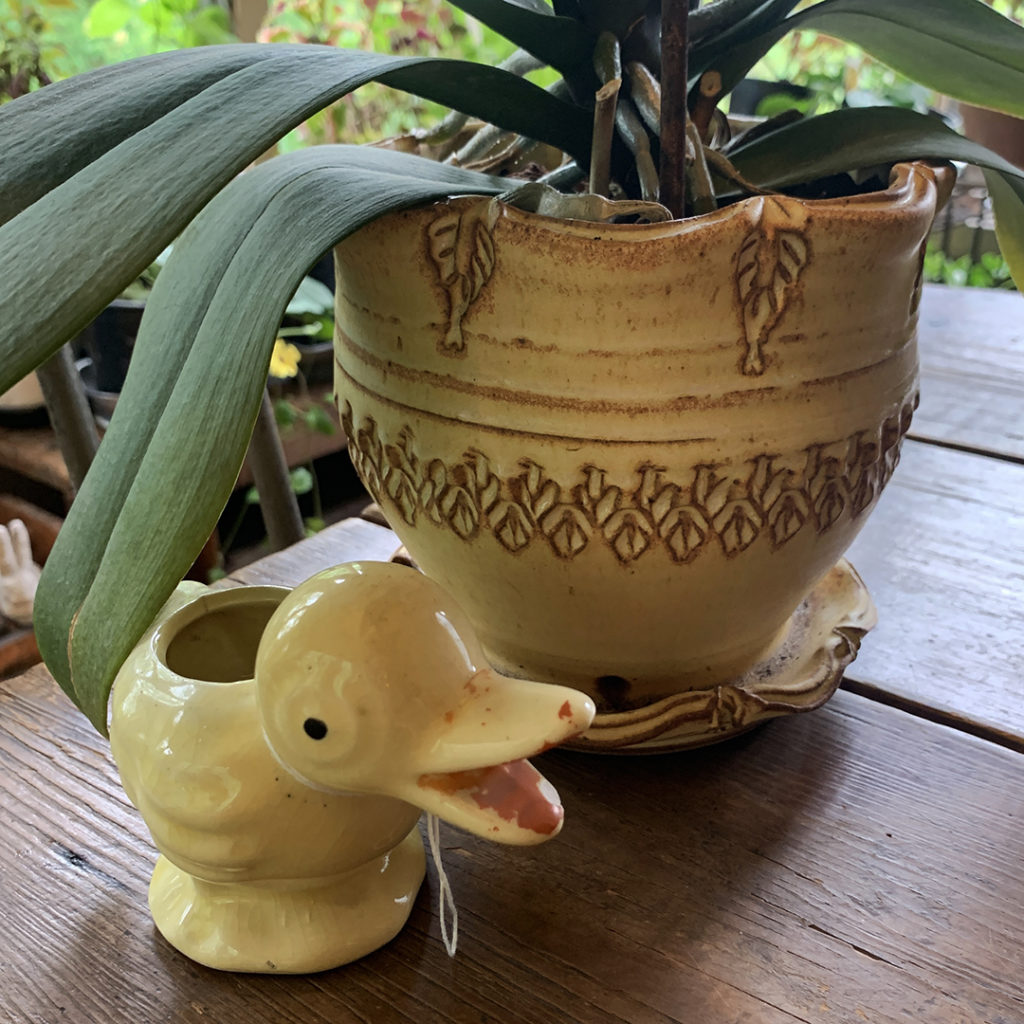
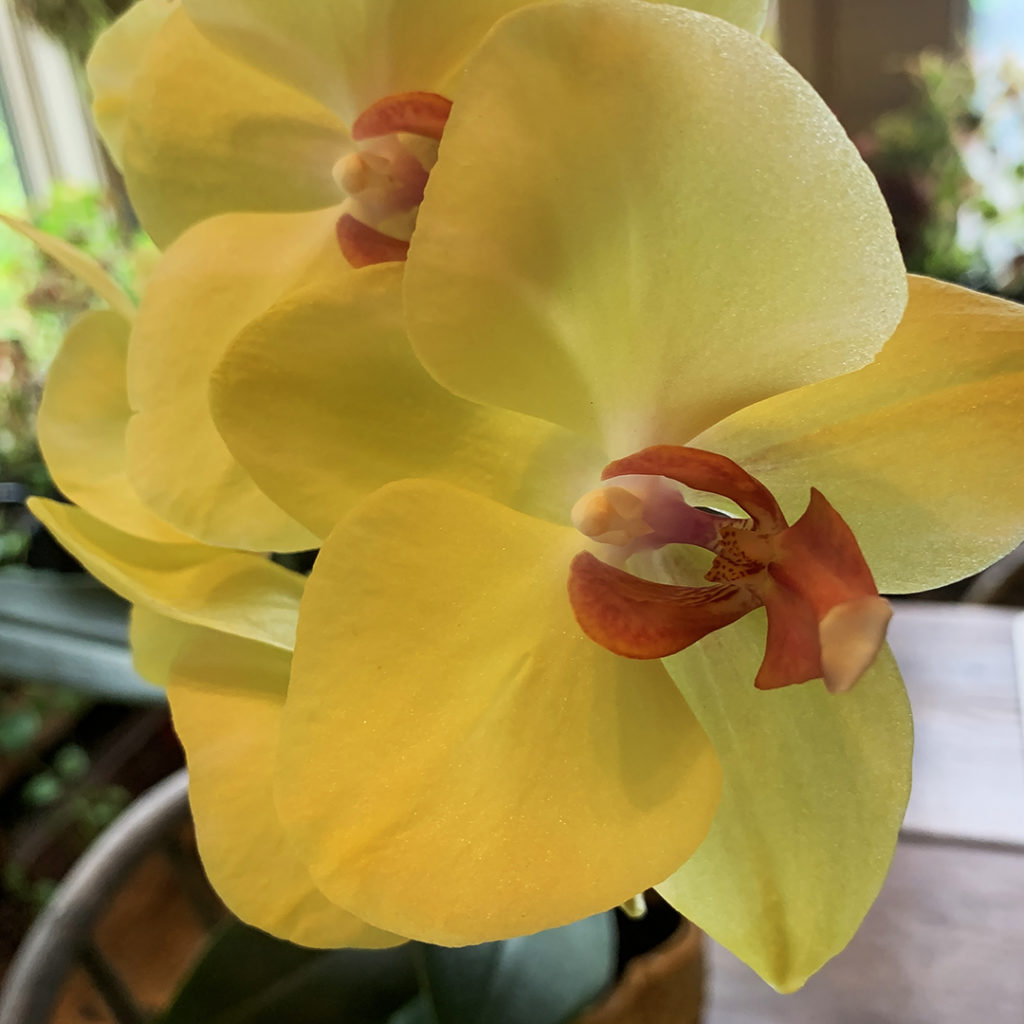
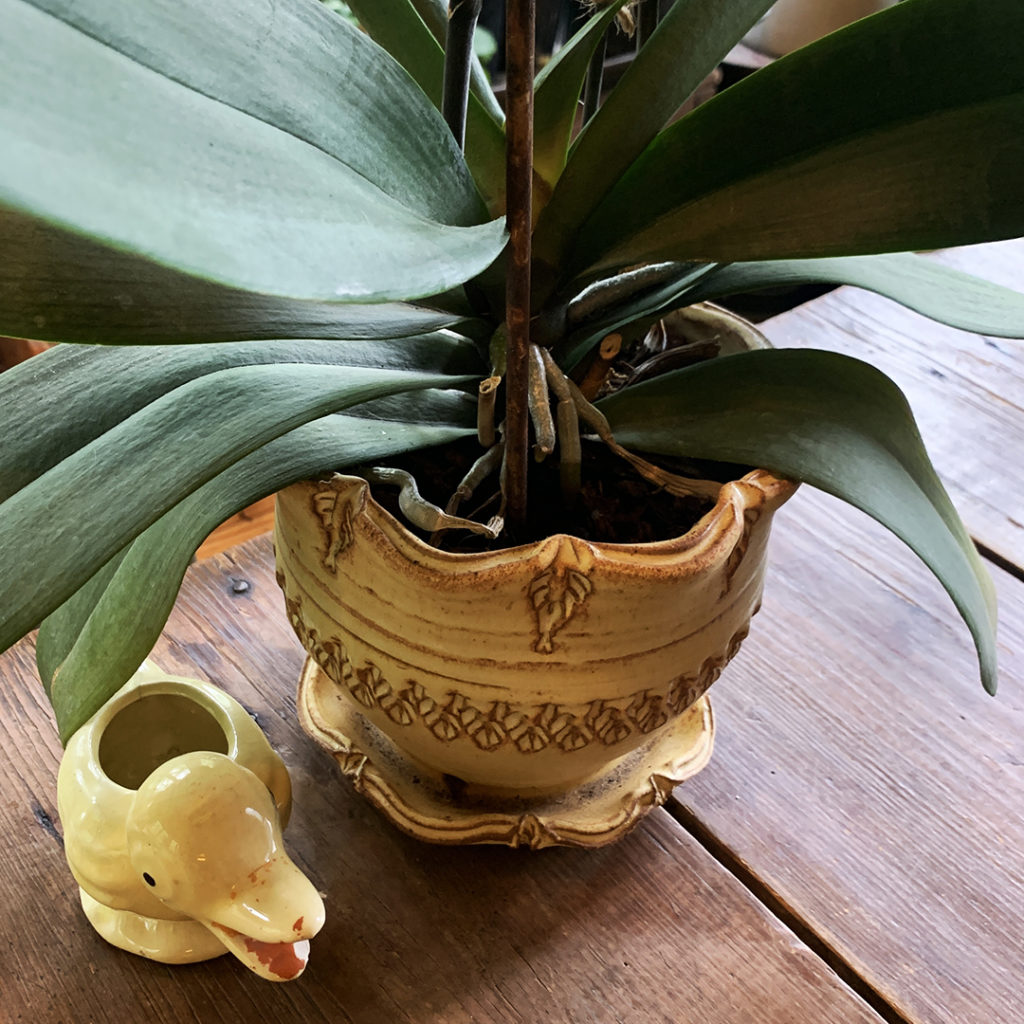
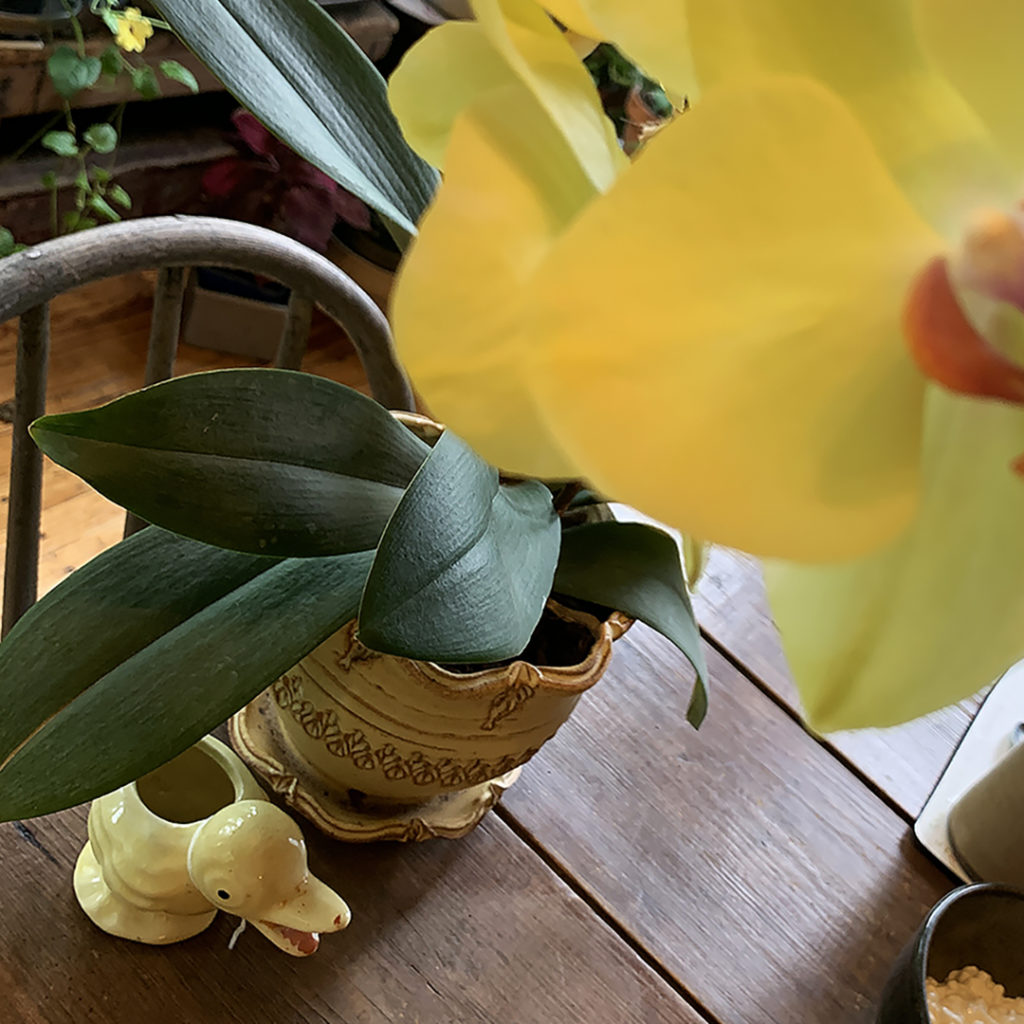
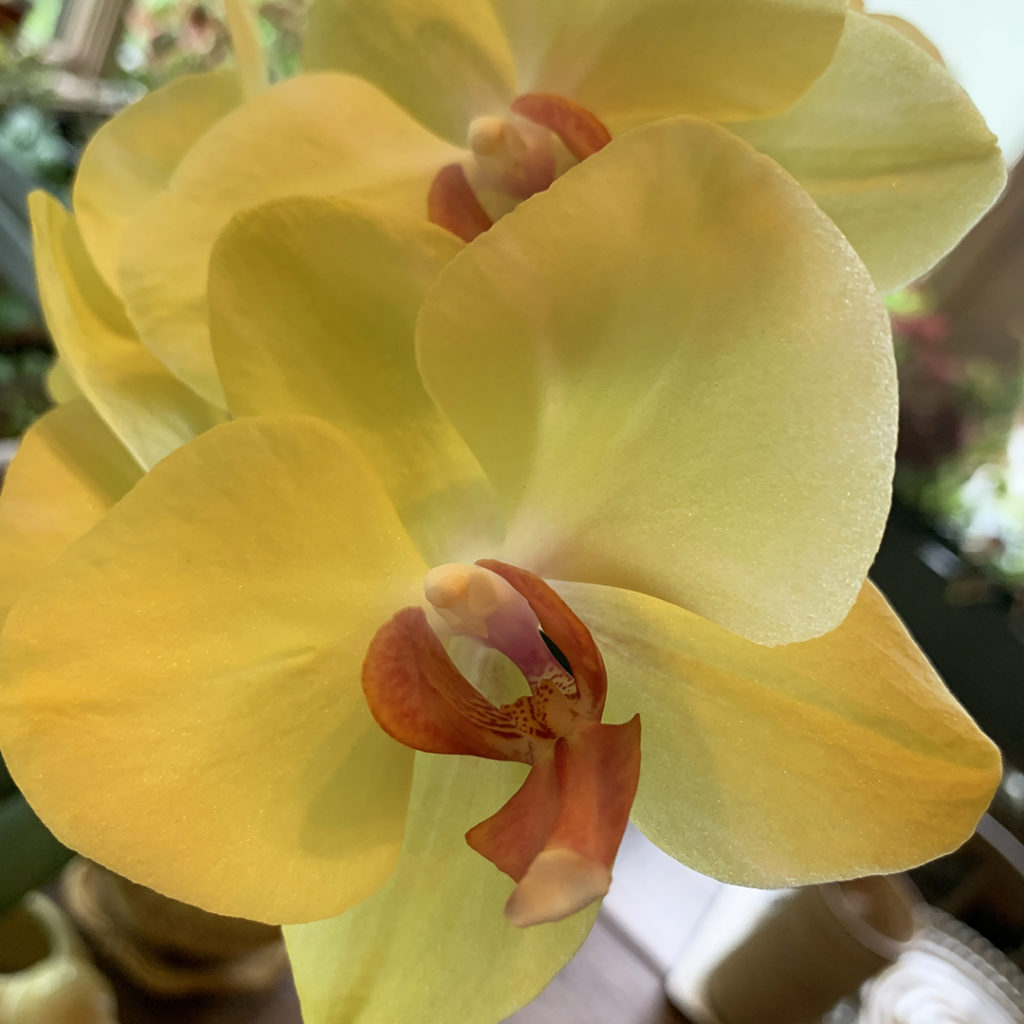
Another “yellow” for my Friday Yellow Trifecta! Some beautiful yellow orchids growing in their favorite stamped flower pot… apparently loving their home from the way that flowers & plant look so healthy! Thanks for sharing your beautiful orchid Gerry & Rosene!
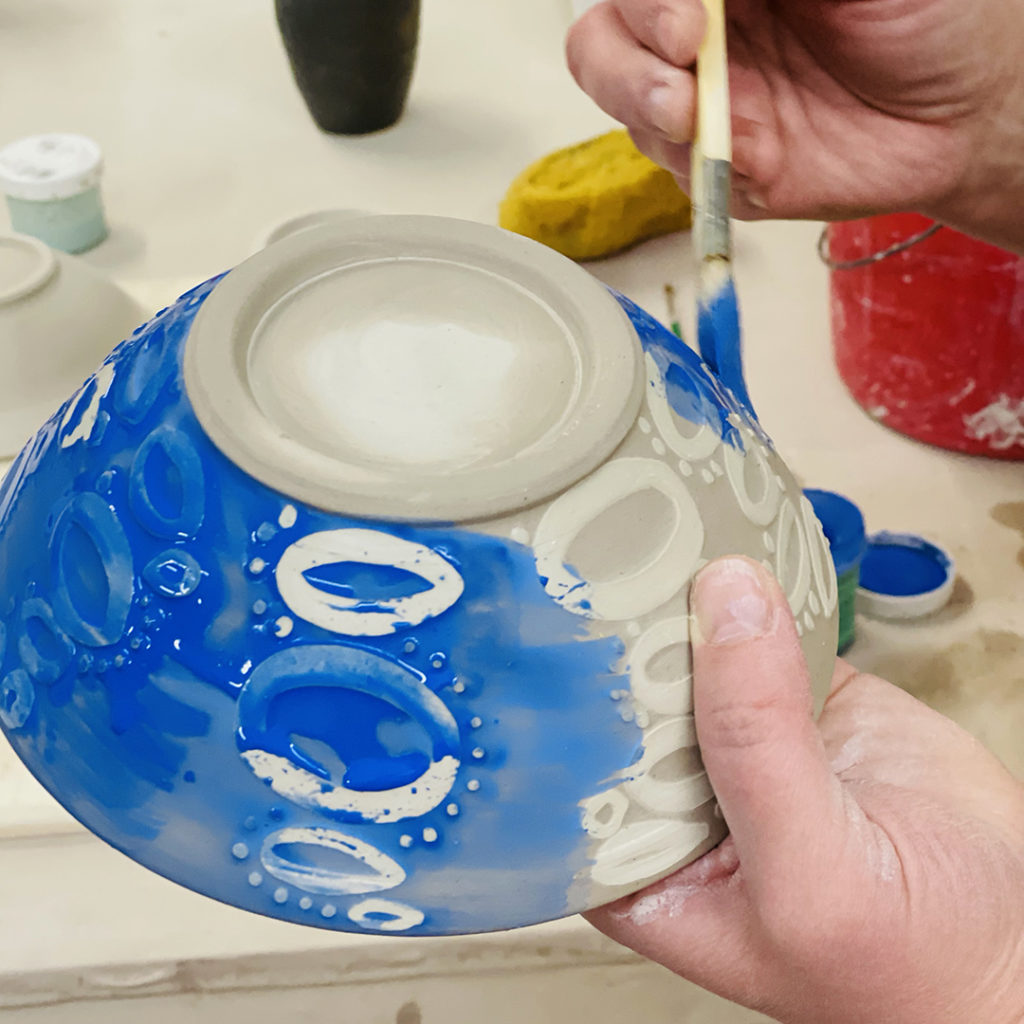
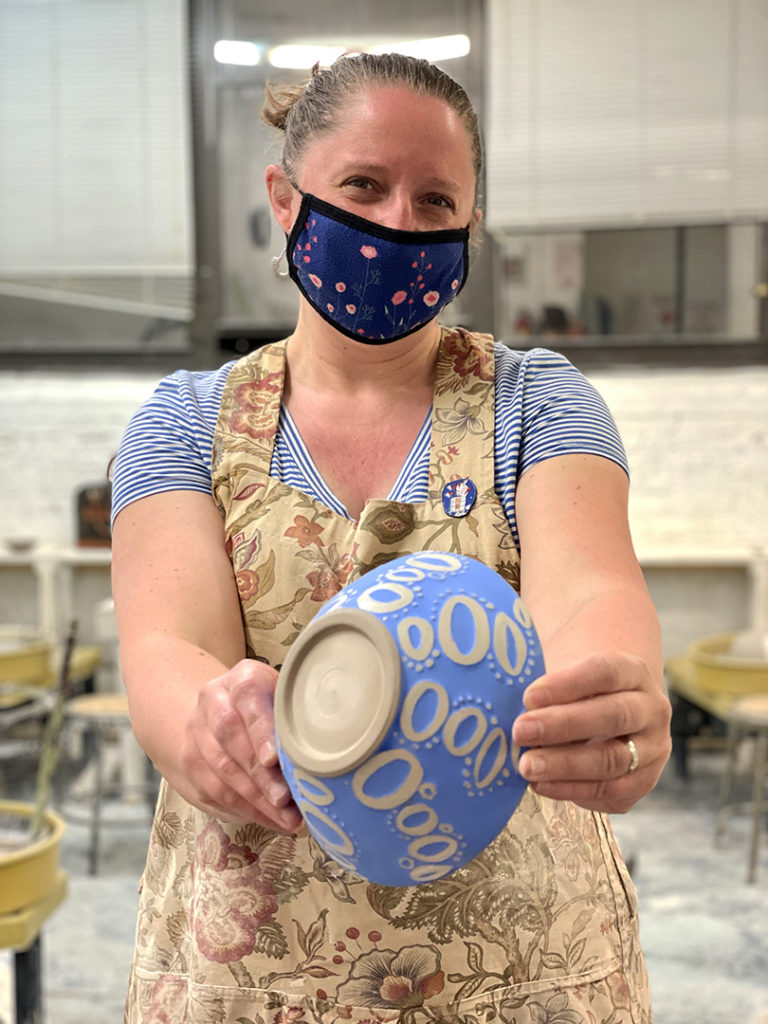
After wiping away the background… leaving the wax resist areas intact… Catherine had to get a little showy and added a layer of colored fun to her demo! Letting the wax resist do it’s thing, Catherine painted the bowl with blue underglaze… and the color doesn’t stick on the wax, except for maybe a little touch-up here & there! So now the “protected” pattern areas will be higher & clay colored… whereas the background is lower & blue!!!


|
Gary Jackson: Fire When Ready Pottery
Lillstreet Studios ∙ 4401 North Ravenswood, Chicago, Illinois 60640 ∙ 773-307-8664 gary@firewhenreadypottery.com |
