01.23.2021
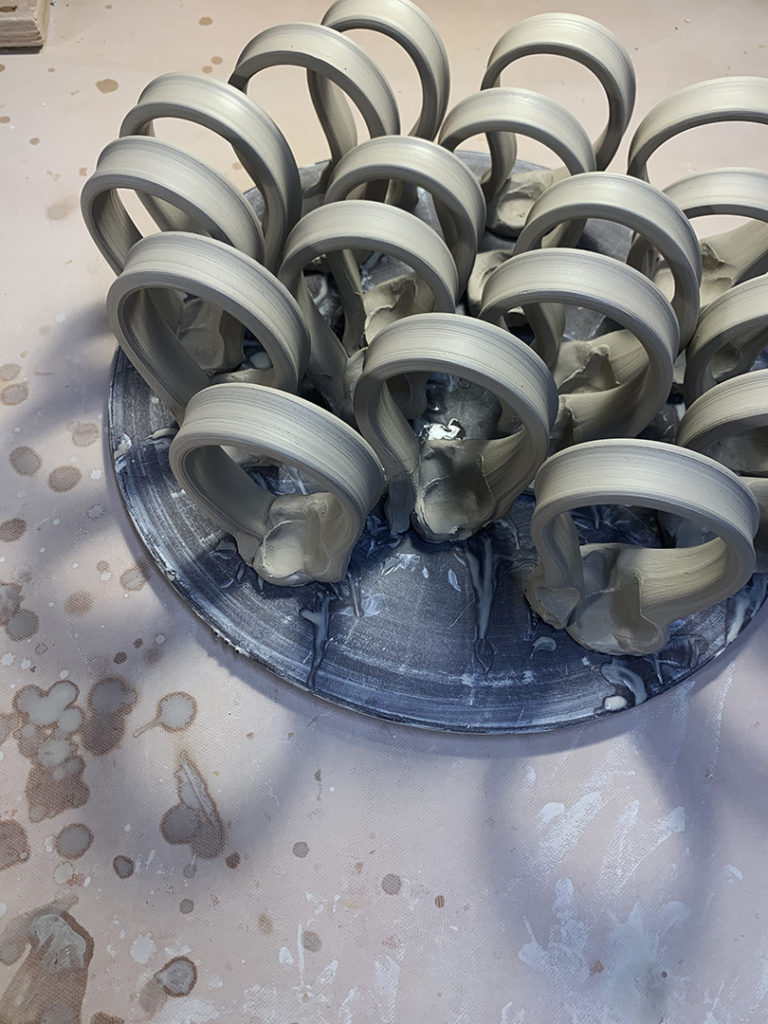
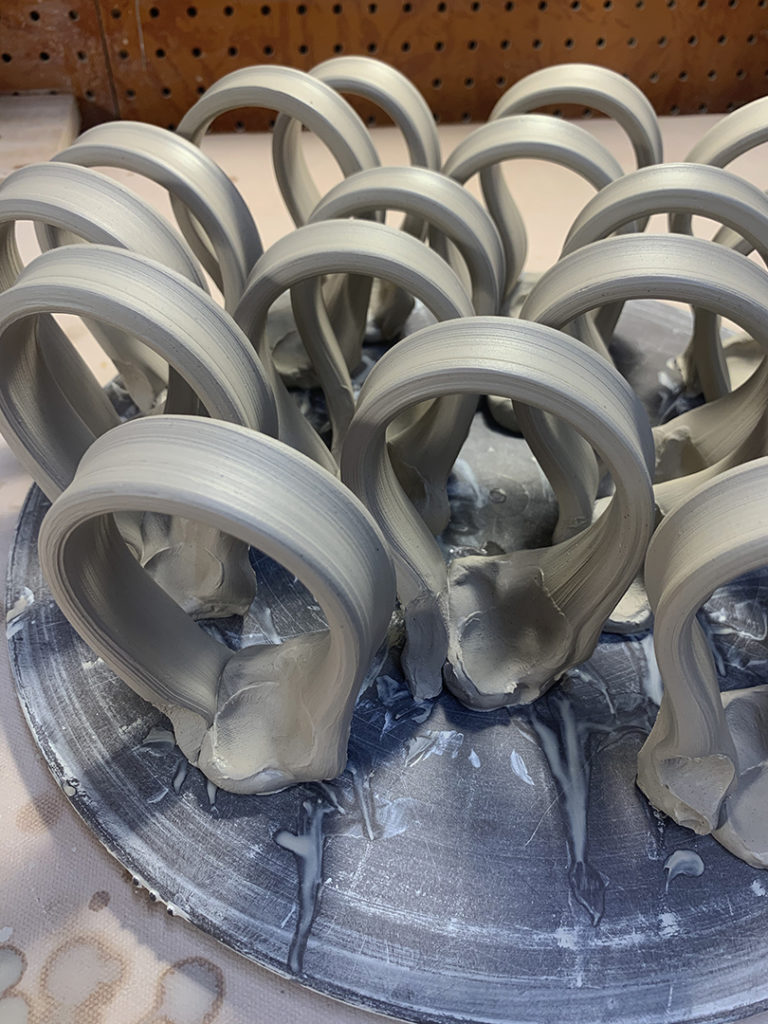
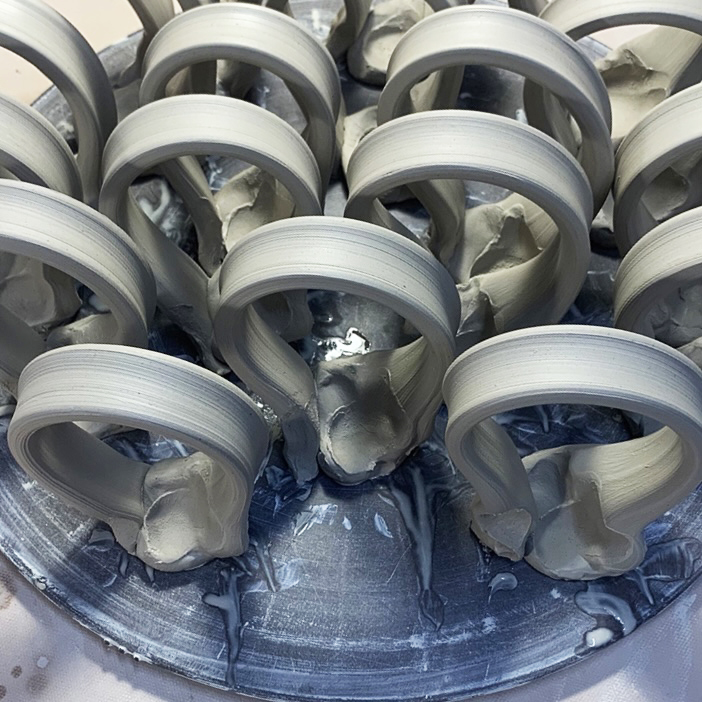
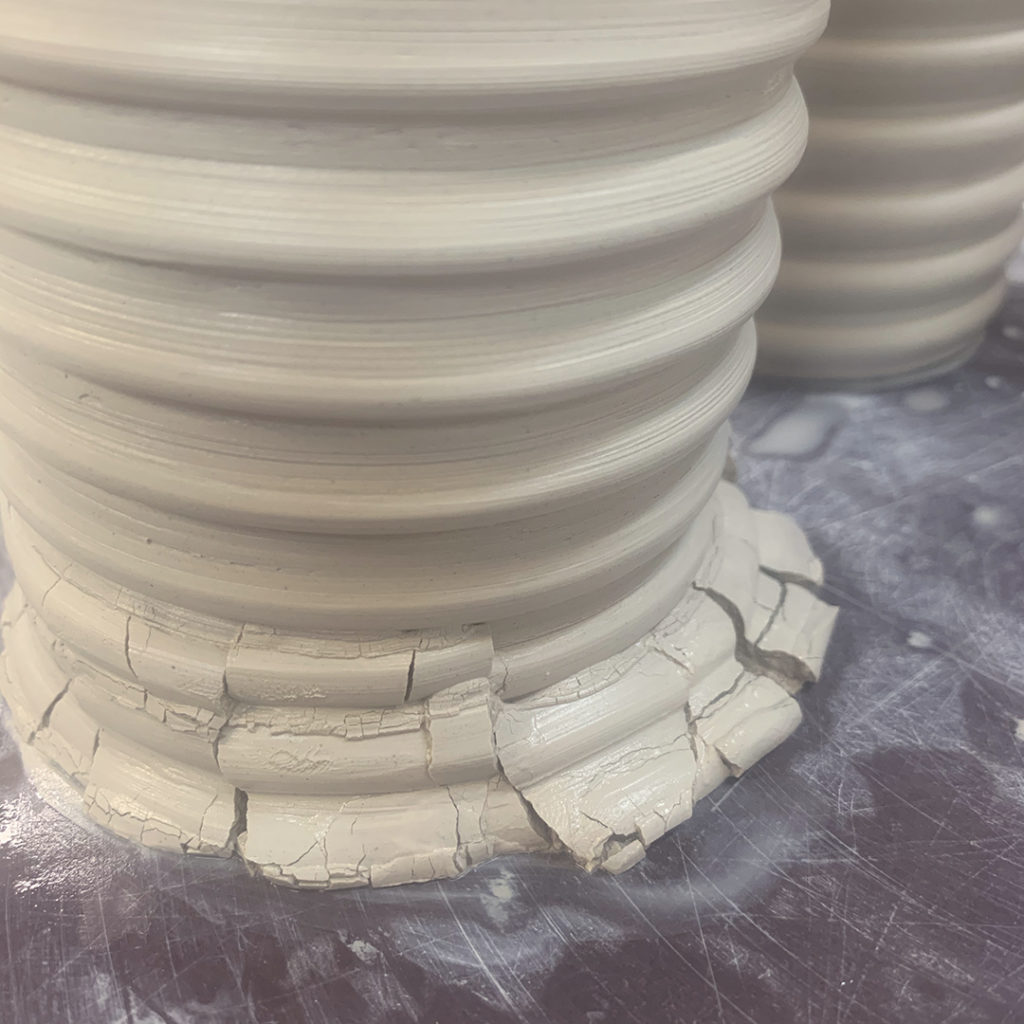
Now to let them set-up for a few minutes before I start attaching them to the stamped & trimmed cylinders. I like to pull the handle and then give it a “little flip” so it stands-up by itself with the majority of the handle curve already established. I’ll cut out the portion of the handle I want to use… and recycle the rest of the clay!
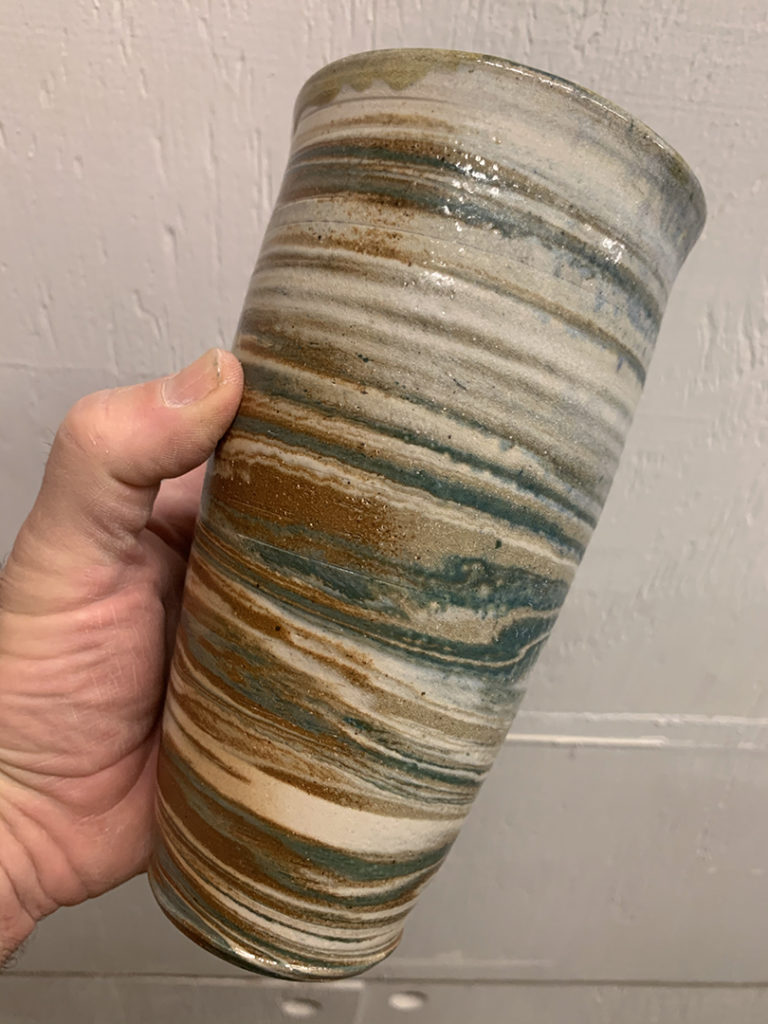
Saturday night is apparently going to be MUG NIGHT!!!