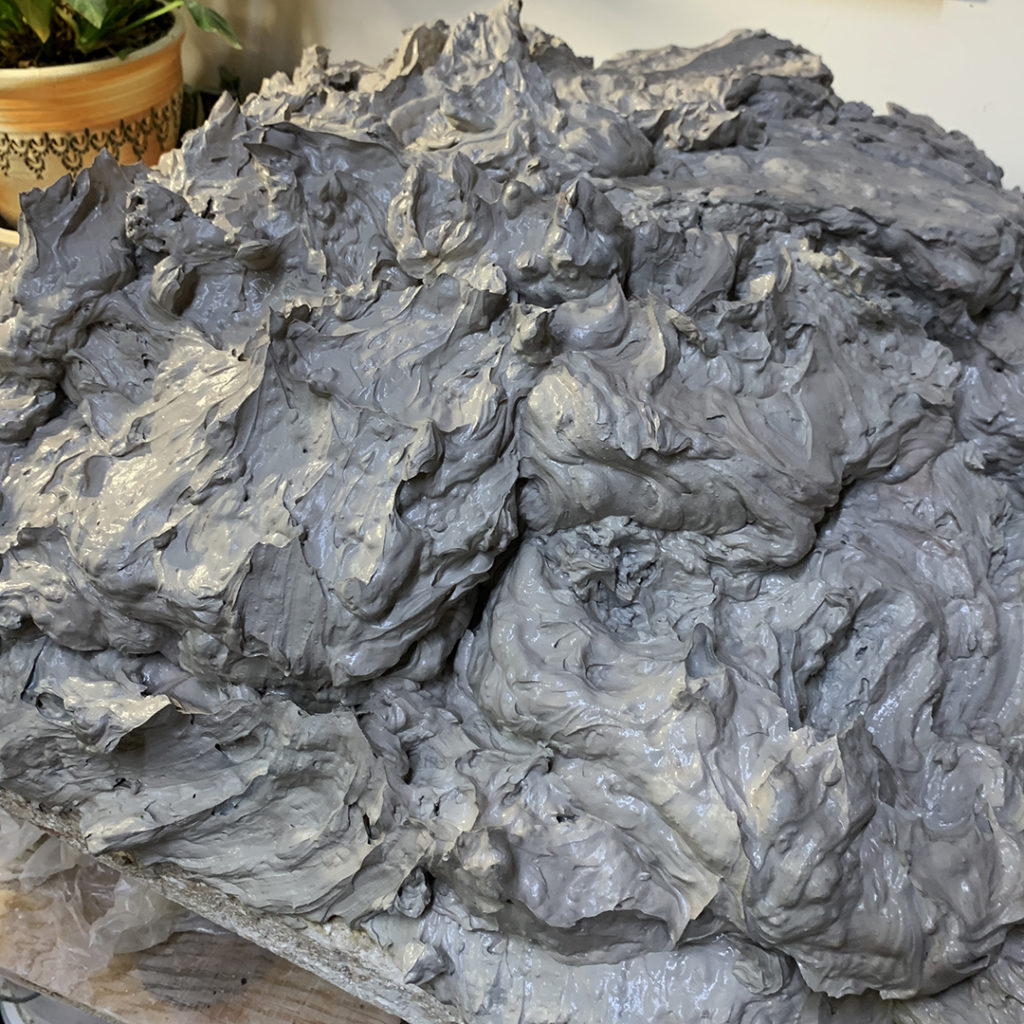
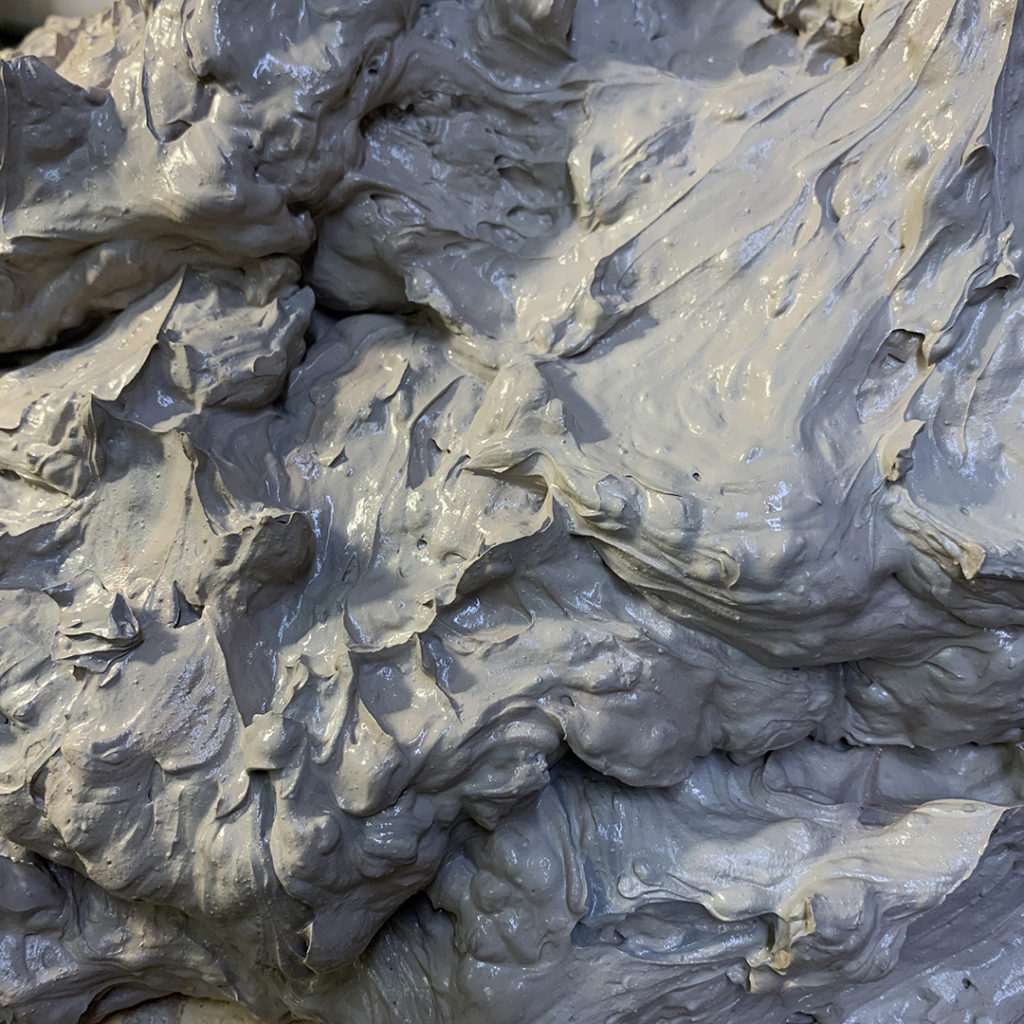
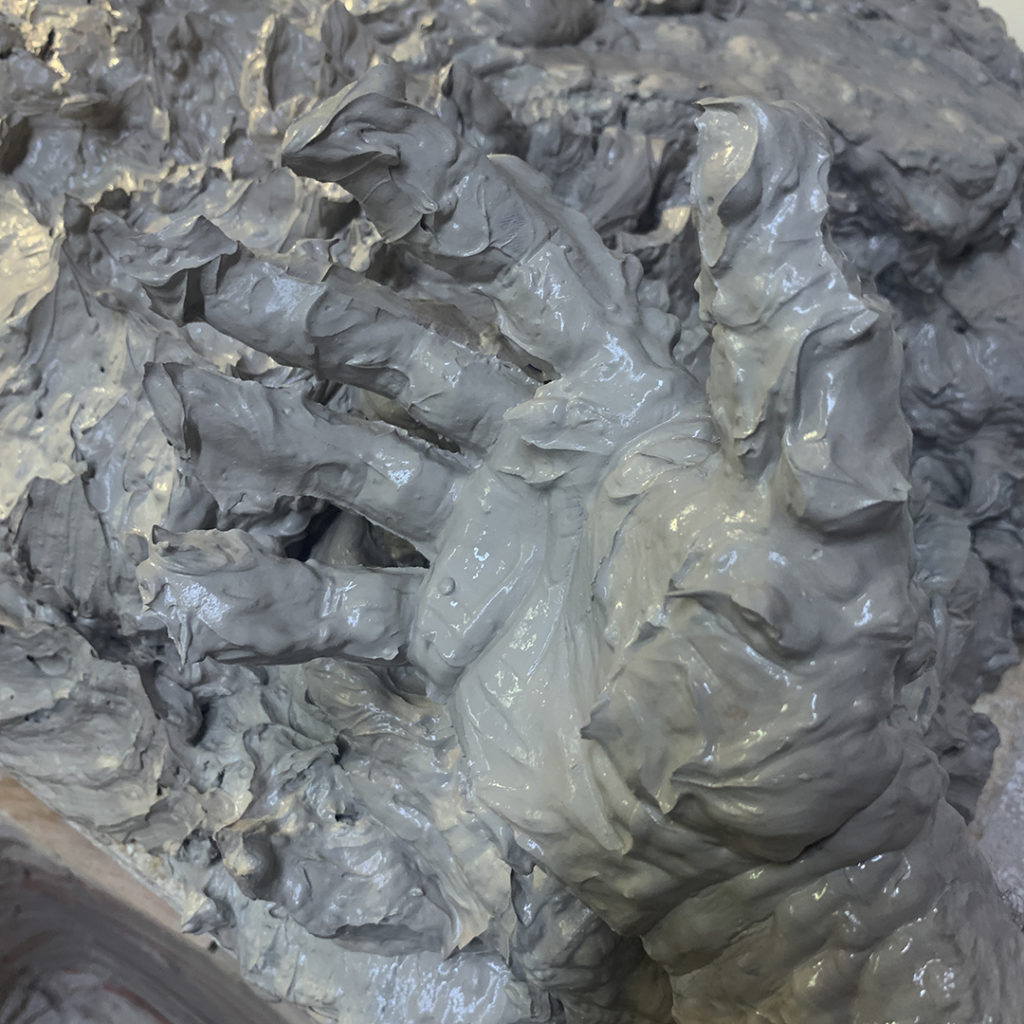
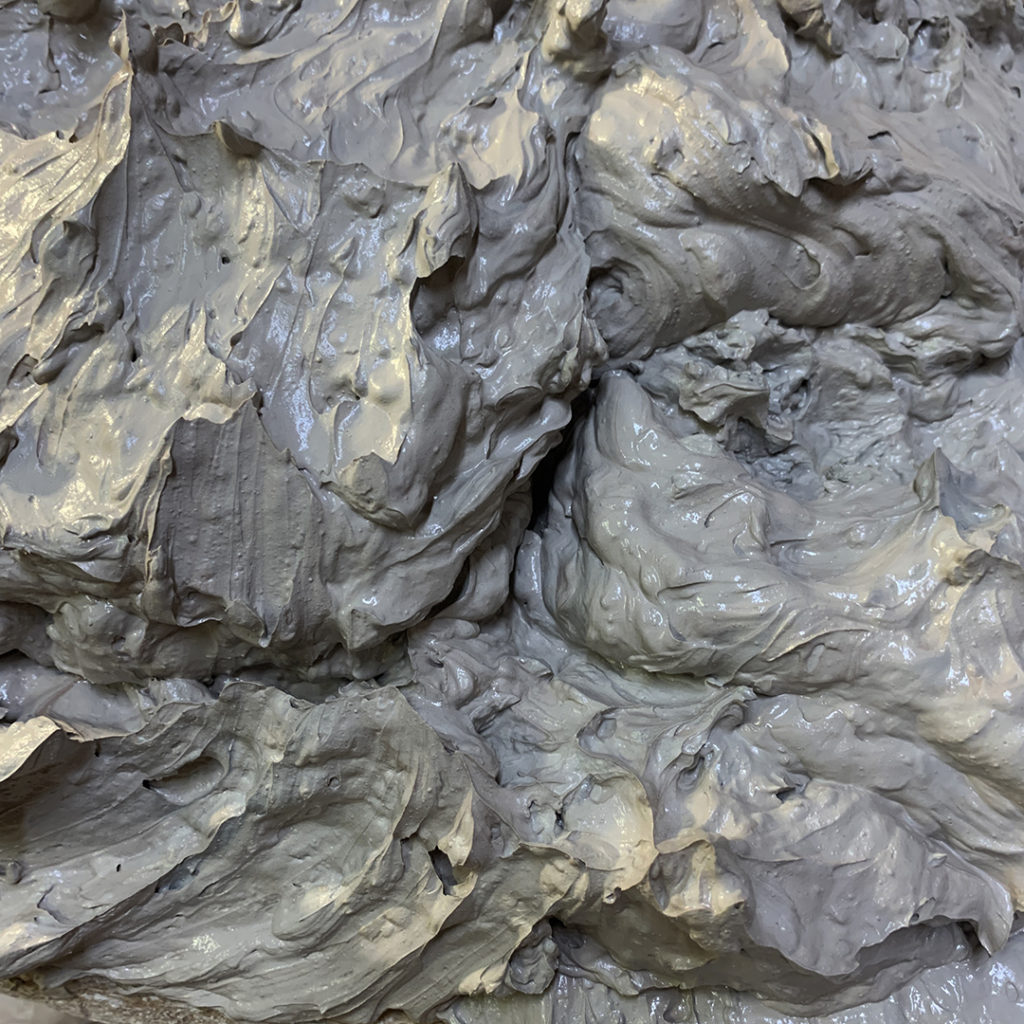
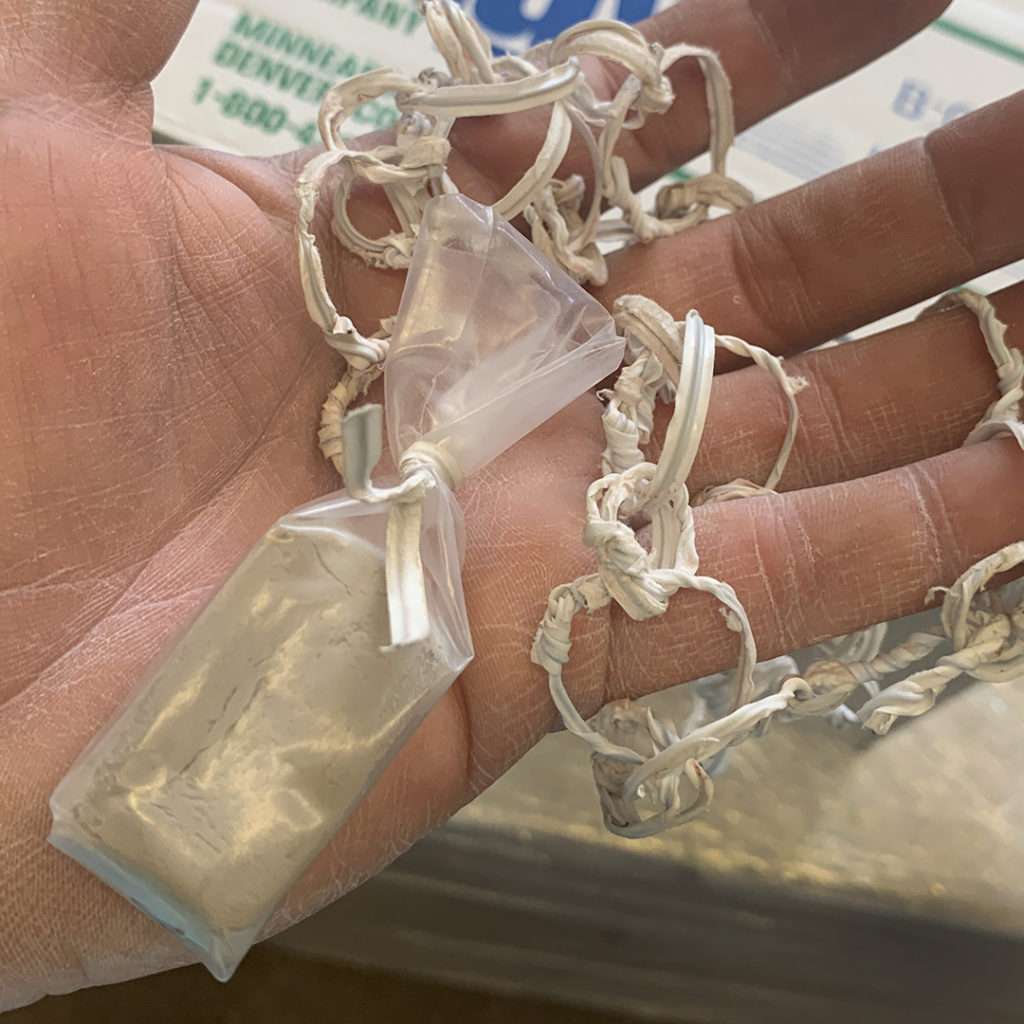
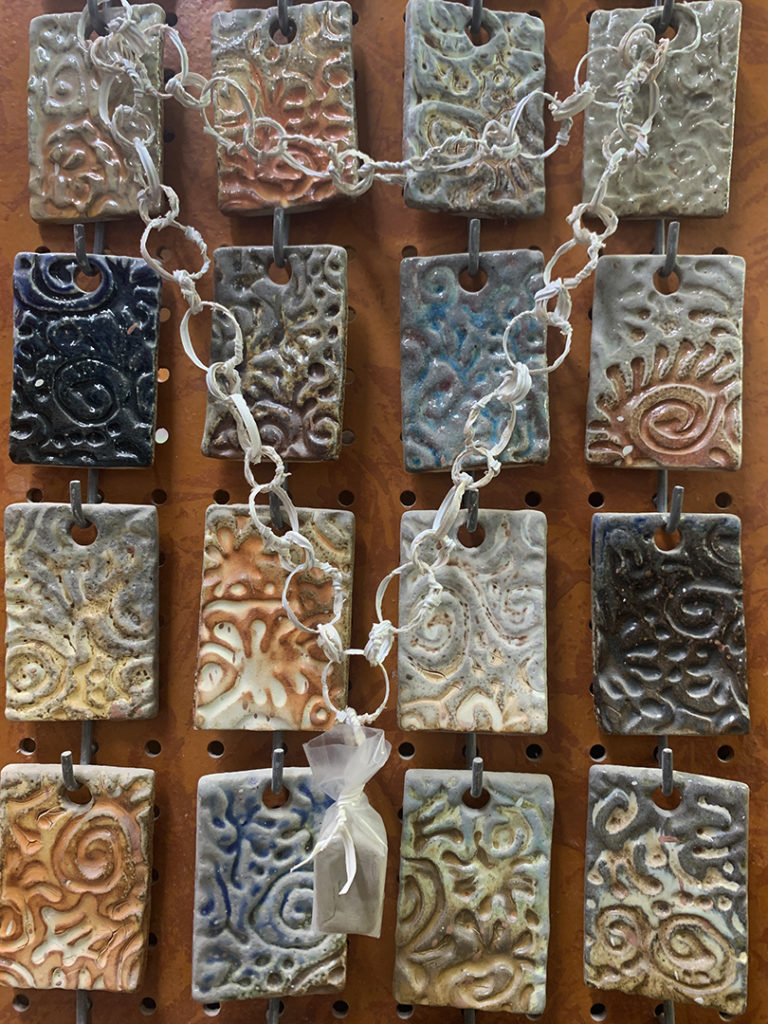
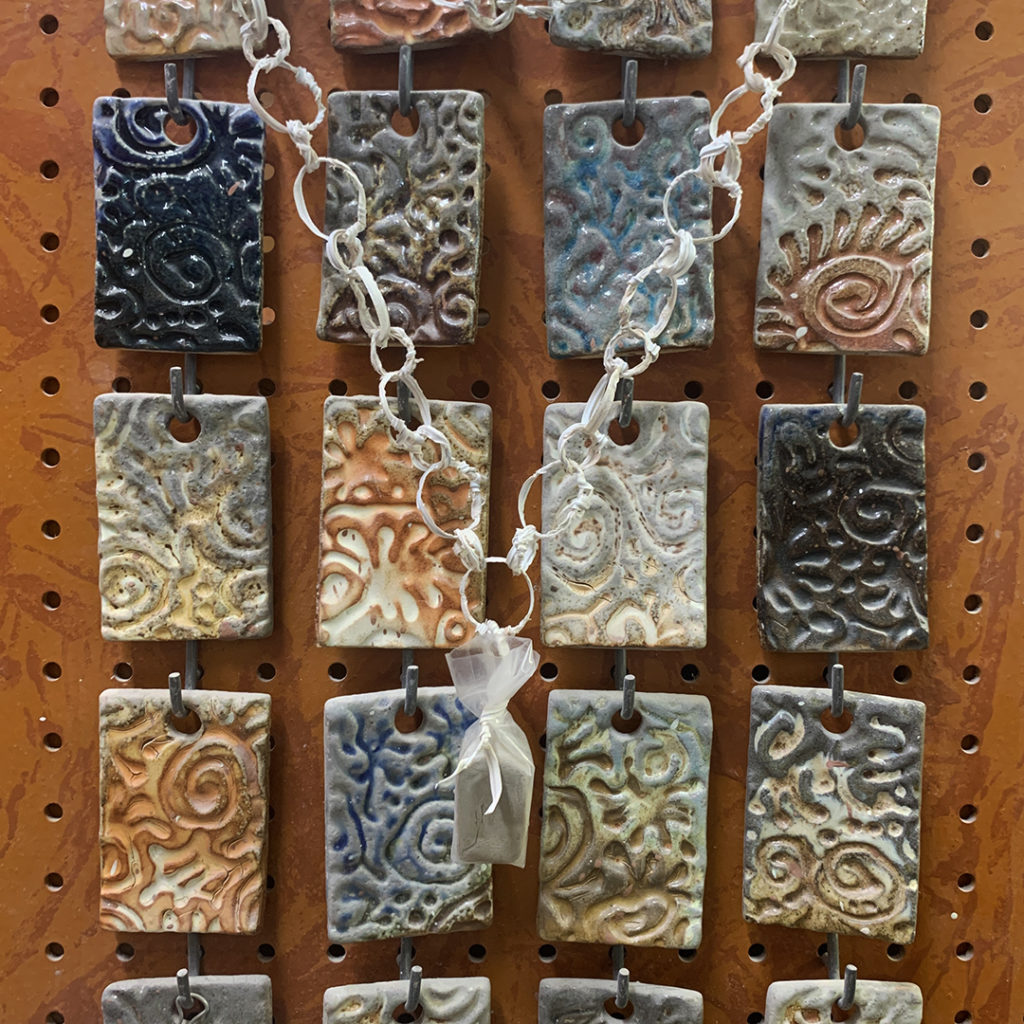
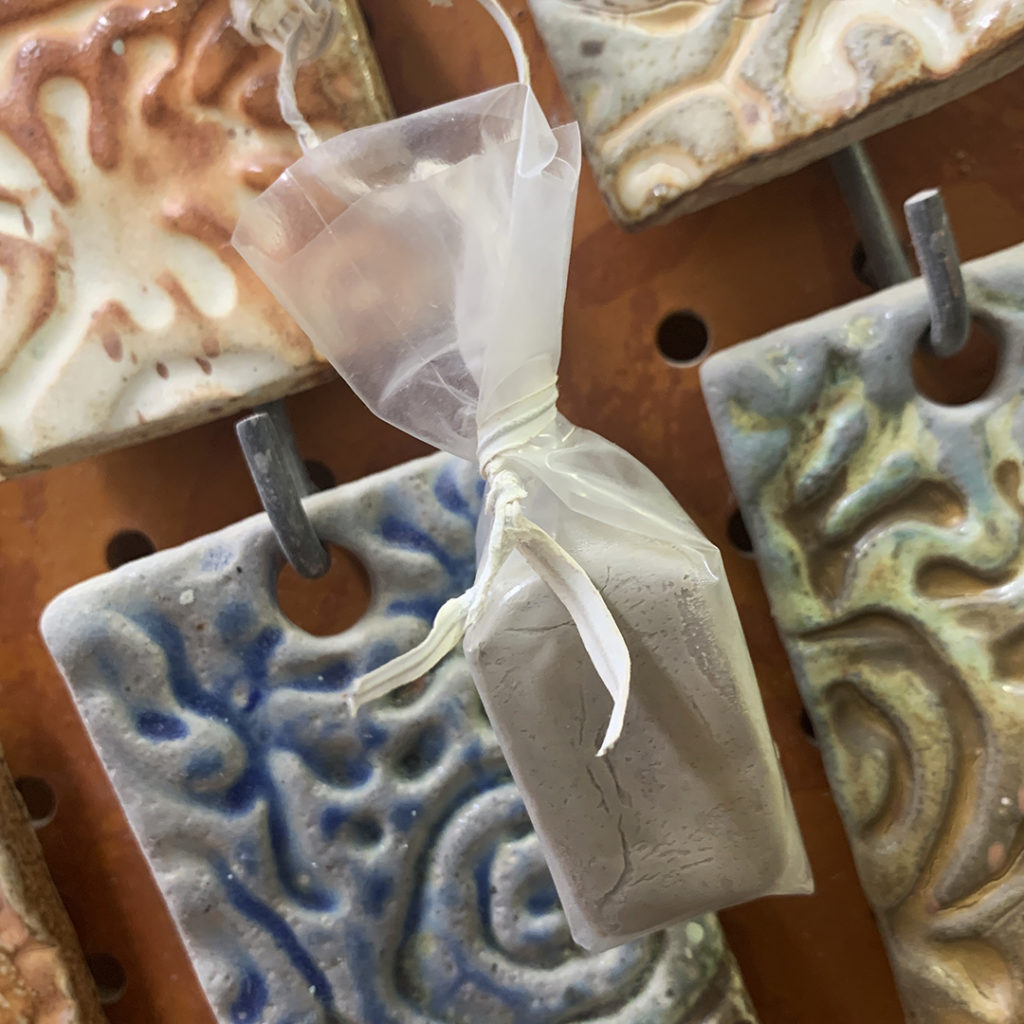
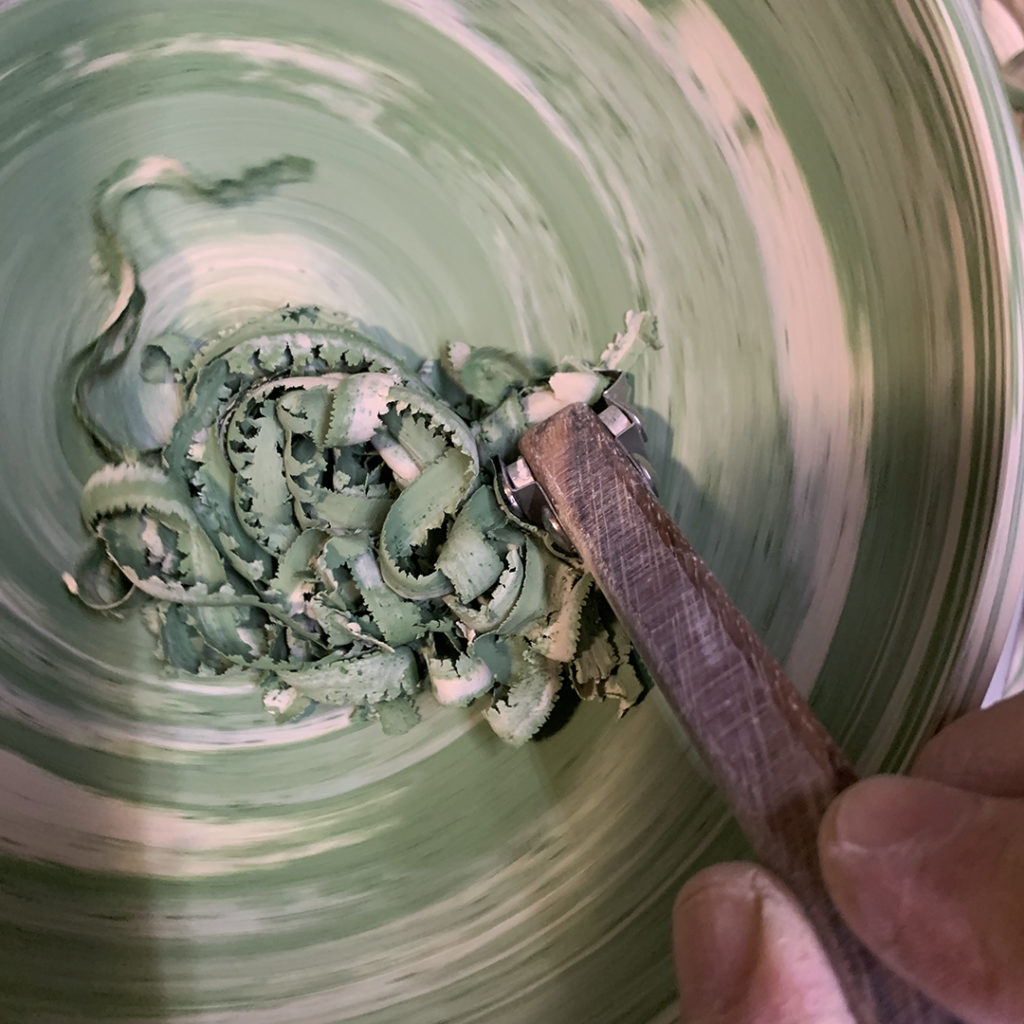
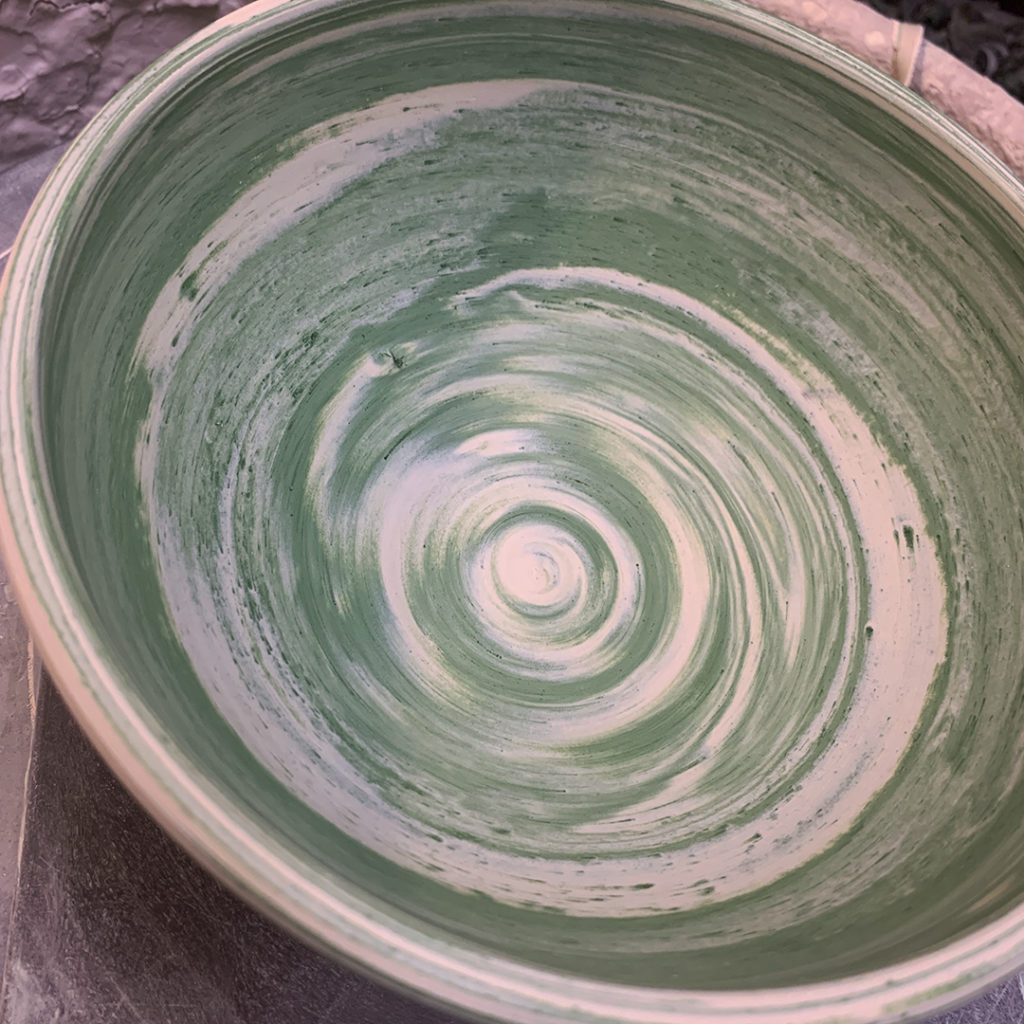
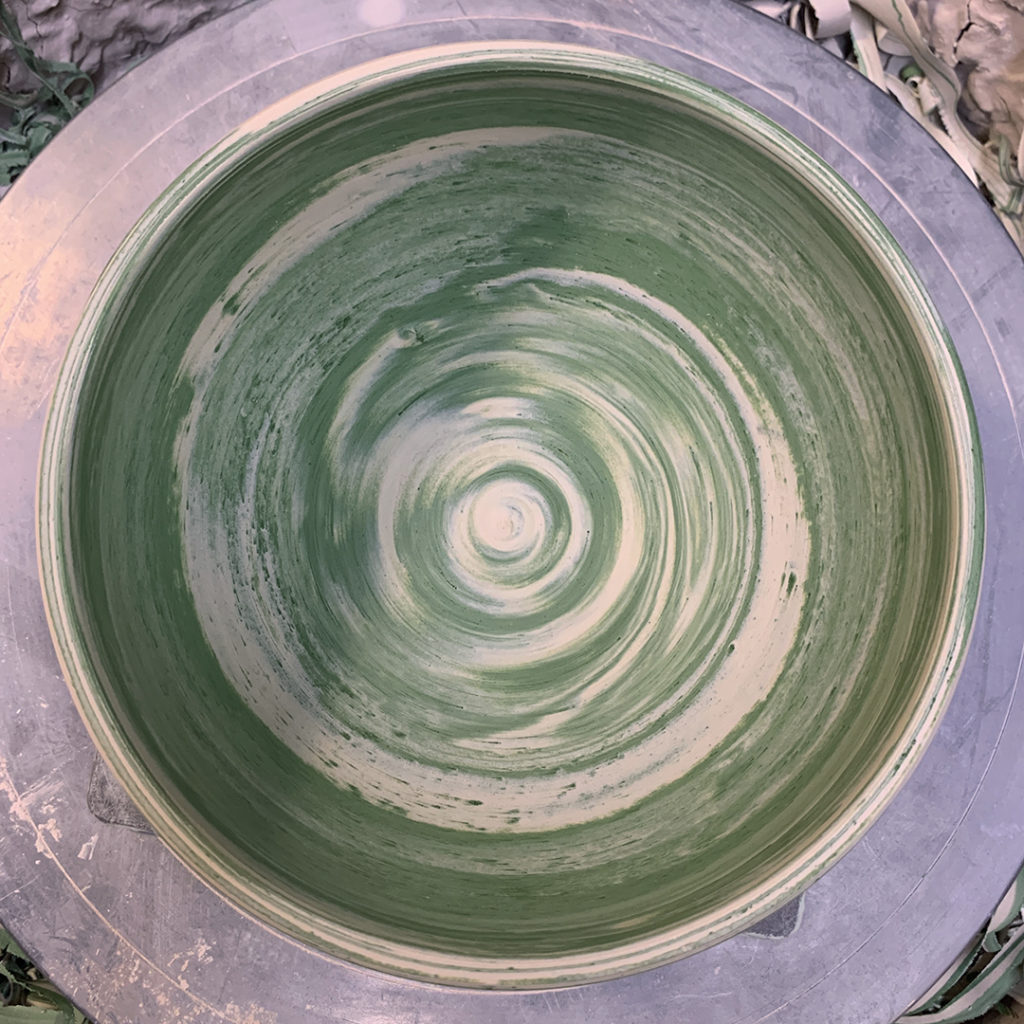
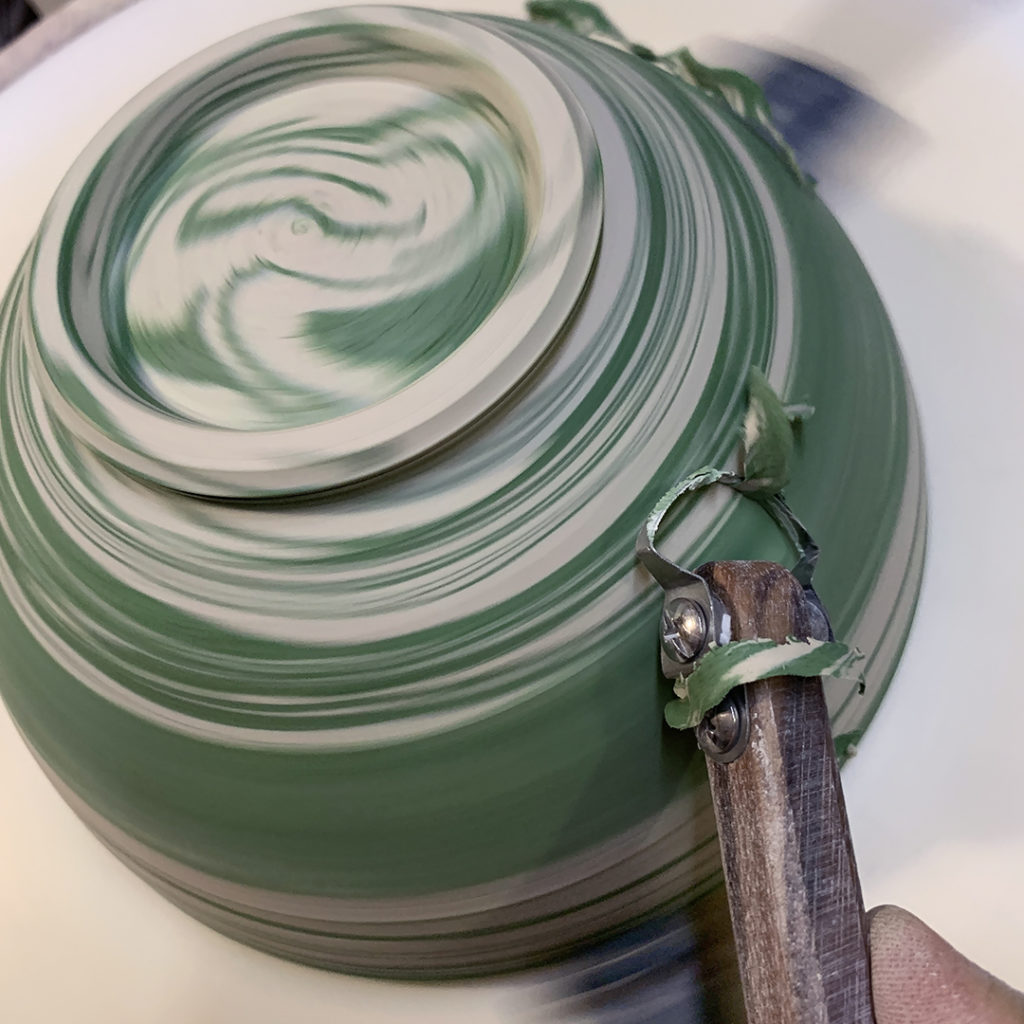
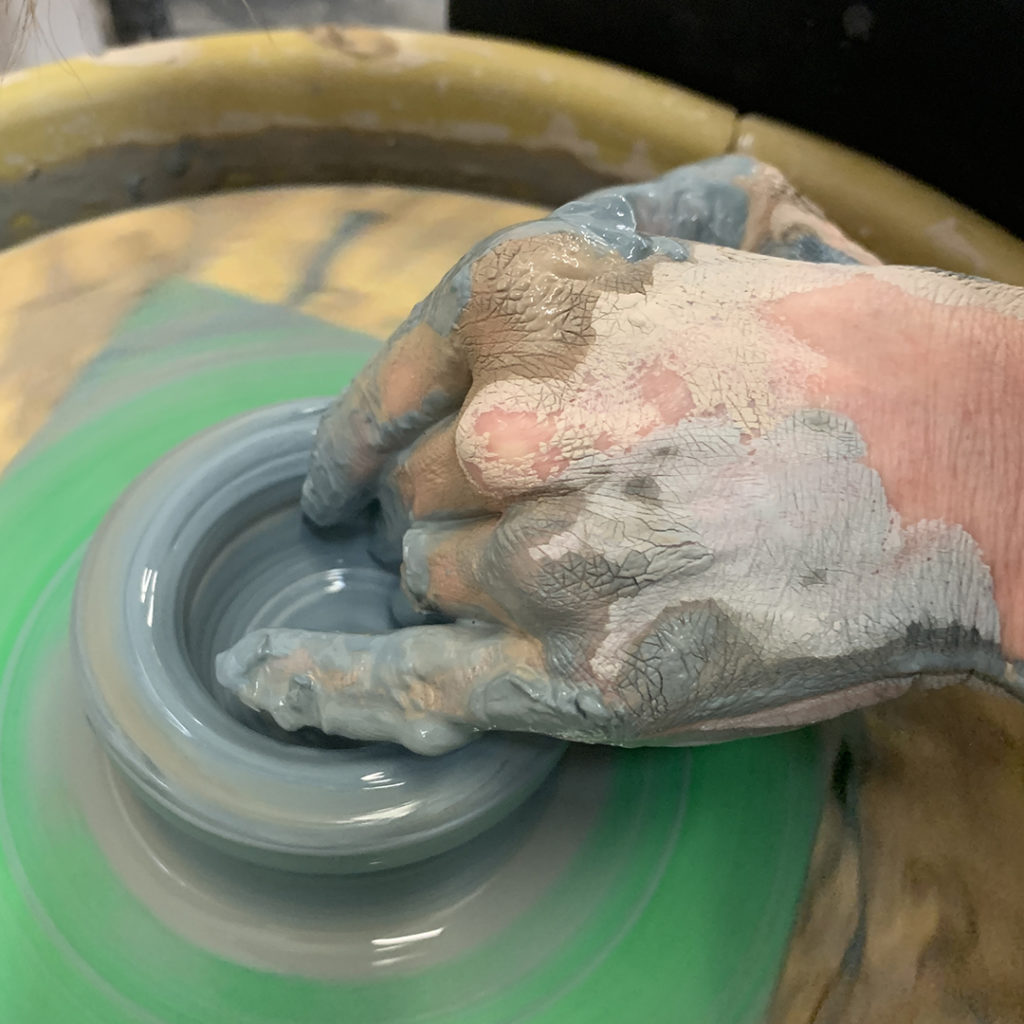
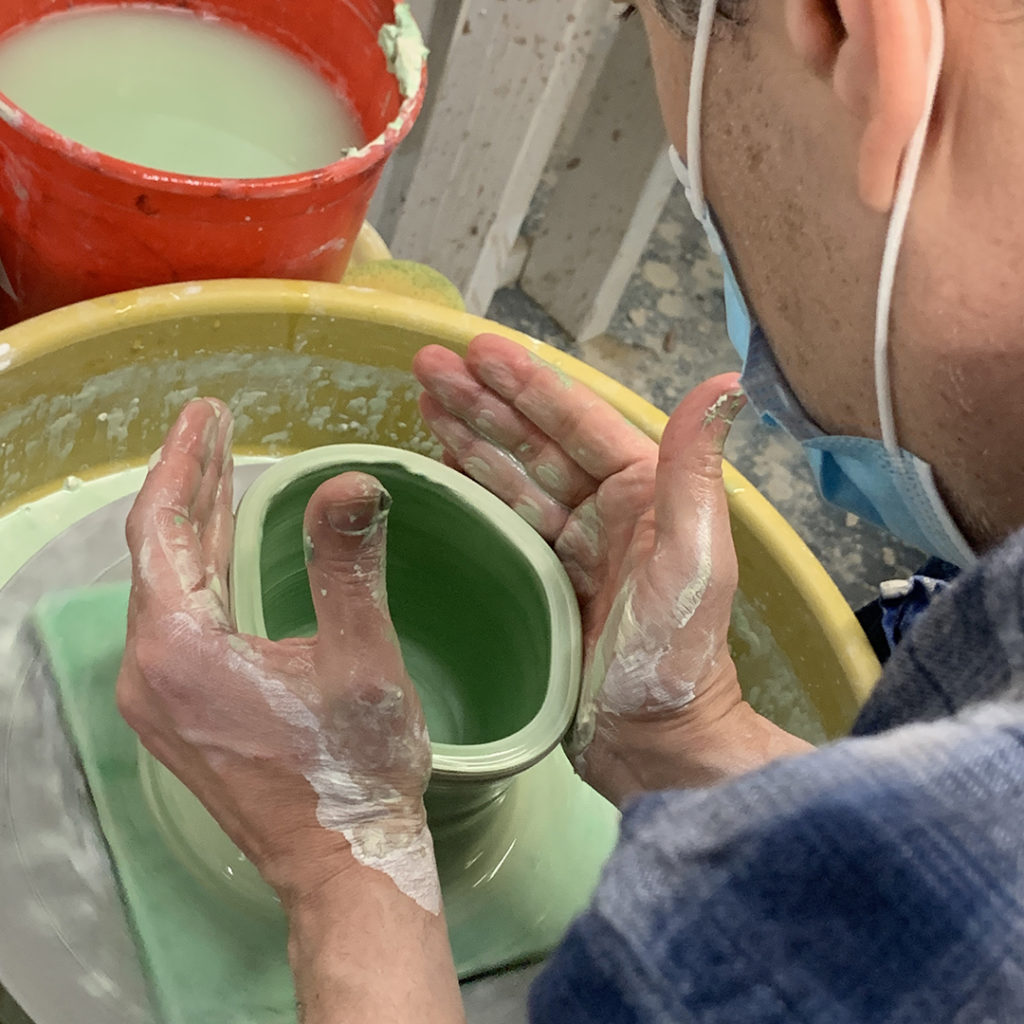
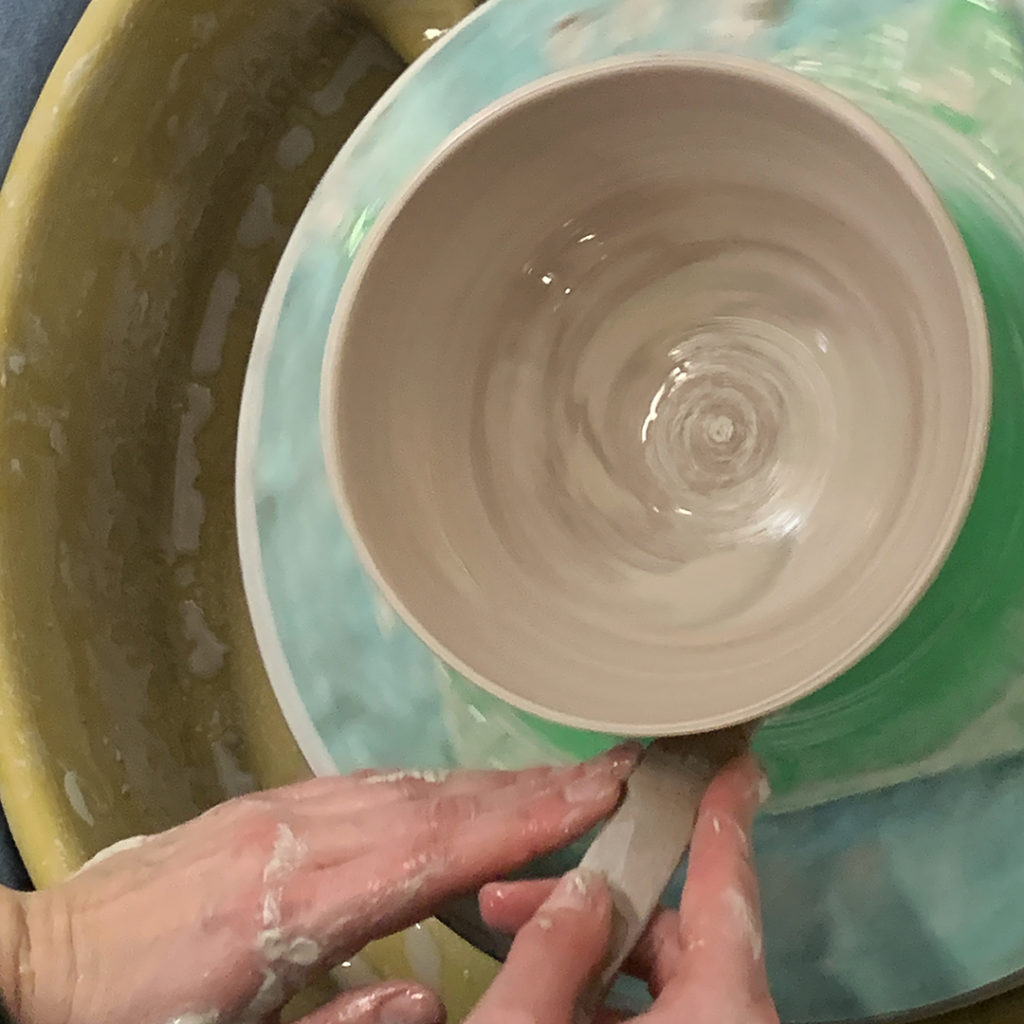
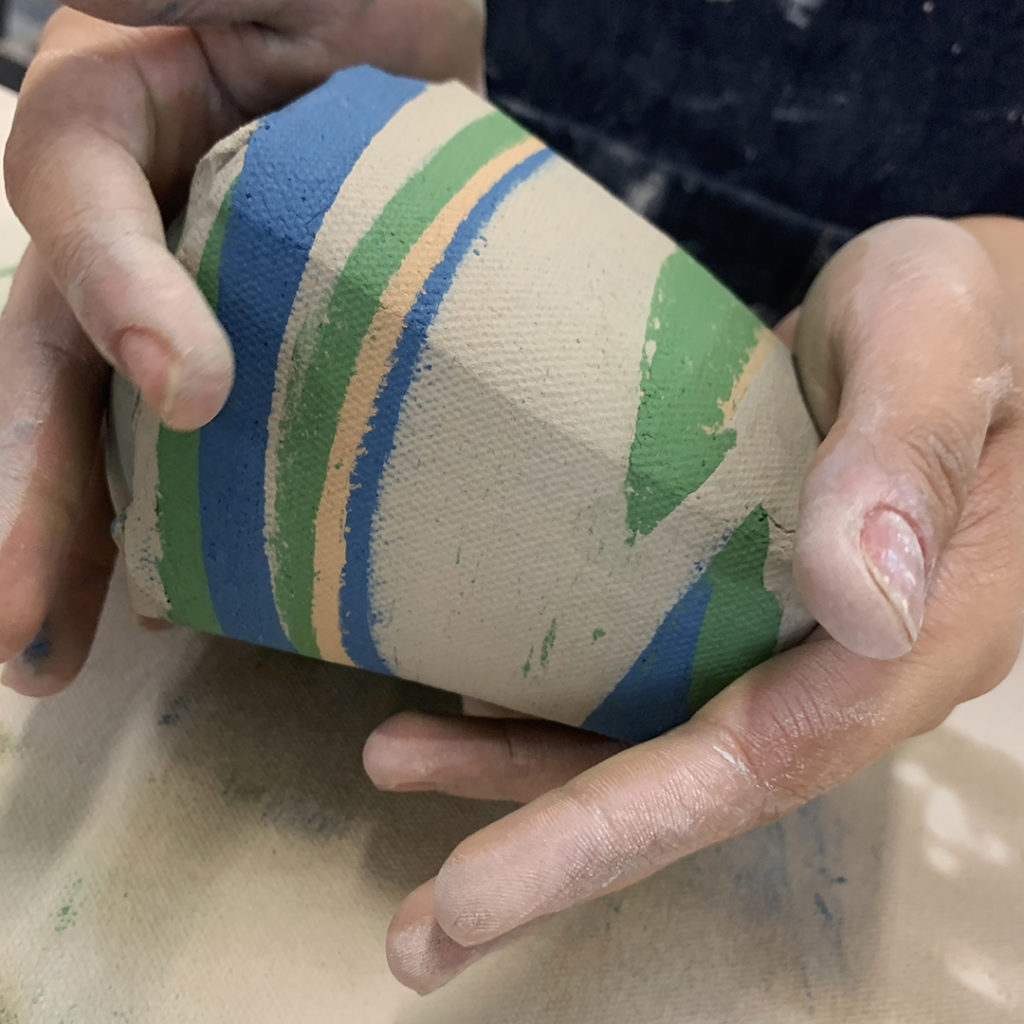
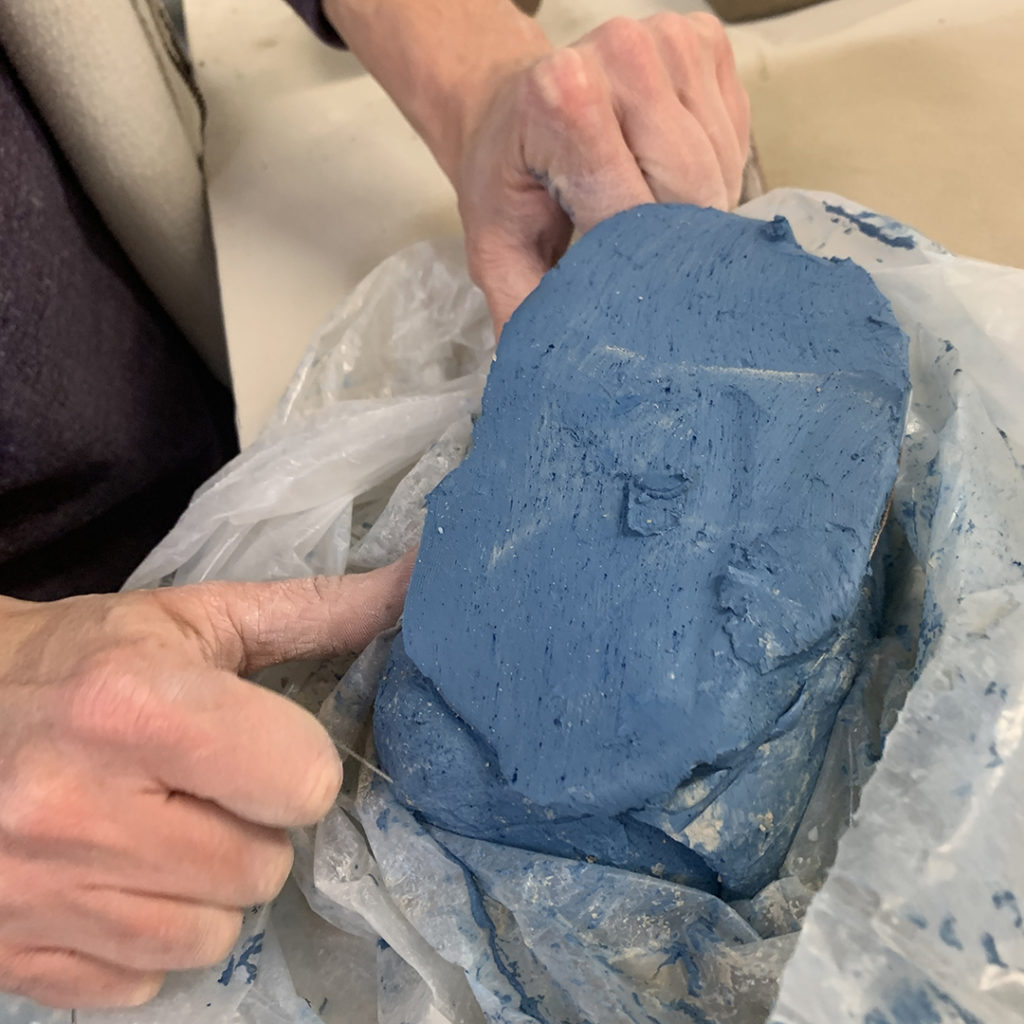
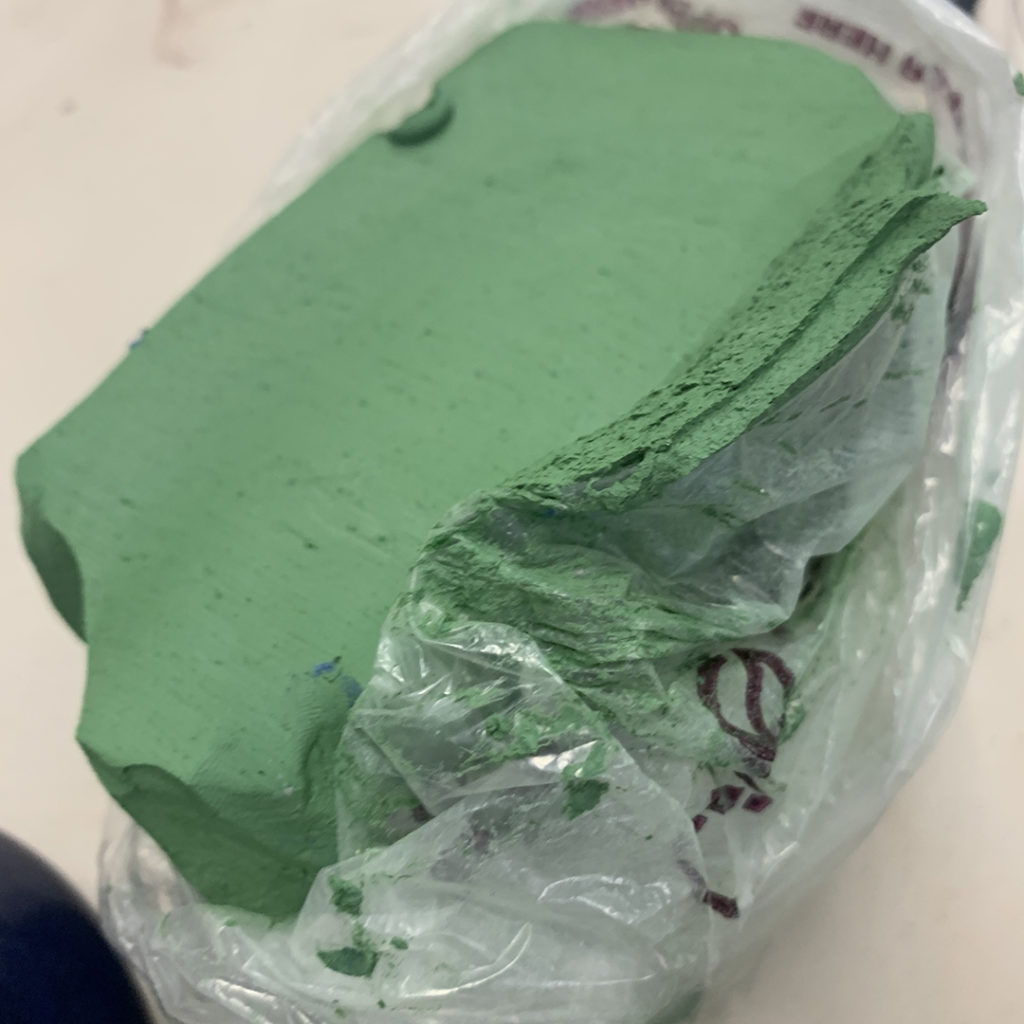
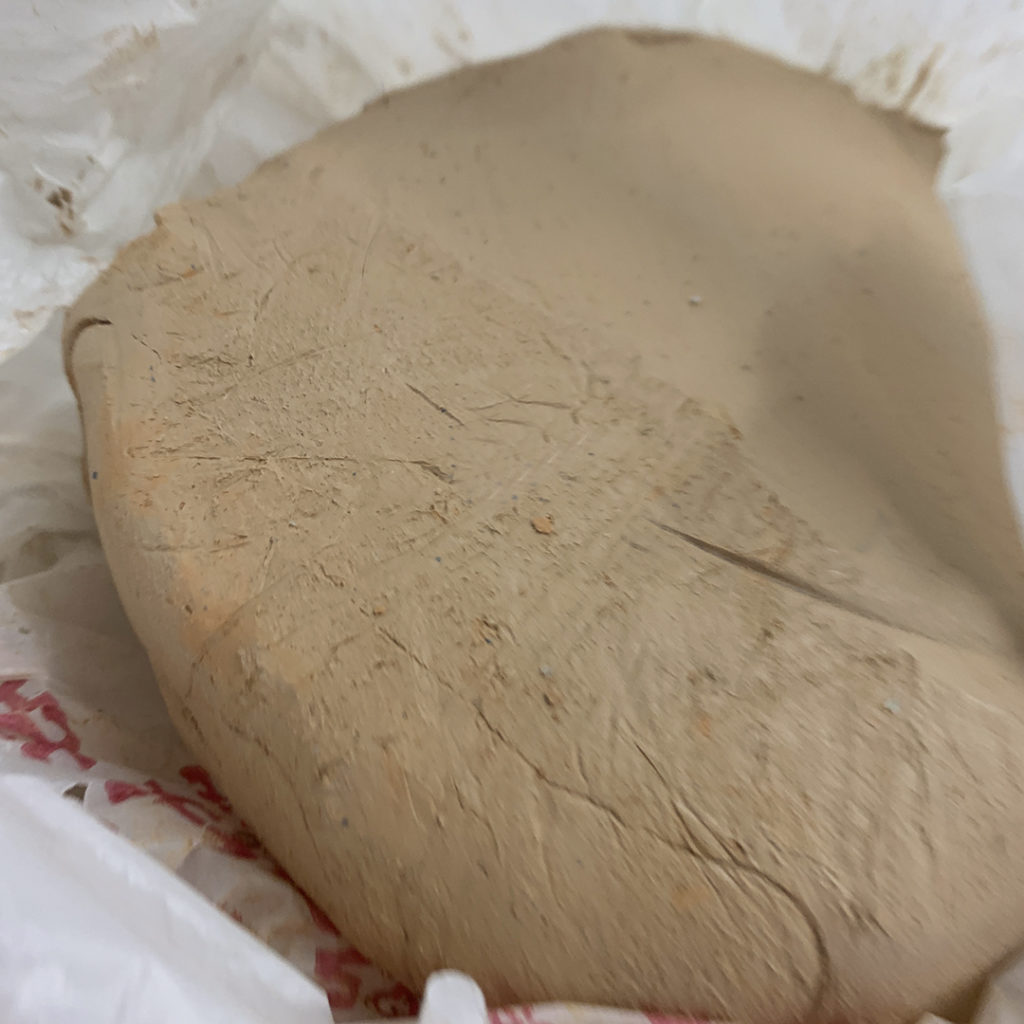
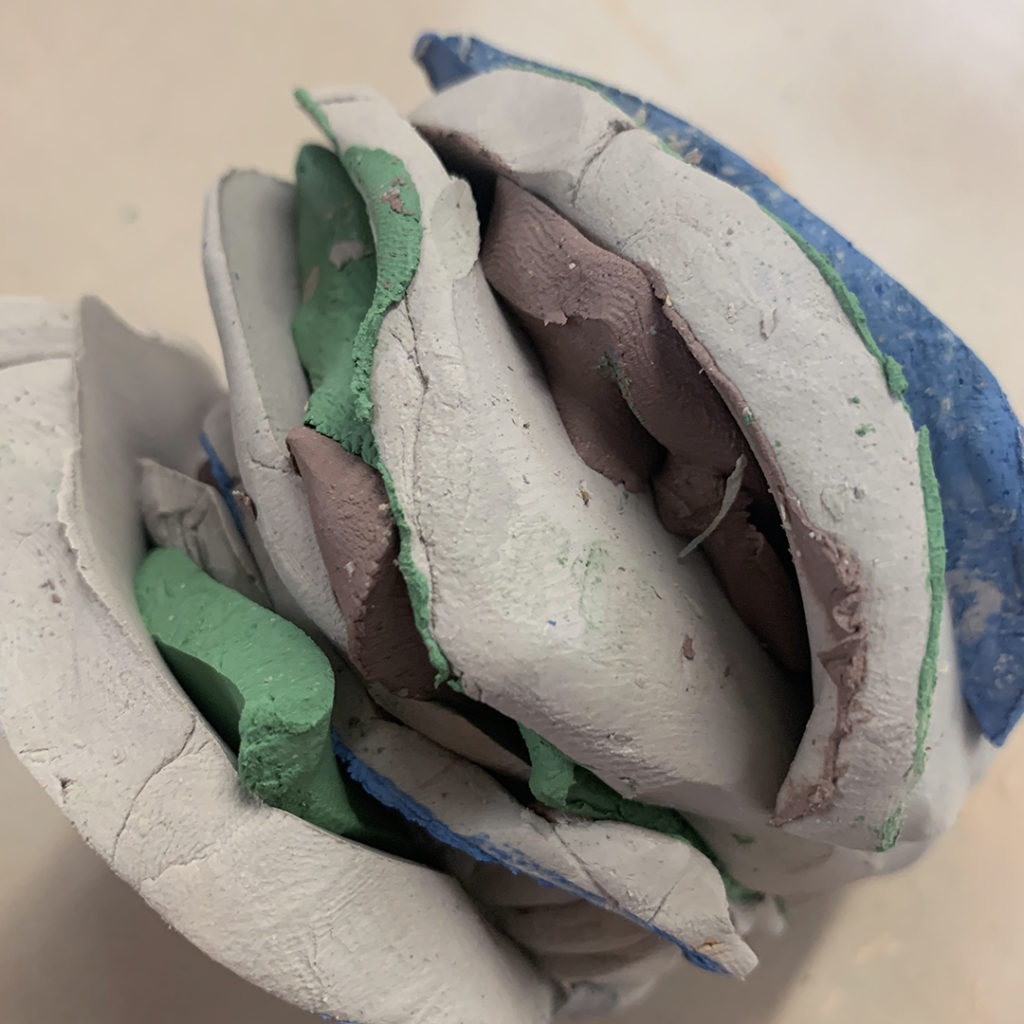
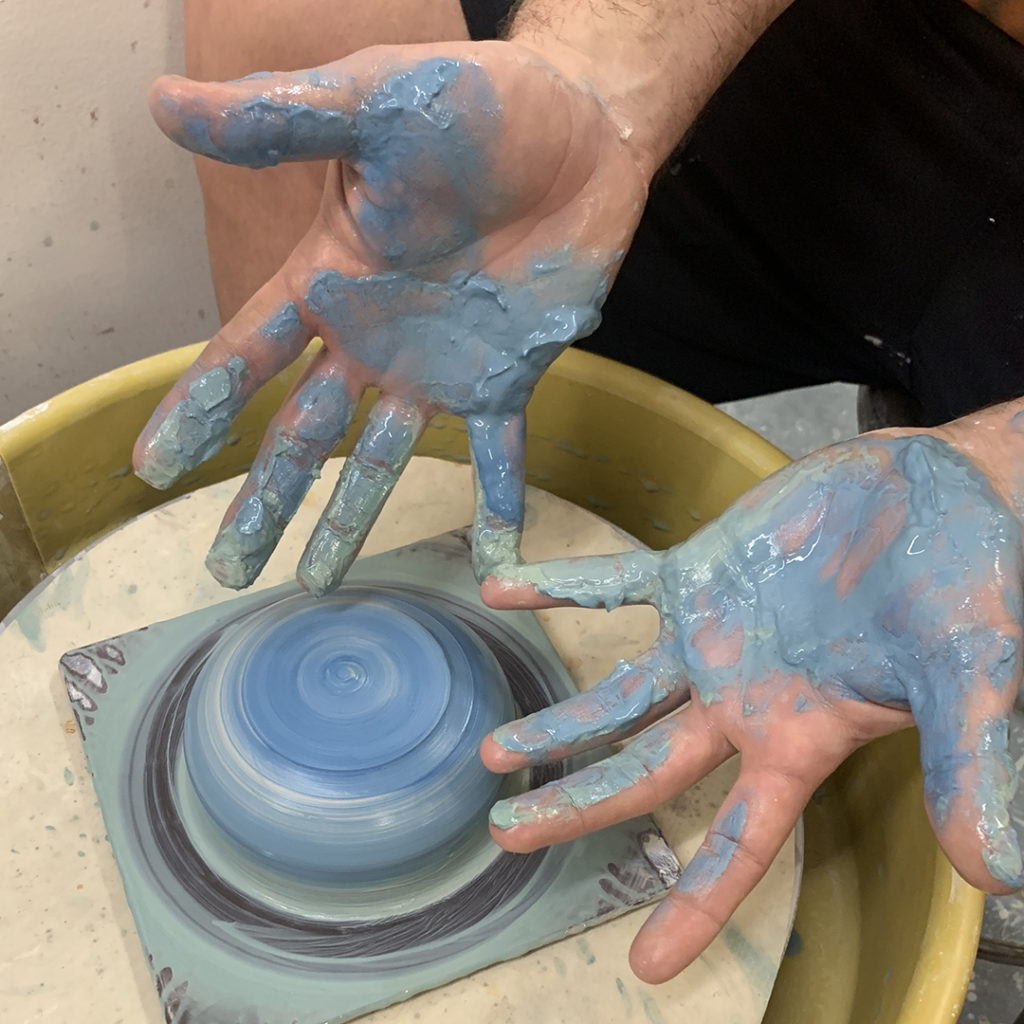
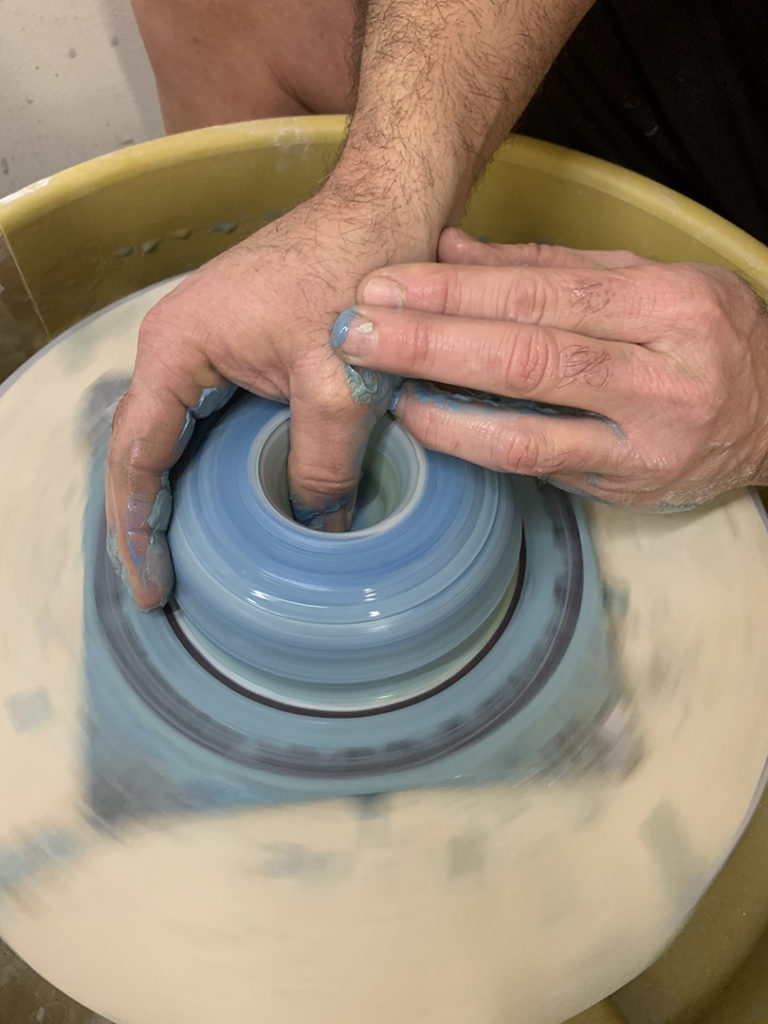
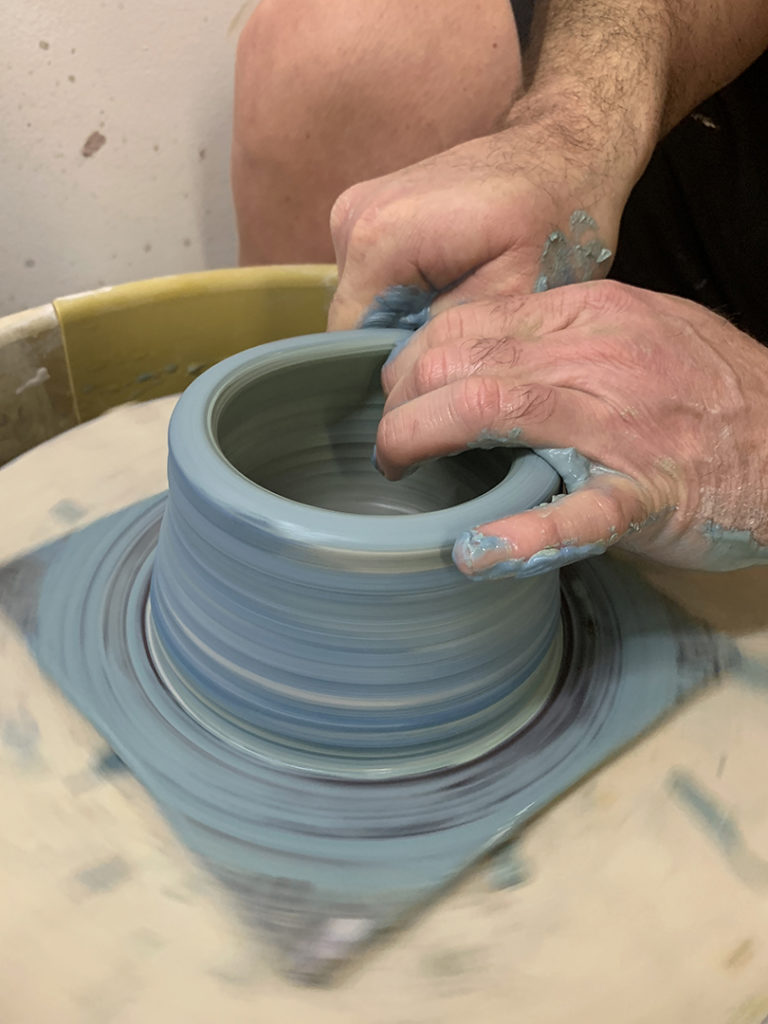
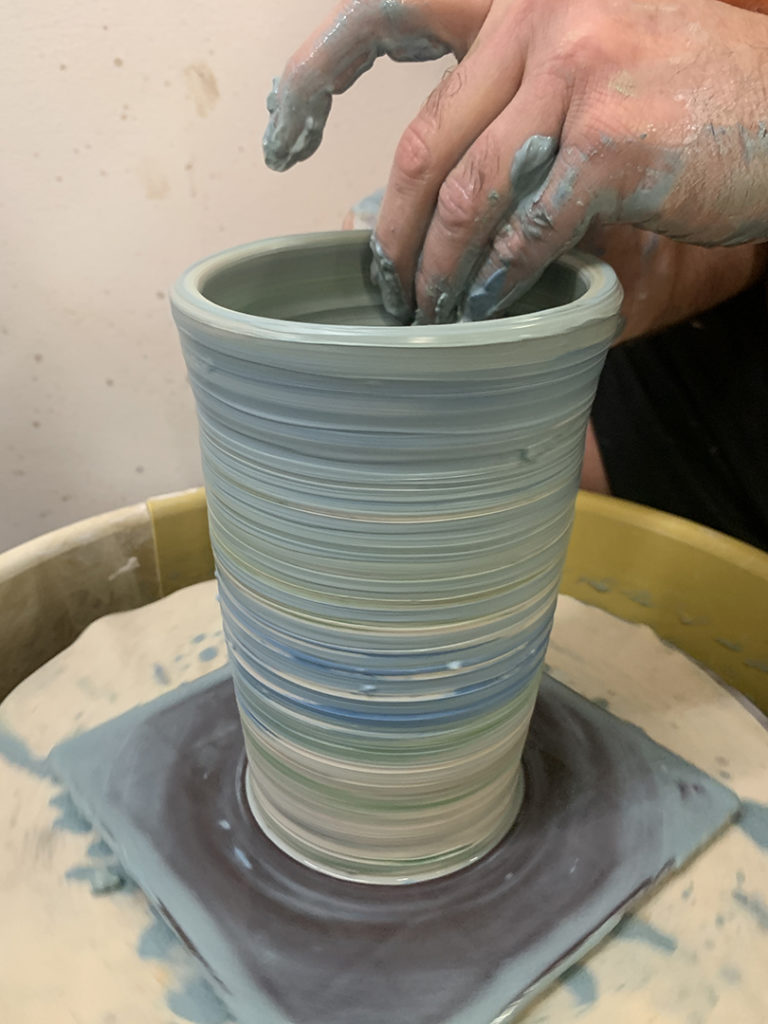
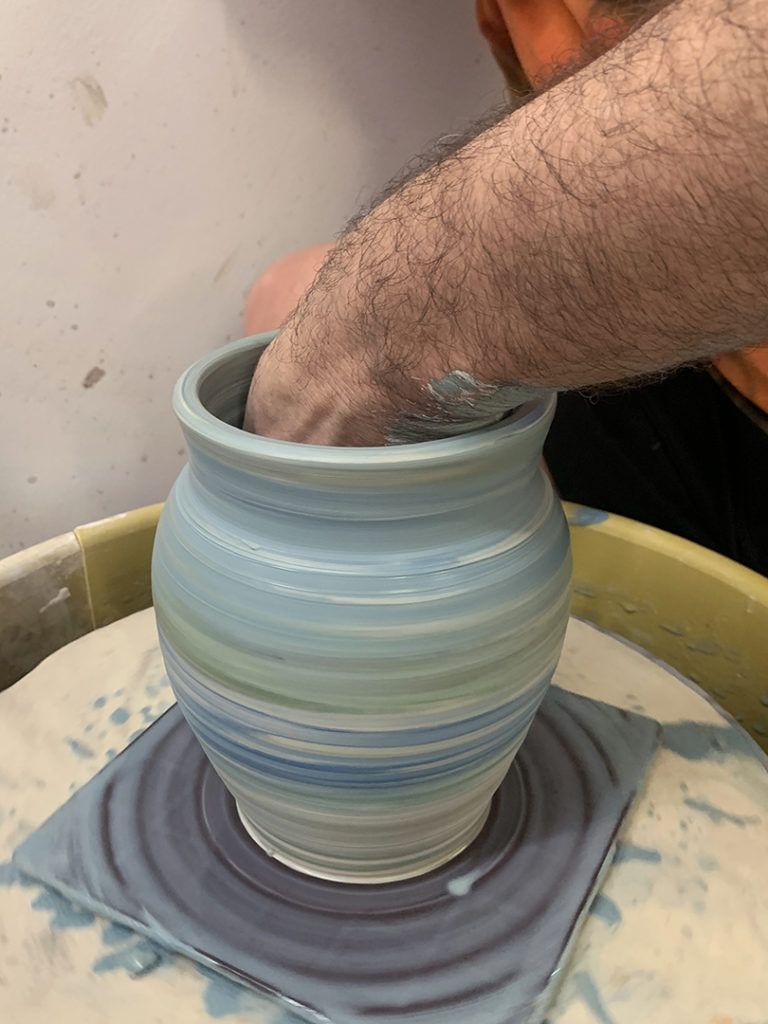
Gary Jackson: Fire When Ready Pottery
A Chicago potter’s somewhat slanted view of clay & play
Categories: classes, clay, color, porcelain, process, tools

Another marbled clay class demo… this time with white porcelain & green-stained porcelain! Looking a little blurry after throwing, but as I trimmed the interior & exterior “skin” away you can see the layers & marbled effects. Trimming with my DiamondCore Tools made it easier with their T2 Arc Trimming Tool that has a great curved blade to get inside with ease… worked outside too!

Categories: classes, clay, color, process

Did some trimming of my marbled clay pieces from class last week. When you’re done throwing, the outer skin is all kinda blurred from the clays mixing & blending while throwing. But when you trim off the exterior surface, the crisp marbled effect reveals itself in striking ways!

Categories: classes, clay, color, wheelthrowing

Once I had finished my class demos with marbled clay, my students got all colorful and started throwing their own marbled pieces! So much fun… as it’s kinda magical when the colors appear!!!

Categories: classes, clay, color, porcelain, wheelthrowing

Just for fun, I followed up the first marbled clay demo with a simple two-color piece. Kinda looks right for the season… as the color reminded me of a yummy Shamrock Shake!!!

Categories: classes, clay, color, vases, wheelthrowing

This week in my Beginning Wheel class we played with colored clay for “marbled” pots! I started by coloring some clay ahead of time for them with mason stains layered & wedged into B-Clay. We then layered regular B-Clay and/or Brown Stoneware with the colored clays… and then gave it two simple wedges to start the marbling. So much fun to see the colors presenting themselves as you’re throwing. When we were done, the pieces still have a “smudgy” layer of mixed clays like a dirty skin on the pot. When they get to leatherhard, we will carefully trim the entire surface off to reveal the clean lines of layered & marbled clays.

And yes, if we were doing more than one or two pots, I would have definitely used rubber gloves. But since this was a “quickie” demo and not a long-term pottery career of marbled clay… I figured it was tough enough for my students to throw their own forms, let alone to do it with gloves on!

Categories: clay, production, tools, wheelthrowing

These tools have been very productive today!
Gotta love a full day of wheelthrowing… at least until you start to run out of shelf space to store the pots under plastic?!

Categories: clay, mugs, process, production

Now to let them set-up for a few minutes before I start attaching them to the stamped & trimmed cylinders. I like to pull the handle and then give it a “little flip” so it stands-up by itself with the majority of the handle curve already established. I’ll cut out the portion of the handle I want to use… and recycle the rest of the clay!

Saturday night is apparently going to be MUG NIGHT!!!

Categories: clay, process, production

Small chunks of clay, wedged and thrown into carrot shapes… getting ready for a productive night of mugs!!! You know how I LOVE making handles & mugs! No, really.

Categories: clay, process, studio

It’s a new day.
It’s a new clay!

Finished up my latest batch of reclaim clay with a bit of wedging & bagging today. Sure, it still needs more wedging when I go to actually use it… but for now it’s back to being real clay… real FREE CLAY!!!

Categories: classes, clay, platters

Also last night in my pottery class, Kelly was decorating some large platters with thick slip. We were all loving the spontaneous-looking textures & patterns she was getting as the slip squished & rippled in all the right places!!!