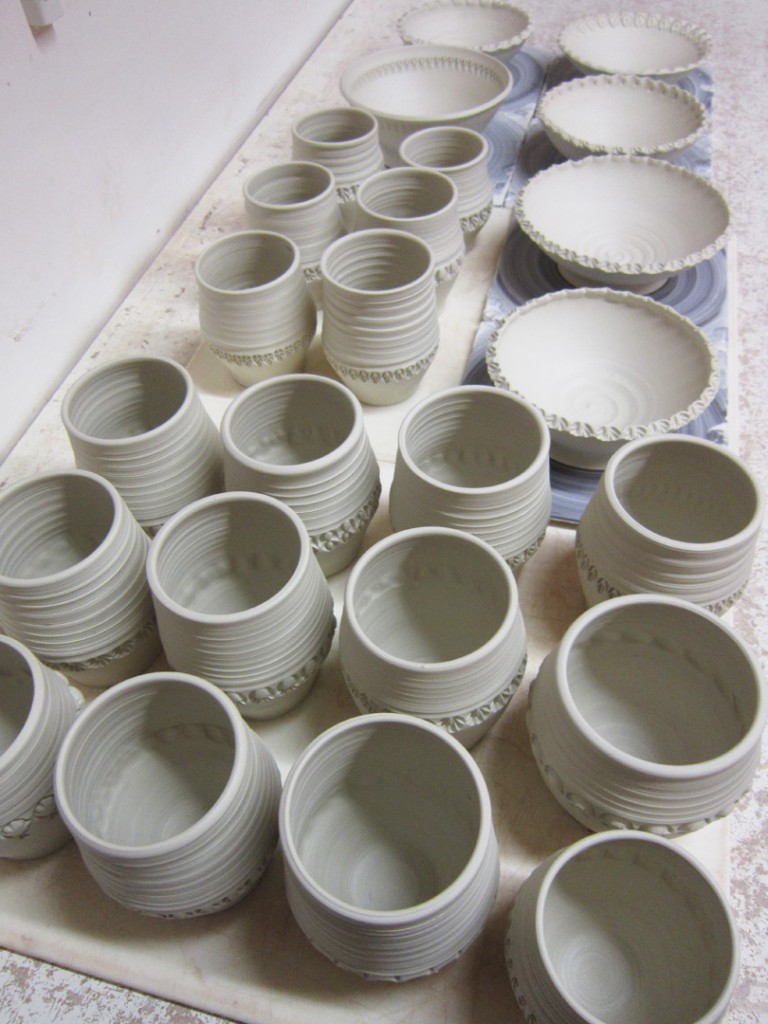
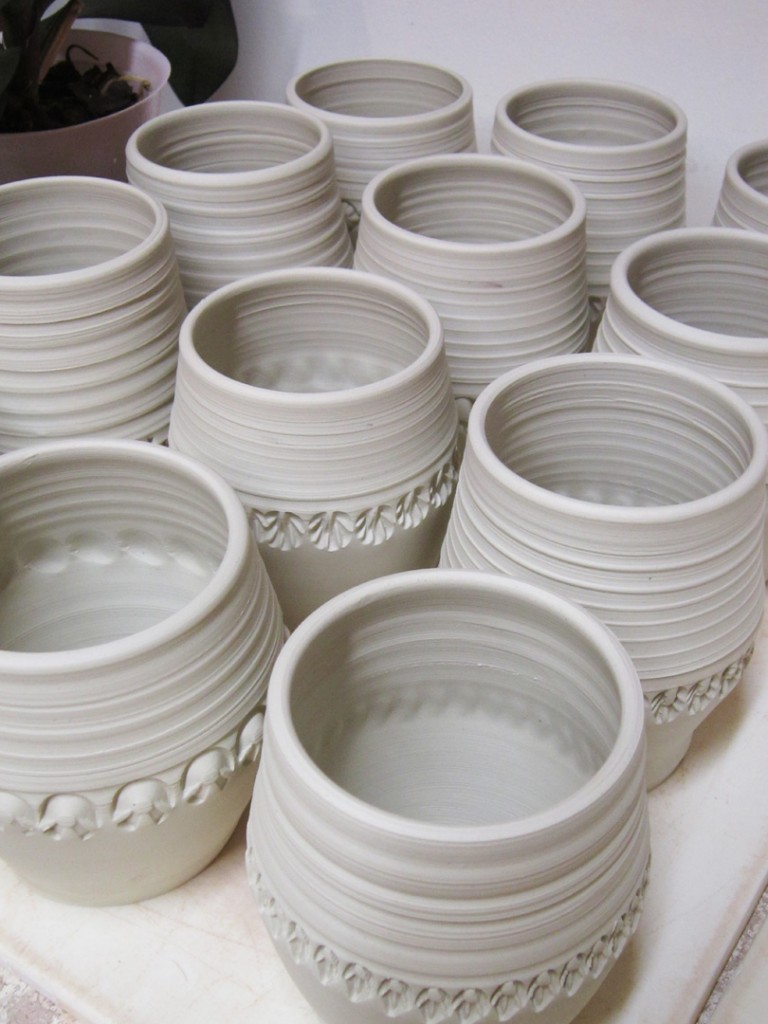
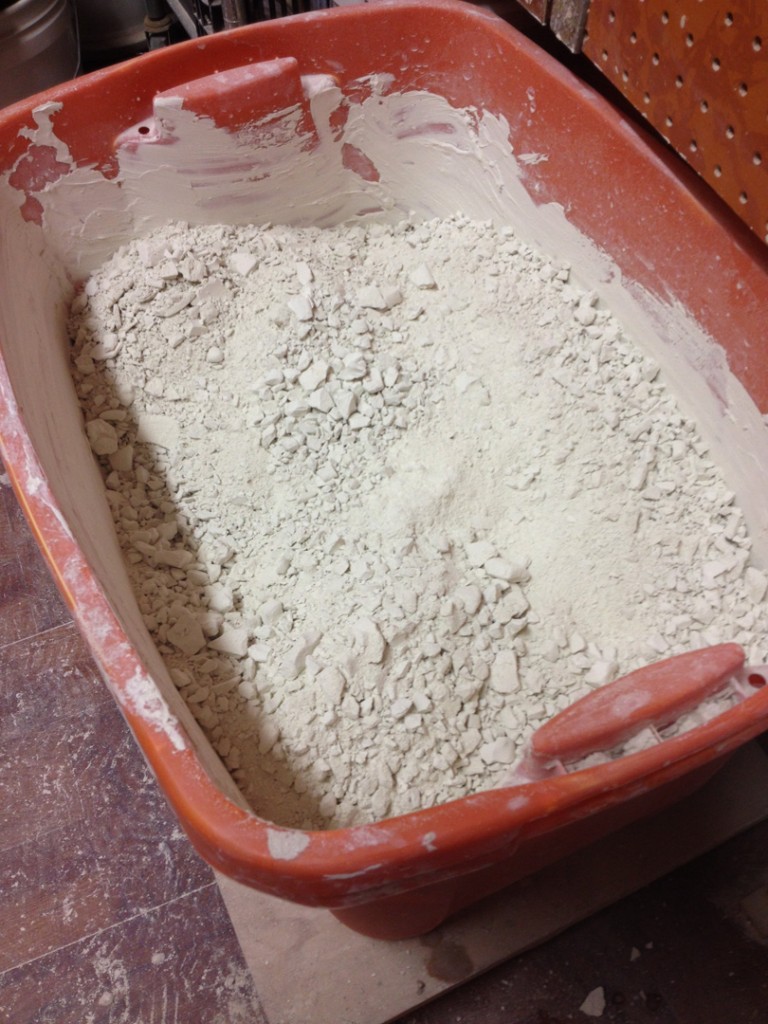
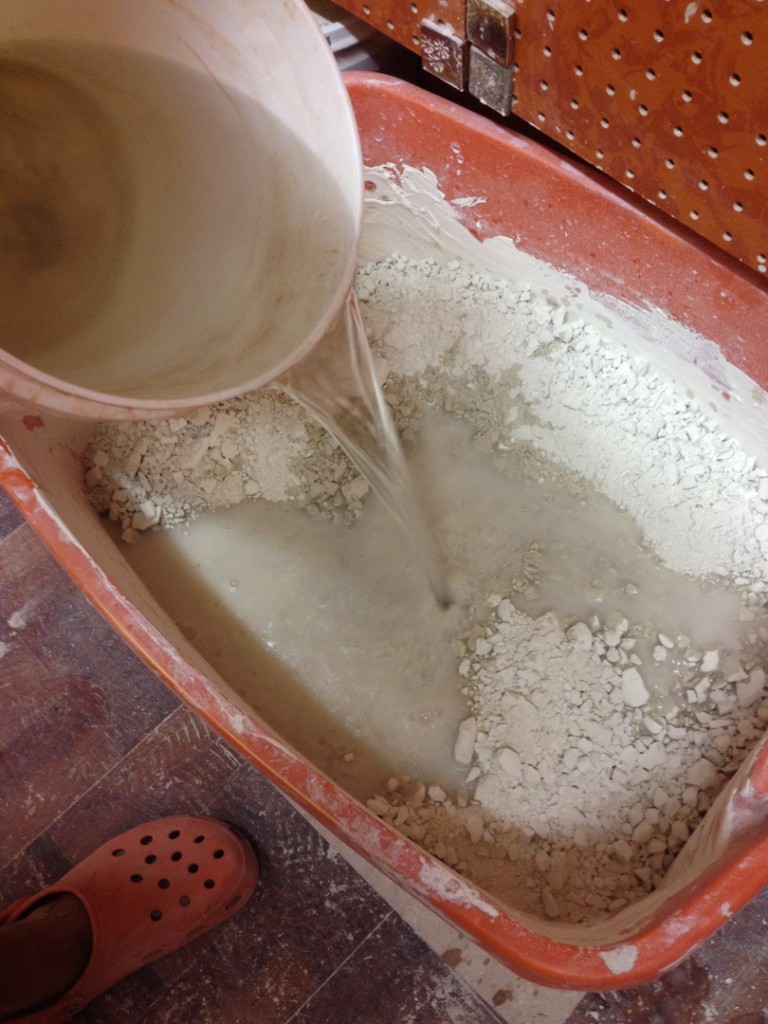
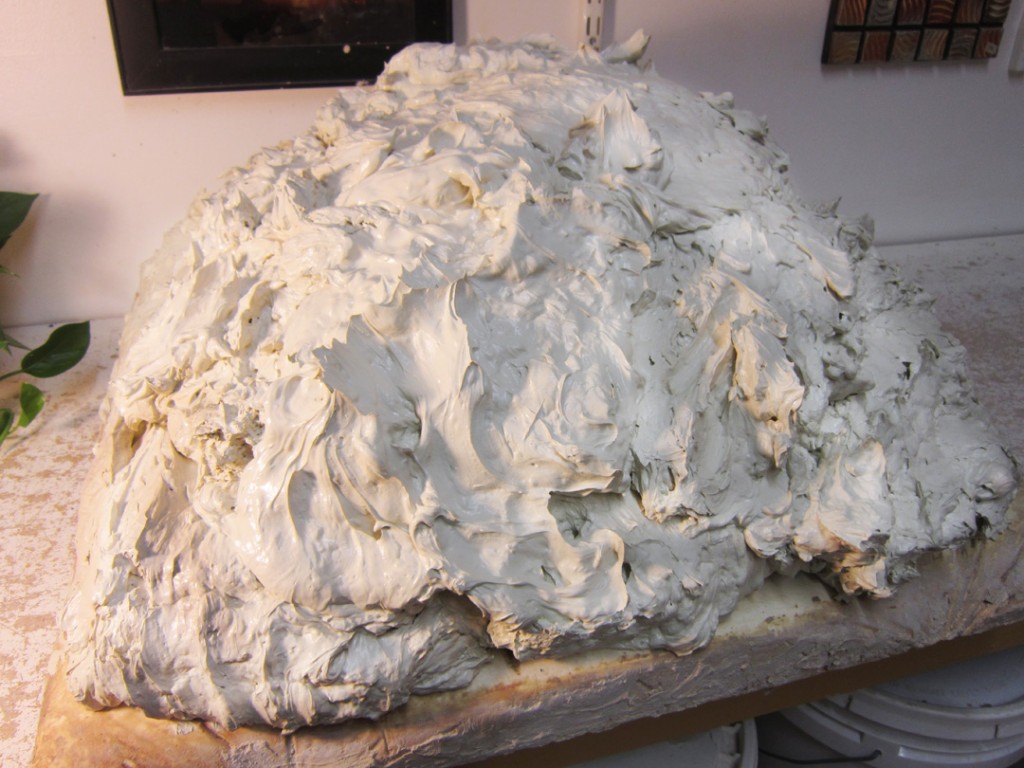
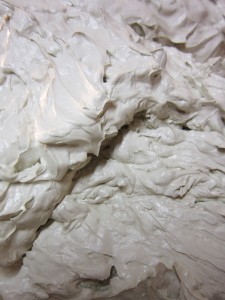
So I’ve been dabbling with the reclaim porcelain I bagged up a couple weeks ago. I’ve made a few batches of small cups, but this time decided to go a bit further and tackle porcelain mugs. Not as bad as I expected… gooey when throwing, quick drying, easy to stamp and handles a little fussy. We’ll see how they turn out…
Sometimes your bucket of “colored” slip doesn’t seem to be so colorful?!
And sometimes it seems as though your “colored” slip matches your clay body. Which really makes it tough to see what you’re painting… and what you’ve already painted. So why not make it easier to see?
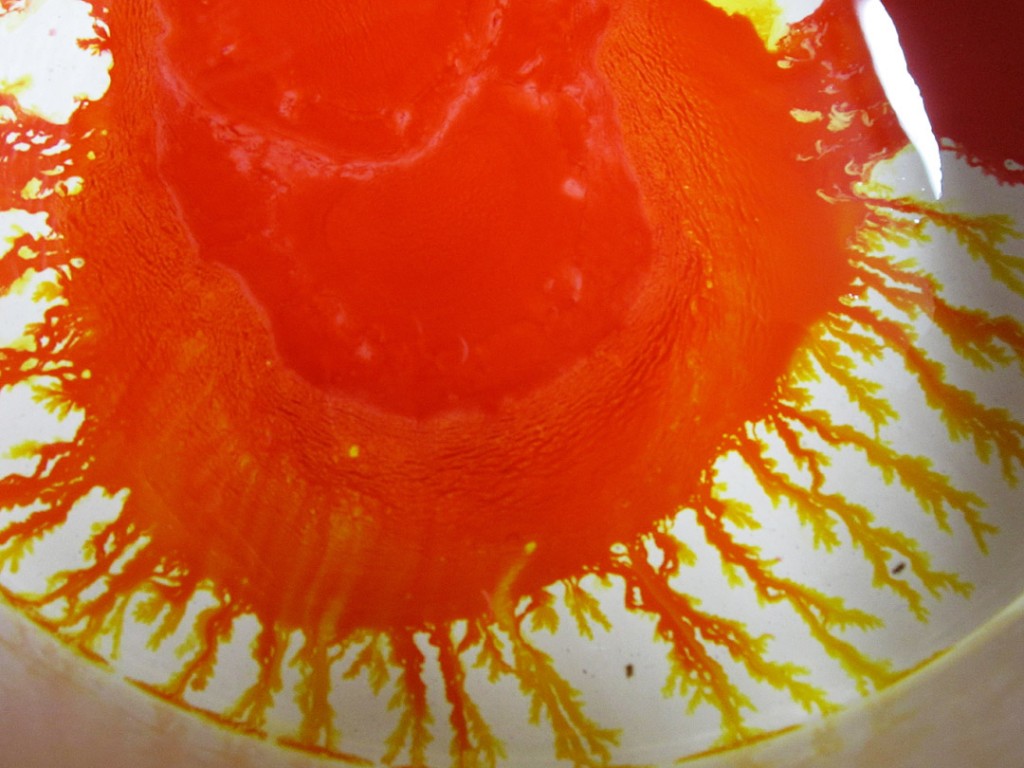
I like to add a few drops of food coloring into my slip bucket. Not only does it look REALLY COOL when it hits & spreads… but then it sort of fans out in really cool trickles. Then when you stir it all together, your colored slip will have some more color to it. And it will be much easier to see as you’re painting on your slip accents. When you’re firing, any residual food coloring will burn away well before the slip starts to set.
Last night in class, one of the students brought in some Bulgarian pottery that demonstrated their traditional slip decorating style. We had discussed this traditional Bulgarian technique of slip decorating in class. I saw a YouTube video and decided I would try it for my class. If I’m going to mess up, why not do it in front of my students for a good laugh?! So we discussed it, did the demo and I posted it on my blog and Facebook page. Marina had seen the posts, and since she’s Bulgarian.. who better to bring in some actual pieces from Bulgaria???
Click here to see my original posting about this process…
including the original video that inspired my class demo on slip “dripping” decoration!
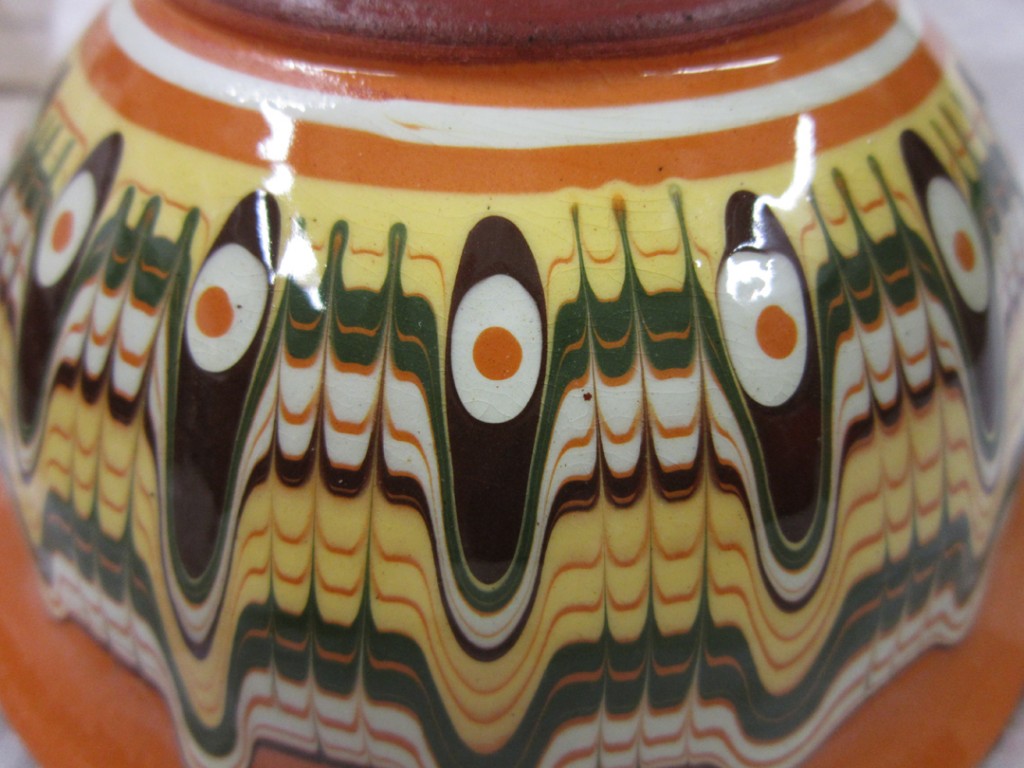
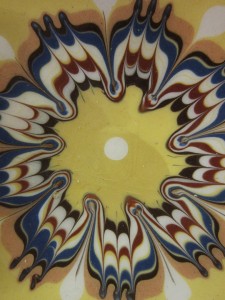
So here are a few colorful examples of the Bulgarian style of slip decoration. It’s a pretty amazing technique of dripping, banding, squirting and dragging through layers of colorful slips. These examples were gorgeous… and more colorful than I expected?!
Look close. It’s all done with colored slip. Drips. Bands. More drips. And dragging through…
Click here to see the original blog post about the video I saw online that started this whole thing. And special thanks for Marina for bringing in these beautiful samples. So fun to see this Bulgarian pottery story come full circle. Video. Demo. Gorgeous.
It never gets old.
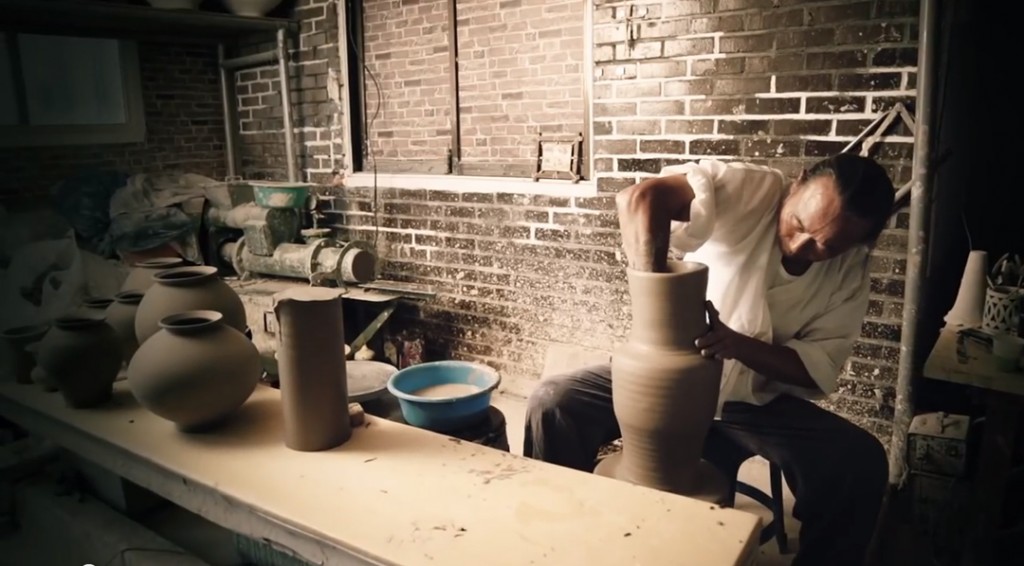
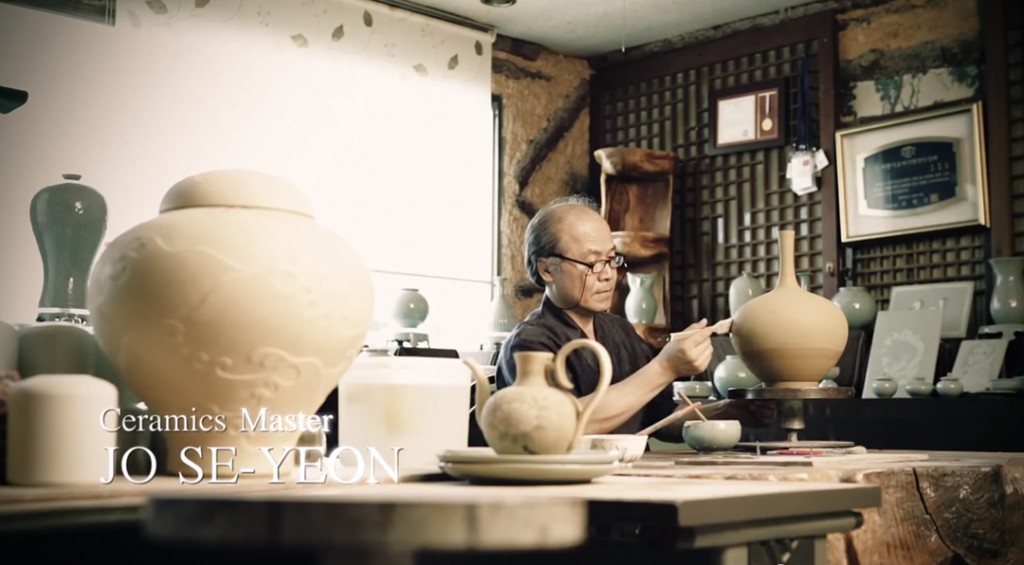
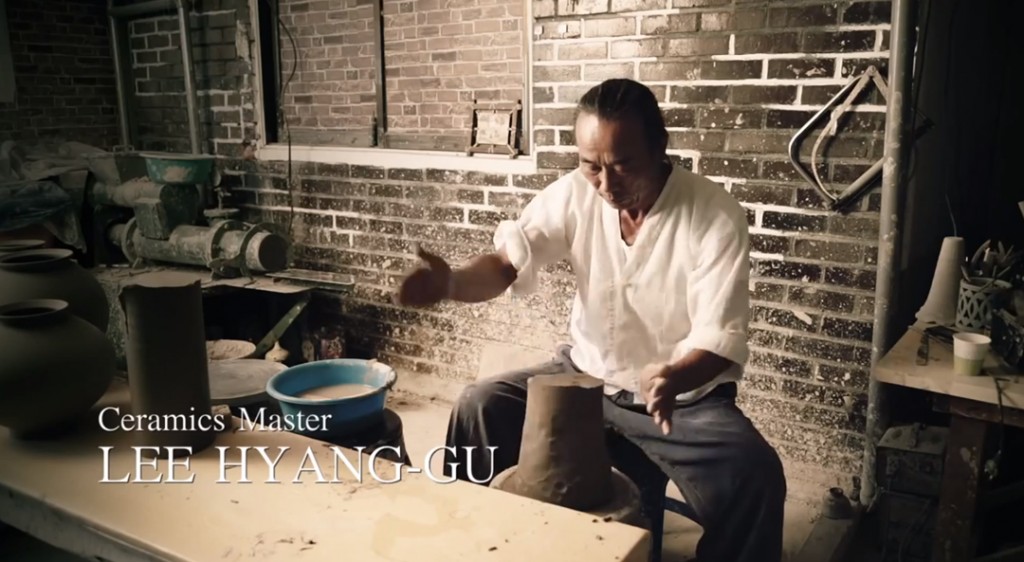
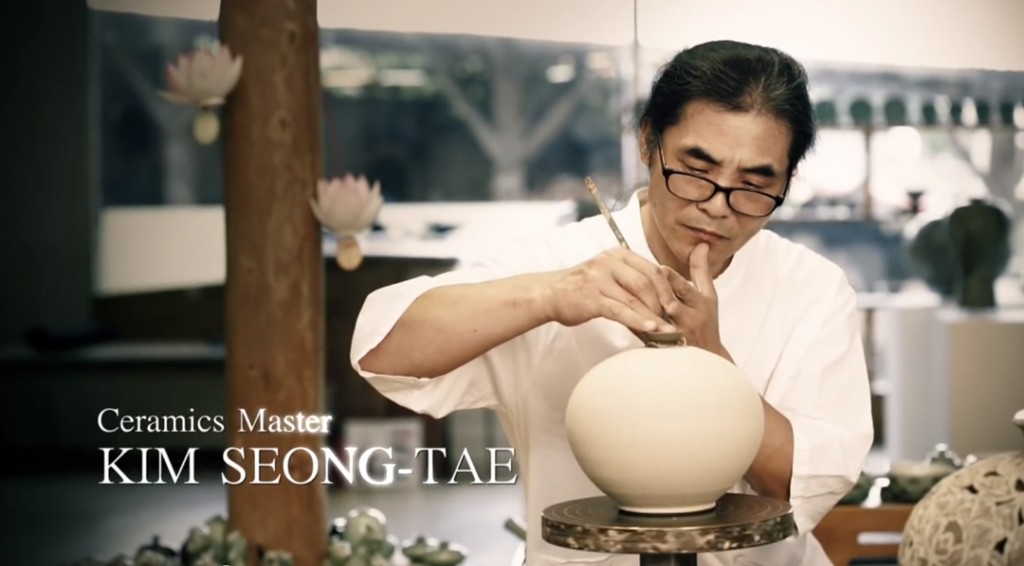
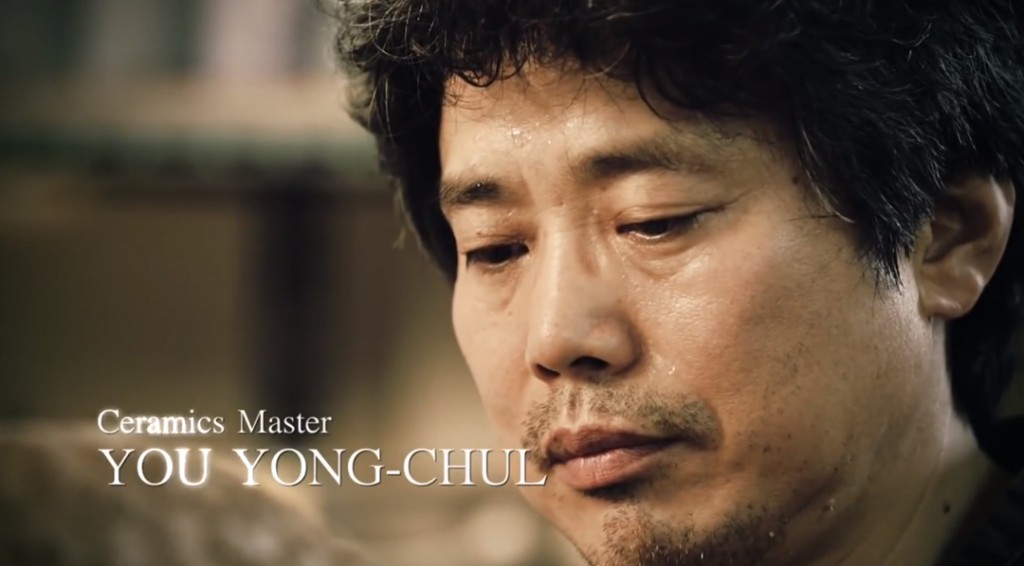
I still love watching other potters making their work. Whether throwing, trimming, stamping, carving, decorating. or whatever. Always beautiful. Always mesmerizing. Always a great creative inspiration for all of us. And these Icheon Master Hands from Korea are pretty darn incredible! Each one showing their techniques… and making it “look” so easy!!! Although we all know it’s NOT!!!
For a compilation video of five great Icheon Master Hands from Korea, click here.
If you want to see more… continue on. You’ll be glad you did.
For more video of Master Hand Choi In-Gyu… click here.
For more video of Master Hand Yo Se-Yeon… click here.
For more video of Master Hand Lee Hyang-Gu… click here.
For more video of Master Hand Kim Seong-Tae… click here.
For more video of Master Hand You Yong-Chul… click here.
Some great inspiration for all of us.
I especially loved the work by Kim Seong-Tae. The carving is pretty impressive, and I was pleasently surprised with the big reveal of the layered colored slips as he carved through to add colorful details to the remaining parts of the pots. So beautiful. So delicate. So inspiring.
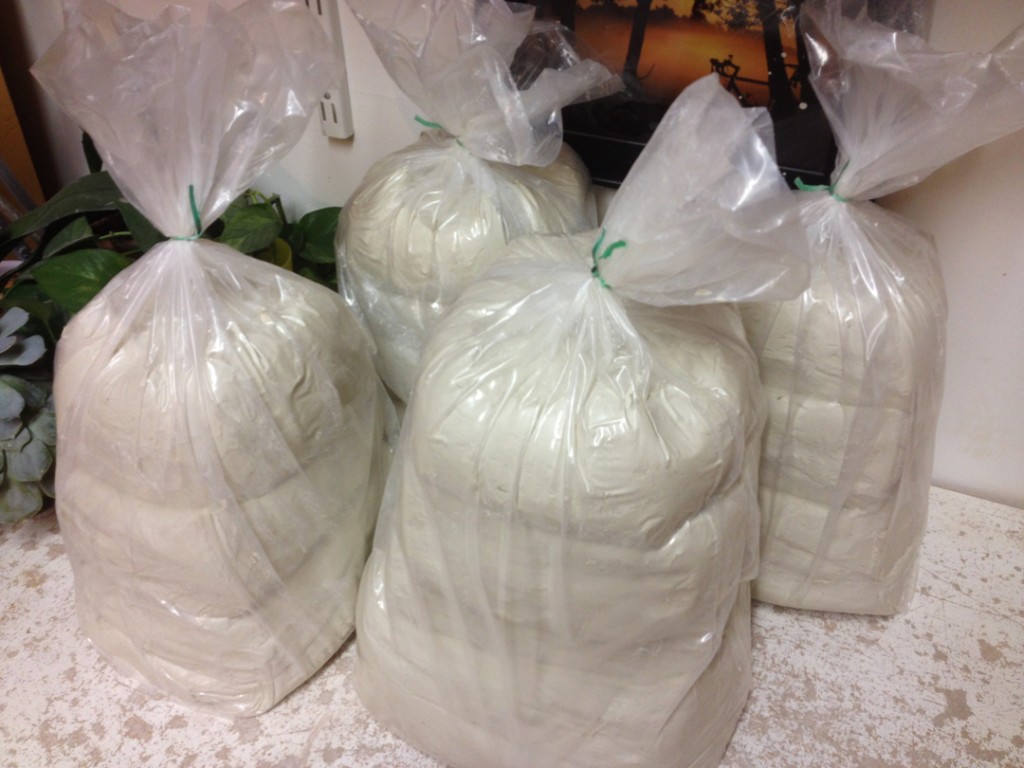
Tonight I finally worked up the reclaim porcelain that has been sitting out on my plaster bat. Slicing. Layering. Pounding. Squishing. Repeating. Over & over again. After a little “upper body workout,” it came out to 156 pounds of FREE porcelain!!! Sure, it still needs to wedged fully. But for now it’s “resting” in the bags and I’ll do final wedging when I’m ready to throw some porcelain pots!!!
And then while I was on a roll, I decided to pulverize & soak the “other” half of the porcelain trimmings I brought back from Minnesota in May. Thanks again Emily for the dried scraps… gotta love FREE CLAY!!!
Upon my return, I was pleased to find that my plants were still alive.
That my class demo pieces under wraps were not totally dried out.
And that my reclaim bucket full of slaking porcelain scraps wasn’t solid hard.
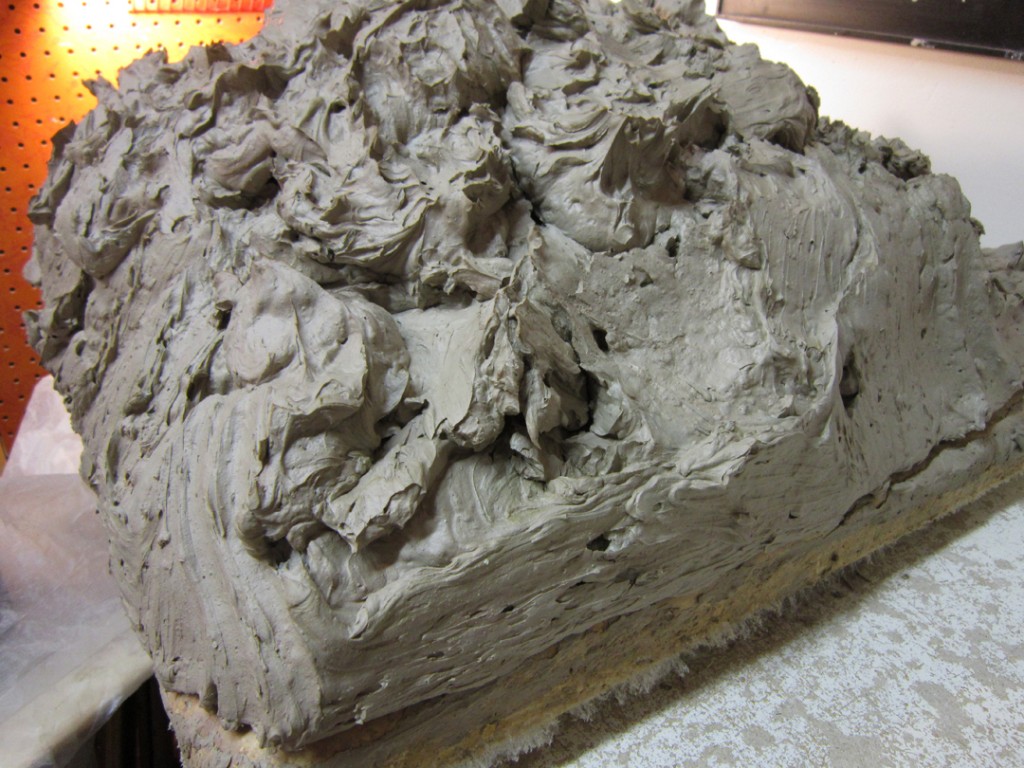
So I pulled out the porcelain reclaim and spread it out on my plaster bat.
I’ll leave it there for a few days and hope that it stiffens up to a good consistency quickly. Then I’ll do some pounding & wedging to get it back to a nice homogenized clay. Bag it up and keep it for my next adventure working with porcelain. Remember, this is “free’ clay from my friend Emily that I brought back from Minnesota back in May!!!
And I LOVE free clay… and this is only HALF of the scraps I brought back!!!
You know how I love free clay!
Okay, so sure I needed to do some physical labor to get it done, but it was well worth it. So I took my stoneware scraps, dried them, smashed them up and then soaked them in a big tub. After awhile, you can take the re-hydrated clay out of the bin and place it on a large plaster bat to help suck the moisture out. I’ve been trying to judge the moisture level of my pile of reclaim. It always dries out faster on the outside, and stays gooier on the inside. Tonight was the night.
So I carefully took the clay off the plaster bat in batches. Then did several sliced layer towers to help homogenize the clay. Some more pounding, slicing, stacking, pounding, stacking, slicing, and so forth.
By the time I finished reconstituting the clay, I had it all packed & bagged… and it turned out to be a 151.5 pounds of FREE clay!!! It’s not fully wedged at this point, but it will set up in the plastic bags. When I get ready to use it, I will do the full wedging then.
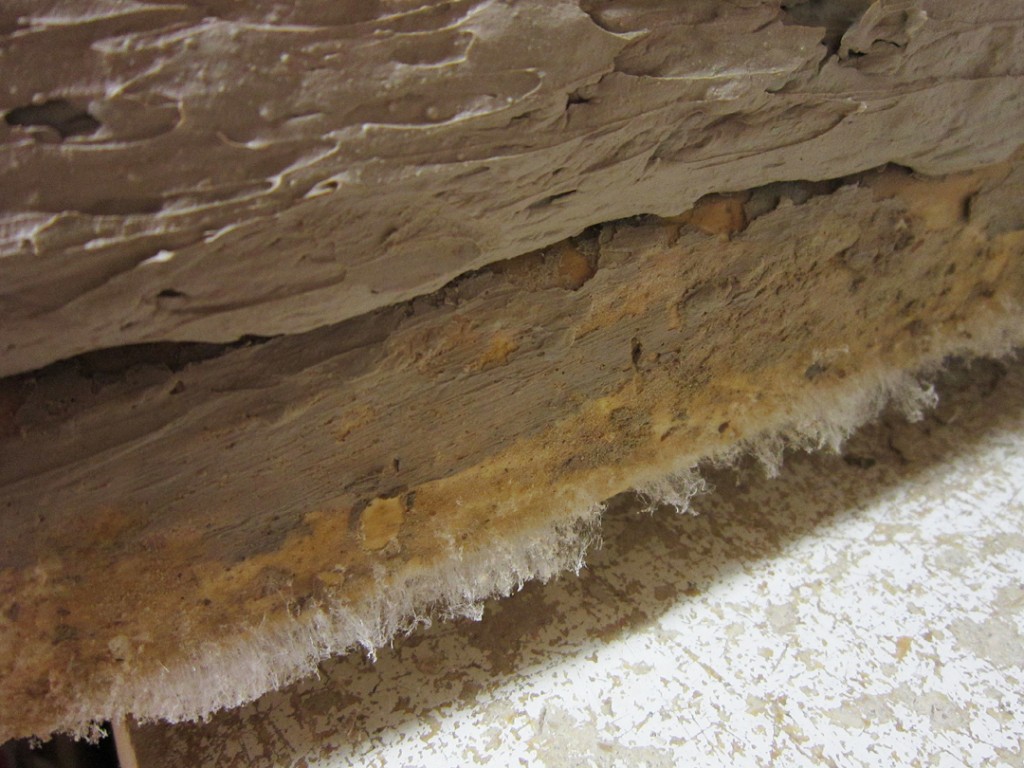
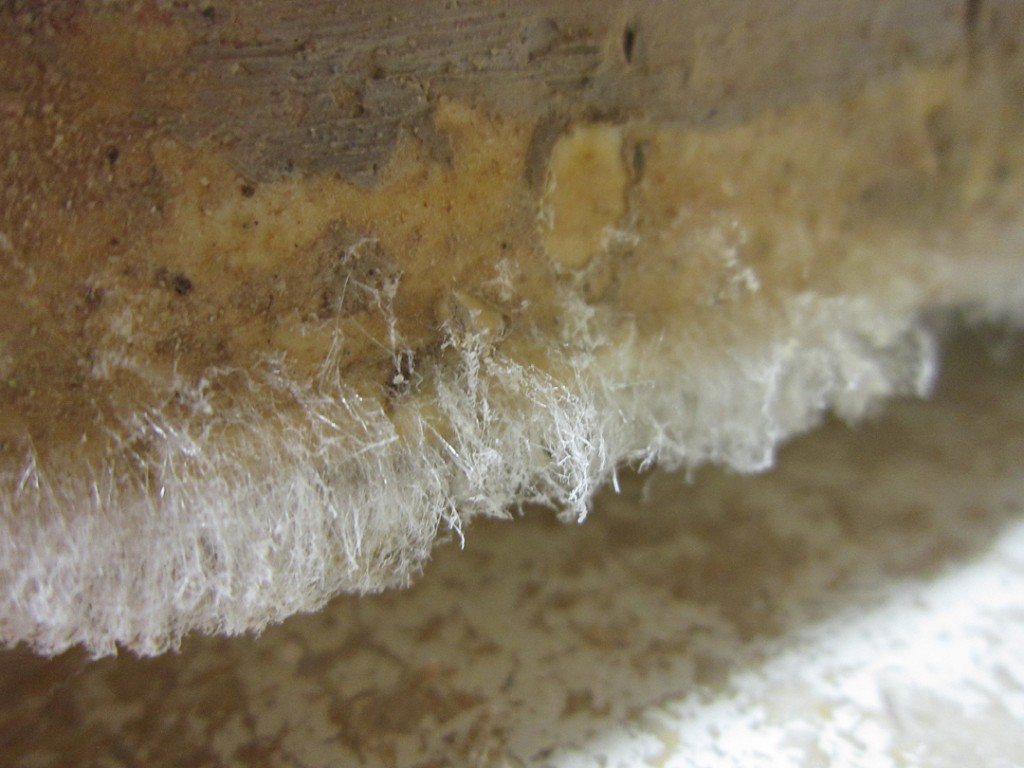
While working in the studio this evening, I stopped for a second to look at my pile of reclaim clay. Typically it just sits there on the plaster bat and dries out slowly. But tonight something odd caught my attention… look closely at the bottom edge of the plaster bat!!!
Yep… there’s something “funky” growing down there…
Now I’m not really sure what’s going on here?! I probably should call my sister the High School Science Teacher. Or maybe someone else out there can explain this “fuzzy phenomenon” to me?!!! Either way, it’s pretty cool…


