I had sort of ” forgotten” how dirty, gooey & gloppy throwing with terra cotta can be!

Gary Jackson: Fire When Ready Pottery
A Chicago potter’s somewhat slanted view of clay & play |
I had sort of ” forgotten” how dirty, gooey & gloppy throwing with terra cotta can be!


Riding a little higher today after shlepping almost 1,000 pounds of clay home from Minneapolis in my car! Boxes of new clay from Continental Clay, and a friend’s bags of dried reclaim that I need to do a little work on to get it back to where it started.


Like a bull in a china shop… quite literally. One false move and I just took out one of the new mugs. Note to self: dried greenware is VERY fragile! A great reminder. Luckily, that “set” had five… so now we’re down to four matching mugs!

So by now I’m sure you’ve figured out how much I love FREE CLAY!!!
I’m not afraid of a little reclaiming. I always have a large bucket of scraps slaking down to become a new, fresh batch of clay.
But what to do when you have a whole block of 25 pounds TOTALLY DRY?!!!
I had received a couple solid blocks of dried porcelain from a friend who doesn’t do much reclaiming. In my mind I thought I would be breaking it all down, pounding it down, pulverizing and working on it forever. That was a lot of labor in my mind for a project that I kept putting off. Until now…
So I saw a video online about a “trick” to rehydrate the whole block of dried clay…
THE EASY WAY!!! Easy?…I’m in!
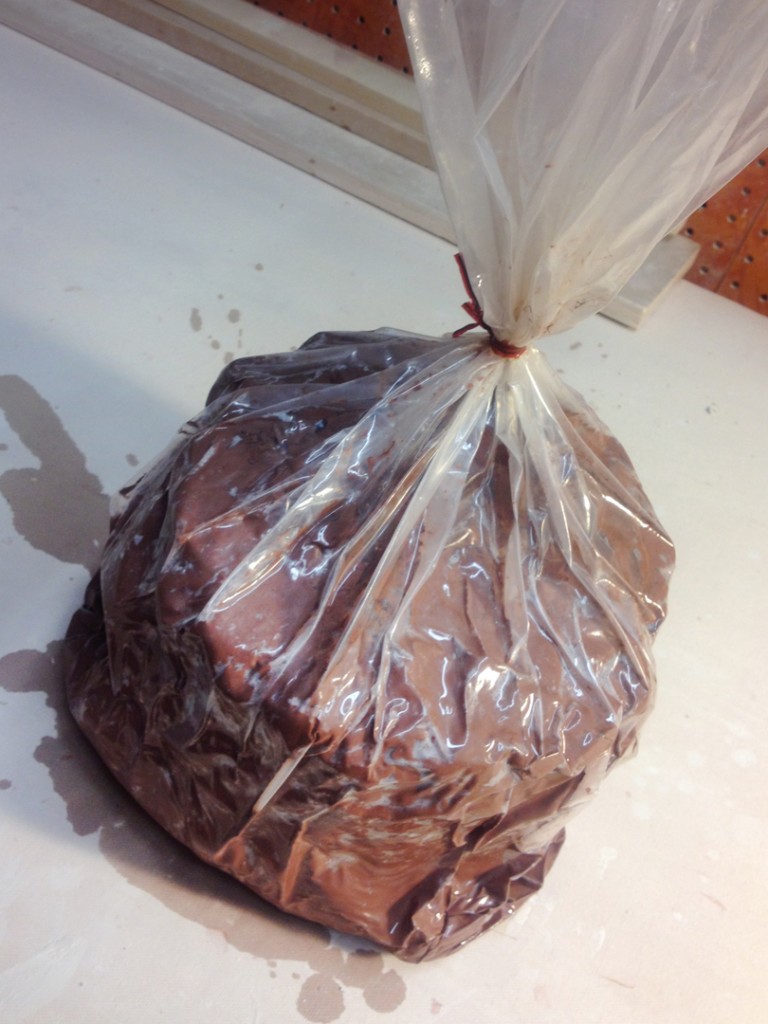
So I started with the solid blocks of clay. I double-bagged each of them in case there was a hole in the original bag. I then added a water bottle full of water. The video says to add one cup of water for a 25 pound block. I of course had not remembered the specifics… so I just threw in a full water bottle of water. I then sealed up the bags as tight as possible. And then submerged each block into a water-filled five gallon bucket. The video says to leave it for about two weeks… but I got busy, distracted, and they were in the buckets closer to three weeks!

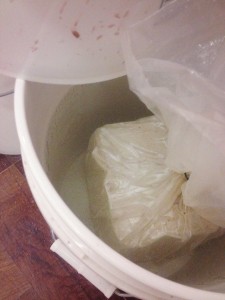

Still don’t know how much water I actually put in… but here’s my water bottle.

After three weeks, I pulled the bags out of the water, opened them and sliced through the block of clay. It was amazing how much the clay had rehydrated. The center of the block was still a bit crunchy, so I just assumed I had not put in enough water originally. So I added another 1/2 bottle of water into each bag. Tied them back up and submerged them for another week.
Okay, back out of the water, and ready to check the clay…
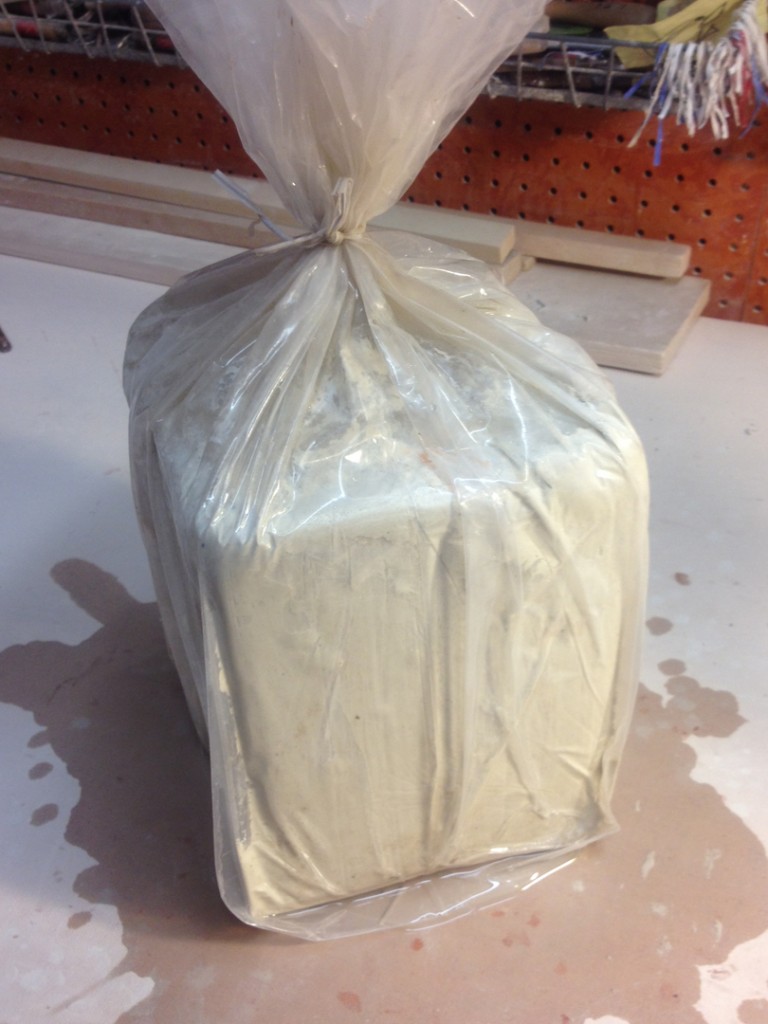
Just upon opening the bag, you could see right away that the clay was SO much better…
and no longer the solid block of bone dry clay it had been!
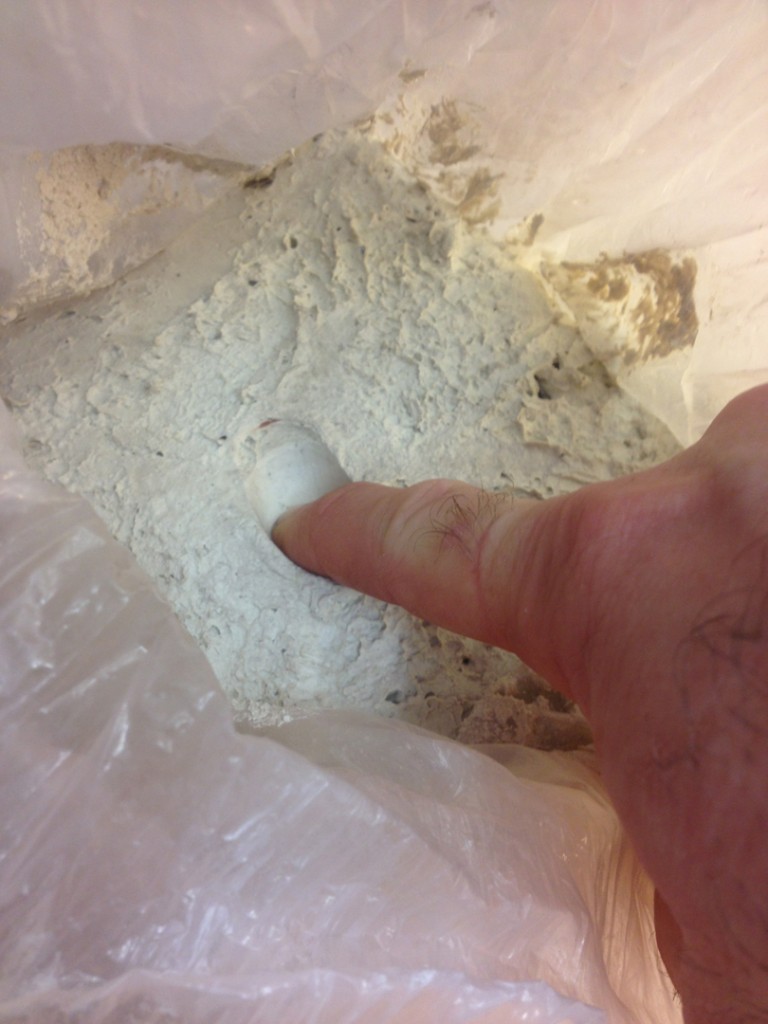
After cutting it in half, I was excited to see that the porcelain was all back to usable clay! Sure, it might need a bit of wedging to get it all back to normal, but SO much better than having to break it all down and reclaiming the old-fashioned way!
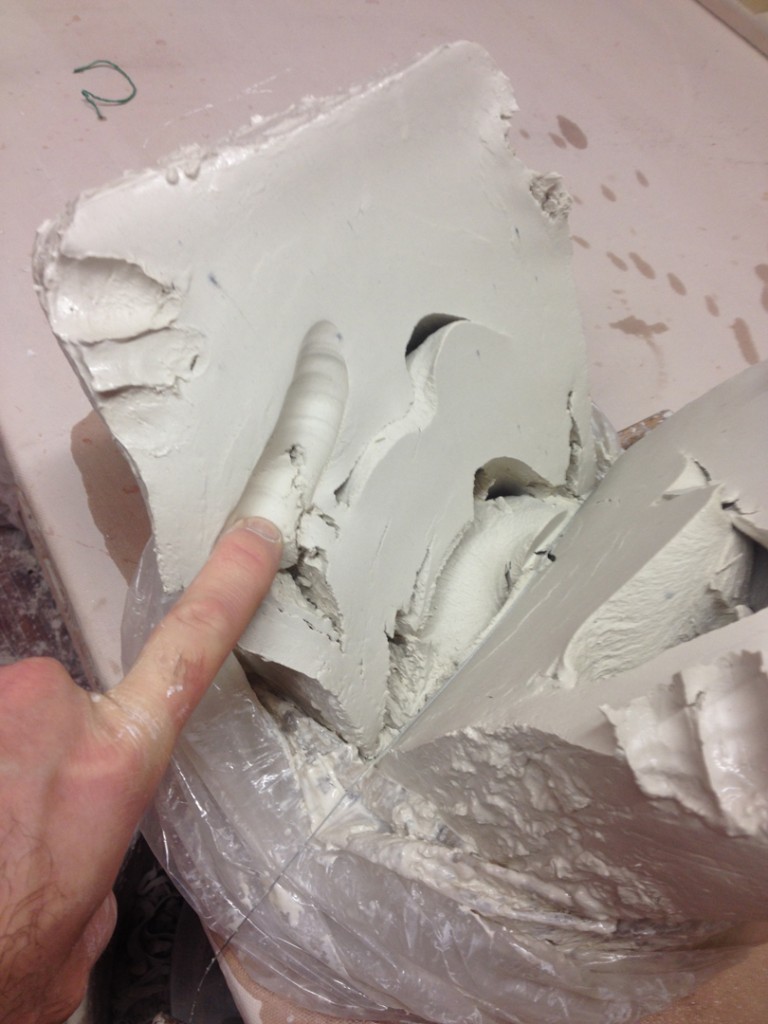
And the terra cotta looked good too. This one was especially rewarding, as the solid block of bone dry terra cotta was all my fault. It was reclaimed terra cotta in the first place. I had let the trimmings dry, added water and let it slake down the old-fashioned way. When it was ready to turn out onto a plaster bat, I got too busy… and kinda just kept putting it off. Apparently. Fast-forward a couple months of procrastinating and voila’… a solid bucket of BONE DRY terra cotta!!! All my own fault!!!
Bag out of the water… cut in half… and again, perfectly rehydrated clay!!!

So this new trick is pretty darn amazing. And it adds a whole new level of “fun” to my free clay reclaiming endeavors. I would highly recommend it for anyone who finds themselves with solid chunks of clay that just seem daunting to reclaim the normal ways.
Intrigued?… Still think it’s too good to be true?…
Click here to see the YouTube video by Janis Wilson Hughes of Evolution Stoneware Pottery.
Twenty of “something” coming soon…Â ahh, the potential!!!

What do you make when you’re at the end of a bag of clay?!
I’m not a fan of leaving partially used bags of clay all over my studio.
I’d rather finish them off… so I did last night with these two bottles.

Just breaking up some more dried trimmings and used clay for my next batch of reclaim. The smaller I can make these pieces now makes my reclaim slurry smoother later. So a bit more pulverizing now will make a better clay later!

And it felt great to be throwing again. Spinning, slimey, smooshey, fun!!!
Let the games begin!!!

Felt great to be back in the studio prepping for a full day of throwing. It seems like it’s been far too long… but you know how tough it is sometimes to get started up again in the New Year?! Especially when the studio is clean and there are no projects drying under plastic that need my attention. But after today there will be…

Spent some time in the studio tonight still cleaning, organizing and wedging up a bunch of reclaim clay. Gotta love FREE clay! Close to seventy pounds of it.

And while I was there cleaning, I also found my three DVD’s from NETFLIX. Yep, I’m still going old-school with actual DVD’s. Long story… but our studios have somewhat unreliable Wi-Fi, so I stick with DVD’s. Anyways… I’ve been looking EVERYWHERE for these DVD’s. You know how you put things in “that special place” when you’re cleaning to make sure you don’t lose them, and then months later you can’t remember where you put them?! Well, I apparently put them in “that place” back in October!!! And haven’t been able to find them… until tonight!!! Sheesh!!!

|
Gary Jackson: Fire When Ready Pottery
Lillstreet Studios ∙ 4401 North Ravenswood, Chicago, Illinois 60640 ∙ 773-307-8664 gary@firewhenreadypottery.com |