Gary Jackson: Fire When Ready Pottery
A Chicago potter’s somewhat slanted view of clay & play
Categories: bowls, classes, process

Last night was my “bowl-making-on-purpose-instead-of-a-cylinder-gone-bad” demo for my Beginning & Advanced Beginning Wheelthrowing Class. It’s my favorite demo every session. I start by showing them how to make a nice bowl with a well-rounded interior. Throwing the bowl on purpose and not allowing it to “just happen.” After I show them how to make that one “perfect” bowl, I send them back to their wheels to practice. Meanwhile, I throw eleven more bowls of a similar size & shape. And then we all regroup at my wheel so we can do some quick alterations.

Some quick “tricks” to make each bowl different from the others.
Encouraging my students to do something fun with their clay, to experiment, to play
and to make it their own. Trying to get each of my students to push it a bit further…
and to have fun with their clay!

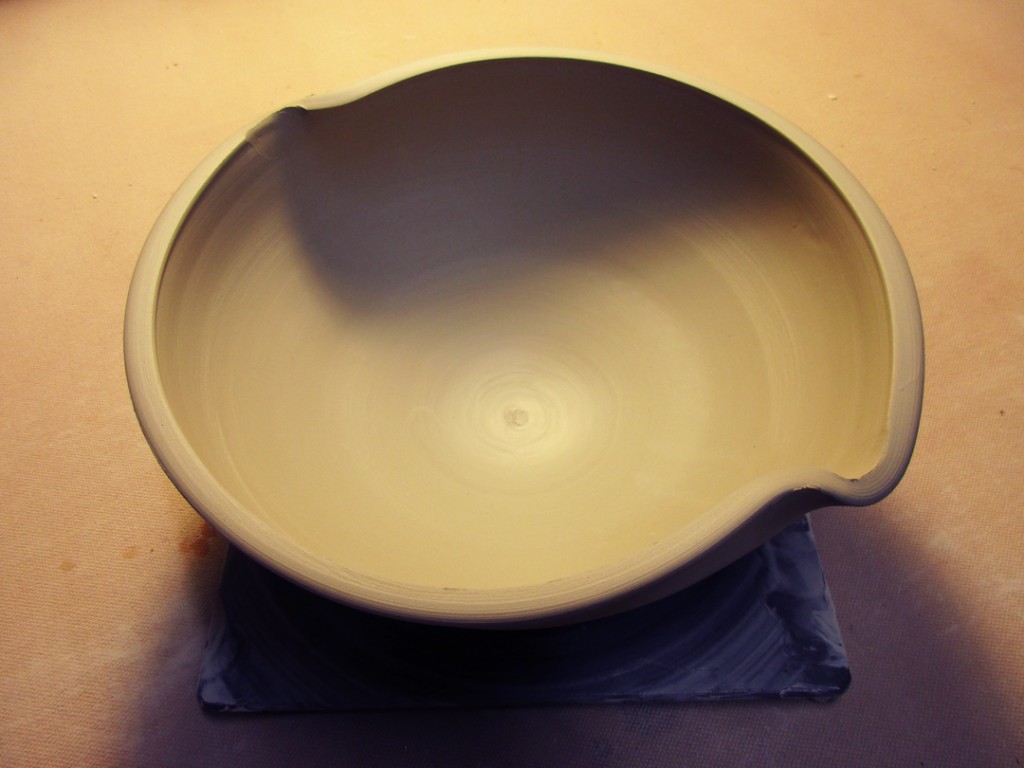
Bowl #1 -The basic bowl. All twelve of them started just like this.

Bowl #2 – Two twisted flutes on opposite sides.

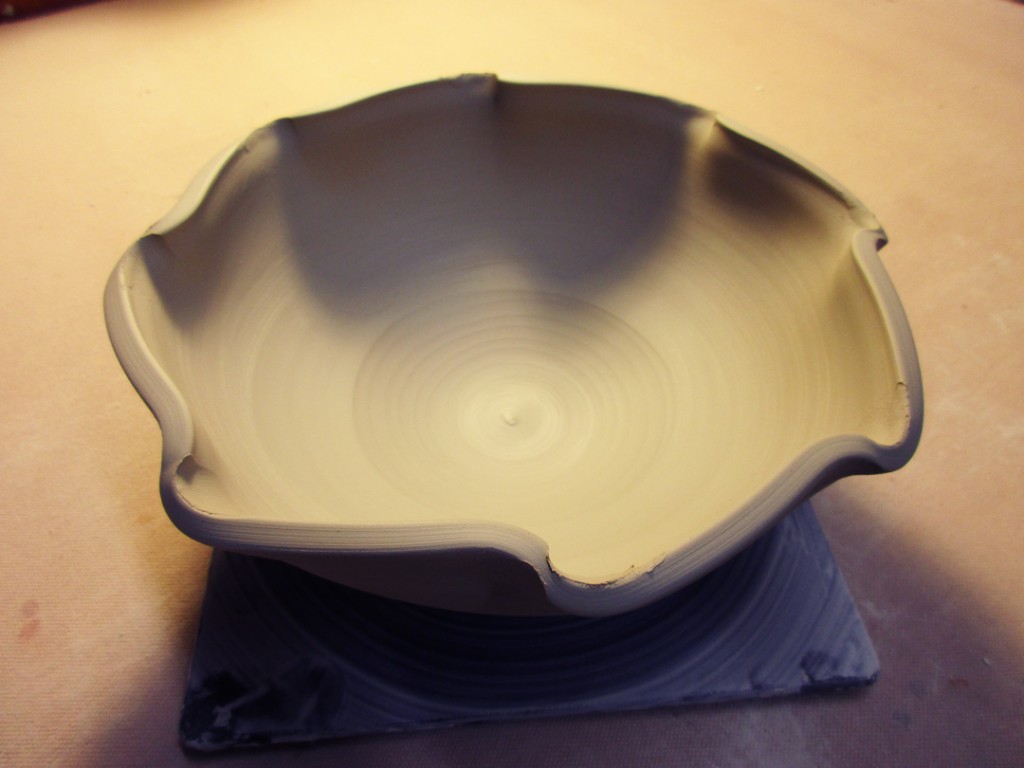
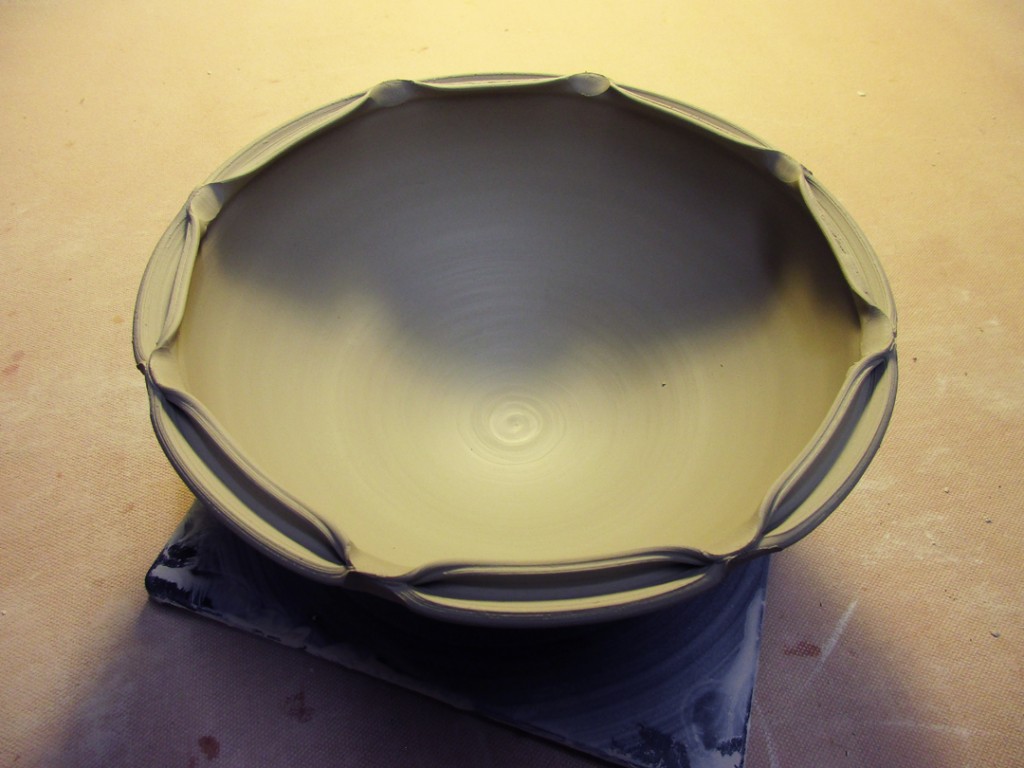
Bowl #3 – And if two flutes are sweet, maybe eight are even sweeter?!

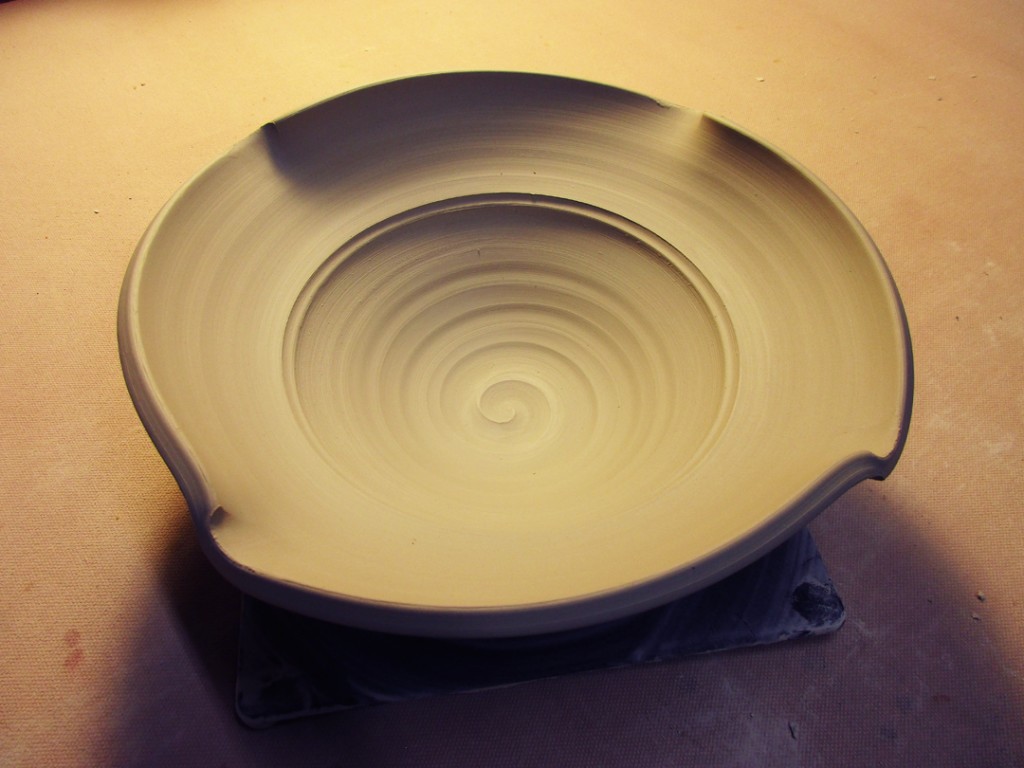
Bowl #4 – A simple flared flange.

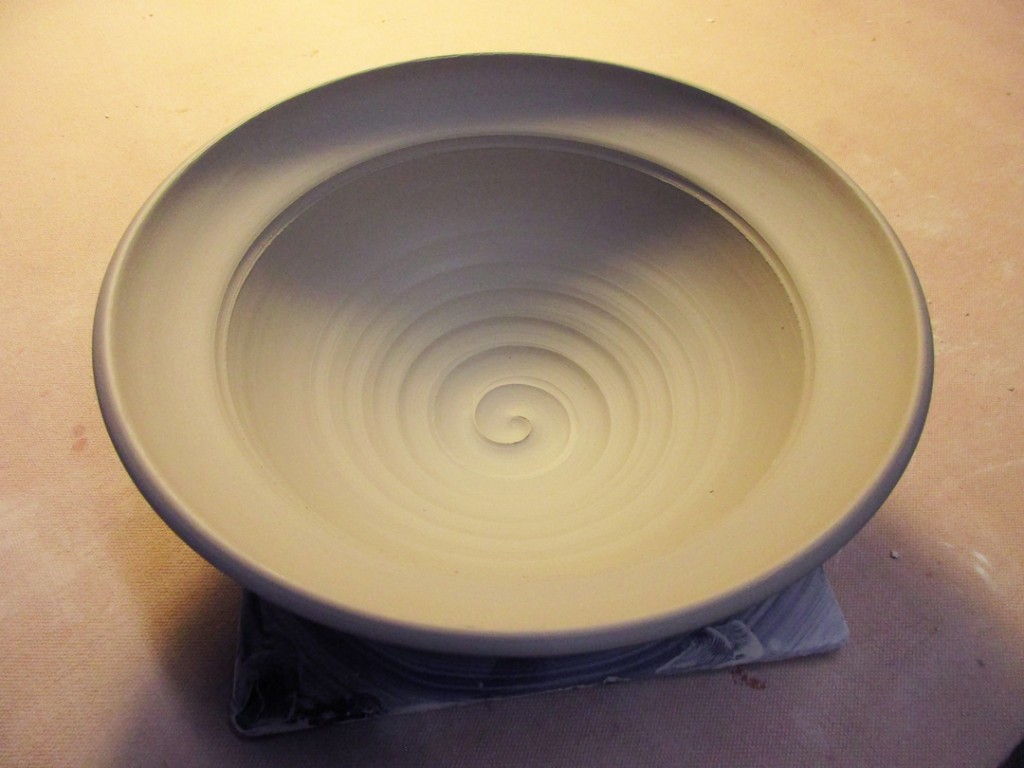
Bowl #5 – And if a little flare is nice, maybe a larger, wider flange is even nicer?

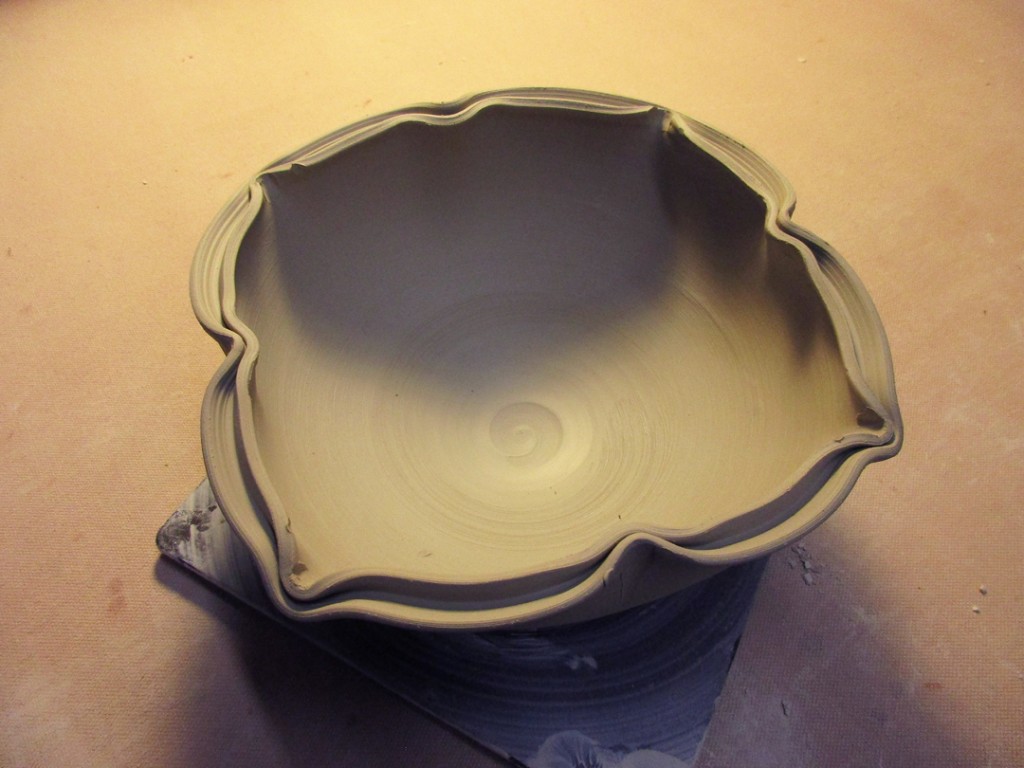
Bowl #6 – A split rim with some pinches around the edge.

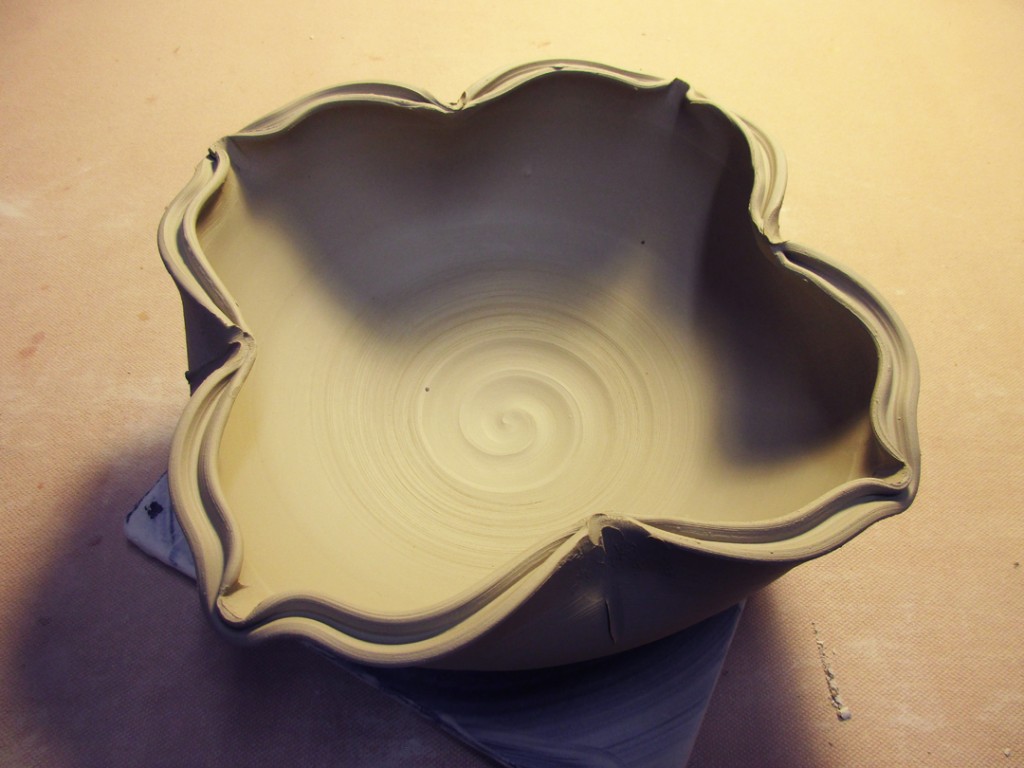
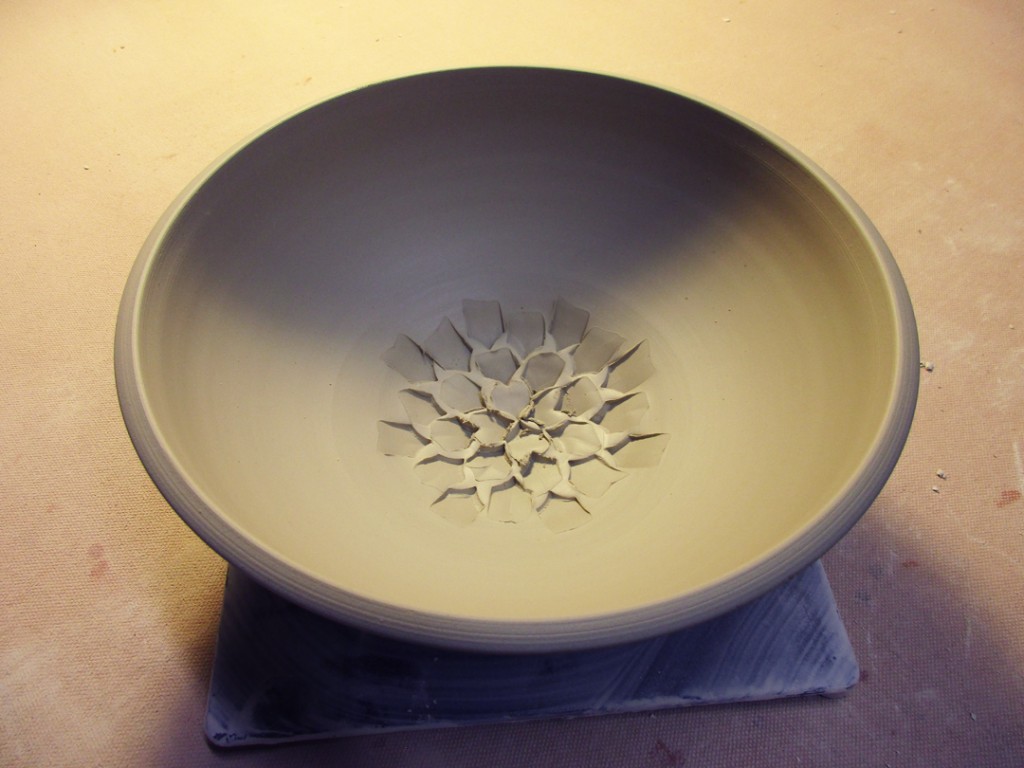
Bowl #7 – A split rim pushed in and pushed out for a lotus-like shape.

And then, once I have them adequately overwhelmed with making bowls… why not throw them all the way over the edge by introducing colored slip?!

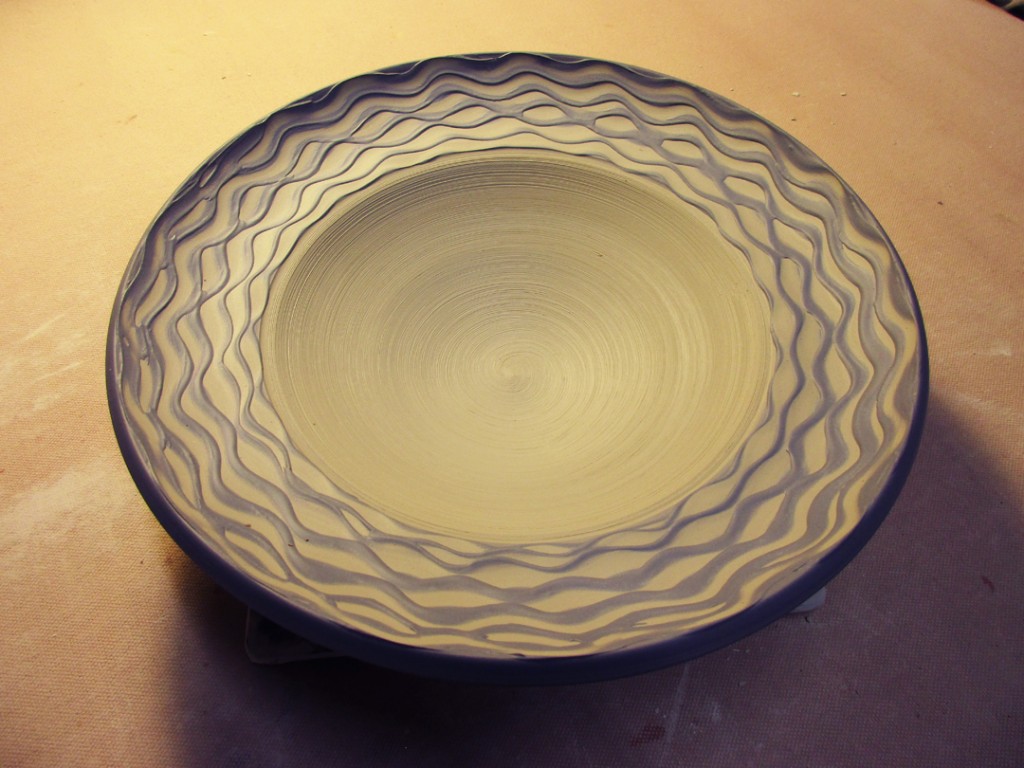
Bowl #8 – White slip on a simple flared flange.

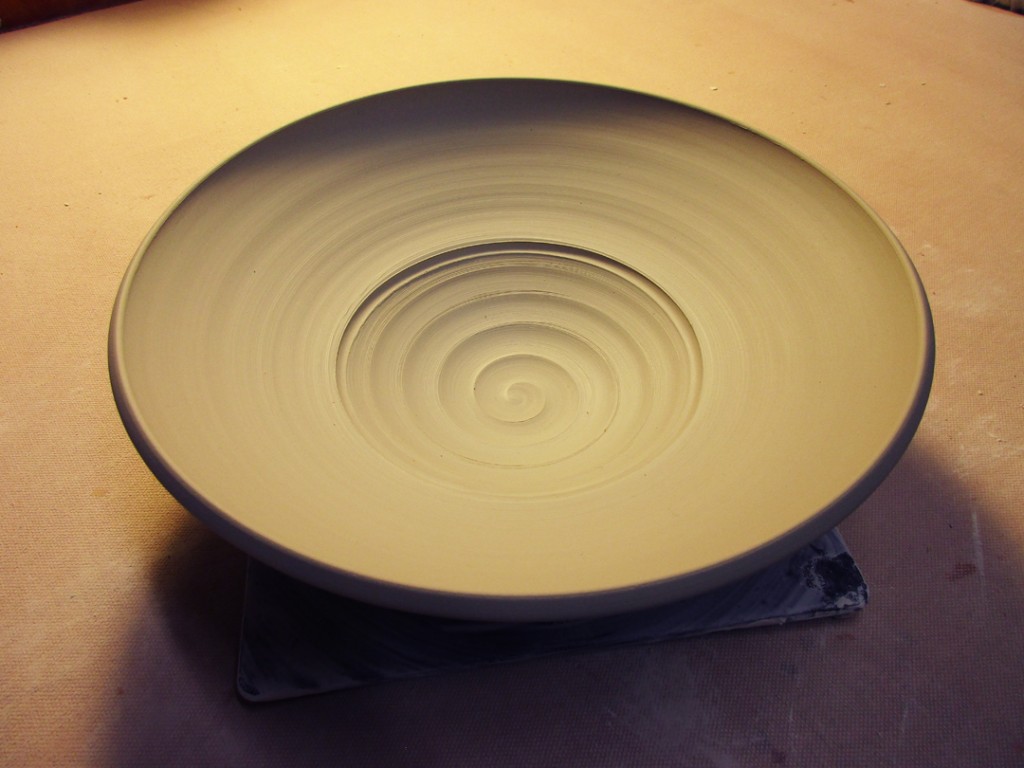
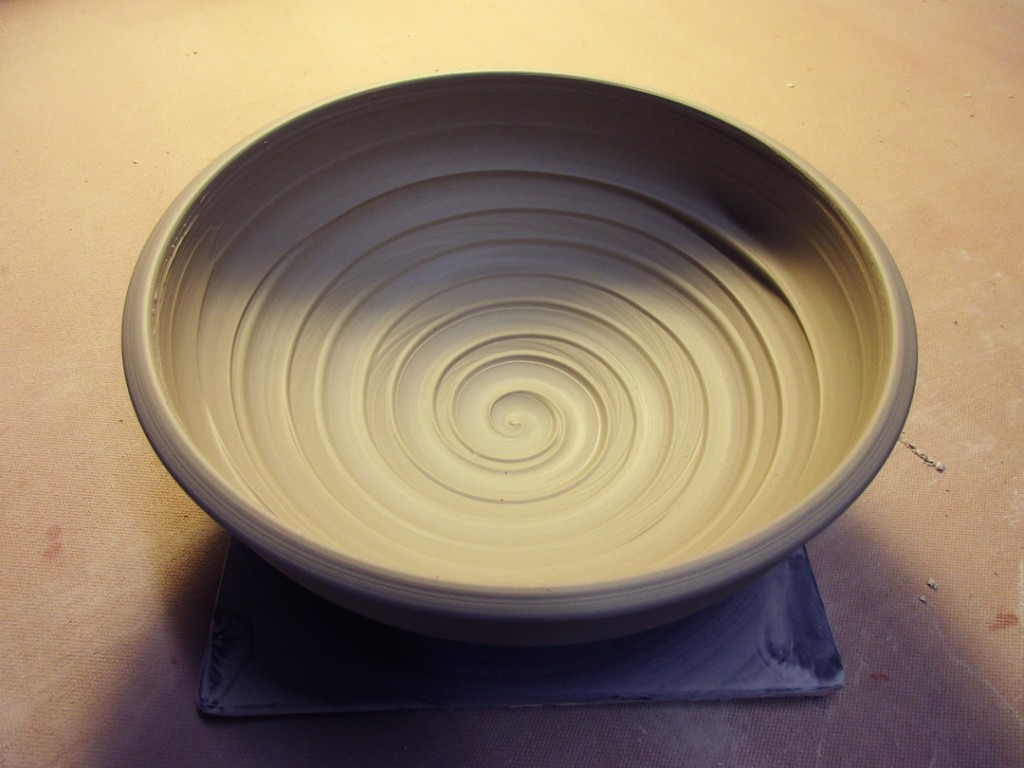
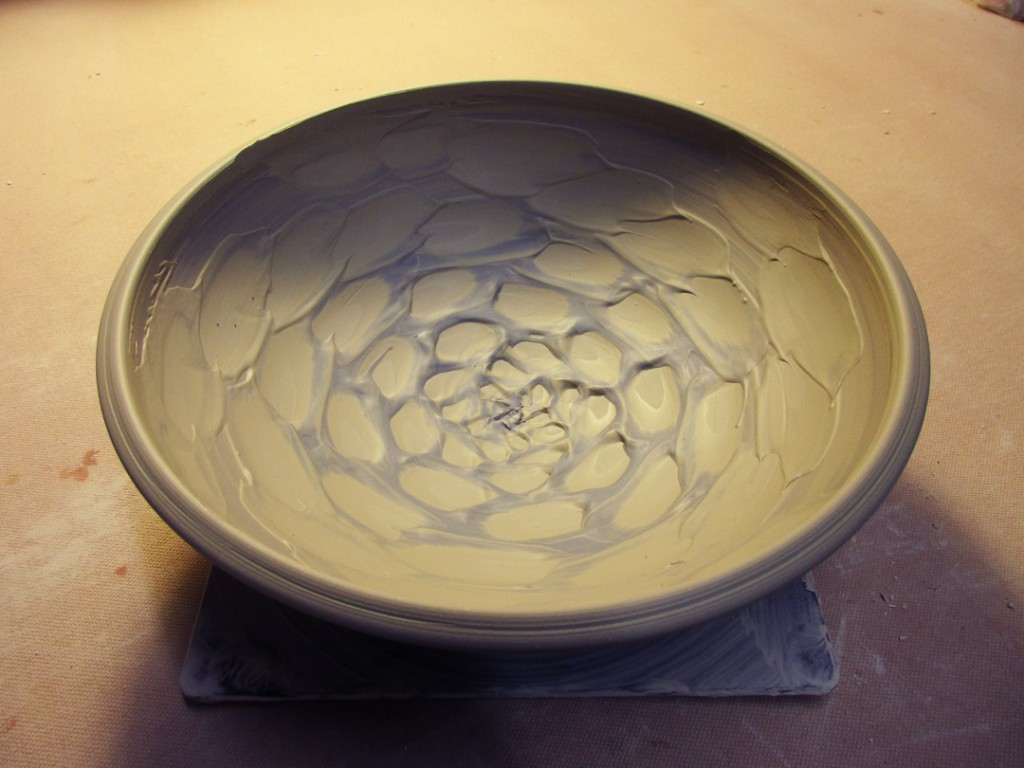
Bowl #9 – A spiral dragged through white slip to reveal a spiral of the clay color using the rounded end of my wooden knife.

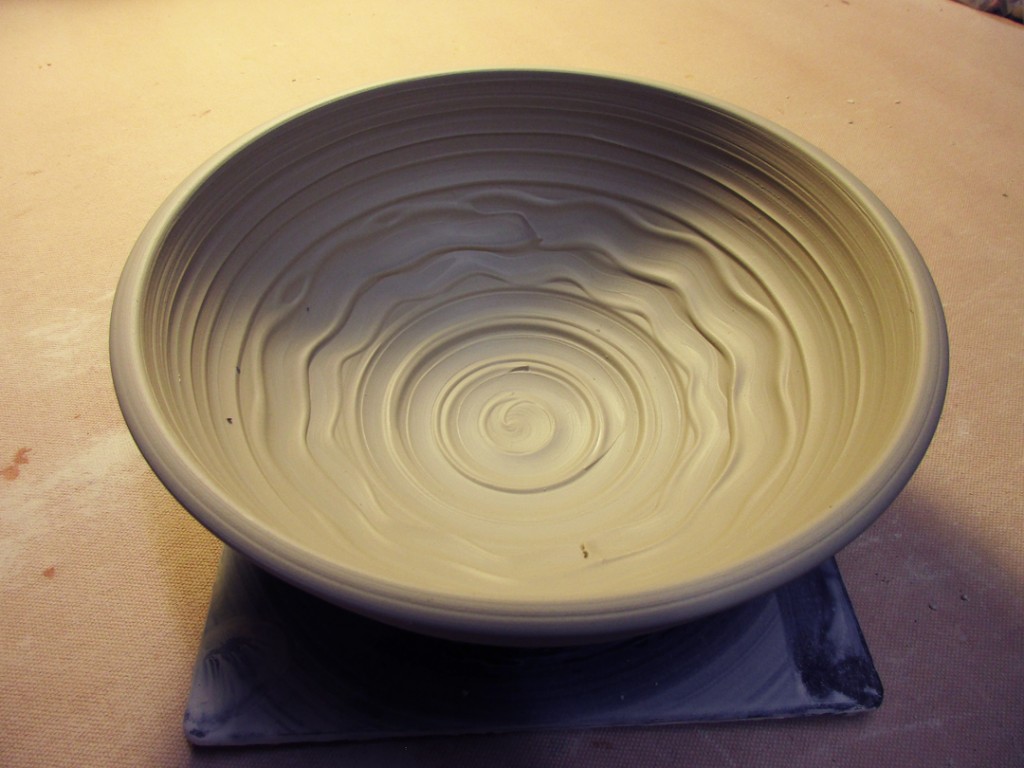
Bowl #1o – A chattered pattern by using a rounded edge rib and doing some rhythmic tapping through the white slip while the bowl is rotating.

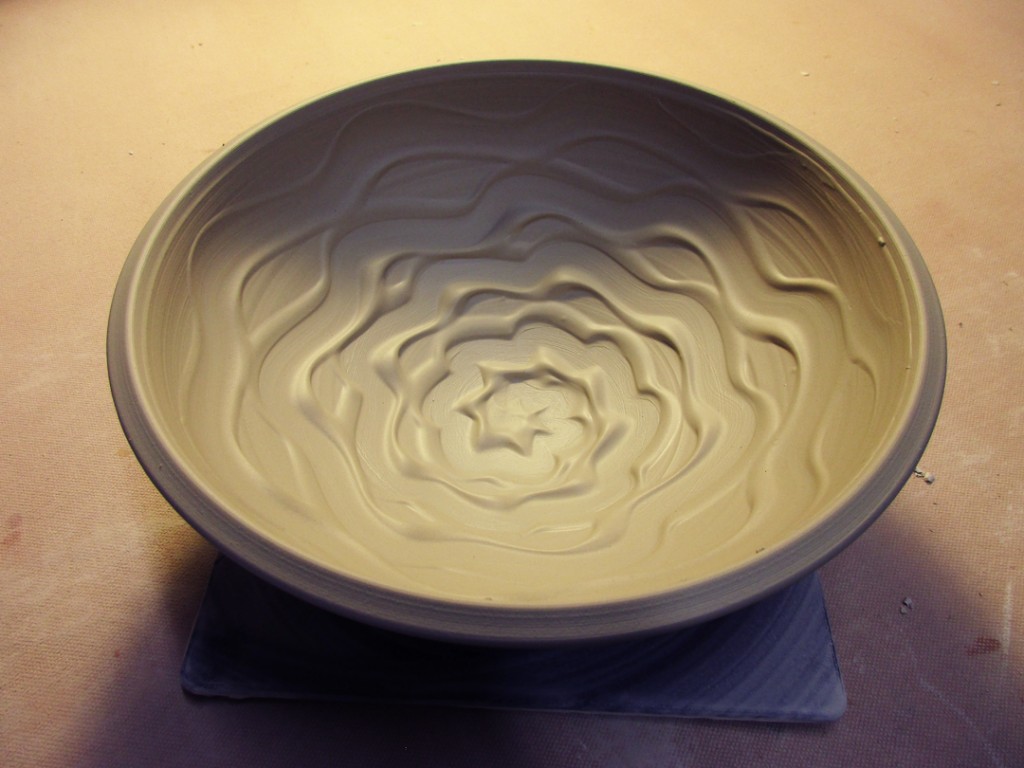
Bowl #11 – A couple simple slices of newspaper used as stencils in the white slip.

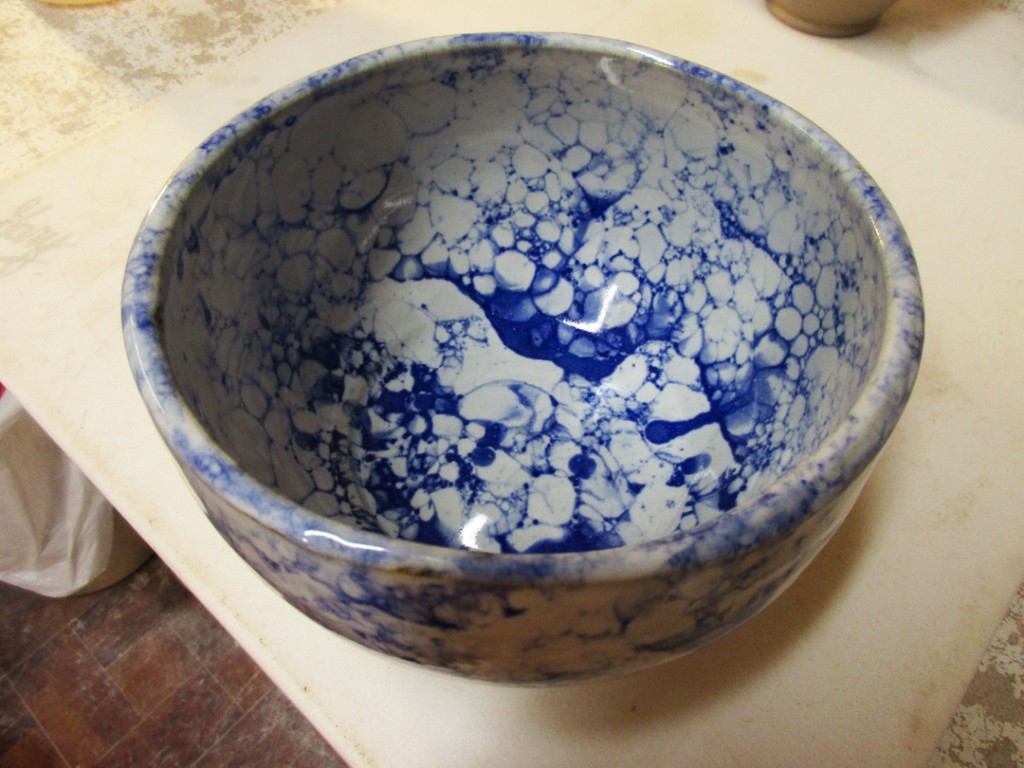
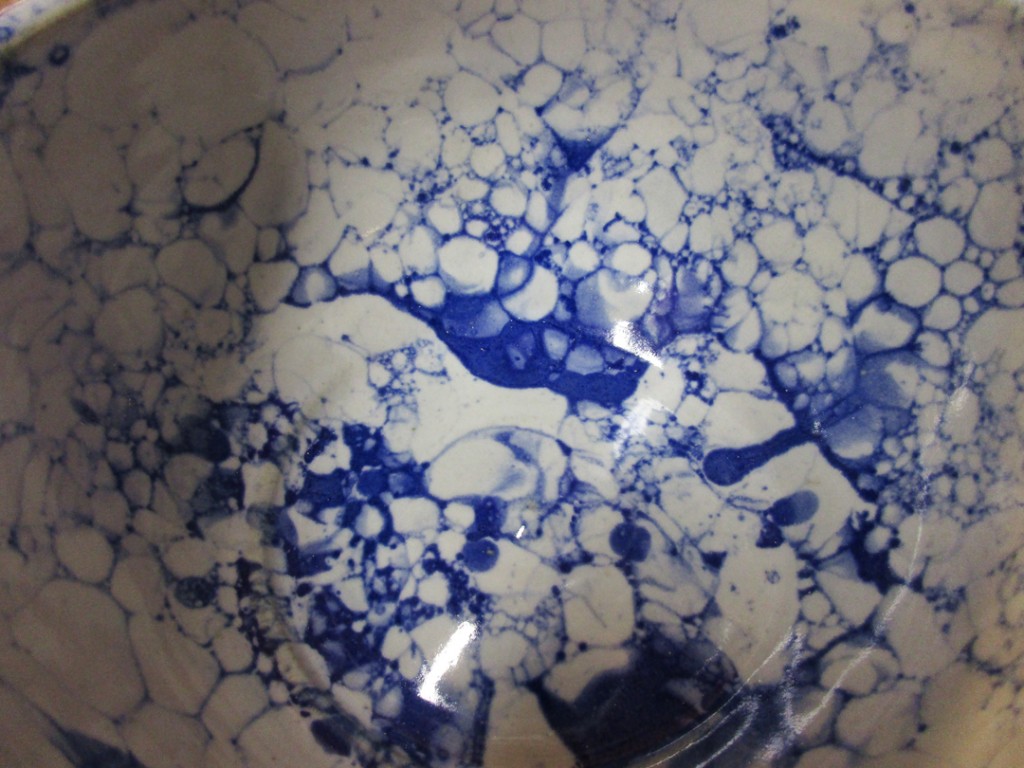
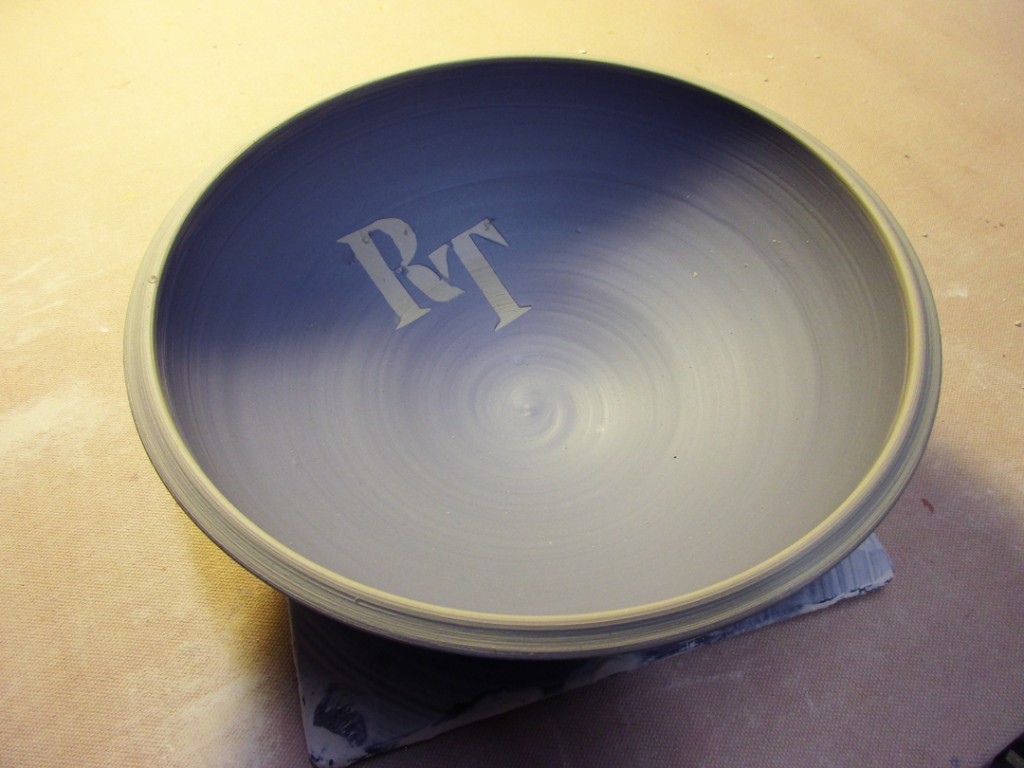
Bowl #12 – A simple ombre blended color gradation using white & delphinium blue slips.

So for now, they’re up in my studio wrapped in plastic. Waiting for them to stiffen up a bit so I can do a little more detailing. Maybe some stamping. Maybe some carving. Maybe some add-on accents. And then at some point… trimming will commence!

Categories: classes, mugs

This week in class my students tackled adding handles to their cylinders in Week Two. Several of the students had cylinders ready to trim and add handles. So they pulled their handles in the traditional manner, let them stiffen a bit and then attached them to their cylinders. Not a bad start for my beginning & advanced beginners.

Categories: classes, food

Last night in my Beginning Wheelthrowing class we had more sweet treats.
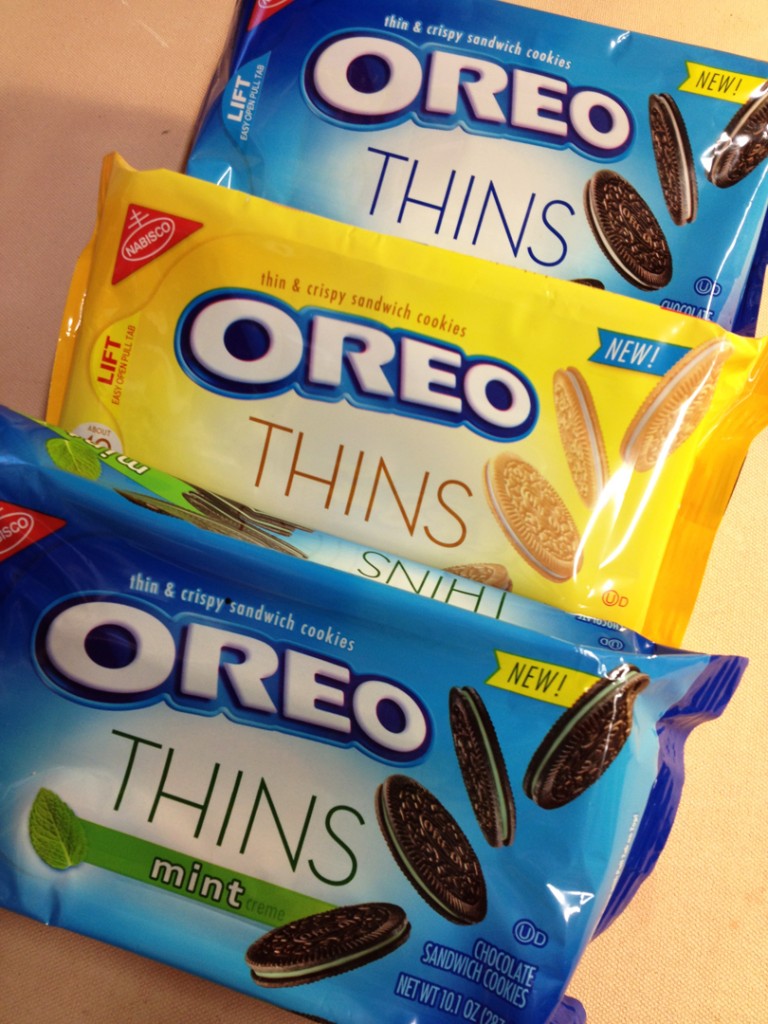
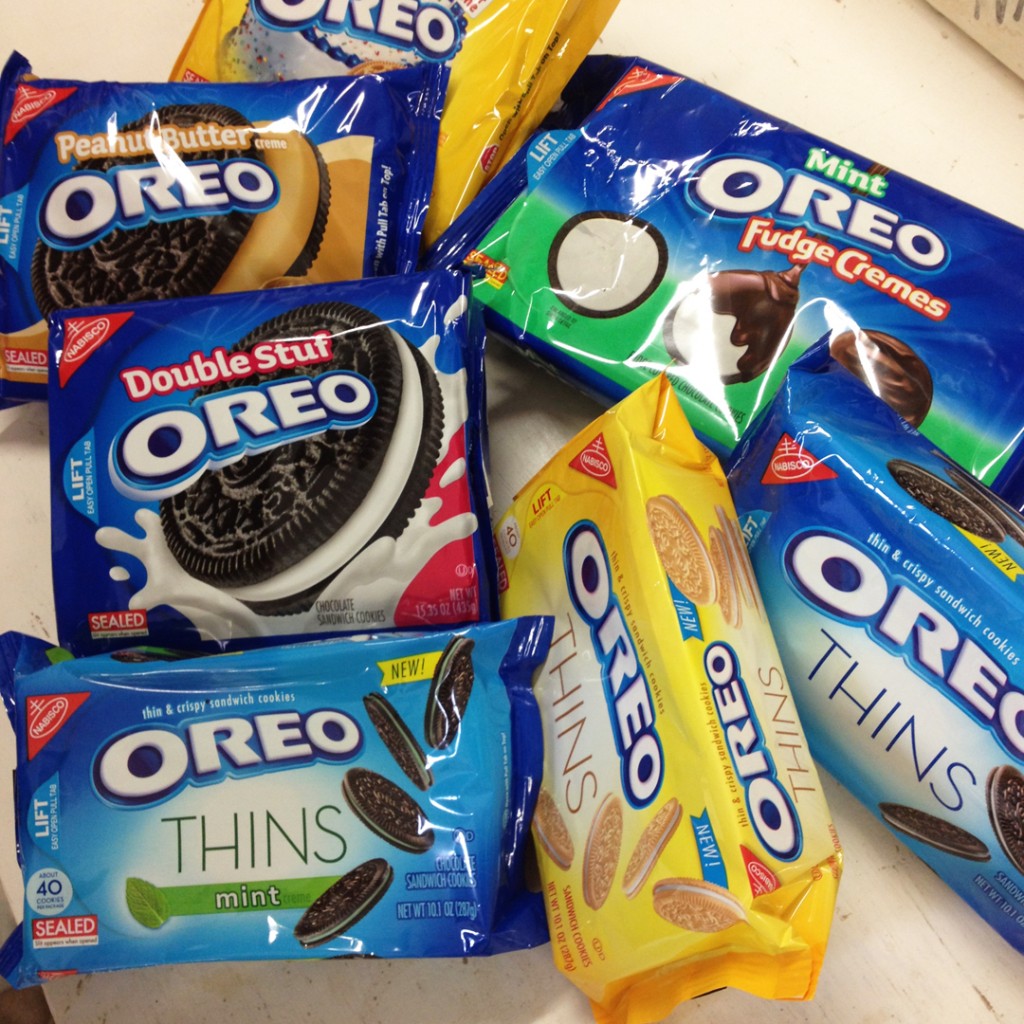
More “specialty” Oreo’s… two seasonal “favorites”… both were yummy!!!
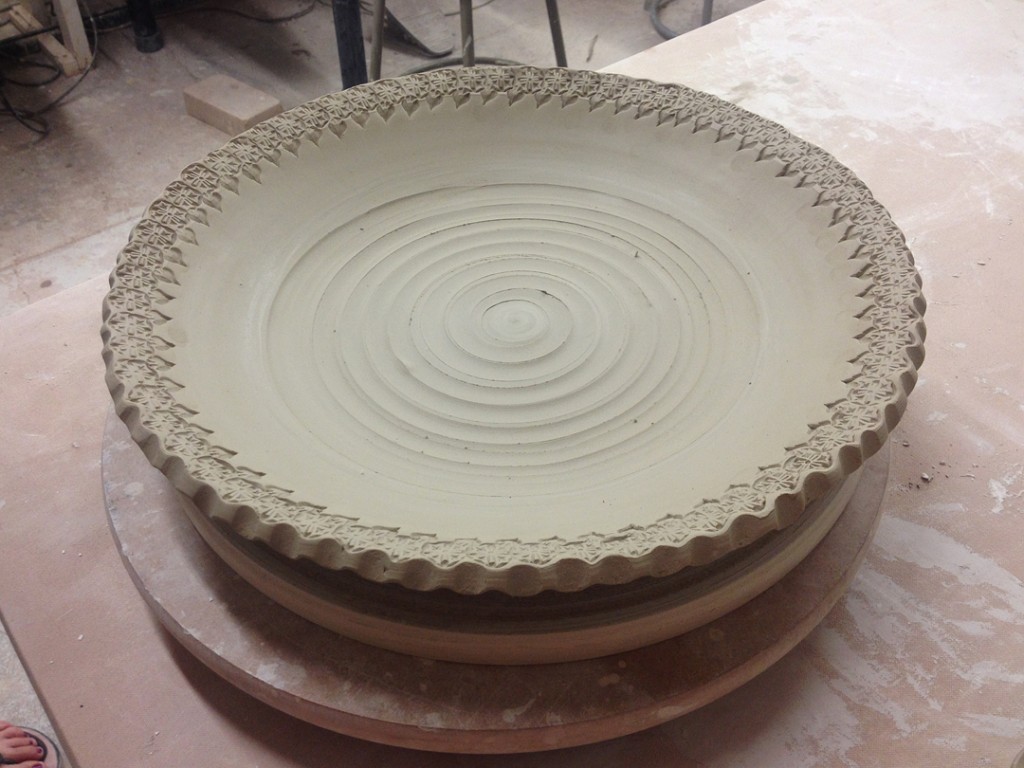
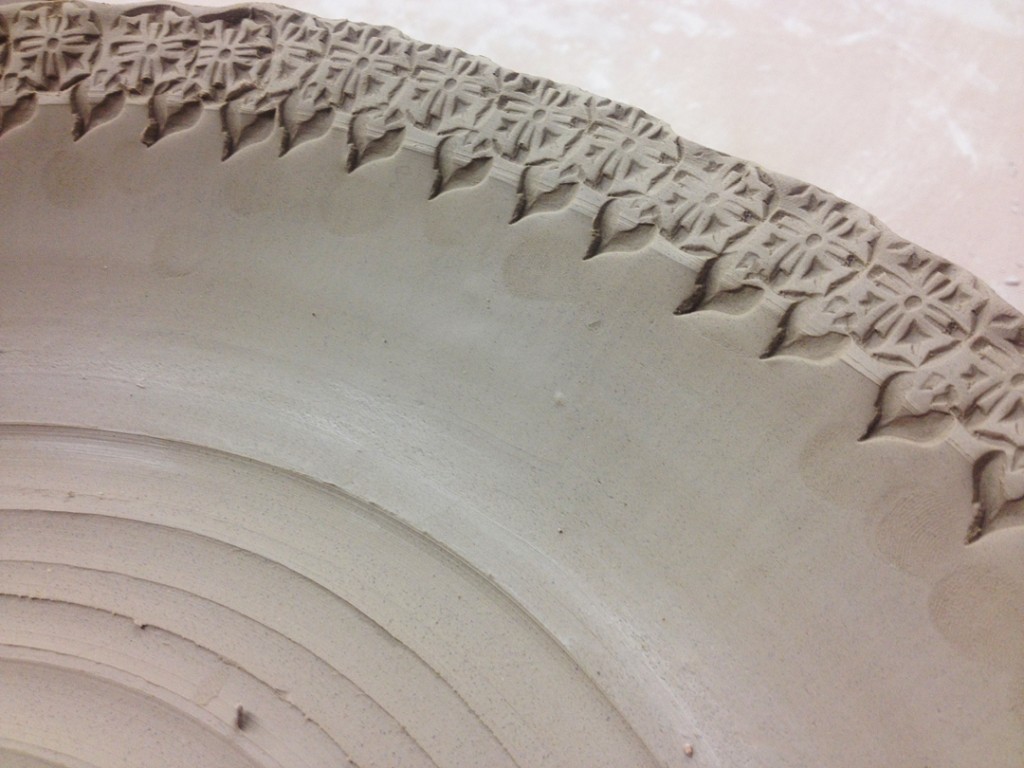
And more homemade macaroons by my new teaching assistant Cynthia.
Of course they were all gone… all the more reason I had to bike again this morning!!!
Categories: classes, food

Tonight was the first night of my new Beginning Wheel class for the Fall Session.
I, of course, brought my standard Oreo’s.

Meanwhile Cynthia, my new teaching assistant, may have won the “Best TA Ever Award”
in the first five minutes by bringing in four flavors of homemade macaroons!
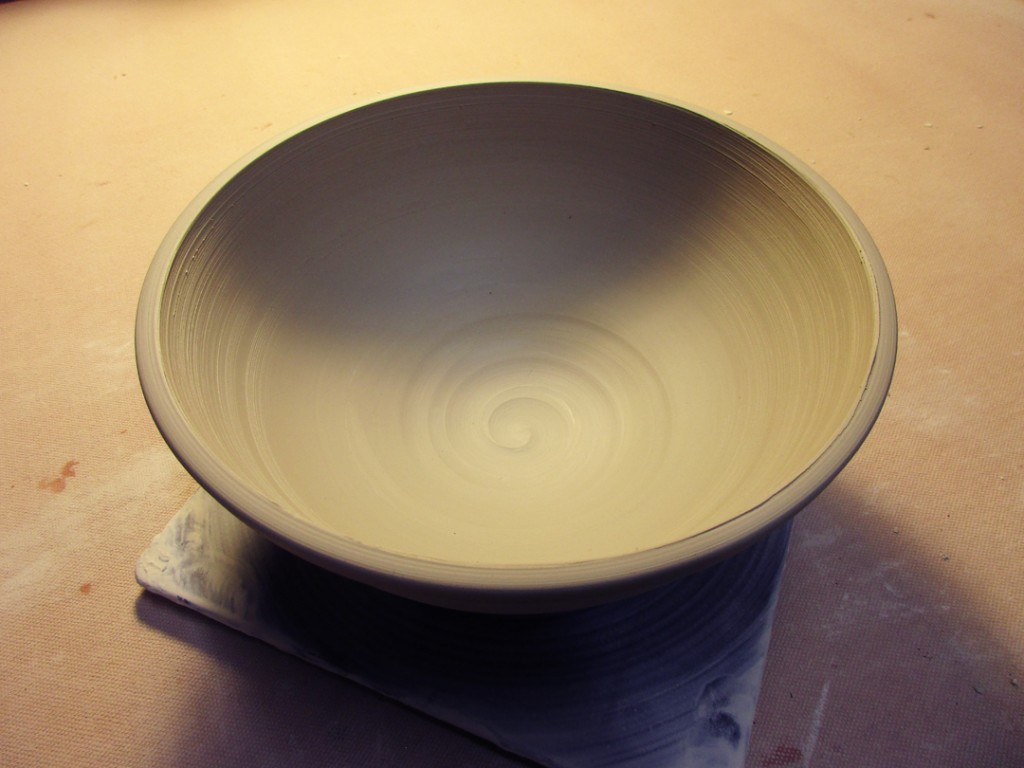
Chocolate with salted caramel filling.
Vanilla with lemon curd filling.
Chocolate with raspberry filling.
Vanilla with white chocolate lemon ganache filling.

Now everyone loves Cynthia… my Oreo’s never had a chance!!!

So now Cynthia has set the bar pretty high.
I hope she knows we now “expect” her to keep up the good work…
we’d hate to have to take away her “award” so soon!!!                       Hint, hint.

Categories: artists, bowls, classes

Last night was the final class for my Beginning Wheelthrowing Class.
Hard to believe that 10-weeks has flown by already?!

In addition to a great potluck, we also did a fun “White Elephant” trading-exchanging-stealing game with bowls they each made. Everyone put in a bowl, and left with someone else’s bowl. I came home with this beauty by Catherine Walker… a porcelain bowl with some “slightly-dehydrated” black slip layered in for a beautiful marbled effect. She was all concerned about the slight oval-ness of the bowl. But that’s part of what I liked about it… it fits in my hand perfectly!!!

Categories: classes, lillstreet

Hard to believe, but it’s already time to start planning for Fall.
And it’s time to consider taking a pottery class. Come play in the clay with us!!!
The Fall Session of my class will begin on Tuesday, September 9th, 2014.

I will once again be teaching my Beginning & Advanced Beginning Wheelthrowing class. It’s a ten-week class, so we’ll cover all the basics from start-to-finish for the brand new beginners. For those who have a good start, we’ll push a little further and try a few more “advanced” projects. I’m open for anything, and our class syllabus is always built off of who we have in class. Plus, as an added bonus, you also get full access to Open Studio hours. So you can come in and practice every day of the week!!!

Sign up and pay in full for adult fall 2014 classes by August 24 and save $20 on any 10-week class or $10 on any 5-week class. Click here to register online!

And sign-up early as my class typically fills up fast.
Don’t get stuck on the waiting list!!!

Categories: bowls, classes

Last night in my Beginner & Advanced Beginner Wheelthrowing Class, I showed my students how to throw basic bowls on purpose, instead of a cylinder gone bad. To start by creating the bottom curve of the bowl right from the start. To compress the curve. To avoid that little “stair-step gouge” that happens to a lot of beginner’s bowls.

After I had done the first bowl demo and answered questions, my students then moved on to work on their wheels while I threw eleven more bowls. It was basically a full bag of clay, cut into 12 balls of clay… to become twelve bowls!!! After I finished throwing them all, the class joined me again for Part Two of the demo. My favorite part – where I show them some quick “tricks” to alter & change each bowl so none of them look the same. It’s a fun demo, with the addition of colored slip for some added surface decoration.

Bowl #1 – Two simple finger twists on opposite edges.

Bowl #2 – And if two twists are good, then eight twists might be better?

Bowl #3 – A simple flange flared out with a little groove line to delineate inside from outside.

Bowl #4 – And if a thin flange is good, a wider one might be even better?!

Bowl #5 – A split rim… pinched in places and then squared off a bit.

Bowl #6 – A split rim pinched in places… then curved in & curved out.

Bowl #7 – A quick slip demo… showing a simple “covering” of white slip to make a two-tone bowl.

Bowl #8 – Some white slip on the flange… waiting to be carved through later.

Bowl #9 – More white slip to cover the inside, then a simple swirl dragged through using the rounded end of my wood knife tool.

Bowl #10 – More slip… and a spiral, and some banding, and some squiggling!

Bowl #11 – More white slip… this time using my green plastic rib to do some chattering through the slip as it is spinning.

Bowl #12 – And if one slip is good, maybe two blended together would give us a nice ombre effect… but then I couldn’t resist another spiral-swirl through the slip!!!

So all twelve of the bowls are now under wraps in my studio.

When they stiffen up a bit, I’ll do some more decorating & refining. Some stamping. Some carving. So more shape altering. And then of course, trimming of a good foot!!! Twelve different bowls… that all started out as a simple round bowl.

Categories: classes, food

So tonight in class we had the “official” taste testing of the Fruit Punch Oreo’s that I received in the mail. It was a great surprise when I got the package last night… but I just had to wait to share them with my class!!!

One of my students actually said that “they taste like a Girl Scout meeting.”
And odd mix of cookies and Kool-Aid… ahhh, childhood memories!!!

I thought they were surprisingly not bad. I actually enjoyed them.

Now remember, I have the palate of a four year-old… and Hawaiian Punch has always been a favorite. So not too much of a surprise that I liked them. Luckily we had a few other flavors in class so those not so “enamored” with Fruit Punch had other sweet options!

Thank you again Amy in Alabama!!!

Categories: classes, mugs, stamps

Okay, so I’ve been gone for three weeks. And that’s a LONG time.
So I haven’t been in the studio, or even touched clay in three LONG weeks!!!
But now that I’m back, it’s time to get back into the swing of things. Including teaching my Beginning Wheelthrowing Tuesday night class. Last night was my first week back, but it was my students’ third class of the new session. I feel like I’ve missed out.. even though I know my teaching assistant Susan did a great job getting them started.

Last night we tackled pulling handles and attaching them onto some of the cylinders that had made & trimmed… without me!

And we followed that up with some stamp-making… you know it’s my favorite. And I always try to get through this demo early on on the session so they will have some of their own stamps to work with later in the session.

Let me just say… it felt great to be back. Great to meet my new students. And even better to touch clay again!!! It’s been too long…

Categories: classes, lillstreet

Today’s the last day to sneak in and snatch-up the “early bird discount” on Summer Classes at Lillstreet Art Center. My Tuesday night Beginning & Advanced Beginning Wheelthrowing Class is filling up fast!!! Don’t miss out on my class OR the discount!!!

Click here for online registration.