Sadly, in class last night we had no OREOs. Mwah, mwah, mwah... But my assistant Erin decided to make some clay OREOs using a stamp she made last week during our stamp-making demo!!! Sweet… but not quite as tasty!!!

Gary Jackson: Fire When Ready Pottery
A Chicago potter’s somewhat slanted view of clay & play |
Sadly, in class last night we had no OREOs. Mwah, mwah, mwah... But my assistant Erin decided to make some clay OREOs using a stamp she made last week during our stamp-making demo!!! Sweet… but not quite as tasty!!!

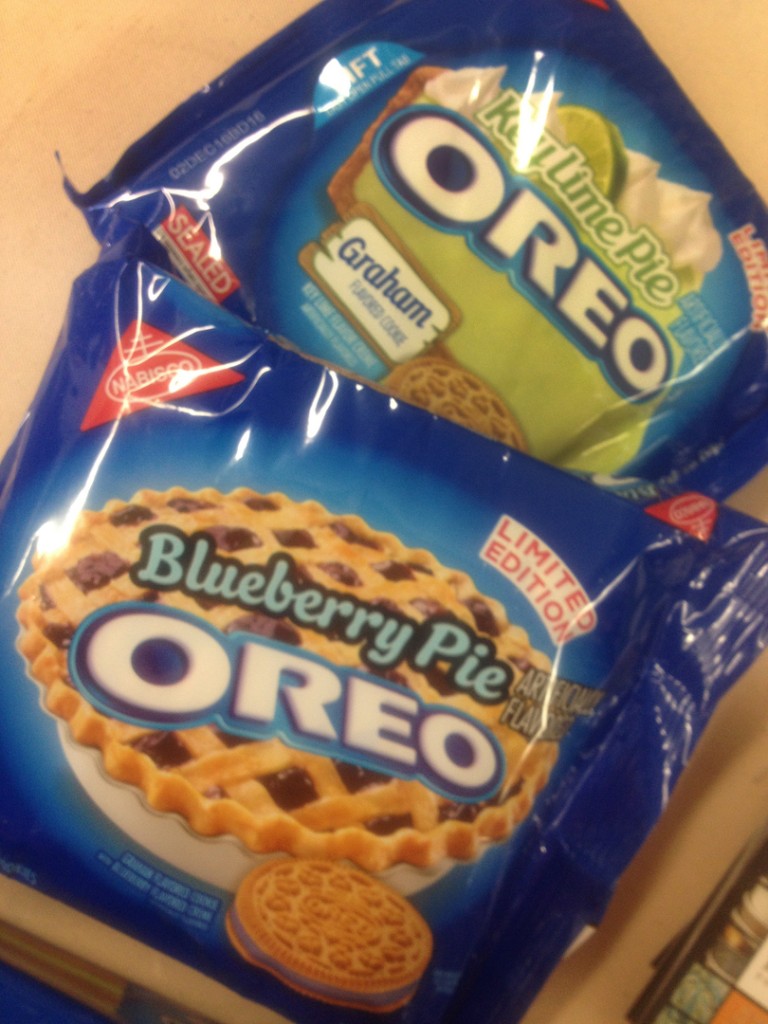
Last night we started the new Summer Session of my Beginning & Advanced Beginner Wheelthrowing class. We also started with the NEW Oreo flavors! Key Lime Pie and Blueberry Pie. And you know how I love pie!!!
As part of the last pottery class, I like to challenge my students to a pottery exchange. So this session everyone had to bring in a mug they had made in class. We then did a fun trading-stealing White Elephant sort of game… and everyone left with another person’s mug. I came home with a twosome of tumblers by Megan… complete with some crocheted little cozies!!!
Good luck Megan as you move on to Colorado…
and continue your pottery adventure in the Rockies!

Not only did we have plenty of food & ice cream at tonight’s potluck… but then Katie brought in possibly THE BEST DESSERT EVER!!! Like we didn’t have enough sugar already?! So check these out… seven of my favorite words all strung together into one huge layered & yummy morsel…
CHOCOLATE CHIP COOKIE PEANUT BUTTER S’MORES BARS.
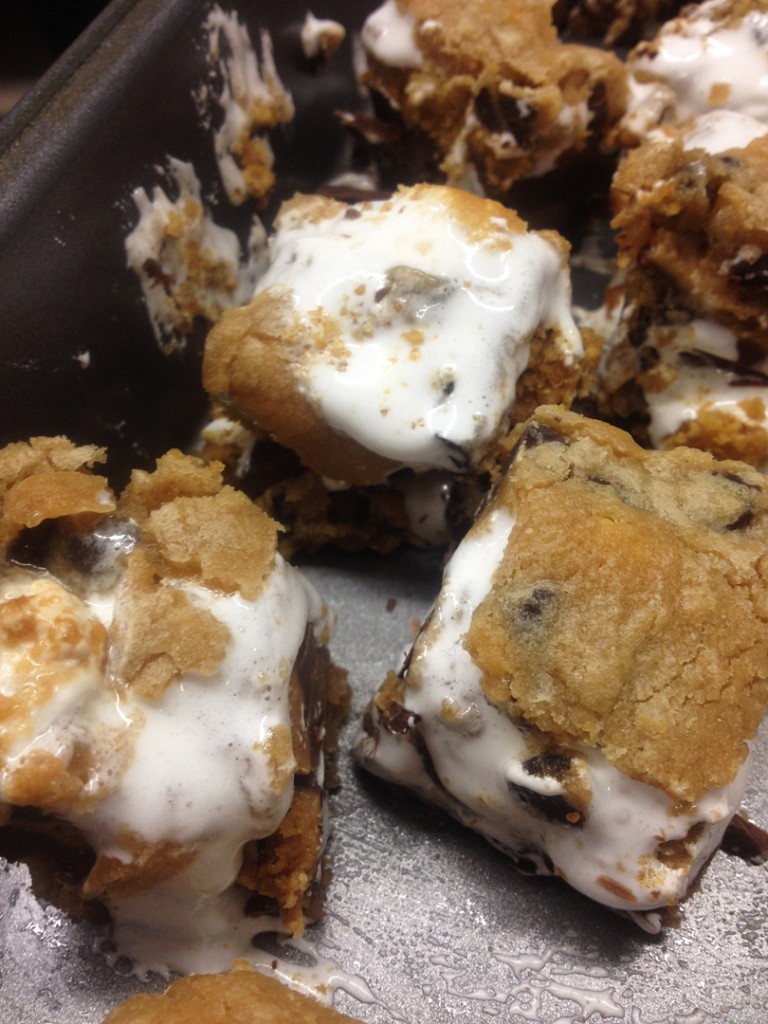
Let me quickly explain the layers… Chocolate Chip Cookie Dough. Hershey Bars. Peanut Butter. Marshmallow Fluff. Crumbled Graham Crackers. More Cookie Dough… and bake. What’s not to like?!!! AMAZING!!! Thanks again Katie for inducing our collective sugar comas!!!
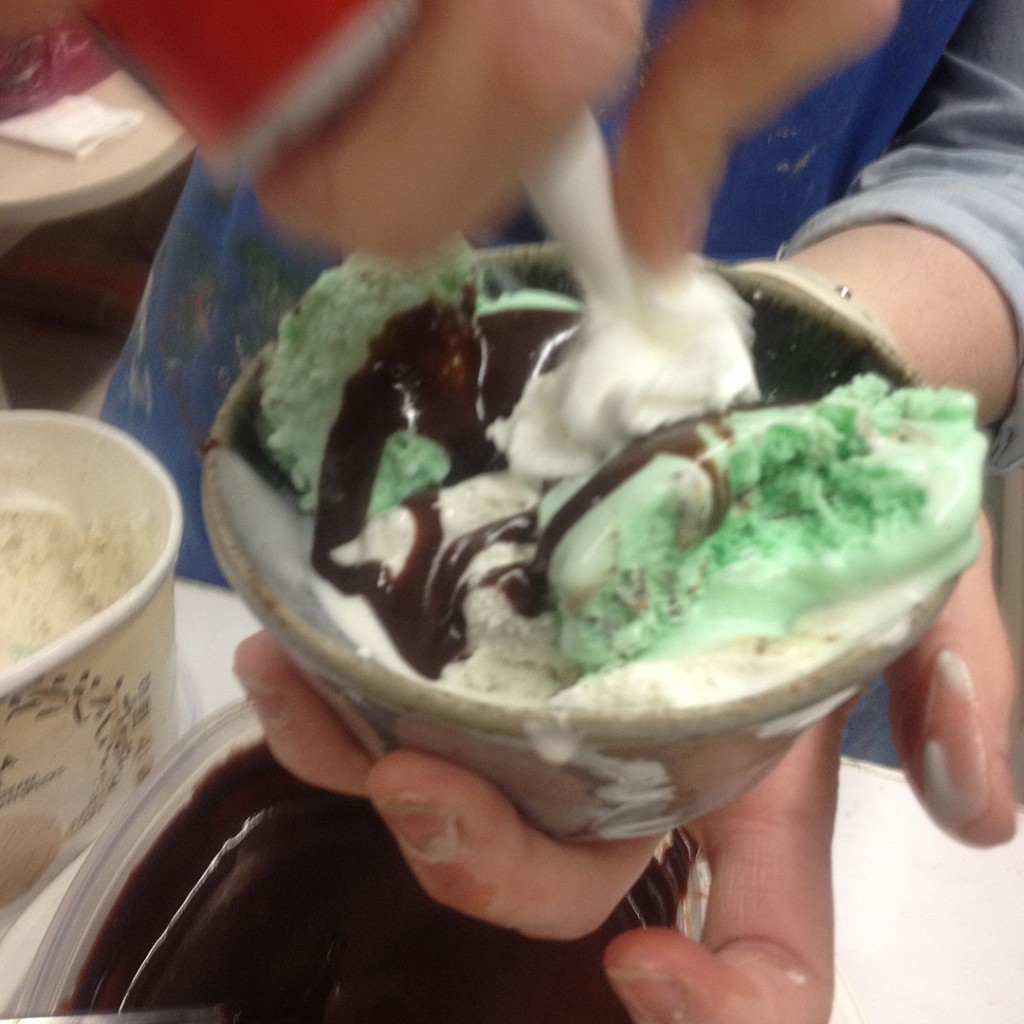
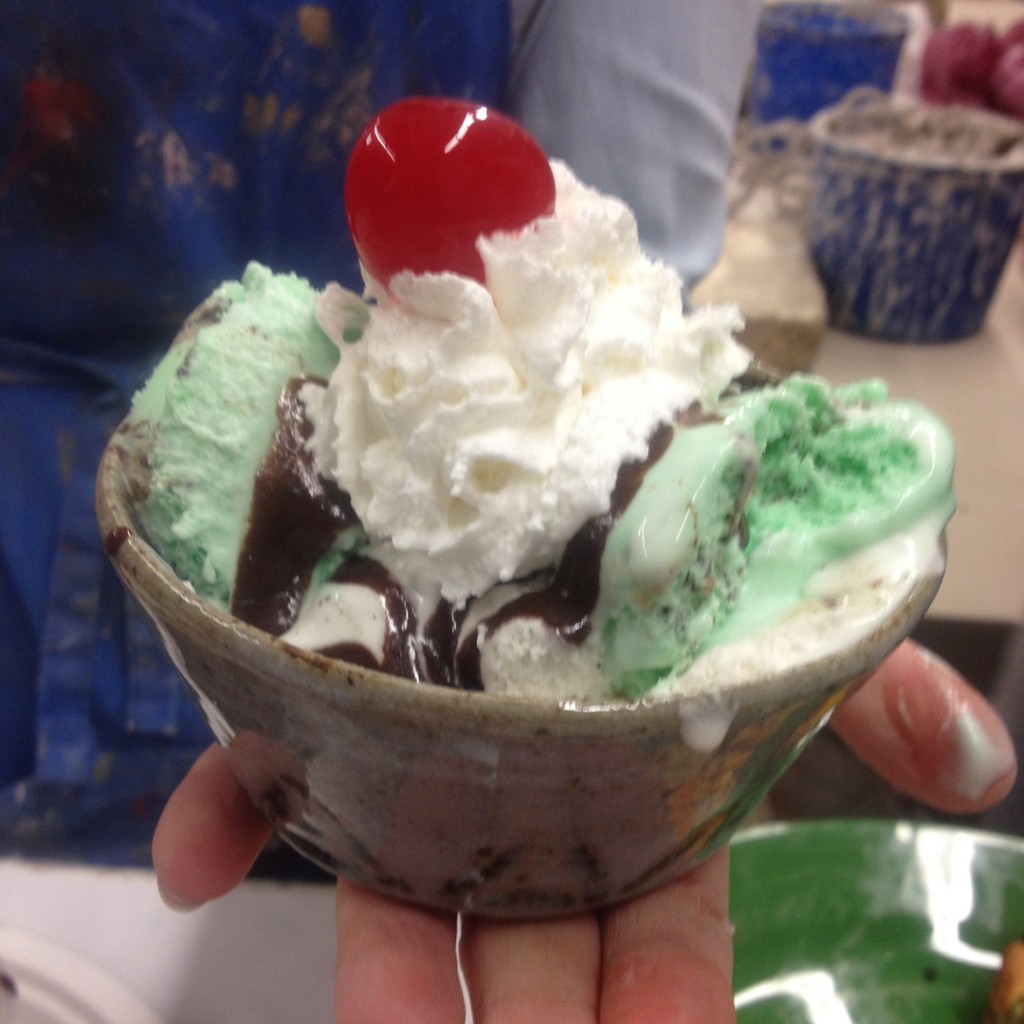
Tonight was the last night of our Spring session of pottery classes. My class celebrated with a fun Mug Exchange, tons of food and an ice cream social complete with my homemade hot fudge sauce! They all used their newly traded mugs for their sundaes… and we also got a “sweet” visit from Susan in the Metals Department.



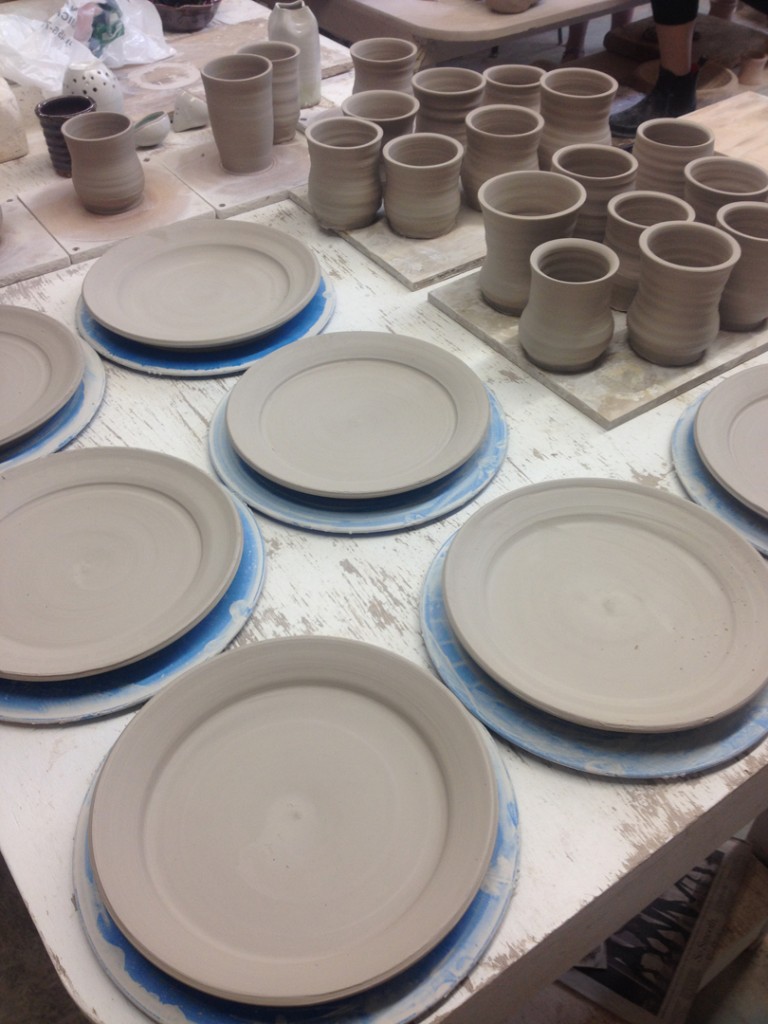
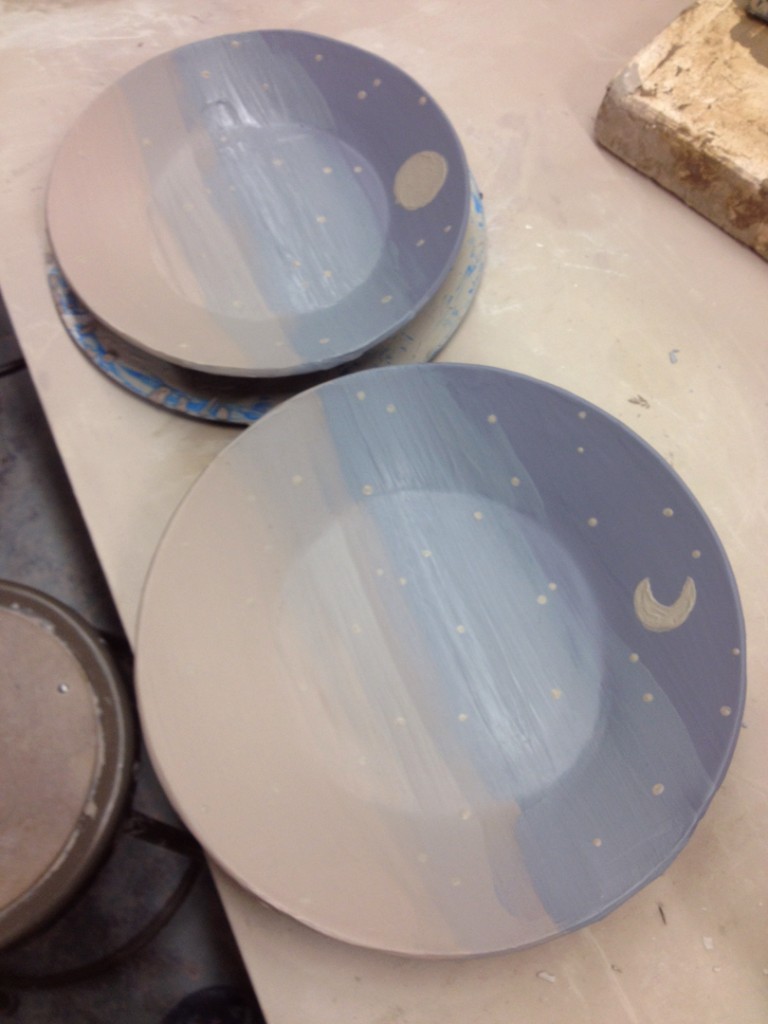
Last night in class it was great to see so many of my students cranking out the work. Megan had plates & cups everywhere, Natalie was slip decorating a full set of mugs with her “Starry Night” design, and everyone else was up to their elbows in clay! Hard to believe we’re already at Week Nine of classes… so proud to see how far they’ve come.
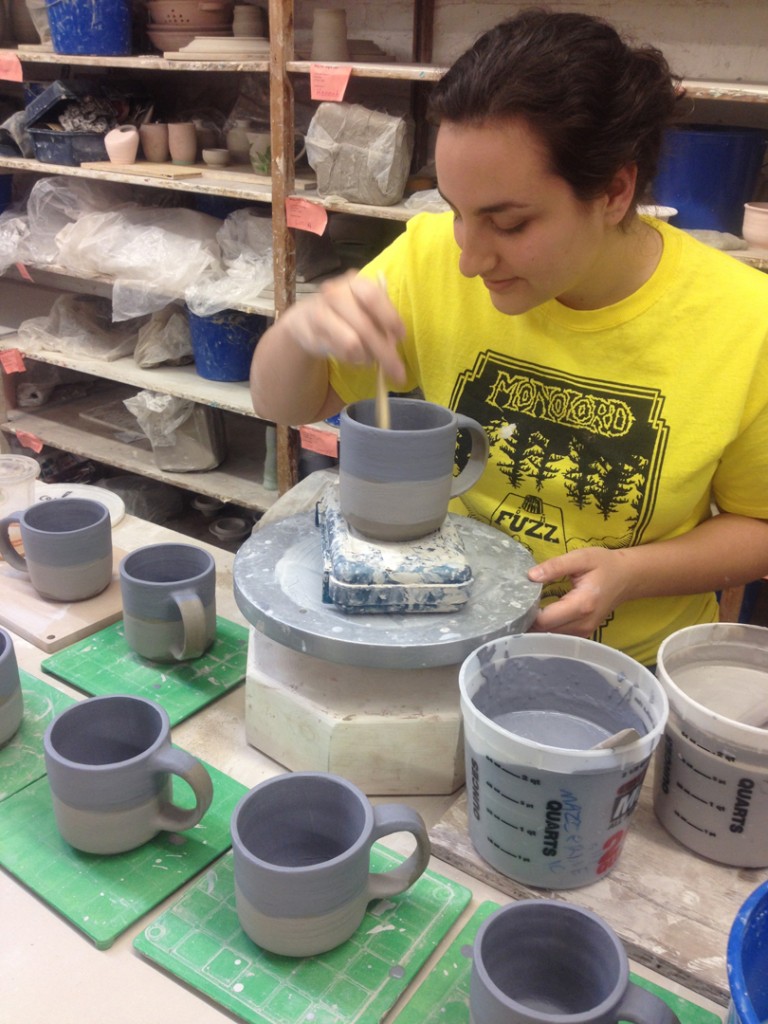

One of my Advanced Beginner students has been perfecting her ombre slip painted dinnerware set. She’s been working on bowls, mugs, cups and more. This week she started tackling her “starry, starry night” plates. And I’m LOVING it!!! Way to go Natalie!!!

And now she’s

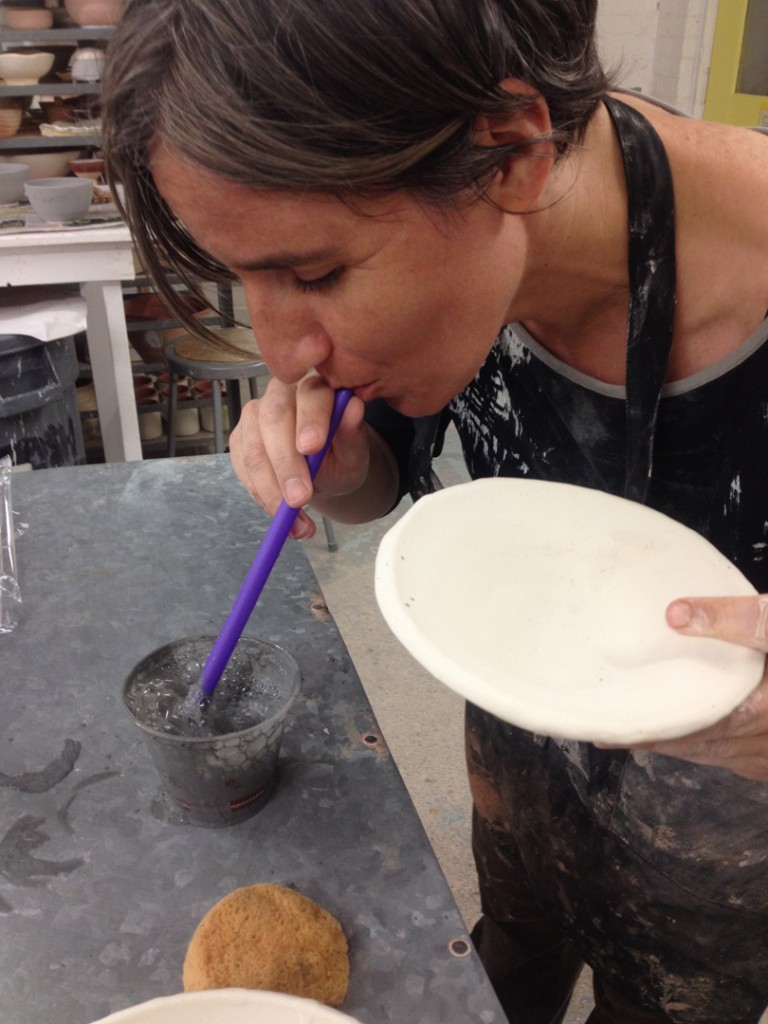
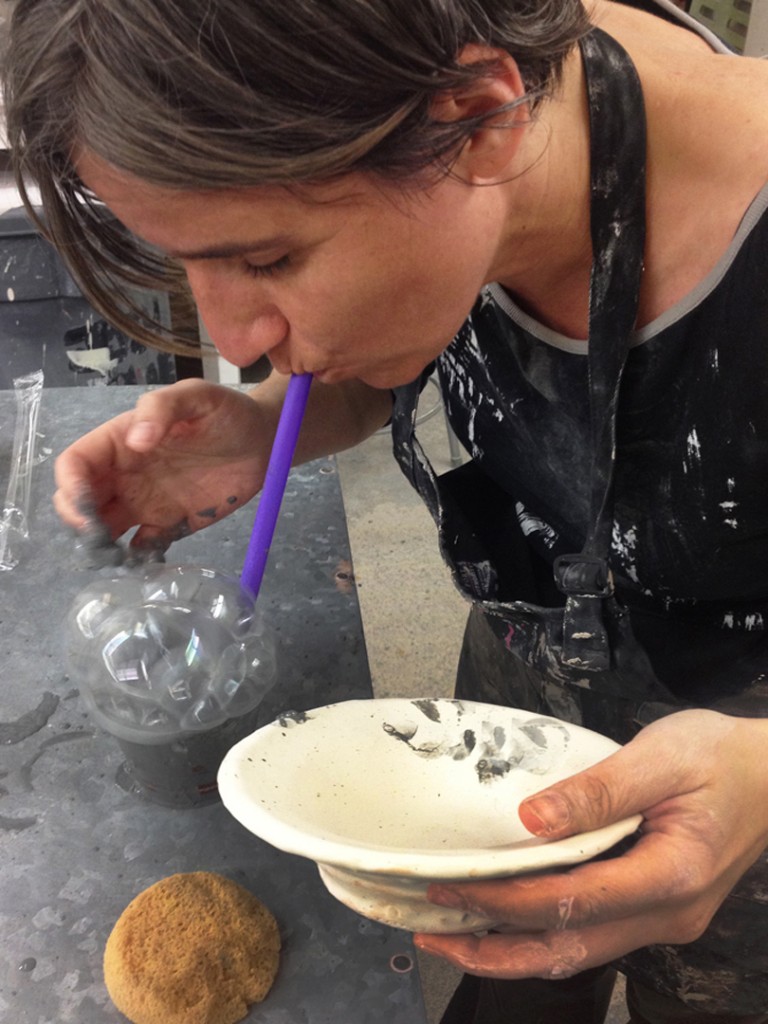
In my pottery class last night, we revisited the Glaze Room and dealt with some more intermediate glazing techniques. Double-dipping, glaze combinations, decorative wax resist, wood ash, stains, spraying and more. Of course we ended with everyone’s favorite. BUBBLES.
A fairly simple trick of adding DAWN dishwashing detergent to a small cup of glaze. Blowing into it with a straw to make bubbles. Then carefully applying them to a glazed pot. Nice patterns. Nice contrast. And so much fun to watch my students giving it a go… like Cecile!
A fun day today in the northern suburb of Vernon Hills. I was one of the workshop presenters at the NSC Art Fest. High school students from the northern suburbs all came to Vernon Hills High School for a full day of art, presentations, workshops and inspiration.
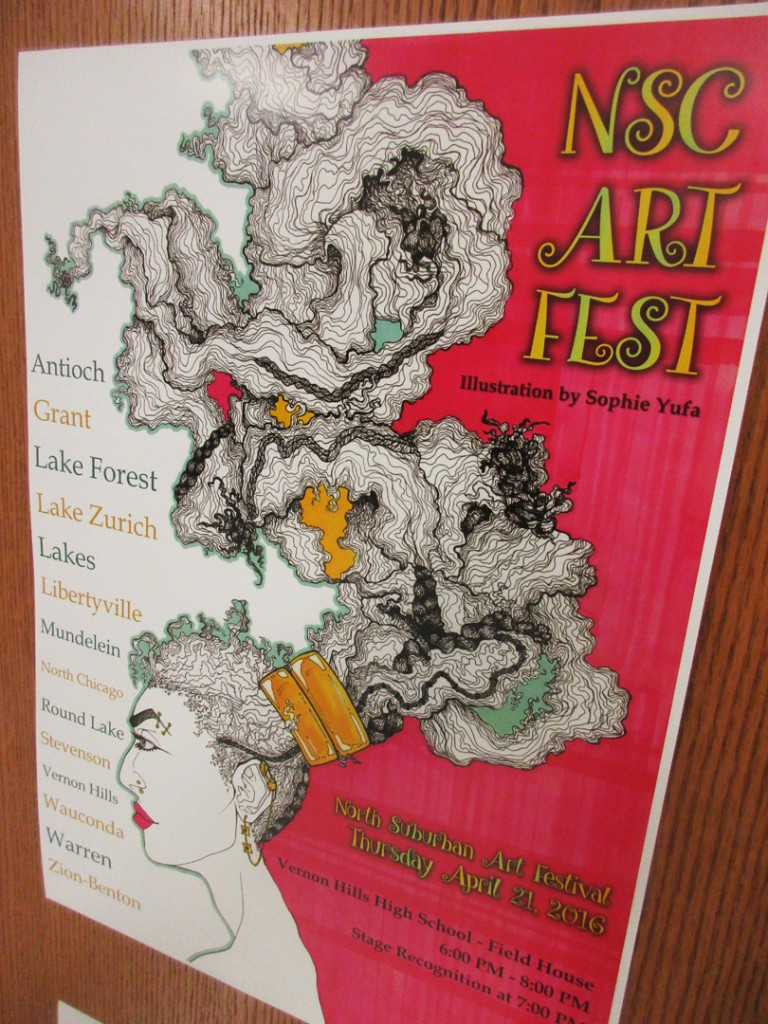
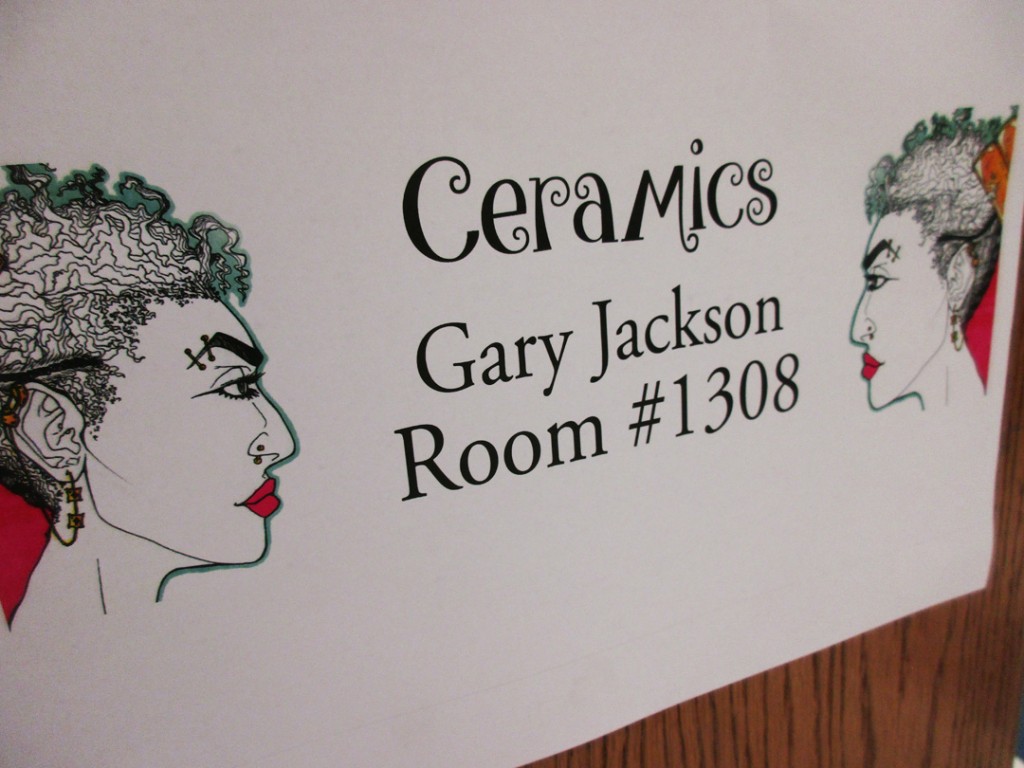
I even had my own room…
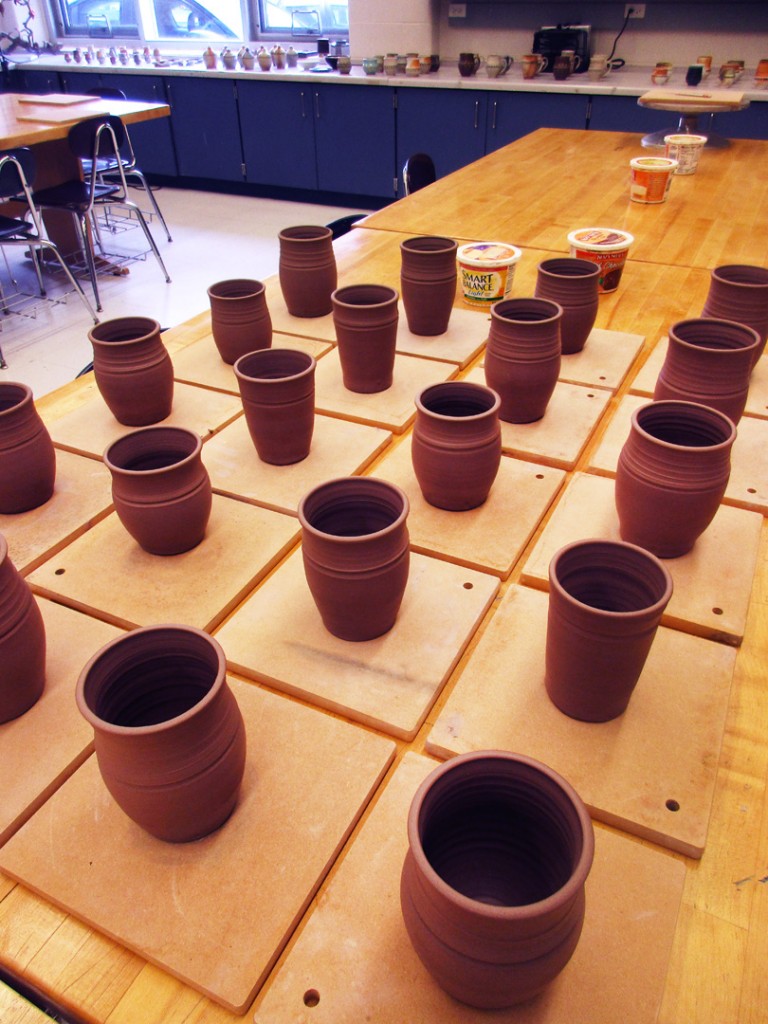
The focus of the workshops were for the high school art students to learn, participate, make something and go home with whatever they made. So I came in a few hours early to throw some quick cylinders for them to use later in the day.
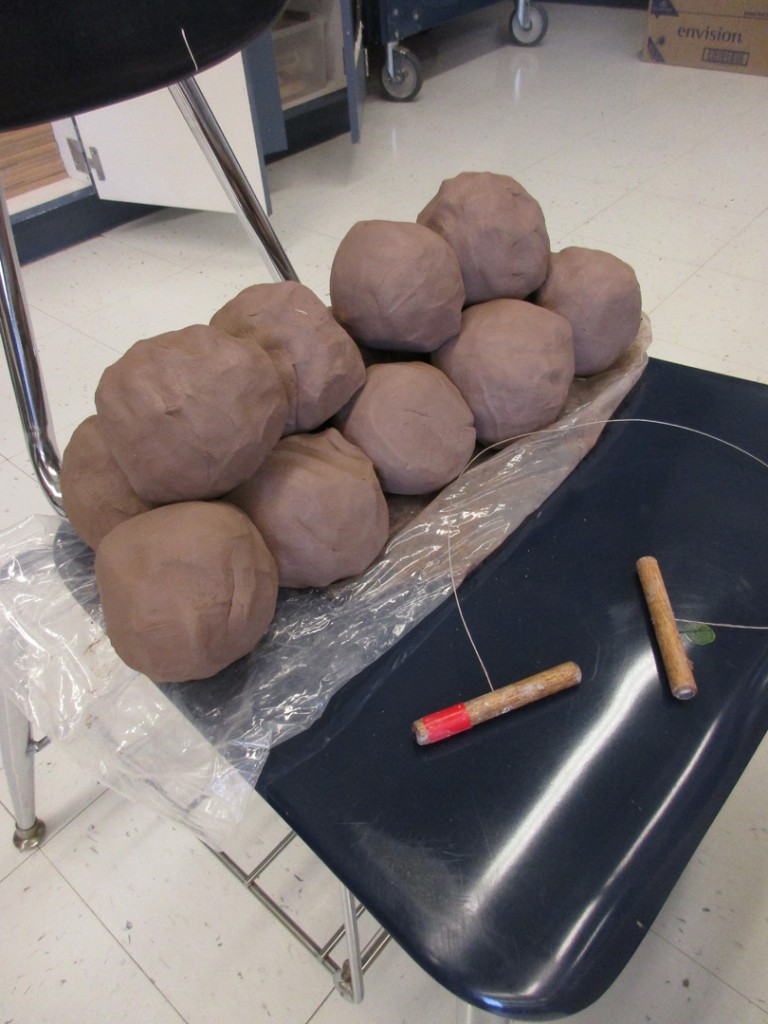
I let the cylinders set out so they could stiffen up a bit before the students got there. They even spent some time in the breeze by the open door to help speed up the process.
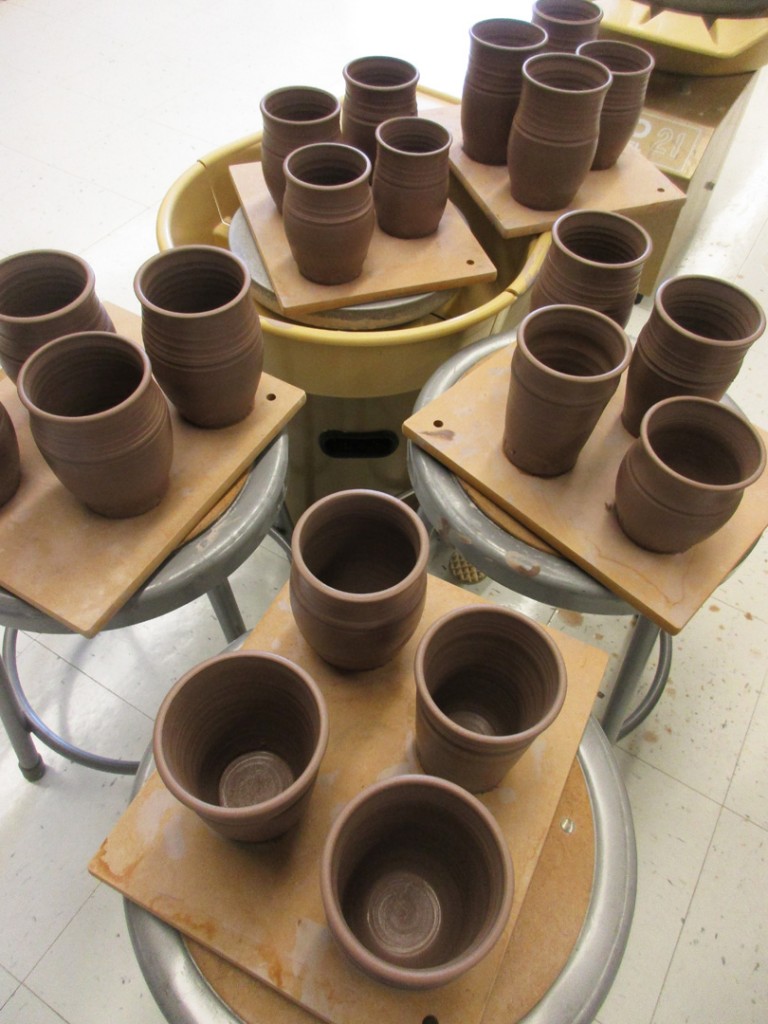

A few minutes before they came in, I smoothed out the bottom edges since they were still far to wet for trimming… but at a good moisture level for stamping. When the kids first came in, we did some quick introductions around the table, followed by my PowerPoint presentation. All about me. My life, My history. My process, My views on life and success.
After the presentation, we sat around the table for awhile and made some stamps. They rolled their coils and carved some patterns. They finally started opening up and talking. I must admit they were a lot more quiet than I expected High School kids to be. It wasn’t until I realized they were each from a different school that it dawned on me. So we did a little “ice-breaking” to warm them up a bit. Okay, so maybe I even had to pull out some of my old go-to jokes. Maybe. Allegedly.
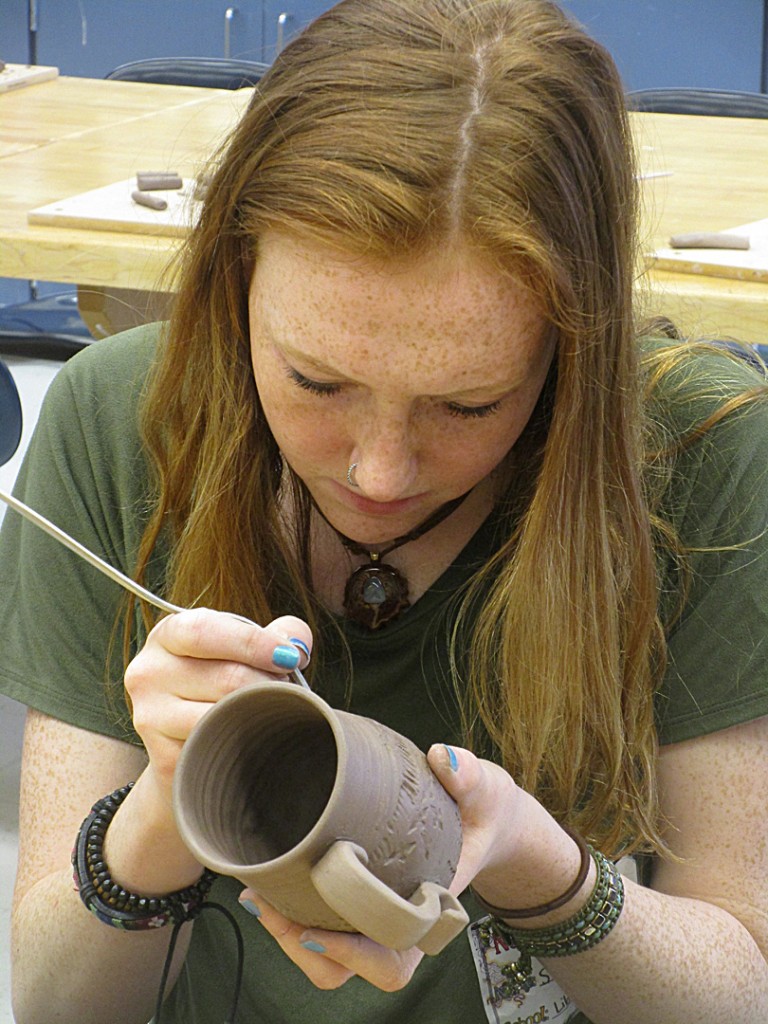
Once their stamps were done, we moved to the other work table where they each got one of the cylinders I had thrown earlier in the day. I has also brought a whole tray of my own stamps for them to use. So after a little demo, they each set-off on stamping their cylinders. As they completed their stamped designs, we then added handles to them so each student would have a finished mug!

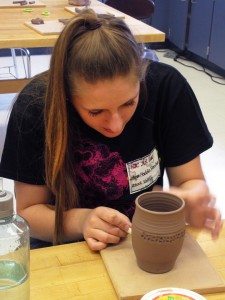
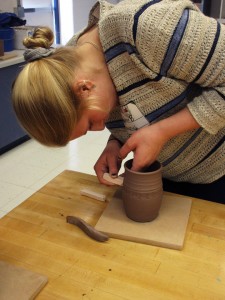
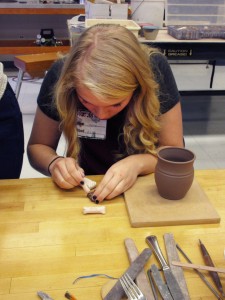

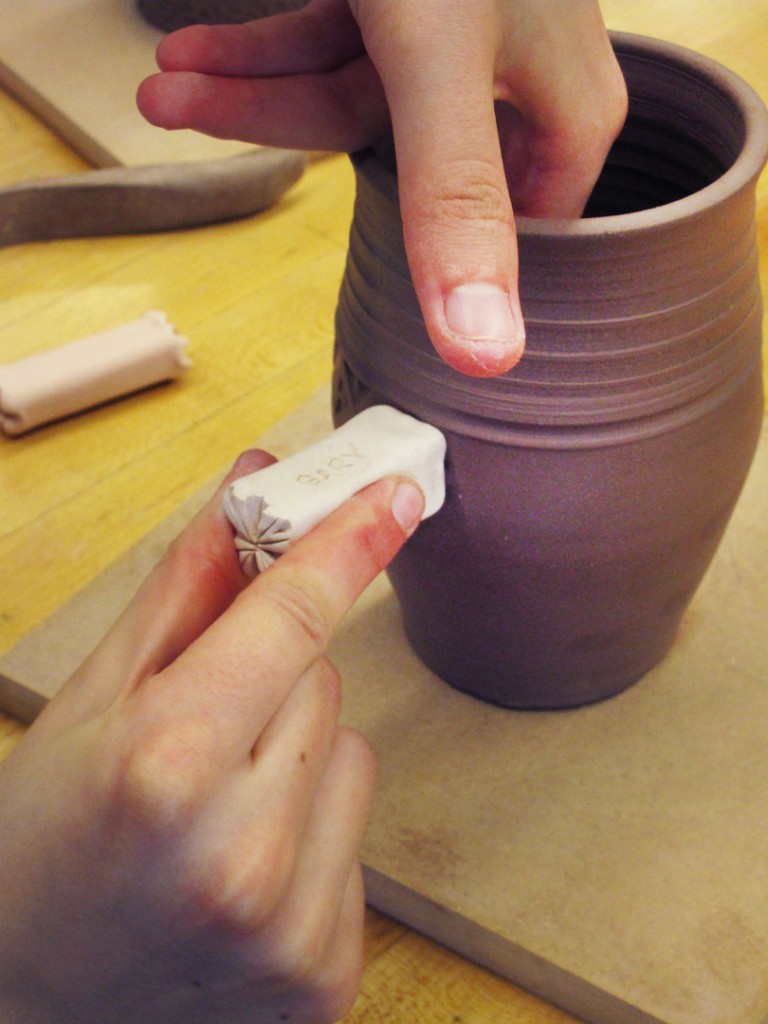
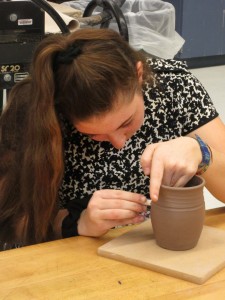
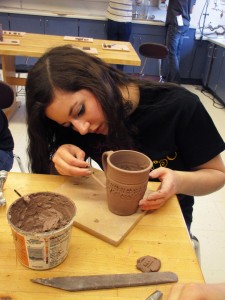
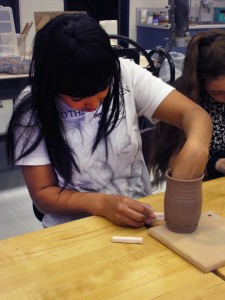
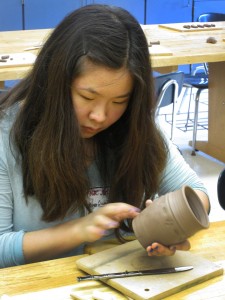
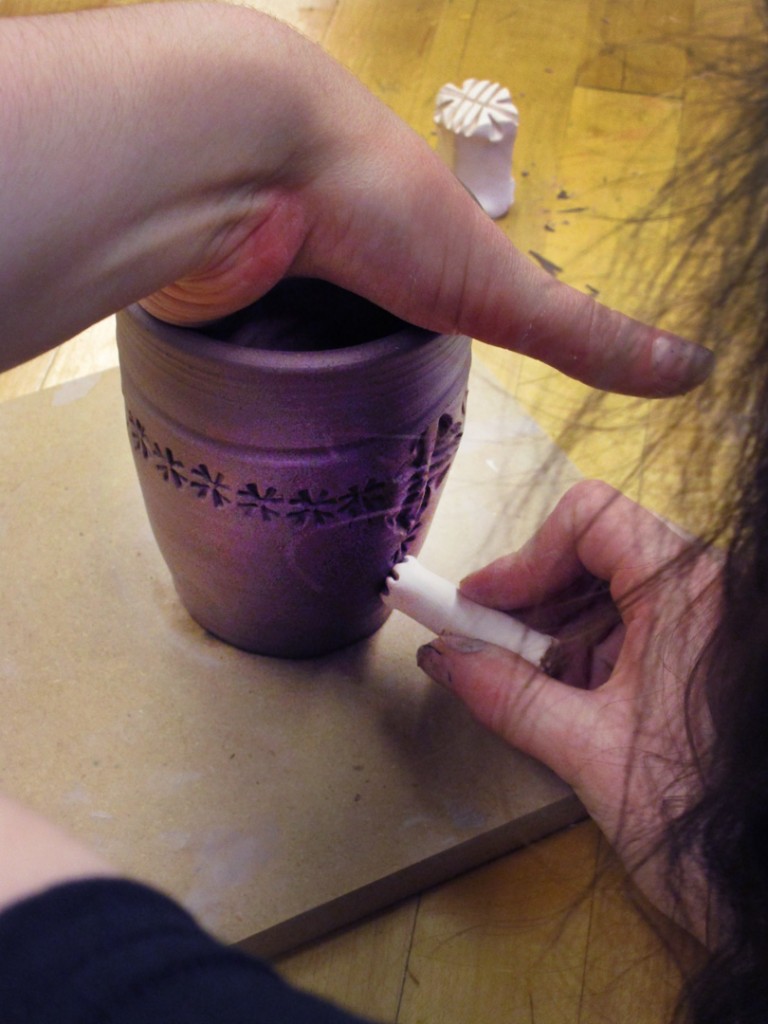
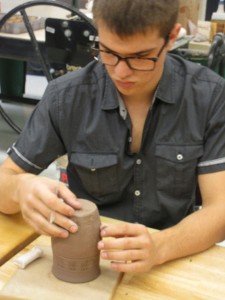
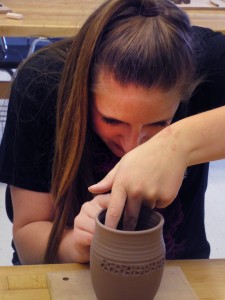
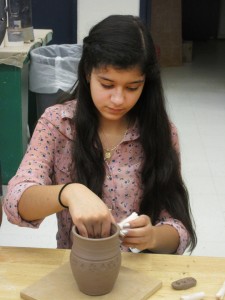
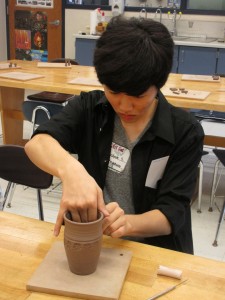

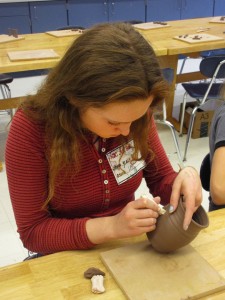
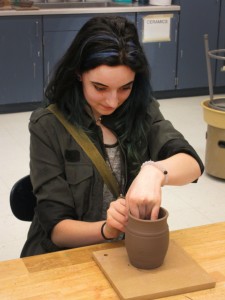
“Look Ma… I made a mug today. Whoo-hoo!!!”
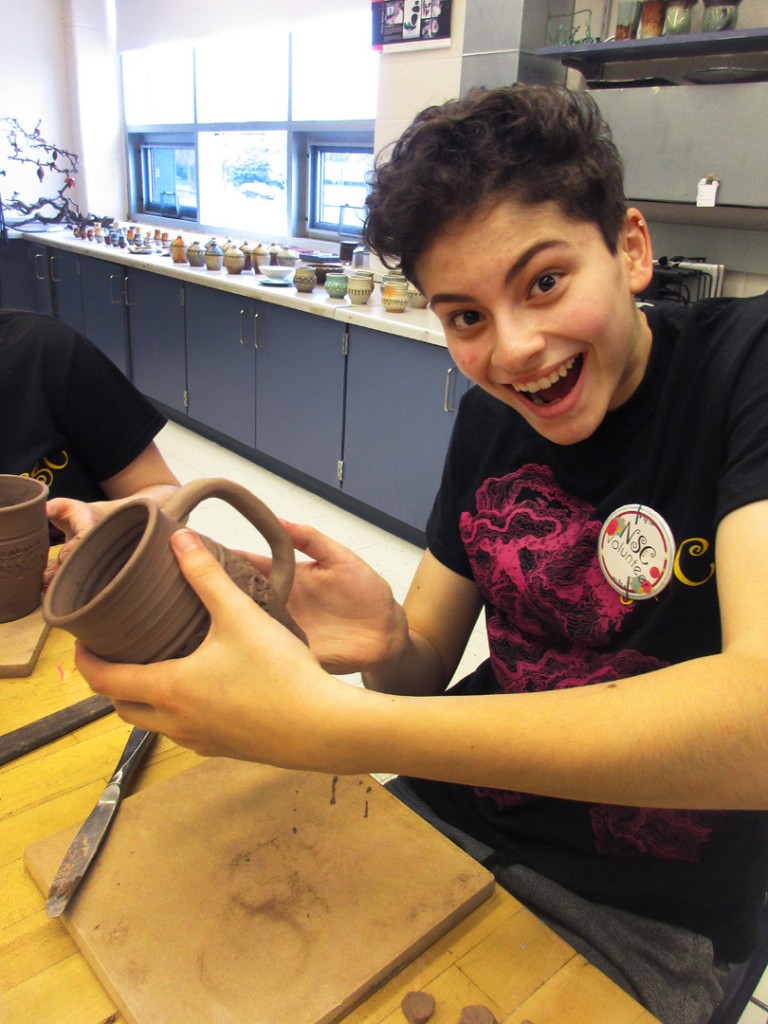
My two workshop assistants were great. They were there to help me get settled in… but when they were done, they thought they were free to go. Free to hang out. I of course had other plans… and put them to work. First they got to throw their first pots on the wheel. Very fun. And then later in the workshop when they thought they could just stand around and take pictures… I of course had other plans. So I handed each of them a cylinder and made them start stamping as well. Thanks for playing girls.
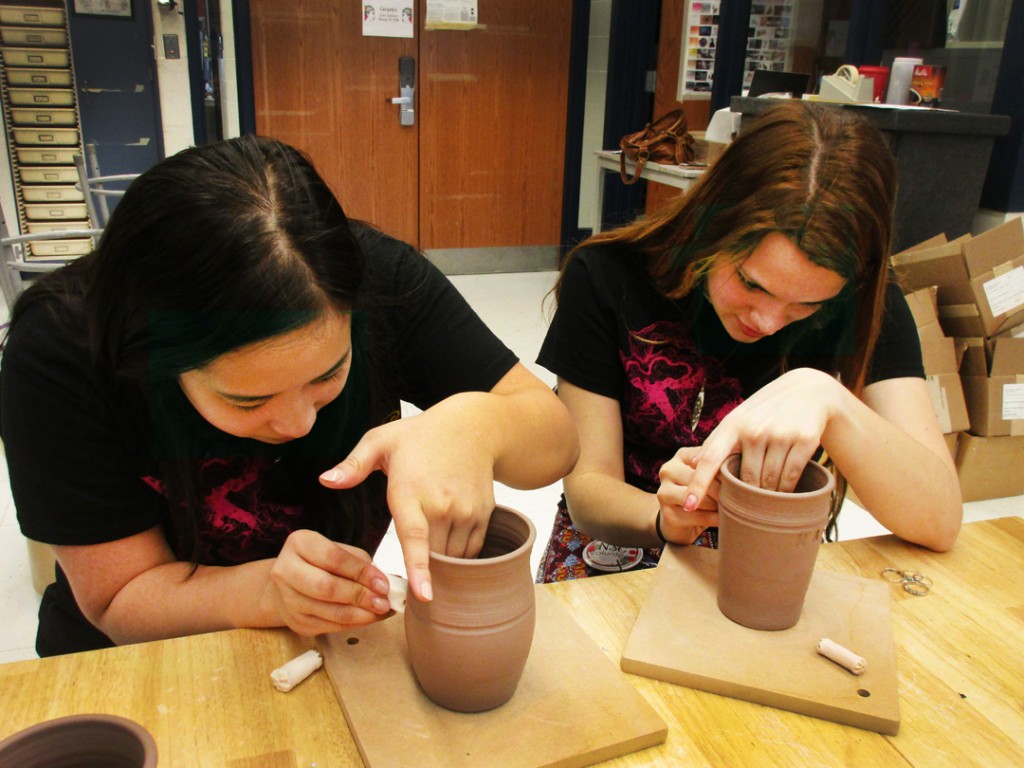
And it wasn’t just my assistants… I also had to put Stephanie, one of the VHHS art teachers to work as well. She’s been to my studio in Chicago before… but this was the first time she had the chance to use my stamps to make her own masterpiece!!!
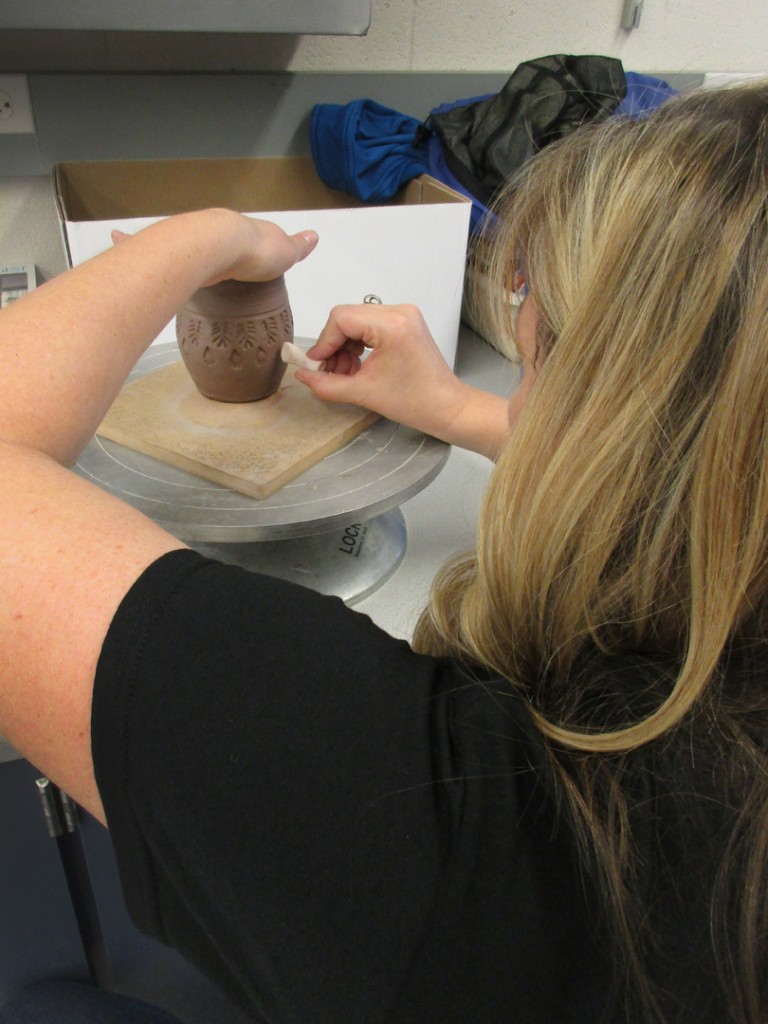
Looks like she was having a good time!!!
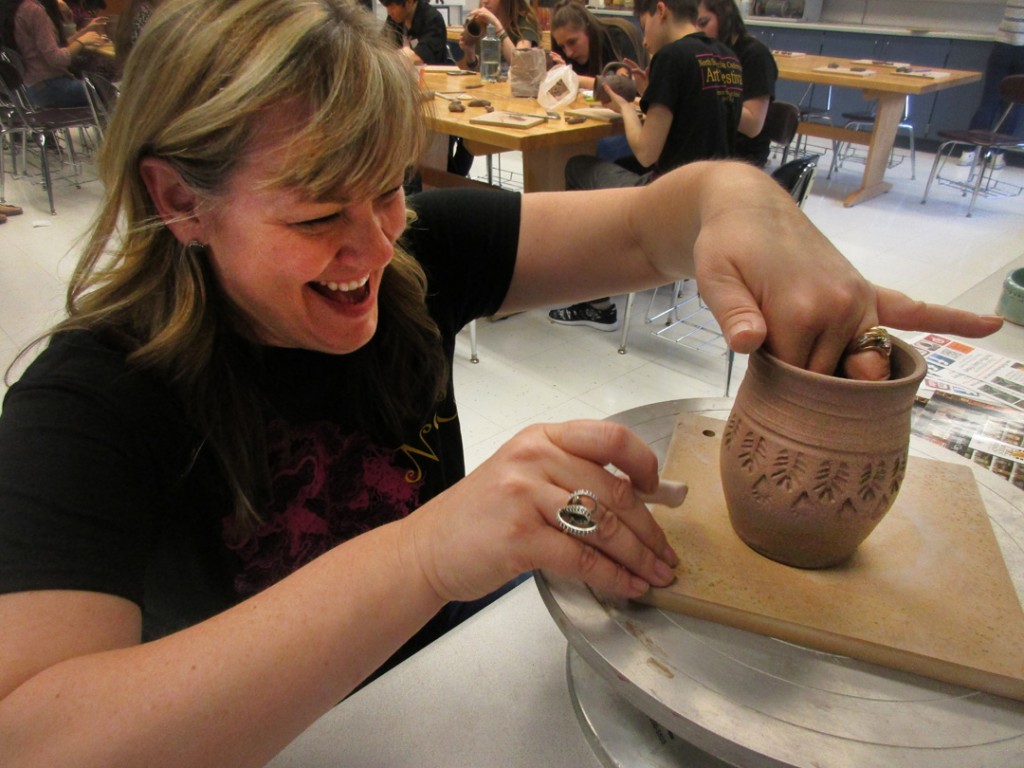
Once they were stamped and we had added handles, it was time for a little more detailing with colored slip. The kids had fun accentuating their stamped mugs with some spots of color.

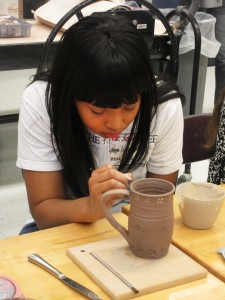
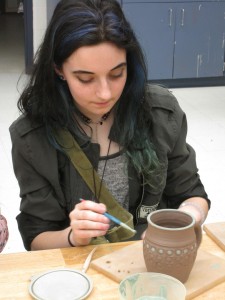
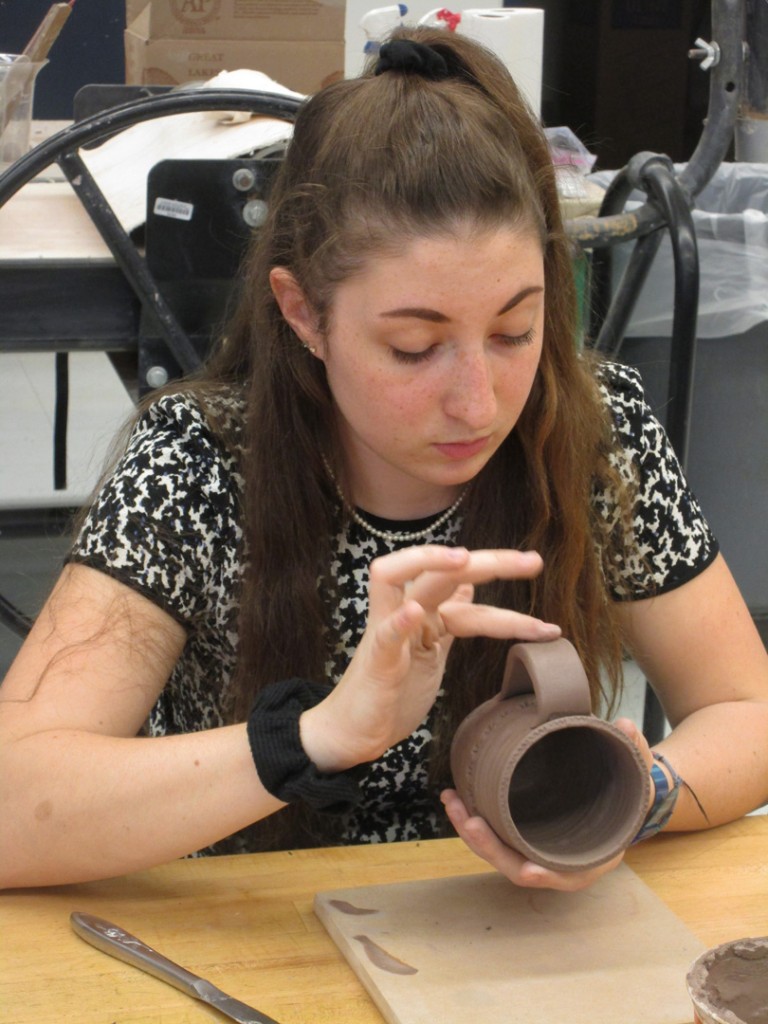
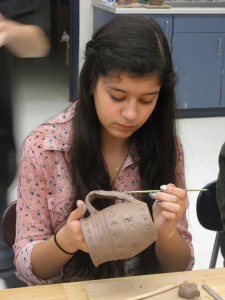
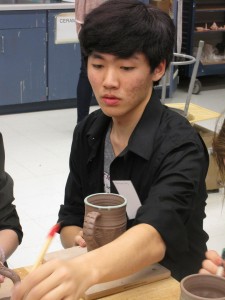
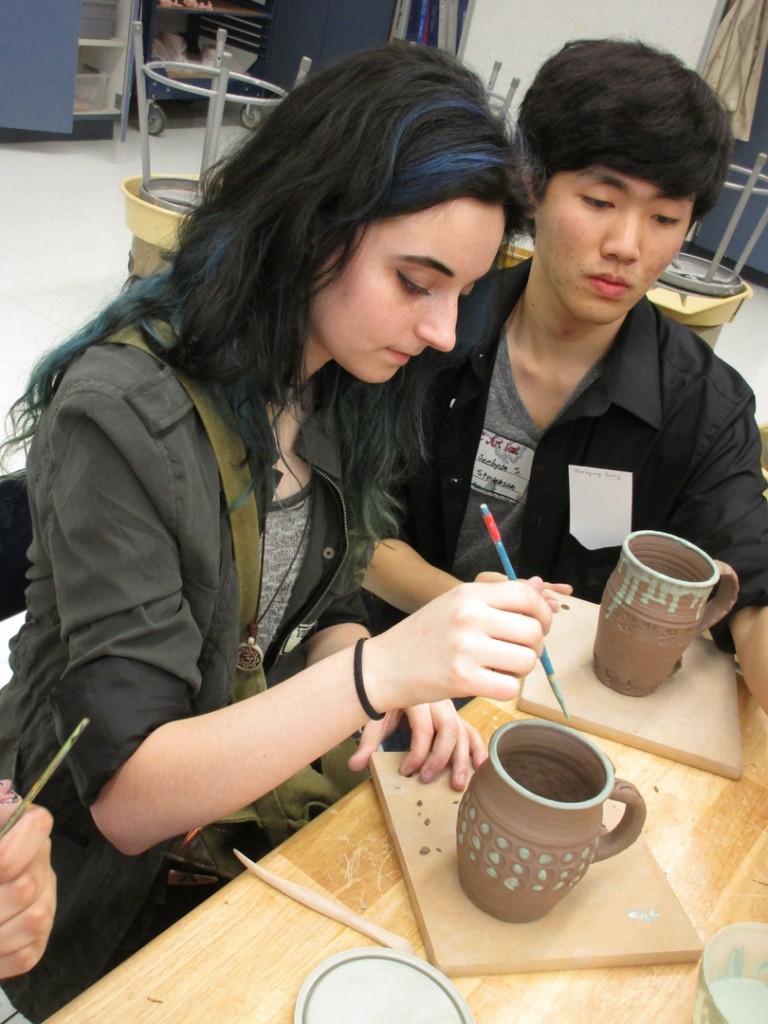
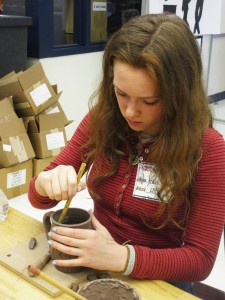
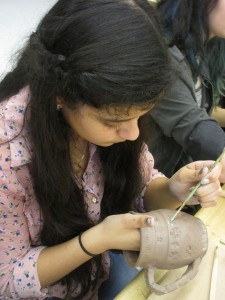
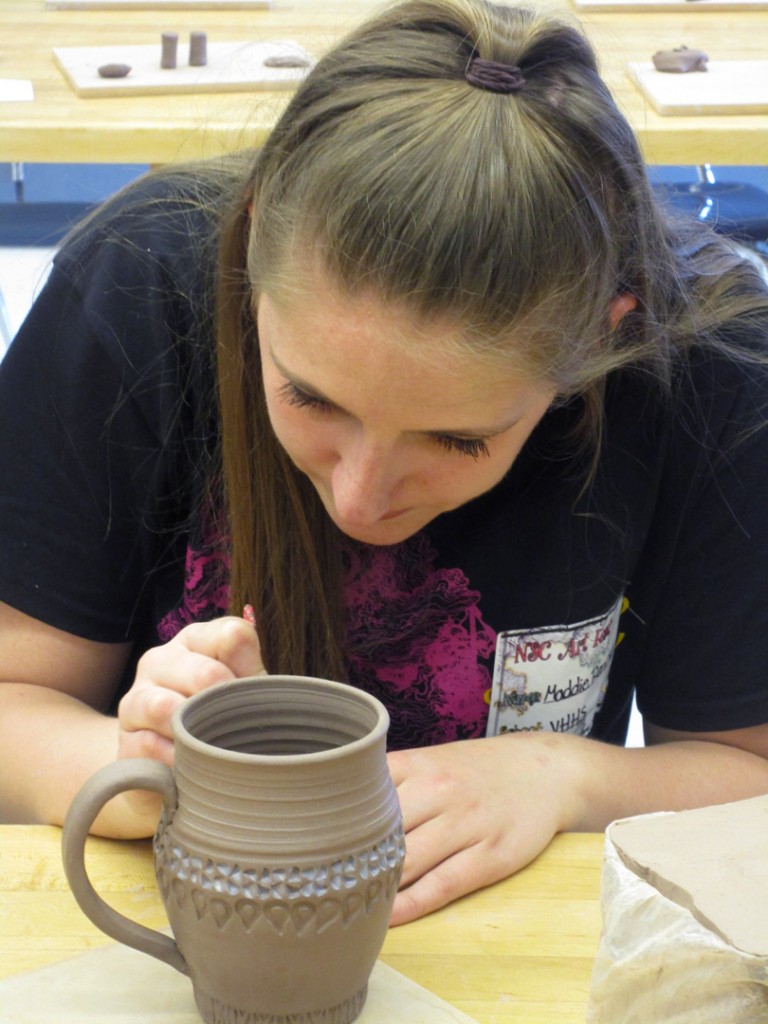
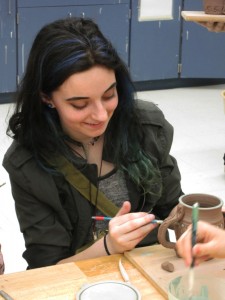
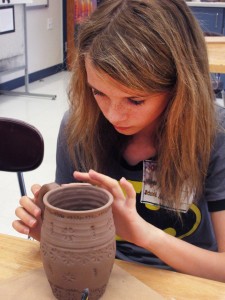
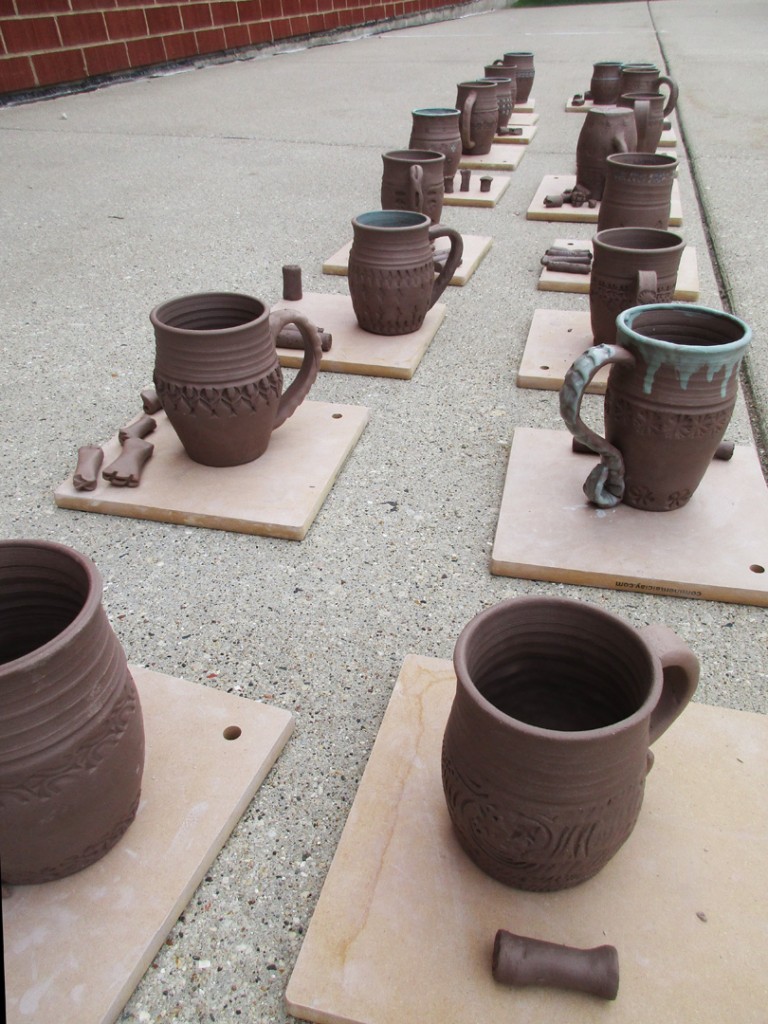
At the end of the workshop, we put the finished mugs outside so they could dry up a little quicker. Not my normal practice, but we had to get them ready to go home right away. The slip had to dry quickly so the kids could carry their mugs home.
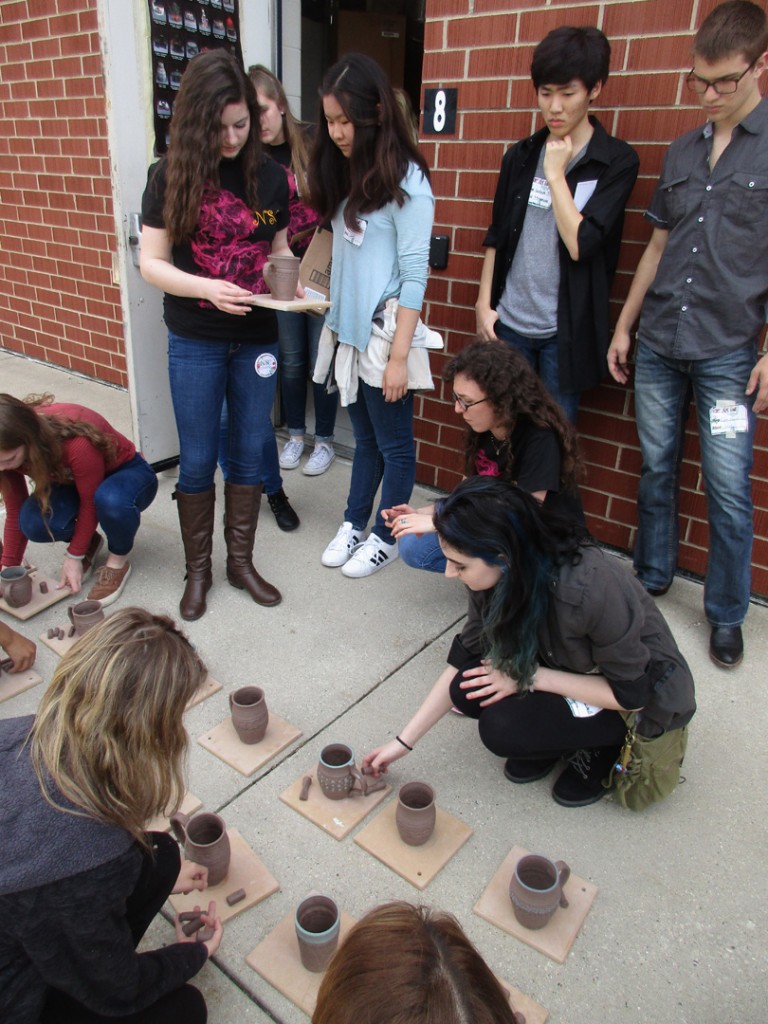
Special thanks to my friend Allison who helped set up this entire Arts Festival… and hooked me up as one of the workshop presenters. I had a wonderful time working with some great kids. Hopefully they had some fun making mugs today! They looked great.
So we’re in Week Four of the new Spring session of classes at Lillstreet Art Center. My Beginners are doing so well this time around. Catching on really quickly and progressing quite nicely. So last night we had a full discussion about making bowls on purpose instead of “accepting” cylinders gone bad. That a “good” bowl has a really nice curve on the inside. Not a flat bottom cylinder with corners that then swoop out into a bowl. No “beginner’s” ledge on the inside from where they pinched their fingers together to lift the clay. So I showed them how to throw that good basic bowl.
After we finished that first bowl demo, my students went back to their wheels to start practicing. While they threw their bowls, I continued to throw mine as well. I used up a full bag of clay… throwing seventeen basic round bowls, each about 1-1/2 lbs. Once I got them all thrown, we reconvened so I could show them some quick tricks on how they can alter, design & personalize their pottery. Anyone can make a basic round bowl… but the fun part is making it your own!!! So I showed them the tricks, introduced them to colored slip, and tried to beat it into their head that “IT’S JUST CLAY.” Don’t be too frightened to try something. It’s not precious. Make lots of stuff. Try lots of things. If it works, great. If it doesn’t, just squish it up and do it again. Don’t be afraid. IT’S JUST CLAY!!!

Bowl #1 – Fluted on two opposite sides.
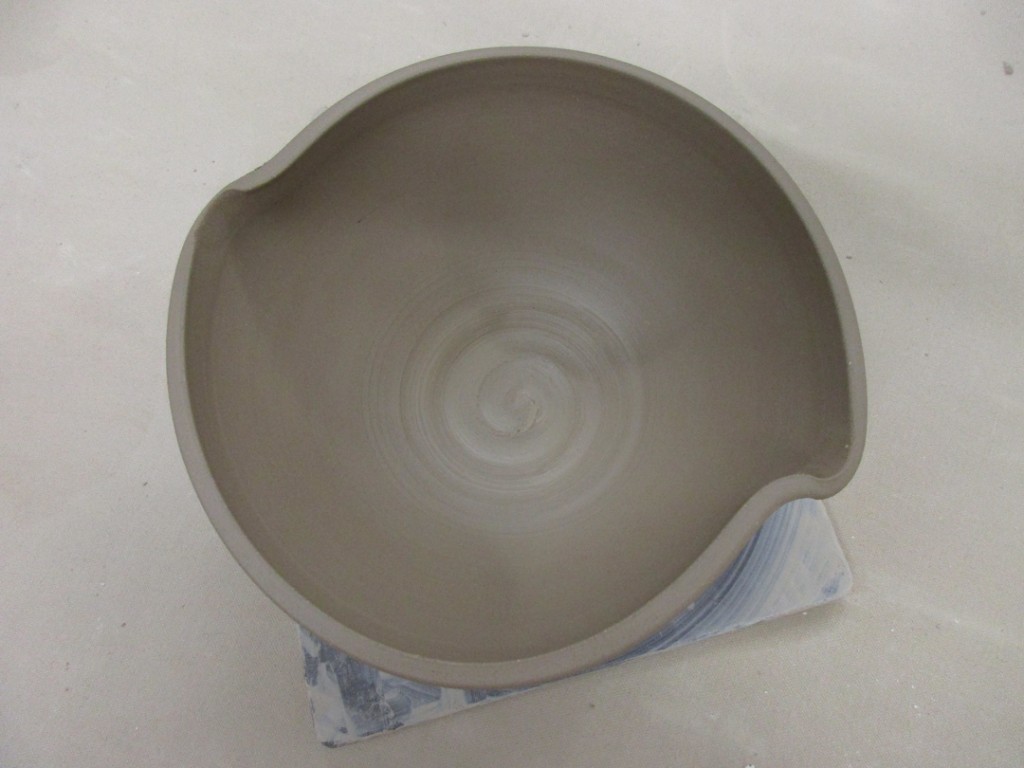
Bowl #2 – If two flutes are good, maybe eight would be better?
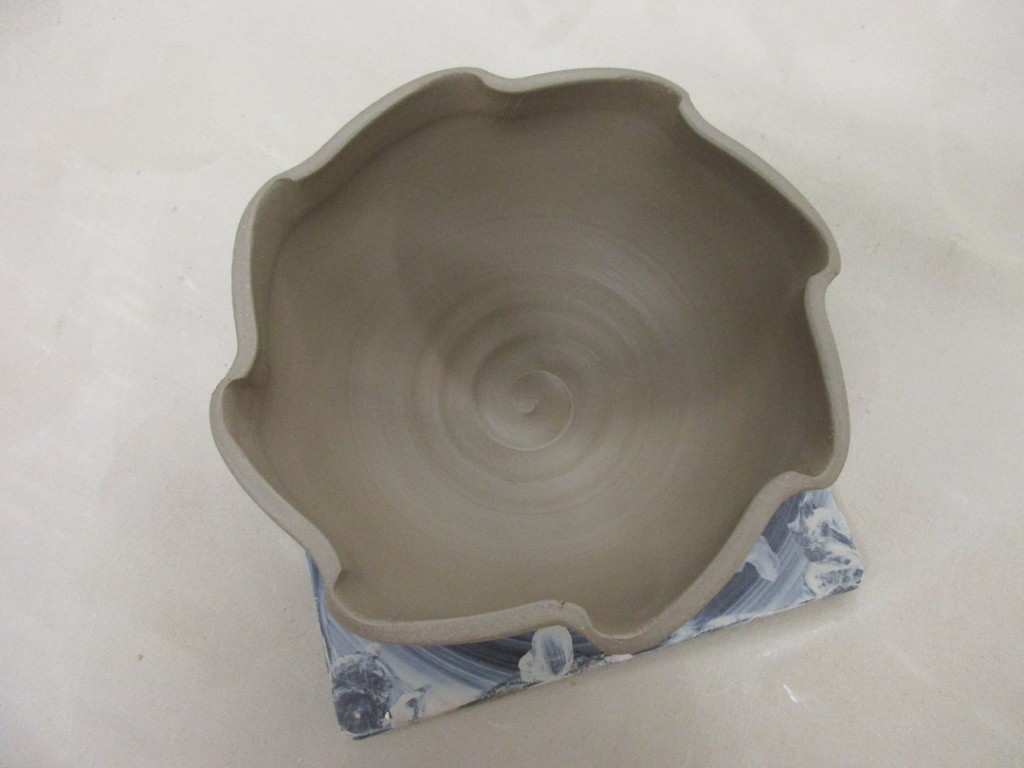
Bowl #3 – A simple flared out rim… becomes a great “canvas” to decorate later.
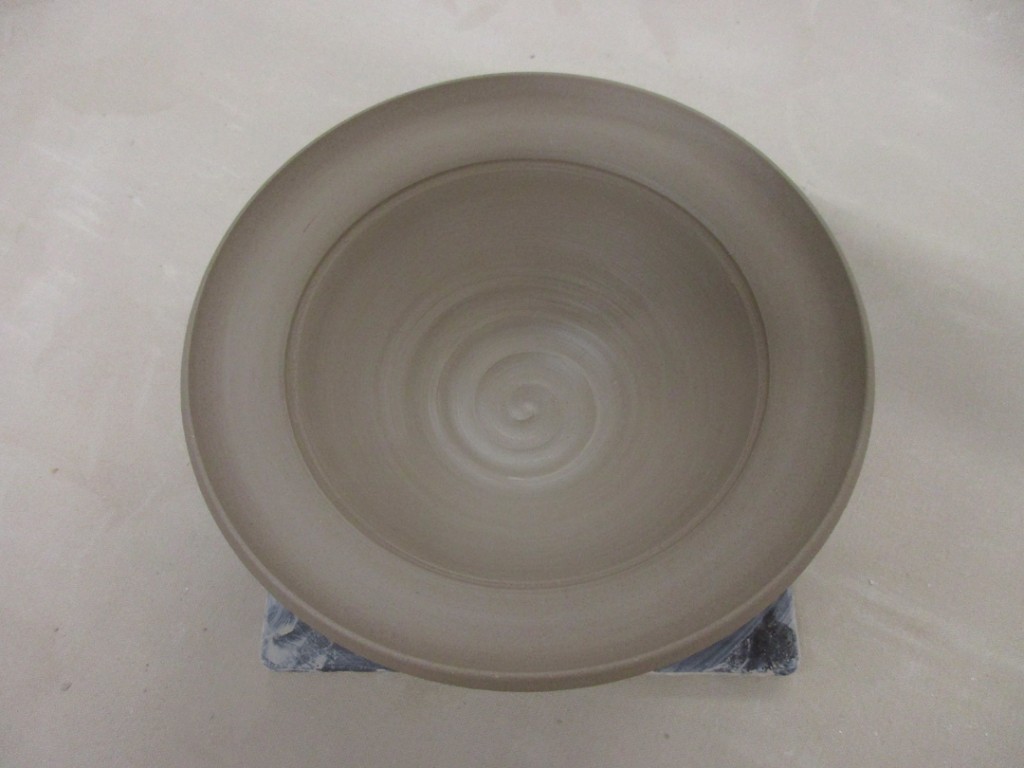
Bowl #4 – A much wider flared flange… for even MORE decoration later.
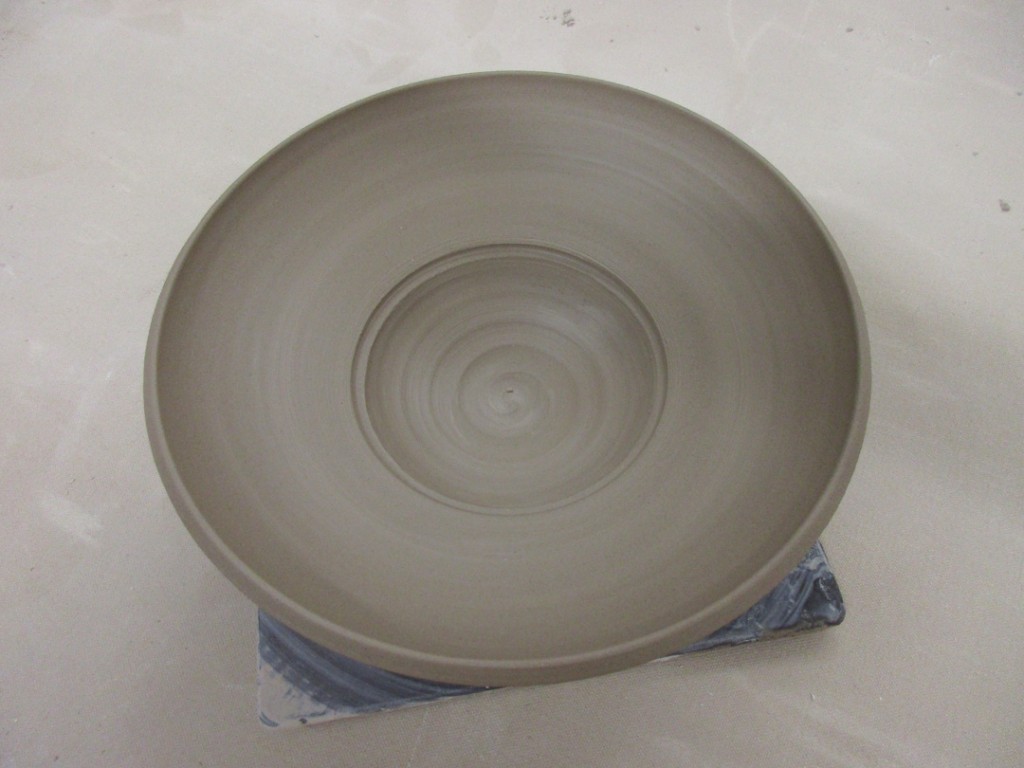
Bowl #5 – A combination of the flared rim and fluted edges. Gives it a bit of an undulating rim.
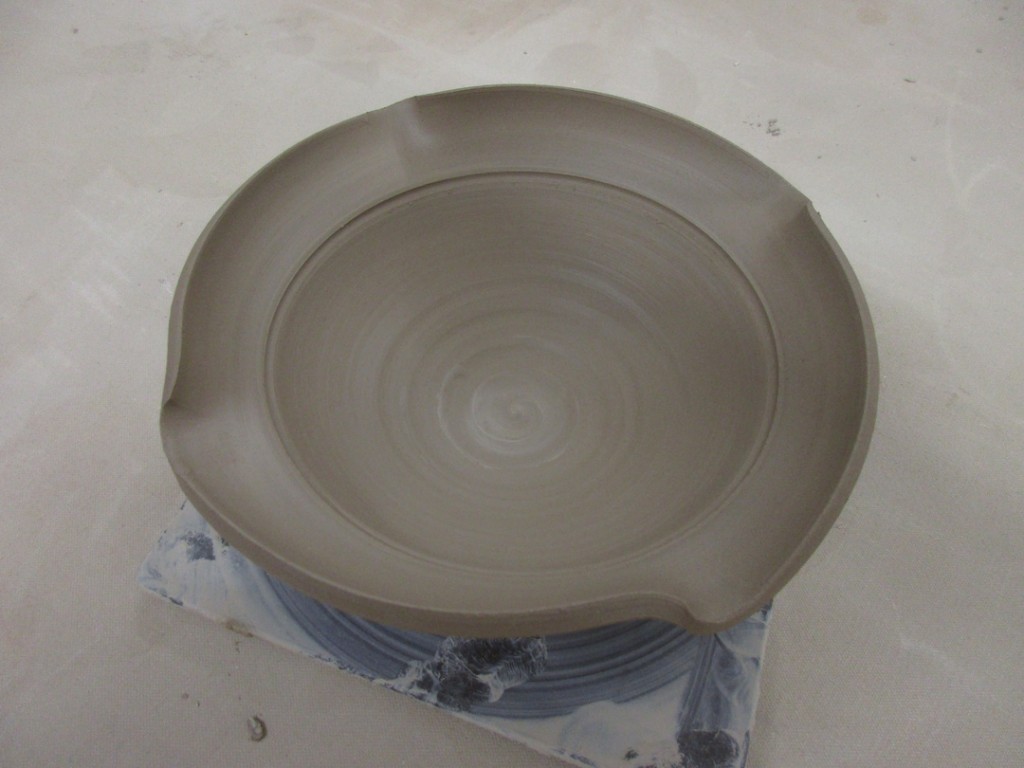
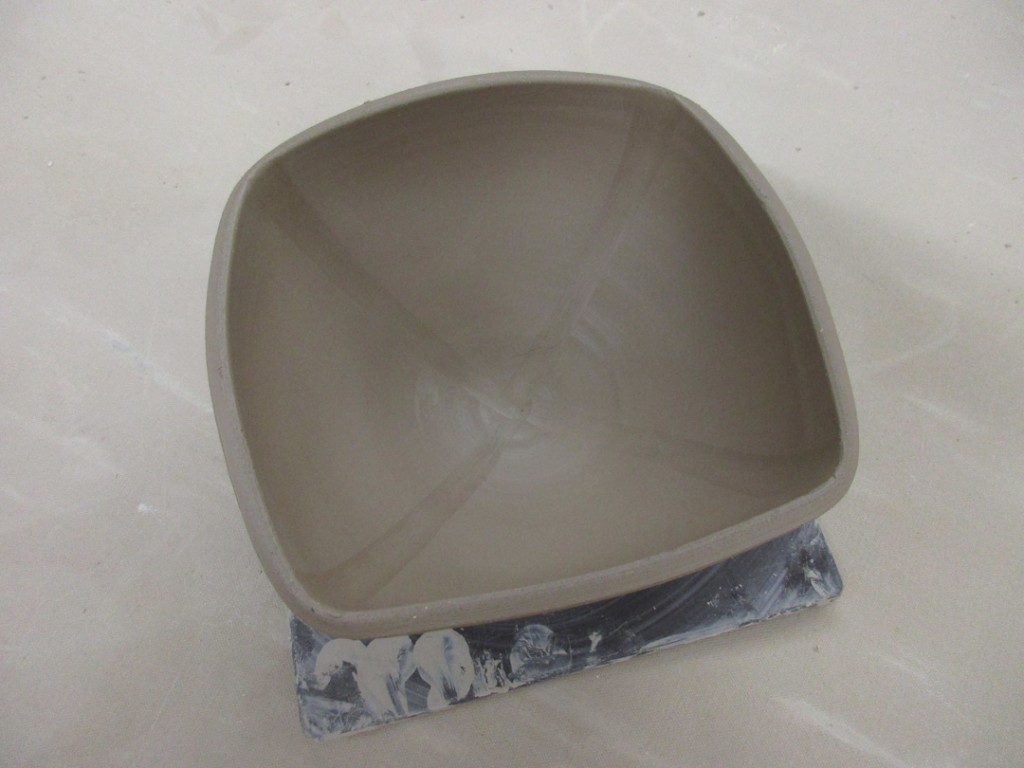
Bowl #6 – This one was squared off a bit. Who says bowls need to be round? The shape and edges will be refined and decorated later as the clay stiffens up a bit.
Bowl #7 – A simple flower pressed into the bottom with a metal dragonscaling tool. Always a fun little surprise for someone when they get down to the bottom of their bowl of soup!

Bowl #8 – A split rim using the point of my wooden knife. Then pinched back together.

Bowl #9 – The same split rim trick, but then rounded out between the pinches.
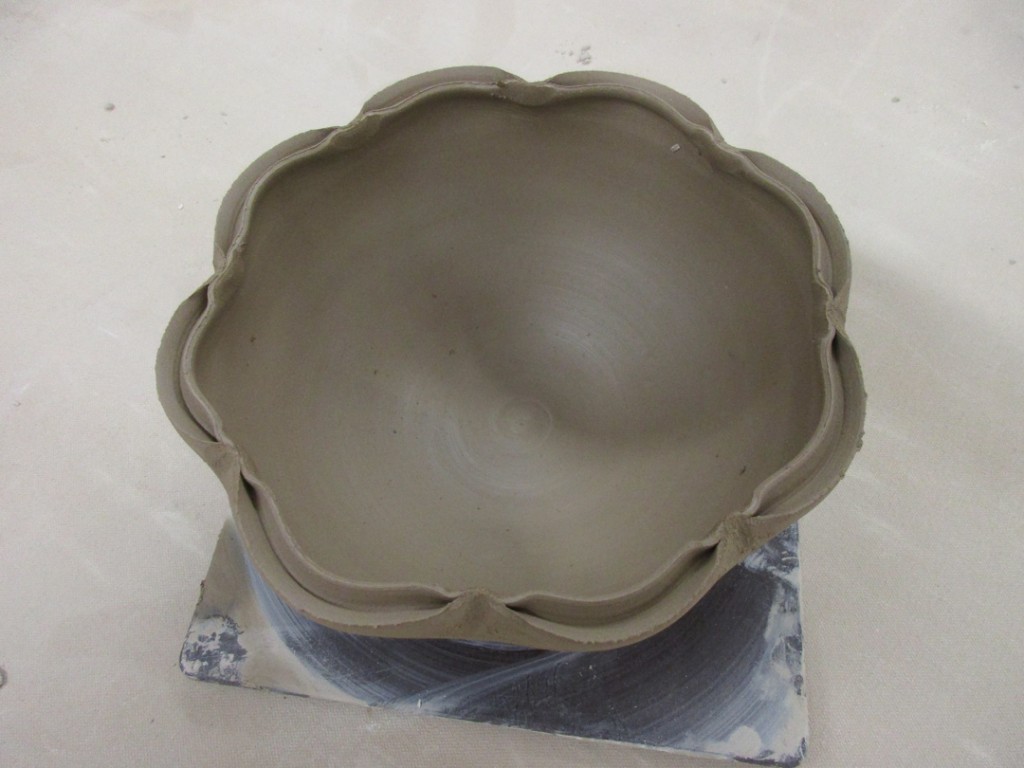
Bowl #10 – Another split rim bowl. This time the shape was altered outwards in four corners, and inwards in between.

After playing with the shapes & edges of the rim, we switched our focus to colored slips. And the huge options thisopens up for them. The fact that colored slip is like adding a new “skin of clay” on top of your bowl. An easy way to add color to your pottery at this stage. It will dry and be fired onto the pot… and then create some new effects when glaze goes over it.
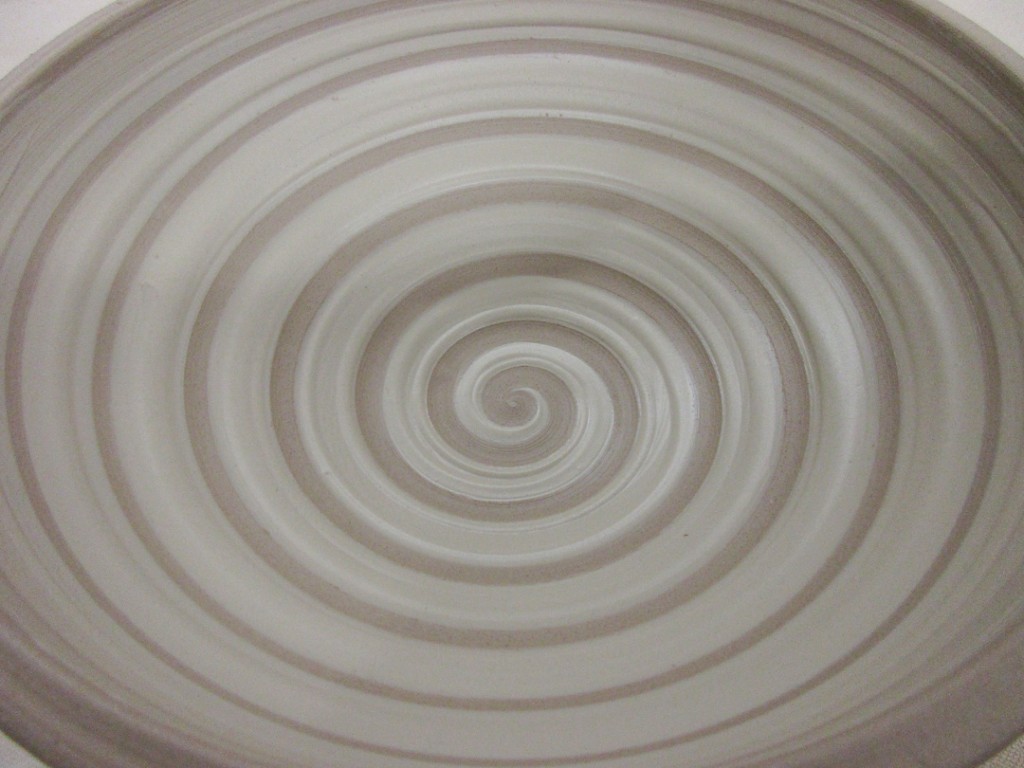
Bowl #11 – I coated the inside of the bowl with some basic white slip. And then dragged the rounded end of my wooden knife through while the bowl was spinning to create this fun spiral. The color contrast between the white slip and the darker clay body will show up after glazing.

Bowl #12 – Another bowl with white slip, this time with horizontal banding.
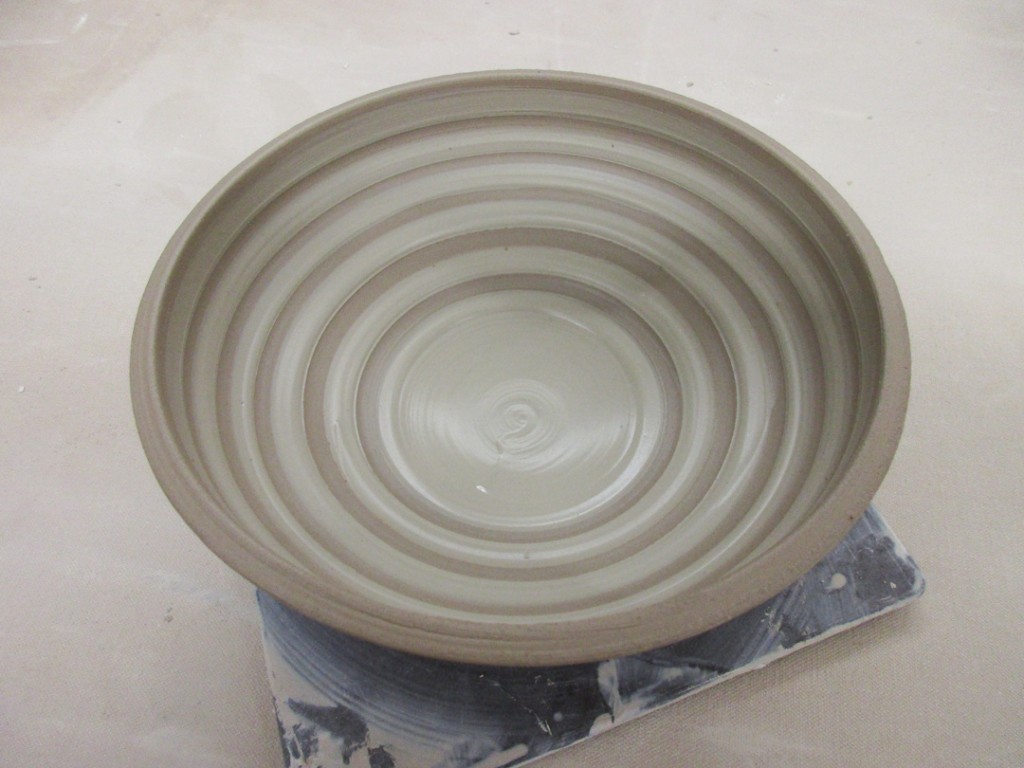
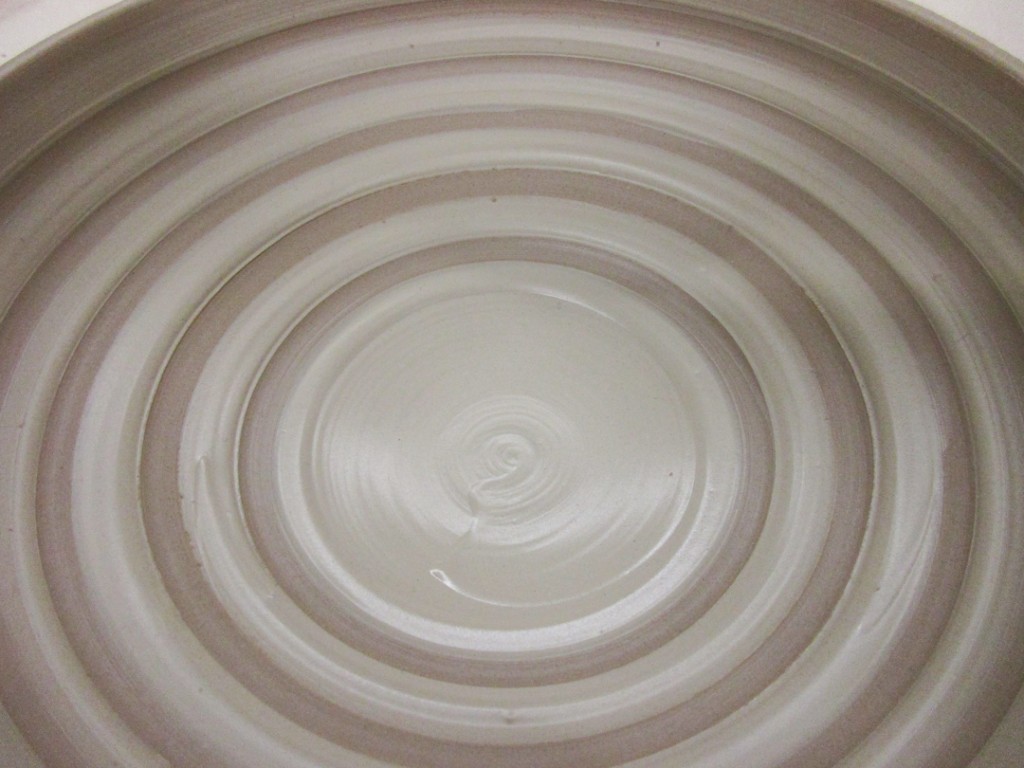
Bowl #13 – White slip with chattering through the slip. Chattering is rhythmic tapping… I use my rubber rib tapping up & down through the glaze, moving upwards while the bowl is spinning.
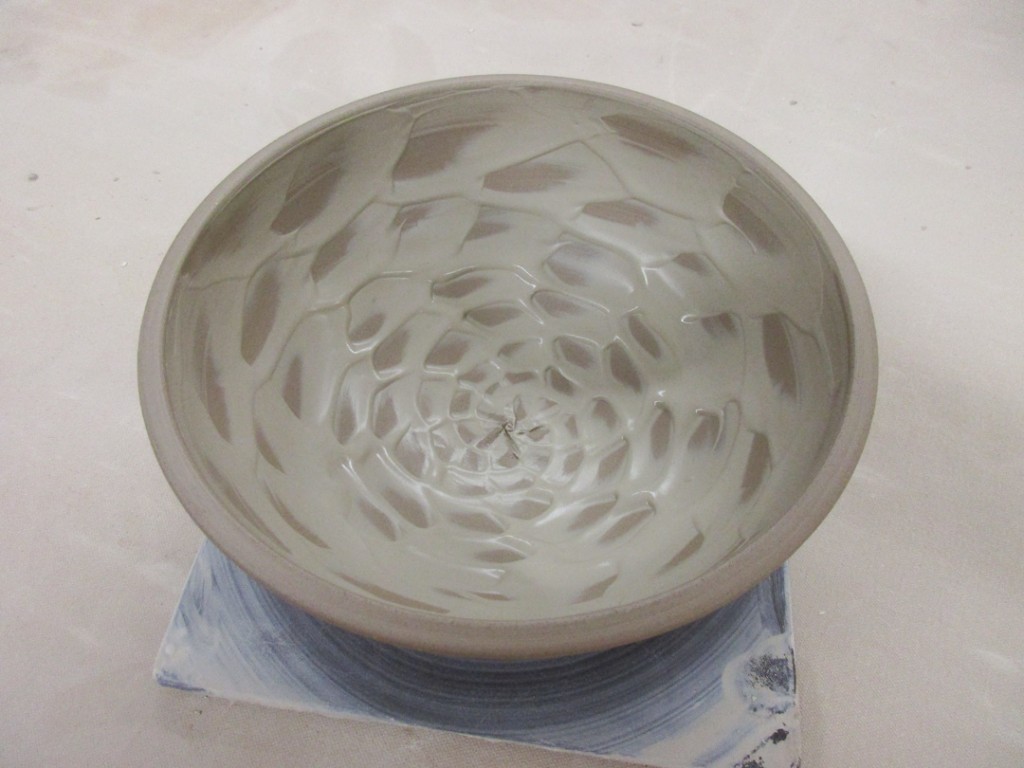
Bowl #14 – A thicker layer of white slip with some squiggly finger grooves.
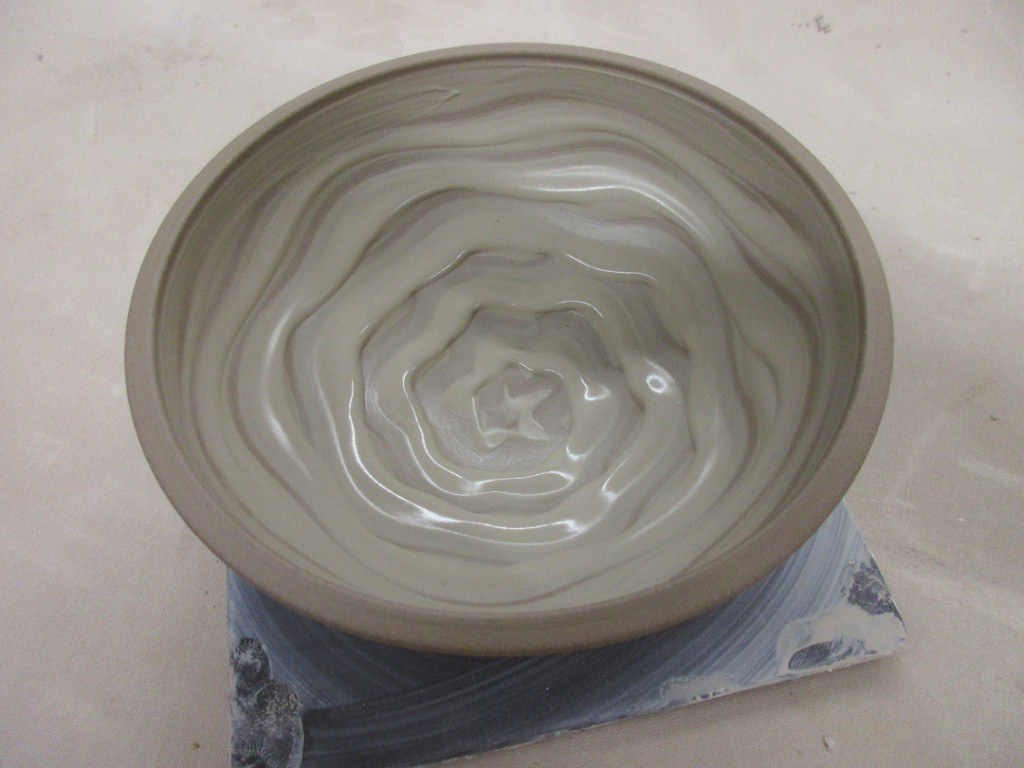
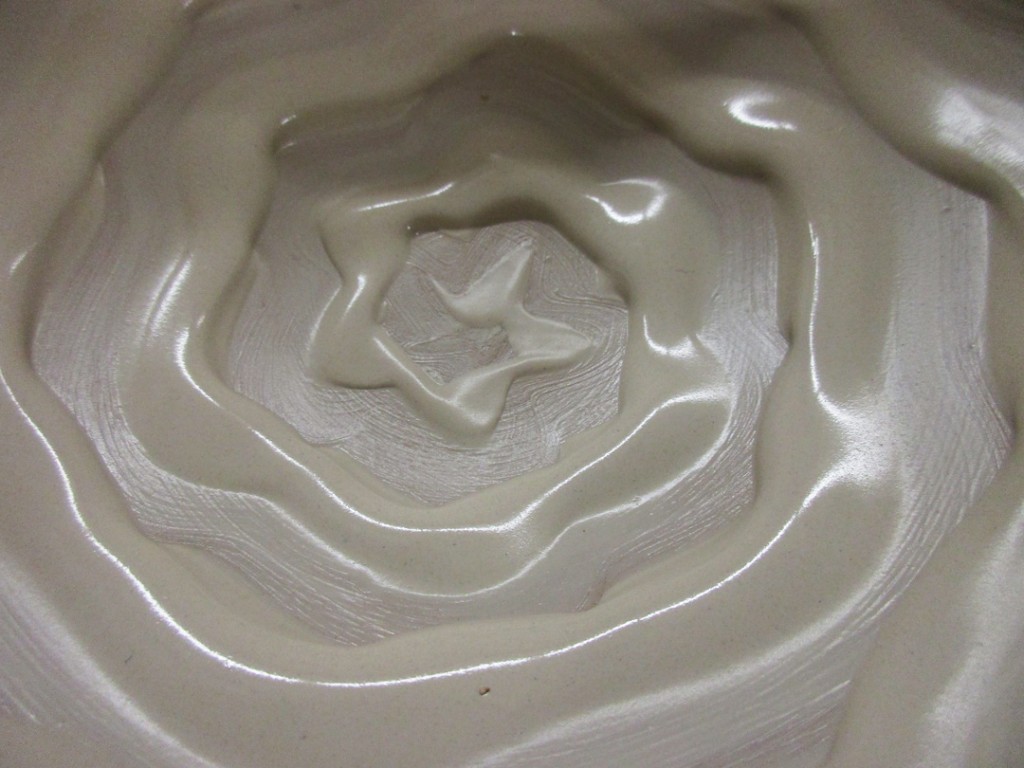
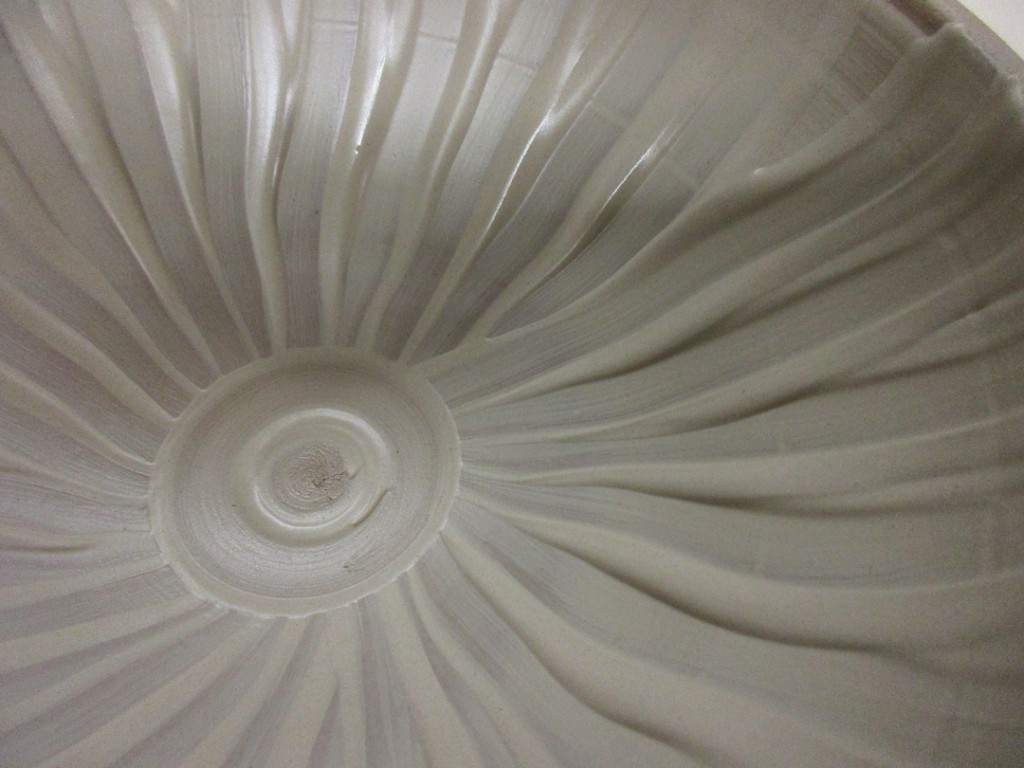
Bowl #15 – Another layer of white slip with finger grooves sliding up the sides. I didn’t like the way the lines met up in the center, so we added the little circular “medallion” in the middle. My original intention was to clean up the top edge, but my students really loved the texture the rough slip edges created… and they were right!

Bowl #16 – A simple newspaper stencil stuck onto the clay with water… then painted over with slip. I waited a couple minutes for the slip to set up and then carefully removed the paper stencil.

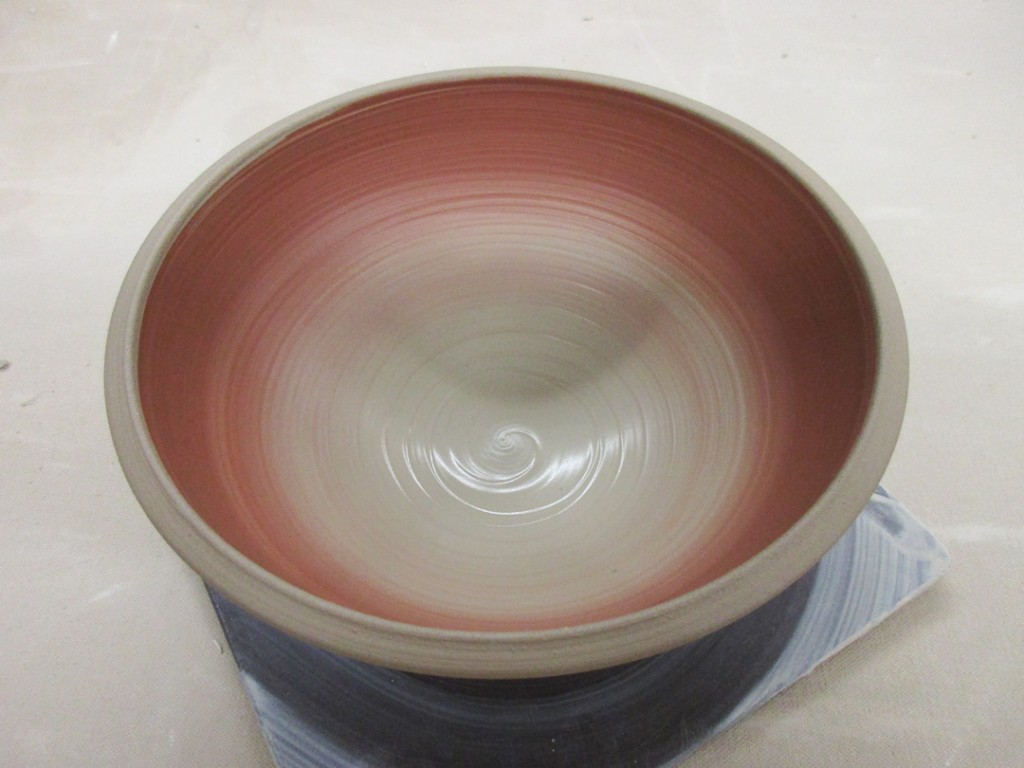
Bowl #17 – A colorful ombre effect blending white slip with some iron red slip.
And there they are… seventeen bowls that all started out very basic & round. Just a few minutes of altering and voila’… seventeen different tricks & techniques. Now go play with your clay!!!
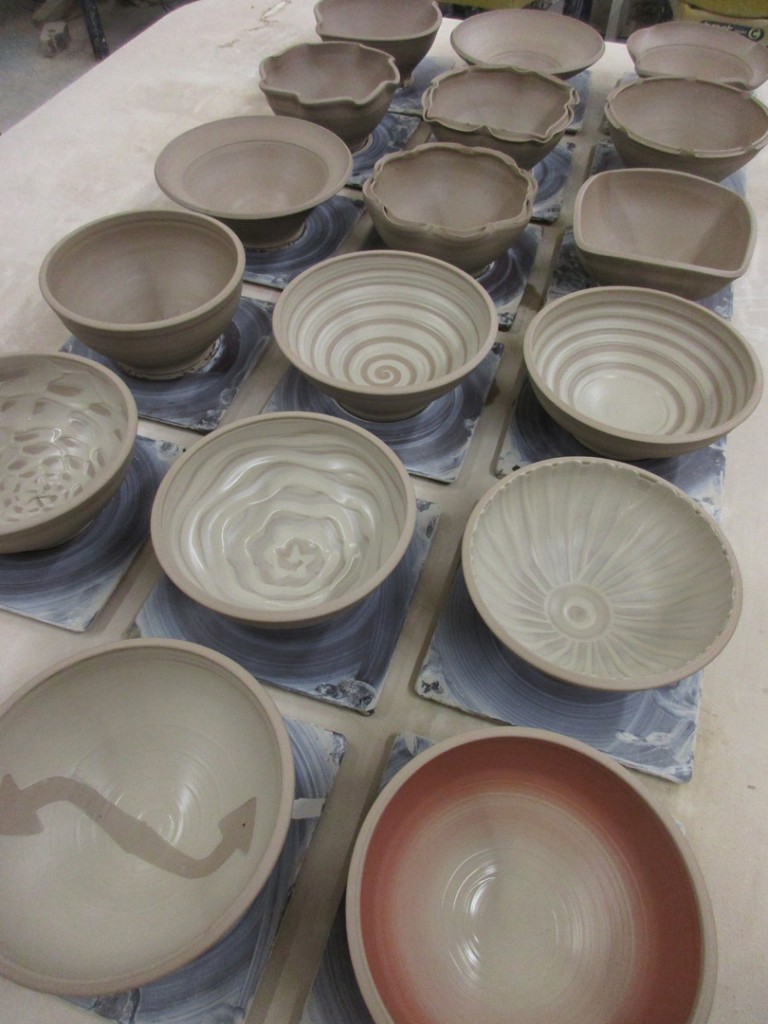
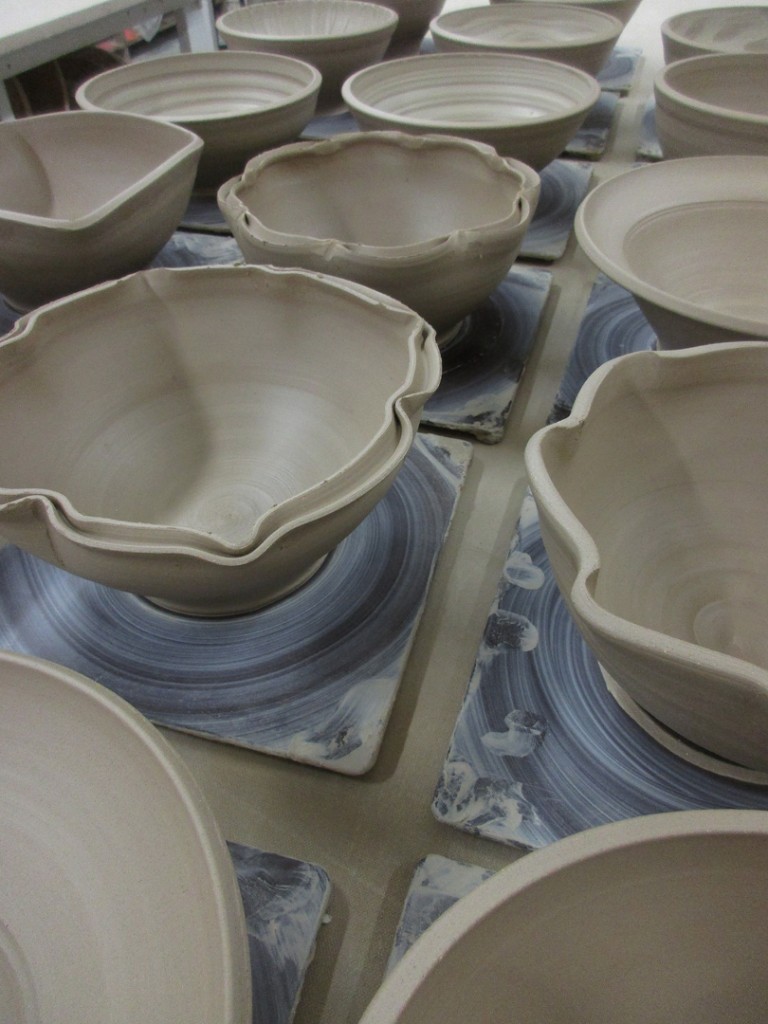
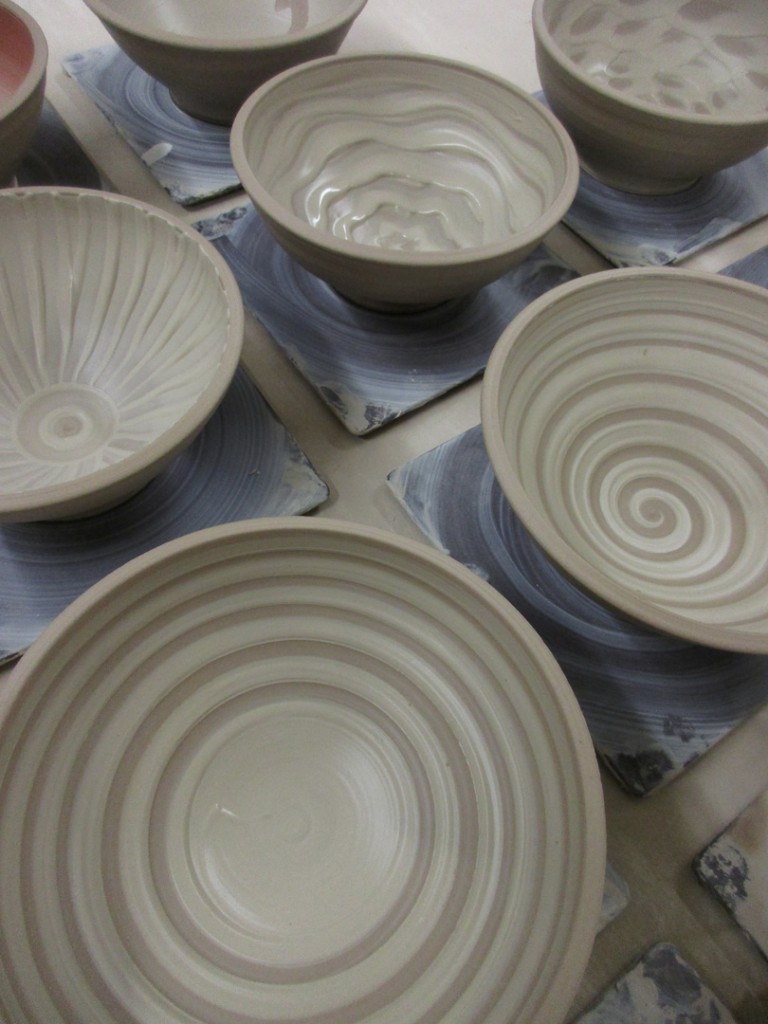
At the end of the night I had to carry them all upstairs to my studio so I could wrap them up for the evening. Only took three trips up the back stairs… not so bad. So now all seventeen bowls are under plastic so they don’t dry too fast. I’m still planning on doing some extra detailing & stamping to some of them.

|
Gary Jackson: Fire When Ready Pottery
Lillstreet Studios ∙ 4401 North Ravenswood, Chicago, Illinois 60640 ∙ 773-307-8664 gary@firewhenreadypottery.com |