This is my favorite demo of every session of classes. It’s so much fun to teach my students how to make a bowl on purpose, instead of it just being a cylinder gone bad! So the first part of the demo is making bowls on purpose. We talk about techniques and downfalls. They go back to make some bowls, while I sit at my wheel and quickly throw some more bowls… a whole bag’s worth!!! When I finished all eighteen bowls, we reconvene and start doing some alterations to the bowls.
My goal for this second part of the demo is to get them over-the-hump, and encourage them to try different things to make their bowls more individual. And that the clay is not precious. Have fun. Make something. And if it doesn’t work out… just squish it up and do it again!!! So here are my eighteen quick tricks that I showed my class. Remember, we started with 18Â very similar plain round bowls. And then some quick flicks & tricks… and now we have 18 completely different bowls.
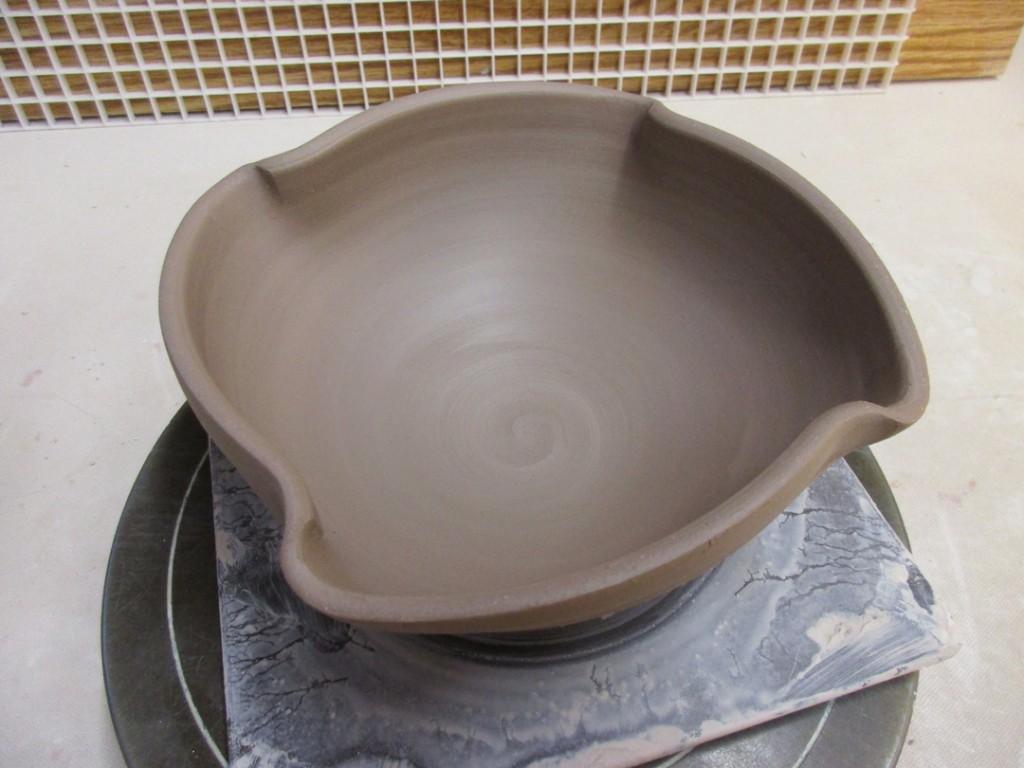
Bowl #1 – Simple fluted twists. One finger inside, one finger outside, side-by-side. A bit of a pinch and a twist. Four times… aligned with the corners of the square bat for even spacing.
Bowl #2 – And is four fluted points are good… maybe eight are even better?!

Bowl #3 – Then I gently bent the rim out on over to create a flattened flange around the edge. The outside finger stays pretty stationary while the inside fingers gently press the rim outwards over that outside finger. And I like to add in a little groove line just inside the flange… like a nice way to show the delineation between the interior & exterior.
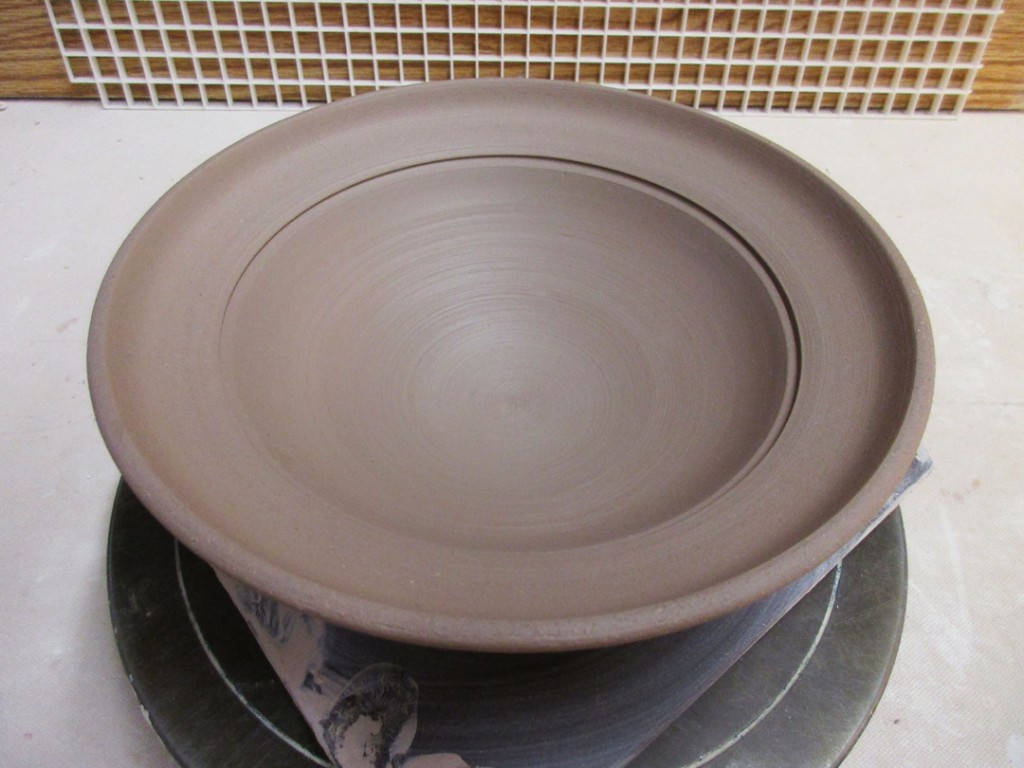
Bowl #4 – And if a thin flange is good, maybe a wider flange is even better?! Kinda like that bowl they serve in fancy restaurants with one small dollop of food in the bottom and charge a ton of money!!!
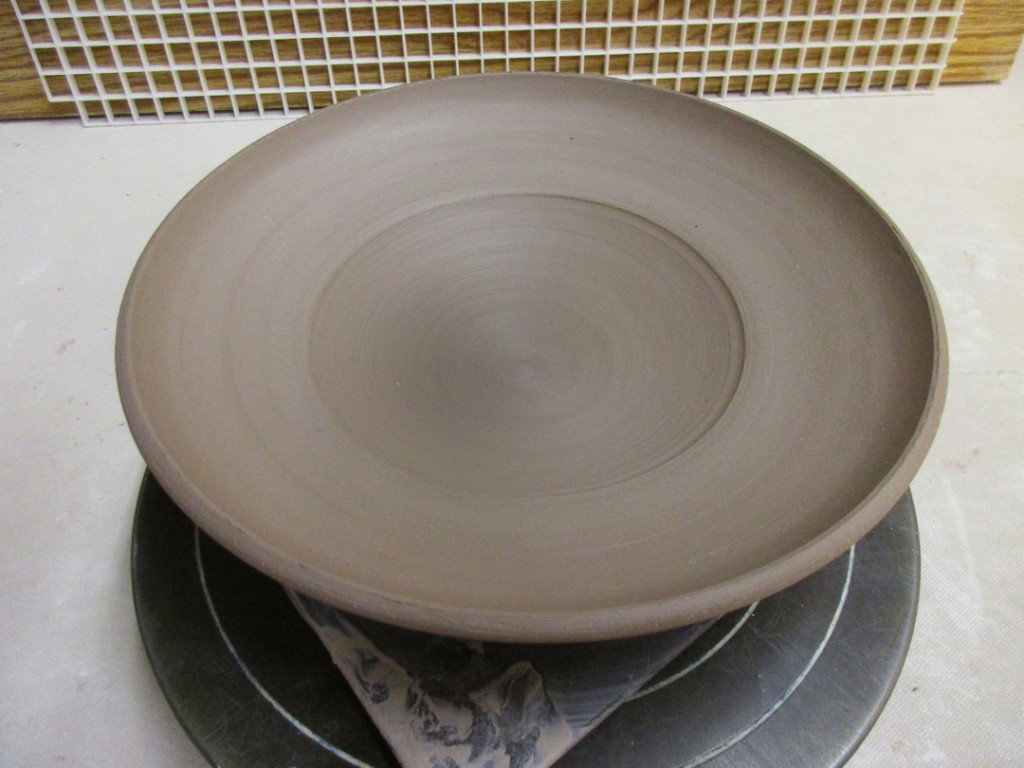
Bowl #5 – Then we combined the two – the flattened flange and fluted rim.
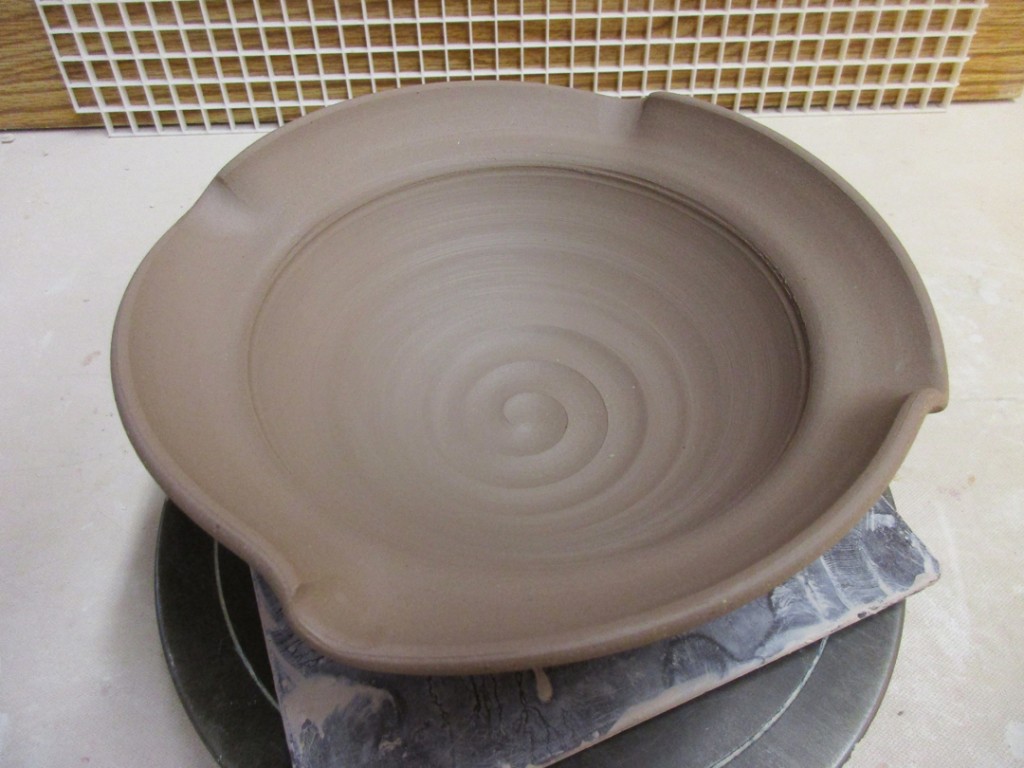
Bowl #6 – Next up was splitting the rim with the point of my wooden knife. I use my left hand with thumb & forefinger gently “pressing” the rim for support, while my right hand has the knife gently pressing the point into the rim. Press down slowly while the wheel is spinning asnd watch the rim split open. And then I like to pinch it back in a few spaces for a bit of fun.
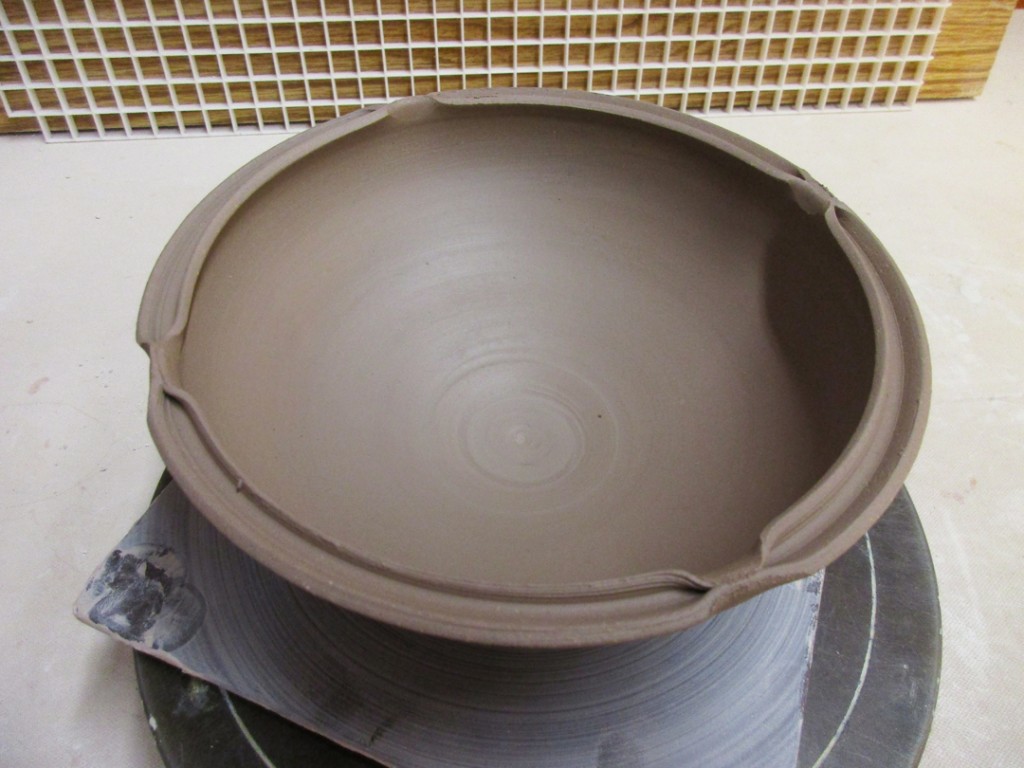
Bowl #7 – Another split rim pinched together in four spaces. But then the I pressed the other four spaces outwards which kind of squared off the bowl… so why not “force” it to be even square-er?!!!

Bowl #8 – Okay, so we’ll place this bowl in the category of not all demo’s work.
I started by splitting the rim a little deeper & wider then before. And then I took the wooden end of a big loop trimming tool to press indentations outward on the split rim. And on the very first one… the wooden handle literally STUCK to the clay!!! I mis-estimated the wetness of the rim… and the thinness of the split rim. The tool stuck and when I tried to force it away it ripped half of the split rim off with the tool. Not good. So we all had a bit of a laugh as I once again proclaimed my mantra… “It’s just clay.” So I pulled off the other half of the split rim and smoothed it out a bit. And then tried to come up with a new “plan” on the fly with an already dented bowl. Not so sure how this one will turn out… but it’s “just clay,” right?!!!
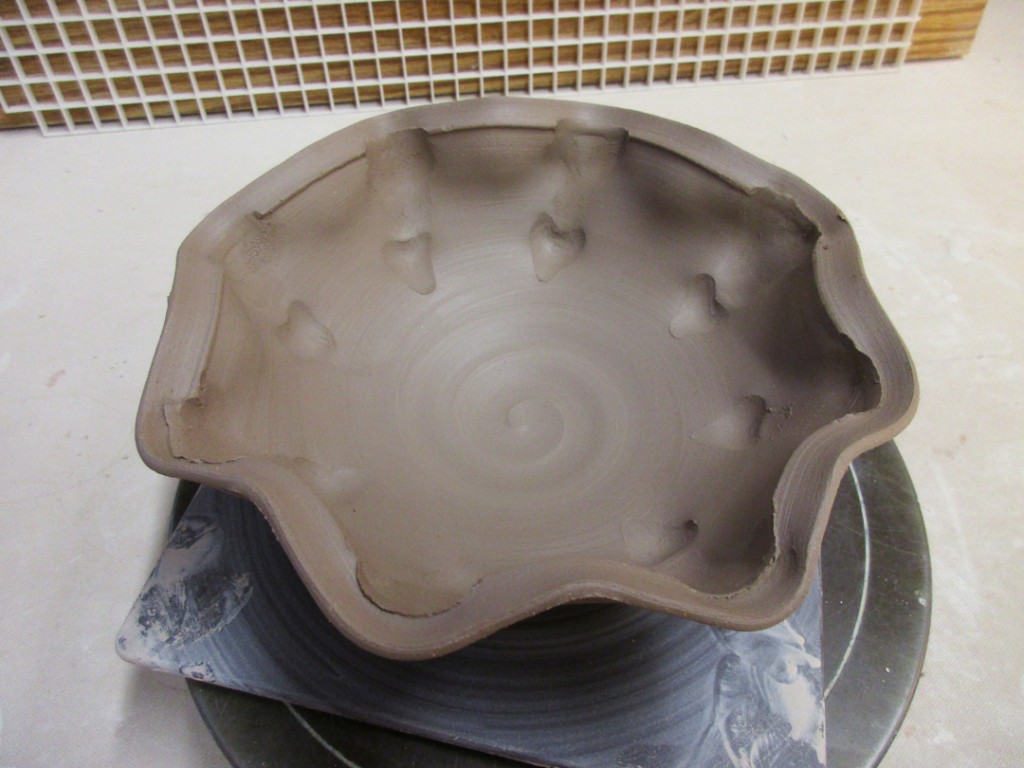
Bowl #9 – A simple indentation made in the bottom of the bowl with a metal dragonscale tool.
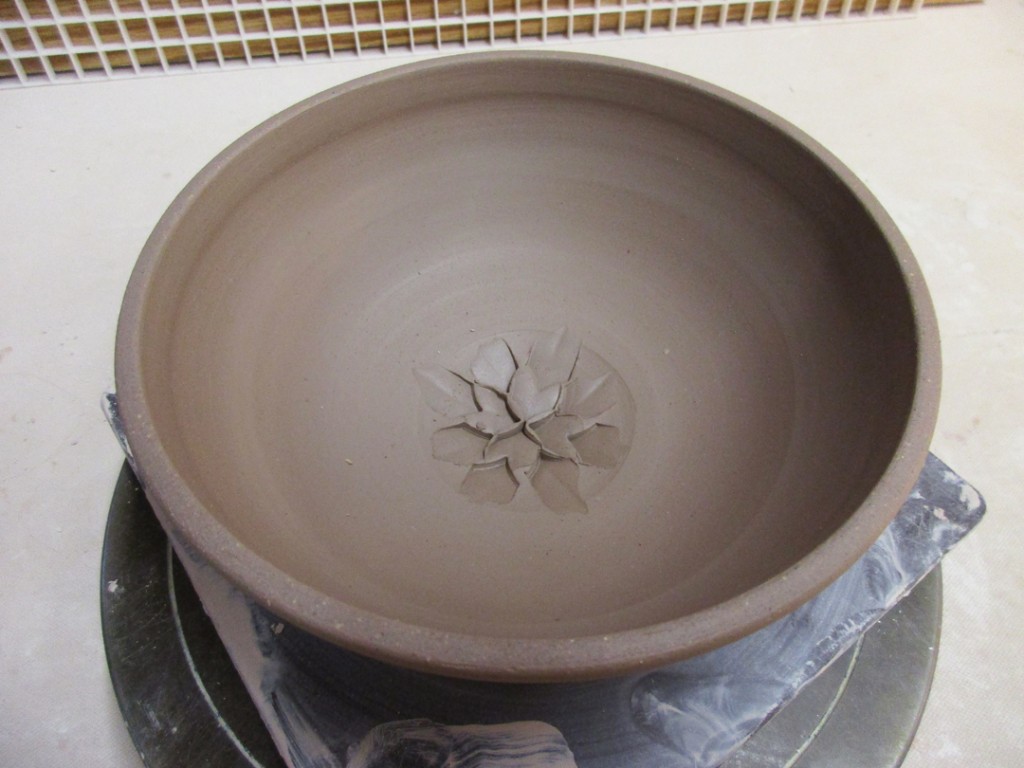
Bowl #10 – One of my students “scoffed” a bit when I did the indentation flower and said how easy it was. And since she was sitting at the wheel right next to me… I handed her a fresh bowl, the dragonscale tool, and told her to do something with it!!! It’s just clay. She balked a little, got a bit embarrassed, but when everyone cheered her on, Lucy ended up making this pretty incredible pattern in the bottom of her bowl. See?… sometimes it’s fun to be pushed out of your comfort zone… and look what beauty can came out of it!!!
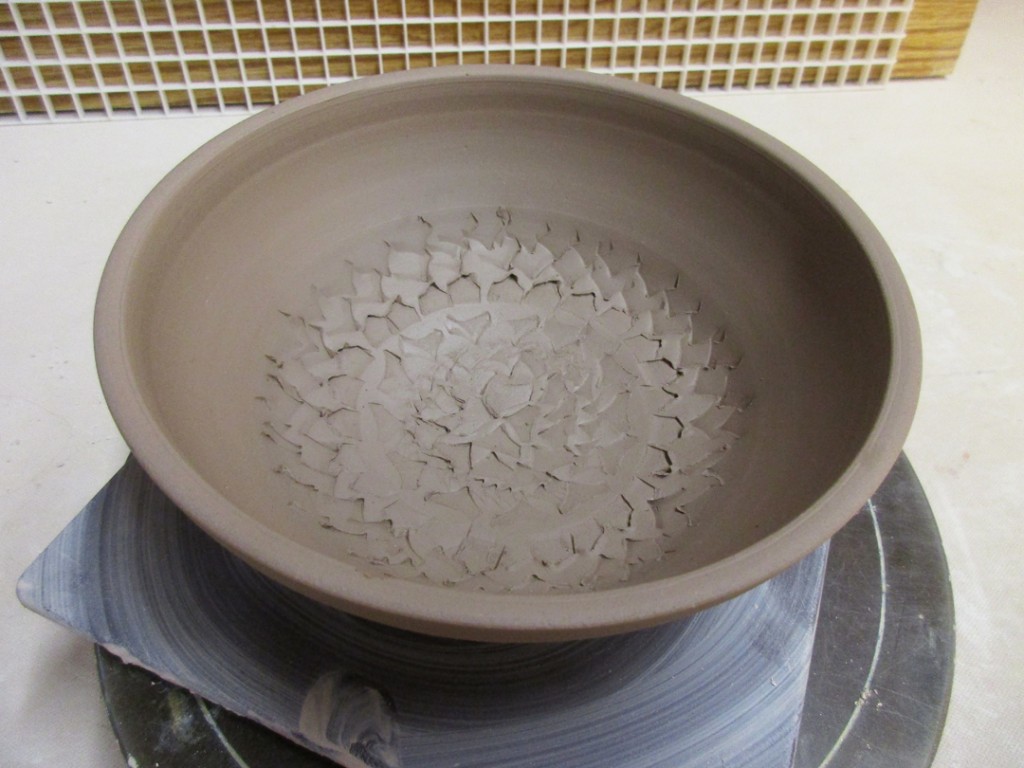
At this point it was time to introduce colored slip as a decorating option. A layer of colored clay painted onto the pot to give it some more color & texture. We talked about the difference between slip and glaze, and when it might be better to use one or the other.
Bowl #11 – A full coating of white slip on the inside of the bowl – and then a fun spiral dragged through the slip with the rounded end of my wooden knife. It’s fun to see the contrast between the lighter white slip and the darker clay body.
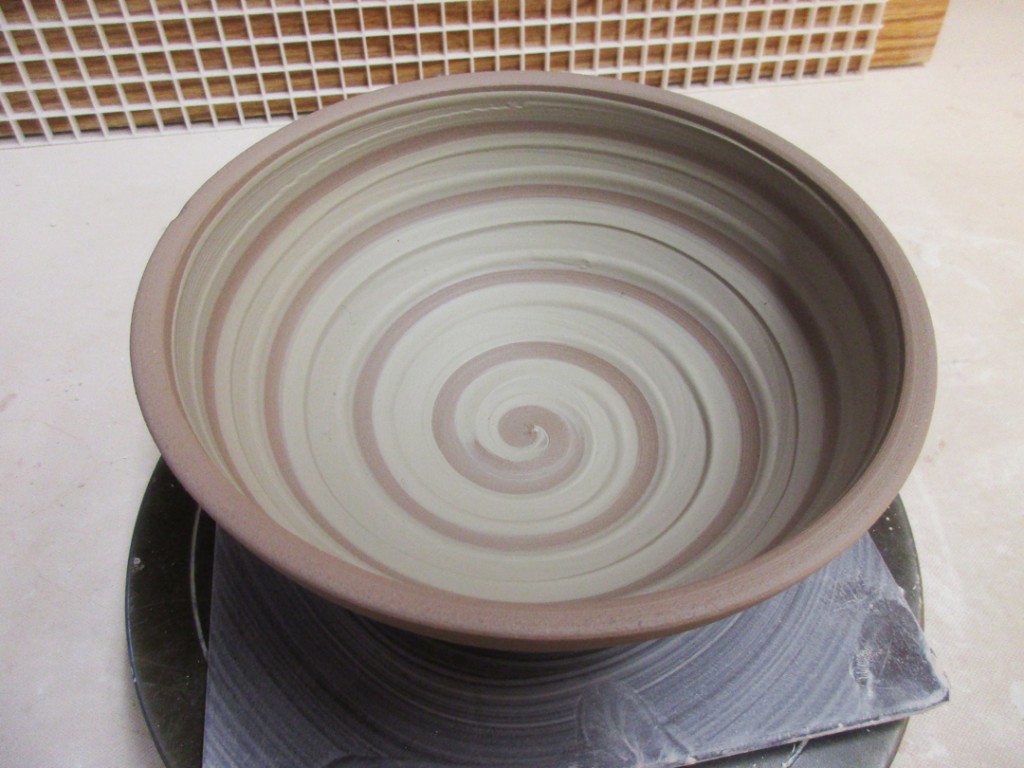
Bowl #12 – Same coating of white slip on the inside of the bowl but this time with horizontal banding instead of spiral.
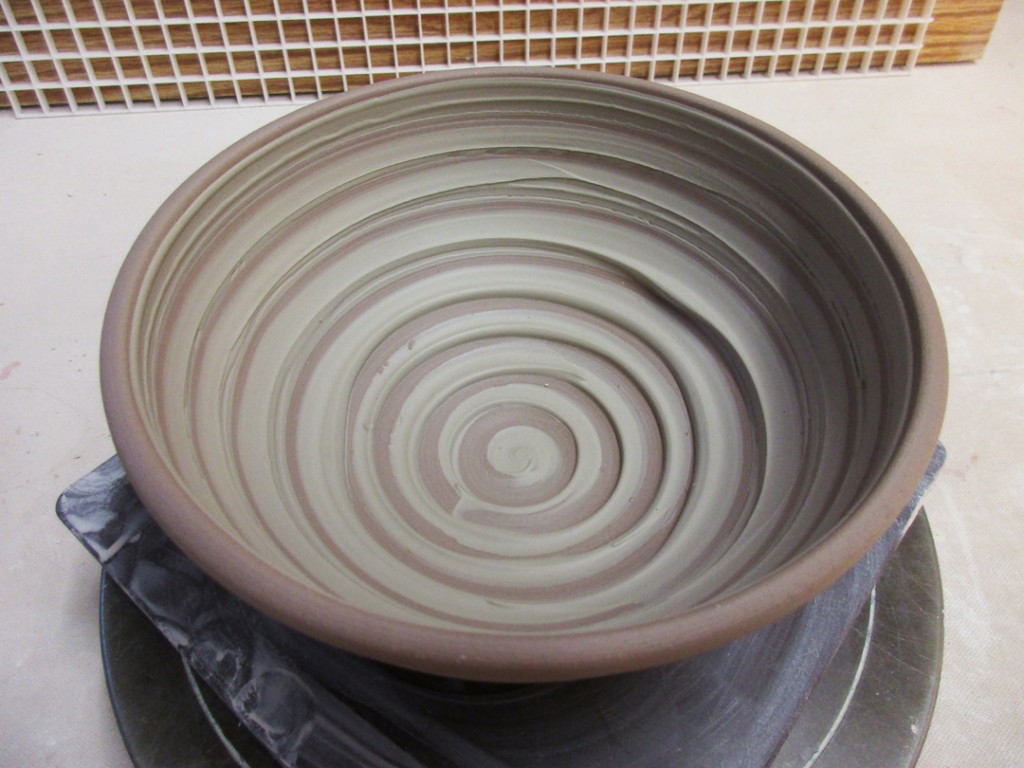
Bowl #13 – Tools are great… but so is finger painting. So for this one I made the layer of white slip a bit thicker than the others. And then I squiggled a couple fingers through it while the wheel was spinning. I love the undulating curves, the revealed clay color and the texture that will show up even better when glazed.
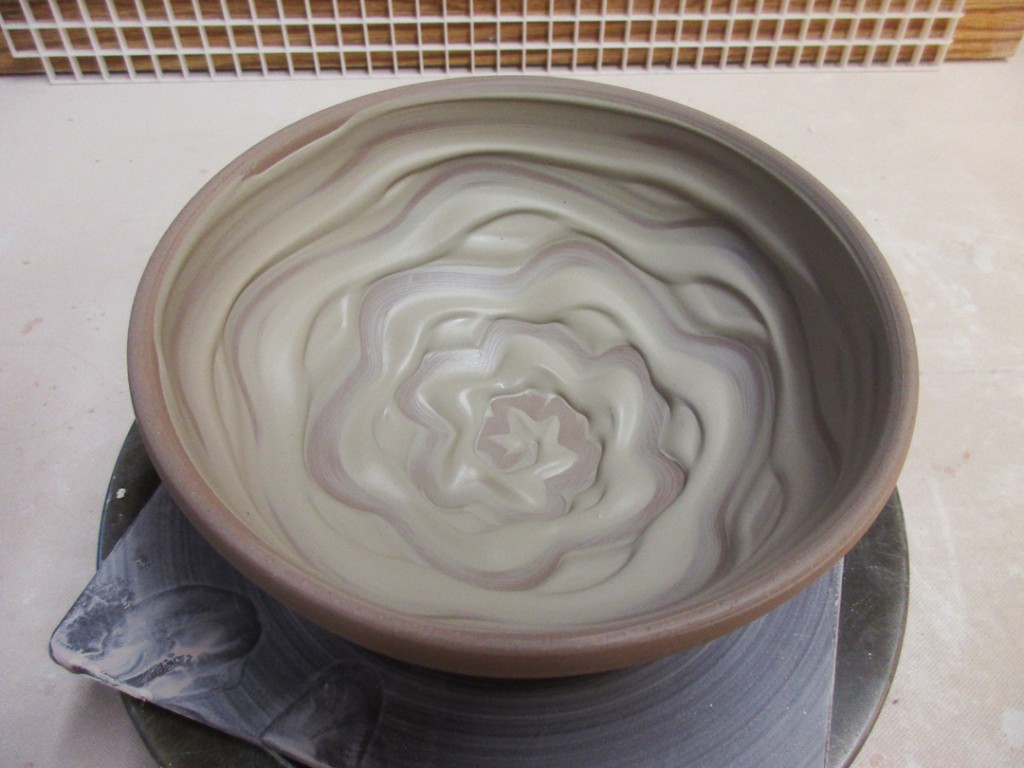

Bowl #14 – A layer of white slip to cover the entire interior of the bowl. And then a steady, rhytmic tapping of my plastic rib… tapping up & down, up & out, while the wheel is spinning. It’s a combination of all three that creates the pattern.
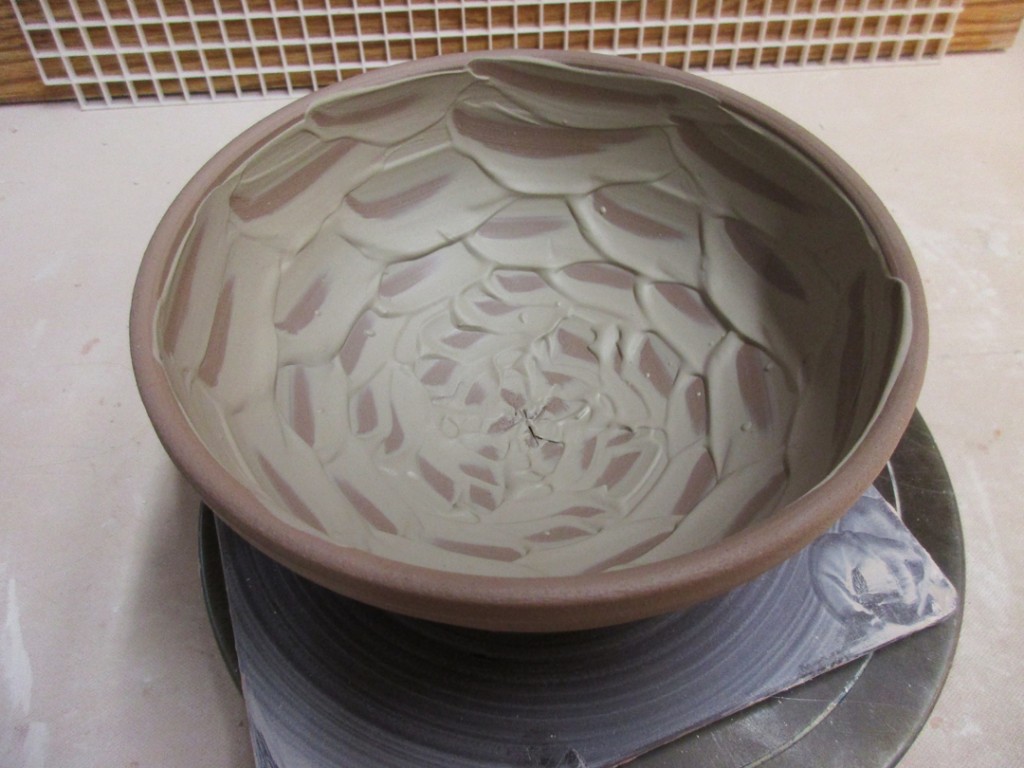
Bowl #15 – Okay, so I apparently forgot a bowl here?! Mwah, mwah, mwah…
And it’s a NICE one… trust me!!! It was another white slip with a tighter, angled chattered effect,
Bowl #16 -Instead of coating the bowl with white slip, this time I drew a spiral of slip white a squeeze bottle. My original intention was to have a perfect slip-trailed spiral. But the slip sputtered out a couple times. Ugh. So instead of trying to “fix” the splotches, I decides to do some gentle chattering through it… a very happy accident!!!
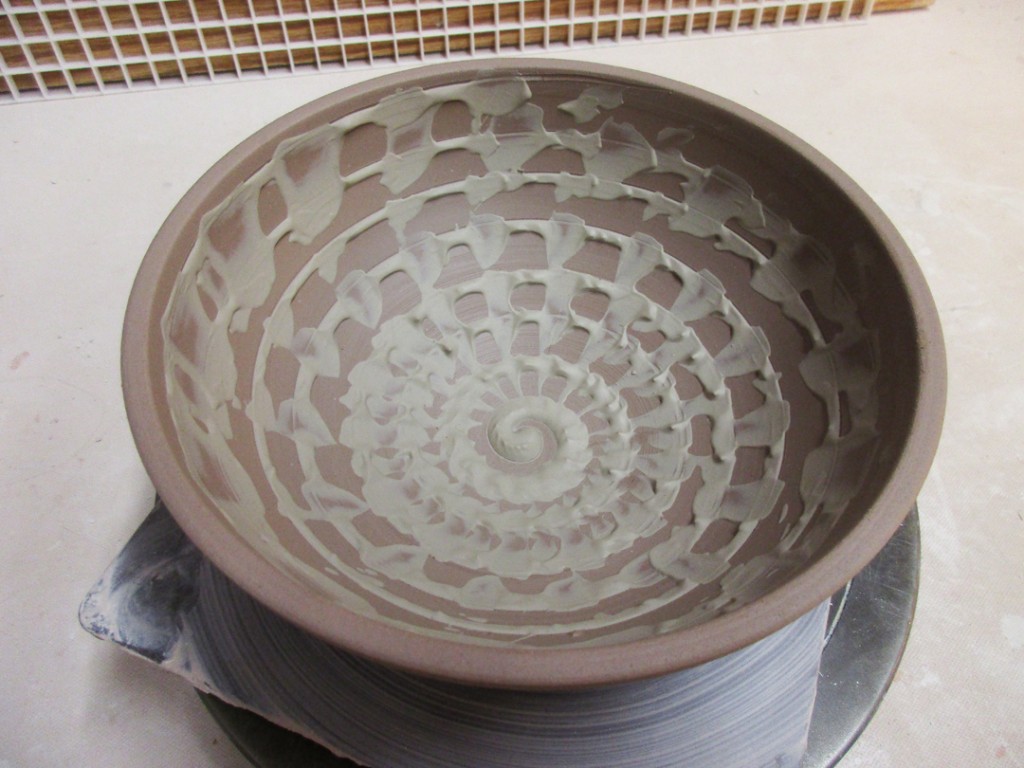
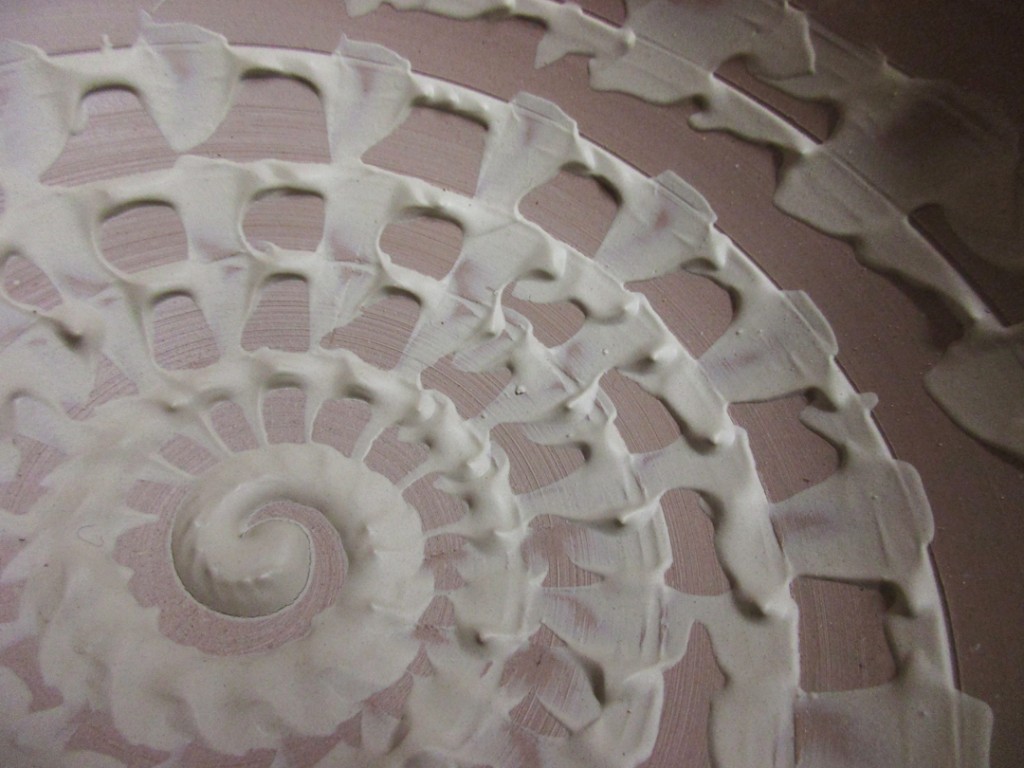
Bowl #17 – The other bowls have all had slip on the interior of the bowl, but for this one I put slip on the outer rim. I then drew some bands through the slip in concentric circles to the bowl. And then did some finger dragging outwards to get the contrast.

Bowl #18 – For our final bowl, I did a simple ombre blend of white slip with a black slip

So for now, all of the bowls are safe up in my studio under wraps. Of course I wish I could have shared these bowls a lot sooner…. but those darn Income Taxes got in the way. But now they’re done… I’ve breathed a small sigh of relief… and I hope these bowls were worth the wait.


