Gary Jackson: Fire When Ready Pottery
A Chicago potter’s somewhat slanted view of clay & play
Categories: classes, lillstreet, soda-fired

It’s amazing how fast a ten-week session can go by. This past Tuesday was the last class for our Winter session of classes. And my students out-did themselves once again!!!

Each session I like to challenge them with a class project. We all work on a similar piece and then we do some sort of White Elephant Trading Game. They each bring in their finished piece and we all admire & trade… then everyone goes home with someone else’s piece. So much fun for everyone… and great motivation for everyone to make something that they’re “proud enough of” to share and trade in the end.

So this session’s challenge was to make an oval. My brand new beginner’s had it a little bit easier… whereas my Advanved Beginners were challenged to make a lidded oval!!! And they all took it on with wreckless abandon!!!

Emily made this sweet little oval with carved vertical lines a temoku glaze.

Ryan made his oval glazed with Shaner White glaze and blue brushstrokes.

Lily went for a two-tone glaze dip with a beautiful overlap in the center.

Kerry missed the oval a bit, but made a great lidded round casserole with Reitz Green glaze.

Tony‘s oval casserole has a great rustic glaze to it.

Katie went for a two-tone Shaner White and Aviva’s Blue contrasting oval casserole.

Stacey used Reitz Green glaze to finish her oval, giving her a nice metallic finish on the lid.

Taylore used a color accent in her gallery, and a great pop of red inside the knob. A great contrast to the Shaner White glaze finish. Even better, and sadly no photo, but the inside has the same red pop of color too!!!

Melissa emphasized her oval and handle with a cobalt stain on Matte White glaze.

Rachel went with a traditional Shino glaze and got some wonderful variations.

Catherine went perfectly white on her perfect white porcelain.

Grace did a wonderful combination glaze on the outside of her casserole…

But it’s REALLY all about the inside of Grace’s oval that has me enamored!!!

And now you see why… my little stamping prodigy….

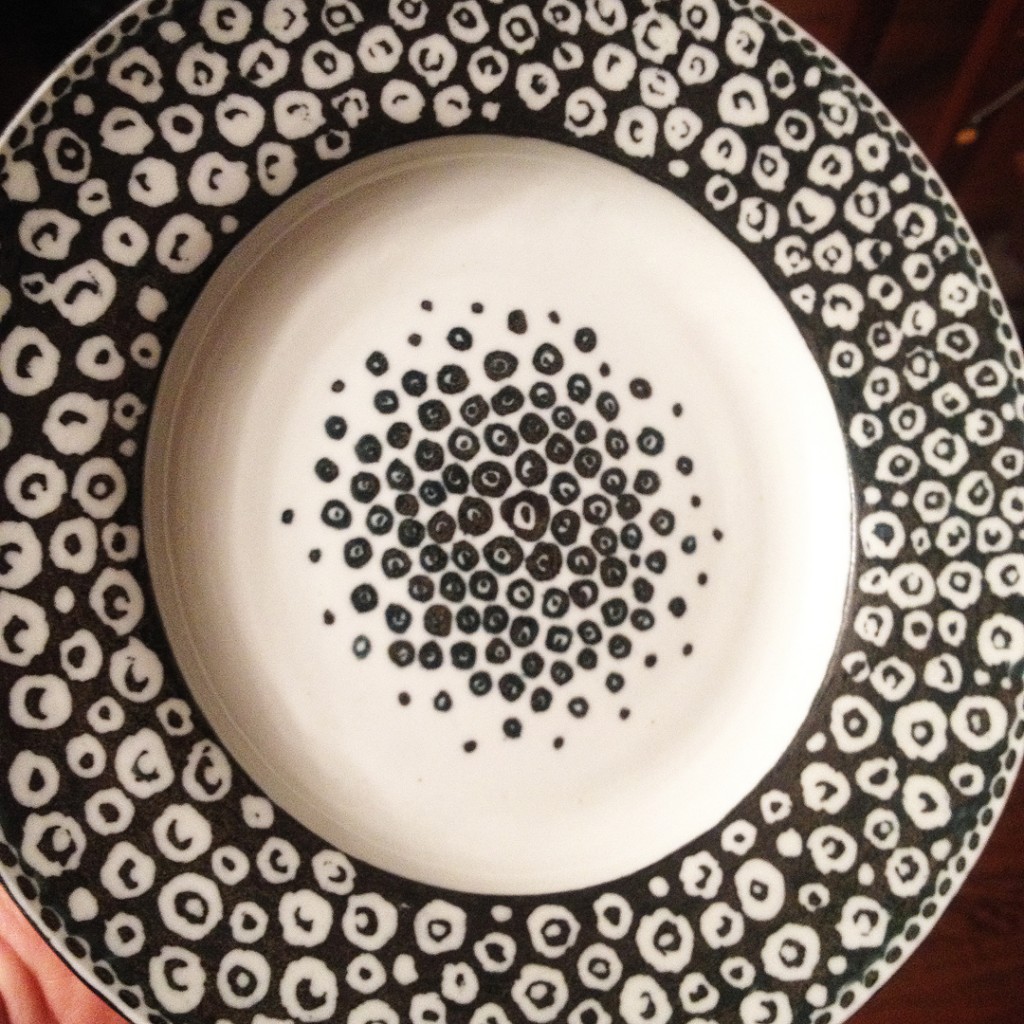
Susan, one of my class TA’s, offered up her graphic black & white porcelain oval.

Patty‘s oval didn’t quite turn out to her liking…
so she offered up a set of three bowls in place of her oval casserole!

Steven‘s oval casserole came home with me after the trade!!! And I LOVE it.
With a subtle matte glaze combination and a graphic stamp pattern…

But it’s the “surprise” pattern stamped on the inside that slays it!!!

And you know I’ve got to play along with the game, so I made an oval casserole for the trade as well. Surprisingly, mine is stamped and soda-fired!!! Ha!!!

And a few more “glamour” shots…
with a colored slip on the lid, and a few sprays of Josh Green glaze before soda-firing…

Huge thanks to my students for playing along. And for always embracing this little class challenge I like to throw at them every session. We’ve done bowls, mugs, plates, more mugs, and now ovals. I’m gonna need to think of something cool to top this one!!!

Save

Categories: classes, pottery

Last night was the last class of the Winter session.
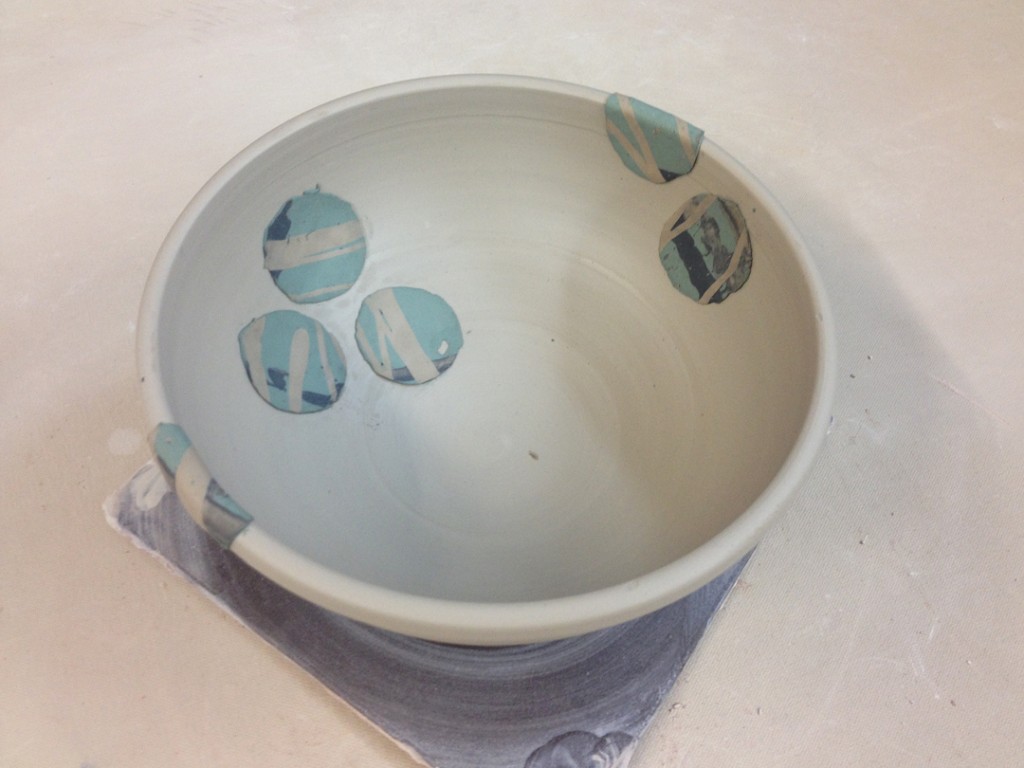
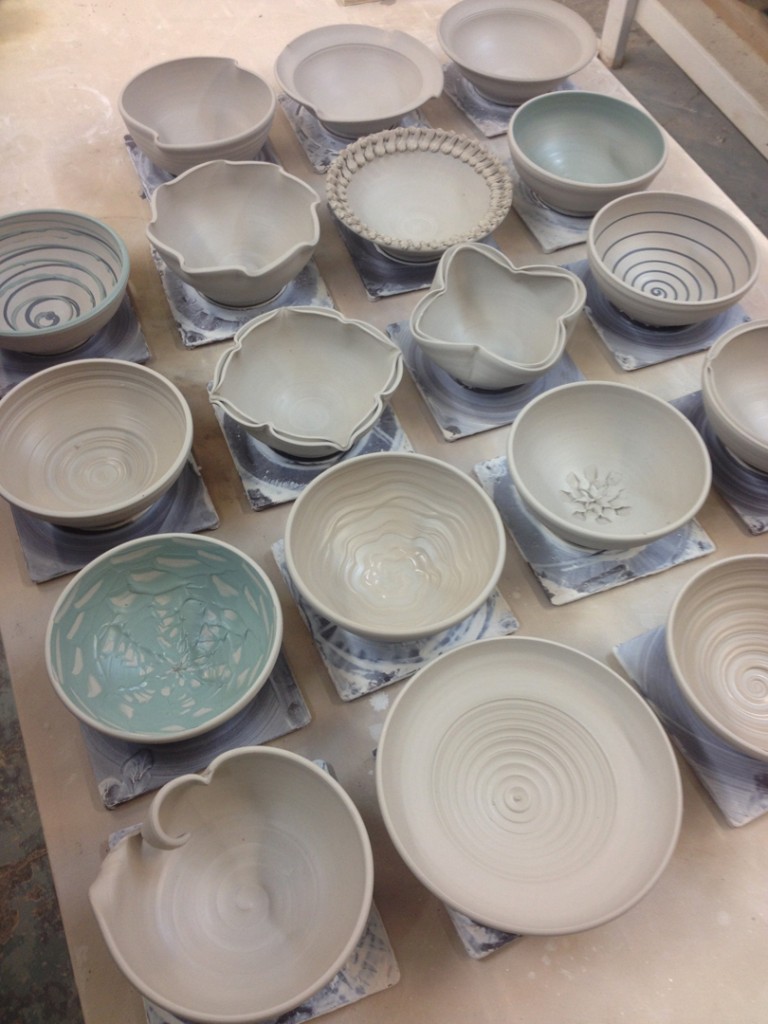
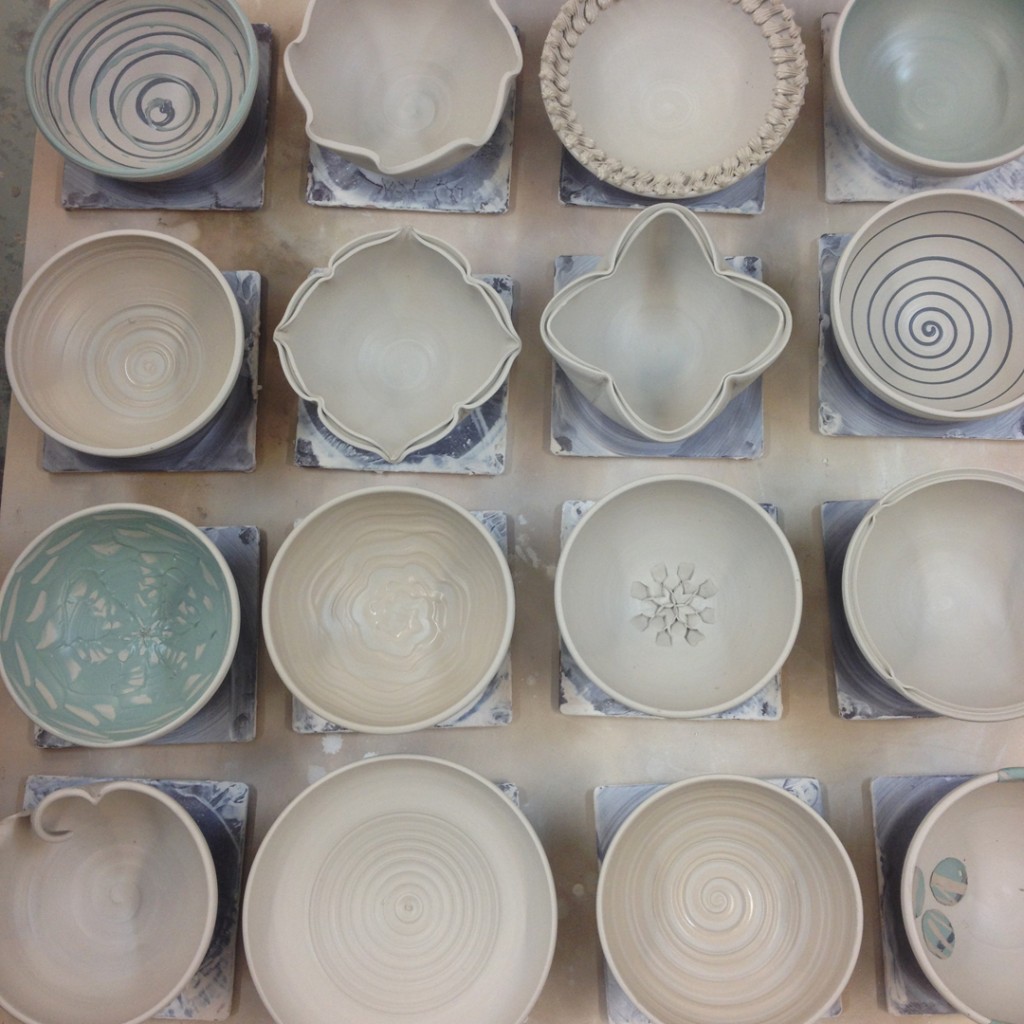
Last class with a lot of student pots!!!
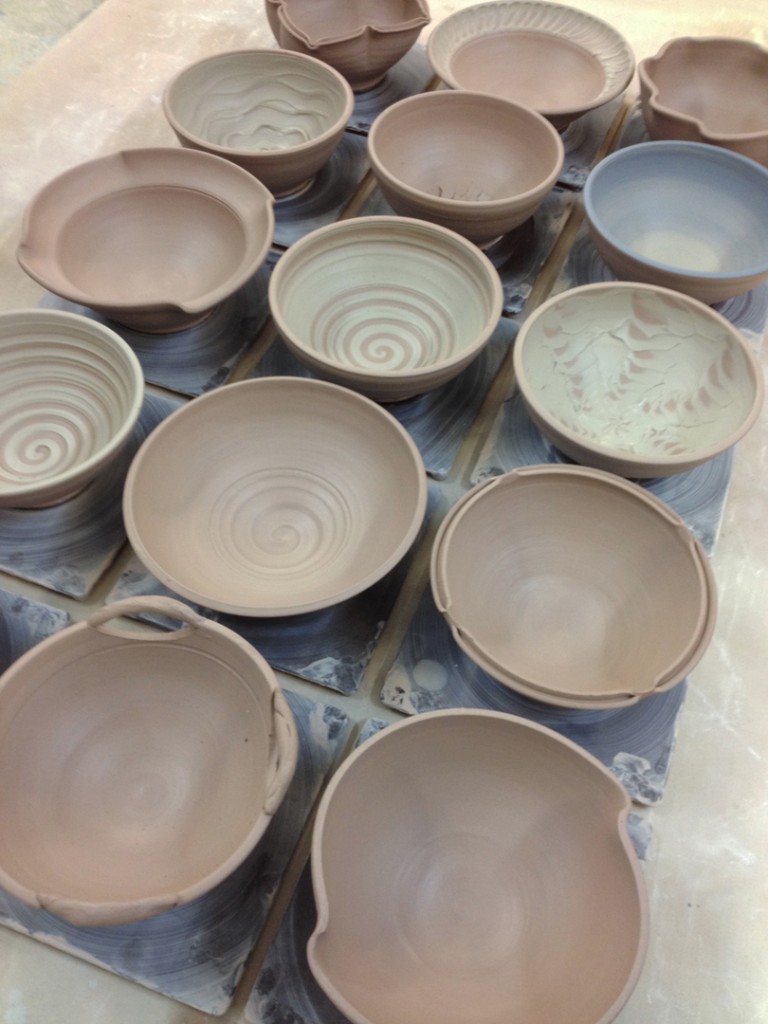
I always encourage my students to bring in their finished pots so we can all look at them. I especially love seeing how fer they’ve progressed during the 10-week class.

Categories: classes, food, holiday

Always looking for a good reason to celebrate… and eat PIE!!!
Tonight is the last night of my pottery class and we’re celebrating with a potluck as usual.
But today’s a holiday… NATIONAL Pi DAY !!!

So I planned ahead and baked two Chocolate Chip Tollhouse Pies.
Keeping it obvious for those slow on the take!
Pi…  3.14…  March 14th…  get it?! Any excuse for PIE!!!

Save

Save

Categories: bowls, classes, patterns, textures

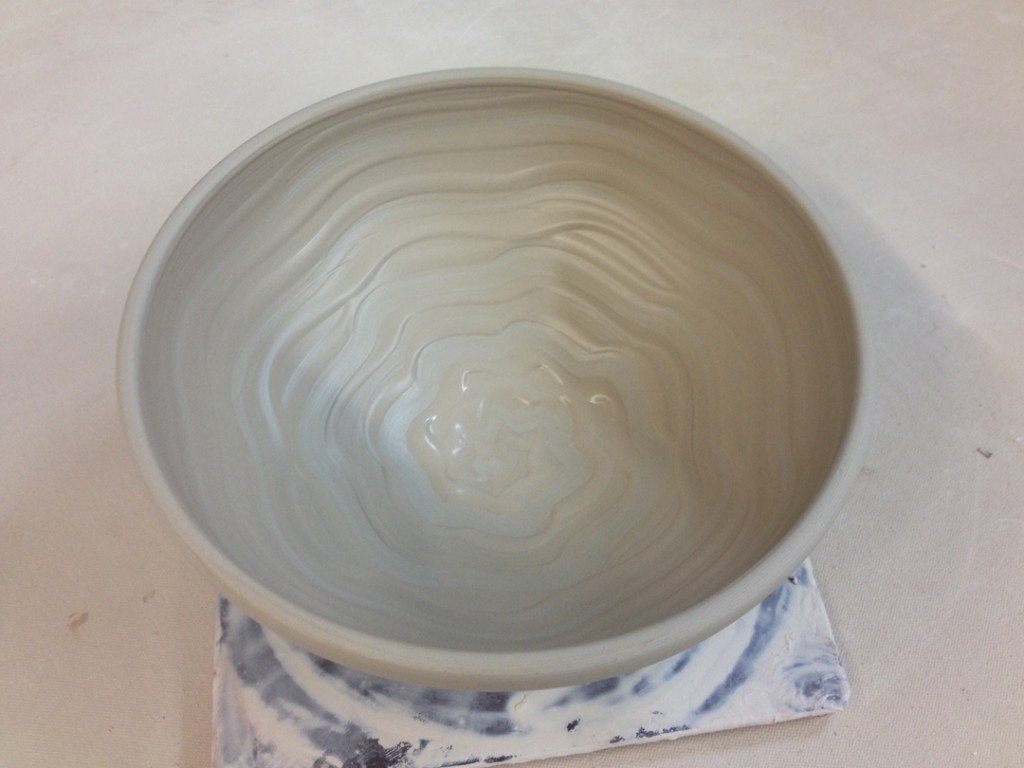
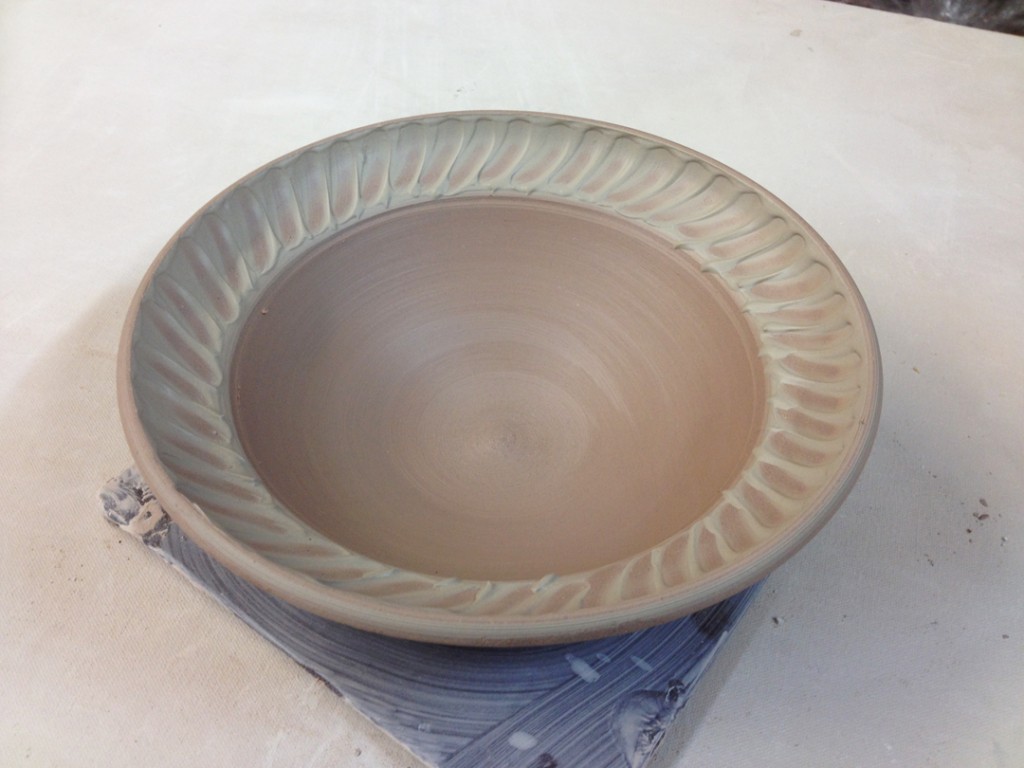
I started this “beveled bowl” carving project as a demo for my class a couple weeks back. It has taken a “little longer” than expected… a little bit here, a little bit there… and I feel like I could keep “cleaning it up” forever. But tonight I finally called it “done.” Of course I had to keep telling myself “It’s just a demo, it’s just a demo…” I started by throwing a bowl with slightly thicker walls than usual. And let it stiffen up a soft leatherhard so I could trim a nice foot. Then I brought the bowl to class to start the demo. I used my Xacto knife to incise horizontal lines while the bowl was on the wheel. Then I moved it over to a banding wheel and incised vertical lines. Hopefully evenly spaced… I eye-balled it, so who knows… but it created sixteen sections. The incising is to establish “sections” that will be carved, as well as cut lines so the bevels “pop out” better later. Do NOT carve all the way through the bowl!!!

Then it’s time to start carving… I attack one square at a time. Beveling the section from top to bottom in one row, and then bottom to top in the adjacent rows. The effect is alternating bevel directions all the way around the bowl. Yes, this is going to take awhile… sixteen vertical sections and five horizontal bands. That makes 80 squares to carve!!!

One by one. All the way around. Trying to keep it clean and consistent. Of course you’ll need to go over each section a couple times. Some come out cleaner than others… some will be a struggle. I would also recommend not doing this trick with clay that has a loft of grog in it. The smoother the clay the cleaner the carving will be without revealing a lot of rough grog chunks.

Of course I could keep going.. keep carving… keep cleaning. The smoother the lines the better, but seriously, at some point I just had to call this one done. It’s JUST a class demo after all. A lot of work to show off a fun carving “trick.” Hopefully the glaze will cover up the parts that I “gave up” on!!! And maybe a little Dremel sanding before glazing if worse comes to worse… and my OCD kicks in before it gets glazed. I could work on this one forever…

Save

Save

Save

Save

Categories: classes, porcelain, tools

So I subbed this morning for Lisa’s advanced class. At their request, we worked on lidded oval casseroles as they had seen my Beginners working on theirs here on Facebook. After the oval demo, some of them were carving & adding surface decorations. I ran upstairs to grab my new Zebra Carving Tools from my studio. They loved them too! As you can see here by the little leaves Deborah was carving on the side of her porcelain jar.

And the sketch that started it all…

Save

Categories: classes, process, stamps, textures

I began my Tuesday evening by throwing a lot of cylinders in my studio. I had a plan…
I was on a mission… and my wheelthrowing class was going to be starting soon!

So I received a package of few carving tools in the mail awhile back… so exciting!!!
And I’m always telling my students to experiment, to try new things, to break out of their shells. To remember that it’s JUST CLAY!!! But I get it… my Beginners are working so hard to make each and every cylinder. It’s a lot of work. A lot of centering & focus. So much so that each piece is somehow considered “too precious” to experiment with. So tonight I plan to test them… to push them a bit… to show them that it’s NOT so precious. I figured if I provide them with already thrown cylinders, all of the “hard part” is done, right?

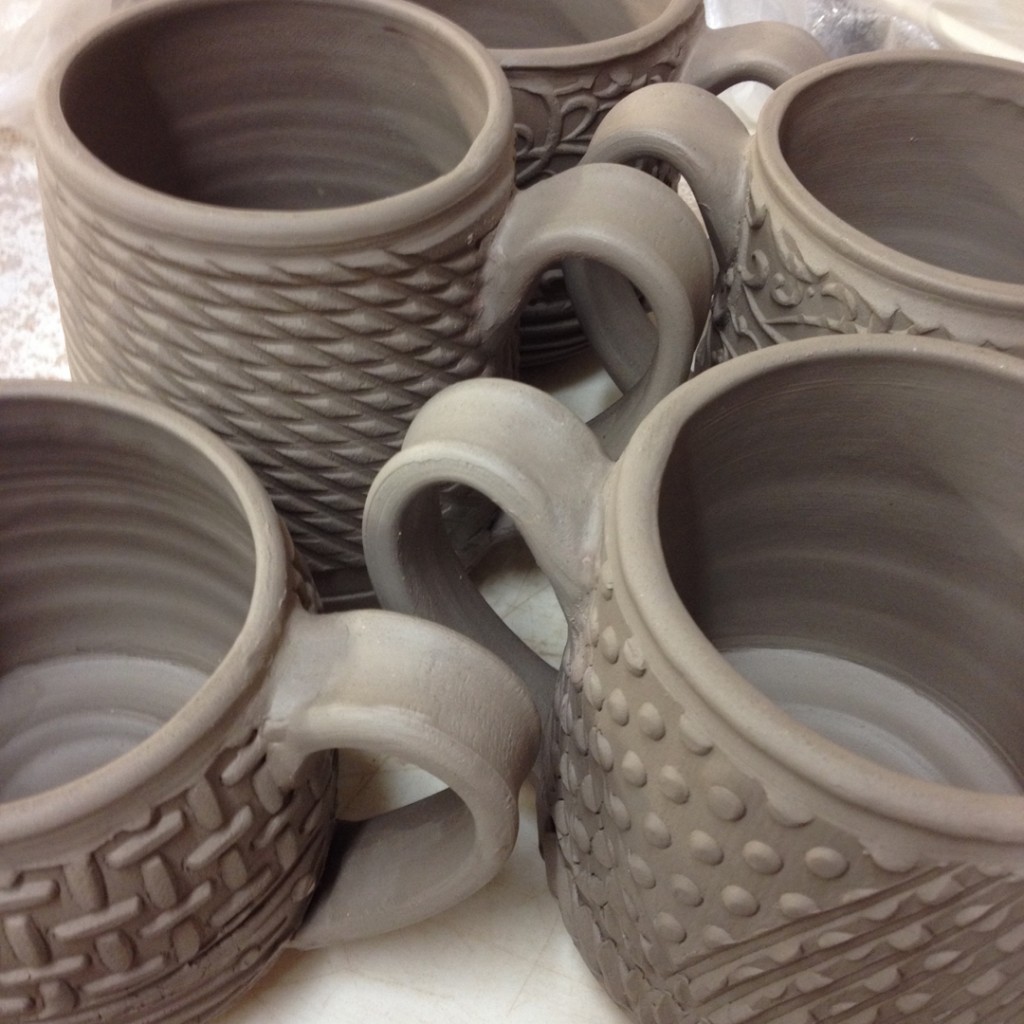
So I threw a bunch of cylinders and brought the down to class with me. I explained my “not-so-precious” texture & surface decoration challenge to them. I encouraged them each to do anything they wanted to the surface of their cylinder. To carve, slip, stamp, whatever!!! Just have fun… and see what happens with their new-found “freebie” not-so-precious cylinder!!! And here they go…

After class, I did a little “photo shoot” in my studio before they started to dry.

SO HERE”S YOUR CHALLENGE : Can you guess which ones are mine?!

Special thanks to Robert at C.I. Products for sending me a little “care package” of tools to try out. I’ve been kind of busy through the holidays… and finally found some time to try them out. And why not share my new tools with my students?! These Zebra Trimming Tools are pretty darn amazing. They took us a little while to get used to them. The blades are at a different angle than Kemper Tools…. and adjustable!!! The wood is so lightweight… and the foam grip pretty sweet too. But it’s really the extra-sharp blades that cut such a smooth clean line with nice line definition. I definitely look forward to using them more in my own work. Seeing what kinds of great textures & patterns I can come up with using these great new Zebra Tools!!! Thanks again Robert… your tools are GREAT!

Click here to see the wide assortment of tools from C.I. Products.
Or here to go straight to the Zebra Trimming Tools.
You’ll be glad you did… especially those of you who are carving crazy cool patterns, making cool textures and doing a lot of sgraffito or mishima.


Save

Save

Save

Save

Save
Categories: bowls, classes, glaze

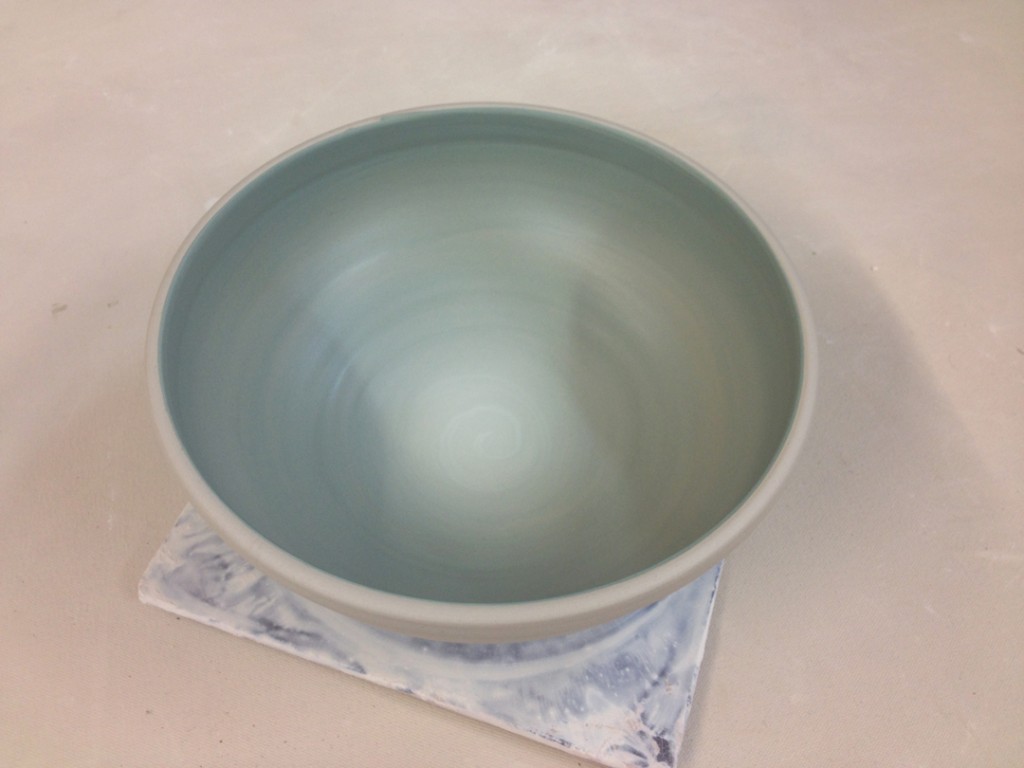
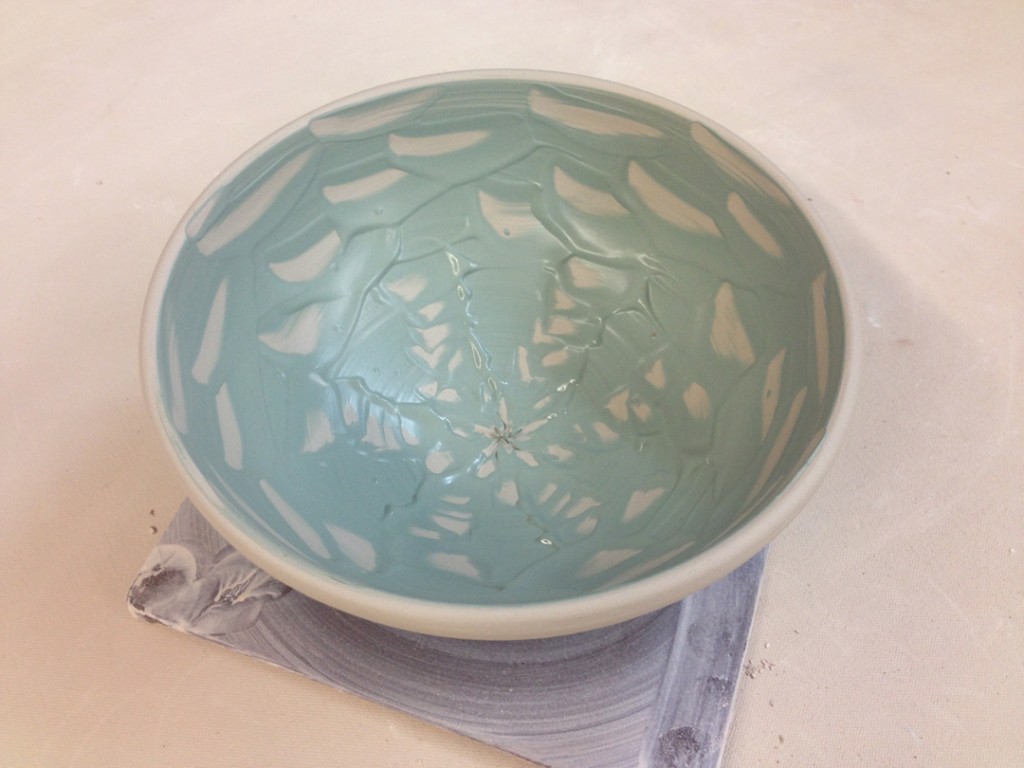
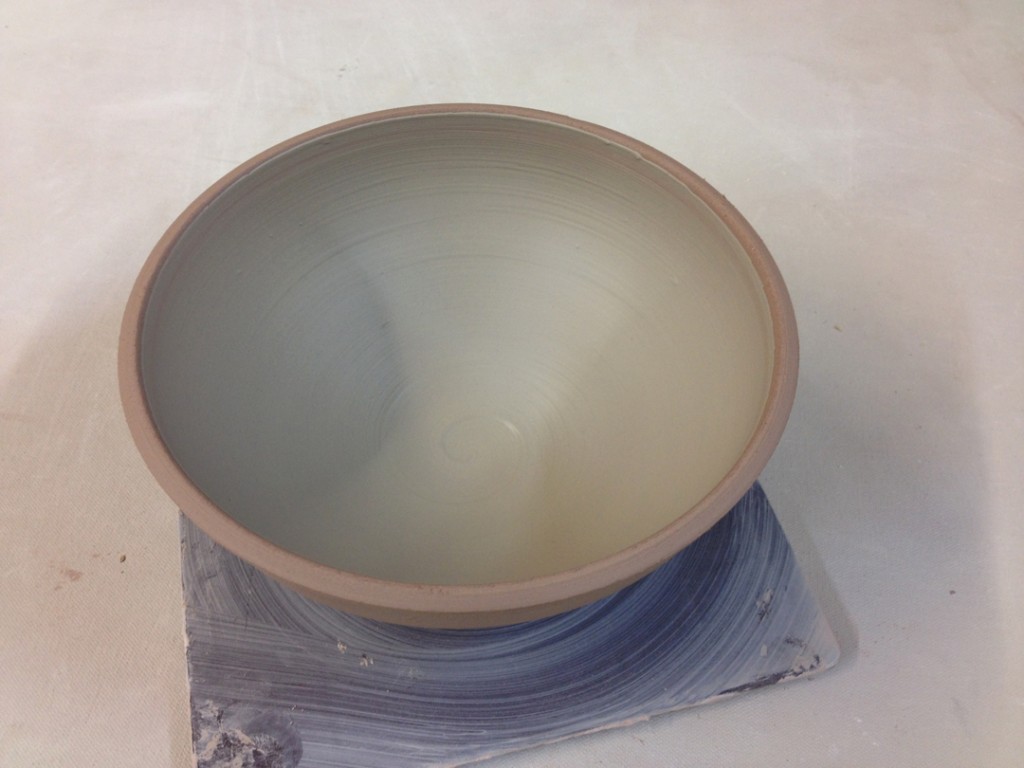
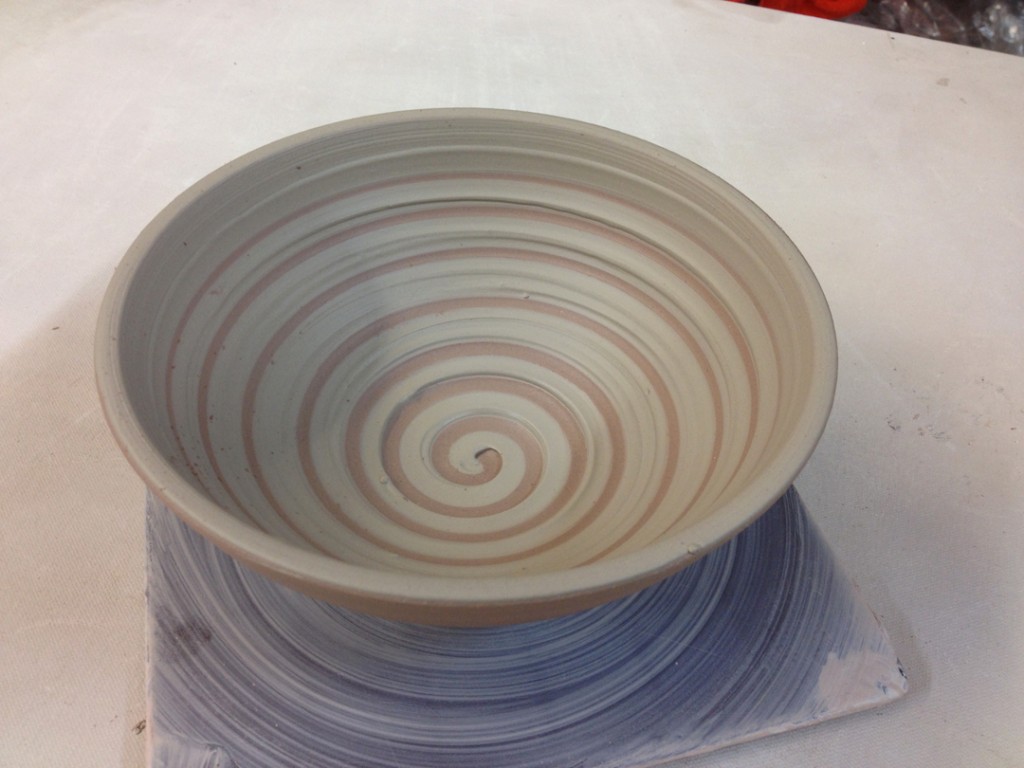
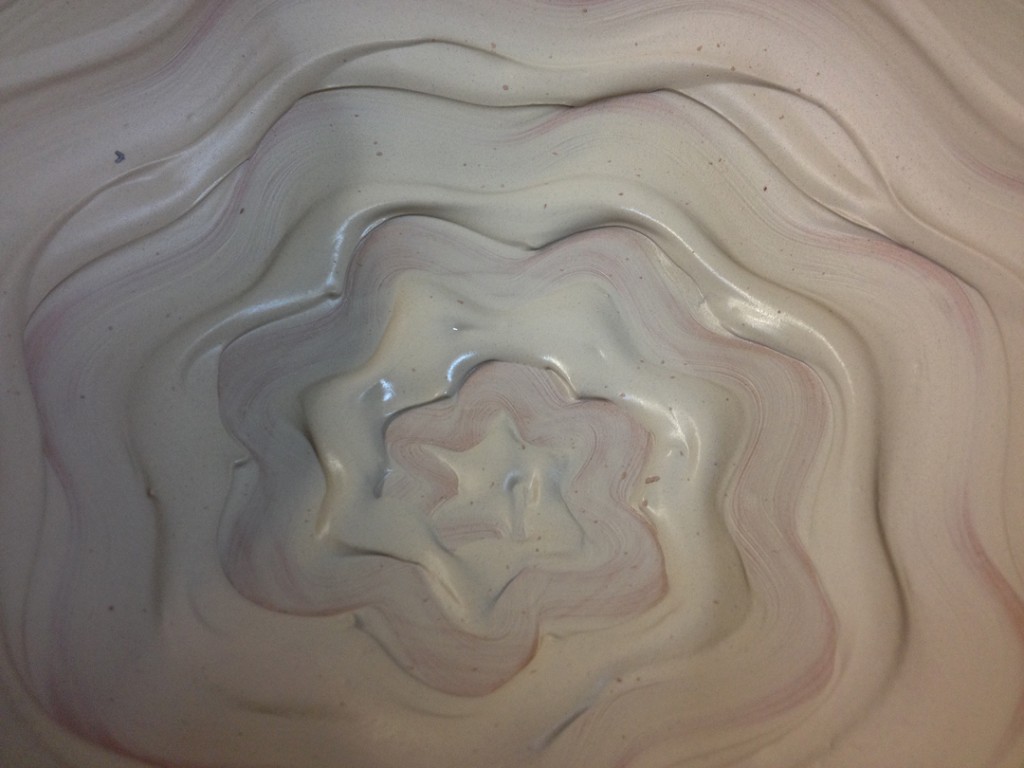
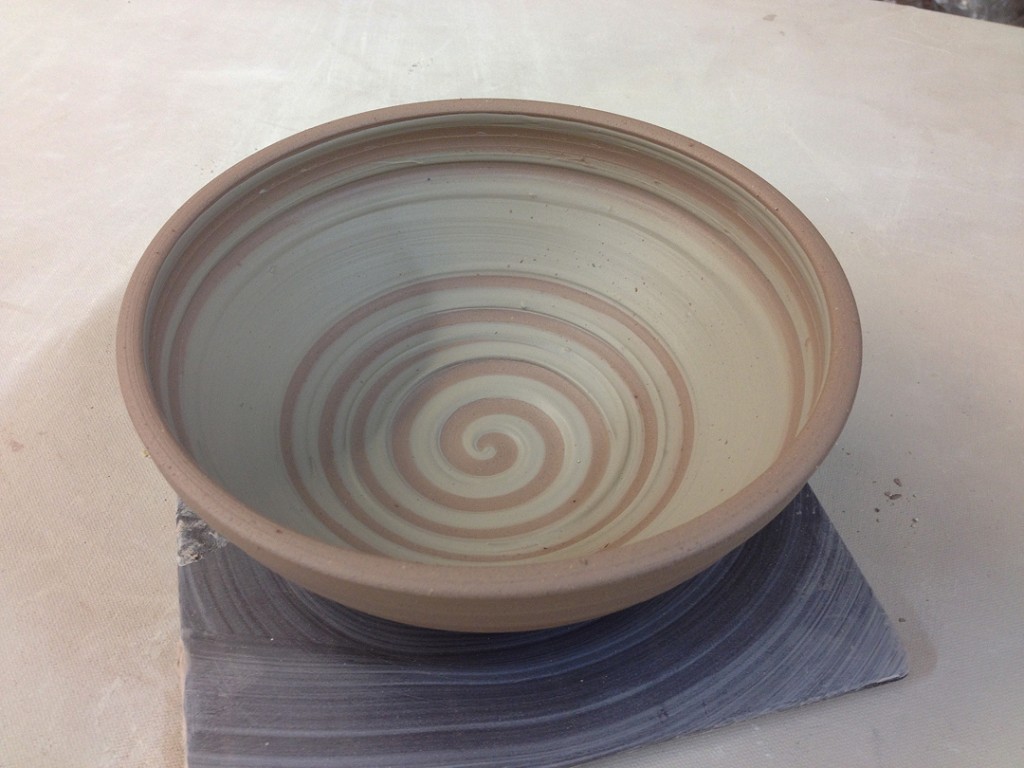
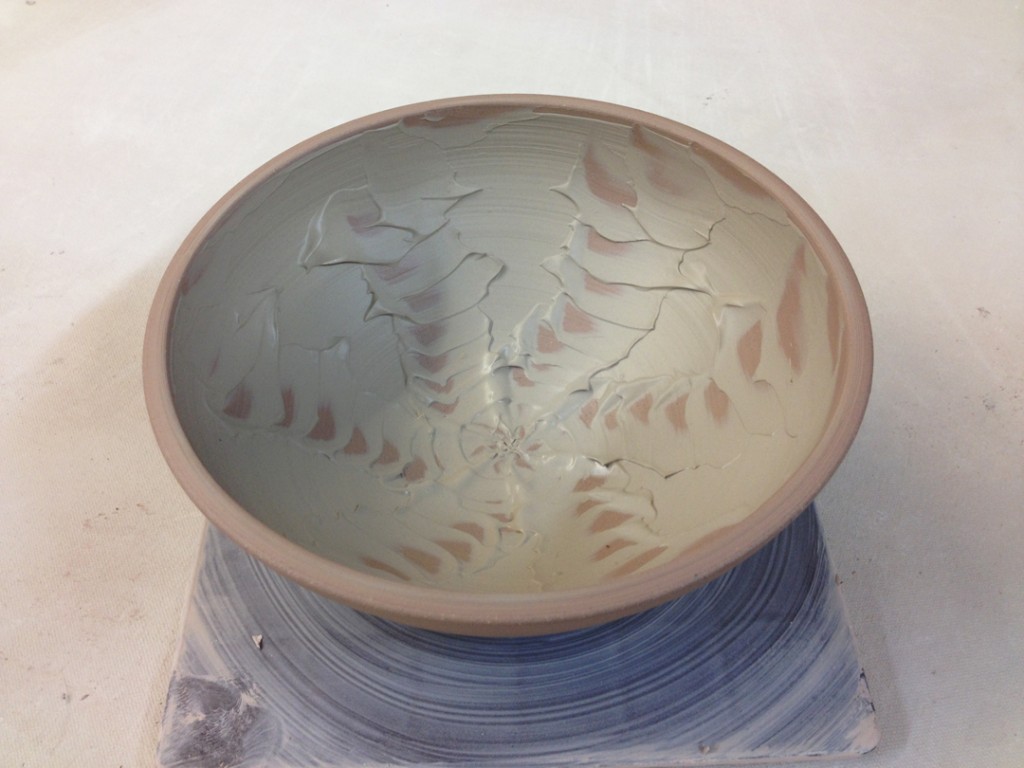
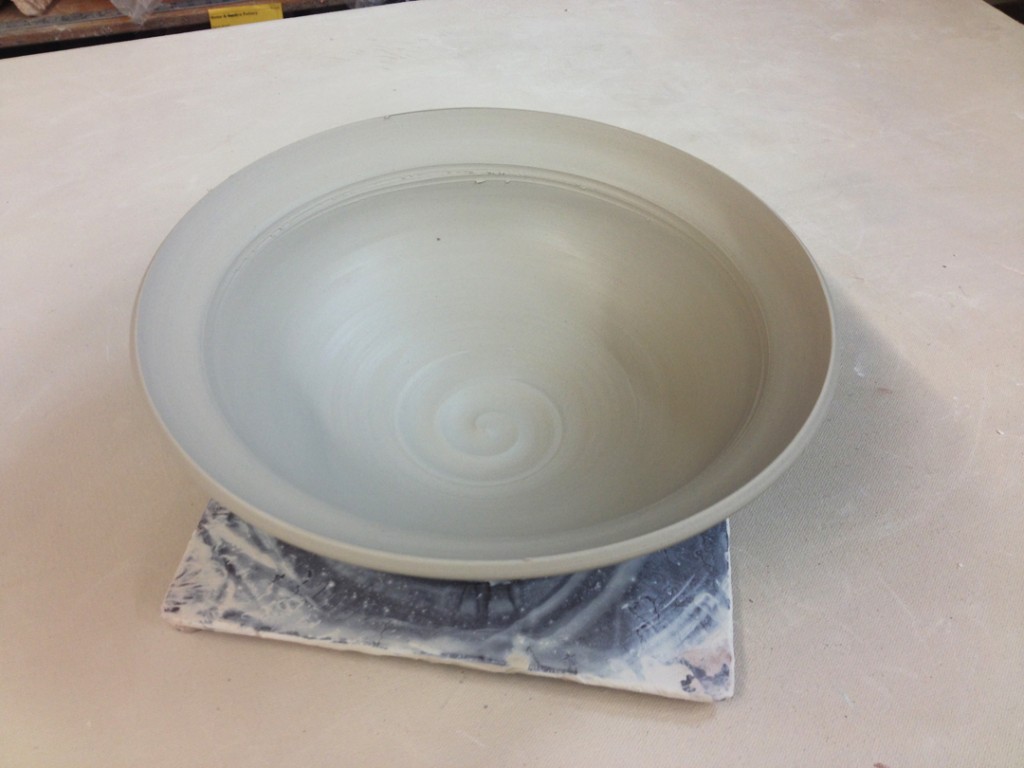
Bubble, bubble, toil and trouble… here’s a quick peek at the bowl we “bubble glazed” last week as part of our class demo. I think it turned out pretty sweet. But I’m kind of wondering where the second layer of green bubbles went to? The bowl has a base glaze of white, then a layer of blue glaze bubbles, and then a second layer of bubbles using a green glaze. I swear. Sadly, the green seem to have disappear.ed… but the blue bubbles still look great! Scroll back about a week to see how we did this!

Click here to jump back about a week to see how we did our bubble glazing demo!
With great photos of Melissa blowing bubbles everywhere!!!

Categories: classes, process

During last week’s bottle demo, I mentioned how difficult it was sometimes for me to determine how to stamp a bottle like this. Then one of my students actually called me out and “challenged” me NOT to stamp a piece of mine. What?! No stamps? What to do?

So I ended up adding a textured slip detail running down one side of the bottle instead. I used masking tape to block out the rectangle, layered on some thick orange flashing slip, and then carefully pulled off the tape.

Now hoping that the colored slip rectangle turns out great after soda firing.

Save

Categories: bowls, classes, textures

Finally finished up a bowl carving demo that I started for my class a week ago. I threw the bowl a little thicker than usual, and then set in to carving out a rhythmic pattern using the rounded end of my trimming ribbon tool.

And then a small groove in each cut-out with a small sgraffito loop tool.

Gotta love a good texture. Gotta love a good pattern.
Just a little carving trick I learned from Amy a few years back!!!


Categories: classes, glaze, process

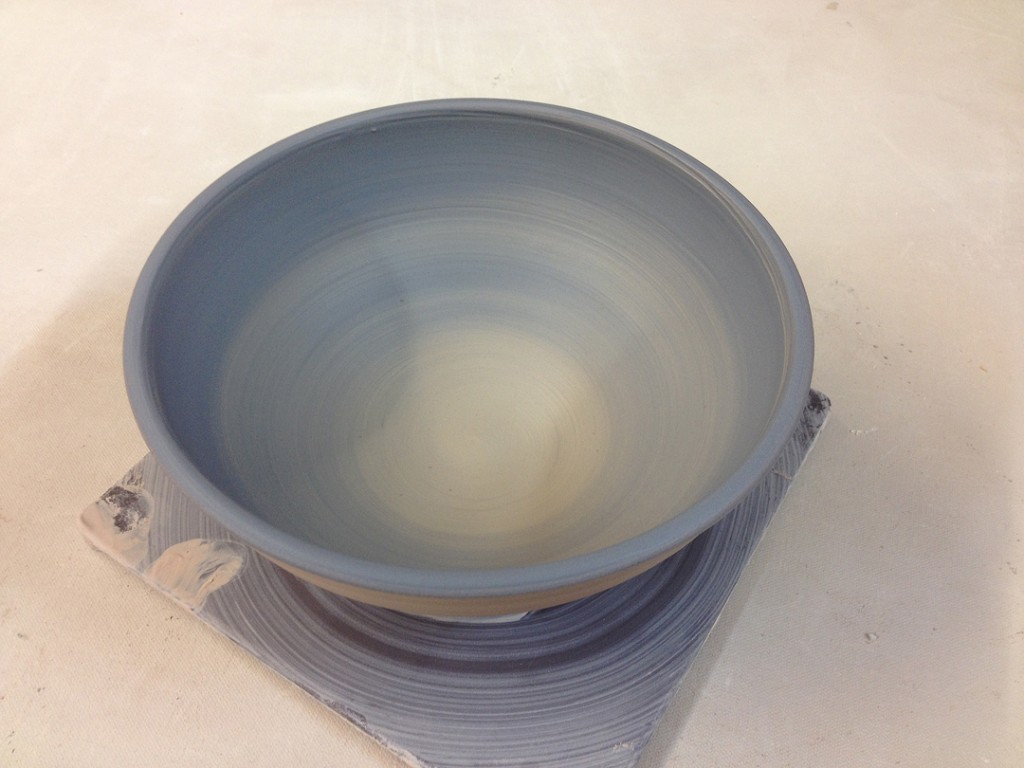
As part of the “Demo On Demand” portion of my pottery class, last night we returned to the novelty fun of bubble glazing! A little glaze in a small cup, mix in some liquid dishwashing detergent… add straw… and BLOW!!! The soapy-glaze will start foaming & frothing out of the cup. Carefully let the bubbles rest on the sides of your pot. As the bubbles pop, they leave this really great random pattern all around. For my demo bow, I first dipped the bowl in Shaner White to give it a good, overall base glaze. Then I did a layer of bubbles with Josh Blue glaze. And then decided to go for broke and add a second layer of bubbles with Apple Green Celadon. Here’s my bowl as more of the bubbles are popping and leaving cool designs.
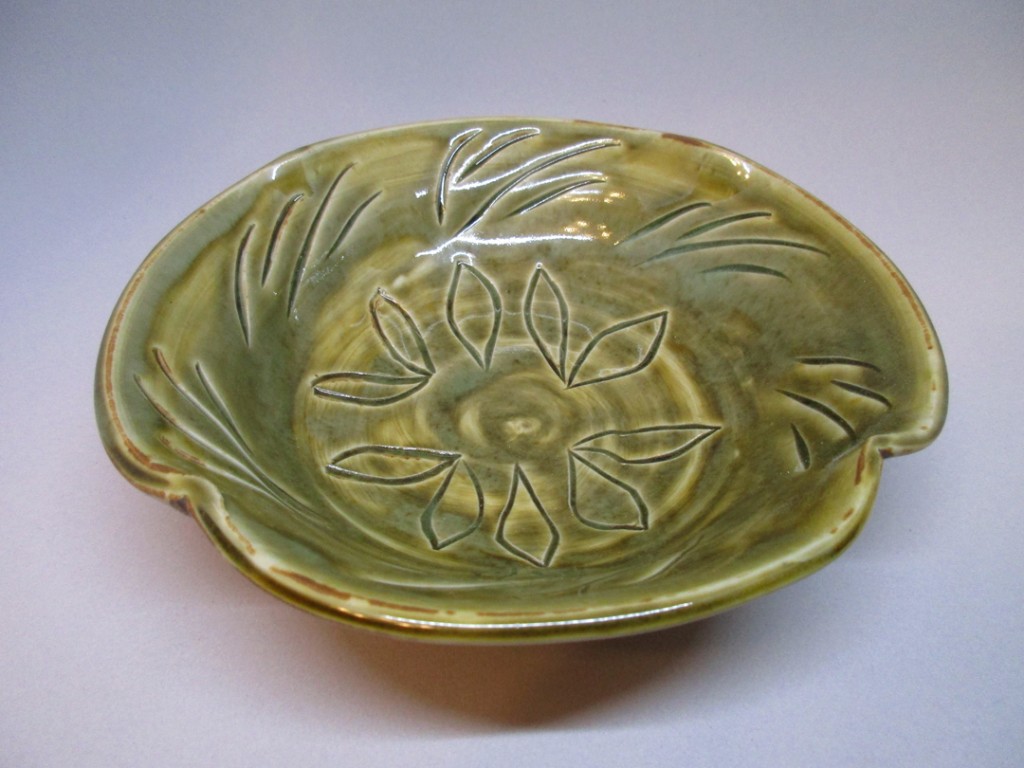
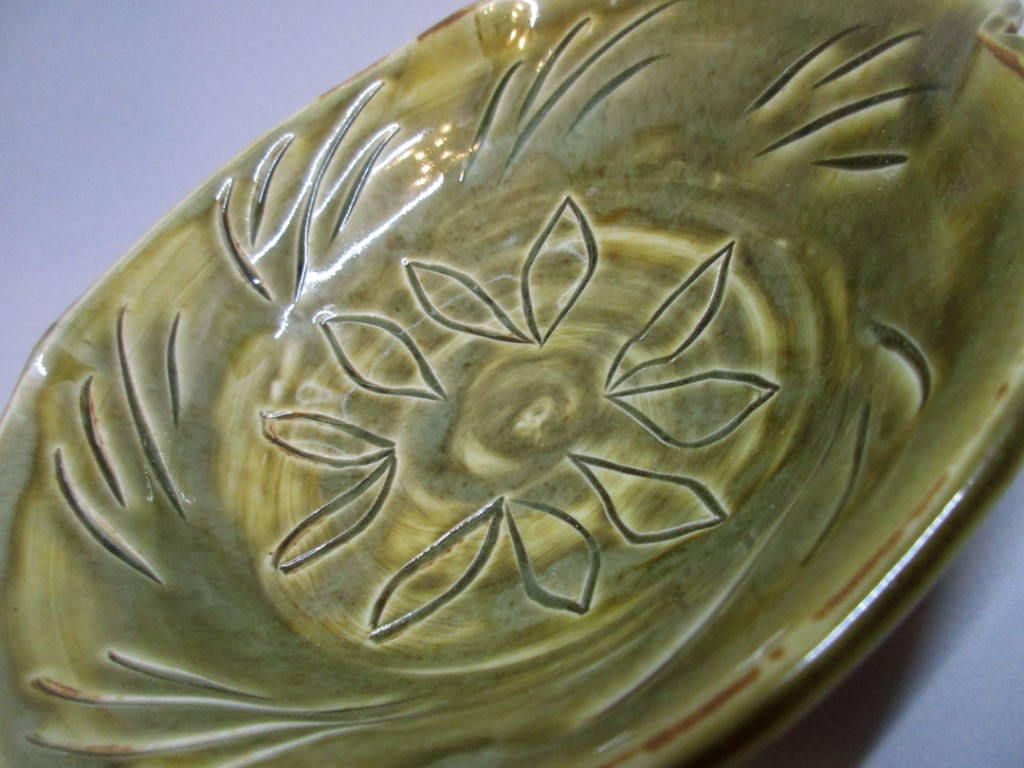
But then, not to be left out, the “demo-demander” herself jumped right in to start blowing bubbles!!! Melissa gave her bowl a base coat of glaze as well, and then decided to try some Cohen’s Copper Red bubbles. We’re all anxious to see the results when they come back out of the glaze firing!